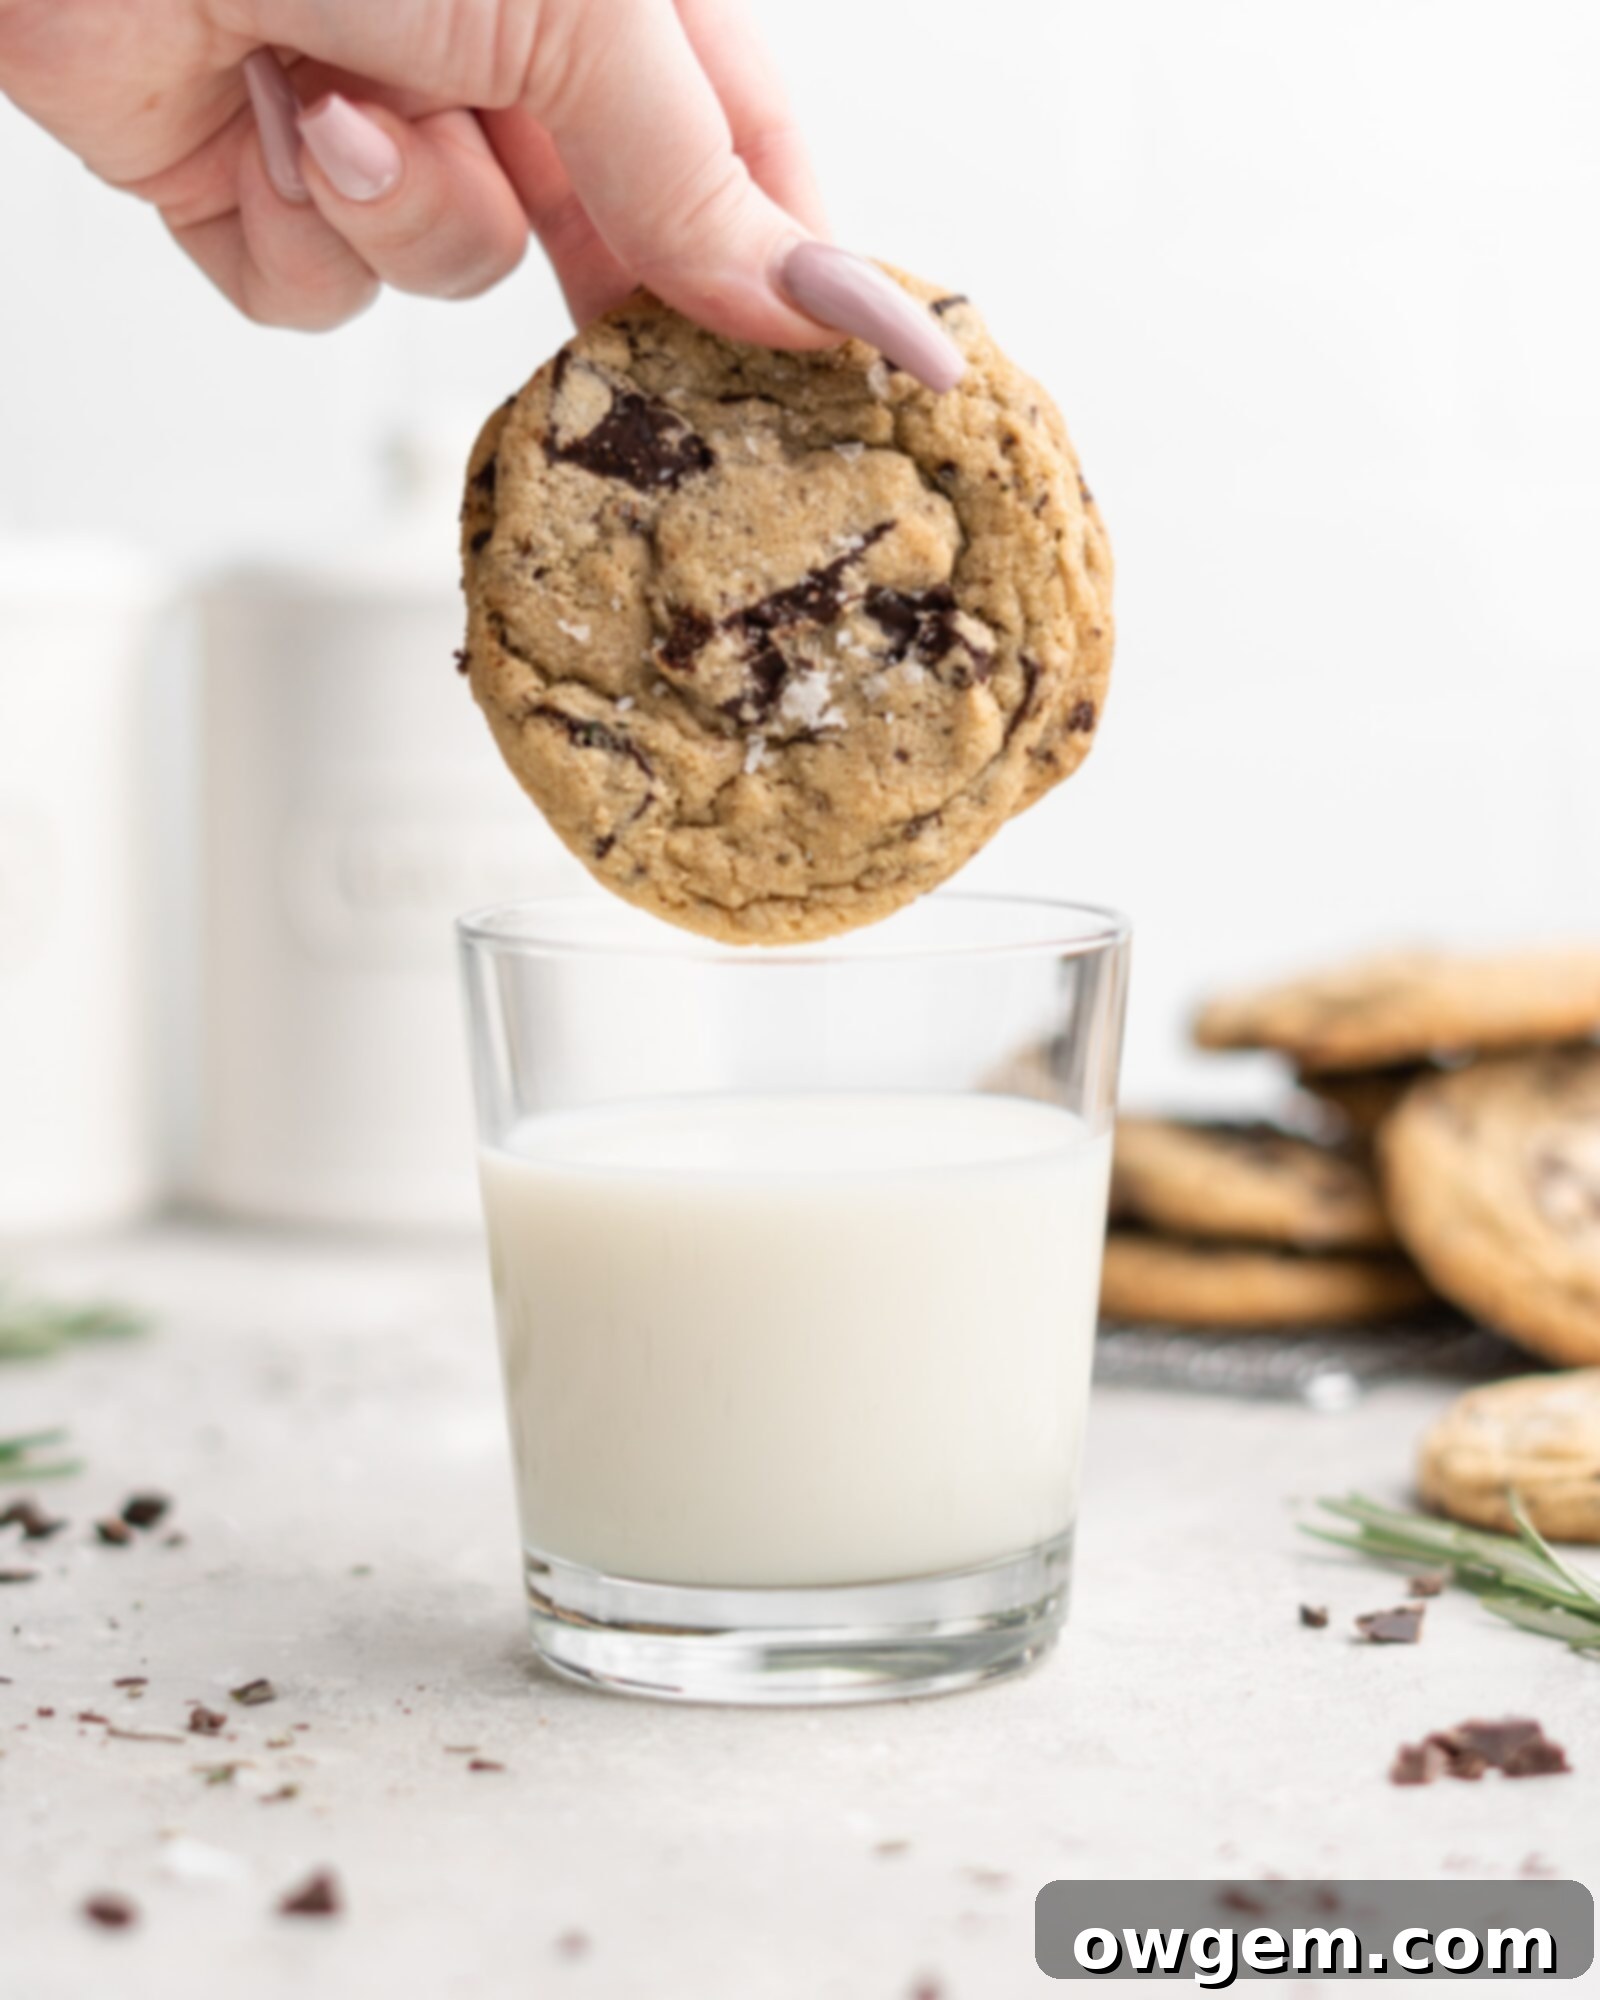
Irresistibly Aromatic Rosemary Chocolate Chunk Cookies: Your Ultimate Holiday Baking Guide
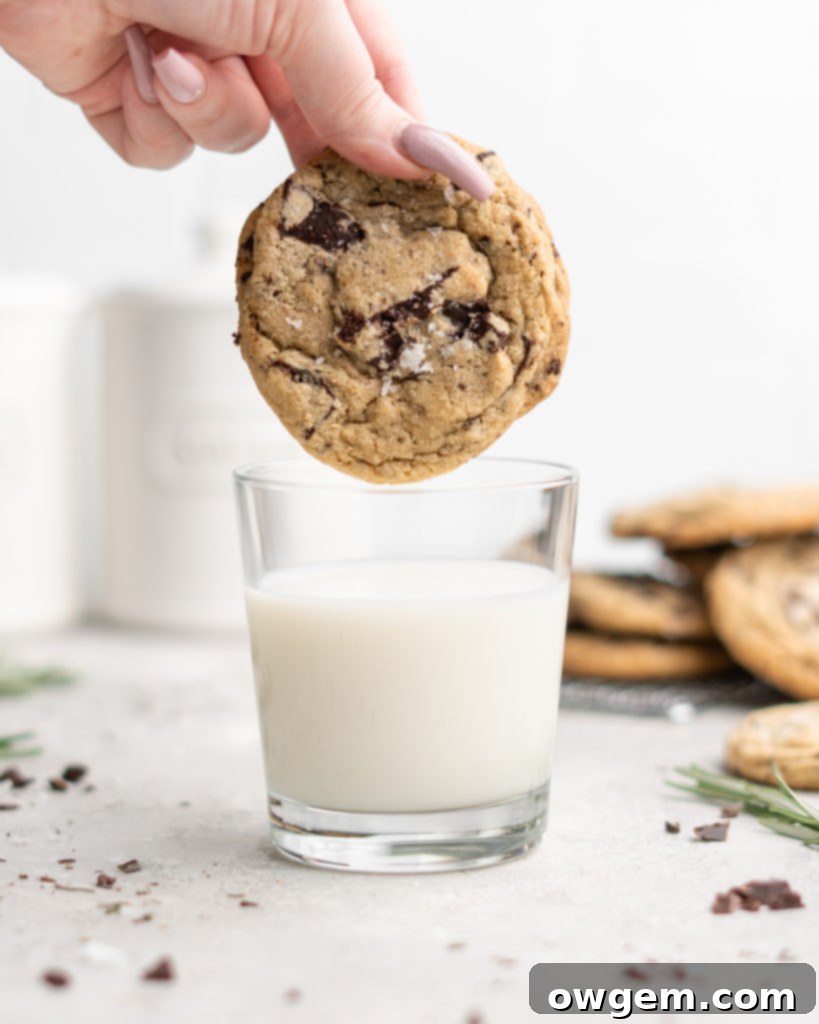
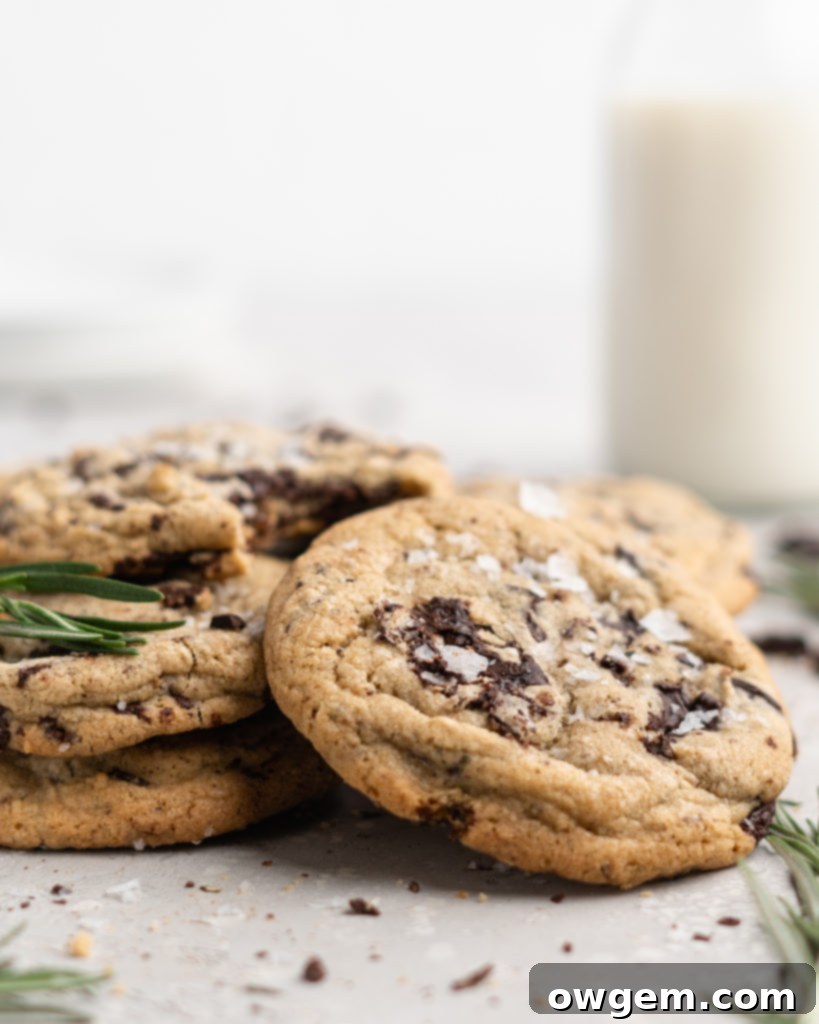
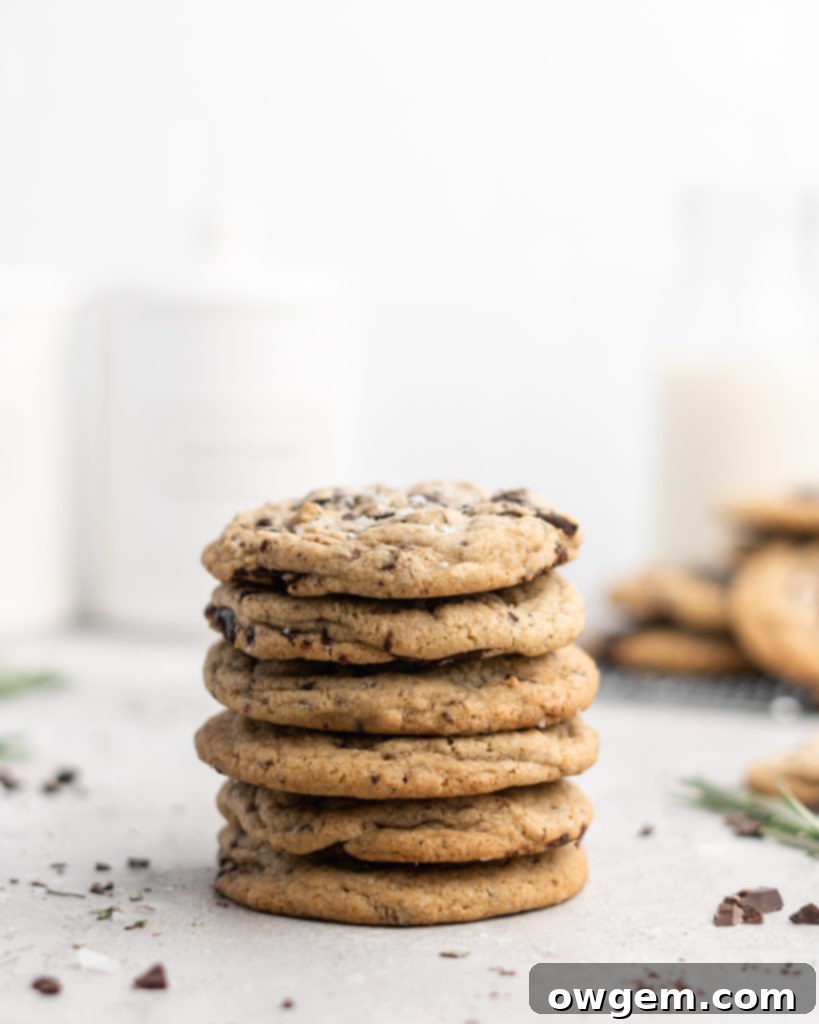
Imagine a cookie that perfectly captures the essence of the festive season – rich, decadent chocolate, a subtle hint of sea salt, and a truly unexpected, yet delightful, whisper of aromatic fresh rosemary. These Rosemary Chocolate Chunk Cookies are precisely that. They transport you to a winter wonderland with every bite, offering an almost evergreen-like flavor profile that makes them an ideal treat for Christmas gatherings, cozy winter evenings, or any time you crave something uniquely comforting. This recipe elevates the classic chocolate chunk cookie by infusing it with the fresh, fragrant notes of rosemary, transforming a familiar favorite into an extraordinary culinary experience. Prepare to embark on a baking journey that will delight your senses and impress your loved ones with this surprisingly harmonious flavor pairing.
The Art of ‘Rubbing’ the Rosemary for Maximum Flavor
One of the key secrets to unlocking the full, vibrant flavor of rosemary in these exquisite cookies lies in a simple yet crucial technique: ‘rubbing’ the rosemary with white sugar. You’ll notice this specific step highlighted in our instructions, and for good reason. Rosemary’s distinctive flavor and intoxicating fragrance are concentrated within its essential oils. To release these precious oils and infuse them thoroughly into our cookie dough, we need an abrasive action. Granulated white sugar, with its fine yet uneven crystalline structure, proves to be the perfect medium for this. When you vigorously rub the freshly chopped rosemary with the sugar between your hands, the sugar crystals gently abrade the rosemary leaves. This action effectively breaks down the cell walls of the herb, allowing its potent essential oils to seep out and cling to the sugar. The result is a highly fragrant, rosemary-infused sugar that will evenly distribute the herbaceous notes throughout your cookie dough, ensuring every bite is bursting with that unique, fresh aroma. Don’t skip this step – it’s a game-changer for maximizing flavor and achieving that signature evergreen essence that makes these cookies so special.
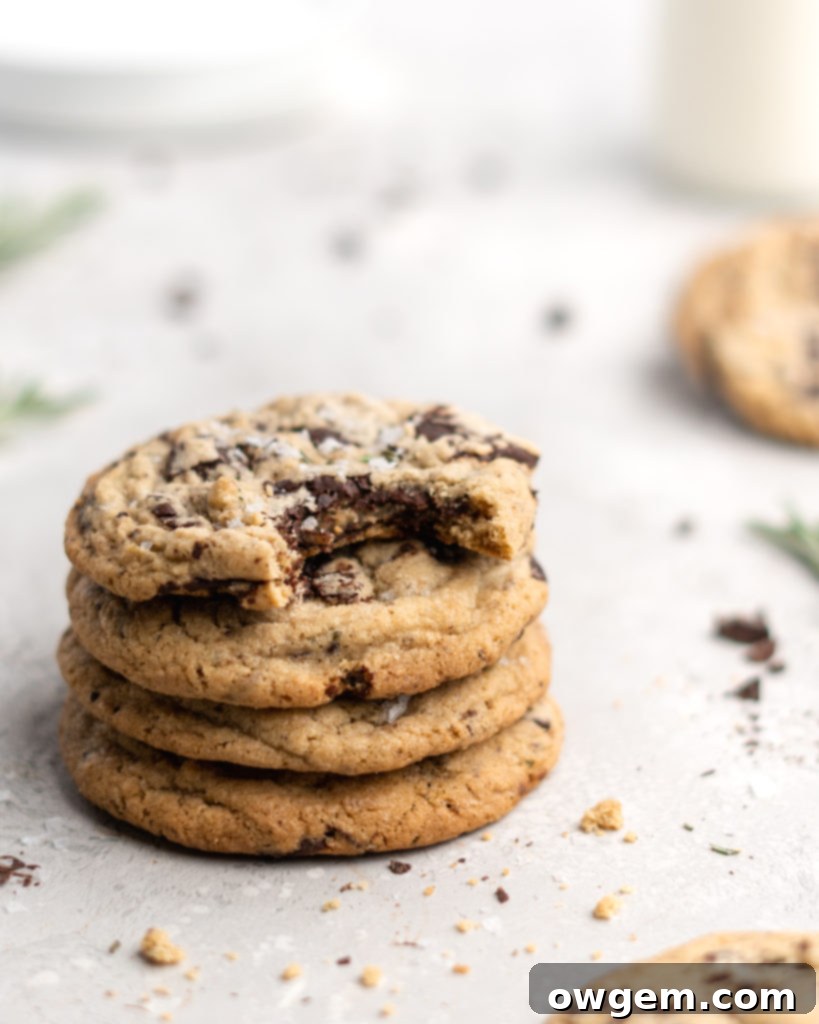
How to Make Rosemary Chocolate Chunk Cookies: A Step-by-Step Guide
Crafting these Rosemary Chocolate Chunk Cookies is a straightforward and rewarding process, especially if you have some prior baking experience with cookies. However, even novice bakers will find success by following these detailed steps carefully. Each stage plays a vital role in achieving the perfect texture and flavor.
Step 1: Infusing the Rosemary-Sugar. Begin by preparing your rosemary-infused sugar as described in the previous section. In a medium bowl, combine the finely chopped fresh rosemary with the white sugar. Use your hands to rub them together vigorously for a few minutes until the sugar becomes intensely fragrant and takes on a slight green hue. This foundational step is critical for developing the signature rosemary flavor throughout the cookies. Set this aromatic mixture aside.
Step 2: Preparing Dry Ingredients. In a separate medium to large-sized bowl, whisk together the all-purpose flour, baking soda, and salt. Whisking ensures these dry ingredients are thoroughly combined and evenly distributed, which is crucial for uniform leavening and flavor in your cookies. We recommend weighing your flour for precision; a kitchen scale ensures you get the exact amount every time (300g for 2.5 cups). Too much or too little flour can drastically alter the cookie’s texture, leading to dry or excessively spreading results.
Step 3: Creaming Wet Ingredients. In a stand mixer (fitted with the paddle attachment), add the softened unsalted butter, dark brown sugar, and your prepared rosemary-rubbed white sugar. Beat these ingredients together on medium-high speed for approximately three minutes. The mixture should transform into a light, fluffy, and noticeably increased in volume – almost doubled. This creaming process incorporates air into the butter and sugar, which is essential for giving your cookies a tender, chewy texture and helps with natural leavening.
Step 4: Incorporating Eggs and Vanilla. Next, add the large eggs, the extra egg yolk (which contributes to richness and chewiness), and pure vanilla extract to the creamed mixture. Continue to beat on high speed for another two minutes, stopping periodically to scrape down the sides and bottom of the bowl. This ensures all ingredients are thoroughly combined and emulsified, creating a stable and cohesive base for your dough.
Step 5: Combining Wet and Dry Ingredients. Gradually add the whisked flour mixture to the wet ingredients. Mix on low speed *just* until they are combined. The moment you see no more streaks of dry flour, stop mixing. Overmixing at this stage is a common pitfall that can overdevelop the gluten in the flour, resulting in tough, dry cookies instead of the desired soft and chewy ones.
Step 6: Folding in Chocolate. Finally, gently fold in your roughly chopped semi-sweet chocolate. A rubber spatula is ideal for this, allowing you to evenly disperse the chocolate chunks throughout the dough without overworking it. You want generous pockets of chocolate in every bite!
Step 7: Resting the Dough. Once your dough is mixed, scoop out individual portions (about 2 tablespoons each) onto a parchment-lined baking sheet. You don’t need to worry about precise arrangement at this stage, as you’ll be rearranging them later. Now comes the patience test: place the baking sheet with the scooped cookie dough into the freezer for a crucial 30 minutes. This resting period is not merely a suggestion; it’s a vital step for achieving perfectly shaped, chewy cookies with concentrated flavor. We’ll delve deeper into the science behind this next!
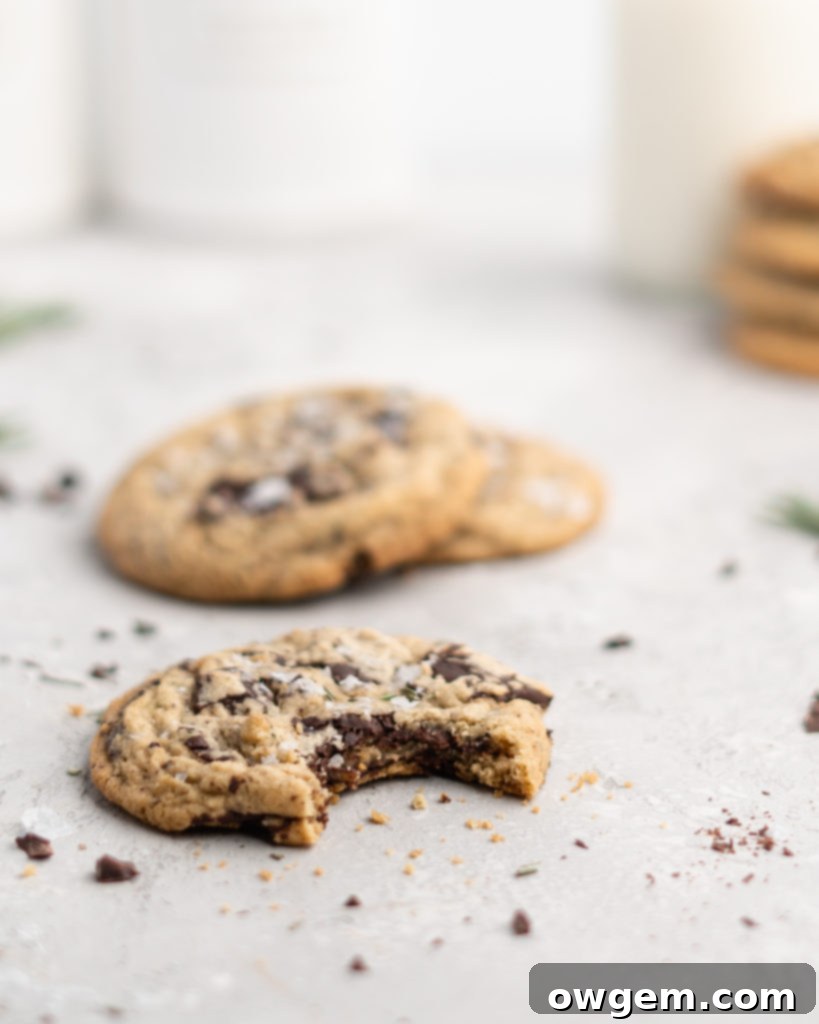
The Importance of Resting Your Rosemary Chocolate Chunk Cookie Dough
While the tempting aroma of freshly mixed cookie dough might make you want to rush them straight into the oven, resisting that urge for a brief 30-minute resting period is absolutely critical for the success of these Rosemary Chocolate Chunk Cookies. This seemingly small pause offers a multitude of advantages that profoundly impact the final texture, flavor, and appearance of your baked goods.
Firstly, allowing the cookie dough to chill in the freezer solidifies and cools the fats (butter) within the dough. When these colder, firmer fats encounter the heat of the oven, they melt more slowly and gradually. This delayed melting significantly reduces the rate at which your cookies spread, helping them maintain their desirable thickness, a wonderfully chewy center, and a slightly crinkled edge. Without this chilling period, the butter melts too quickly, leading to flat, overly crisp, and potentially greasy cookies that spread too much.
Secondly, resting the dough provides the flour and sugar ample time to fully absorb any free-floating liquid present in the mixture. This hydration process is vital for creating a more uniform dough consistency. A well-hydrated dough spreads less erratically, bakes more evenly, and results in a more cohesive and tender crumb. Imagine a runny dough (with more free liquid) versus a firmer, more stable one – the former will invariably spread more and be less predictable.
Furthermore, this resting period allows the flavors to truly concentrate and meld. As the dough slightly dehydrates in the cold, the sugars and other ingredients intensify, deepening the overall taste profile of your cookies. The rosemary’s aromatic compounds, having been released through our ‘rubbing’ technique, have more time to permeate the entire dough, ensuring a richer, more integrated herbaceous note in every bite. This subtle but significant enhancement of flavor is what elevates these cookies from good to truly exceptional.
In essence, skipping the resting phase means sacrificing chewiness, risking excessive spread, and potentially missing out on the full, concentrated flavor and appealing texture these cookies are designed to deliver. A little patience now guarantees a much more satisfying and professionally-looking cookie experience later.
Choosing the Right Chocolate for Your Chunk Cookies
When it comes to the ‘chocolate chunk’ in Rosemary Chocolate Chunk Cookies, your choice of chocolate can significantly influence both the texture and visual appeal of the final product. While technically any chocolate will work, for that truly artisanal, bakery-style cookie experience, we highly recommend using roughly chopped semi-sweet chocolate bars.
Why chopped chocolate bars? When a chocolate bar is coarsely chopped, it creates varying sizes of chocolate pieces – from fine shards to large, rustic chunks. During baking, these irregularly sized pieces melt into glorious, molten pools and enticing streaks of rich chocolate throughout your cookie. This uneven melting not only looks incredibly appealing but also contributes to an exciting textural contrast – some bites will be intensely chocolatey and gooey, while others will be more cookie-forward. Semi-sweet chocolate (typically 50-60% cocoa solids) offers a perfect balance, providing a deep chocolate flavor that complements the bright rosemary without being overly bitter or excessively sweet.
However, if you don’t have a chocolate bar on hand, or simply prefer the convenience of them, regular chocolate chips are a perfectly acceptable alternative. Chocolate chips are specifically designed to hold their shape during baking due to stabilizers, resulting in distinct pockets of chocolate rather than melted pools. Flavor-wise, using regular chocolate chips won’t negatively impact the delicious taste of these Rosemary Chocolate Chunk Cookies, though the visual and textural experience will differ slightly.
For those who enjoy a richer, more intense chocolate flavor, consider using dark chocolate (60-75% cocoa solids). This can create a more sophisticated profile, where the slight bitterness of the dark chocolate beautifully contrasts with the sweetness of the cookie and the earthy notes of the rosemary. Conversely, if you prefer a sweeter cookie, milk chocolate could be an option, though it might overpower the delicate rosemary essence. We suggest sticking to semi-sweet or dark for the best balance and to allow the rosemary to shine.
Why Rosemary and Chocolate? A Surprisingly Perfect Pairing
The combination of rosemary and chocolate might sound unconventional at first, but it’s a culinary marriage that works with surprising harmony, especially in these cookies. Rosemary, with its fragrant, pine-like, slightly peppery, and subtly citrusy notes, offers a fresh counterpoint to the deep, often rich, and sometimes sweet profile of chocolate. This unexpected pairing is gaining popularity in gourmet kitchens and proves that sometimes, the most unique combinations yield the most delightful results.
Think of it as a sophisticated balance: the herbaceousness of rosemary cuts through the sweetness of the cookie and the richness of the chocolate, preventing the treat from becoming cloyingly sweet. Instead, it introduces a layer of complexity and an almost ‘gourmet’ feel that elevates the humble cookie. The ‘evergreen’ description isn’t just for show; the aroma genuinely evokes a festive, wintery feeling, making these cookies truly unique and memorable. It’s a flavor profile often explored in high-end desserts and savory dishes, proving its incredible versatility. The essential oils in rosemary, released through our specific ‘rubbing’ technique, infuse the cookie with an aromatic warmth that complements the chocolate’s robust character, resulting in a balanced, nuanced, and sophisticated taste experience.
Tips for Baking Perfect Rosemary Chocolate Chunk Cookies Every Time
Achieving bakery-quality Rosemary Chocolate Chunk Cookies involves more than just following the recipe steps; a few pro tips can significantly elevate your baking game and ensure consistent, delicious results:
- Room Temperature Ingredients Are Key: Ensure your butter and eggs are at true room temperature (around 68-70°F or 20-21°C). This allows them to emulsify properly, creating a smooth, homogenous batter that holds air better, which is crucial for a lighter texture and consistent spread. Cold ingredients can lead to a lumpy batter and less desirable cookie texture.
- Do Not Overmix the Dry Ingredients: As mentioned in the instructions, once you add the flour mixture, mix on low speed *just* until no dry streaks remain. Overmixing develops gluten in the flour, which can result in tough, dense, and less tender cookies. A light hand here preserves the delicate texture.
- Uniform Scooping for Even Baking: Use a cookie scoop (or your hands, ensuring each portion is roughly the same size) to ensure all cookies are uniform. This guarantees even baking, so none are underdone while others are burnt, and all cookies reach that perfect golden brown at the same time.
- Parchment Paper is Your Best Friend: Always line your baking sheets with parchment paper. It prevents sticking, ensures even browning on the bottom of the cookies, and makes cleanup incredibly easy. Silicone baking mats also work wonderfully.
- Trust Your Oven Thermometer: Invest in an oven thermometer. Many home ovens run hot or cold, and precise temperature control is crucial for consistent cookie results. An accurate oven temperature prevents burning or under-baking.
- Avoid Overbaking for Chewy Centers: Cookies continue to bake slightly on the hot baking sheet after they are removed from the oven. For a perfectly chewy center, take them out when the edges are set and lightly golden, but the centers still look slightly soft and puffed. They will firm up as they cool.
- Proper Cooling Technique: Allow cookies to cool on the baking sheet for a few minutes (about 5-10) before carefully transferring them to a wire rack to cool completely. This helps them set and firm up without breaking, maintaining their structure.
- Batch Baking Strategy: If baking multiple batches, keep the remaining unbaked dough in the refrigerator or freezer until you are ready to bake the next tray. This maintains the essential chill and prevents excessive spreading, ensuring each batch is as perfect as the last.
Variations and Customizations to Personalize Your Cookies
While these Rosemary Chocolate Chunk Cookies are delightful as is, their unique flavor profile also makes them a fantastic canvas for experimentation. Feel free to customize them to suit your taste or to explore new complementary flavors:
- Add Nuts for Crunch: Toasted pecans, walnuts, or even pistachios would add a lovely crunch and depth of flavor. Fold them in along with the chocolate chunks for an added layer of texture and nutty goodness.
- Brighten with Citrus Zest: A teaspoon of finely grated orange or lemon zest can brighten the flavor profile even further, creating a wonderful synergy that complements both the herbaceous rosemary and the rich chocolate beautifully. Citrus and rosemary are a classic pairing that works magic with chocolate.
- Experiment with Different Chocolates: Don’t be afraid to try a blend! Experiment with a mix of dark and milk chocolate chunks, or even add some white chocolate for a sweeter, creamier contrast. Chocolate toffee bits could also be a fun addition.
- Subtle Spices for Warmth: A tiny pinch of ground cinnamon, nutmeg, or even a hint of cardamom could enhance the ‘holiday’ feel, adding an extra layer of warmth and complexity. Use sparingly to ensure the rosemary remains the star.
- Flaky Sea Salt Finish: For an extra touch of gourmet appeal and to truly bring out the chocolate flavor, sprinkle a few flakes of flaky sea salt (like Maldon) on top of the scooped cookie dough just before baking. This provides a delightful textural pop and an irresistible sweet-and-salty balance.
- Herbal Blends: For the adventurous, a small amount of thyme or lavender (ensure it’s culinary grade) could be subtly introduced alongside the rosemary, creating an even more complex herbal note.
Storage and Freezing Instructions for Freshness
Proper storage ensures your Rosemary Chocolate Chunk Cookies remain fresh and delicious for longer, whether you’re enjoying them immediately or saving them for a future craving.
- At Room Temperature: Once completely cooled, store the baked cookies in an airtight container at room temperature for up to 3-5 days. To help keep them soft and chewy, you can place a slice of plain bread in the container; the cookies will absorb moisture from the bread.
- Freezing Baked Cookies: Baked and thoroughly cooled cookies can be frozen for up to 3 months. Arrange the cooled cookies in a single layer on a baking sheet and freeze until solid. Once solid, transfer them to a freezer-safe bag or airtight container, separating layers with parchment paper to prevent sticking. Thaw at room temperature for an hour, or warm briefly in a preheated oven (250°F / 120°C) for 5-7 minutes for that freshly baked experience.
- Freezing Cookie Dough: The unbaked cookie dough can also be frozen, which is fantastic for having fresh-baked cookies on demand! Scoop portions onto a parchment-lined baking sheet and freeze until solid. Once frozen, transfer the solid dough balls to a freezer-safe bag, removing as much air as possible. When ready to bake, place frozen dough balls directly onto a parchment-lined baking sheet and add 2-4 minutes to the original baking time. There’s no need to thaw the dough first.
Serving Suggestions for a Memorable Treat
These Rosemary Chocolate Chunk Cookies are fantastic on their own, but here are some ideas to make them an even more memorable treat, perfect for any occasion:
- Warm from the Oven: There’s nothing quite like a warm, gooey cookie. Enjoy them fresh out of the oven with a tall glass of cold milk, a steaming cup of coffee, or your favorite herbal tea. The warmth truly enhances the melted chocolate and aromatic rosemary.
- Elevated Ice Cream Sandwich: Pair two of these delightful cookies with a scoop of premium vanilla bean ice cream, a rich chocolate ice cream, or even a complementary fruit sorbet (like raspberry) for an elevated and sophisticated ice cream sandwich.
- Holiday Dessert Platter Star: Their unique and festive flavor profile makes them a standout addition to any holiday cookie platter, offering a sophisticated alternative alongside more traditional offerings. They’re guaranteed to spark conversation!
- Thoughtful Gift Giving: Package them beautifully in a decorative tin, a rustic box, or tied with a festive ribbon as a thoughtful and delicious homemade gift for friends, family, or neighbors during the holiday season or any time you want to show appreciation.
- After-Dinner Treat: Serve them alongside a digestif like an amaretto or a coffee liqueur for an elegant end to a meal.

Get the Recipe:
Rosemary Chocolate Chunk Cookies
Pin
Rate
Ingredients
- 1 tbsp Finely Chopped Fresh Rosemary
- ½ cup White Sugar
- 2 ½ cups (300 g) All Purpose Flour, , measured correctly †
- 1 tsp Baking Soda
- 1 tsp Salt
- 1 cup Unsalted Butter,, at room temperature
- 1 cup Dark Brown Sugar
- 2 Large Eggs
- 1 Egg Yolk
- 2 tsp Vanilla
- 8 oz Semi-Sweet Chocolate Bar,, roughly chopped
Equipment
-
Stand mixer
Instructions
-
In a medium bowl, add the ½ cup of white sugar and chopped rosemary, then rub together the sugar and chopped rosemary until the sugar is very fragrant. Set aside.
-
In a medium to large sized bowl, add in flour, baking soda, and salt. Whisk well to combine, then set aside.
-
In a stand mixer (fitted with the paddle attachment), add the butter, brown sugar, and rosemary-rubbed white sugar, and beat for 3 minutes, it should look light and fluffy, and doubled in volume
-
In a separate bowl, whisk together the eggs, yolk and vanilla, then add to the batter and beat on high for another 2 minutes, scraping at the edges periodically. Add in the flour mixture and mix on low until combined, scraping at the edges. Ensure it is well combined, but do not overmix. Add in the chopped chocolate, and fold with a spatula until well dispersed.
-
Prepare a baking sheet with parchment paper. Using your hands or a scoop, arrange cookies to be about 2 tbsp each. Place all the cookies onto the baking sheet (do not worry about arrangement yet), and place into the freezer for 30 minutes to rest (don’t skip, see above!)
-
Preheat oven to 350°F.
-
Remove baking sheet from the freezer, and arrange cookies evenly onto 3 baking sheets fitted with parchment paper (I do 6-8 per sheet). Place into the oven and bake for 11-13 minutes.
-
Note: If baking in batches, keep cookies cold before baking by keeping them in the fridge.
