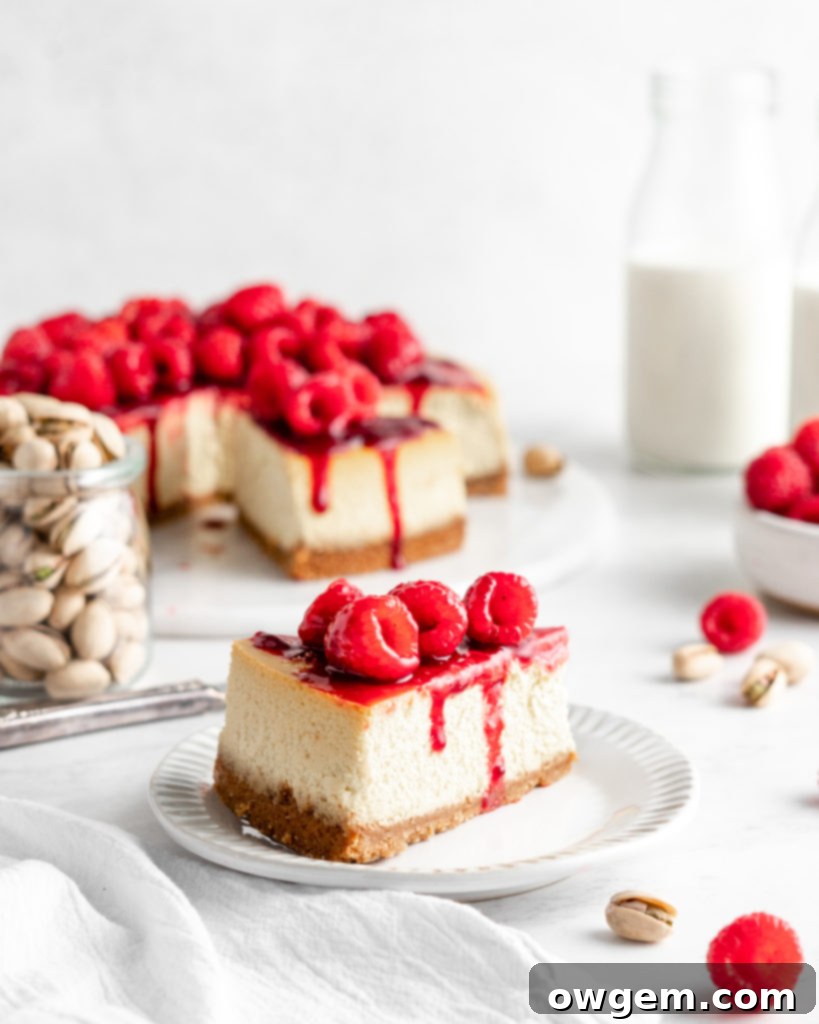
The Ultimate Raspberry Pistachio Cheesecake: A Rich, Creamy & Persian-Inspired Dessert
Prepare yourself for an extraordinary dessert experience with our **Raspberry Pistachio Cheesecake**! This isn’t just any cheesecake; it’s a culinary masterpiece where the subtle, earthy notes of pistachio beautifully intertwine with the bright, tangy burst of fresh raspberries. Imagine a dessert that’s both decadently rich and refreshingly vibrant, offering a unique flavor profile that truly stands out. Our meticulously crafted recipe guides you through creating a lusciously creamy, pistachio-infused cheesecake filling that rests gracefully on a perfectly golden, sweet graham cracker crust. The grand finale? A homemade, vibrant raspberry syrup generously poured over the perfectly chilled cheesecake, transforming each slice into a nutty, fruity, and elegantly **Persian-inspired cheesecake** sensation. This dessert is perfect for special occasions, or simply for elevating your everyday sweet cravings. Get ready to impress with this unforgettable pistachio and raspberry delight!
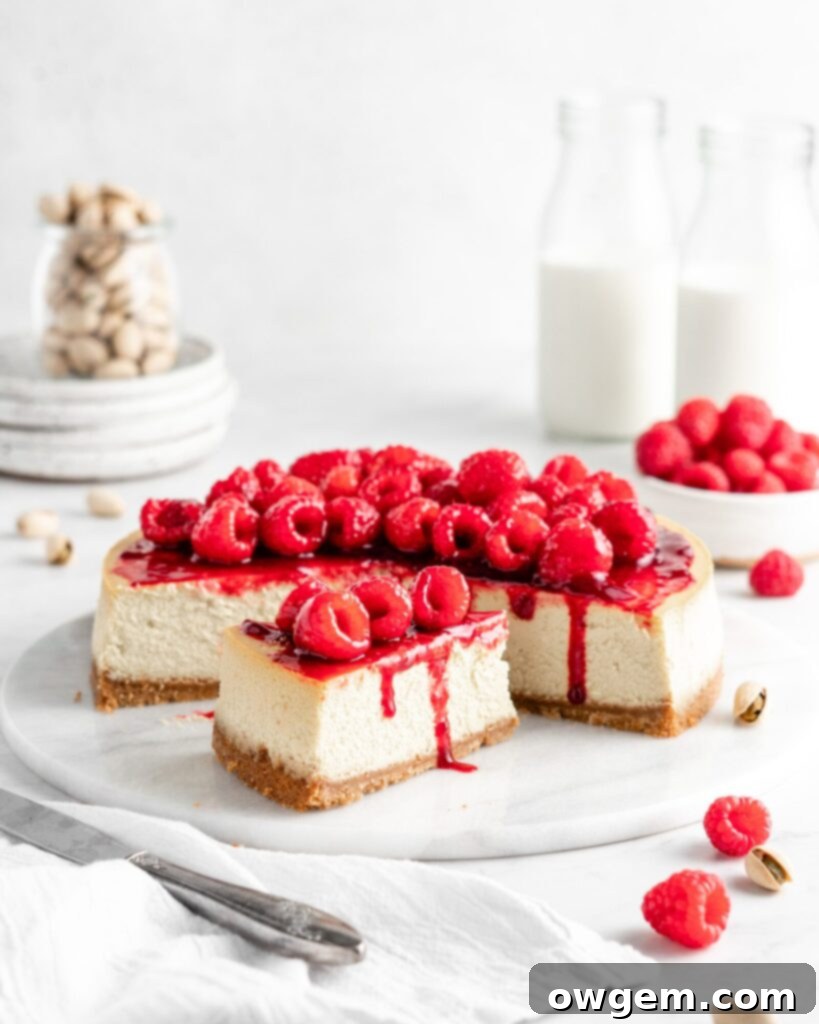
Mastering the Raspberry Pistachio Cheesecake: A Step-by-Step Guide
1. Prepare the Graham Cracker Crust: The foundation of any great cheesecake is its crust, and for this Raspberry Pistachio Cheesecake, we’re building a sweet, buttery graham cracker base that perfectly complements the rich filling. Begin by preheating your oven to 350°F (175°C). In a medium-sized mixing bowl, combine the finely crushed graham cracker crumbs with granulated sugar. Whisk these dry ingredients together thoroughly to ensure the sugar is evenly distributed. Next, gently pour in the melted unsalted butter. Using a fork or your clean hands, toss the mixture until every crumb is well coated. The texture should resemble wet sand, clumping together when pressed. This indicates it has enough butter to bind properly and crisp up beautifully during baking, setting the stage for an incredible dessert.
2. Bake and Cool the Crust to Perfection: A well-baked crust is essential for preventing a soggy bottom. Start by greasing a 9 or 10-inch springform pan generously with baking spray to ensure easy release later. Carefully transfer the wet graham cracker mixture into the prepared pan. Using the bottom of a flat-bottomed glass or a measuring cup, firmly and evenly press the mixture into the bottom of the pan. For an extra touch of elegance and stability, you can also press some of the crust mixture slightly up the sides of the pan. Once compacted, transfer the pan to your preheated oven and bake for precisely 10 minutes. This crucial baking step helps to set the crust, making it sturdy and deliciously fragrant. After baking, remove the crust from the oven and let it cool completely to room temperature. This cooling period is vital; adding the creamy pistachio filling to a warm crust could cause it to become oily or prevent proper setting.
3. Achieve Silky Smooth Cream Cheese: The secret to a perfect, lump-free pistachio cheesecake lies in how you handle your cream cheese. Ensure your cream cheese is *well softened* – this is non-negotiable for an ultra-creamy texture. Transfer the softened cream cheese to the bowl of a stand mixer fitted with the paddle attachment, or use a large mixing bowl with an electric hand mixer. Begin beating on low speed for approximately 2-3 minutes. The goal here is to gently break down the cream cheese, making it light, fluffy, and uniformly smooth without incorporating too much air. Over-beating can lead to cracks in your baked cheesecake, so low and slow is the key. Scrape down the sides of the bowl frequently to ensure even mixing.
4. Incorporate Sweeteners and Flavorings: With your cream cheese now beautifully smooth, it’s time to build the flavor profile of our delectable pistachio cheesecake. Add the granulated white sugar, a hint of cinnamon (if desired, to enhance warmth and spice), kosher salt, and pure vanilla extract to the cream cheese mixture. Continue beating on low speed, allowing these ingredients to slowly and thoroughly combine with the cream cheese. This step typically takes another 3-4 minutes. You’ll notice the mixture becoming even creamier and taking on a luscious, uniform appearance. Keep scraping the sides of the bowl to ensure no pockets of unmixed sugar or flavorings remain. This careful incorporation ensures every bite of your cheesecake is perfectly balanced and incredibly flavorful.
5. Gently Mix in Eggs and Egg Yolks: Eggs are crucial for the structure and richness of the cheesecake, and adding them correctly prevents a dense or rubbery texture. With the mixer still on its lowest speed, add the large eggs and extra egg yolks one at a time. This is a critical step: ensure each egg is *fully incorporated* into the cream cheese mixture before adding the next. This meticulous process ensures even mixing, prevents over-mixing (which can introduce too much air and cause cracks), and guarantees a beautifully smooth, streak-free cheesecake batter. The yolks add extra richness and a wonderfully creamy consistency to the final product. Remember to scrape down the bowl after each addition to ensure everything is perfectly combined.
6. Fold in Heavy Cream, Sour Cream, Pistachio Paste, and Cornstarch: Once all the eggs are seamlessly integrated, it’s time to introduce the key components that give this **pistachio cheesecake** its distinctive flavor and unparalleled creaminess. Add the heavy cream, the rich and tangy full-fat sour cream, and most importantly, the vibrant pistachio paste to the mixture. Beat on the lowest speed until the entire cheesecake filling looks exceptionally smooth, perfectly uniform, and beautifully combined. The pistachio paste will impart a lovely green hue and a deep, nutty flavor. Finally, sprinkle in the cornstarch, which acts as a stabilizer, preventing cracks and ensuring a smooth, silky texture. Continue beating on low for just a minute or two until the cornstarch is completely dissolved and integrated. Be careful not to overmix at this stage to maintain that ideal creamy consistency.
7. Bake with a Water Bath for Ultimate Creaminess: To achieve that signature silky-smooth texture and prevent cracking, we’ll be using a water bath (bain-marie). This creates a moist baking environment that cooks the cheesecake gently and evenly. First, prepare your cooled springform pan (with its pre-baked crust) by tightly wrapping the entire base and sides with two layers of heavy-duty aluminum foil. This prevents any water from seeping in. Carefully pour the velvety pistachio cheesecake filling over the cooled graham cracker crust, spreading it evenly with a spatula. Place the foil-wrapped springform pan into a larger roasting pan. Now, carefully pour boiling water into the roasting pan, ensuring the water level comes about halfway up the sides of the cheesecake pan. Transfer this entire setup to your preheated oven set at 325°F (160°C). Bake for approximately 1 hour and 30 minutes, or until the edges are set but the center still has a slight, delicate jiggle when gently shaken. This slight jiggle is normal and indicates perfect doneness; it will set fully as it cools.
8. The Art of Cooling: Preventing Cracks and Achieving Perfect Set: Cooling is as crucial as baking for a flawless cheesecake. Once your Raspberry Pistachio Cheesecake is baked to perfection with its signature slight wobble, do not remove it immediately. Instead, turn off the oven and prop the oven door open slightly, creating a small crack. Allow the cheesecake to cool slowly in this cracked oven for about 1 to 1.5 hours. This gradual decrease in temperature is key to preventing drastic temperature changes that often lead to unsightly cracks on the surface. After this initial cooling period, carefully remove the cheesecake from the oven and the water bath. Place it on a wire rack on your counter to cool completely to room temperature. This can take several more hours. Once at room temperature, cover the cheesecake tightly with plastic wrap – ensuring the wrap doesn’t touch the surface – and transfer it to the refrigerator. It needs to chill and set for at least 6 hours, or ideally, overnight. This extended chilling time is essential for the cheesecake to firm up, develop its full flavor, and achieve that irresistible dense, creamy texture.
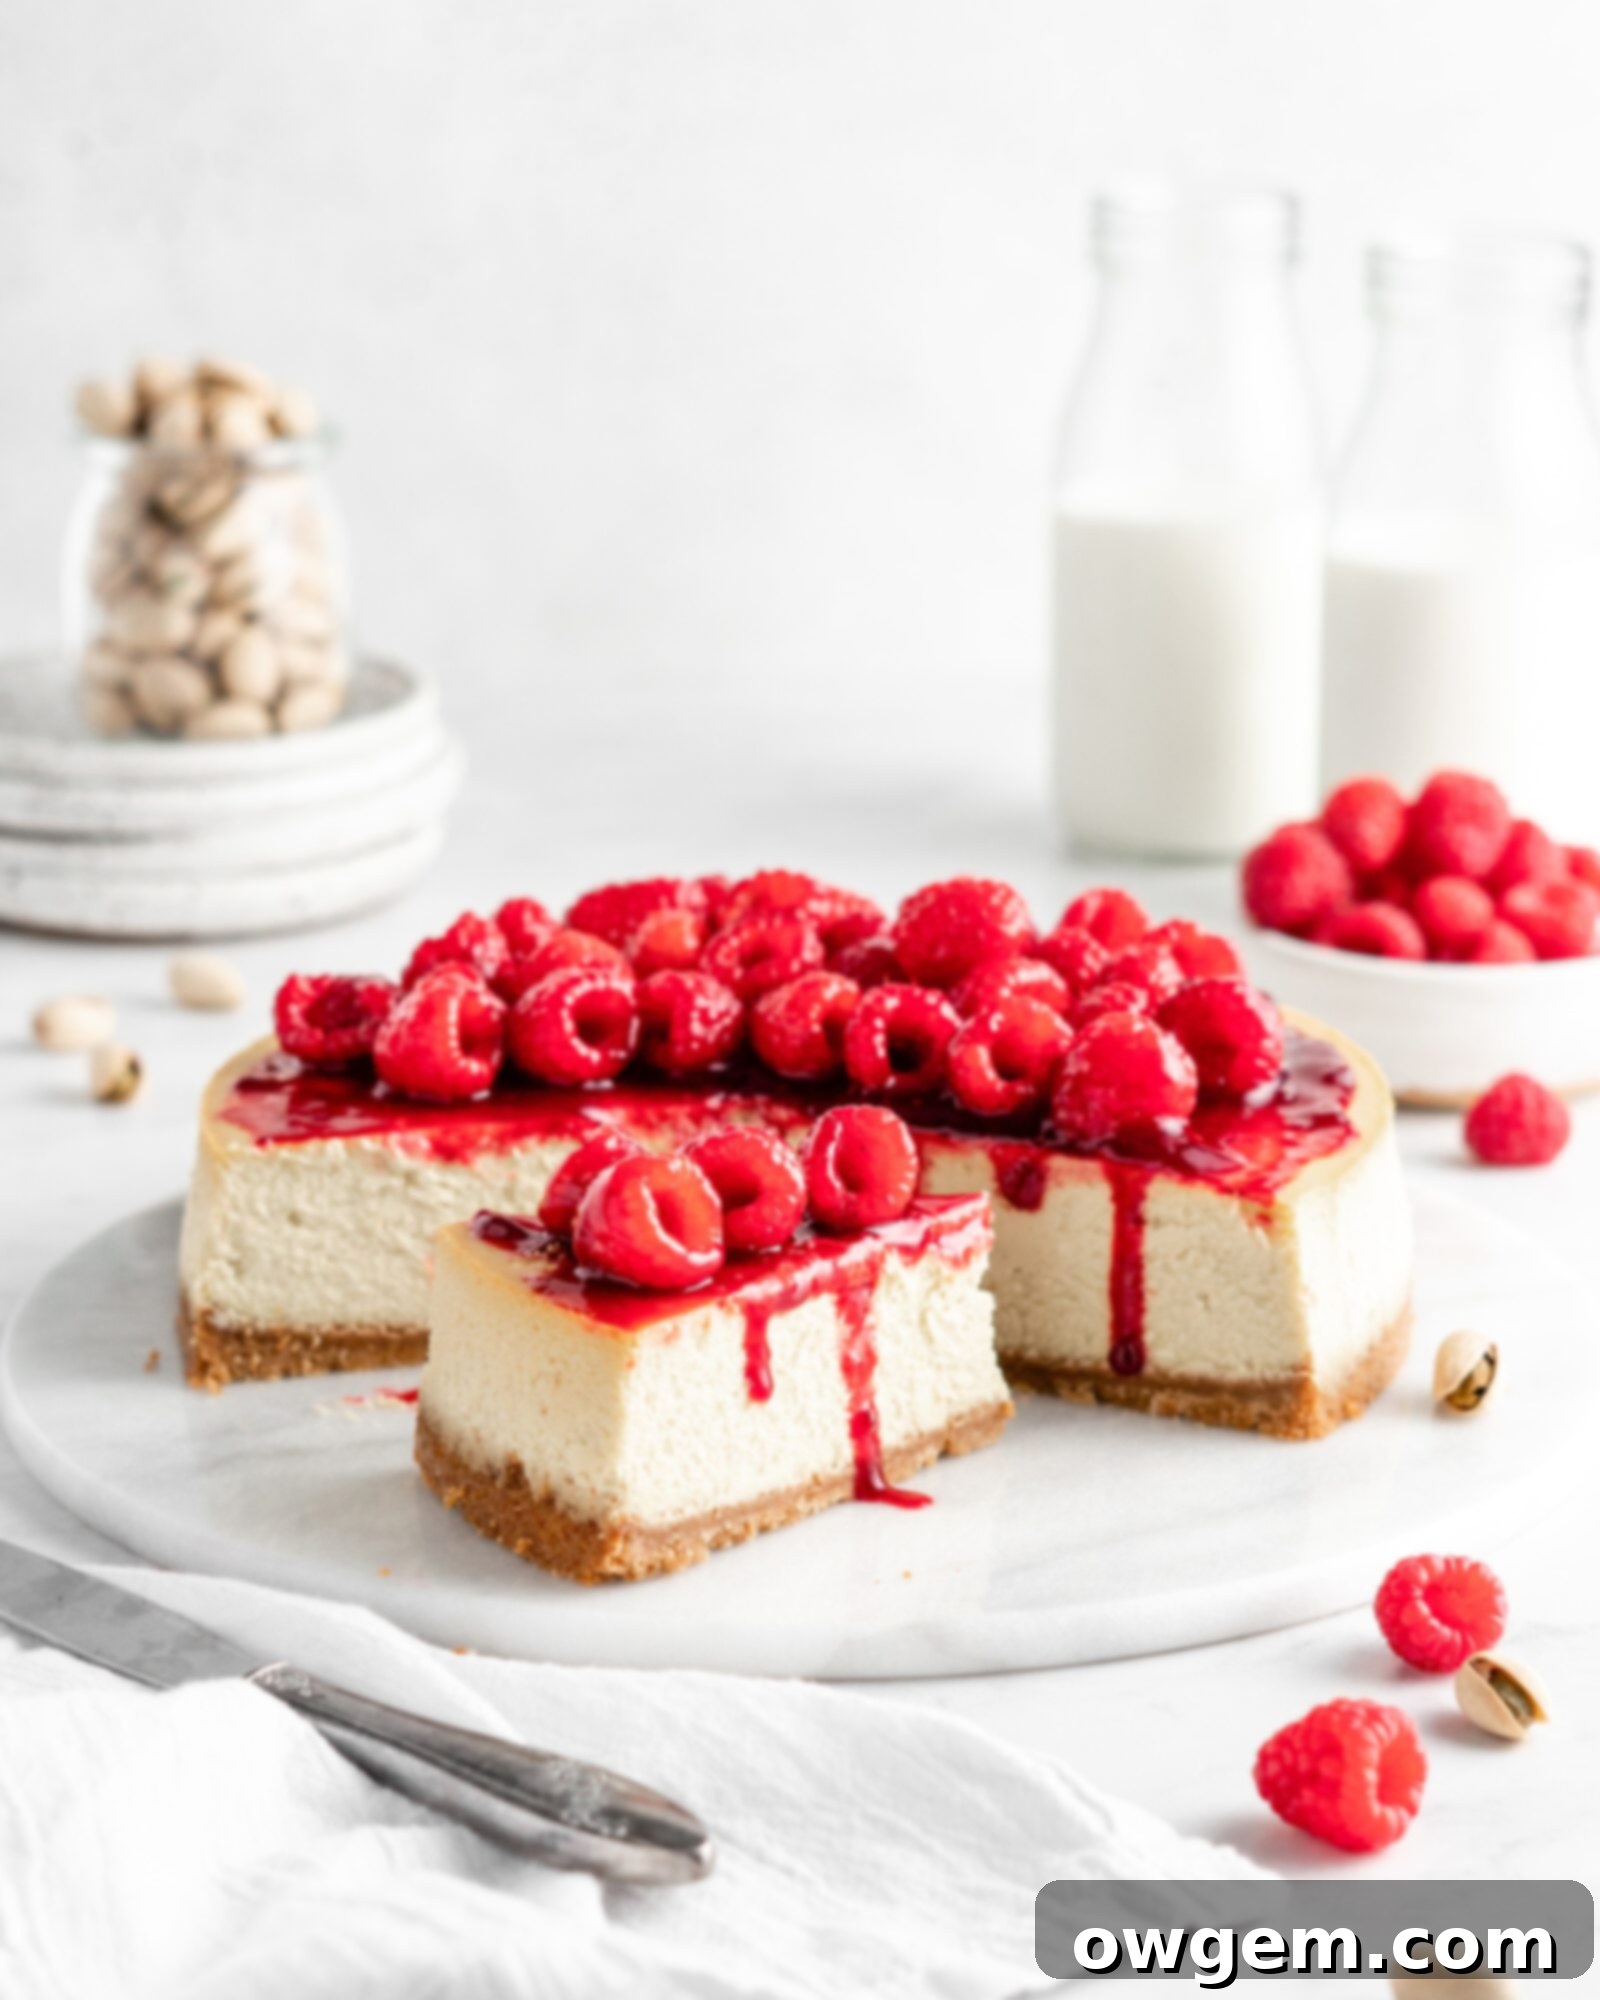
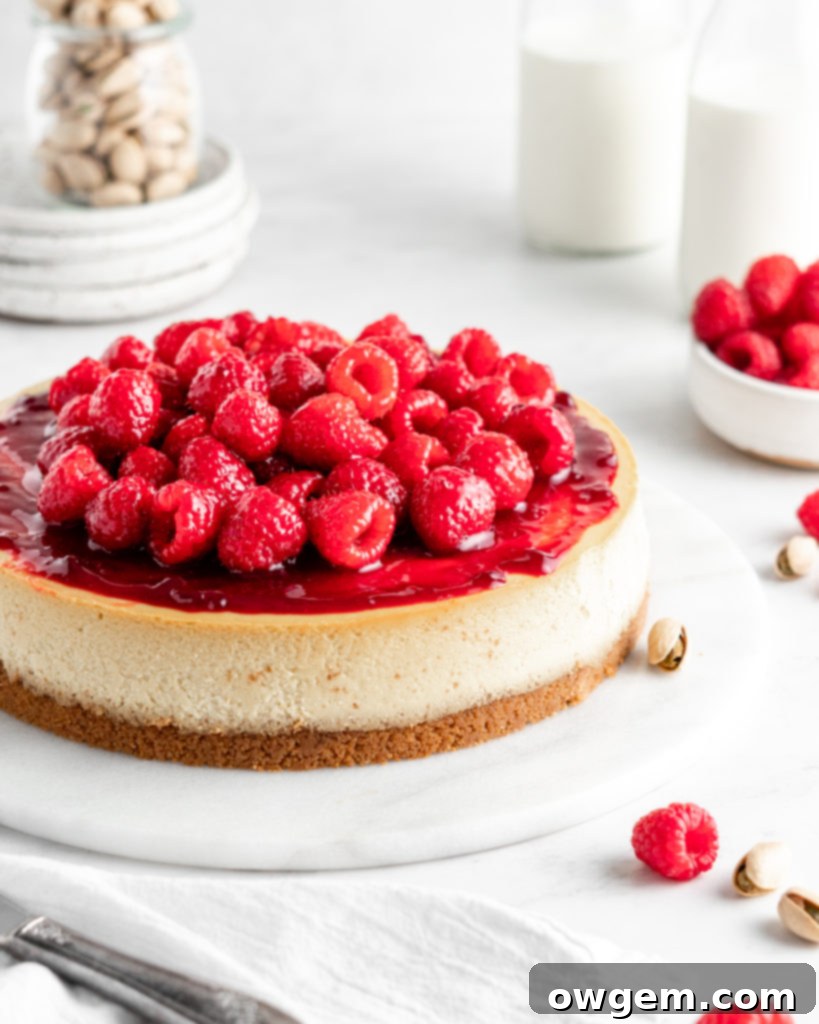
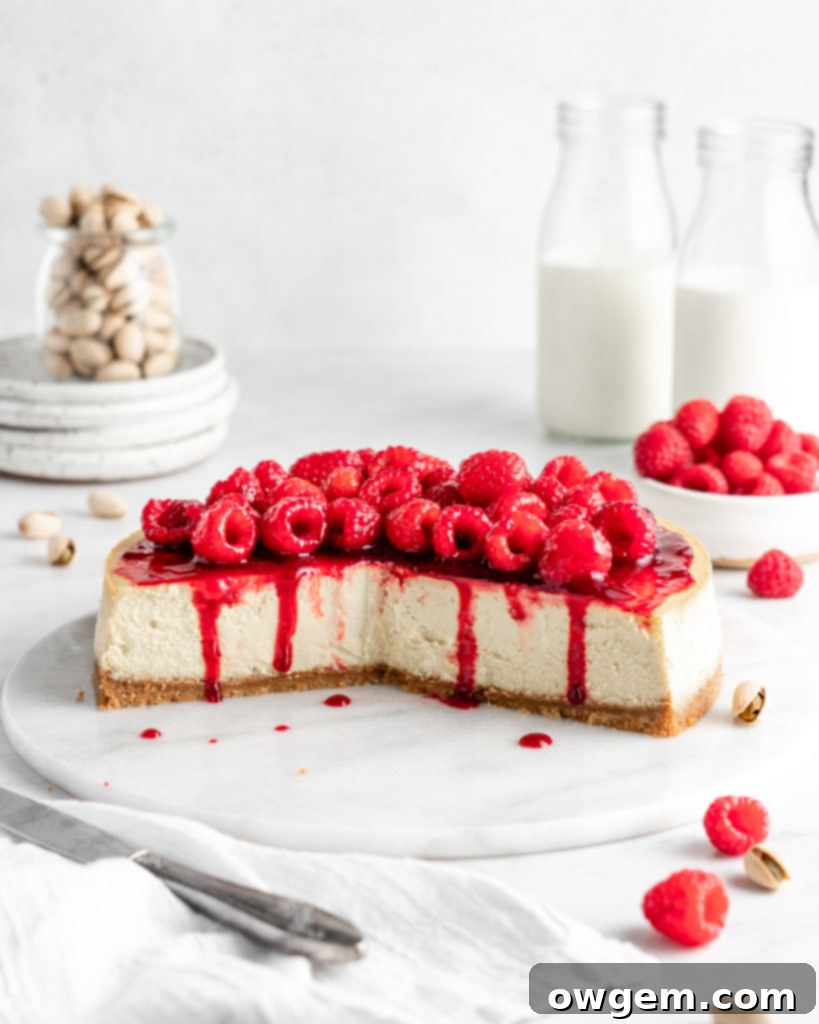
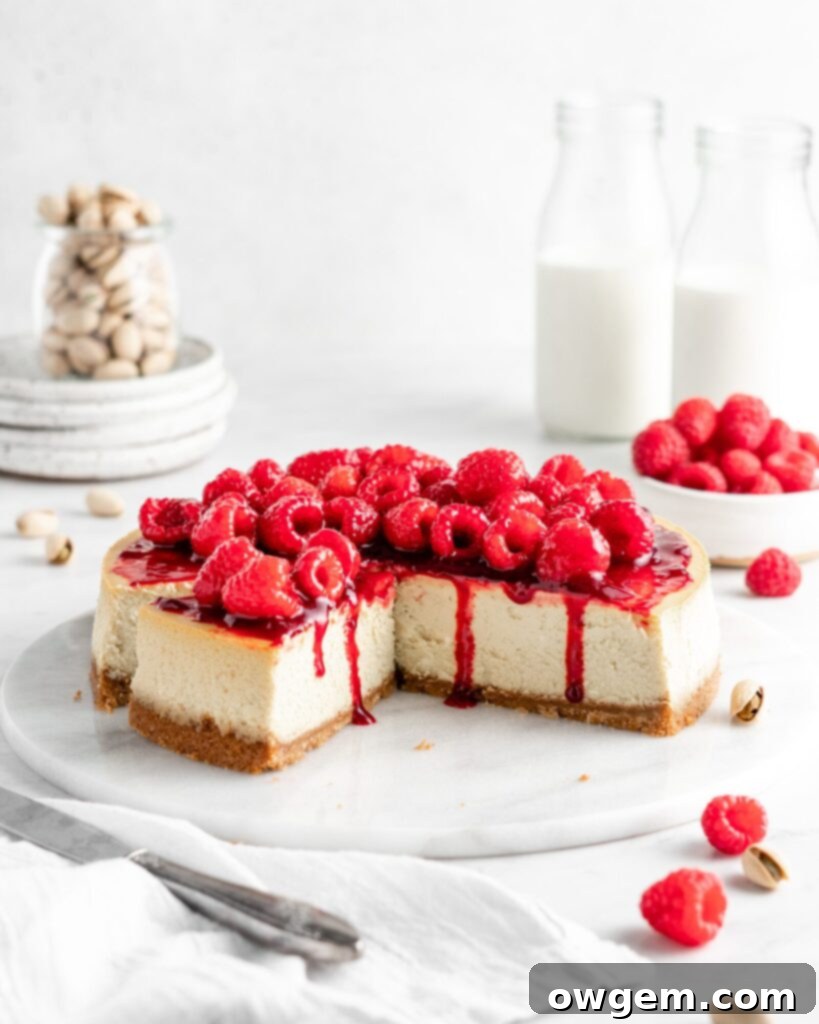
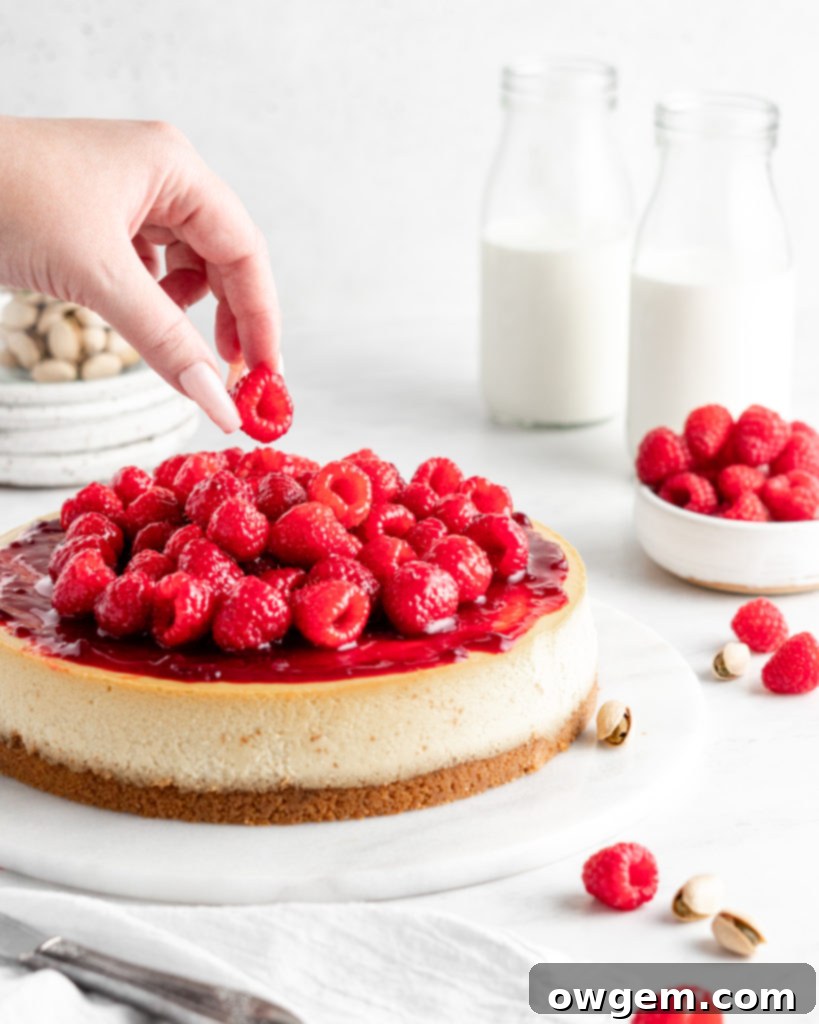
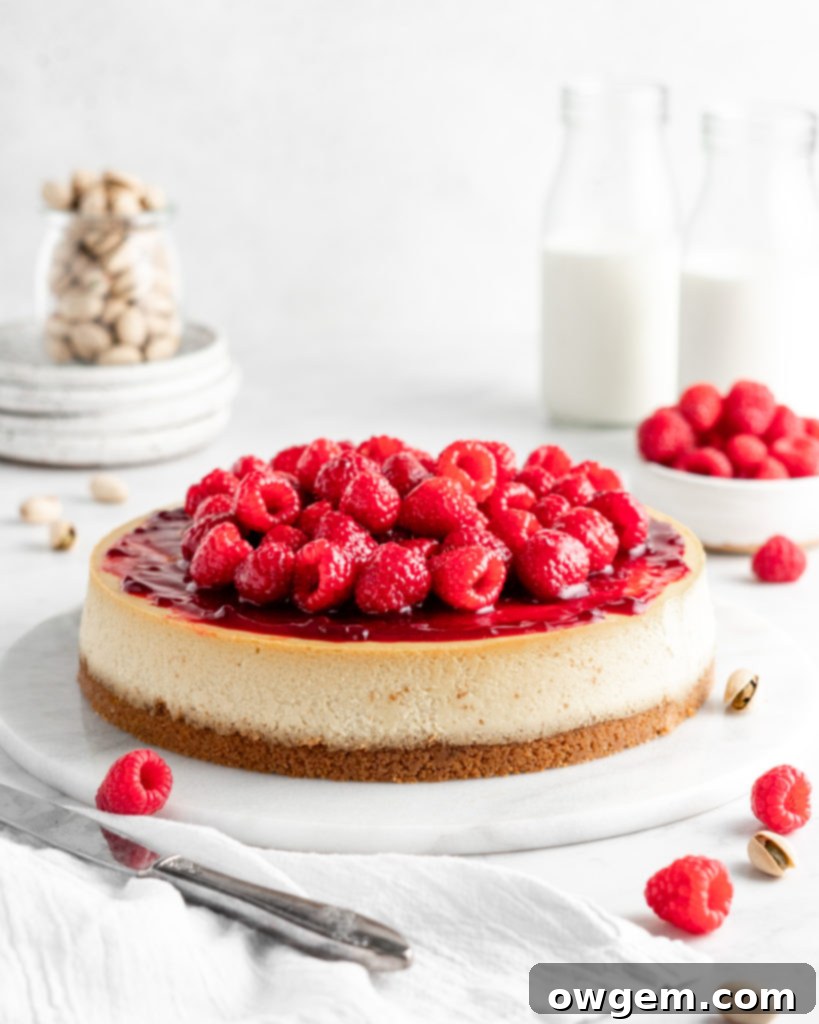
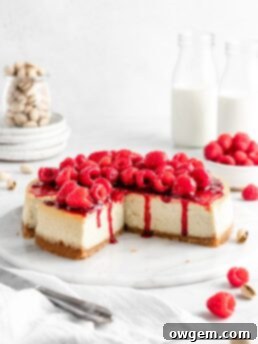
9. Final Touch: Raspberry Sauce and Fresh Garnishes: The moment you’ve been waiting for! Once your Raspberry Pistachio Cheesecake has fully cooled and completely set in the refrigerator – a process that ensures its structural integrity and optimal flavor – it’s time for the stunning final presentation. Carefully remove the cheesecake from the springform pan. If you find it sticking, a thin knife run around the edge before releasing the spring can help. Now, retrieve your perfectly cooled and vibrant homemade raspberry sauce from the fridge. Generously pour this glistening sauce over the entire top surface of the pistachio cheesecake, letting some of it artfully drip down the sides. To complete this elegant dessert, artfully arrange an abundance of fresh, juicy raspberries on top. A sprinkle of chopped pistachios or a few fresh mint leaves can add an extra visual appeal and textural contrast. Slice, serve, and savor the exquisite combination of nutty pistachio and bright raspberry in every creamy bite!
Why Softened Cream Cheese is Absolutely Essential for Your Cheesecake Success
Achieving the perfect, velvety texture in your **Raspberry Pistachio Cheesecake** hinges entirely on one critical detail: your cream cheese must be *exceptionally well softened*. This isn’t just a suggestion; it’s a golden rule in cheesecake baking. Many home bakers underestimate the importance of this step, but it truly makes all the difference between a good cheesecake and an absolutely sublime one.
So, what exactly does “softened cream cheese” entail? It means the cream cheese needs to be at true room temperature, where it feels very soft and pliable throughout, not just around the edges. **Never, ever use cream cheese straight out of the fridge!** Cold cream cheese is stiff, dense, and difficult to work with. When you try to beat cold cream cheese, it won’t yield a smooth batter. Instead, you’ll likely end up with stubborn lumps that refuse to incorporate, leaving undesirable pockets of unmixed cream cheese in your beautiful dessert. To achieve the ideal consistency, I personally advocate for pulling my blocks of cream cheese out of the refrigerator several hours in advance – at least 3 to 4 hours, or even longer if your kitchen is cool – and letting them sit on the counter until they are uniformly soft to the touch and completely at room temperature.
Forgot to plan ahead? Don’t panic! While a slow, natural softening process is always preferred, there’s a quick fix. Cut the blocks of cream cheese into smaller, uniform cubes. Place these cubes in a microwave-safe bowl and microwave them in short bursts of 15-30 seconds. After each interval, stir the cream cheese thoroughly. Repeat this process until the cream cheese is very soft and creamy, but crucially, not hot or melted. You want it warm enough to be easily blended, but not cooked. This method helps expedite the softening process, though it still requires careful attention to avoid overheating.
The scientific reason behind this lies in the fat content of cream cheese. When cold, the fats are solid and rigid. As it warms, these fats soften, allowing the cream cheese to become smooth and emulsify properly with other ingredients like sugar, eggs, and our wonderful pistachio paste. Softened cream cheese blends effortlessly, creating a homogenous, air-free batter. This smooth batter bakes more evenly, preventing cracks and ensuring every slice of your Raspberry Pistachio Cheesecake boasts a consistently luxurious, melt-in-your-mouth texture. It truly is the foundation for cheesecake perfection!
Demystifying Pistachio Paste: The Heart of Your Pistachio Cheesecake
For those new to the world of gourmet baking, you might be wondering, “What exactly is pistachio paste?” Simply put, **pistachio paste** (often referred to as pistachio butter) is to pistachios what peanut butter is to peanuts, or almond butter is to almonds! It’s a luscious, creamy spread made from finely ground pistachios. This versatile ingredient is a powerhouse of flavor, and it’s what infuses our **Raspberry Pistachio Cheesecake** with its distinct, nutty, and subtly sweet character.
The composition of pistachio paste can vary. Some commercially available pastes are made purely from 100% roasted pistachios, offering an intense, unadulterated flavor. These are often a vibrant green due to the natural color of high-quality pistachios. Other varieties might include additional ingredients such as sugar for sweetness, a touch of oil to improve spreadability, or even natural extracts and essences to enhance the pistachio flavor. For this particular recipe, a pure, unsweetened or lightly sweetened pistachio paste is ideal, as it allows you to control the overall sweetness of the cheesecake batter. The richer the pistachio flavor, the more depth your cheesecake will have.
While you certainly *can* make your own pistachio paste at home – typically by blanching, peeling, roasting, and then blending pistachios in a high-speed food processor until smooth – for the relatively small amount needed in this cheesecake recipe, purchasing a high-quality jar of pistachio paste is often the most practical and convenient option. It saves time and ensures a consistent texture and flavor. When selecting a paste, look for brands that prioritize pure pistachio content. I’ve personally had great success with this specific pistachio paste, but highly recommend exploring this one and this one as well, based on their excellent reviews and ingredient lists. A good pistachio paste will elevate your cheesecake from delicious to truly unforgettable.
Crafting the Perfect Homemade Raspberry Sauce for Your Cheesecake
1. Simmer Raspberries and Sugar to Perfection: The vibrant, tangy raspberry sauce is the perfect counterpoint to the rich pistachio cheesecake, adding a fresh burst of fruitiness. To begin, combine your thawed frozen raspberries and granulated sugar in a medium saucepan. Place the saucepan over medium heat. As the mixture heats, the raspberries will naturally release their juices and begin to soften, while the sugar dissolves. Stir occasionally to prevent sticking and ensure even cooking. This initial cooking phase, which helps to break down the fruit and create a flavorful base, typically takes about 3 to 4 minutes. You’ll notice the berries becoming jammy and the liquid thickening slightly, creating an aromatic concoction.
2. Strain for a Silky-Smooth Raspberry Syrup: While some prefer a rustic, seedy sauce, for a truly elegant Raspberry Pistachio Cheesecake, a smooth, seedless raspberry syrup is ideal. Once your raspberries have cooked down and softened, carefully remove the saucepan from the heat. Place a fine-mesh sieve over a clean bowl or back into the saucepan. Pour the raspberry mixture through the sieve, using the back of a spoon or a rubber spatula to press down on the solids, extracting as much liquid and fruit pulp as possible. Discard the remaining seeds and coarse pulp – these are the bits we want to eliminate for that luxurious texture. What you’re left with is a clear, intensely flavored raspberry juice, ready for the next stage of transformation.
3. Reduce to a Luminous Syrup: Return the strained, seedless raspberry juice to the saucepan over medium heat. The goal now is to reduce this liquid, concentrating its flavors and thickening it into a beautiful syrup. Allow the sauce to simmer gently, stirring occasionally. Be patient during this step; it’s where the magic happens! You’ll notice the liquid slowly evaporating, and the sauce becoming more viscous. Continue to cook until the sauce is visibly syrupy, coating the back of a spoon. However, be careful not to overcook it to the point of becoming jam-like or too thick. We want a pourable syrup that will cascade elegantly over your cheesecake, not a chunky preserve. This reduction process typically takes an additional 10 minutes, but keep a close eye on it, as cooking times can vary. Once it reaches the desired syrupy consistency, remove it from the heat and transfer it to a heat-proof bowl. Cover it with plastic wrap and place it in the fridge to cool completely before topping your cheesecake.
Get the Recipe:
Raspberry Pistachio Cheesecake
Pin
Rate
Ingredients
Graham Cracker Crust
- 1 ¾ cups (230g) Graham Cracker Crumbs
- 1/4 cup (50g) White Sugar
- 1/2 cup (114g) Unsalted Butter,, melted
Pistachio Cheesecake
- 32 oz (1000g) Cream Cheese,, well softened (4 blocks of cream cheese)
- 1 ¼ cups (250g) White Sugar
- 1 tbsp Vanilla Extract
- 1/4 tsp Kosher Salt
- 3 Large Eggs,, at room temperature
- 2 Large Egg Yolks,, at room temperature
- 3/4 cup (172g) Heavy Cream
- 1/2 cup (120g) Pistachio Paste
- 6 tbsp (90g) Full Fat Sour Cream
- 1 tbsp Cornstarch
Raspberry Sauce
- 10.5 oz (300g) Frozen Raspberries,, thawed
- 9 tbsp (113g) White Sugar
- Fresh Raspberries,, for garnish
Equipment
-
Stand mixer
Instructions
Graham Cracker Crust
-
Preheat your oven to 350°F (175°C). In a medium bowl, combine graham cracker crumbs and sugar. Whisk thoroughly until well combined. Pour in the melted butter, then mix with a fork or your hands until the butter is fully dispersed and the mixture has the consistency of wet sand.
-
Generously grease a 9” or 10” springform pan with baking spray. Add the crust mixture to the pan and press it down firmly and evenly into the bottom. Use a flat-bottomed glass or measuring cup to compact it tightly. Bake the crust for 10 minutes. Remove from the oven and allow it to cool completely to room temperature before proceeding.
Pistachio Cheesecake
-
Reduce the oven temperature to 325°F (160°C). Prepare your cooled springform pan (with the crust) by tightly wrapping its bottom with two layers of heavy-duty aluminum foil to create a water bath seal. Set aside.
-
In a large mixing bowl or the bowl of a stand mixer, add the well-softened cream cheese. Beat on low speed until it is smooth and creamy, about 2-3 minutes. Add the white sugar, vanilla extract, and kosher salt. Continue beating on low until the mixture is very creamy and uniform, about 3-4 minutes, scraping down the bowl as needed. While still beating on low, add the eggs and egg yolks one at a time, ensuring each is fully incorporated before adding the next. This prevents streaks and over-mixing.
-
Once all eggs are incorporated, add the heavy cream, pistachio paste, and full-fat sour cream. Beat on low speed until the cheesecake filling is creamy, smooth, and uniform in color and texture. Finally, sprinkle in the cornstarch and beat on low one last time until the cornstarch is completely combined, ensuring a silky finish.
-
Carefully pour the pistachio cheesecake filling over the cooled graham cracker crust in the prepared springform pan. Place the cheesecake pan into a larger roasting pan. Pour enough boiling water into the roasting pan to reach approximately halfway up the sides of the springform pan. Transfer to the preheated oven and bake for 1 hour and 30 minutes. The cheesecake is done when the edges are set, but the very center still has a slight, delicate jiggle.
-
When baking is complete, turn off the oven and prop the oven door open slightly. Allow the cheesecake to cool slowly in the cracked oven for about 1 to 1.5 hours. This gradual cooling helps prevent cracks. After this period, remove the cheesecake from the oven and water bath, and place it on a wire rack to cool completely to room temperature on your counter. Once at room temperature, wrap the cheesecake tightly with plastic wrap (without touching the surface) and refrigerate for at least 6 hours, or preferably overnight, to allow it to fully set and firm up.
Raspberry Sauce
-
In a medium saucepan over medium heat, combine the thawed frozen raspberries and white sugar. Cook down the mixture, stirring occasionally, until the raspberries have softened and largely liquified, which should take about 3-4 minutes.
-
Remove the saucepan from the heat. Carefully pour the raspberry mixture through a fine-mesh sieve set over a clean bowl or back into the saucepan, pressing firmly on the solids with a spoon or spatula to extract all the liquid. Discard the seeds and pulp. Return the strained, seedless raspberry juice to the saucepan over medium heat. Reduce the sauce, simmering gently and stirring occasionally, until it thickens to a syrupy consistency but remains pourable, not jammy. This will take an additional 10 minutes, approximately.
-
Transfer the finished raspberry sauce to a heat-proof bowl. Cover the bowl with plastic wrap, ensuring it touches the surface of the sauce to prevent a skin from forming. Place it in the refrigerator to cool completely until ready to use.
-
Once the cheesecake is fully chilled and set, remove it from the springform pan. Pour the cooled raspberry sauce generously over the top of the cheesecake. Garnish with an abundance of fresh raspberries and, if desired, a sprinkle of chopped pistachios or fresh mint leaves before slicing and serving.
