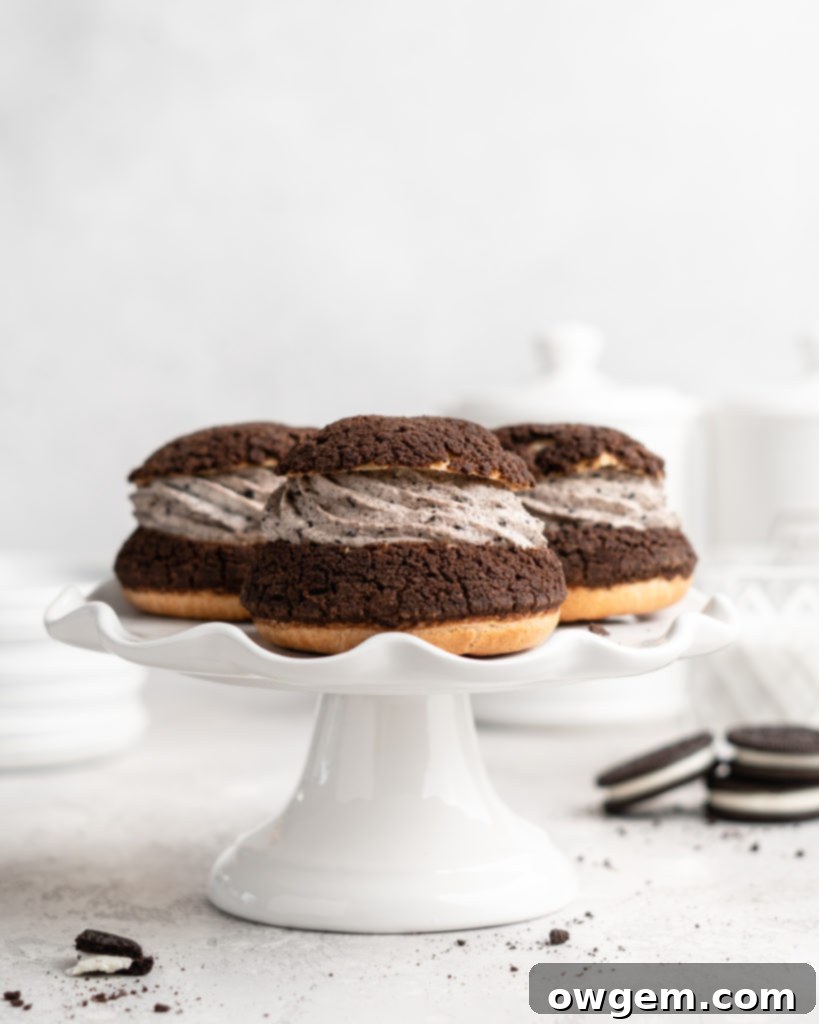
Decadent Oreo Cream Puffs with Chocolate Craquelin & Creamy Cheesecake Filling
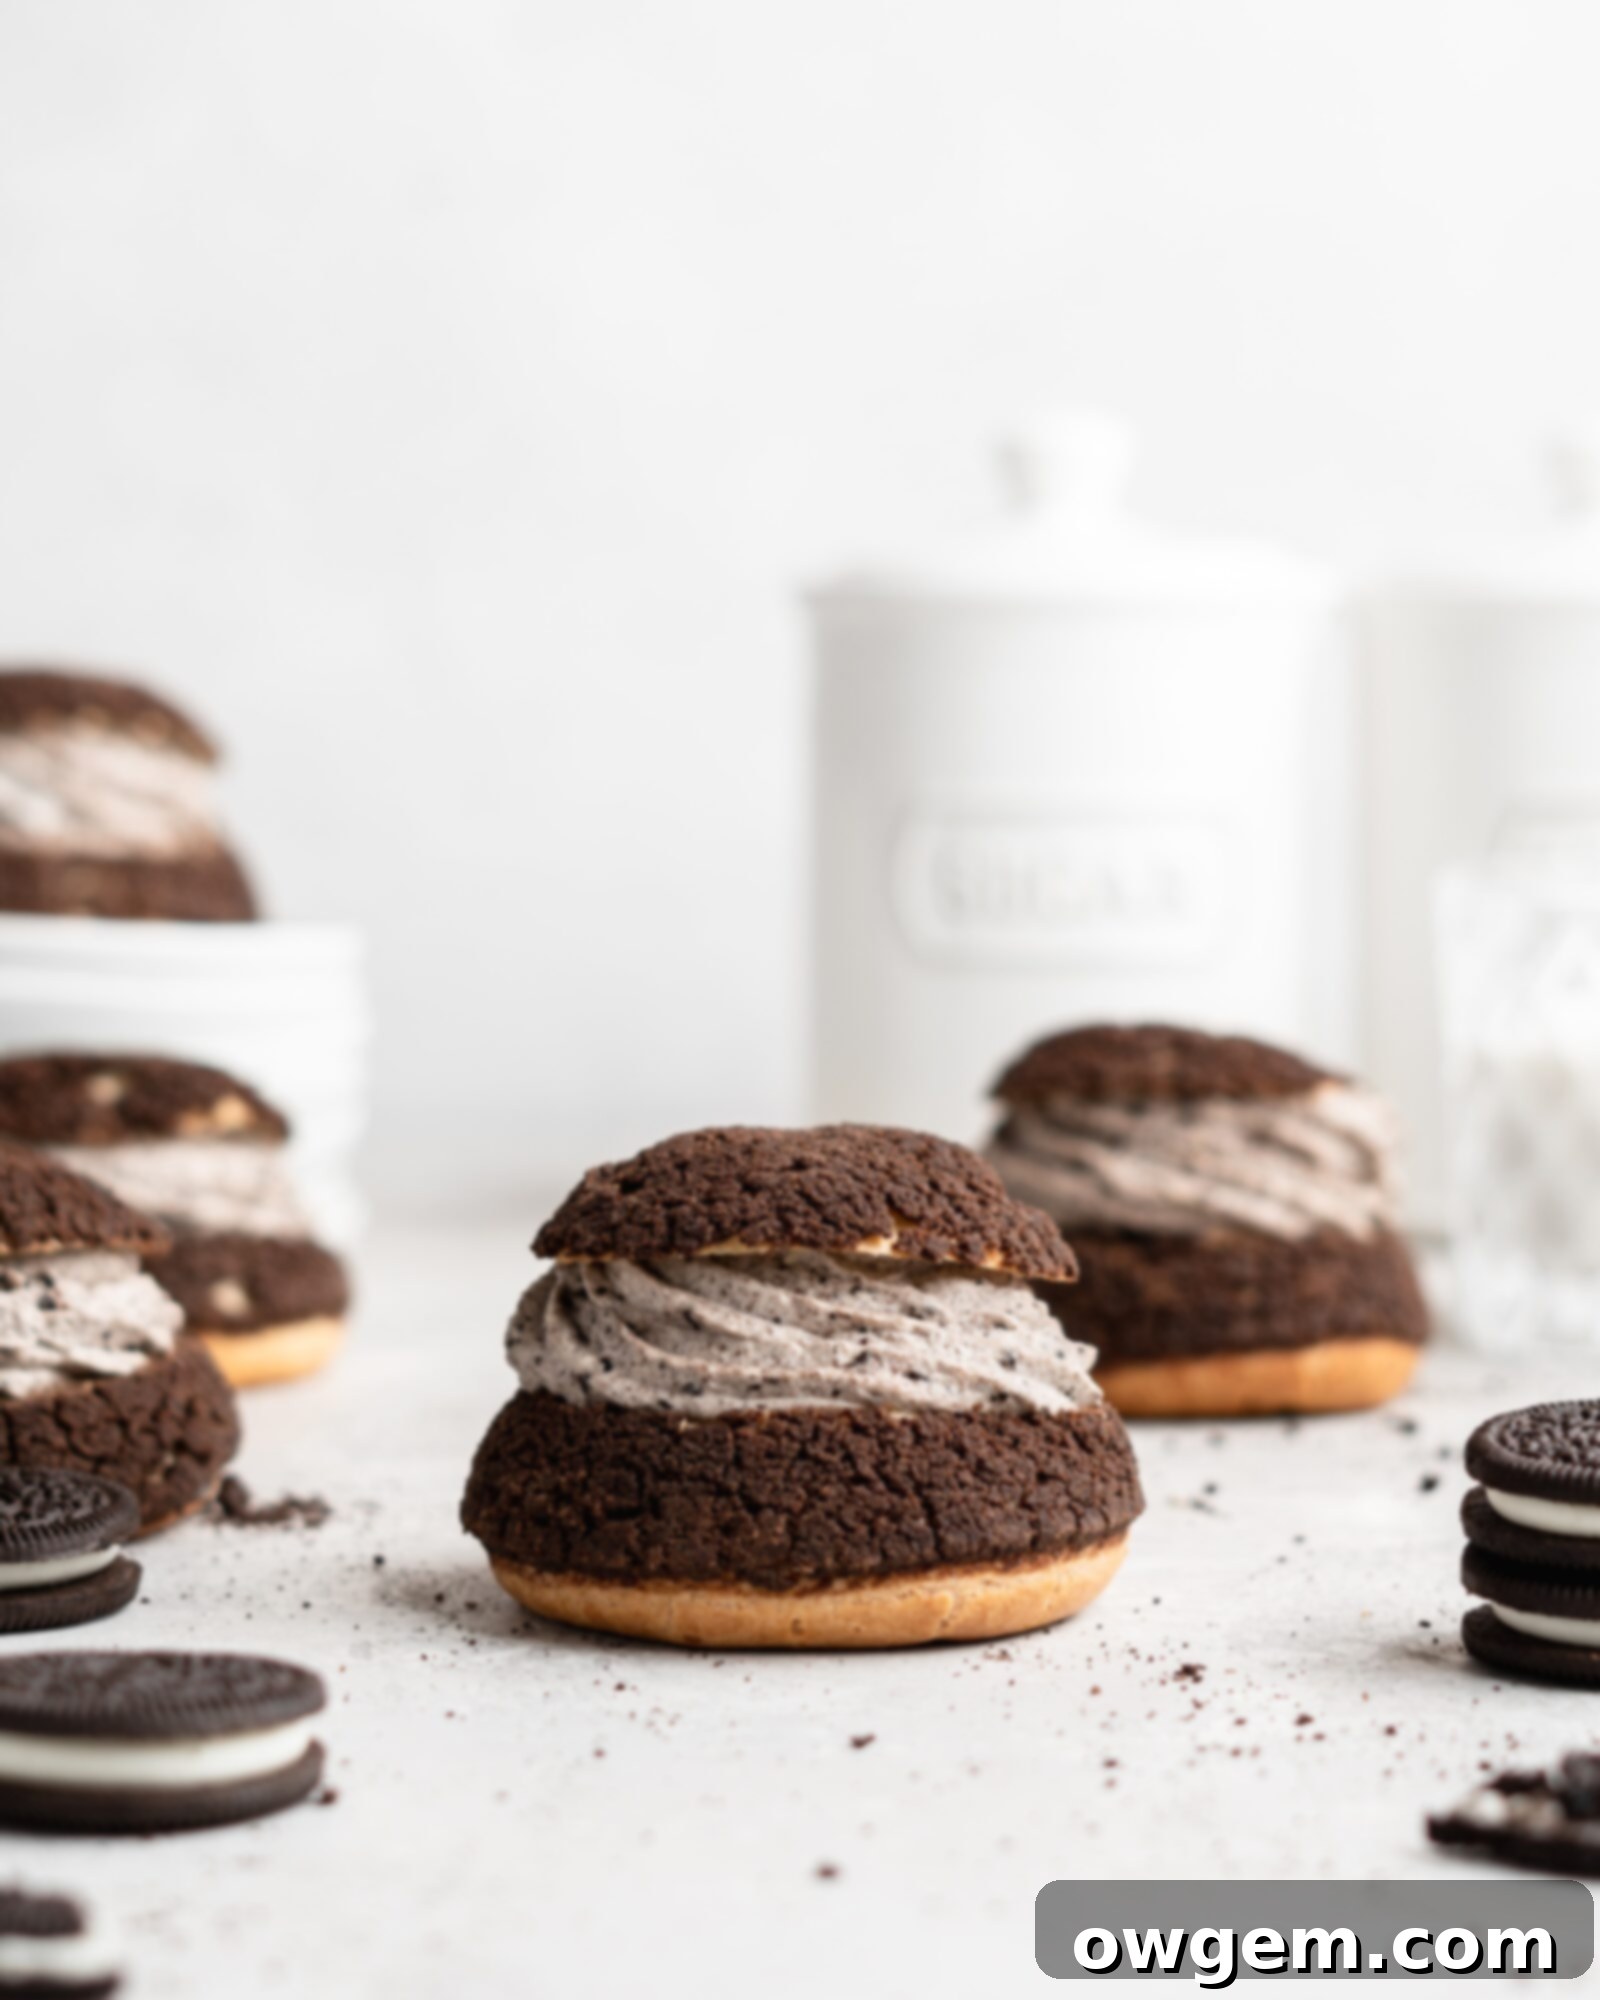
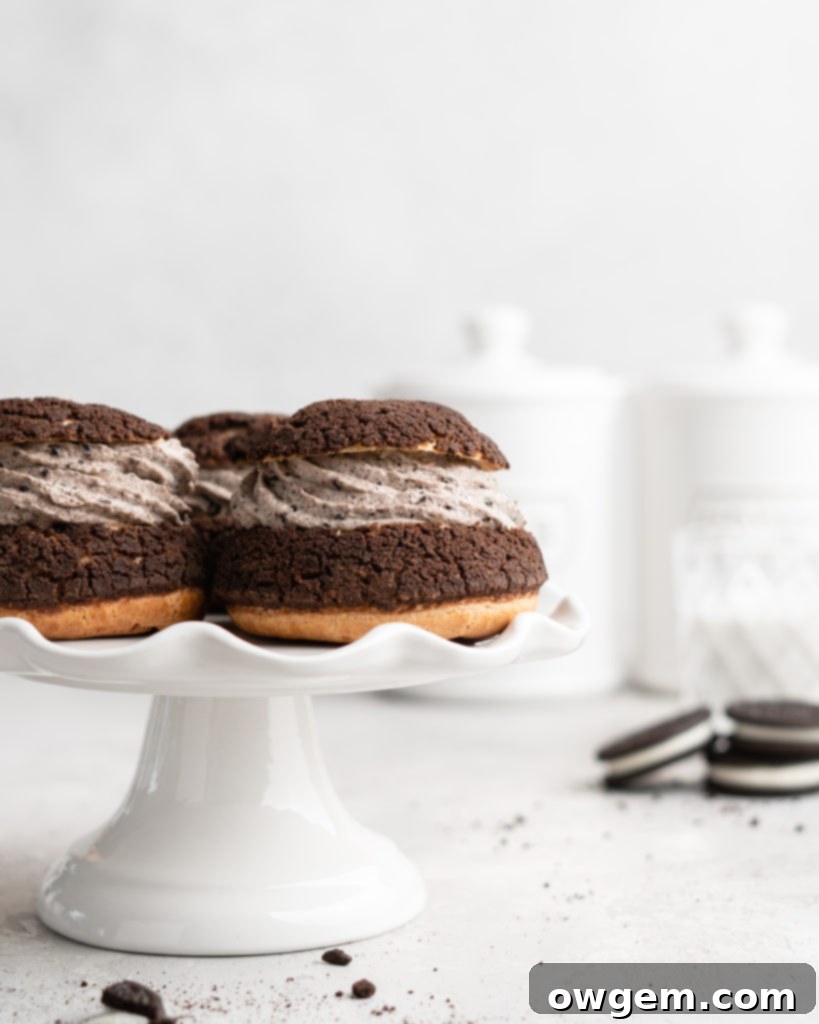
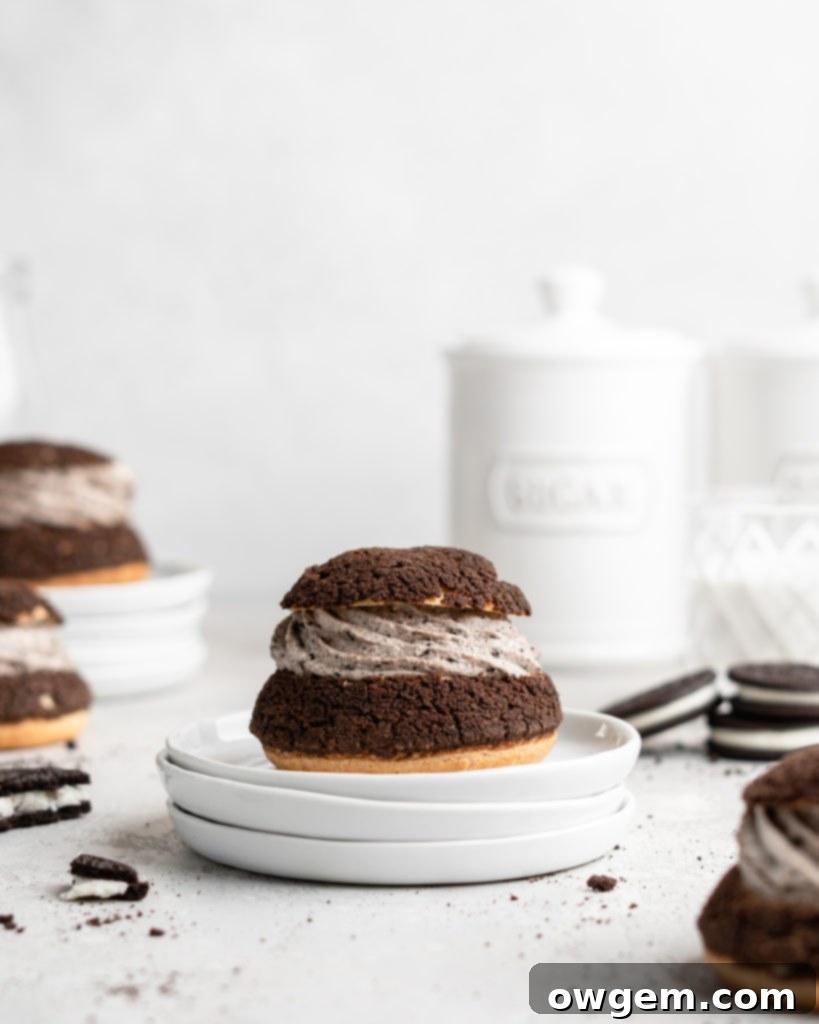
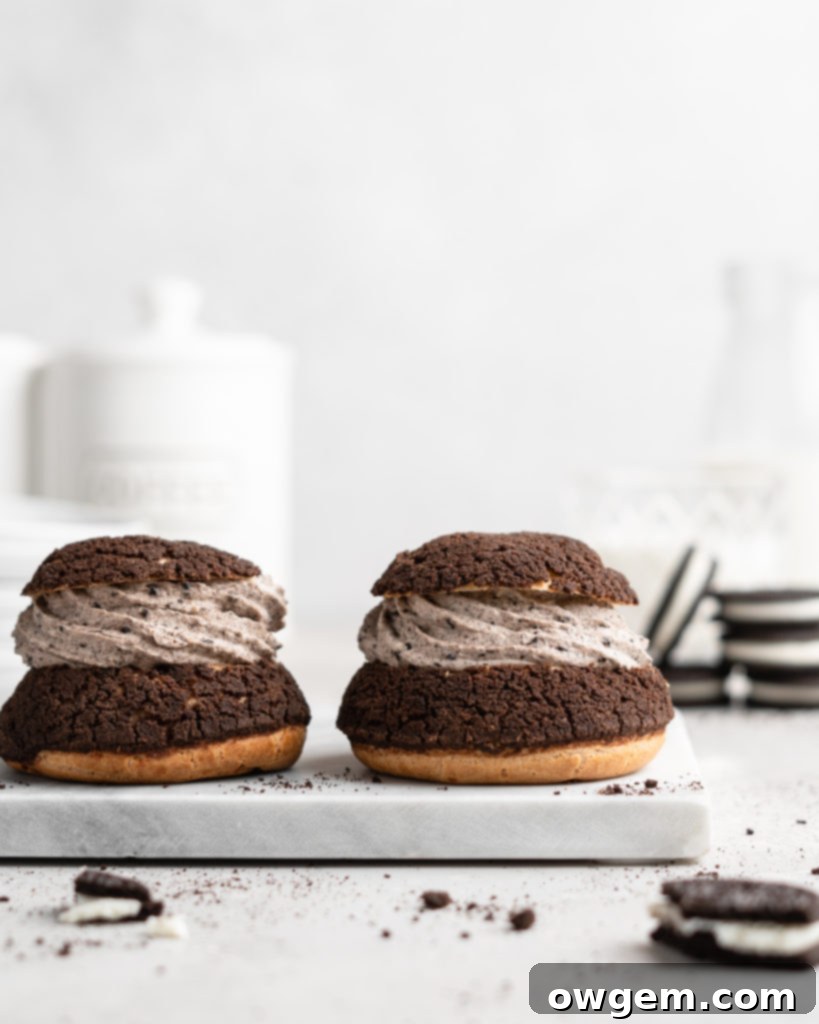
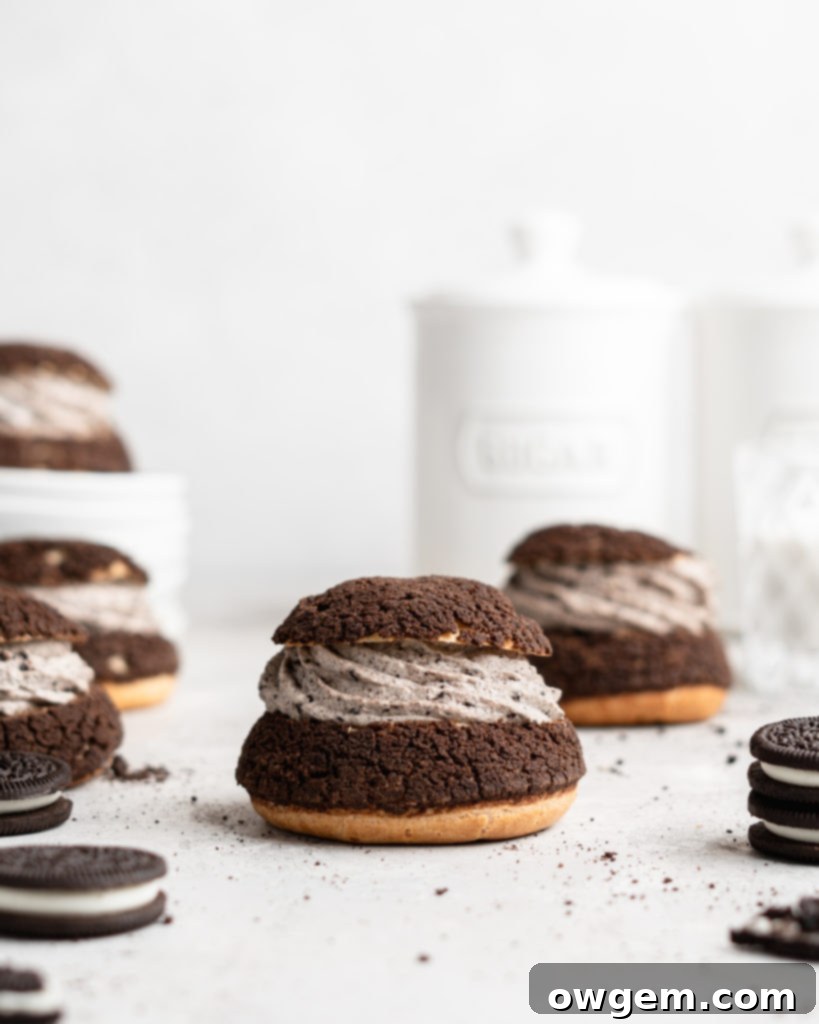
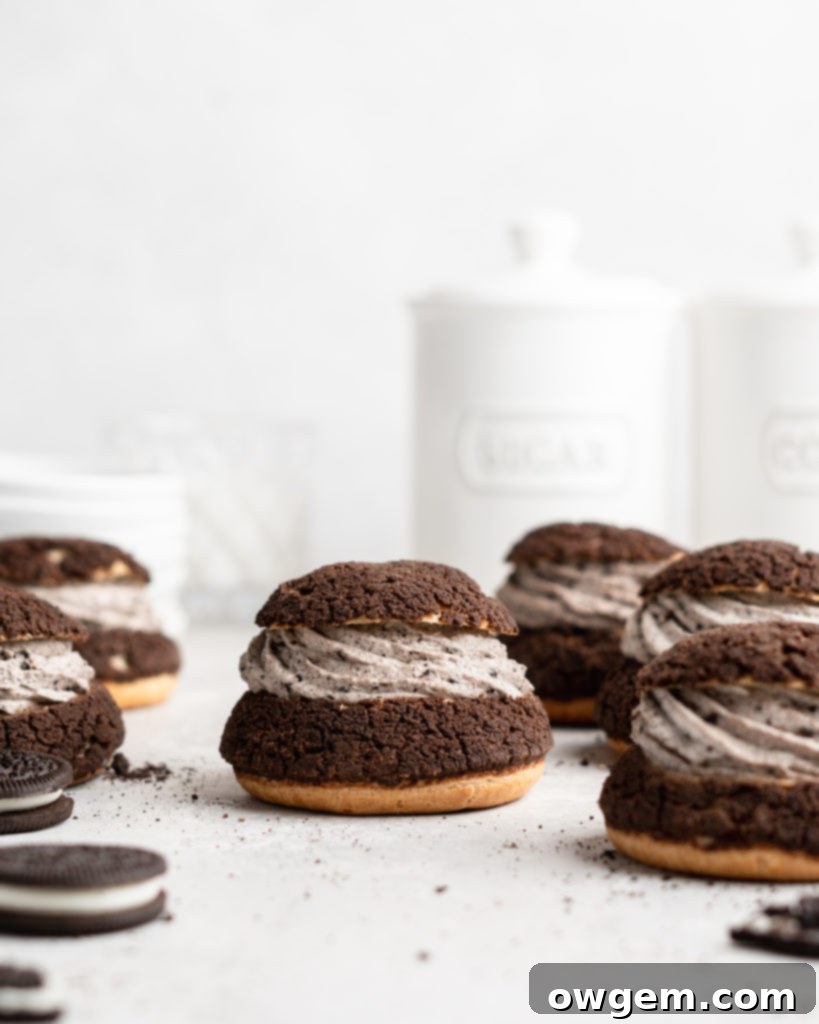
Prepare to indulge in a truly spectacular dessert experience with these irresistible Oreo Cream Puffs, also lovingly known as Cookies and Cream Cream Puffs. This recipe transforms the classic French choux pastry into a modern masterpiece, featuring light, airy puffs crowned with a crackly, dark chocolate craquelin topping. But the real showstopper? The luscious Oreo Cheesecake Filling. This heavenly filling is a dream combination of finely crushed Oreo cookies and creamy mascarpone cheese, delicately folded into sweetened whipped cream. The result is a symphony of textures and flavors – a crisp exterior giving way to a rich, velvety interior bursting with cookies and cream goodness. These perfect little puffs are not just seriously yummy; they are an unforgettable treat that will impress everyone!
Mastering Choux Pastry: The Perfect Egg Balance
One of the most crucial and, admittedly, finicky parts of perfecting these Oreo Cream Puffs is getting the choux pastry (pâte à choux) just right, especially when it comes to the eggs. You might notice the recipe specifies “4-5 eggs,” which can seem vague. How many do you actually add? The answer, surprisingly, is that it truly depends. The precise amount of eggs needed for your choux batter is highly influenced by environmental factors such as humidity levels, the weather, and even the varying water content of the eggs themselves. Too much moisture in your batter will lead to sad, flat cream puffs that fail to rise and puff up beautifully in the oven. Conversely, too few eggs will result in a stiff batter that won’t expand properly.
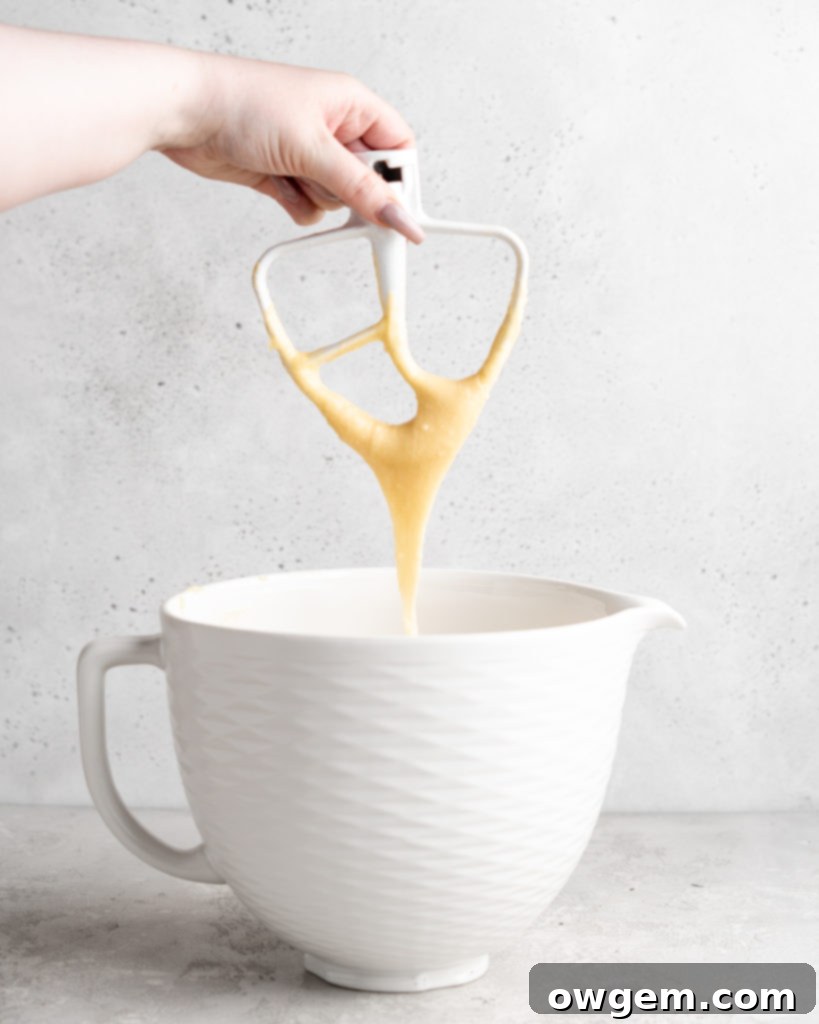
This is precisely why you must add your eggs one at a time, beating thoroughly after each addition until it’s fully incorporated into the dough. This method allows you to control the consistency precisely. You’ll need to vigilantly check your batter after the fourth egg. For some bakers, especially those in more humid climates, four eggs might be perfectly sufficient. However, others, like myself who lives in colder, drier regions, typically find that a fifth egg is necessary. Despite consistently using five eggs, I still perform this critical check after the fourth egg, every single time. What you’re looking for is a batter that, when lifted with your paddle attachment, forms a beautiful, smooth “V” shape and slowly detaches from the paddle. If the batter clings to the paddle but doesn’t form this characteristic “V” or falls off in clumps, it definitely needs more egg. A perfectly balanced choux batter will be thick, smooth, and incredibly shiny, holding its shape without being too stiff or too runny.
The Two-Stage Bake: Why Turning Off the Oven is Key
The unique baking method for cream puffs is fundamental to their signature light and hollow structure. The initial blast of high temperature is absolutely essential. This intense heat causes the water in the choux pastry to rapidly turn into steam, which then vigorously pushes against the dough, forcing it to puff up and create those characteristic airy pockets inside. Simultaneously, the high heat helps to set the exterior crust, locking in the structure. However, if we were to maintain this high temperature for the entire baking duration, the delicate outside of the cream puffs would quickly burn, while the inside might remain undercooked and moist.
This is why the recipe instructs you to turn off the oven or drastically lower the temperature after the initial high-heat phase. This crucial step allows the cream puffs to continue baking and drying out more gently from the residual heat, without scorching the exterior. It’s also incredibly important to heed this warning: under no circumstance should you peak into the oven during the first 20 minutes of baking! Even the slightest influx of cold air, a quick gust from an opening door, can cause the rapidly rising, delicate cream puffs to deflate instantly. Their structure is still forming, and they are highly susceptible to sudden temperature changes. Patience is a virtue here, and it’s the key to achieving perfectly puffed cream puffs.
How to Know When Your Cream Puffs Are Perfectly Done
Determining when cream puffs are truly finished baking can be tricky. They might appear beautifully golden on top and wonderfully puffed up, giving the illusion of doneness, but still retain too much moisture on the inside. Pulling them out of the oven even a minute too early will inevitably lead to deflation, leaving you with dense, collapsed pastries. A fully baked cream puff should be light, crisp, and hollow, with a dry interior. An underbaked one, however, will be moist, heavy, and prone to collapsing.
The most reliable method I’ve discovered to test for doneness is to remove just one of the cream puffs from the oven. Place it on a cooling rack and observe it for about 45 seconds. If this test puff begins to deflate or sink, it’s a clear sign that the entire batch still needs more time in the oven to dry out and solidify its structure. However, if the puff holds its beautiful shape, maintaining its height and crispness, then your batch is perfectly baked and ready to be removed. This small sacrifice of one puff ensures the success of all the others!
Gradual Cooling for Maximum Crispness and Stability
Once your cream puffs are perfectly baked, the cooling process is just as vital as the baking itself to ensure they maintain their structure and develop a crisp texture. Allowing the Oreo cream puffs to cool gradually inside the oven is a strategic step designed to significantly reduce the likelihood of them deflating. A sudden and drastic temperature drop from the hot oven to cooler room temperature can shock the delicate choux pastry, causing it to collapse and become soggy.
By turning off the oven and cracking the door open (about a third of the way), you create a controlled environment where the cream puffs can cool down slowly and gently. This gradual cooling process helps them maintain their puffed shape and further dries out their interior, contributing to that desirable crisp shell. Additionally, once the cream puffs have been removed from the oven for good and are slightly cooler to the touch, poking a small hole in their base allows any remaining residual steam to escape. This final step is crucial for preventing a soggy bottom and ensuring a perfectly dry and crisp interior, making them ideal for filling.
Making the Irresistible Oreo Cheesecake Filling
Without a doubt, the star of these Oreo Cream Puffs is their incredibly delicious filling! And the best part about this show-stopping component? It’s remarkably simple to prepare, requiring just a few steps to achieve a rich, creamy, and undeniably satisfying texture and flavor. This filling perfectly balances the slight bitterness of the chocolate craquelin and the neutral base of the choux pastry.
1. Separate & Crush Oreos: Begin by carefully separating the iconic Oreo cookies from their creamy white filling. Place the chocolate cookie wafers into a sturdy Ziploc bag. Using a rolling pin or a meat mallet, enthusiastically crush the cookies until they are reduced to fine crumbs. Alternatively, for speed and convenience, you can use a food processor to achieve perfectly uniform Oreo crumbs.
2. Mix Oreo Filling with Mascarpone: Take the reserved creamy Oreo filling and transfer it to a medium-sized bowl. Add the luscious mascarpone cheese to the bowl. Using a spoon or a rubber spatula, mix these two ingredients together thoroughly until they are well-combined and form a smooth, uniform mixture. The mascarpone’s neutral sweetness complements the Oreo cream beautifully.
3. Make Sweetened Whipped Cream: In a large, chilled bowl (preferably stainless steel for best results) or the bowl of a stand mixer fitted with a whisk attachment, combine the cold heavy cream, a splash of vanilla extract for warmth, and confectioners’ sugar. Beat the mixture on medium-high speed until stiff peaks have formed. This means when you lift the whisk, the cream will hold its shape firmly without collapsing.
4. Fold Mascarpone and Oreos into Whipped Cream: Gently pour the mascarpone-Oreo filling mixture into the bowl containing the freshly whipped cream. Using a rubber spatula, carefully fold the two mixtures together until they are just combined, being careful not to deflate the airy whipped cream. Then, gently fold in the finely crushed Oreo cookie crumbs. This adds a delightful textural contrast and intensifies the Oreo flavor. Your decadent filling is now ready!
What is Mascarpone, and Why is it Perfect for This Filling?
Mascarpone is a rich, luxurious Italian cream cheese, often described as a triple-cream cheese due to its exceptionally high butterfat content. This high-fat content gives it an incredibly smooth, velvety, and almost buttery texture, which translates into an incredibly luscious filling. Unlike traditional American cream cheese, which has a distinct tangy flavor, mascarpone is much more neutral and subtly sweet. This makes it an ideal base for desserts where you want the other flavors, like the Oreo, to shine through without being overpowered by a sharp, sour note.
I often think of mascarpone as a super thick, incredibly rich cream. Its versatility allows it to be used in various sweet and savory applications, from tiramisu to pasta sauces. In this Oreo cheesecake filling, it provides an unparalleled creaminess and richness that elevates the entire dessert. However, if mascarpone cheese is unavailable or difficult to find in your area, don’t fret! You can absolutely substitute it with regular full-fat cream cheese. Just be aware that the filling might have a slightly tangier profile, which some people actually enjoy. For best results, ensure your cream cheese is softened to room temperature before mixing to avoid lumps.
Storage Tips: Keeping Your Oreo Cream Puffs Fresh
Proper storage is key to enjoying your delicious Oreo Cream Puffs at their best. As mentioned in the recipe, the filled Oreo Cream Puffs should always be stored in the refrigerator. Due to the high content of fresh dairy products (mascarpone, heavy cream) in the filling, they need to be kept cold to maintain freshness and prevent spoilage. When stored in an airtight container in the fridge, they will remain wonderfully delicious for up to 2 days. Beyond that, the pastry might start to soften, losing its crisp texture.
The unfilled cream puff shells, however, are quite versatile and can be prepared in advance. They can be stored at room temperature in an airtight container for a day, or even better, frozen for longer storage. To freeze, simply place the completely cooled, unfilled shells in a single layer on a baking sheet until solid, then transfer them to an airtight freezer bag or container. They can be kept in the freezer for up to 2-3 weeks. When you’re ready to use them, you can briefly reheat them in a preheated oven (around 300°F/150°C) for 5-10 minutes to crisp them up before filling. It’s important to note that the creamy Oreo Cheesecake Filling does not freeze well; its texture will change significantly upon thawing. Therefore, it’s always best to prepare the filling fresh just before you intend to serve the cream puffs. The good news is the filling recipe can easily be downsized if you only need a smaller batch to fill a few defrosted shells.
Get the Recipe:
Oreo Cream Puffs
Pin
Rate
Ingredients
Chocolate Craquelin Topping
- 1/2 cup Dark Brown Sugar
- 7 tbsp Unsalted Butter,, softened
- 14 tbsp (105g) All Purpose Flour
- 2 tbsp (15g) Dutch Processed Cocoa Powder,, sifted (regular cocoa can be used as well)
Cream Puffs
- 1/2 cup Whole Milk
- 1/2 cup Water
- 1/2 cup Unsalted Butter,, cubed, at room temperature
- 1 tbsp White Sugar
- 1 tsp Salt
- 1 cup (120g) All Purpose Flour
- 4-5 Large Eggs
Oreo Cheesecake Filling
- 40 Oreos
- 24 oz Mascarpone Cheese
- 2 cups Heavy Cream,, chilled
- 2 tsp Vanilla
- 1 ½ cups Confectioners Sugar
Equipment
-
Stand mixer
Instructions
Chocolate Craquelin Topping
-
Add all craquelin ingredients – dark brown sugar, softened unsalted butter, all-purpose flour, and sifted Dutch-processed cocoa powder – into a medium-sized bowl. Use a spatula to mash and mix them together until a uniform, smooth dough forms.
-
Place the craquelin dough between two sheets of parchment paper. Roll the dough out evenly to about 1/8-inch thickness, aiming for a relatively rectangular shape. Transfer this flattened dough to the freezer for at least 30 minutes to firm up, while you prepare the choux pastry.
Cream Puffs: Making the Choux Pastry
-
Preheat your oven to a high temperature of 475°F (245°C). Line two large baking sheets with parchment paper. Prepare a pastry bag by fitting it with a plain ½-inch round tip, ready for piping.
-
In a sturdy medium saucepan, combine the milk, water, cubed unsalted butter, 1 tablespoon of white sugar, and salt. Place the saucepan over medium heat and bring the mixture to a rolling boil, stirring occasionally to ensure the butter melts and the sugar dissolves evenly. Once boiling, remove from heat and immediately add all of the all-purpose flour at once. Stir vigorously and very quickly with a wooden spoon or spatula. The mixture will rapidly come together to form a ball of dough. Return the pot to medium heat and continue cooking, stirring constantly and vigorously, for 2-3 minutes, until a dry film forms on the bottom and sides of the saucepan. This process is crucial for drying out the dough. Remove the pan from the heat.
-
Transfer the hot dough into the bowl of a stand mixer fitted with the paddle attachment. Beat the dough on low speed for about 30 seconds to 1 minute to release some steam and cool it down slightly. Begin adding the large eggs, one at a time. After adding the first egg, beat until it is completely incorporated and the dough looks dry again before adding the next. Scrape down the sides of the bowl occasionally to ensure everything is well mixed. After the fourth egg has been fully incorporated, remove the paddle from the mixer and insert it deep into the batter. Lift the paddle: if the batter forms a nice “V” shape and slowly drops off, it’s ready. If the batter still appears too thick and doesn’t form a distinct “V”, add a fifth egg and beat until just incorporated. The final choux dough should be thick, very sticky, but also shiny and smooth.
Cream Puffs: Piping & Baking to Perfection
-
Carefully spoon the prepared choux dough into the pastry bag. Pipe approximately nine 2-inch rounds onto each parchment-lined baking sheet, spacing them apart to allow for expansion (you should have about 18 cream puffs total).
-
Retrieve the chilled craquelin topping from the freezer. Using a round cookie cutter or knife, cut out 18 rounds of craquelin, matching the diameter of your piped cream puffs. Gently place one craquelin round on top of each piped choux puff, lightly pressing to secure it.
-
Place the baking sheets into the preheated 475°F (245°C) oven for exactly 1 minute. Immediately turn the oven off after this minute. Do not open the oven door! Let the cream puffs sit in the turned-off oven for an additional 9 minutes. After 9 minutes, turn the oven back on to 350°F (175°C) and bake for another 10 minutes. Rotate the pans front to back and bake for an additional 10 minutes, or until the cream puffs are beautifully puffed, golden brown, and feel light (approximately 30 minutes of total baking time, excluding the initial high-heat minute). To confirm doneness, remove just one cream puff from the oven and wait 45 seconds; if it deflates, the batch is not finished and needs a few more minutes. If it holds its structure, they are perfectly baked.
-
Once baked, turn the oven off again and crack the oven door open about 1/3 of the way. Allow the cream puffs to cool gradually inside the cracked oven for 30-45 minutes. This slow cooling helps prevent deflation and ensures a crisp exterior. After this, remove them from the oven and let them cool completely on a wire rack before filling.
Oreo Cheesecake Filling
-
Prepare the Oreos by carefully separating the chocolate cookie wafers from the creamy white filling. Finely crush the cookie wafers (using a food processor or rolling pin) and set them aside for later.
-
In a large bowl, combine the reserved Oreo fillings and the mascarpone cheese. Mix thoroughly with a spoon or spatula until both ingredients are completely incorporated and form a smooth, uniform mixture.
-
In a separate large, chilled bowl or the bowl of a stand mixer fitted with a whisk attachment, add the cold heavy cream, confectioners’ sugar, and vanilla extract. Beat on medium-high speed until stiff peaks have formed, ensuring the cream holds its shape. Gently add the mascarpone-Oreo filling mixture to the whipped cream and carefully fold until just combined. Then, gently fold in the finely crushed Oreo cookie crumbs, being careful not to overmix.
-
Once the cream puff shells are completely cool, use a serrated knife to carefully slice off the top of each puff. Using a spoon or a piping bag fitted with a large star tip, generously fill each cream puff with the luscious Oreo Cheesecake Filling. Replace the top of each cream puff. Serve immediately for optimal crispness or store them in the refrigerator until ready to enjoy.
