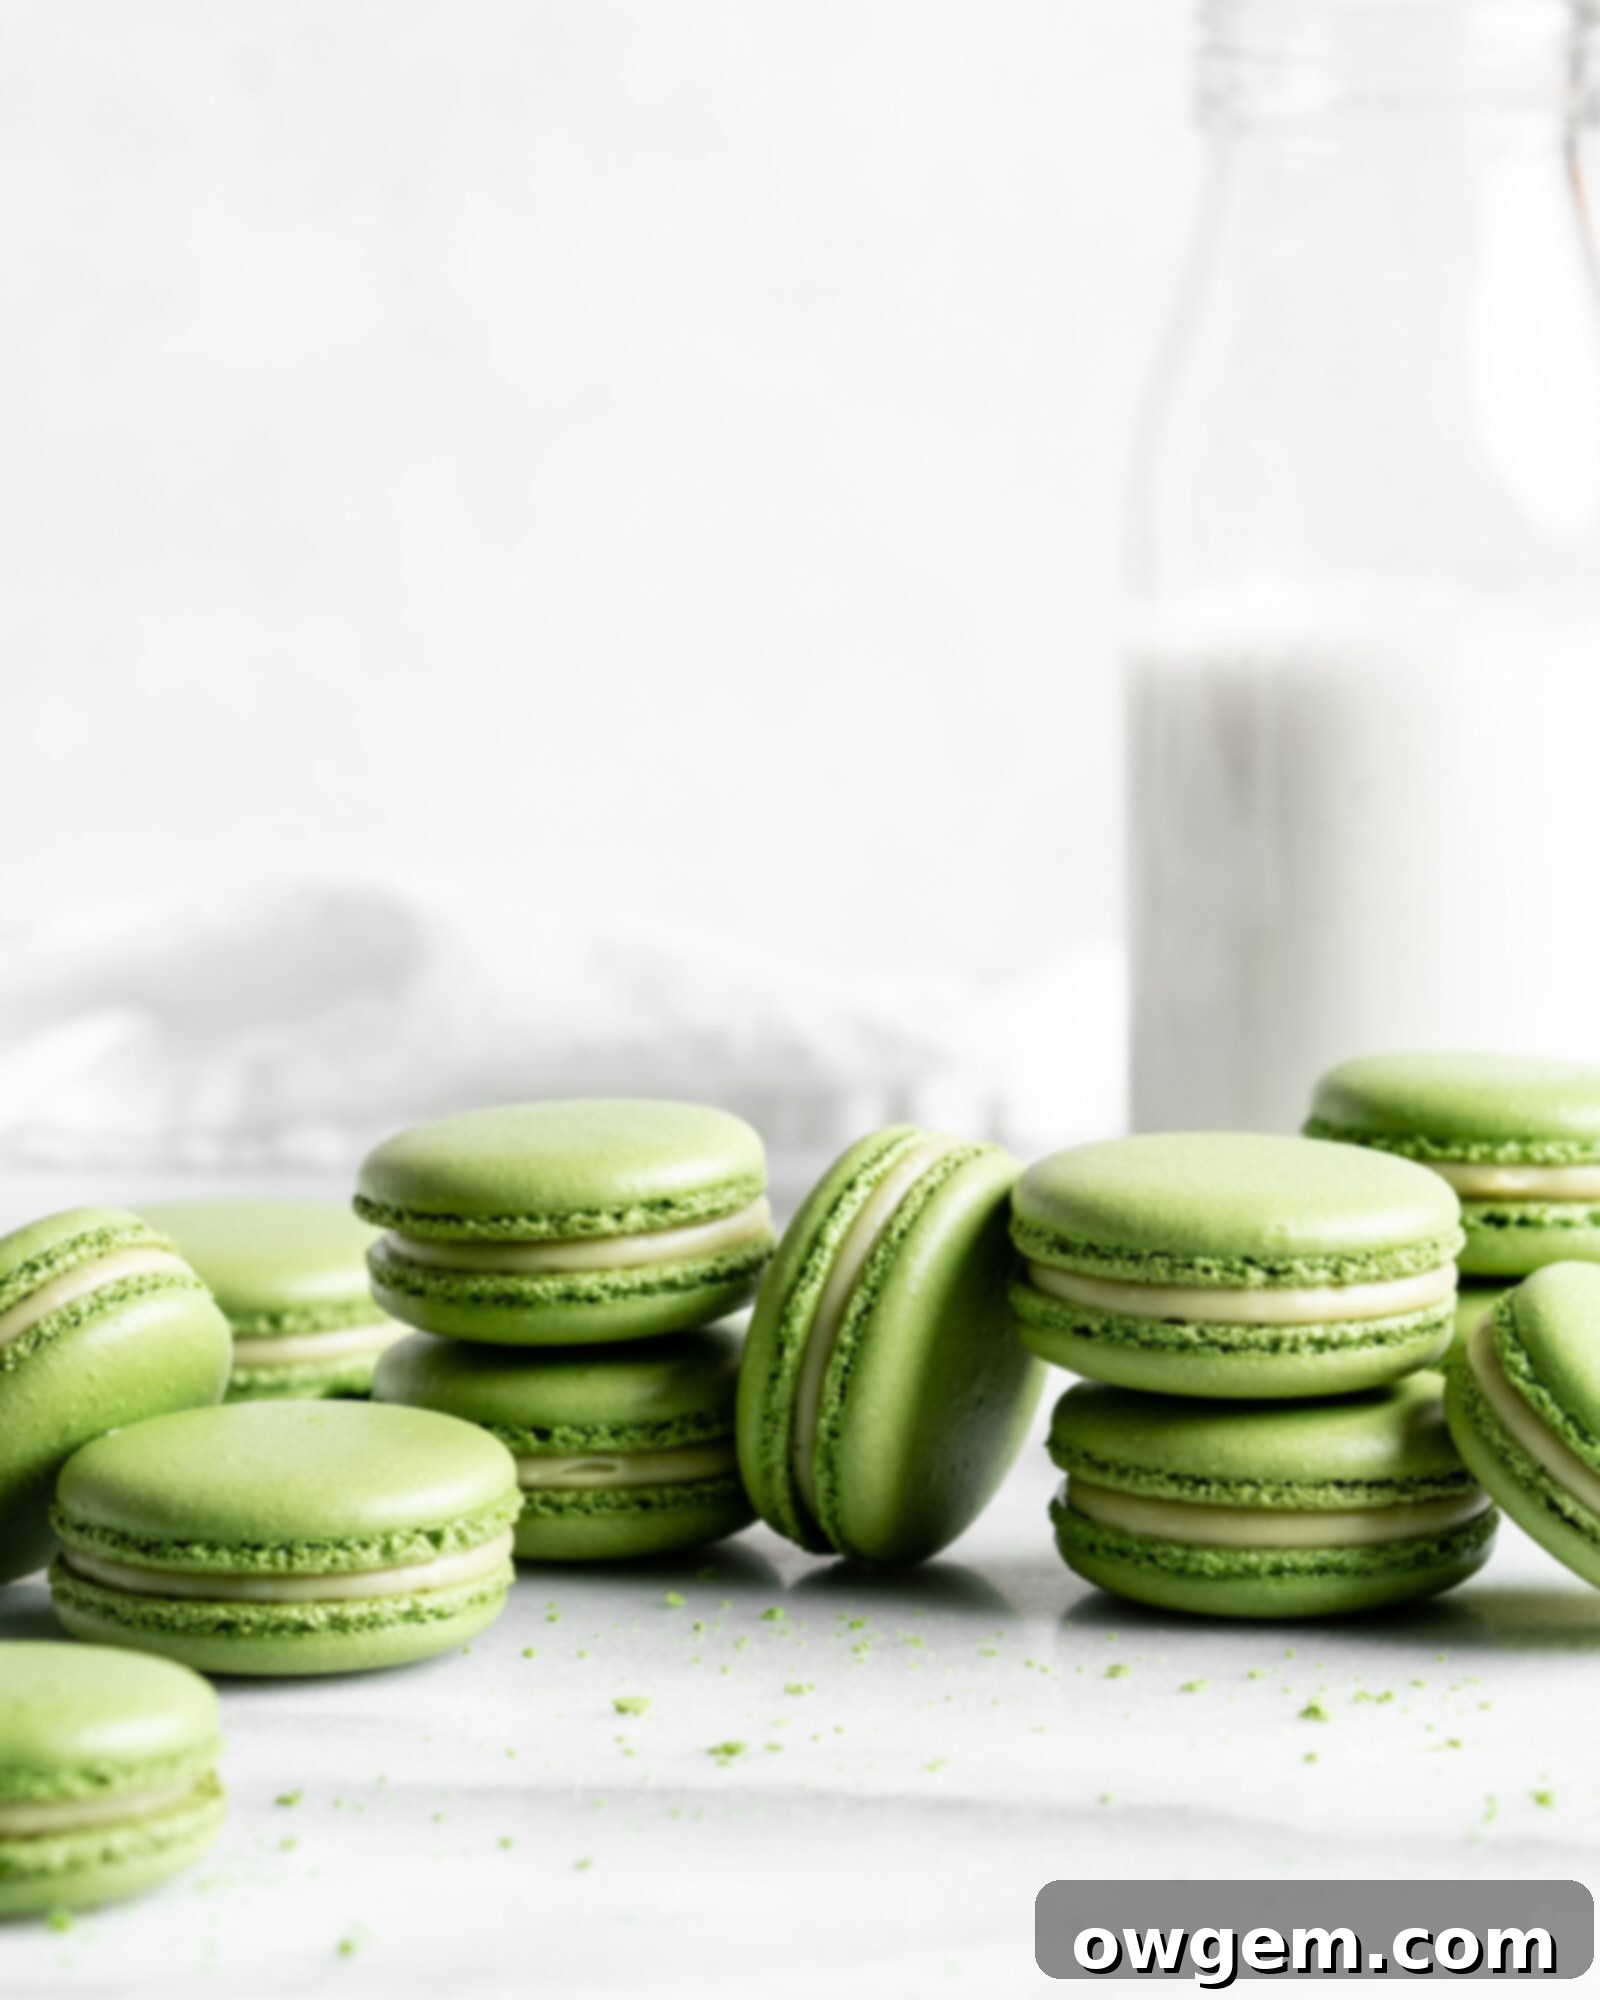
Perfect Matcha Macarons: The Ultimate Swiss Meringue Green Tea Recipe
Indulge in the exquisite flavor of these vibrant Matcha Macarons! Crafted using the reliable Swiss meringue method, these delicate green tea treats feature beautiful macaron shells infused with premium matcha powder, perfectly complemented by a rich, matcha-infused white chocolate ganache filling. Prepare for a truly strong and unforgettable matcha experience in every bite.
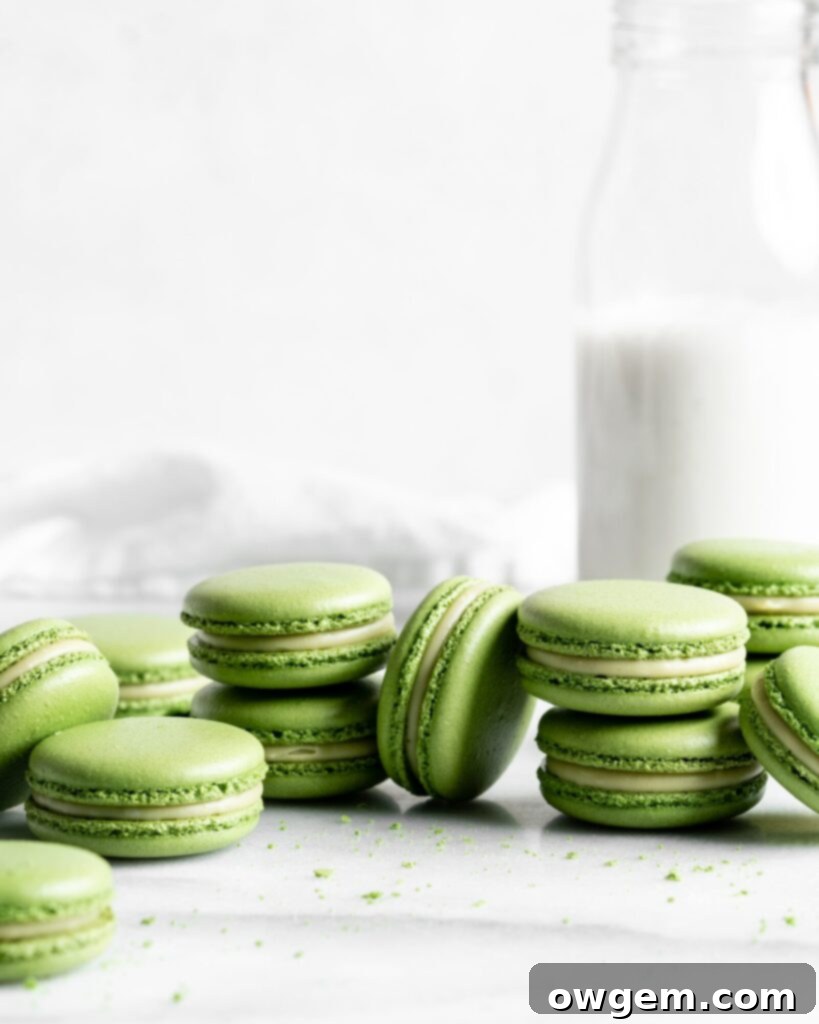
Mastering the Swiss Meringue Macaron Method
For many home bakers, macarons can seem like an intimidating challenge, often whispered about in hushed tones due to their reputation for being finicky. My previous guide, How to Make Macarons: A Step by Step Guide + Tips/Tricks, focused on the Italian method, which is highly regarded for its superior stability compared to the traditional French method. However, there’s another fantastic technique that offers similar benefits with a simpler, more accessible process: the Swiss Meringue Method. This is the very method we’ll be enthusiastically employing to create these exquisite Matcha Macarons, promising both ease and delectable results!
The Swiss method truly combines the best aspects of macaron-making. It offers the impressive stability often associated with the Italian method, making the meringue robust and considerably easier to handle for both novice bakers and those with more experience. This inherent stability means the batter is more forgiving during the crucial macaronage stage, reducing the chances of overmixing or deflating your meringue. What’s more, it ingeniously streamlines the entire process, eliminating some of the lengthier and more complex steps involved in traditional Italian meringue preparation. This makes Swiss method macarons not only easier to achieve but often faster to bring to fruition, all without compromising on the desired quality, consistency, or delicate texture of your macaron shells.
The core of the Swiss meringue method involves a gentle, controlled heating process. You start by combining egg whites and granulated sugar in a heatproof bowl, which is then placed over a simmering pot of water, creating a *bain-marie* (or double boiler). This mixture is carefully whisked while it heats until it reaches a specific temperature, typically around 140°F (60°C). This controlled heating serves two crucial purposes: it completely dissolves the sugar, preventing a grainy texture in your macarons, and it partially cooks the egg whites, thereby creating a significantly more stable and resilient base for your meringue. Once heated, this warm egg white and sugar mixture is transferred to a stand mixer and whipped into a glossy, voluminous, and stiff-peaked meringue. Finally, a meticulously measured and finely sifted blend of confectioners’ sugar and almond flour is carefully folded into the meringue during the critical macaronage process, creating the perfect, lava-like batter essential for those iconic smooth shells and delicate, ruffled “feet.” This inherent stability of the Swiss meringue is particularly beneficial when incorporating fine powders like matcha, helping to maintain the batter’s structure and the matcha’s vibrant color throughout the baking process.
Essential Tips & Tricks for Perfect Swiss Meringue Matcha Macarons
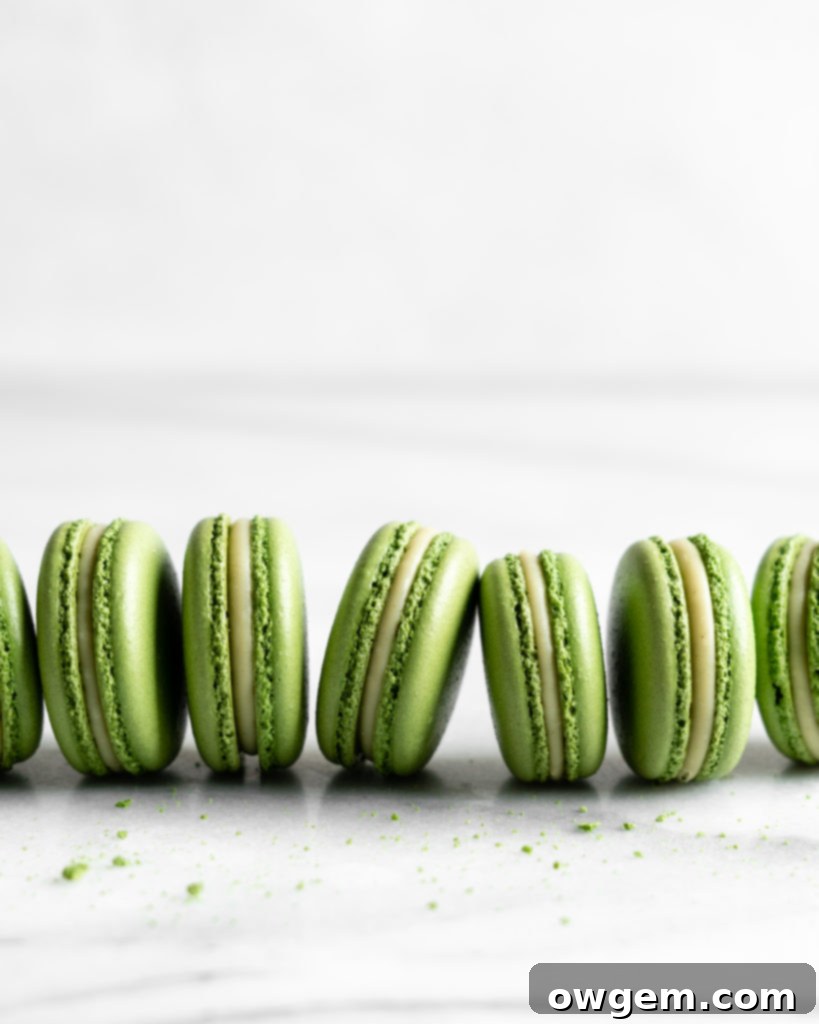
Achieving consistently perfect macarons is an art that benefits greatly from a few key principles and practices. I’ve compiled a comprehensive list of crucial tips, some representing timeless macaron wisdom applicable to any method, and others specifically tailored for the unique requirements of the Swiss meringue technique. Following these guidelines meticulously will significantly increase your success rate and ensure your vibrant Matcha Macarons turn out beautifully, with their characteristic smooth tops and delightful “feet,” every single time.
TIP 1) USE A FOOD SCALE AND WEIGH EVERYTHING OUT FOR PRECISION
When it comes to macaron making, precision is not just recommended, it is absolutely paramount. Volumetric measurements, such as using cups and spoons, can introduce significant variances in ingredient amounts due to factors like how densely an ingredient is packed, fluctuations in ambient humidity, or even slight differences in the specific measuring tools used. Macarons are notoriously finicky and highly sensitive to ratios; even a slight imbalance in the wet-to-dry ingredient proportions can lead to disappointing and frustrating results, including hollow shells, flat or spread-out shells, or cracked tops. Therefore, it is unequivocally critical to measure all your macaron ingredients by weight using a reliable digital food scale. Aim for accuracy down to the exact gram – this seemingly simple step is, in fact, the most foundational and dramatically increases your chances of consistent success. It effectively eliminates a major variable in macaron-making, ensuring that the delicate chemical balance required for the perfect macaron batter is meticulously maintained from the outset.
TIP 2) WIPE ALL UTENSILS, BOWLS, AND APPARATUS WITH VODKA OR VINEGAR
Any trace of oil, grease, or fat can be the ultimate saboteur of a successful meringue. Egg whites simply will not whip up properly into the voluminous, stiff peaks required for macarons if there’s any fatty residue present on your equipment. To completely safeguard your delicate meringue, take a moment to meticulously wipe down every single piece of equipment that will come into contact with your egg whites. This includes your stand mixer bowl, the whisk attachment, and any spatulas or mixing bowls you’ll be using. Use a small amount of clear alcohol, like vodka, or white vinegar on a paper towel. These liquids act as excellent degreasers and, crucially, evaporate quickly and cleanly, leaving behind no unwanted residue that could compromise your meringue’s integrity. This seemingly small but diligent step is a foundational requirement for building a stable, high-volume meringue, which is, without exaggeration, the absolute backbone of perfectly risen and structured macarons.
TIP 3) USE EGG WHITE POWDER FOR ENHANCED STABILITY
If you’ve ever found yourself struggling with the common macaron dilemma of frustrating hollow centers, then egg white powder (also widely known as meringue powder) might just be your long-awaited secret weapon. Adding just a small, precise amount of this powder to your egg whites and sugar mixture provides an invaluable boost of extra protein. This additional protein significantly enhances the structural integrity and overall stability of your meringue. A more robust and stable meringue translates directly into stronger macaron shells that are considerably less prone to collapsing, cracking, or developing those dreaded hollows during the baking process. This ingredient proves particularly helpful in challenging humid climates, where meringue can struggle, or if you’re relatively new to the intricate art of macaron making and desire an extra layer of insurance for consistently full, sturdy, and beautifully formed shells. While technically an optional addition, based on extensive experience, it’s one I wholeheartedly recommend for achieving reliably perfect results.
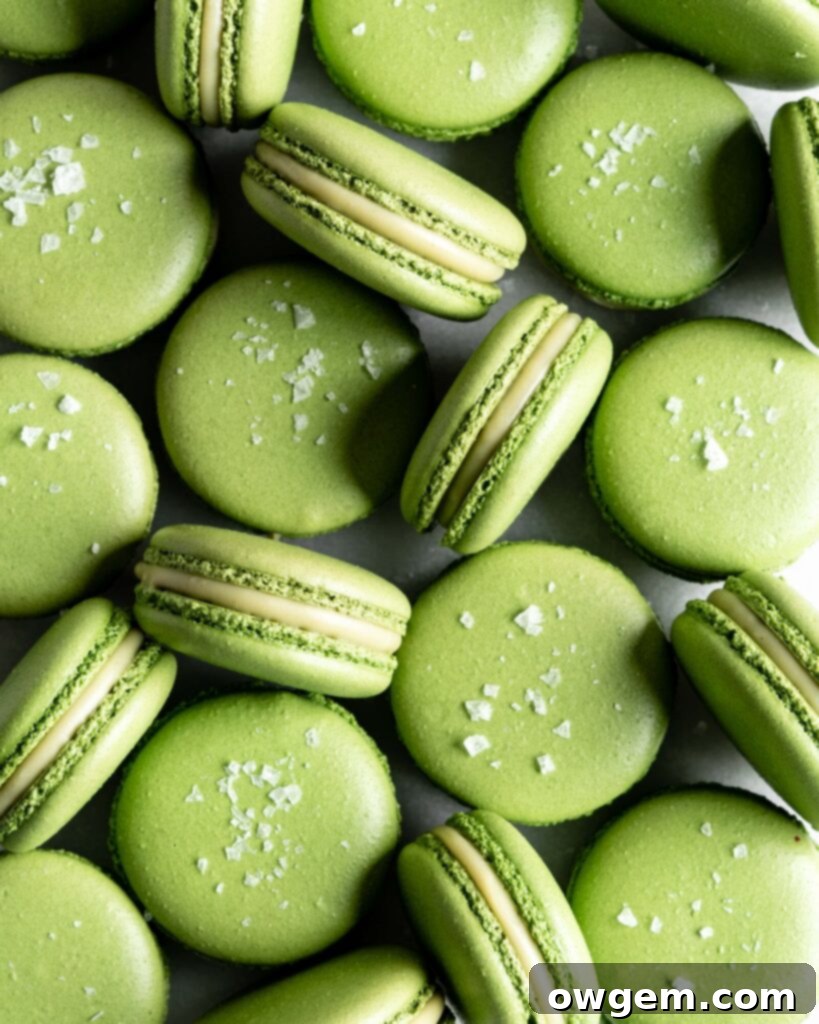
TIP 4) BEAT MERINGUE TO STIFF PEAKS: THE FOUNDATION OF PERFECT MACARONS
For the Swiss meringue macaron method, achieving the correct meringue consistency—specifically, stiff peaks—is an absolutely essential step that cannot be overlooked. Stiff peaks signify that your meringue is incredibly firm, boasts a beautiful glossy sheen, and holds its shape perfectly without any drooping or wilting when you lift the whisk attachment from the bowl. Furthermore, when you visually inspect the bowl, the meringue should also be firmly gathered and clinging within the whisk itself, indicating its robust structure. To achieve this ideal and stable consistency, begin by beating the egg white and sugar mixture on a medium-low speed to gradually incorporate air. Continue until you observe soft peaks forming (where the meringue just barely holds its shape, and the tip gently folds over). Then, increase the speed to medium until medium peaks appear (these peaks hold their shape more firmly but the very tip still curls over slightly). Finally, increase the speed to high and continue beating until truly stiff, unyielding peaks are formed – the meringue should stand up straight and rigid without any movement. Gradually increasing the beating speed provides the most stable and robust meringue structure, which is utterly crucial for successful macaron shells that develop beautiful “feet.”
TIP 5) STOP FOLDING ONCE THE BATTER ‘RIBBONS’
The macaronage process – the delicate and precise folding of the finely sifted dry ingredients (almond flour, confectioners’ sugar, and matcha) into the prepared meringue – is arguably the most delicate and critical step in macaron making. The overarching goal is to carefully deflate the voluminous meringue just enough to achieve what bakers famously call the “ribbon stage” consistency. This ideal consistency means that when you lift your rubber spatula, the macaron batter should flow off smoothly, continuously, and slowly, much like molten lava or a thick, slowly falling ribbon. A perfect indicator is that these thick ribbons of batter should slowly and completely disappear back into the main mass of batter within approximately 20-30 seconds. If the batter stubbornly falls off your spatula in distinct clumps, large “V” shapes, or breaks prematurely, it indicates that it is under-mixed and requires a few more gentle folds. Conversely, if the batter runs off the spatula too quickly, thinly, and without forming any distinct ribbon, it signals that it’s unfortunately over-mixed. Over-mixed batter will lead to flat, spreading shells that lack the desired “feet” and often have an undesirable oily texture. Practice, patience, and keen observation of this visual cue are absolutely paramount to mastering this crucial macaronage stage and achieving the perfect texture for your Matcha Macarons.
TIP 6) TAP THE PAN AND REMOVE AIR BUBBLES
After you’ve meticulously piped your macaron shells onto the baking sheets, it’s an absolutely crucial step to remove any trapped air bubbles from within the batter. These hidden air bubbles, if left unchecked, are notorious culprits for causing undesirable cracks on the surface of your beautiful macaron tops or leading to frustrating hollow interiors. To effectively release these bubbles, firmly tap your baking sheet against a sturdy counter surface several times. After the initial taps, rotate the pan 90 degrees and repeat the tapping process, continuing this rotation and tapping until you’ve firmly struck all four sides of the pan. Alternatively, you can achieve a similar effect by lifting the pan a few inches off the counter and dropping it down firmly a few times. This purposeful action serves two vital purposes: firstly, it vigorously forces any internal air bubbles to rise to the surface and pop, resulting in significantly smoother, more stable, and aesthetically pleasing macaron shells. Secondly, it helps the freshly piped batter settle and encourages it to flatten out any slight humps or peaks that may have been left over from the piping process, ensuring perfectly round and even shells. Don’t be timid with this step – I usually find myself tapping my trays more than four times, continuing until I’m confident that the majority of the air bubbles have surfaced and the batter has visibly flattened out nicely.
TIP 7) USE A TOOTHPICK TO ‘POP’ ANY REMAINING AIR BUBBLES
Even after the vigorous tapping process, stubborn air bubbles can sometimes persist, subtly lurking just beneath the surface of your piped macaron shells. These can manifest as very slight irregularities, tiny bumps, or minuscule pinpricks on what would otherwise be a perfectly smooth surface. Take a moment to get up close and personal with your beautifully piped little macarons and carefully inspect each one for any visible or even suspected remaining air bubbles. Using a clean, sharp toothpick, gently prick any obvious bubbles, as well as those that might just look like a minor imperfection. After popping, lightly use the tip of the toothpick to gently swirl the surrounding batter to fill the small hole, creating a seamless surface. This meticulous, albeit small, step is incredibly vital for achieving consistently smooth, flawless macaron tops and can significantly reduce the unfortunate occurrence of hollow shells. Skipping this small but important detail can often be the crucial difference between merely good macarons and truly perfect, bakery-quality ones.
TIP 8) ALLOW THE MACARONS TO FORM A “SKIN” (CROÛTE)
This step is not just important; I repeat, this is **CRUCIAL** for achieving those classic, desirable macaron “feet”! Whatever you do, do not skip this step! Allowing your freshly piped macaron shells to sit out undisturbed at room temperature, exposed to the air, facilitates the formation of a delicate, dry skin (technically known as a *croûte*) on their surface. This protective skin acts as a barrier during the baking process, effectively preventing the macaron batter from spreading out horizontally. Instead, as the macarons heat up in the oven, the rising air is trapped beneath this newly formed skin, forcing the macaron to rise vertically and erupt into those signature, ruffled “feet” at the base. Without a proper skin, your macarons will likely spread out flat, crack on top, and completely lack their iconic, charming appearance.
The time it takes for this essential skin to form can vary significantly depending on your specific climate and environmental conditions. In cold, dry environments (like the Prairies in Western Canada where I reside), a sufficient skin can form in as little as 8-10 minutes. Conversely, in hotter and particularly humid conditions, this crucial drying process can extend anywhere from 30 minutes to sometimes over an hour. You’ll know your macarons are perfectly ready to go into the oven when you can *delicately* touch the top of a macaron with your finger and it feels dry to the touch, with absolutely no batter sticking to your skin. It’s imperative to be patient during this phase and check them frequently! As a side note, macarons are notoriously finicky with humidity – meaning that if you live in a very humid climate or if it’s a particularly humid day, you may encounter significant trouble forming a proper skin, which can often lead to failed macaron batches. That being said, macarons are *also* sensitive to excessively dry climates (because of course they are, *eye roll*). In overly dry conditions, my macarons can over-dry very quickly and stubbornly stick to my silicone mats or parchment paper, resulting in damaged, lopsided shells, even if I let them dry for just 5 minutes too long! The key is finding that perfect balance and adapting to your environment. Always monitor your macarons closely during this drying phase – under-dried shells will spread, and over-dried shells will stick and crack.
TIP 9) KNOW YOUR OVEN: YOUR BAKING ALLY
This tip might initially sound a bit vague or unconventional, but truly understanding your oven’s unique characteristics is incredibly important, arguably even critical, for consistent macaron success. Every single oven is different: some ovens naturally run hotter than their set temperature, others cooler, and many often have uneven heating zones or overly powerful convection fans. Any of these seemingly minor factors can significantly impact your macaron bake, potentially leading to a host of common issues such as uneven browning, frustratingly cracked tops, or aesthetically displeasing lopsided “feet.” Therefore, I highly recommend investing in an inexpensive, but reliable, oven thermometer to accurately verify your oven’s actual internal temperature. Pay close attention to how your macarons bake: do they brown faster on one side of the tray? Do they rise more prominently on one specific tray or rack position? It may require a few experimental batches of “playing around” with slightly adjusted temperatures, different rack positions, or even rotating your trays halfway through the bake to discover the optimal settings and method for your specific oven. This invaluable knowledge, once acquired, extends its benefits far beyond just macarons, proving incredibly useful for all your future baking endeavors.
TIP 10) FIND ‘PERFECT PAIRS’ BEFORE FILLING
Let’s face it, even the most seasoned and experienced macaron makers can, and often do, end up with baked macaron shells that exhibit slight variations in size, shape, or even height. While these minor imperfections are a natural part of homemade baking, to ensure your finished Matcha Macarons look as polished, professional, and visually appealing as possible, it is an excellent and highly recommended practice to sort your baked and completely cooled macaron shells into “perfect pairs.” This methodical step involves carefully matching two shells that are as close as possible in size and shape to form a harmonious and well-balanced sandwich. Take the time to meticulously match them up before you begin the exciting process of piping the filling. This simple yet effective organizational step prevents the frustration of being left with a bunch of mismatched macaron shells and ultimately ensures that every single one of your finished treats is aesthetically pleasing, symmetrical, and a true joy to behold.
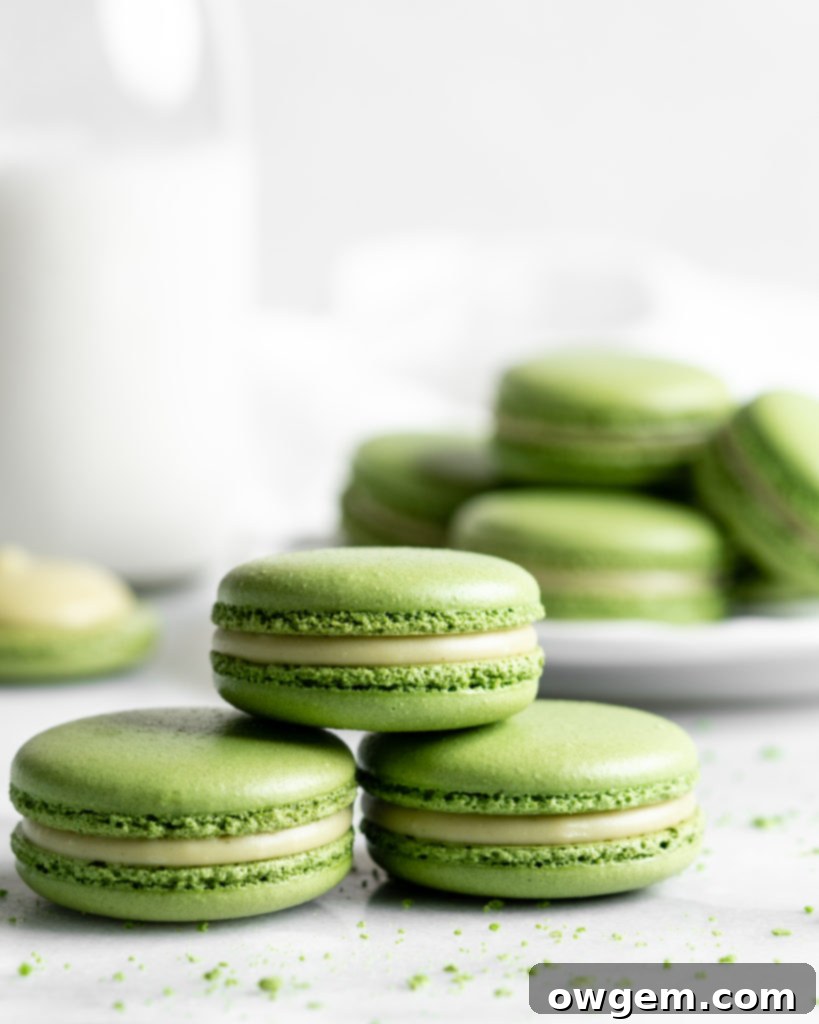
Crafting the Matcha White Chocolate Ganache Filling
A truly exceptional macaron is undeniably incomplete without an equally delicious, perfectly balanced, and complementary filling. For these stunning Matcha Macarons, we’re going beyond the ordinary with a luscious, richly flavored Matcha White Chocolate Ganache that perfectly balances and enhances the delicate green tea shells. The preparation process for this exquisite filling is surprisingly straightforward, essentially following the principles of making any classic chocolate ganache, but with the added depth and vibrant color of premium green tea flavor.
You’ll begin by gently combining and heating heavy cream along with the specified matcha powder in a small saucepan over medium heat. The key here is to bring the mixture just to a gentle simmer around the edges; be extra careful not to let it come to a vigorous rolling boil, as this can potentially scorch the delicate cream or, more importantly, dull the subtle nuances of the matcha’s flavor. Once the cream is simmering, immediately remove it from the heat and pour the hot, matcha-infused cream directly over a bowl containing finely chopped white chocolate. The residual heat from the cream will begin its magic, melting the chocolate into a smooth consistency. Let the mixture sit undisturbed for a few minutes – this crucial resting period allows the chocolate to fully soften and ensures that when you finally whisk it, you achieve a wonderfully smooth, lump-free consistency. After a brief wait, gently but thoroughly whisk the mixture until it beautifully comes together into a single, silky, uniform, and vibrant green ganache. It’s truly that simple and satisfying!
The final crucial step for your ganache is allowing it to cool properly before you attempt to pipe it. The ganache needs to reach a workable room temperature, or even be slightly chilled (though be cautious), to achieve the perfect piping consistency. If the ganache is still too warm, it will be overly runny and messy, making precise piping an impossible task. Conversely, if it gets too cold (especially if you try to speed up cooling in the refrigerator without constant monitoring and stirring), it can become too firm and stiff, making it extremely difficult to pipe smoothly, often resulting in a clumpy or broken texture. If you choose to use the refrigerator to expedite the cooling process, it’s essential to stir the ganache every 10-15 minutes to ensure even cooling and prevent it from solidifying too much in one area. The ideal consistency is thick enough to hold its piped shape beautifully, but still soft, creamy, and spreadable, allowing for that delightful melt-in-your-mouth experience when paired with the macaron shells.
Recommended Products & Equipment for Your Matcha Macarons
Having the right tools and high-quality ingredients can make a significant and positive difference in your macaron-making journey, transforming potential challenges into enjoyable successes. Here are some of my top recommendations for products and equipment that I personally use and trust, all of which are affiliate links with Amazon. This simply means I may earn a small commission if you make a purchase through these links, at absolutely no extra cost to you.
- My consistently preferred baking pan is this USA Pan Cookie Pan. Its robust, heavy-gauge steel construction ensures it’s incredibly sturdy and highly warp-resistant, even when subjected to the high temperatures often required for macaron baking. More importantly, these pans are specifically designed with unique corrugated surfaces that promote superior airflow and even heat distribution, which helps ensure uniform baking across all your macarons and significantly reduces the likelihood of encountering frustratingly lopsided shells.
- For achieving consistently sized macarons and ensuring easy, clean release after baking, these are undeniably my favorite silicone mats. They come conveniently pre-printed with perfectly spaced macaron guides, which not only ensures that each piped macaron is uniformly sized (neither too big nor too small!) but also makes the entire piping process much more forgiving and foolproof, leading to beautifully consistent results every time.
- The quality and texture of your almond flour are paramount for producing gorgeously smooth macaron shells that lack any gritty texture. I highly recommend this particular almond flour because it is exceptionally finely ground. Its super-fine consistency contributes directly to a smoother macaron batter, and consequently, yields incredibly delicate, refined, and aesthetically pleasing macaron shells with a superior mouthfeel.
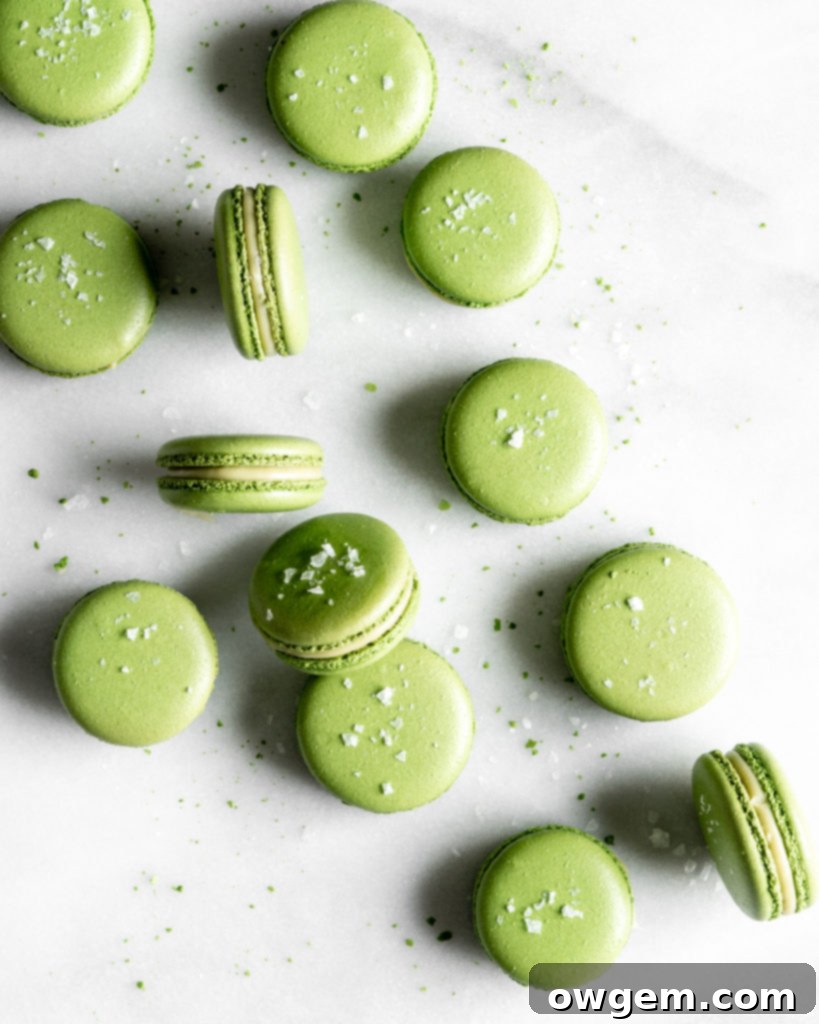
Recipe Acknowledgment
This delectable Matcha Macaron recipe, specifically the foundational techniques for the Swiss meringue macaron shells, draws significant inspiration and thoughtful adaptation from the brilliant Camila at Pie and Tacos. Her expertise in macaron artistry and her dedication to perfect baking are truly commendable and have been an invaluable resource. I wholeheartedly encourage all aspiring macaron bakers to visit her website for a veritable treasure trove of additional macaron recipes and an abundance of invaluable tips!
Discover More Macaron Recipes
If you’ve fallen completely in love with the vibrant flavors and delicate textures of these Matcha Macarons and are eager to further explore the wonderful and diverse world of French confections, I have an array of other delightful macaron recipes waiting for you to try. Each one offers a unique flavor profile to tantalize your taste buds:
- Nutella Macarons – A truly decadent treat that combines the irresistible flavors of chocolate and hazelnut, encapsulated in a delicate macaron shell.
- Red Velvet Macarons – Experience the classic, beloved cake flavor transformed into an elegant and delicate macaron form, complete with a beautiful crimson hue.
- Maple Pecan Macarons – A delightful taste of autumn in every single bite, boasting the comforting richness of maple and the satisfying crunch of pecans.
- Eggnog Macarons – Perfect for holiday festivities or any time you crave a touch of spiced warmth, offering the distinctive creamy flavor of traditional eggnog.
Get the Recipe:
Matcha Macarons (Green Tea Macarons)
Pin
Rate
Ingredients
Matcha Macarons
- 105 g Sifted Super Fine Almond Flour
- 105 g Sifted Confectioners Sugar
- 2 tsp Matcha Powder
- 100 g Egg Whites
- 100 g White Sugar
- 3 g (1 tsp) Egg White Powder,, otherwise known as meringue powder (optional but highly recommended)
- Green Food Colouring,, optional
Matcha White Chocolate Ganache
- 125 g White Chocolate,, finely chopped
- 1/3 cup (75 g) Heavy Cream
- 1 tsp Matcha Powder
Equipment
-
Stand mixer
Instructions
Dry Ingredients Preparation
-
Begin by preparing your baking sheets. Line one or two baking sheets (depending on your batch size and available equipment) with parchment paper or high-quality silicone baking mats. This crucial step prevents sticking and ensures easy removal later.
-
Using a digital food scale, carefully measure out 105g of super fine almond flour into a large mixing bowl, sifting it as you go to remove any larger granules. Discard any coarse pieces that remain in the sieve. Repeat this precise measurement and sifting process for 105g of confectioners’ sugar. Finally, add 2 tsp of matcha powder to the sifted almond flour and confectioners’ sugar. Whisk these dry ingredients together thoroughly until they are uniformly combined, ensuring the matcha is evenly distributed for consistent color and flavor. Set this mixture aside.
Creating the Swiss Meringue
-
In the clean, dry bowl of your stand mixer, combine 100g of egg whites, 100g of white sugar, and 3g (1 tsp) of egg white powder (if using, highly recommended for stability). Whisk these ingredients gently by hand to combine. Create a *bain-marie* by placing the stand mixer bowl over a pot of simmering water, ensuring the bottom of the bowl does not touch the water. The seal should be relatively tight to allow the steam to heat the mixture efficiently.
-
Continuously whisk the egg white and sugar mixture over the simmering water. This continuous motion is important to prevent the egg whites from scrambling and to ensure the sugar dissolves evenly. Heat the mixture until it reaches a temperature of 140°F (60°C). Use a candy or instant-read thermometer for accuracy. Once the target temperature is achieved and the sugar is fully dissolved (feel a small amount between your fingers; it should be smooth, not gritty), carefully remove the bowl from the *bain-marie*.
-
Attach the bowl to your stand mixer, fitted with the whisk attachment. Begin beating the mixture on a low speed to incorporate air gradually. Once soft peaks have formed, increase the speed to medium. Once medium peaks are achieved, increase the speed to high. Beat on high until stiff, glossy peaks have formed – the meringue should stand up straight and firm when the whisk is lifted. If using, add a few drops of green food coloring and beat just until combined, being careful not to overmix.
The Macaronage Process
-
Carefully remove the meringue bowl from the stand mixer. Position a fine-mesh sieve over the meringue. Pour the previously prepared dry mixture (almond flour, confectioners’ sugar, and matcha) into the sieve, then gently sift these dry ingredients directly over the stiff meringue.
-
Using a rubber spatula, begin the delicate process of macaronage. Gently fold the dry ingredients into the meringue. I prefer to scrape around the sides of the bowl in an entire circle, and then cut through the centre – a motion often compared to drawing the Greek letter Phi (Φ). The goal is to carefully deflate the meringue just enough to achieve the correct batter consistency.
-
Continue folding until the batter reaches the “ribbon stage.” When you lift your spatula, the batter should flow off in a slow, continuous ribbon-like stream, similar to molten lava. This stream should slowly melt back into the main batter within approximately 20-30 seconds. If the batter falls in distinct clumps or breaks quickly, it’s under-mixed and needs a few more gentle folds. If it runs off too quickly and watery, it’s over-mixed and unfortunately, may result in flat macarons without feet. The “figure 8” test is also useful: if you can lift a portion of batter and draw several figure 8s without the stream breaking, it’s typically ready. Stop folding immediately once this consistency is achieved.
Piping and Drying the Macarons
-
Transfer the prepared macaron batter into a piping bag fitted with a medium to large round tip (approximately 1/2 inch or 1.25 cm opening). Hold the piping bag perfectly straight up and perpendicular to your prepared baking sheet. Pipe uniform small circles of batter onto your silicone baking mats or parchment paper. If you have a macaron mat or a template, use it for consistent sizing; aim for macarons around 1½” (3.8 cm) in diameter. Consistency in size is key for even baking and easy pairing later.
-
Once piped, firmly tap the baking sheet multiple times against your counter to release any trapped air bubbles within the macaron shells. Rotate the pan 90 degrees and repeat tapping on all sides. For any persistent air bubbles visible on the surface, gently use a toothpick to poke and swirl them out. This step is crucial for smooth tops and preventing cracks during baking.
-
Preheat your oven to 300°F (150°C), or 275°F (135°C) if you are using a convection oven. While the oven preheats, allow your piped macarons to sit undisturbed at room temperature to form a “skin” or *croûte*. This skin is absolutely vital as it prevents the macarons from spreading outwards and encourages them to rise vertically, creating those desirable characteristic “feet.” The drying time can vary significantly based on ambient humidity – from as little as 8 minutes in very dry climates to over an hour in humid conditions. The macarons are ready for baking when you can lightly touch the surface with your finger and no batter sticks to it. Be vigilant; overly dried macarons can be as problematic as under-dried ones!
Baking the Matcha Macarons
-
Bake the macarons for approximately 15-20 minutes. The exact baking time will depend on the size of your macarons and the specifics of your oven. Begin checking for doneness at the 15-minute mark. Macarons are fully baked when their tops are firm and do not wiggle or shift when gently nudged from their base. If they still feel soft or move, continue baking and check them every minute thereafter.
-
Once baked, remove the baking sheets from the oven and allow the macarons to cool completely on the sheets before attempting to remove them. Macarons are very fragile when warm and can break or stick if handled too soon. Once cooled, carefully peel them off the silicone mats or parchment paper. Before filling, arrange your macaron shells into “perfect pairs” of similar sizes to ensure a uniform and professional appearance for your finished treats.
Preparing the Matcha White Chocolate Ganache
-
Place the finely chopped white chocolate into a heatproof bowl and set it aside. Ensure the chocolate is chopped into small, even pieces for quick and consistent melting.
-
In a small saucepan, whisk together the heavy cream and matcha powder over medium heat. Continuously whisk until the mixture just begins to simmer around the edges – do not bring it to a rolling boil. Immediately remove from heat and pour the hot matcha-infused cream over the chopped white chocolate. Gently stir once or twice, then allow the mixture to sit undisturbed for 2 minutes. This brief resting period allows the heat from the cream to fully melt the chocolate, ensuring a smooth ganache.
-
After 2 minutes, whisk the ganache mixture gently but continuously until it comes together into a completely smooth, uniform, and luscious green consistency. Cover the bowl with plastic wrap, ensuring the wrap touches the surface of the ganache to prevent a skin from forming. Allow the ganache to cool to room temperature before using it as a filling. If you wish to speed up the cooling process using the refrigerator, remember to stir the ganache every 10-15 minutes to prevent it from becoming too hard and difficult to pipe. The ideal consistency for piping is thick enough to hold its shape but still soft and creamy.
Assembling and Maturing the Macarons
-
Once the macarons are cooled and paired, and the ganache has reached the correct piping consistency, it’s time to assemble! Pipe a generous dollop of the matcha white chocolate ganache onto one half of each macaron shell (typically the flatter, bottom side). Then, gently place its corresponding “perfect pair” shell on top, pressing lightly to sandwich the filling. For the best flavor and texture, place the assembled macarons into an airtight container and refrigerate them overnight. This “maturing” period allows the filling’s moisture to soften the macaron shells slightly, resulting in a delightfully chewy texture and a melded flavor profile that truly elevates the experience. Bring them to room temperature before serving for the optimal sensory experience.
This recipe for Matcha Macarons has been thoughtfully adapted and expanded from the foundational Swiss meringue macaron techniques shared by Pie and Tacos.
