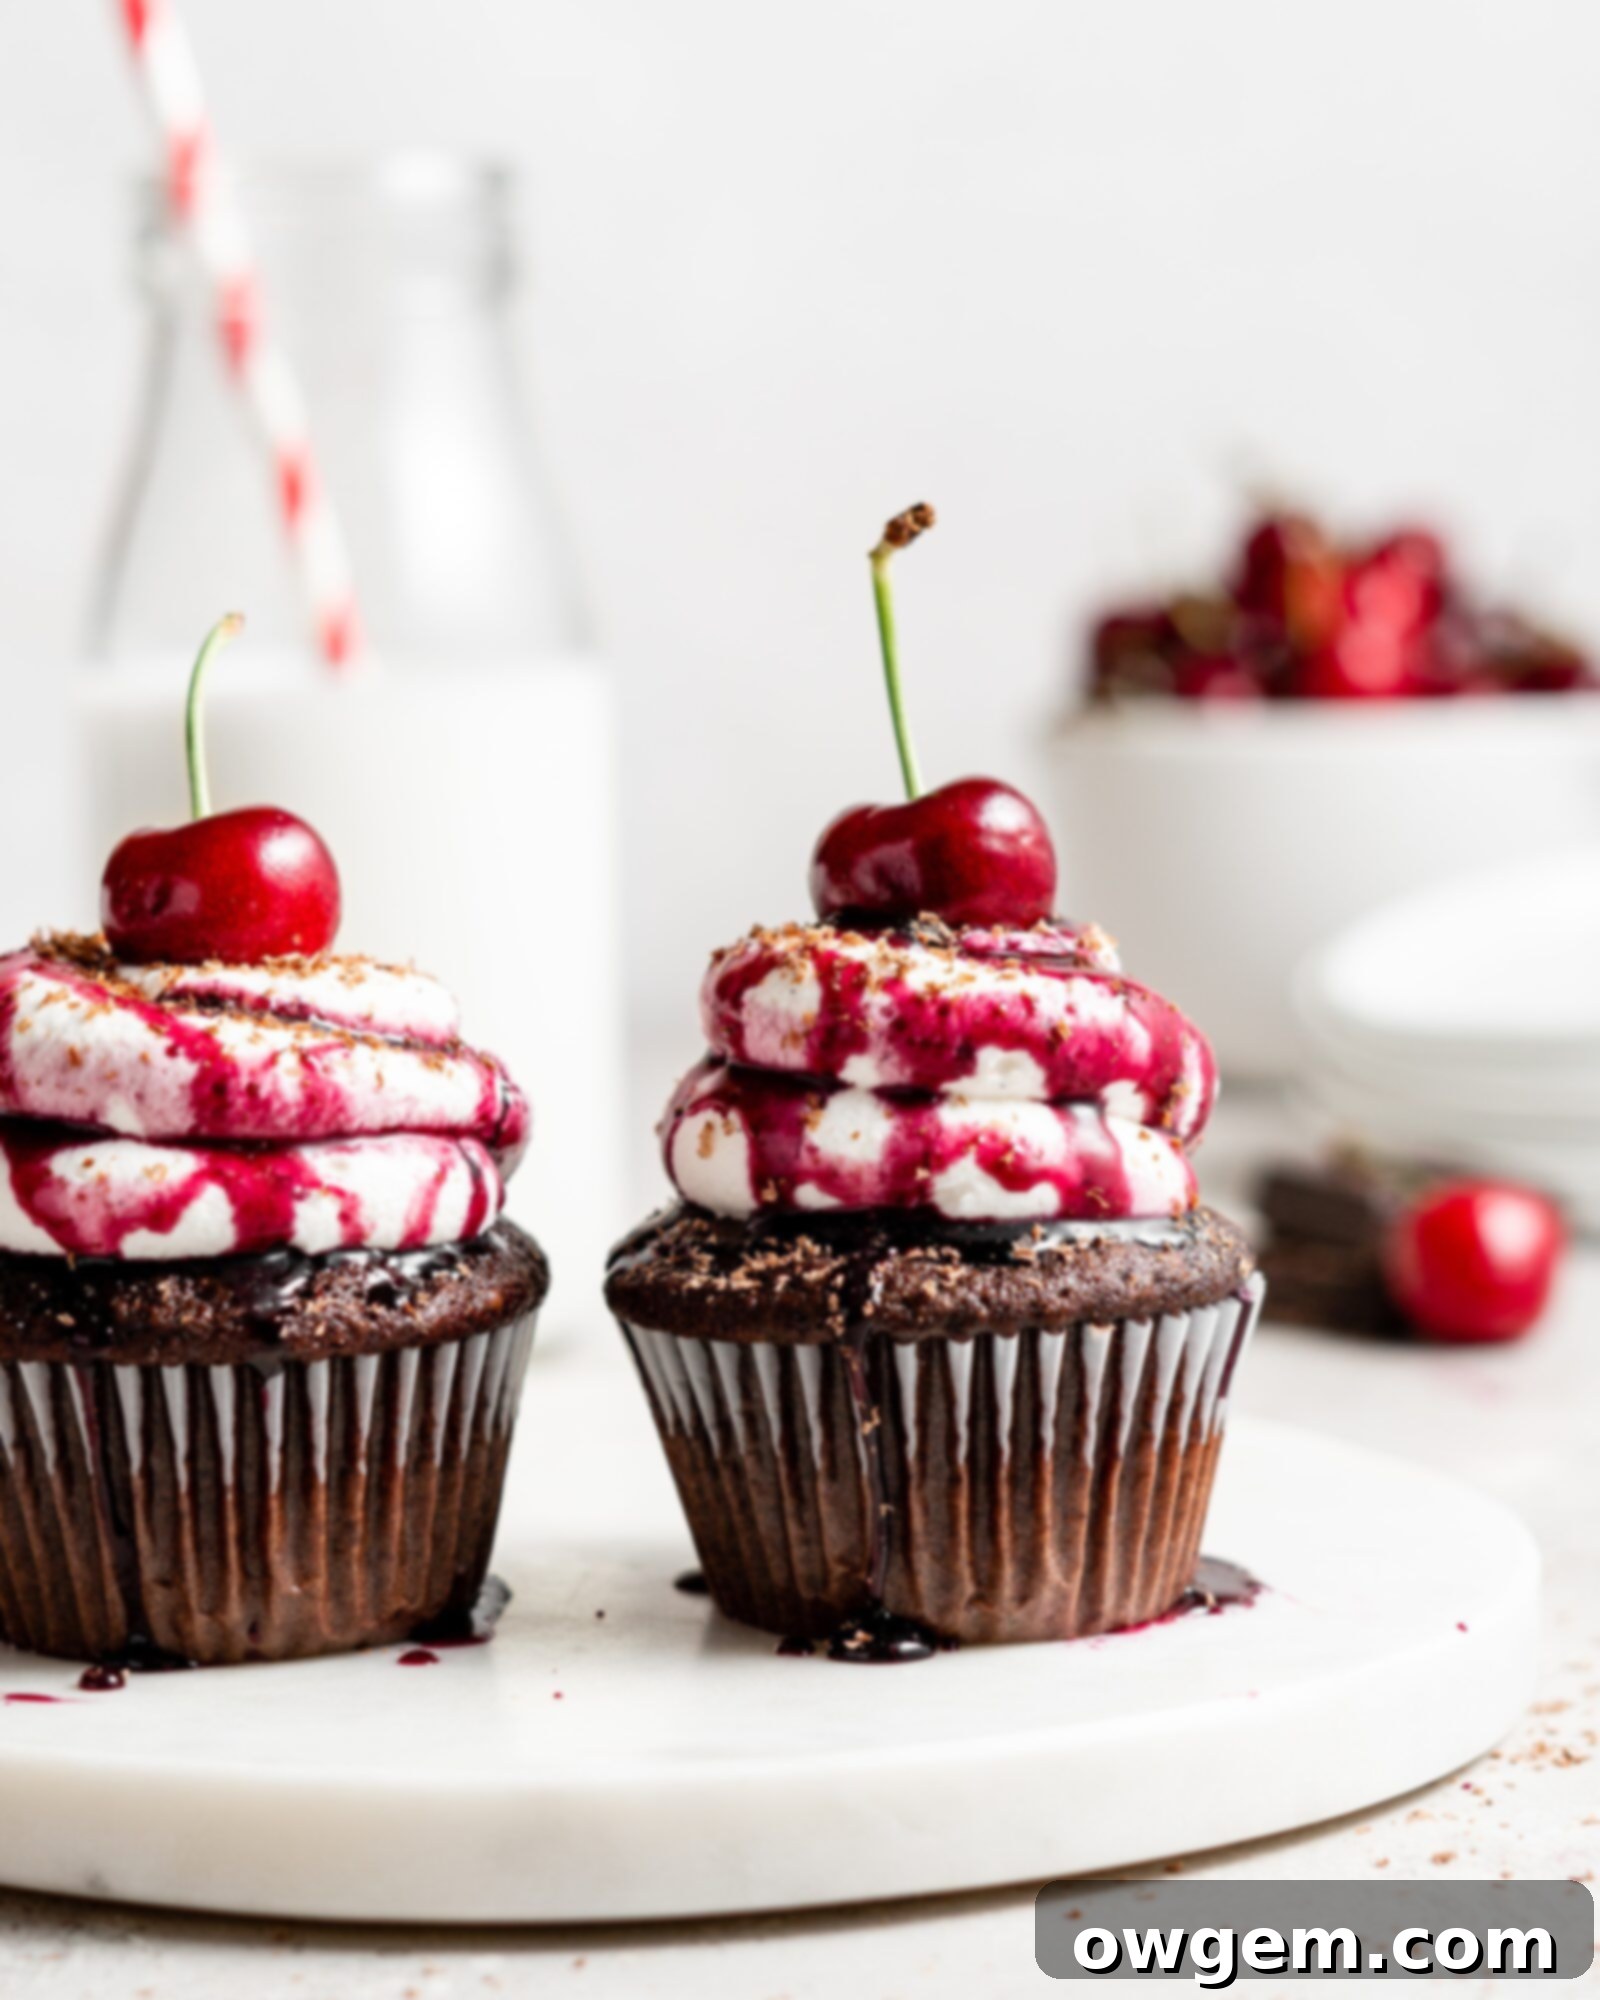
Decadent Black Forest Cupcakes: A Miniaturized Classic Recipe
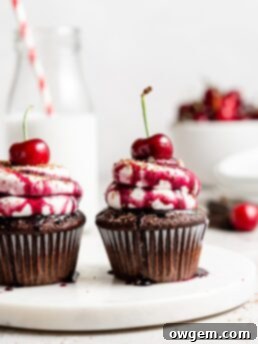
Indulge in the rich, classic flavors of the Black Forest cake reimagined in a delightful, individual portion: these decadent Black Forest Cupcakes. Each bite delivers a harmonious blend of a moist, intensely fudgy chocolate cupcake, generously filled with a luscious homemade cherry compote. Crowned with airy, stabilized whipped cream and adorned with a plump, ripe cherry, these cupcakes offer all the beloved elements of the traditional German dessert in a charming, handheld format. Perfect for any celebration, a cozy treat, or simply to satisfy a serious chocolate and cherry craving, this recipe brings elegance and irresistible taste to your baking repertoire.
Forget the elaborate layers and complex assembly of a full cake; these cupcakes streamline the process without compromising on flavor or presentation. The deep chocolate notes are enhanced by a hint of coffee, while the vibrant, sweet-tart cherry filling provides a juicy burst with every spoonful. The homemade whipped cream is not just any topping; it’s specially stabilized to ensure it holds its beautiful shape, making these cupcakes as visually stunning as they are delicious. Get ready to bake a batch of these exquisite treats that are sure to impress and delight everyone who tries them!
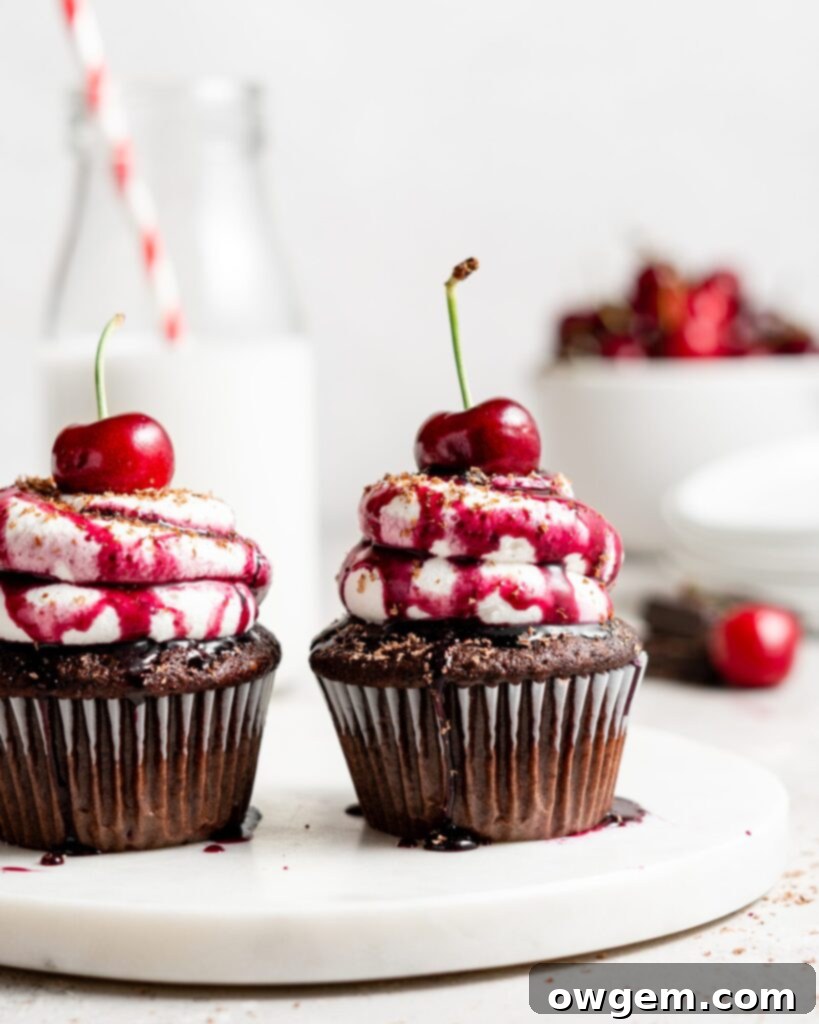
Table of Contents
- Why You’ll Love This Black Forest Cupcake Recipe
- Essential Ingredient Notes for Perfect Cupcakes
- Crafting Your Homemade Cherry Filling
- Baking the Fudgy Chocolate Black Forest Cupcakes
- Achieving Perfect Stabilized Whipped Cream
- Expert Tips & Tricks for Best Results
- Recommended Equipment for Baking
- Storage Solutions for Your Cupcakes
- Frequently Asked Questions (FAQ)
Why You’ll Love This Black Forest Cupcake Recipe
This Black Forest Cupcake recipe isn’t just a dessert; it’s an experience. You’ll fall in love with its rich, fudgy chocolate base, which offers a deep, satisfying cocoa flavor that’s both intense and comforting. This perfect foundation is then beautifully complemented by a pillowy soft, luscious homemade whipped cream and a sweet-tart, summery cherry filling that bursts with fresh fruit essence. It’s a symphony of textures and flavors that truly captures the essence of the beloved Black Forest cake in a convenient, cupcake form.
If you’re a devoted fan of filled cupcakes, these cherry-filled Black Forest Cupcakes are an absolute must-try. The surprise center of sweet, tangy cherries makes each bite exciting and adds another layer of complexity to the chocolatey goodness. It’s an elegant dessert that’s still approachable for any home baker, offering that special touch without requiring advanced pastry skills.
One of the best aspects of this recipe is its flexibility. It welcomes both fresh or frozen cherries for the homemade cherry cupcake filling, allowing you to enjoy these treats year-round. Whether it’s peak cherry season and you’re utilizing fresh, local produce, or you’re reaching for frozen cherries in the off-season, the result is consistently delicious. This adaptability makes it an incredibly convenient recipe to keep in your baking arsenal.
Furthermore, this recipe is incredibly versatile if you happen to have leftover cherry pie filling. Don’t let any deliciousness go to waste! Feel free to incorporate any leftovers you have on hand, or even use your favorite canned cherry pie filling for a shortcut. While our homemade cherry filling recipe below offers an unparalleled fresh taste, the option to use pre-made filling ensures that these delightful cupcakes are accessible even when time is short. This makes it an ideal choice for busy bakers who still want to create something truly special.
Essential Ingredient Notes for Perfect Cupcakes
To achieve the perfect Black Forest Cupcakes, understanding the role of each ingredient is key. Here’s a closer look at some of the most important components and why they matter:
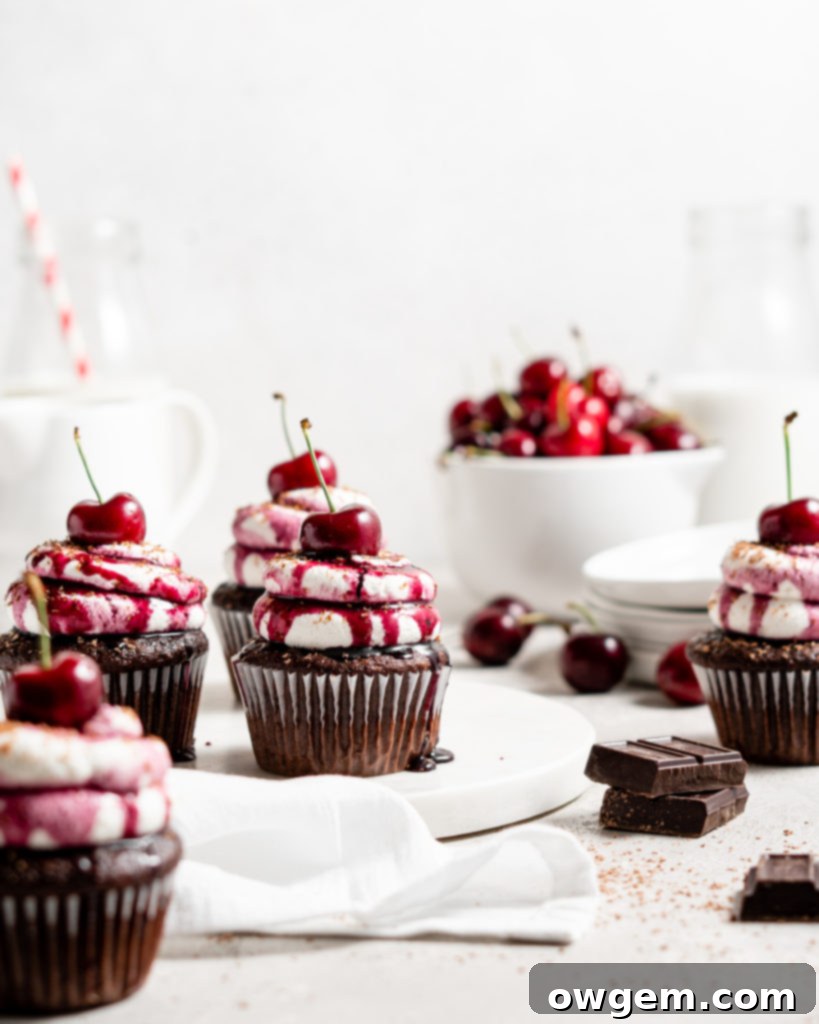
Cherries: The heart of the Black Forest flavor. You have the flexibility to use either fresh or frozen cherries for the filling. If using fresh, make sure to pit them thoroughly. Frozen cherries are incredibly convenient and work beautifully, often providing a consistent flavor profile. Just ensure they are thawed and drained before slicing. The quality of your cherries will significantly impact the brightness and sweetness of your compote, so choose plump, ripe ones.
Dutch Cocoa: This is our secret weapon for an incredibly rich, dark chocolate cupcake. Dutch-processed cocoa powder has been treated with an alkalizing agent, which reduces its acidity. This results in a smoother, less bitter, and more intensely chocolatey flavor compared to natural cocoa. It also gives the cupcakes a beautiful, deep mahogany color, truly mimicking the forest-dark appearance of the classic cake. While regular cocoa can be used, Dutch cocoa will elevate your chocolate experience.
Stabilized Whipped Cream: It simply wouldn’t be ‘Black Forest’ without a generous dollop of whipped cream! For these cupcakes, we opt for homemade stabilized whipped cream. The stabilization is crucial because it helps the whipped cream maintain its beautifully piped shape and prevents it from weeping or melting quickly at room temperature. This means your cupcakes will look gorgeous and taste fresh for longer, making them ideal for serving at parties or leaving out for a short period without worry. Traditional whipped cream would collapse, but stabilization ensures a picture-perfect topping.
Kirsch: Kirschwasser, or Kirsch, is a clear, colorless brandy traditionally made from double-distilled morello cherries. It imparts that quintessential, authentic cherry liqueur flavor that is characteristic of a classic Black Forest dessert. It adds depth and a subtle boozy note to the cherry filling, enhancing the overall profile. If you prefer to avoid alcohol, you can omit it or use a non-alcoholic cherry extract or a splash of almond extract to mimic a similar flavor dimension, though the true essence of Black Forest is best achieved with Kirsch.
Room Temperature Ingredients: For the chocolate cupcakes, ensure your eggs, sour cream, and any other dairy are at room temperature. This allows them to emulsify more easily with other ingredients, creating a smoother batter and a more evenly baked, tender, and fluffy cupcake texture. Cold ingredients can cause the batter to seize and result in a denser crumb.
Hot Coffee: Don’t skip the hot coffee! It doesn’t make your cupcakes taste like coffee, but rather acts as a secret ingredient to “bloom” the cocoa powder. The hot liquid helps to dissolve the cocoa solids, unlocking and intensifying the chocolate flavor to its fullest potential, making these chocolate cupcakes incredibly rich and deep.
Crafting Your Homemade Cherry Filling
The homemade cherry filling is a key component that elevates these Black Forest Cupcakes, providing a fresh, vibrant contrast to the rich chocolate. Making it from scratch allows you to control the sweetness and consistency, ensuring a perfect burst of cherry flavor in every bite. Here’s how to create this delectable compote:
Start by preparing your cherries. If using fresh cherries, wash them thoroughly, remove the stems, and use a cherry pitter to remove the pits. For both fresh and thawed frozen cherries, slice them into quarters. This size allows the cherries to break down slightly while still maintaining some texture in the finished filling. Once prepped, add these quartered cherries and the measured sugar to a medium saucepan. Place the saucepan over medium heat, stirring occasionally to help the sugar dissolve and prevent sticking.
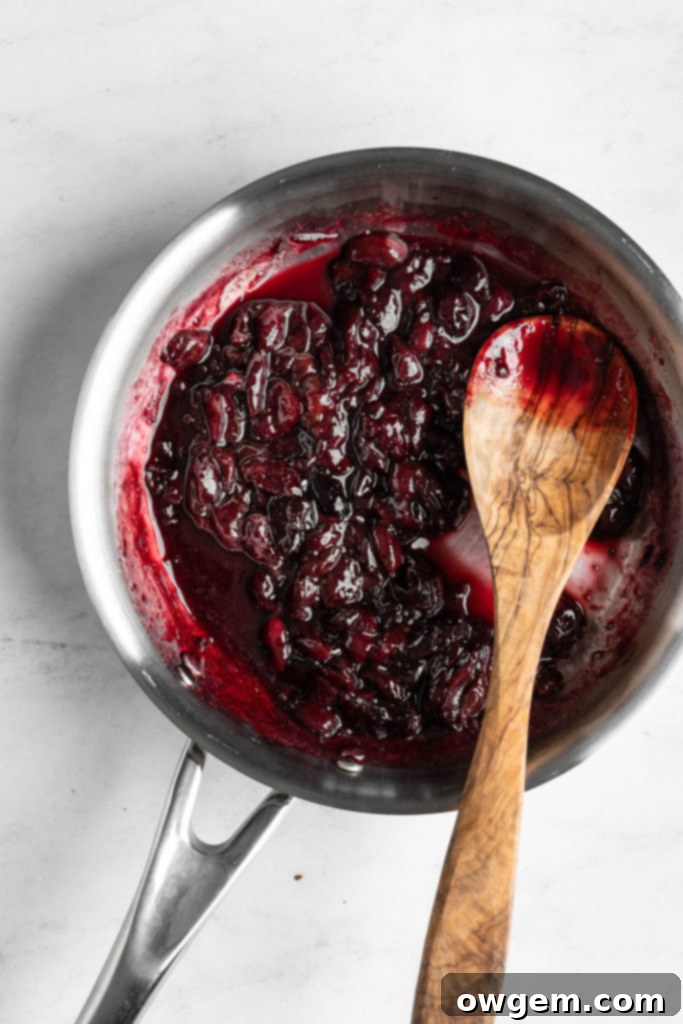
Bring the mixture up to a gentle boil, ensuring the sugar is fully dissolved and the cherries begin to release their juices. Once boiling, reduce the heat to a simmer. Allow the filling to cook for about 15 to 20 minutes, stirring every so often to prevent scorching and ensure even cooking. During this simmering process, the cherries will soften significantly, and the liquid will begin to thicken into a beautiful, glossy compote. You’re looking for a consistency that coats the back of a spoon and is no longer watery.
Once the filling has reached the desired thickened consistency and the cherries are very soft, remove the saucepan from the heat. Now, stir in the Kirsch liqueur (if using) and a pinch of salt. The Kirsch adds that authentic Black Forest depth, while the salt subtly enhances all the flavors, balancing the sweetness. Immediately transfer the hot cherry filling into a clean, sealed container. It is absolutely crucial to allow the cherry filling to cool completely, preferably in the fridge for several hours or overnight, before attempting to fill the black forest cupcakes. Using warm filling will melt your cupcakes and result in a soggy disaster. A fully cooled filling will be thicker and much easier to work with, ensuring your cupcakes remain perfectly structured and delicious.
Baking the Fudgy Chocolate Black Forest Cupcakes
The chocolate cupcake base is the foundation of this incredible dessert. Follow these steps carefully to ensure you achieve a moist, fudgy, and intensely chocolatey crumb that perfectly holds the cherry filling.
1. Prepare Your Dry Ingredients: In a separate, medium-sized mixing bowl, add the all-purpose flour, baking powder, baking soda, and salt. Use a whisk to thoroughly combine these dry ingredients. This step ensures that the leavening agents and salt are evenly distributed throughout the flour, which is crucial for uniform rising and flavor in your cupcakes. Set this bowl aside for a moment.
2. Combine Wet Ingredients: In a large mixing bowl, crack in the large egg, then add the granulated sugar, sour cream, vegetable oil, and vanilla extract. Use a whisk to beat these ingredients together until the mixture is completely smooth and well-combined. The sour cream and oil contribute to the cupcakes’ moisture and tender crumb, while the sugar and vanilla provide sweetness and aroma. Ensure there are no lumps and the mixture is homogenous.
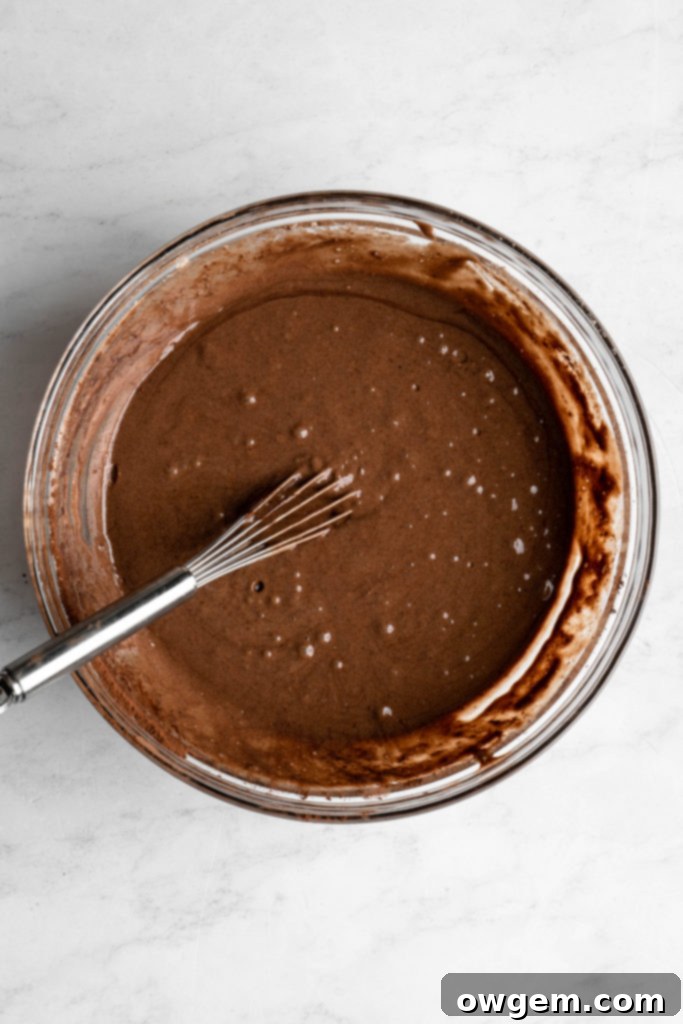
3. Bloom the Cocoa: This is a critical step for maximizing chocolate flavor. In a small, heat-proof bowl or a 2-cup liquid measuring cup, add the sifted Dutch cocoa powder to the hot, freshly brewed coffee. Whisk vigorously until the cocoa powder is fully dissolved and the mixture is smooth, with no lingering lumps. The hot coffee “blooms” the cocoa, intensifying its flavor and color. Allow this rich cocoa mixture to sit for about two minutes, then add it to the wet mixture (eggs, sour cream, etc.) from step 2. Whisk again until everything is beautifully smooth and integrated, ensuring that the chocolatey goodness is evenly distributed.
4. Combine Wet & Dry Mixtures: Now, gently pour the wet chocolate mixture into the bowl containing your whisked dry ingredients. Using a whisk or a rubber spatula, mix the ingredients together just until smooth and no streaks of flour remain. Be very careful not to overmix the batter; overmixing can develop the gluten in the flour too much, leading to tough and dry cupcakes. Mix only until barely combined.
5. Fill & Bake: Line a standard 12-cup cupcake pan with paper liners. Carefully pour the chocolate cupcake batter into the prepared cupcake pan, filling each liner about two-thirds full. This ensures they have enough room to rise without overflowing. Place the pan into your preheated oven and bake for approximately 20 minutes, or until an inserted toothpick comes out clean. Once baked, remove the cupcakes from the oven and let them cool in the pan for a few minutes before transferring them to a wire rack to cool completely. It is absolutely essential for the chocolate cupcakes to be fully cooled before you proceed with filling and frosting them to prevent any melting or structural issues.
6. Core and Fill: Once your cupcakes are completely cool, it’s time for the delicious cherry filling! Using a cupcake corer, a small paring knife, or the back of a large piping tip, carefully remove a 1-inch deep circle from the center of each cupcake. Discard or snack on the removed cake pieces. Then, using a spoon or a piping bag, generously fill each cored cupcake cavity with about 1 tablespoon of the chilled cherry filling, ensuring it almost reaches the top. This hidden treasure is what truly makes these Black Forest Cupcakes shine!
Achieving Perfect Stabilized Whipped Cream
Stabilized whipped cream is a game-changer for cupcakes, ensuring your beautiful piping holds its shape and doesn’t melt into a puddle. This recipe uses gelatin for a reliably stable, yet still incredibly light and airy topping. Here’s how to master it:
To begin making your stabilized whipped cream, first prepare the gelatin. In a small, microwave-safe dish, combine the granulated gelatin with the measured cold water. Whisk these two ingredients together thoroughly to ensure the gelatin is fully moistened and there are no dry spots. Allow this mixture to “bloom” or sit for about 5 minutes, which allows the gelatin granules to absorb the water and soften. After blooming, place the dish into the microwave and heat it for approximately 30 seconds, or until the gelatin has completely dissolved into the water, appearing clear and liquid. It’s crucial that there are no grainy bits of gelatin remaining. Once dissolved, set the gelatin mixture aside for a few minutes to cool down slightly; you want it warm enough to be liquid but not hot, as a very hot gelatin could curdle your cream.
While the gelatin cools, prepare your main whipped cream components. Pour your very cold heavy cream, confectioners’ sugar (start with 1 tablespoon and adjust to taste), and vanilla extract into the bowl of a stand mixer fitted with the whisk attachment, or into a large mixing bowl if using a hand mixer. Begin beating the mixture on medium speed. Continue to beat until medium peaks have formed. At this stage, when you lift the whisk, the peaks will hold their shape but still be soft and curl slightly at the tip. Now, with the mixer still running on medium speed, slowly drizzle in the slightly cooled (but still liquid) gelatin mixture. Once the gelatin is fully incorporated, increase the mixer speed to medium-high and continue beating until stiff peaks form. Stiff peaks will stand straight up when the whisk is lifted, holding their shape firmly.
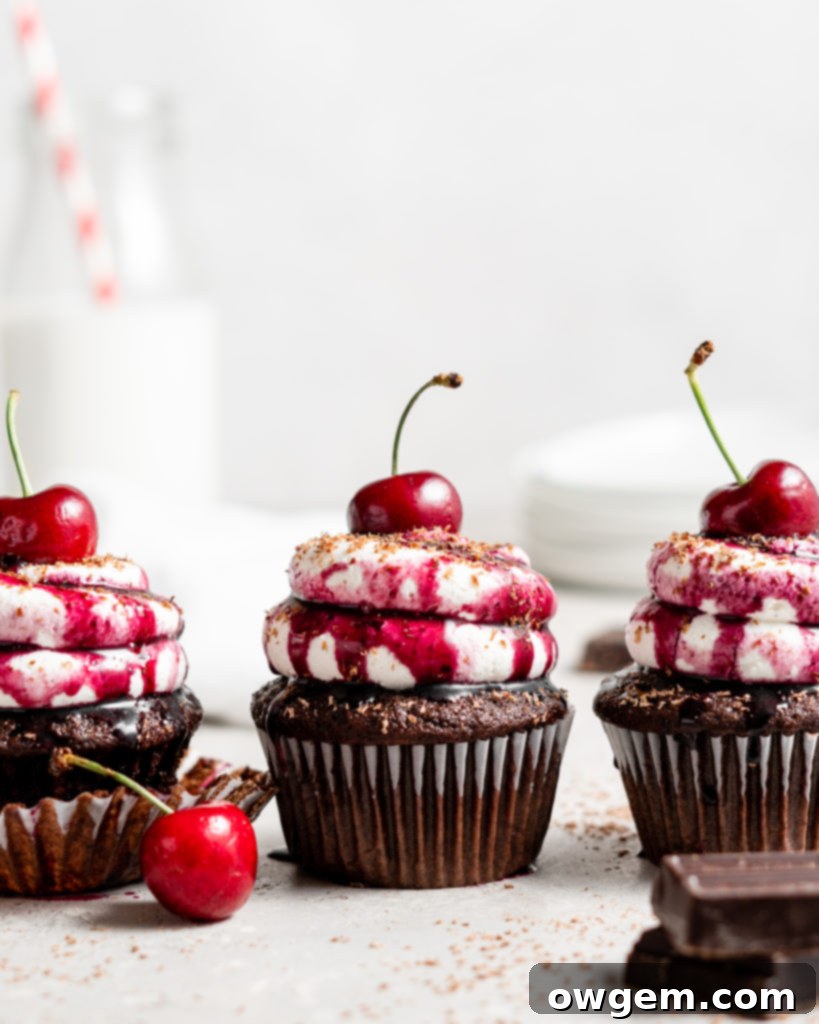
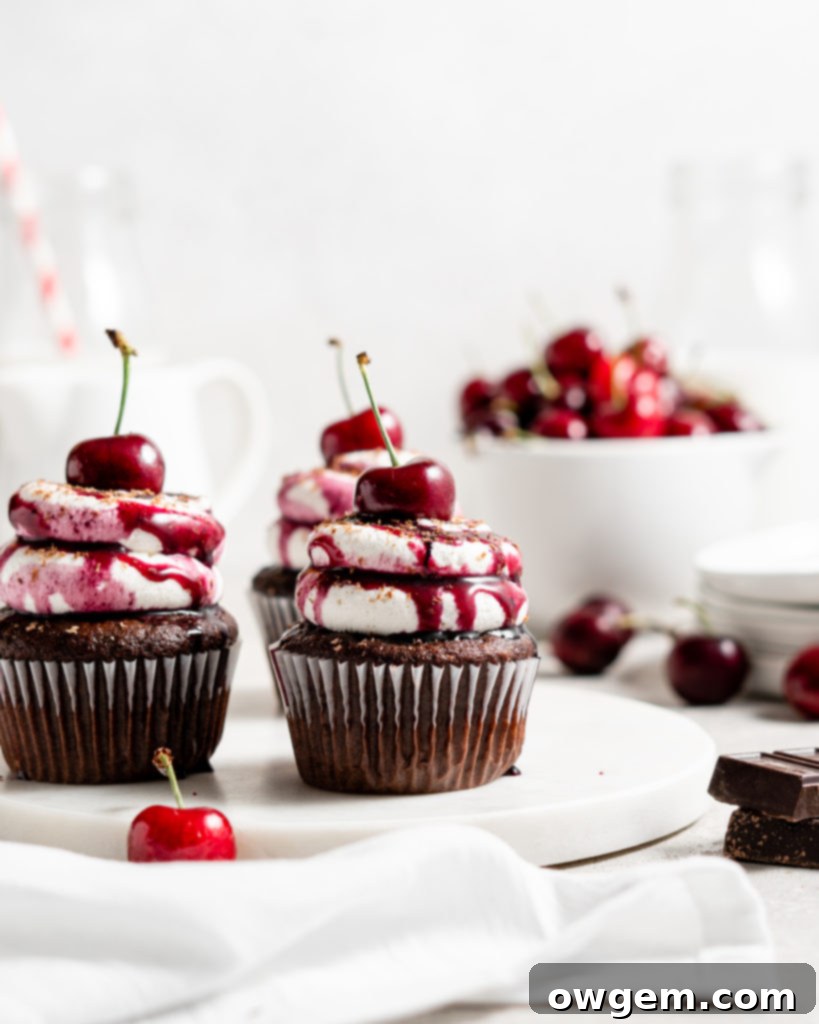
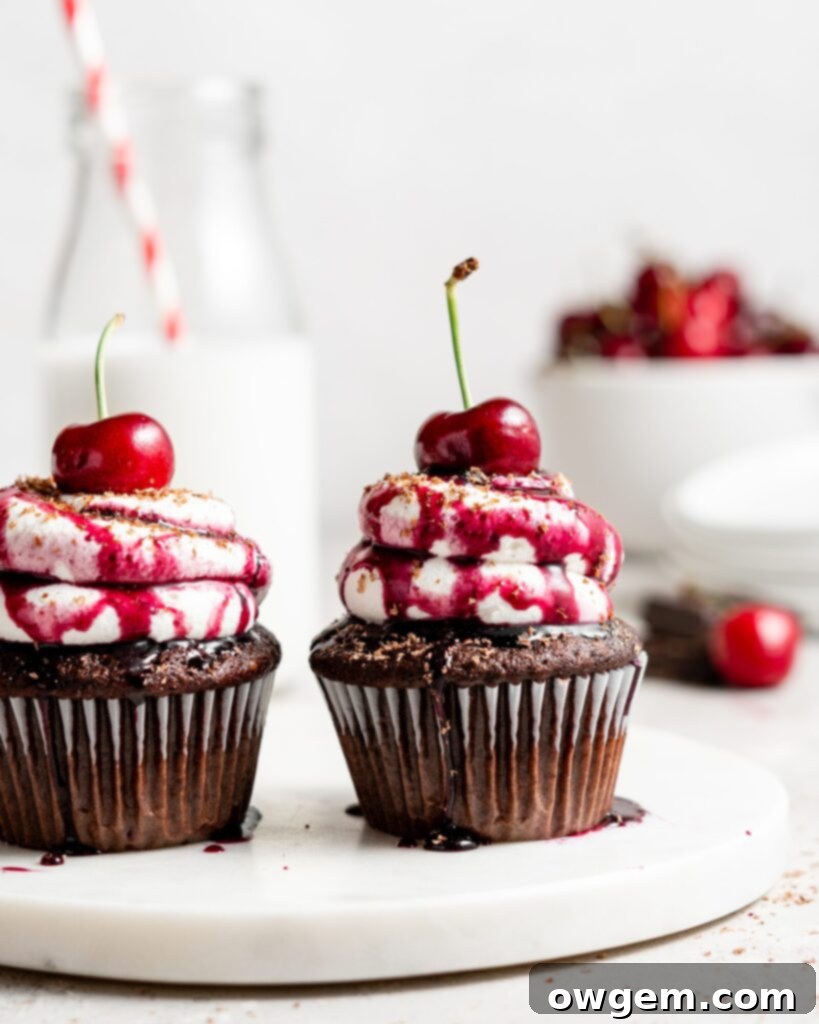
Once your stabilized whipped cream is ready, transfer it immediately to a piping bag fitted with your desired decorative tip. You’re now ready to pipe beautiful, durable swirls onto your filled Black Forest Cupcakes! The stabilization ensures your presentation will remain pristine, even when served for a little while at room temperature.
Expert Tips & Tricks for Best Results
Achieving bakery-quality Black Forest Cupcakes is within reach with these expert tips and tricks:
Use stabilized whipped cream. This isn’t just a suggestion; it’s a game-changer for these cupcakes. Stabilized whipped cream holds its shape exceptionally well, preventing it from weeping or melting immediately at room temperature. This makes it absolutely perfect for piping beautiful swirls on top of cupcakes, ensuring they look fantastic for longer, especially if you’re serving them at an event or a warmer climate.
Ensure all ingredients are at room temperature. This applies particularly to eggs and sour cream. Room temperature ingredients emulsify much more effectively, creating a smoother, more uniform batter. This leads to cupcakes that bake more evenly, resulting in a significantly softer, fluffier, and more tender crumb. Plan ahead and take your refrigerated ingredients out at least 30-60 minutes before you start baking.
Opt for Dutch processed cocoa powder. For that deep, rich, and truly dark chocolate flavor characteristic of a Black Forest cake, Dutch cocoa is superior. It’s less acidic than natural cocoa, which contributes to a smoother taste and a darker, more appealing color. Regular cocoa can be used in a pinch, but for the most authentic and intense chocolate experience, Dutch process is the way to go. Here is a link to my favorite brand, which I highly recommend.
The magic of hot coffee. Do not underestimate the power of hot coffee in this recipe! The hot liquid is essential for “blooming” the cocoa powder. This process dissolves the cocoa solids, unlocking and intensifying its full flavor potential, making your chocolate cupcakes incredibly rich and fudgy. While it enhances the chocolate, don’t worry – your cupcakes won’t taste like coffee, just more intensely chocolatey.
Always sift the cocoa powder. Cocoa powder has a notorious tendency to clump together, which can lead to pockets of dry powder in your batter. To avoid this and ensure a perfectly smooth, lump-free batter, always dump your cocoa powder over a fine-mesh sieve and gently tap it through into your flour mixture. This simple step makes a big difference in the final texture of your cupcakes.
Weigh your ingredients for precision. For the best and most consistent baking results, especially in recipes like this one, weighing your ingredients with a kitchen scale is highly recommended. Volumetric measurements (cups and spoons) can be off by significant amounts due to differences in packing, humidity, or even how vigorously you scoop. Weighing ensures accuracy every time, leading to perfectly baked, consistent cupcakes.
Don’t overfill cupcake liners. Filling cupcake liners about two-thirds full is the sweet spot. Overfilling can cause the cupcakes to spill over the sides, create large domed tops that are hard to frost, or result in a dense, uncooked center. Filling them correctly ensures a beautiful, even rise and perfectly sized cupcakes.
Cool completely before filling and frosting. Patience is a virtue in baking, especially with cupcakes. Attempting to fill or frost warm cupcakes will lead to melted filling, runny frosting, and crumbly messes. Ensure your cupcakes are completely cool to the touch before coring, filling with cherry compote, and topping with whipped cream. This typically takes at least an hour, or even longer.
Recommended Equipment for Baking
Having the right tools can make your baking experience smoother and more enjoyable. While some items are essential, others simply make the process more efficient. Here’s what you’ll need to create these delicious Black Forest Cupcakes:
Cupcake Pan: A standard 12-cup cupcake or muffin pan is essential for baking your cupcakes. Using a good quality pan ensures even heat distribution and prevents sticking. Here is a link to my favorite cupcake pan, which provides consistent results and is easy to clean.
Cherry Pitter: If you’re opting for fresh cherries for your homemade cupcake filling, a cherry pitter will be your best friend. It significantly speeds up the process of removing pits, making it much less messy and labor-intensive than using a knife. Grab one of these cherry pitters to make easy work of preparing your fruit.
Stand Mixer or Hand Mixer: While not strictly mandatory (you *could* whisk by hand if you have strong arms and a lot of patience!), a stand mixer or a quality hand mixer will make preparing the whipped cream a whole lot easier and ensure it reaches perfect stiff peaks. It also helps combine the cupcake batter efficiently without overmixing. If you bake frequently, either of these is a worthwhile investment.
Kitchen Scale: For consistent and professional-level results, a digital kitchen scale is invaluable. Weighing ingredients, especially flour and sugar, is far more accurate than using volumetric measurements, which can vary wildly. This precision ensures your cupcakes turn out perfectly every single time.
Mixing Bowls: You’ll need at least two large mixing bowls – one for your dry ingredients and another for your wet ingredients – and a smaller heat-proof bowl for blooming the cocoa powder. Having enough bowls helps with organization and prevents cross-contamination of ingredients.
Whisk and Spatula: A good sturdy whisk is essential for combining both wet and dry ingredients and for making your cherry filling. A rubber spatula is also crucial for scraping down the sides of bowls and gently folding ingredients, especially when you need to avoid overmixing your cupcake batter.
Cupcake Liners: To prevent sticking and for easy serving, don’t forget your paper cupcake liners! These also add a nice aesthetic touch to your finished Black Forest Cupcakes.
Storage Solutions for Your Cupcakes
To maintain the freshness and deliciousness of your Black Forest Cupcakes, proper storage is essential, especially due to the whipped cream topping and cherry filling. Here’s how to store them for optimal enjoyment:
Fridge Storage: Because these cupcakes are generously topped with homemade stabilized whipped cream and filled with a cherry compote, they are best stored in the refrigerator if you’re not consuming them within 2 hours of assembly. Place the cupcakes in an airtight container to prevent them from drying out or absorbing odors from other foods in your fridge. Stored this way, they will remain fresh and delicious for 2-3 days. Bring them to room temperature for about 15-20 minutes before serving for the best texture and flavor, or enjoy them chilled.
Freezer Storage: If you’re looking to make components ahead of time or save some cupcakes for a future treat, the baked cupcakes and the cherry filling can both be frozen separately. For the baked cupcakes, allow them to cool completely, then place them unfrosted and unfilled in a single layer in a freezer-safe bag or airtight container. Freeze for up to 3 months. The cherry filling can also be stored in an airtight container in the freezer for up to 3 months. When ready to enjoy, thaw the cupcakes and filling in the refrigerator overnight. Once thawed, you can core and fill the cupcakes, then prepare fresh whipped cream and assemble them as desired. Freezing the assembled cupcakes is not recommended as the whipped cream texture may degrade upon thawing.
Frequently Asked Questions (FAQ)
Kirsch, a cherry liqueur, is traditionally used in Black Forest desserts and adds a significant depth of authentic cherry flavor that is hard to replicate. While you can certainly make the cherry filling without Kirsch, it may lack that classic, nuanced black forest cherry flavor that sets it apart. If you prefer to avoid alcohol, you can omit it entirely or add a tiny amount of non-alcoholic cherry extract or even almond extract for a subtle flavor boost.
Yes, you can use regular, natural cocoa powder in place of Dutch-processed cocoa. However, please be aware that using regular cocoa will result in a slightly lighter colored cupcake with a different, often more acidic, chocolate flavor profile. Dutch-processed cocoa provides a darker color and a smoother, richer, less bitter chocolate taste, which is more typical of traditional Black Forest desserts. Adjusting baking soda/powder may not be necessary for this recipe, but always check the original recipe source if making significant substitutions.
After your cupcakes have completely cooled, there are a few methods to create the cavity for your filling. You can use a dedicated cupcake corer, which makes a clean, circular cut. Alternatively, a small paring knife can be used to carefully cut out a 1-inch circle from the center of each cupcake, about 1 inch deep. Another trick is to use the back of a large piping tip (like a round tip) to press and twist out a core. Once the center is removed, use a small spoon or a piping bag (without a tip, just snip the end) to insert the cooled cherry filling into the cupcake. Fill each cupcake until the filling almost reaches the top, ensuring a generous burst of cherry in every bite.
No, you could certainly make these cupcakes without stabilizing the whipped cream. However, without stabilization, the whipped cream will be much softer and will not hold its piped shape as well, especially at room temperature. It will also begin to melt very quickly, particularly in warmer environments. If you choose not to stabilize it, ensure the cupcakes are kept refrigerated right up until serving, and consume them immediately after piping to avoid a messy outcome.
If you prefer not to use gelatin, you can stabilize whipped cream using mascarpone cheese or cream cheese. To do this, whip softened mascarpone (or cream cheese) with a little sugar until smooth, then gradually add cold heavy cream and whip until stiff peaks form. While these alternatives work, mascarpone-stabilized whipped cream often doesn’t hold its shape quite as firmly or for as long as gelatin-stabilized whipped cream.
You can use buttermilk in place of the sour cream (in the same quantity), as both are acidic and contribute to a tender crumb. However, regular milk is not a suitable substitute for sour cream. Regular milk lacks the acidity and fat content that sour cream provides, which are crucial for the texture, moisture, and overall rise of these specific chocolate cupcakes. Substituting regular milk would likely result in a denser, less moist cupcake.
Yes, these cupcakes can be made ahead of time! The best approach is to assemble them (fill and frost) no more than 1-2 days in advance. Ensure that you store them promptly in the fridge in an airtight container to maintain freshness and prevent the whipped cream from deteriorating. For longer storage, you can freeze the unfrosted cupcakes and the cherry filling separately (as detailed in the storage section) and assemble them closer to when you plan to serve.
Due to the whipped cream and fresh cherry filling, these cupcakes can safely be left out at room temperature for a maximum of 2 hours. After this time, they should be refrigerated to prevent spoilage and maintain the stability of the whipped cream. If you are in a particularly hot or humid climate, the whipped cream may begin to soften or melt more quickly than in colder climates, so prompt refrigeration is even more crucial.
Get the Recipe:
Black Forest Cupcakes
Pin
Rate
Ingredients
Cherry Filling
- 1 lb (454g) Frozen Cherries,, thawed and quartered (If using fresh, remove stems and pits, then weigh to 1lb/454g)
- 1/4 cup (50g) White Sugar
- 2 tsp Kirsch Liqueur
- Pinch of Salt
Chocolate Cupcakes
- 1 ¼ cups (150g) All Purpose Flour
- 1/2 tsp Baking Soda
- 1/2 tsp Baking Powder
- 1/4 tsp Salt
- 1 Large Egg
- 1 cup (200g) Sugar
- 1/2 cup (120g) Sour Cream
- 1/4 cup (55g) Vegetable Oil
- 1 tsp Vanilla
- 6 tbsp (38g) Dutch Processed Cocoa Powder, (regular cocoa can be used too)
- 6 tbsp (90g) Hot Freshly Brewed Coffee
Stabilized Whipped Cream
- 2 tsp Gelatin
- 2 tbsp + 2 tsp (40g) Water
- 2 cups (260g) Heavy Cream
- 1-3 tbsp Confectioners Sugar,, to desired sweetness
- 1 ½ tsp Vanilla
Equipment
-
Stand mixer
Instructions
Cherry Filling
-
Add the quartered cherries and sugar to a medium saucepan over medium heat. Bring to a gentle boil, stirring occasionally. Once boiling, reduce heat to a simmer and cook the compote for 15-20 minutes, stirring frequently, until it thickens to a jam-like consistency. Stir in the Kirsch liqueur and salt, then transfer the filling to a sealed container and place it into the fridge to fully cool before using in the cupcakes.
Chocolate Cupcakes
-
Preheat your oven to 350°F (175°C). Line a 12-cup cupcake pan with paper liners. In a large mixing bowl, whisk together the all-purpose flour, baking soda, baking powder, and salt until well combined. Set this dry mixture aside.
-
In a separate large bowl, combine the room temperature egg, granulated sugar, sour cream, vegetable oil, and vanilla extract. Whisk these wet ingredients together vigorously until the mixture is smooth and thoroughly combined, ensuring no sugar granules remain visible.
-
In a small mixing bowl or a 2-cup liquid measuring cup, add the hot, freshly brewed coffee and the sifted Dutch-processed cocoa powder. Whisk them together until the mixture is completely smooth and lump-free (this “blooms” the cocoa for maximum flavor). Allow it to sit for 2 minutes, then pour this rich cocoa mixture into the large bowl with the wet ingredients. Mix until smooth and fully incorporated.
-
Pour the combined wet ingredients into the bowl containing the dry ingredients. Using a whisk or a rubber spatula, gently mix everything together until just smooth. Be careful not to overmix, as this can lead to tough cupcakes. Divide the cupcake batter evenly among the prepared cupcake liners, filling each approximately 2/3 full. Bake for 20 minutes, or until a toothpick inserted into the center of a cupcake comes out clean. Allow the cupcakes to cool in the pan for a few minutes before transferring them to a wire rack to cool completely.
-
Once the cupcakes are completely cooled, use a cupcake corer or a small paring knife to carefully cut out an approximately 1-inch deep circle from the top center of each cupcake. Discard the removed cake piece or enjoy it as a chef’s snack. Fill each cored cavity with about 1 tablespoon of the thoroughly cooled cherry filling, ensuring it almost reaches the top.
Stabilized Whipped Cream
-
In a small, microwave-safe dish, combine the gelatin and water. Whisk well to ensure the gelatin is fully moistened, then let it sit for 5 minutes to bloom. Microwave for about 30 seconds, or until the gelatin is completely melted and clear. Set this mixture aside to cool slightly while you prepare the whipped cream.
-
Meanwhile, in a large bowl or the bowl of a stand mixer fitted with a whisk attachment, add the chilled heavy cream, confectioners’ sugar (adjusting to your desired sweetness), and vanilla extract. Beat on medium speed until medium peaks have formed. With the mixer still running on medium, slowly drizzle in the slightly cooled gelatin mixture. Continue beating on medium-high speed until stiff peaks are achieved. Transfer the stabilized whipped cream into a piping bag fitted with your desired tip and pipe generously onto the filled cupcakes. Garnish with a fresh cherry if desired.
