Indulge in Summer’s Sweetest Dream: Easy Salted Honey & Peach No-Churn Ice Cream
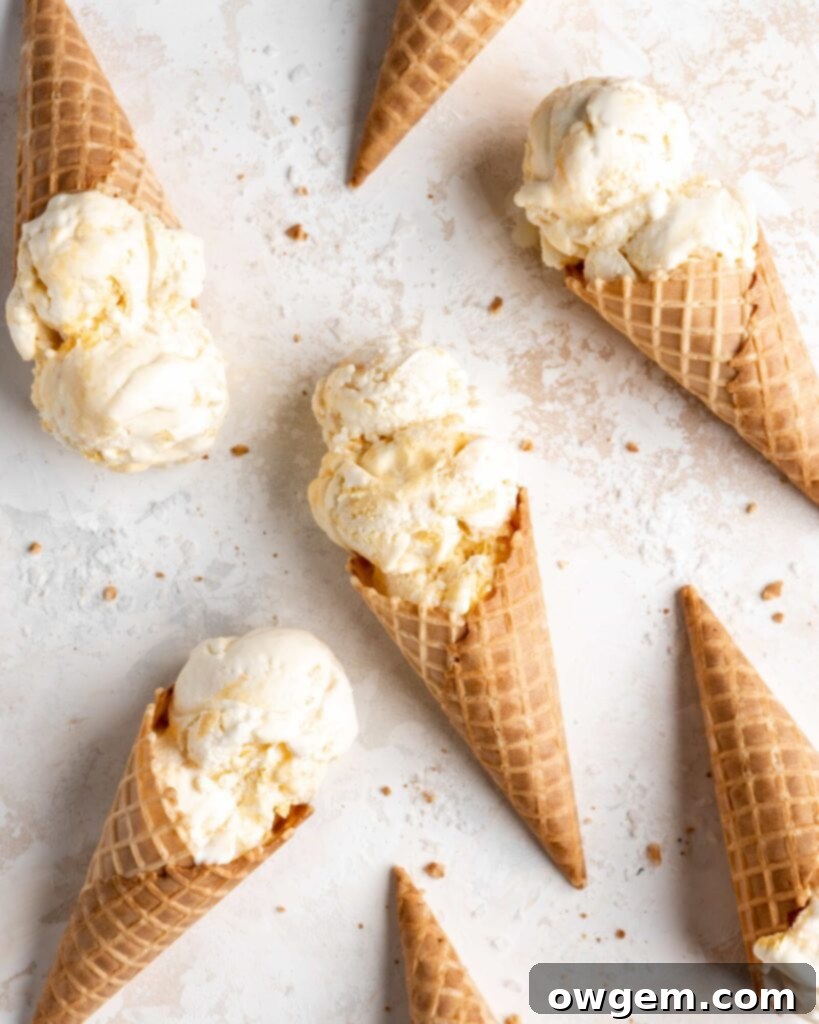
Sweet, exquisitely creamy, and bursting with the vibrant flavors of summer, this Salted Honey and Peach No-Churn Ice Cream is the ultimate seasonal treat you’ve been dreaming of! Imagine sinking your teeth into a spoonful of silky-smooth ice cream, studded with tender, juicy peach chunks, all perfectly balanced by a delicate hint of salted honey. This isn’t just any homemade ice cream; it’s a culinary masterpiece that delivers gourmet taste without the need for an expensive ice cream maker. The genius lies in its no-churn method, which makes it incredibly accessible for any home cook, regardless of their baking experience. The subtle touch of salt in the honey elevates the natural sweetness of the peaches and the rich floral notes of the honey, creating a harmonious flavor profile that is truly irresistible. Get your favorite cones or dessert bowls ready, because this incredibly delicious and effortlessly made ice cream is destined to be devoured in record time!
The Magic of No-Churn Ice Cream: A Simple Solution for Sweet Treats
No-churn ice cream, exemplified perfectly by this delightful Salted Honey and Peach No-Churn Ice Cream, stands as one of the most brilliant dessert innovations of our time! It truly revolutionizes the way we think about making homemade ice cream, as it requires virtually no specialized equipment. Forget about investing in bulky, expensive ice cream machines; all you truly need are a few mixing bowls and a sturdy spatula for folding. While a stand mixer or a hand mixer can certainly make the process of whipping cream much quicker and easier, they aren’t strictly essential – strong arms and a whisk will also do the trick!
At its very core, the beauty of no-churn ice cream lies in its simplicity, relying on just two fundamental ingredients: heavy cream (also known as whipping cream) and sweetened condensed milk. These two humble components work in perfect synergy to create a dessert that rivals its churned counterparts in both texture and flavor. The science behind this ingenious method is surprisingly straightforward. When heavy cream is whipped, air is incorporated into it, causing it to become light, fluffy, and voluminous. This aeration process is what traditionally happens during the churning of ice cream, giving it that characteristic smooth, airy consistency. In the no-churn method, the whipped cream takes on this vital role, providing the necessary body and texture.
Sweetened condensed milk plays an equally critical role. Beyond simply adding a rich sweetness to the mixture, its high sugar content is key to achieving that wonderfully scoopable texture. Sugar acts as an anti-freeze agent, effectively lowering the freezing point of the ice cream base. Without this high sugar content, the water molecules in the cream would freeze into large, hard ice crystals, resulting in a rock-hard, unappetizing block of ice. However, with the sweetened condensed milk, the ice cream freezes into a consistently smooth, creamy, and delightful consistency that’s easy to scoop straight from the freezer. This clever combination ensures your homemade treat will be beautifully smooth and never icy, making no-churn ice cream a game-changer for dessert enthusiasts everywhere. It’s truly a testament to how simple ingredients can yield extraordinary results.
Choosing Your Peaches: Fresh vs. Frozen for Optimal Flavor
A common question when making fruit-infused desserts like this Salted Honey and Peach No-Churn Ice Cream is whether to opt for fresh or frozen peaches. The good news is, you absolutely can use either, and both will yield delicious results! Frozen peaches, in particular, are often unfairly considered inferior to their fresh counterparts, but this couldn’t be further from the truth. In fact, many commercially frozen fruits are picked at their peak ripeness – when their flavor is most intense and their natural sugars are at their highest – and then immediately flash-frozen. This rapid freezing process locks in all that vibrant flavor and nutritional goodness, meaning they can be just as, if not more, flavorful than fresh peaches that have traveled a long distance or been stored for a while.
If you’re using fresh peaches, look for ones that are fragrant, slightly soft to the touch at the stem end, and have a rich, warm color. Peeling them can be done easily by blanching them in boiling water for 30 seconds, then plunging them into an ice bath, which makes the skin slip right off. For frozen peaches, the only real consideration is to allow them to thaw slightly before incorporating them into the recipe. I recommend letting them reach a half-thawed state – where they are still firm but pliable enough to be easily processed. This semi-thawed consistency is perfect for pulsing in a blender or food processor, as it prevents them from becoming a watery puree. Instead, you’ll get delightful, small peach chunks that will provide bursts of juicy fruit flavor throughout your creamy ice cream. Whether you choose fresh, ripe peaches in season or convenient frozen ones, rest assured that your ice cream will be packed with that irresistible peachy goodness.
Crafting Your Dream Dessert: A Step-by-Step Guide to Salted Honey & Peach No-Churn Ice Cream
Making this incredible Salted Honey and Peach No-Churn Ice Cream is surprisingly straightforward, requiring minimal effort for maximum reward. Follow these simple steps to create a dessert that will impress everyone!
1. Prepare the Peaches: Begin by preparing your peaches. If using fresh peaches, ensure they are peeled and sliced. For frozen peaches, allow them to thaw partially until they are half-thawed. Transfer the prepared peach slices or chunks into a blender or food processor. Pulse a few times until the peach chunks are roughly the size of kidney beans. You want small, discernible pieces, not a smooth puree, to give your ice cream wonderful texture. Once pulsed, set the peaches aside in a separate bowl.
2. Create the Sweetened Condensed Milk Base with Honey and Salt: In a medium-sized mixing bowl, combine the sweetened condensed milk, liquid honey, and the salt (Fleur de Sel is excellent for its delicate crunch and flavor, but any fine sea salt will work). Whisk these ingredients together thoroughly until they are completely smooth and well-combined. The salt here is crucial; it doesn’t make the ice cream salty, but rather enhances the sweetness of the honey and brightens the peach flavor, adding a gourmet touch that truly makes this recipe shine.
3. Whip the Heavy Cream to Perfection: Next, it’s time to whip your heavy cream. Ensure your heavy cream is well chilled – this is key to achieving stiff peaks quickly and effectively. Pour the cold heavy cream into the bowl of a stand mixer fitted with a whisk attachment, or into a large mixing bowl if using a hand mixer. Begin beating on medium speed, gradually increasing to medium-high. Continue beating until stiff peaks have formed. This means that when you lift the whisk, the cream holds its shape firmly and doesn’t droop. Be careful not to over-whip, as it can turn grainy.
4. Gently Fold Ingredients Together: With your whipped cream ready, it’s time to bring all the components together. Pour the sweetened condensed milk, salted honey, and peach mixture into the whipped cream. Using a large spatula, gently fold the ingredients together. The key here is to use a light hand and fold gently to preserve as much of the air in the whipped cream as possible. Continue folding until the mixture is just combined and no streaks of plain whipped cream or condensed milk are visible. Overmixing can deflate the cream, leading to a less airy ice cream.
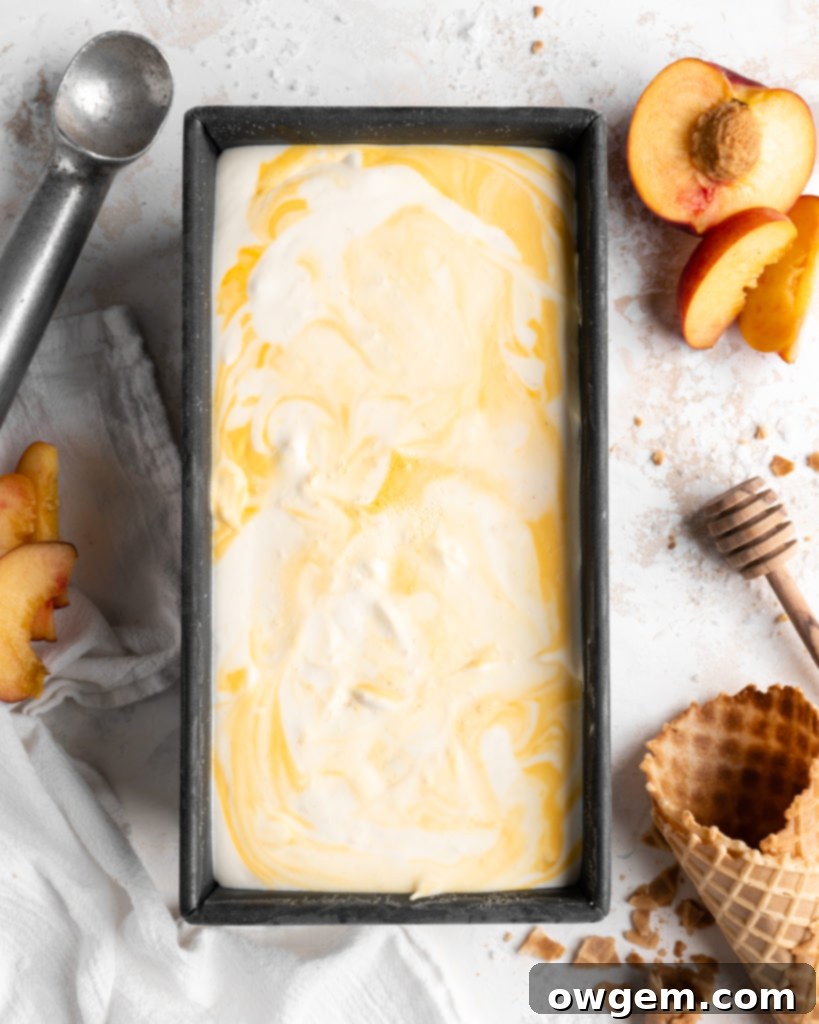
5. Freeze for Ultimate Creaminess: Once your ice cream batter is perfectly combined, transfer it into a 9×5-inch loaf pan or a similar freezer-safe container. Smooth the top with your spatula. Cover the pan tightly with plastic wrap, pressing it directly onto the surface of the ice cream to prevent ice crystals from forming (this helps keep it extra creamy). Place the covered pan into the freezer to set for a minimum of 8 hours, though preferably overnight, to ensure it becomes firm and perfectly scoopable. Patience is a virtue here, as adequate freezing time is essential for the best texture.
Serving and Storing Your Homemade Peach Ice Cream
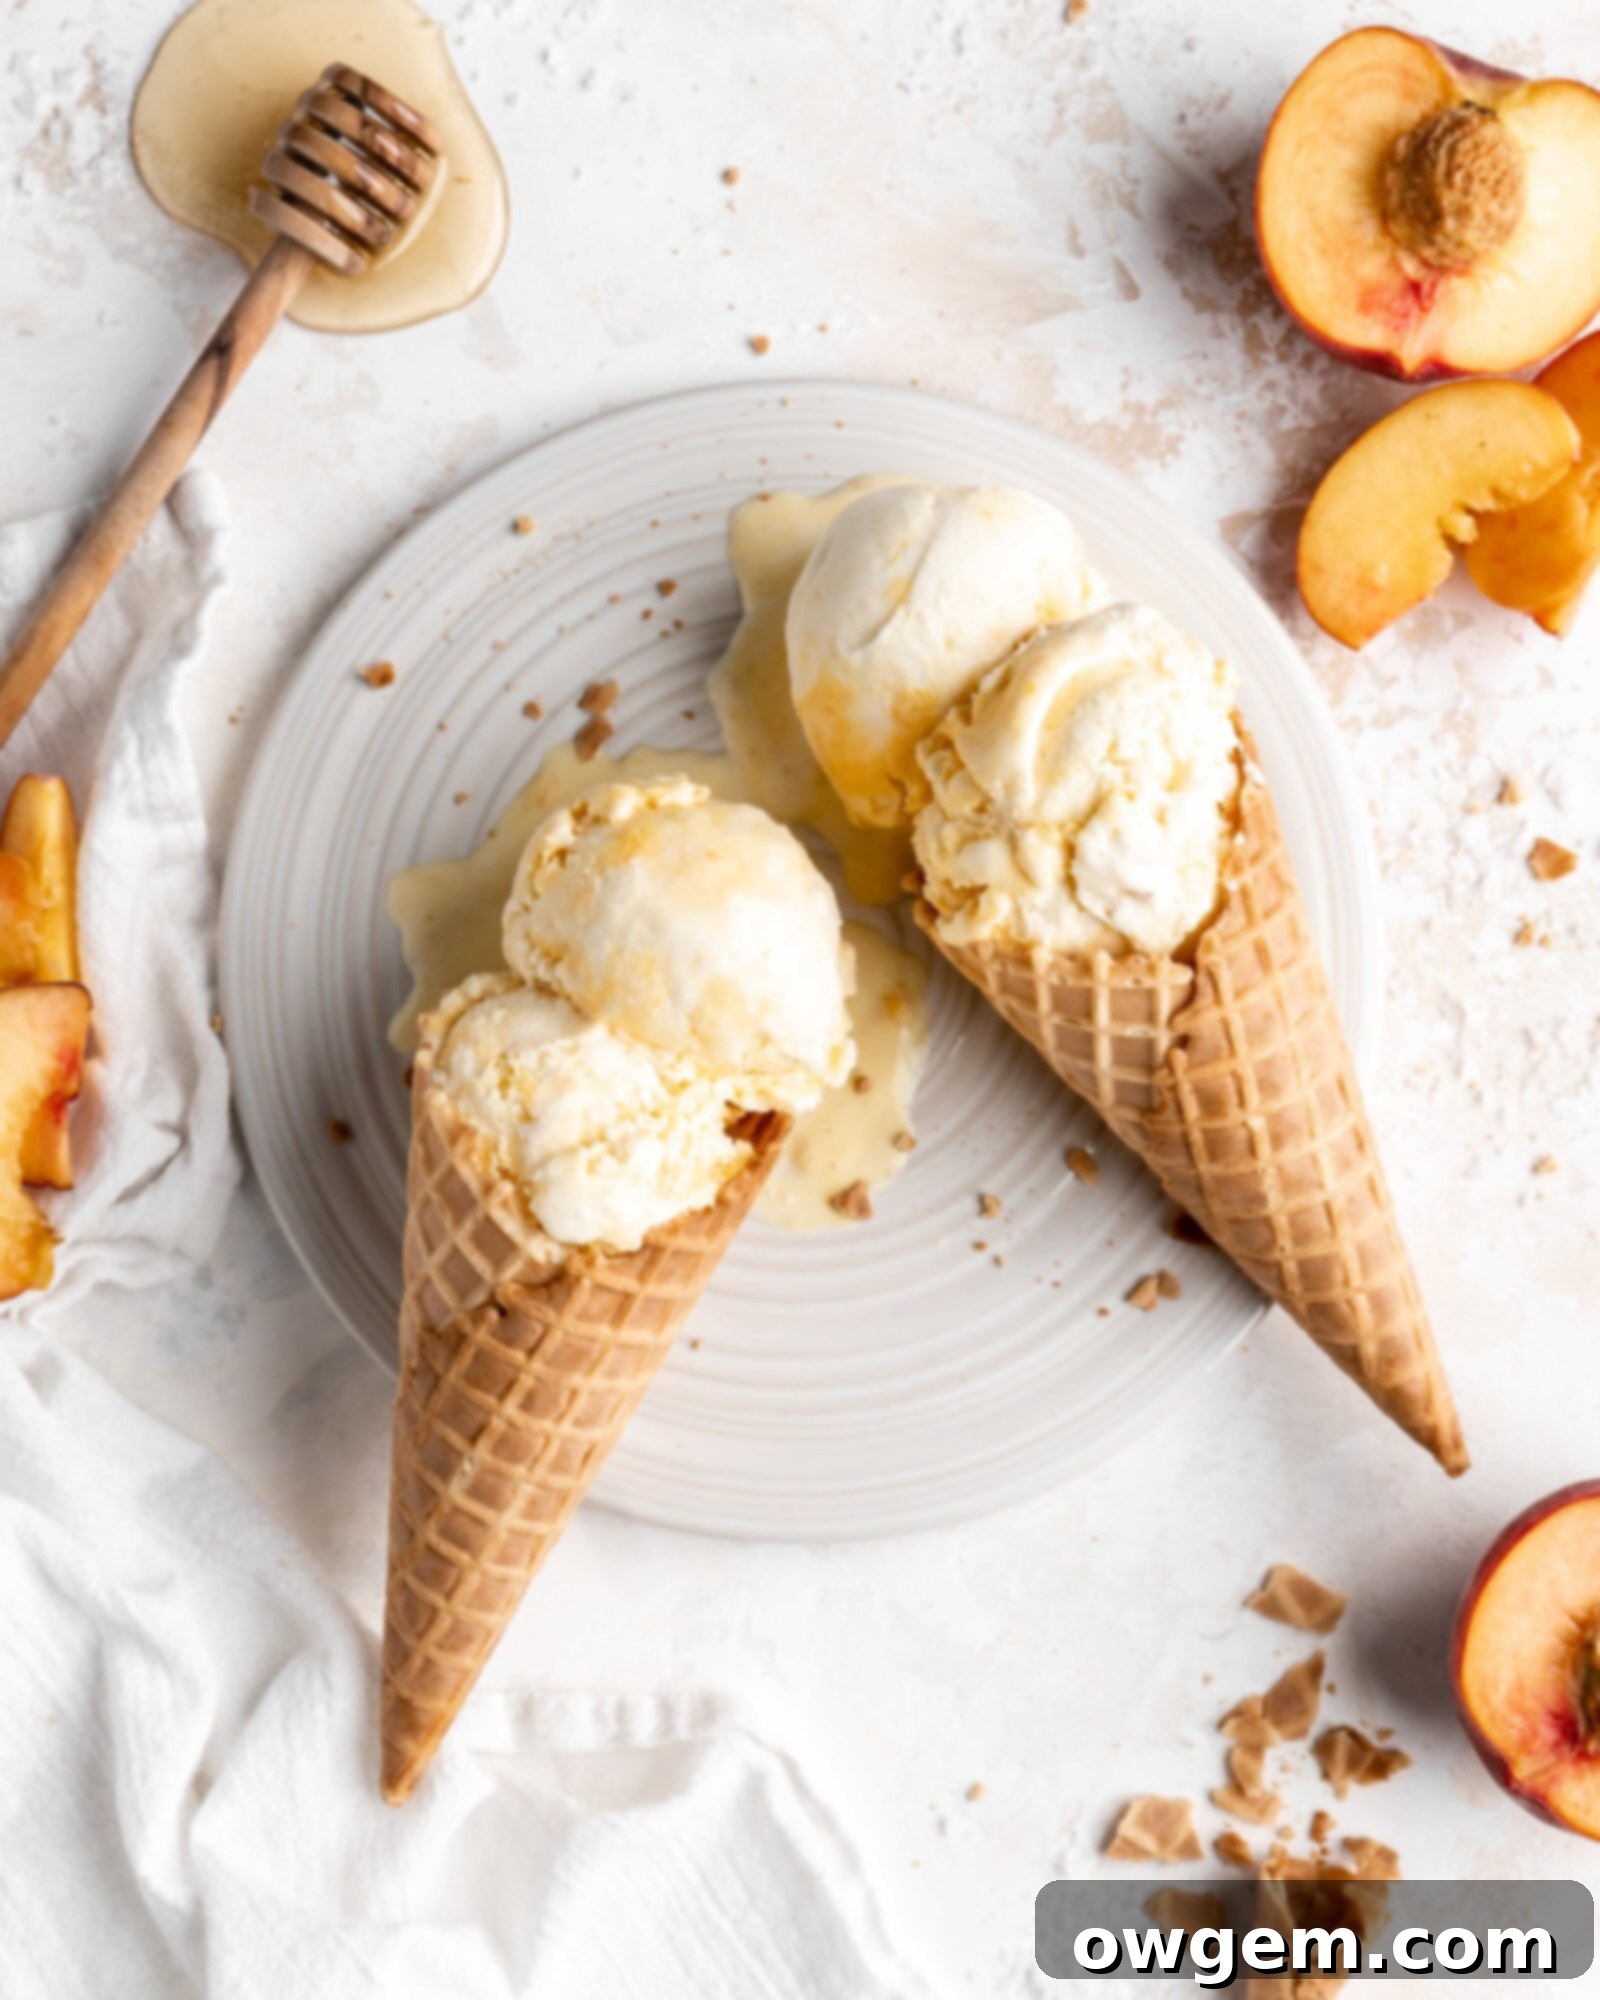
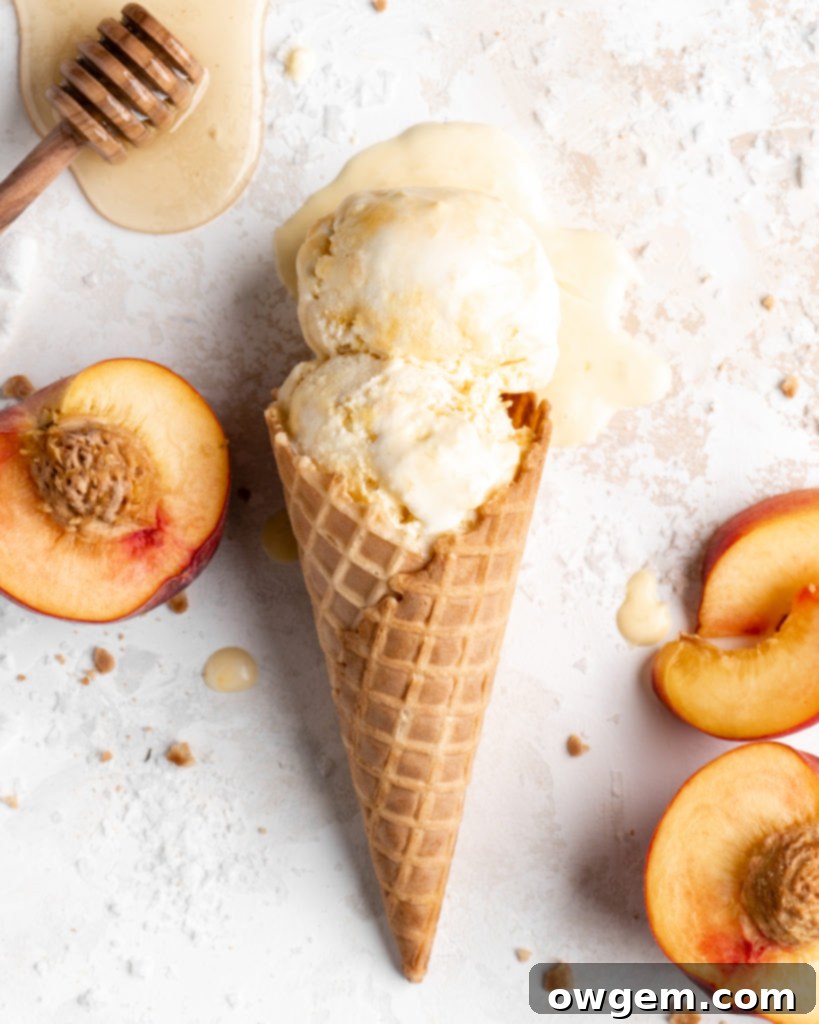
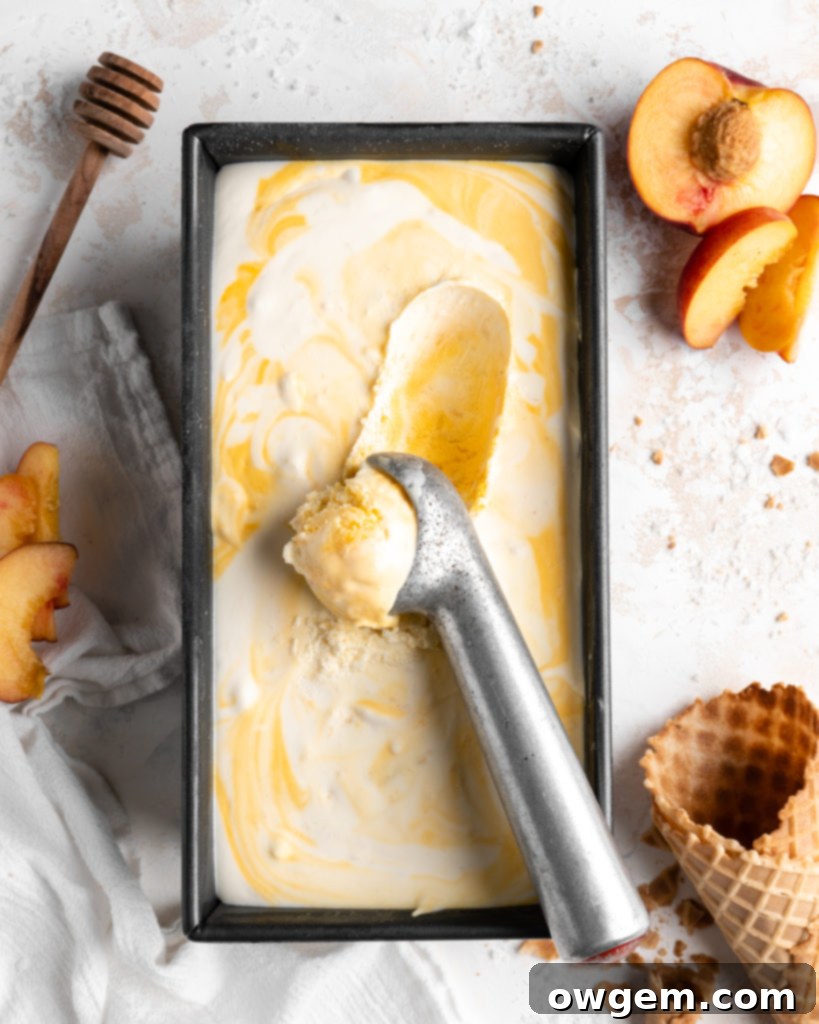
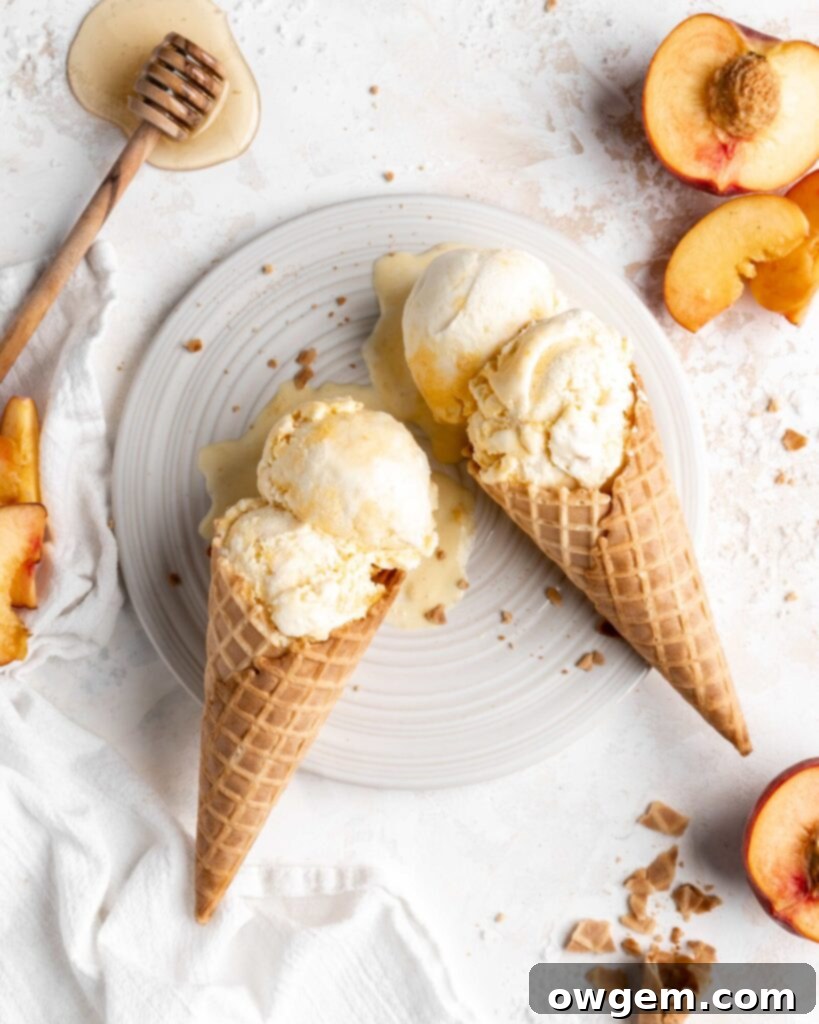
Once your Salted Honey and Peach No-Churn Ice Cream has fully set, it’s ready to be enjoyed! Scoop generous portions into waffle cones for that classic summer experience, or serve it in elegant dessert bowls. This ice cream is fantastic on its own, but you can elevate it further with a drizzle of extra honey, a sprinkle of fresh mint, or even a handful of crushed shortbread cookies for added texture. For a more decadent treat, serve it alongside a warm slice of peach pie or a fresh fruit tart.
To store any leftovers, ensure the ice cream is tightly covered with plastic wrap, pressing it firmly against the surface to minimize air exposure. Then, cover the pan with an airtight lid or aluminum foil. Stored properly in the coldest part of your freezer, this no-churn ice cream will maintain its quality and delicious flavor for up to two weeks. Before serving, let it sit at room temperature for 5-10 minutes to soften slightly, making it easier to scoop and enhancing its creamy texture.
Customizing Your Salted Honey Peach Ice Cream
While this recipe is perfect as is, it also serves as a fantastic base for your creative culinary adventures! You can easily customize it to suit your taste preferences. Consider adding a splash of vanilla extract along with the honey and condensed milk for an extra layer of warmth and sweetness. A pinch of ground cinnamon or nutmeg could also complement the peaches beautifully, adding a subtle spiced note. For those who love a bit of crunch, fold in some toasted pecans or walnuts during the final mixing step. If you’re feeling adventurous, experiment with different fruits – ripe berries like raspberries or blueberries would be a delightful alternative or addition to the peaches. A swirl of caramel or chocolate sauce just before freezing can also transform this into an even more indulgent dessert. The possibilities are endless, so feel free to make this recipe truly your own!
Troubleshooting Common No-Churn Ice Cream Issues
While no-churn ice cream is famously easy, a few common pitfalls can sometimes occur. If your ice cream turns out icy rather than creamy, the most likely culprits are not enough sweetened condensed milk (which lowers the freezing point) or not whipping the heavy cream to stiff enough peaks (which incorporates the necessary air). Ensure your cream is very cold when whipping, and don’t skimp on the condensed milk. If your ice cream is too soft and doesn’t set properly, it might not have frozen for long enough. Always allow at least 8 hours, but overnight is always best for optimal firmness. Finally, if it tastes a bit bland, you might need a touch more salt to really make those peach and honey flavors pop. A little adjustment can go a long way in perfecting your homemade ice cream!
This Salted Honey and Peach No-Churn Ice Cream truly embodies the essence of summer in every delightful spoonful. It’s an effortlessly elegant dessert that requires minimal fuss but delivers maximum flavor and creamy satisfaction. With its perfect balance of sweet, salty, and fruity notes, coupled with an incredibly smooth texture, it’s destined to become a beloved favorite in your household. So, whether you’re hosting a backyard barbecue, enjoying a quiet evening, or simply craving a refreshing treat, this recipe promises to deliver pure joy. Don’t hesitate – gather your ingredients and whip up this sensational no-churn ice cream today!

Get the Recipe:
No Churn Salted Honey Peach Ice Cream
Pin
Rate
Ingredients
- 1 lb 454g Fresh Peaches,, peeled and sliced (alternatively use 2/3 lb (302g) of Frozen Peaches that are half thawed)
- 3 tbsp Liquid Honey
- 1/2 tsp Fleur de Sel, (or similar salt)
- 14 oz Sweetened Condensed Milk
- 2 cups Heavy Cream,, well chilled
Instructions
-
Add peach slices to a blender or food processor and lightly pulse until peaches are the size of kidney beans. Remove the pulsed peaches from the blender and place into a bowl. Add sweetened condensed milk, honey, and salt to peaches, then fold together until well-combined.
-
Meanwhile, in a large bowl or a stand mixer, add the chilled heavy cream and beat on medium speed until stiff peaks have formed.
-
Pour the sweetened condensed milk mixture into the whipped cream, and fold together with a spatula until well-combined.
-
Add the batter to a 9×5” baking pan, cover with plastic, and place into the freezer to set for at least 8 hours, or preferably overnight!
-
Optional: If you wish to have visible yellow streaks in your ice cream, add a few drops of yellow food coloring into the batter and slightly swirl before freezing.
