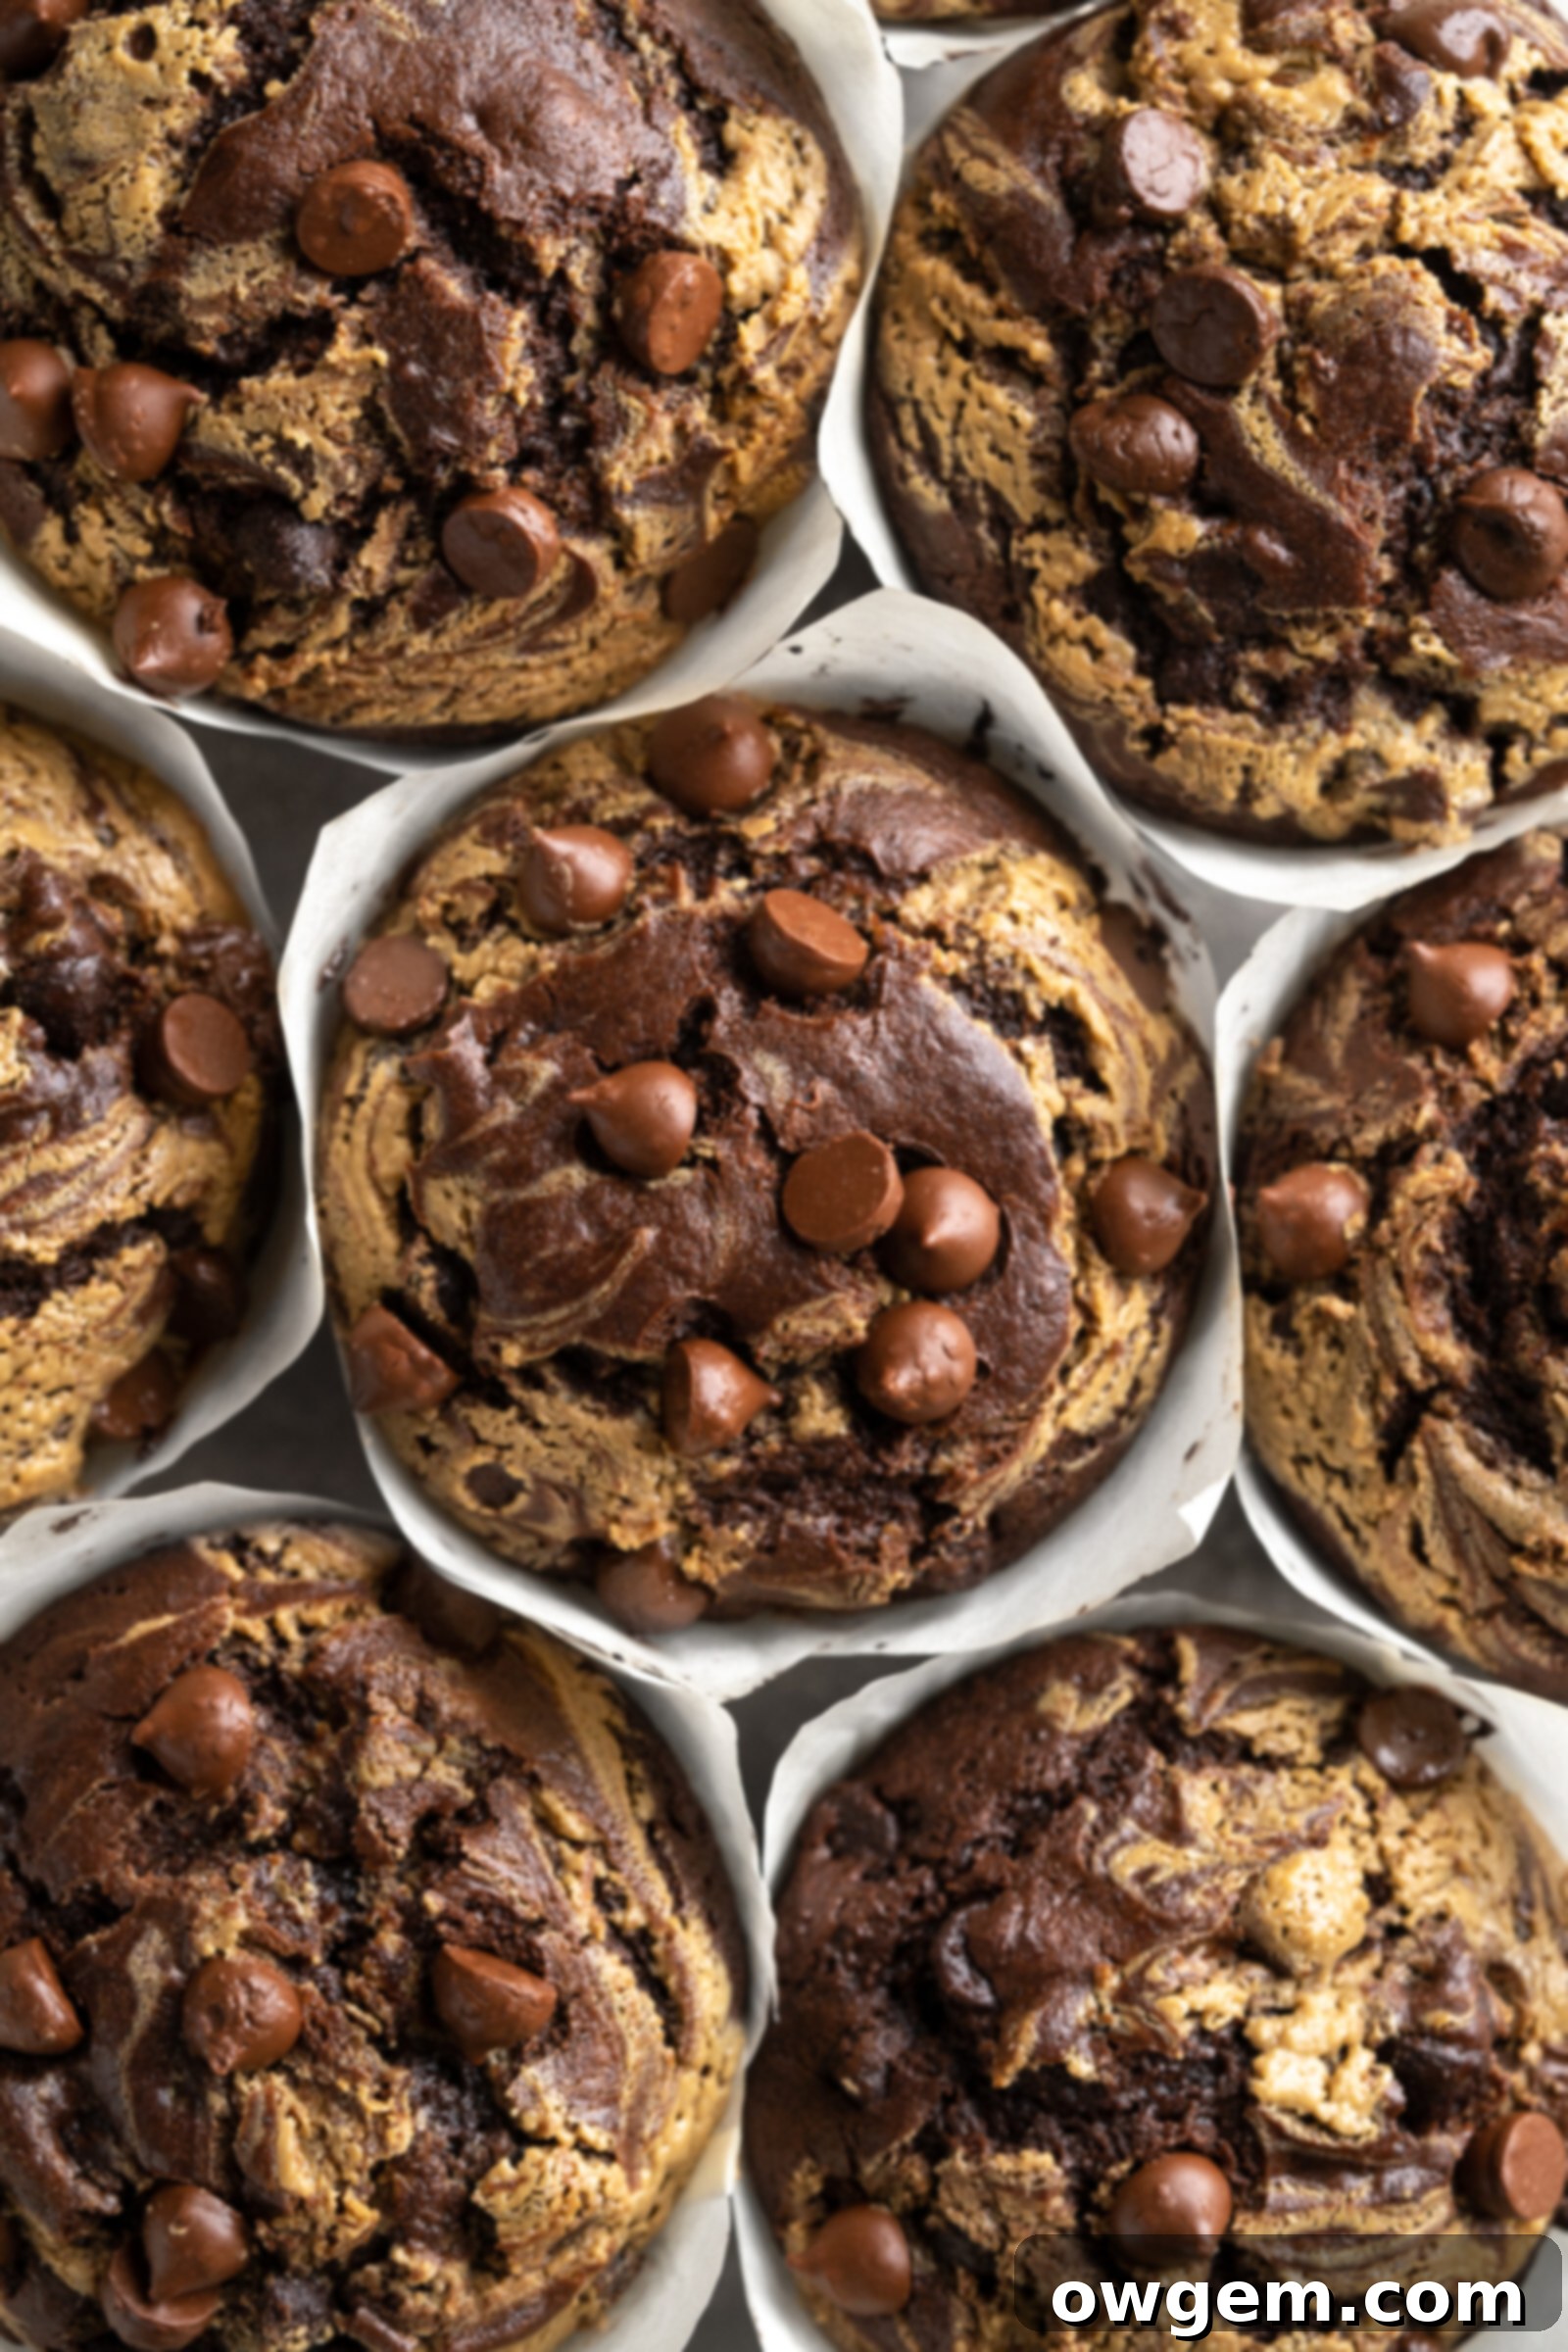
Ultimate Bakery-Style Double Chocolate Chip Muffins with Creamy SunButter Swirl
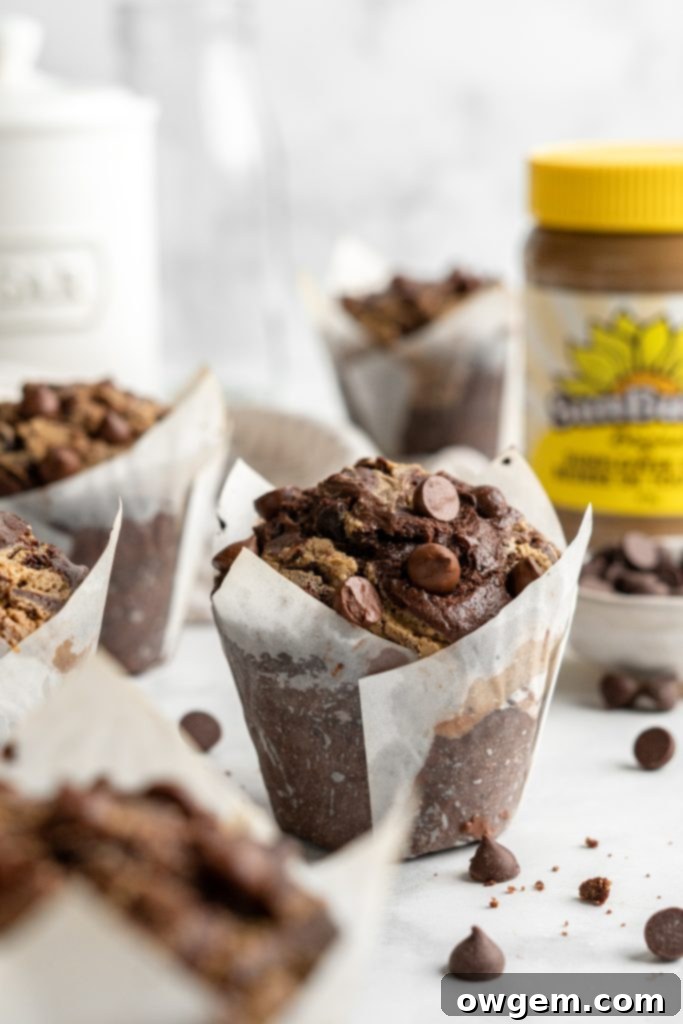
These exquisite Bakery-Style Double Chocolate Chip Muffins are a true revelation for any chocolate lover. Each bite offers a symphony of rich cocoa flavor, generously studded with an abundance of melty chocolate chips, making them irresistibly ooey-gooey. What truly sets these muffins apart is the luscious, creamy SunButter swirl artfully integrated on top, providing a delightful “nutty” depth that perfectly complements the intense chocolate, all while remaining completely peanut and tree-nut free. Crafted to deliver that coveted bakery experience, these muffins boast a wonderfully thick, incredibly moist, and wonderfully fluffy texture. This comprehensive recipe isn’t just about ingredients; it also unveils essential tips and smart tricks to ensure your muffins rise beautifully high, achieving those signature domed tops and soft interiors, just like your favorite treat from a professional bakery.
Table of Contents
- Why you’ll love this recipe
- Ingredient notes
- How to make double chocolate chip muffins
- Tips & tricks
- Equipment required
- How to store the chocolate muffins
- FAQ
- Related recipes
Why You’ll Absolutely Love This Recipe
Decadent Chocolate Flavor: Indulge in an unparalleled chocolate experience with every single bite. These muffins are a dream come true for cocoa enthusiasts, offering a profound, fudgy chocolate flavor that permeates every crumb. We achieve this richness not only through a meticulously crafted chocolate muffin batter but also by generously folding in an abundance of high-quality chocolate chips, ensuring a molten burst of chocolate with every bite. The deep flavor is further enhanced by a secret ingredient that amplifies the cocoa without overpowering it, making them truly irresistible.
Authentic Bakery-Style Goodness: Say goodbye to flat, dense muffins forever. Our recipe is specifically designed to replicate the grandeur of classic bakery muffins. Expect impressive height, gloriously domed tops, and an incredibly soft, tender crumb that practically melts in your mouth. They’re substantial, satisfying, and possess that homemade yet professional appeal that will impress everyone who tries them, making them perfect for breakfast, brunch, or a special treat.
Perfectly Peanut and Nut-Free: For those with allergies or simply seeking a unique and delicious flavor profile, these muffins are an absolute game-changer. We expertly capture the essence of a classic chocolate and nut butter combination by utilizing SunButter – a fantastic sunflower seed butter alternative. This means you get all the rich, slightly salty, and incredibly satisfying “nutty” flavor without any peanuts or tree nuts, making these a safe and delightfully inclusive treat for many individuals to enjoy.
Effortless Baking, Exceptional Results: Don’t be intimidated by their sophisticated, bakery-quality appearance. This recipe is surprisingly easy and straightforward to follow, making it accessible for home bakers of all skill levels, from beginners to experienced cooks. There’s no need for fancy, specialized equipment; you won’t even require a stand mixer. With simple mixing techniques and clear, step-by-step instructions, you’ll achieve spectacular results with minimal fuss and maximum enjoyment.
Ingredient Notes & Substitutions
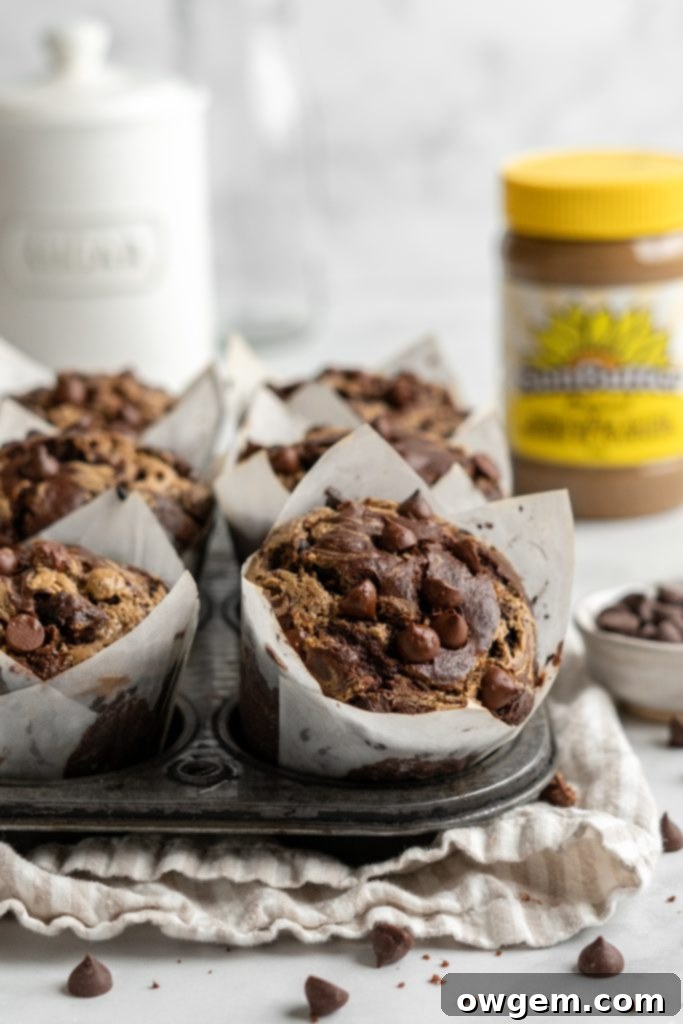
Natural SunButter: This star ingredient is a smooth, creamy butter made from roasted sunflower seeds. It’s a fantastic, nutrient-dense alternative to traditional peanut or other nut butters, offering a rich, slightly savory flavor that pairs magnificently with chocolate. Beyond its delicious taste, SunButter is packed with essential vitamins, minerals, and protein, adding a wholesome element to your indulgence. We swirl it generously on top of each muffin, creating a beautiful marbled effect and a creamy, slightly salty contrast to the sweet chocolate, elevating the overall flavor profile.
Dutch-Processed Cocoa Powder: The choice of cocoa powder significantly impacts the final flavor and color of your chocolate muffins. Dutch-processed cocoa powder, unlike natural cocoa, has been treated with an alkali to reduce its acidity. This process results in a darker, richer color and a smoother, less bitter, and intensely chocolatey flavor. It’s ideal for this recipe as it contributes to the deep, fudgy profile we’re aiming for, without the need for additional leavening agents that react with acid. If you only have natural cocoa, you can use it, but the color and depth of flavor might be slightly different.
Full-Fat Sour Cream: Sour cream is a secret weapon in many baking recipes, especially for muffins. Using full-fat sour cream in this recipe is crucial for achieving that superior moisture and incredible richness, contributing to a tender crumb. Its slight acidity also reacts beautifully with the baking soda, contributing to the muffins’ light and fluffy texture and helping them rise. If sour cream isn’t available, full-fat Greek yogurt can be a good substitute (use an equal amount), though buttermilk or homemade buttermilk (milk + lemon juice/vinegar) could also work for moisture and tenderness, but may yield a slightly different richness.
Instant Coffee Granules: While it might seem unconventional, a touch of instant coffee in chocolate recipes is a culinary game-changer. Rest assured, your muffins won’t taste like coffee in the slightest. Instead, the coffee acts as a powerful flavor enhancer, deepening and intensifying the natural chocolate notes, making them taste even more robust, complex, and utterly decadent. It brings out the subtle bitterness and rich sweetness of the cocoa, creating a more profound and satisfying chocolate experience for your palate.
Vegetable Oil: We consciously opt for vegetable oil over butter in this muffin recipe for a very specific and important reason: superior moisture. Oil remains liquid at room temperature, which translates into a wonderfully fudgy, moist, and tender crumb that stays fresh and delicious for much longer than butter-based muffins. Butter, while undeniably flavorful, can sometimes lead to a slightly denser or drier muffin texture once cooled. The neutral flavor of vegetable oil also ensures that the rich chocolate and distinct SunButter notes are the true stars of the show, shining through unimpeded.
Quality Chocolate Chips: These are “double chocolate” muffins, so an ample supply of high-quality chocolate chips is absolutely non-negotiable! For the best gooey texture and delightful pockets of molten chocolate throughout your muffins, we highly recommend using good quality semi-sweet chocolate chips. Unlike chopped chocolate bars, which tend to melt completely and often disappear into the batter, chocolate chips contain stabilizers that help them hold their shape better during baking, creating those irresistible warm, gooey centers. You can even experiment by mixing in different types, like milk chocolate chips or dark chocolate chips, for varied flavor intensity and textural interest.
How to Make Decadent Double Chocolate Chip Muffins
1. Prepare Dry Ingredients: In a large mixing bowl, thoroughly whisk together the all-purpose flour, Dutch-processed cocoa powder, baking powder, baking soda, and kosher salt. Sifting the cocoa powder, as mentioned in our tips section, is highly recommended to prevent any lumps and ensure an even distribution of ingredients throughout your batter, leading to a consistently smooth texture.
2. Combine Wet Ingredients: In a separate, equally large mixing bowl, add the large eggs, granulated white sugar, full-fat sour cream, vegetable oil, room temperature water, pure vanilla extract, and instant coffee granules. Whisk these ingredients vigorously until the mixture is completely smooth and well-combined. Take a moment to ensure the sugar is dissolved as much as possible for a truly silky-smooth batter.
3. Gently Marry Wet and Dry Mixtures: Pour the entire wet ingredient mixture into the bowl containing the dry ingredients. Using a whisk or spatula, gently fold the two together until they are *just combined*. It is absolutely crucial not to overmix at this stage; a few streaks of flour are perfectly acceptable. Overmixing develops gluten, which can lead to tough, dense, and chewy muffins instead of the desired light and airy ones. Stop mixing as soon as no dry streaks remain.
4. Fold in Chocolate Chips & Optional Batter Rest: Once the batter is nearly combined, add the generous amount of semi-sweet chocolate chips. Gently fold them into the batter until they are evenly distributed. For an extra boost in tenderness, height, and overall flavor, we highly recommend an optional but beneficial step: cover the bowl with plastic wrap and refrigerate the batter for 4 to 12 hours (or even overnight). This resting period allows the gluten strands to relax and the dry ingredients to fully hydrate, resulting in a superior muffin texture and enhanced moisture.
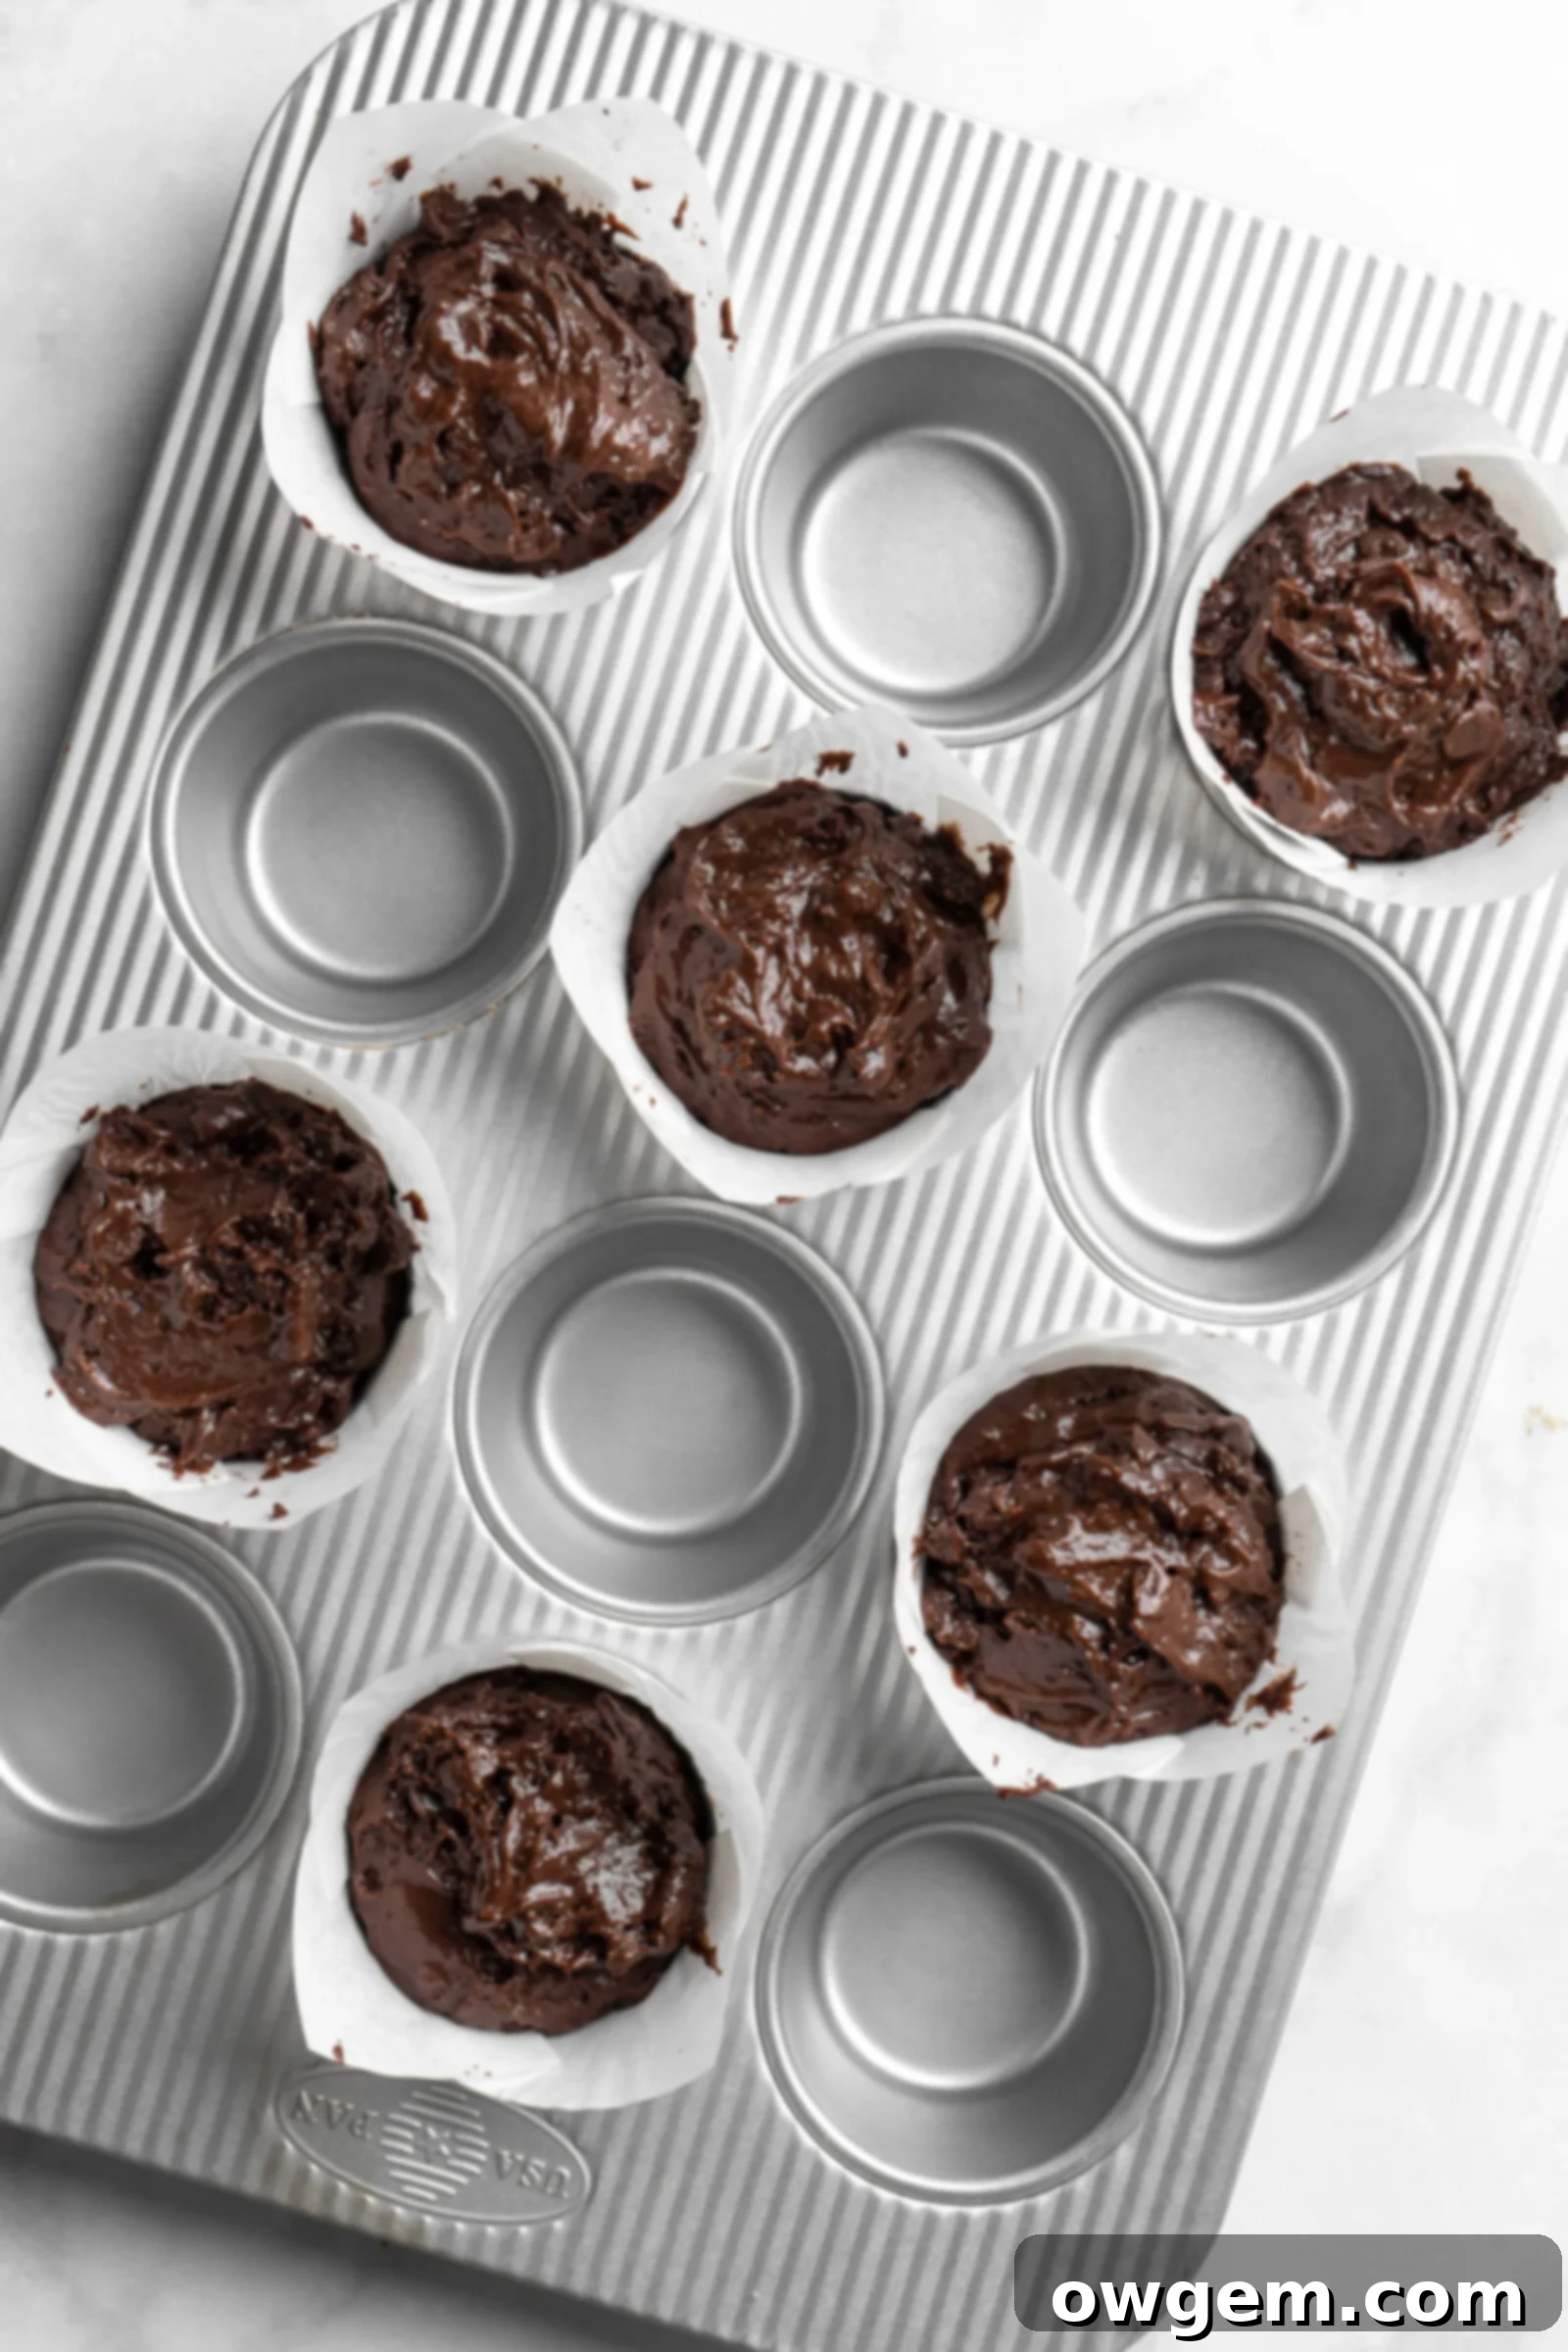
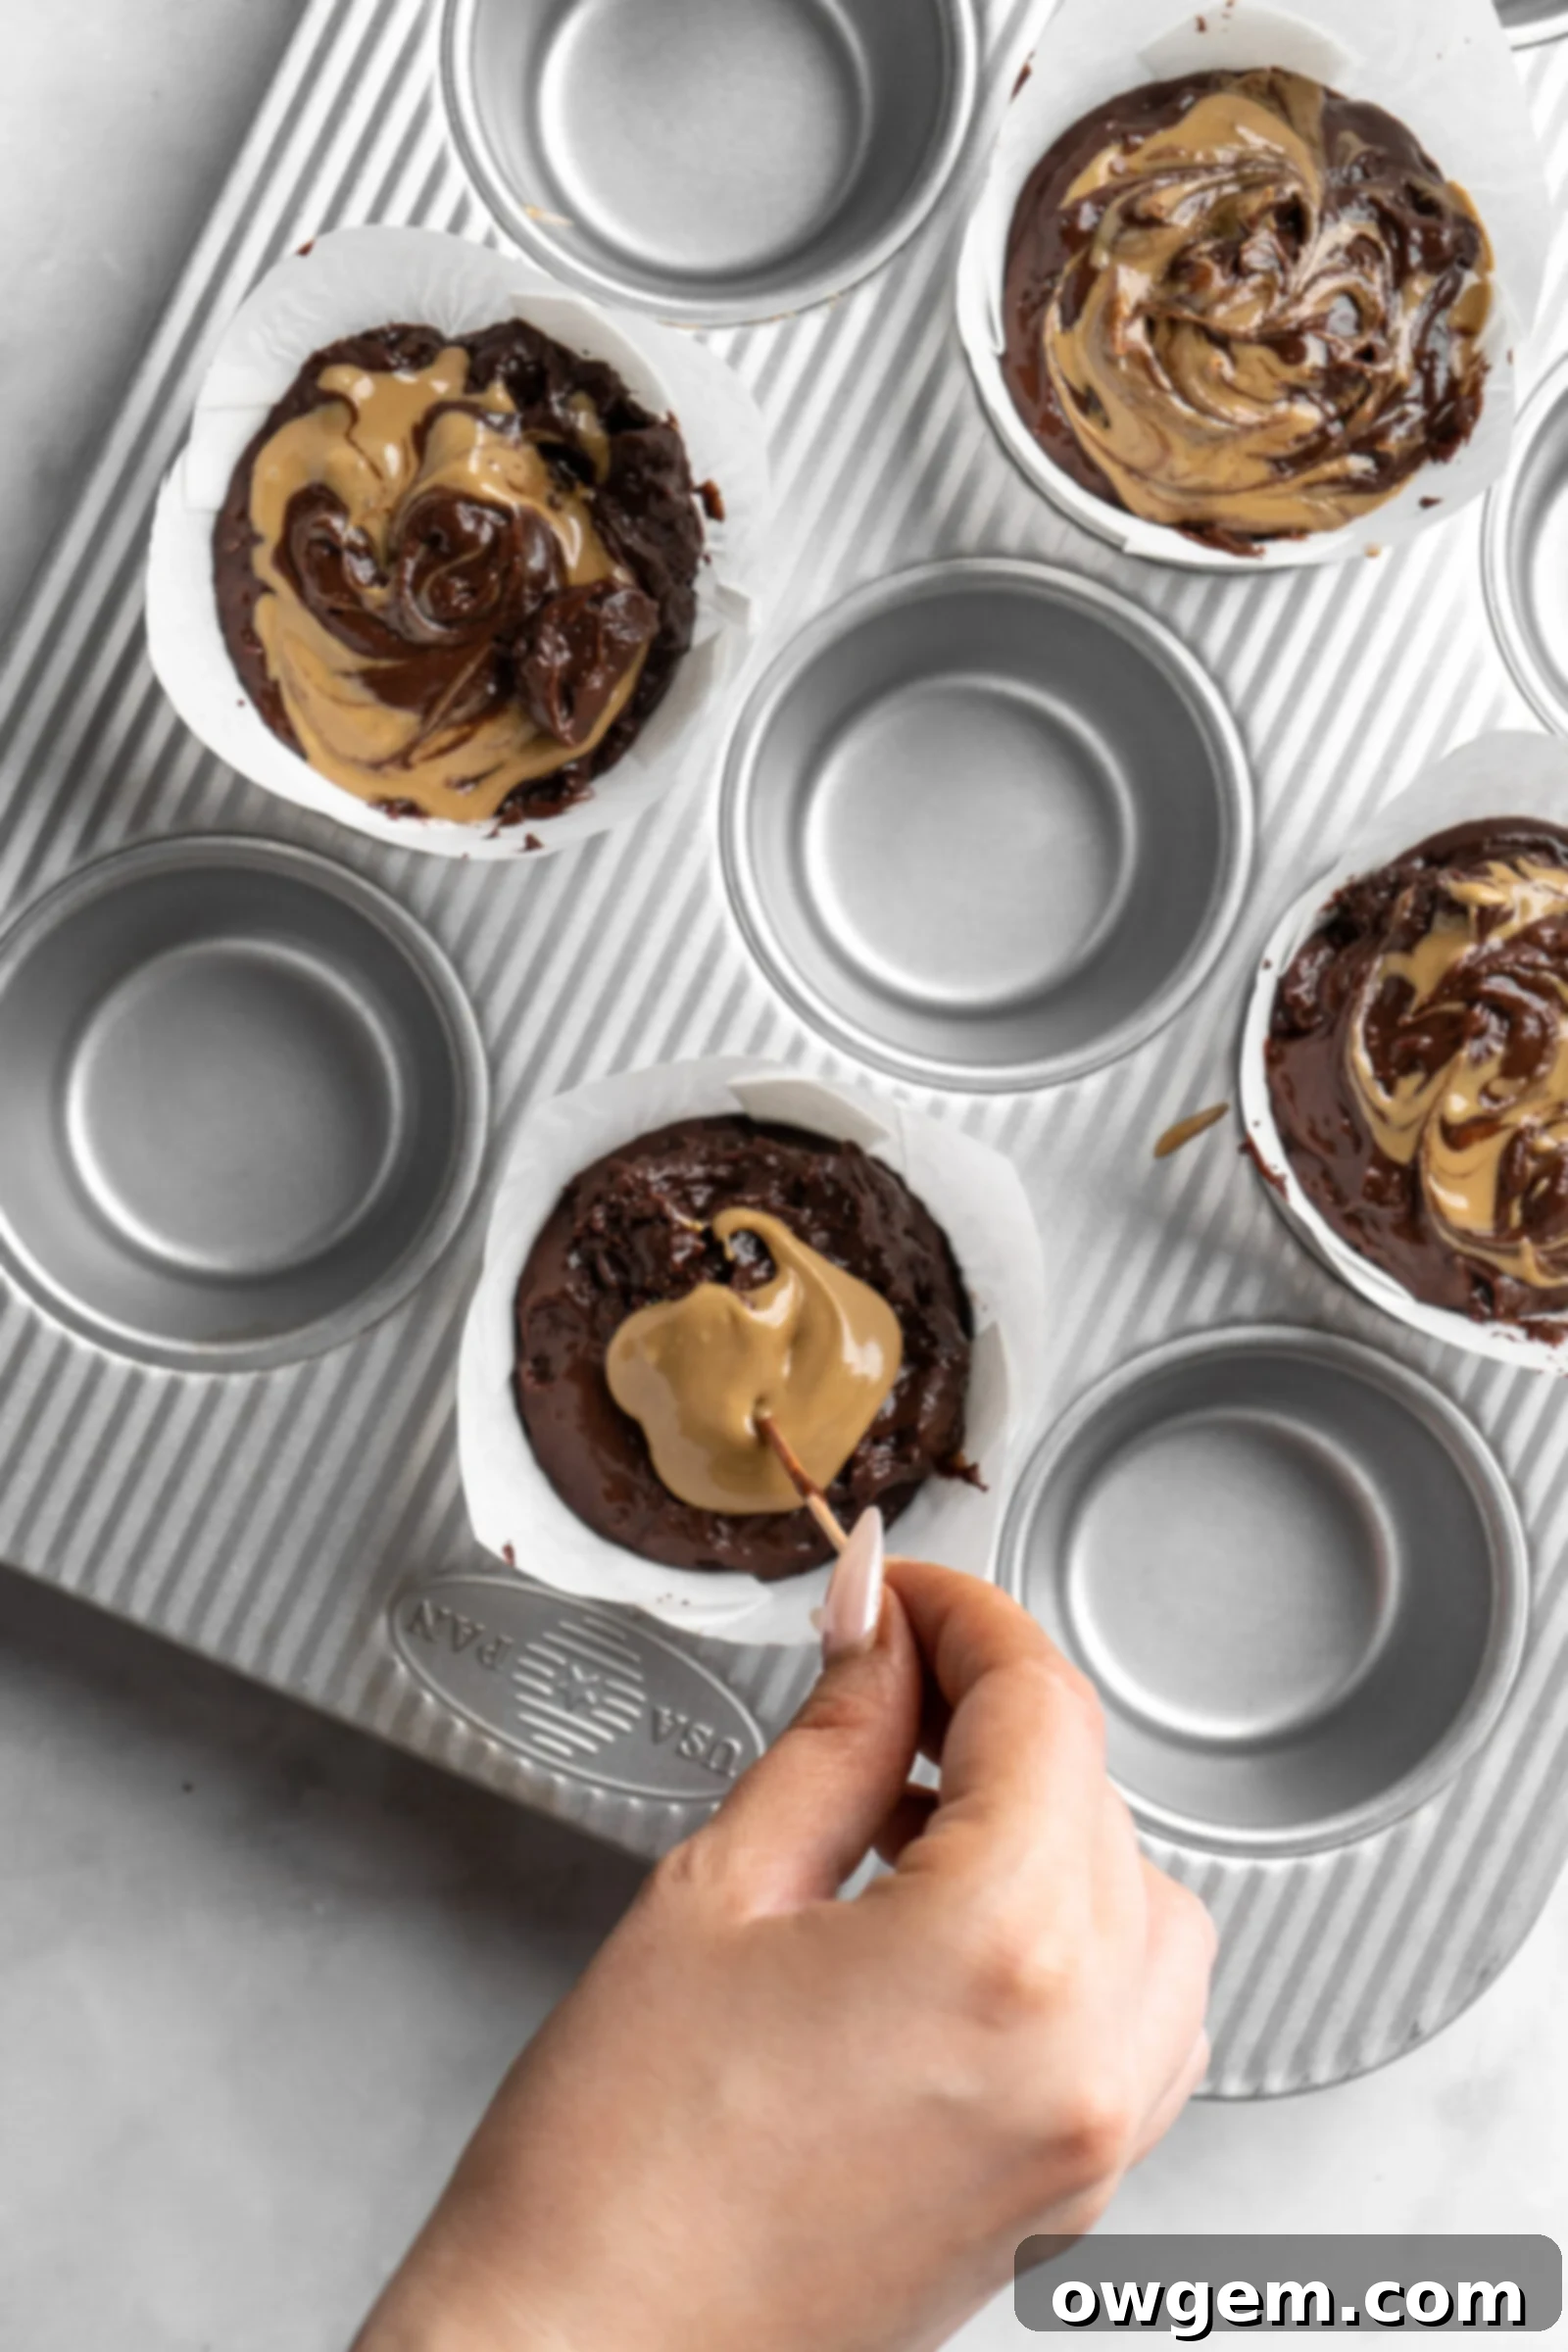
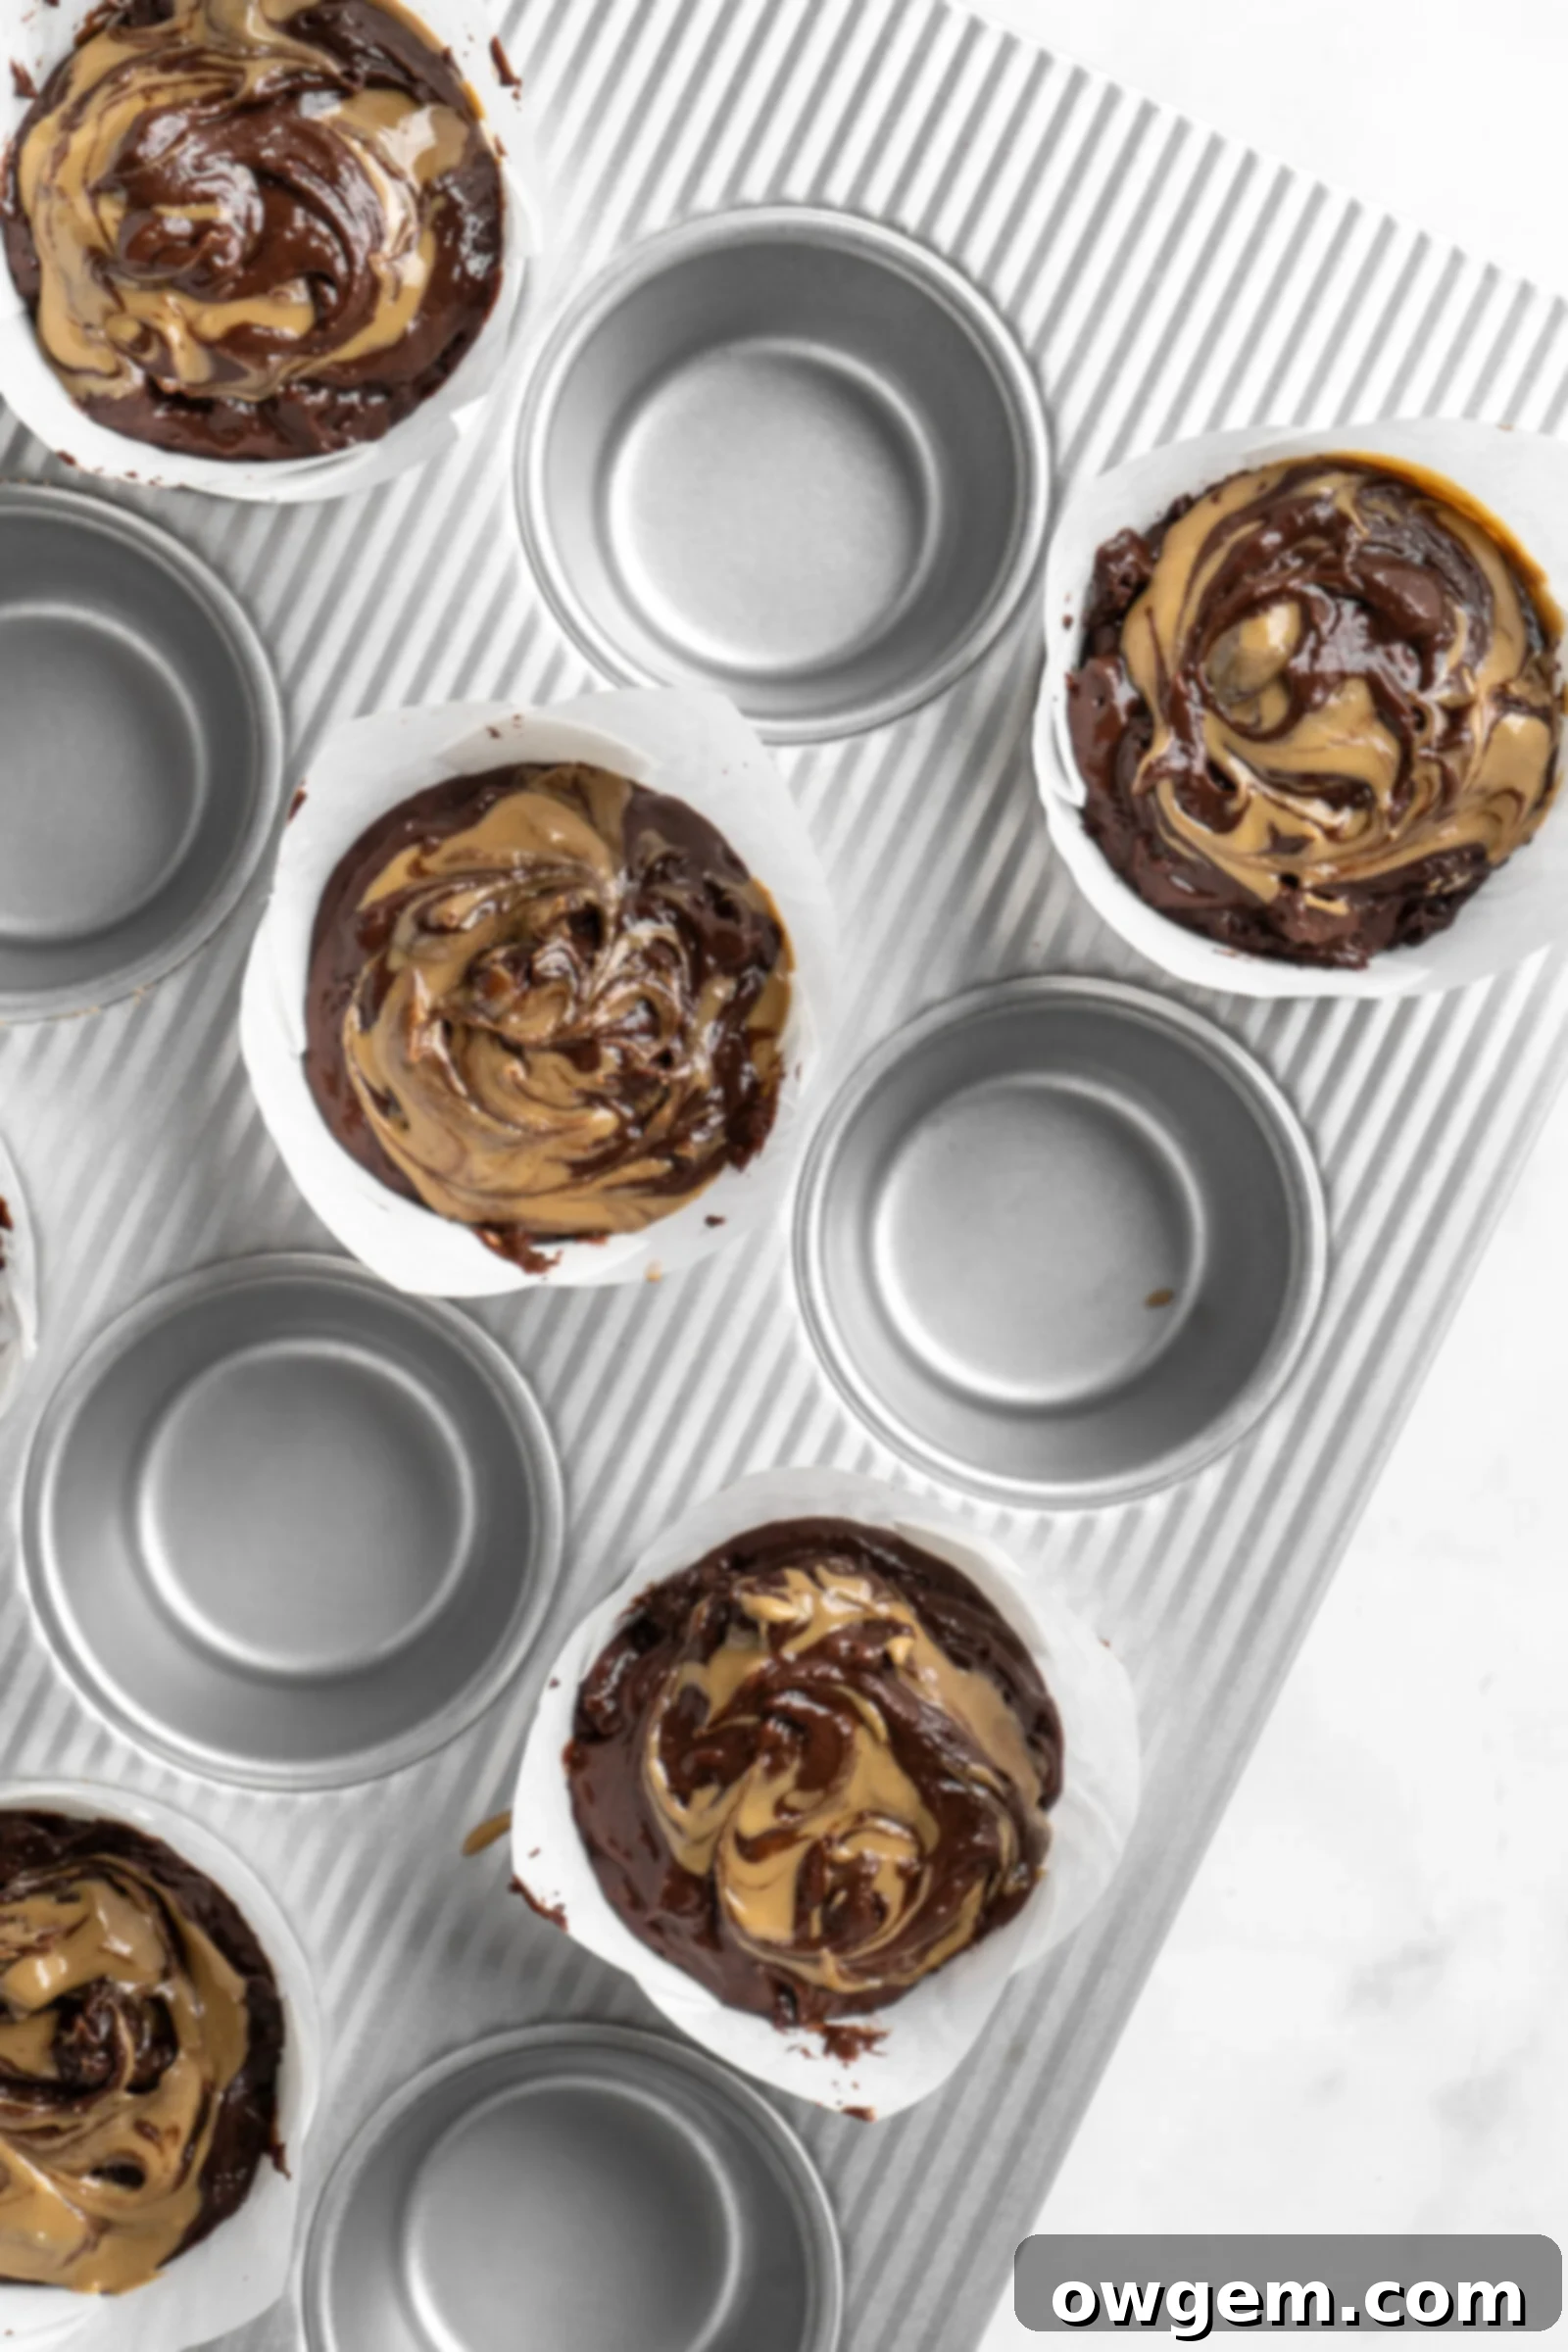
5. Scoop, Swirl & Bake to Perfection: Preheat your oven to a blazing 425°F (220°C). Line your muffin tin with liners (8 large tulip liners for true bakery-style muffins, or 12 standard cupcake liners for regular size). Using a cookie scoop or a large spoon, evenly disperse the rested batter into the prepared liners, being careful not to deflate the fluffy batter. Dollop 2-3 teaspoons of natural SunButter onto the center of each muffin batter, then use a skewer or toothpick to create beautiful, artistic swirls. Finish by sprinkling a few extra chocolate chips on top for a visually appealing presentation that promises deliciousness.
6. Achieve Tall Tops with Strategic Baking: Place the muffin tin into the preheated 425°F (220°C) oven. Bake for an initial 5-6 minutes (5 minutes for standard muffins, 6 minutes for large muffins). This high heat blast creates an immediate “oven spring,” rapidly pushing the muffins upwards for those impressive domed tops. After this initial period, *without opening the oven door*, reduce the oven temperature to 350°F (175°C) and continue baking for an additional 16-18 minutes for standard muffins, or 25-30 minutes for large muffins, or until a toothpick inserted into the center comes out clean. This two-stage baking ensures a beautifully risen, evenly cooked muffin.
Expert Tips & Tricks for Perfect Bakery-Style Muffins
Optimize Heat Circulation by Skipping Cavities: To achieve truly tall, majestic muffin tops reminiscent of a professional bakery, resist the urge to fill every single cavity in your muffin tin. Instead, strategically fill every *other* cavity (e.g., 6 out of 12 in a standard pan, ensuring they are spaced apart). This clever spacing allows for much better heat circulation around each individual muffin, encouraging them to rise higher and bake more evenly, ultimately resulting in those desired fluffy, gloriously domed crowns that are the hallmark of bakery-style muffins.
The Golden Rule: Do Not Overmix: This is perhaps the most critical tip for achieving tender, light muffins. When you mix flour and liquid, gluten proteins begin to develop, creating a network that gives baked goods structure. Overmixing the batter creates too much gluten development, making the muffins tough, dense, and chewy, rather than beautifully light and airy. Mix only until the dry ingredients are *just* incorporated into the wet, and a few small lumps or streaks of flour are still visible. Your muffins will thank you for this gentle approach with a delicate, melt-in-your-mouth crumb.
Unlock Flavor and Texture with a Batter Rest: While tempting to bake immediately, allowing your muffin batter to rest in the fridge for a few hours (ideally 4-12 hours, or even overnight) can significantly improve the final product. This resting period allows the gluten strands to relax, which leads to a softer, more tender, and ultimately taller muffin structure. Furthermore, it gives the dry ingredients ample time to fully hydrate, resulting in a noticeably more moist and flavorful muffin. Planning ahead for this step is a small effort that yields dramatically superior results.
Precision is Key: Weigh Your Ingredients: For consistent and professional-level baking results, weighing your ingredients using a digital kitchen scale is paramount. Volumetric measurements (cups and spoons) can be surprisingly inaccurate, often varying significantly depending on how ingredients are scooped or packed. A difference of just a few grams of flour can drastically alter the texture of your muffins, making them dense or dry. Therefore, making the small investment in a scale and weighing your ingredients is a small effort with a huge payoff in terms of consistent, perfect muffins every time.
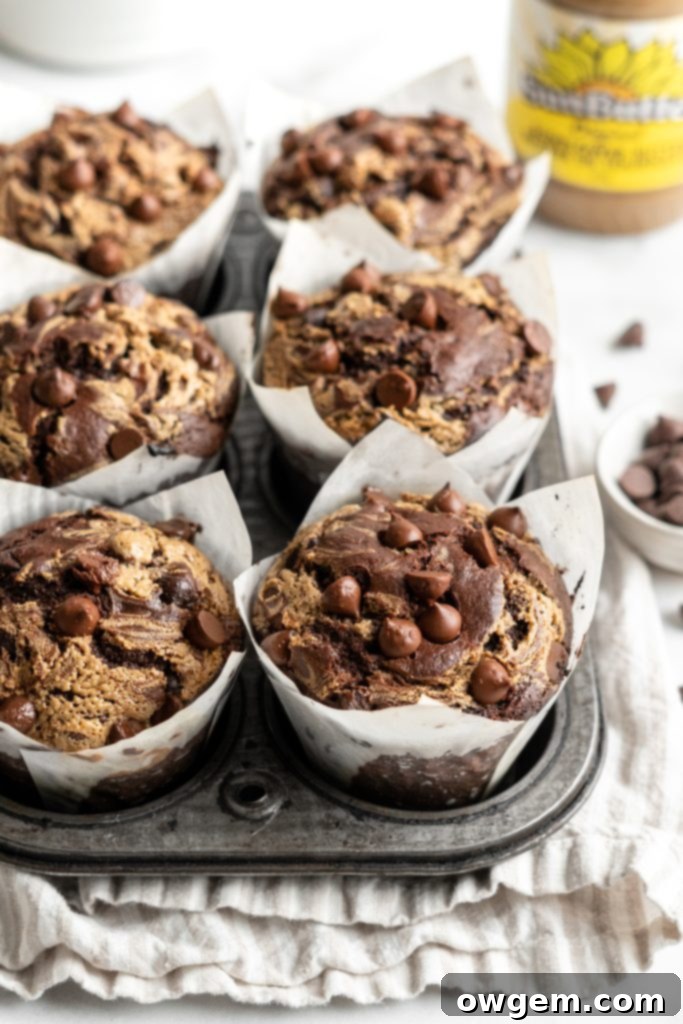
Harness “Oven Spring” with Initial High Heat: The secret to those beautifully domed, sky-high muffin tops lies in an initial burst of high heat. Placing the muffin batter into a super-hot 425°F (220°C) oven creates what bakers call “oven spring.” The intense heat rapidly activates the leavening agents and quickly sets the outer crust, forcing the muffin batter to rise rapidly upwards before the internal structure fully sets. After this initial 5-6 minute blast, the oven temperature is reduced to 350°F (175°C) to allow the muffins to bake through gently without burning or developing an overly dark crust.
Prevent Lumps: Always Sift Cocoa Powder: Cocoa powder, especially Dutch-processed, has a natural tendency to clump together in the package due to its fine texture. If you add it directly to your dry ingredients without sifting, these small lumps can remain in your batter, leading to an uneven texture and unpleasant pockets of unmixed cocoa in your finished muffins. To ensure a smooth, consistently chocolatey batter with perfectly distributed flavor and color, simply sift the cocoa powder over a fine-mesh sieve into your flour mixture before whisking with other dry ingredients.
Don’t Overfill Muffin Liners: While aiming for bakery-style height is great, avoid filling your muffin liners to the very brim. Filling them about two-thirds to three-quarters full allows the batter sufficient space to rise beautifully without spilling over the edges, ensuring a lovely domed top and an evenly baked muffin. Overfilling can lead to muffins that bake together, overflow, create a messy pan, and ultimately result in less appealing shapes and textures.
Essential Equipment Required for Muffin Making
Muffin Pan: A good quality muffin pan is truly essential for achieving evenly baked muffins with beautiful golden-brown exteriors. Investing in a sturdy, non-stick pan will make a significant difference in both the baking process and the ease of removal. Here is a link to my favorite muffin pan that consistently delivers excellent results.
Whisk or Hand Mixer: While a heavy-duty stand mixer isn’t strictly necessary for this particular muffin recipe, a good quality balloon whisk is absolutely essential for thoroughly combining the wet ingredients to a smooth consistency. If you prefer to save some arm strength and speed up the mixing process, a reliable hand mixer can make the task even easier and quicker, ensuring your batter is perfectly mixed without overworking it.
Muffin Liners: The type of liner you choose can greatly impact the size and shape of your finished muffins. If you’re aspiring to create those wonderfully thick, extra-large, domed muffins, just like the impressive ones often pictured in bakeries, these specialized tulip-style muffin liners (or similar oversized liners) are highly recommended. For standard-sized muffins, your regular cupcake liners will work perfectly well, providing a convenient and clean baking experience.
Digital Kitchen Scale: As highlighted in our crucial tips section, a digital kitchen scale is an invaluable tool for precise and consistent baking, especially when working with dry ingredients like flour and cocoa powder. Measuring by weight eliminates the inaccuracies inherent in volume measurements, ensuring that your muffins turn out perfectly every single time, with the ideal texture and rise.
How to Store Your Delicious Chocolate Muffins
Room Temperature: Once completely cooled to prevent any condensation, these delightful muffins can be kept fresh in an airtight container at room temperature for up to 3 days. For best results, avoid stacking them directly on top of each other if possible, especially when they are still warm, to maintain their beautiful shape.
Refrigerator: To extend their freshness even further, place the fully cooled muffins in an airtight container and store them in the refrigerator for up to 1 week. When ready to enjoy, reheat gently in the microwave for a few seconds or in a warm oven for that delicious, fresh-baked, gooey chocolate treat experience.
Freezer: For longer-term storage, individual muffins can be placed in a freezer-safe bag or an airtight container and frozen for up to 3 months. To enjoy, simply thaw them at room temperature for a couple of hours, or warm them directly from frozen in the microwave or oven until heated through for a wonderful, fresh-baked taste anytime.
Frequently Asked Questions (FAQ)
Can I use regular cocoa?
Yes, you can certainly use regular natural cocoa powder. However, please note that Dutch-processed cocoa provides a darker color and a richer, less bitter chocolate flavor compared to natural cocoa. While the leavening in this recipe should still work with natural cocoa, expect a slight difference in the final taste and appearance.
Can I use milk instead of sour cream?
For the best results and to maintain the moist, tender crumb of these muffins, I highly recommend using buttermilk or a homemade buttermilk substitute (simply add 1 tablespoon of lemon juice or white vinegar to regular milk, then let it sit for 5-10 minutes until it slightly curdles) instead of just regular milk. Buttermilk’s acidity and fat content will better replicate the moisture and tenderness provided by sour cream.
Can I make these ahead of time?
Absolutely! You have a couple of options. You can prepare the muffin batter and let it rest in the fridge for 4-12 hours before baking, as detailed in our tips for a superior texture. For baked muffins, refer to the detailed storage instructions provided above for keeping them fresh at room temperature or in the refrigerator.
How do I get tall muffin tops?
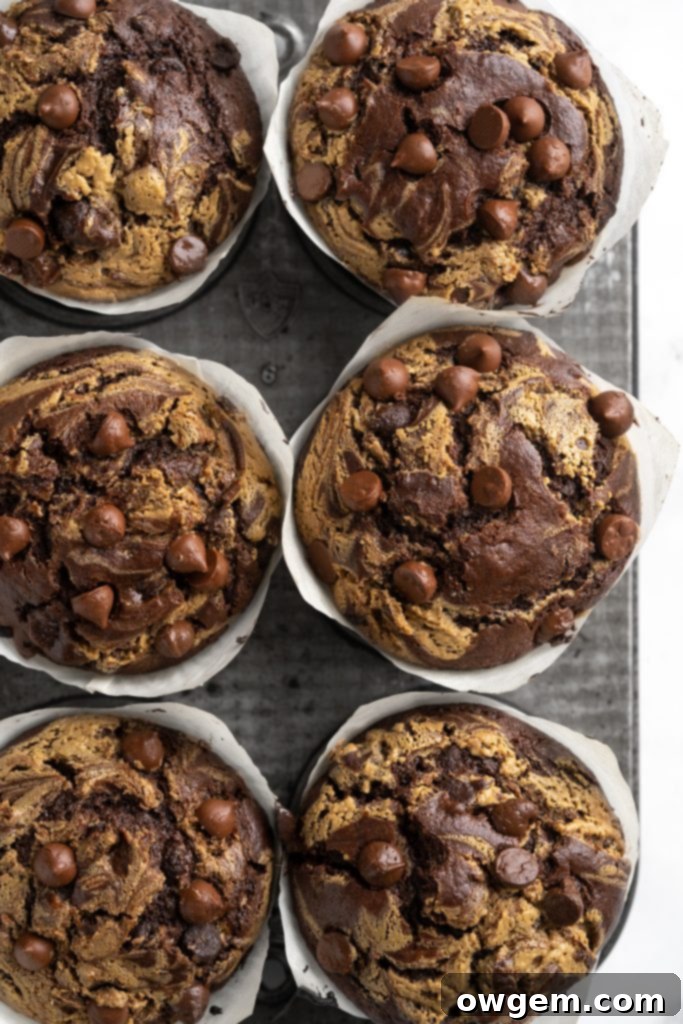
Achieving those impressive tall, domed muffin tops involves several key techniques: allowing the batter to rest in the fridge, initially baking the muffins at a high temperature to create “oven spring,” and strategically filling only every other muffin cavity in the pan to improve heat circulation. For a complete guide, please refer to the “Tips & Tricks” section above for detailed explanations on each method.
Will the instant coffee make these taste like coffee?
No, absolutely not! The small amount of instant coffee added to the batter is purely for enhancing and deepening the chocolate flavor. It acts as a secret ingredient to make the chocolate taste richer and more complex, without imparting any discernible coffee taste to your muffins.
Can I use butter instead of oil?
Yes, you can substitute melted butter for the vegetable oil in this recipe. However, please be aware that using butter might result in muffins that are slightly less moist and fudgy, and may have a slightly different texture once cooled. Oil contributes more consistently to a moist and tender crumb that stays fresh longer.
Related Recipes You Might Enjoy
Classic Double Chocolate Chip Muffins
Delightful Glazed Banana Streusel Muffins
Peanut-Free Monster Cookies using SunButter
Rich SunButter Double Chocolate Chip Loaf

Get the Recipe:
Double Chocolate Chip Muffins with SunButter Swirl (Bakery Style)
20 minutes
30 minutes
8
large muffins
Pin
Rate
Ingredients
- 2 cups (240g) All Purpose Flour
- 1/2 cup (50g) Dutch Processed Cocoa
- 1 tsp Baking Powder
- 1/2 tsp Baking Soda
- 1/2 tsp Kosher Salt
- 2 Large Eggs
- 1 cup (200g) White Sugar
- 1 cup (120g) Full Fat Sour Cream
- 1/2 cup (110g) Vegetable Oil
- 1/2 cup (120g) Water,, at room temperature
- 1 ½ tsp Vanilla
- 1 tsp Instant Coffee
- 1 ¾ cups (315g) Semi Sweet Chocolate Chips
- 1/2 cup (120g) SunButter,, for swirling on top
Instructions
-
In a medium to large mixing bowl, add flour, cocoa powder, baking powder, baking soda and salt.
-
In a separate large mixing bowl, add the eggs, sugar, sour cream, oil, water, vanilla and instant coffee, to a large mixing bowl, then beat together with a whisk until the mixture is smooth and well-combined.
-
Pour the wet mixture into the dry mixture, and fold together until smooth. Try not to overmix though! Pour in the chocolate chips, and fold again to combine.
-
For softer, taller muffins, cover the muffin batter bowl with plastic and place the batter into the fridge to rest for 4-12 hours.
-
Preheat oven to 425°F. Prepare a muffin tin with liners (8 if using large tulip liners, or 12 for standard muffins).
-
Evenly disperse the batter into the liners with a cookie scoop while being careful not to deflate the batter.
-
Using a small spoon, spoon 2-3 tsp of SunButter onto each muffin, then use a toothpick to swirl it into the batter. Top with additional chocolate chips.
-
For Large Muffins: Place into the 425°F oven, bake for 6 minutes, and then turn the oven temperature down to 350°F, and bake for an additional 25-30 minutes, or until an inserted toothpick comes out clean.
For Standard Muffins: Place into the 425°F oven, bake for 5 minutes, and then turn the oven temperature down to 350°F, and bake for an additional 16-18 minutes, or until an inserted toothpick comes out clean.
American
Baking
Tried this recipe?
Rate the recipe and leave a comment!
