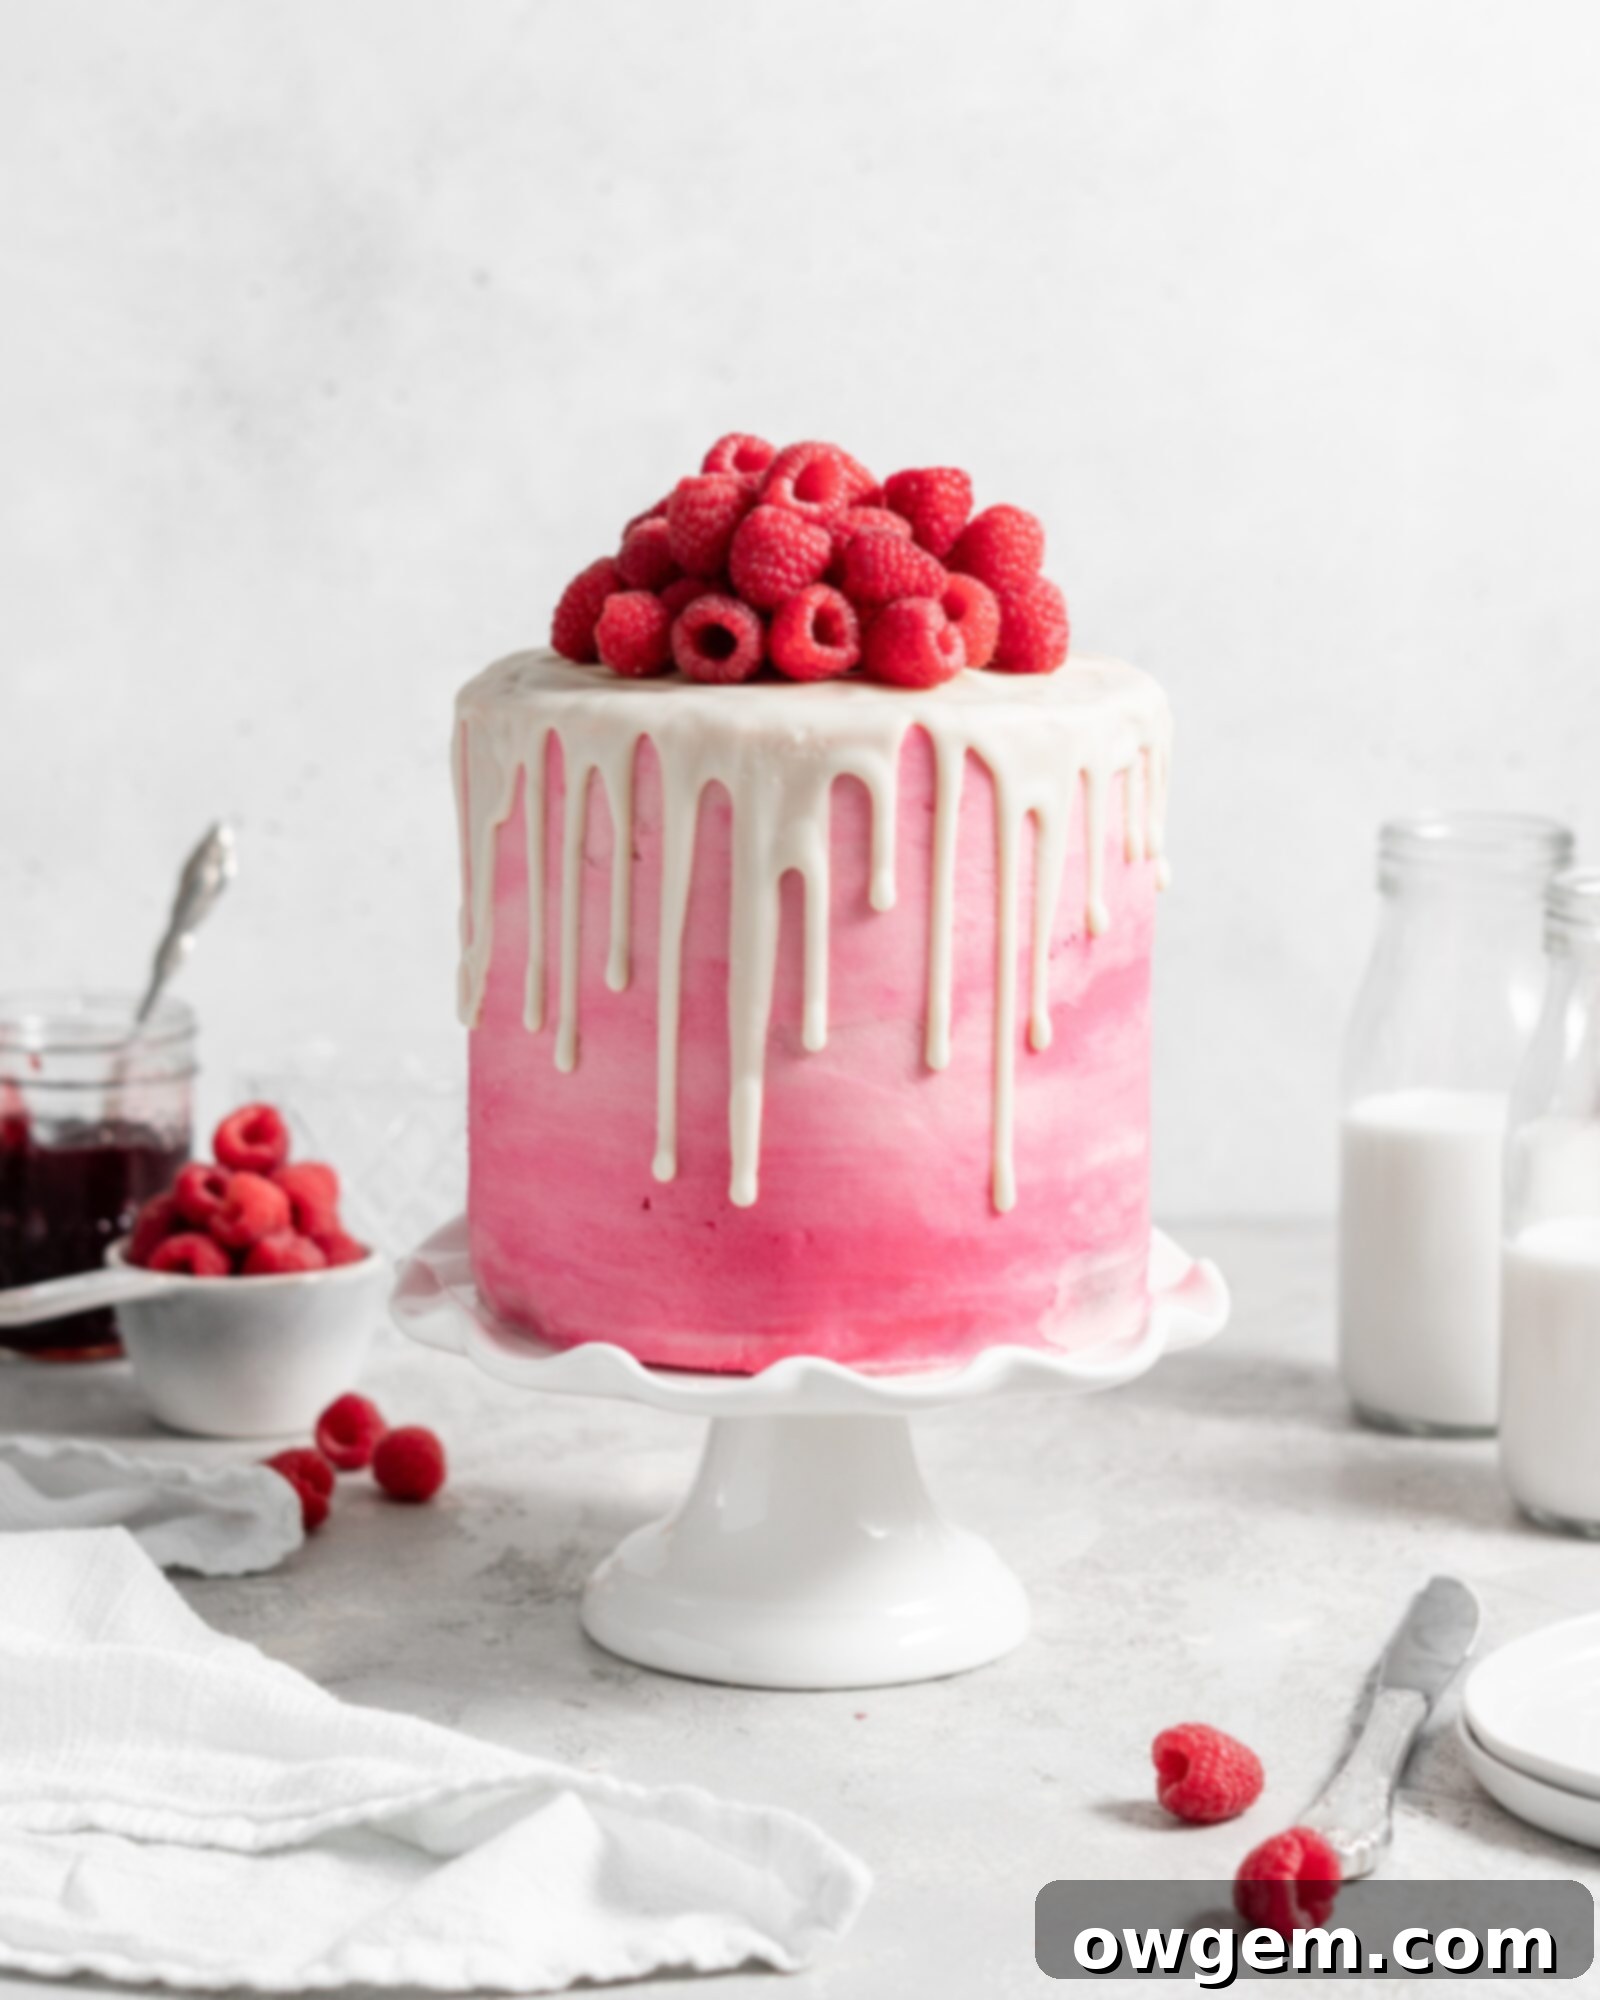
Decadent Raspberry White Chocolate Layer Cake: A Guide to Baking Perfection
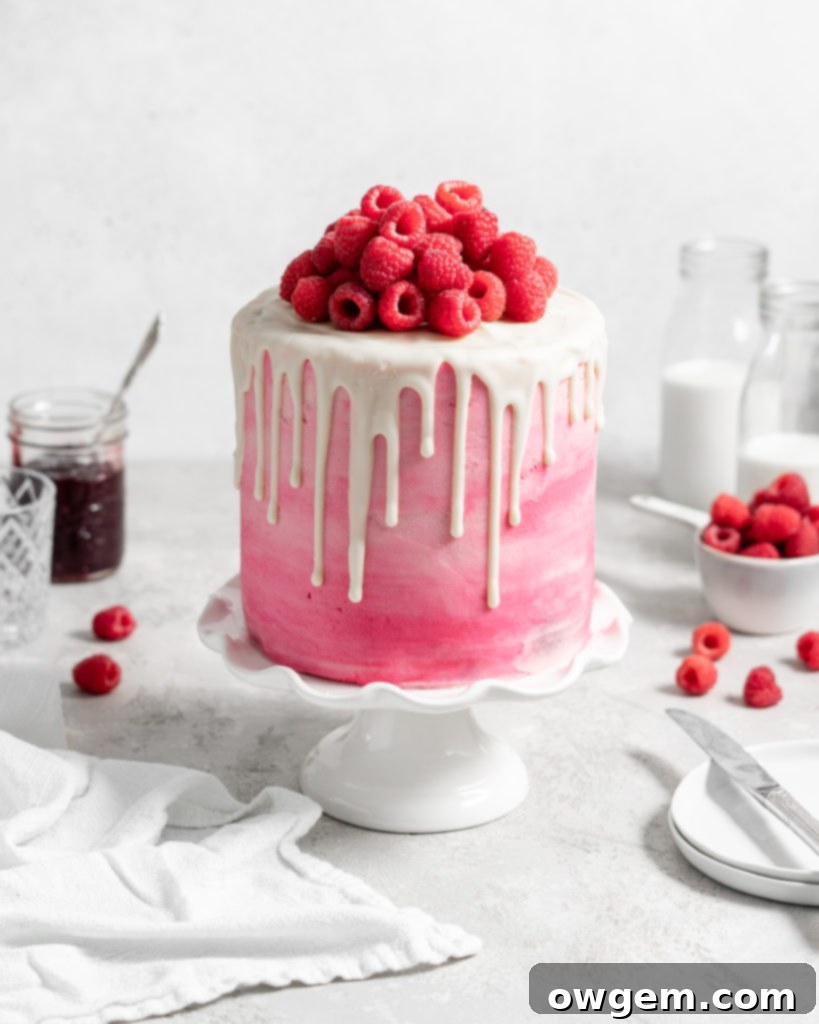
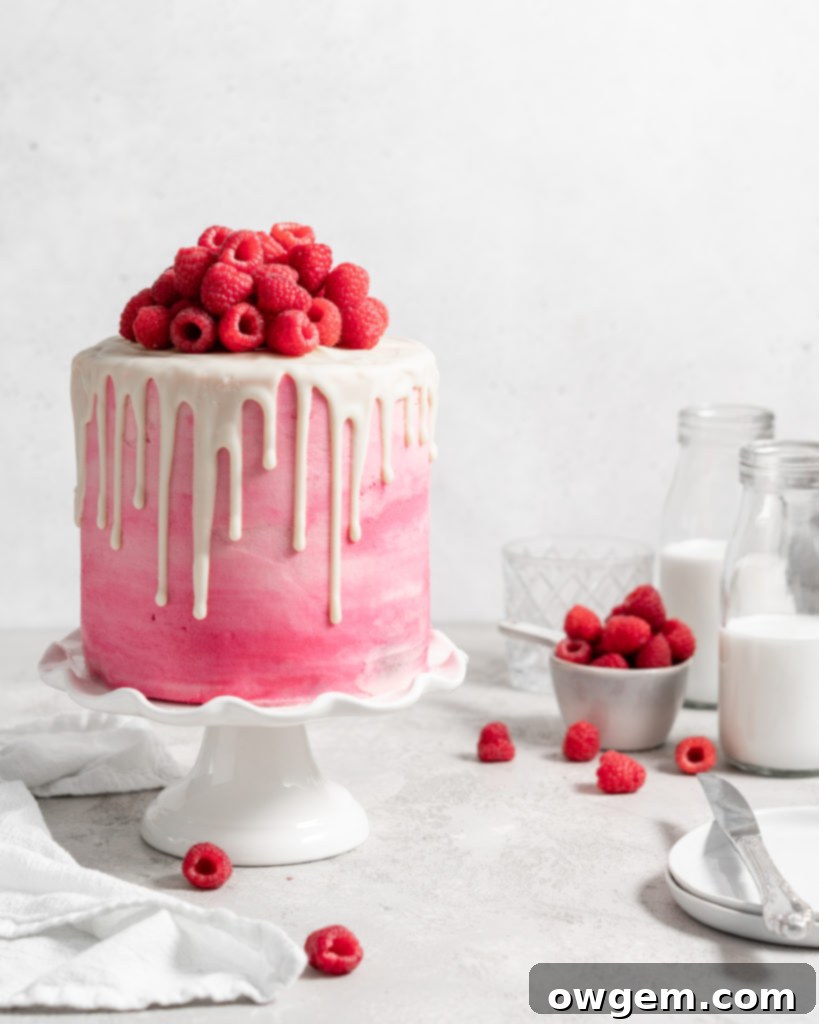
Indulge in the exquisite charm of this Raspberry White Chocolate Layer Cake, a creation that is as breathtakingly beautiful as it is irresistibly delicious. Perfect for Valentine’s Day, anniversaries, or any occasion that calls for a show-stopping dessert, this cake features three incredibly soft, moist, and fluffy raspberry-infused vanilla cake layers. Each tender layer is generously filled with a vibrant, tangy raspberry jam and enveloped in a smooth, luxurious raspberry buttercream. The entire masterpiece is then elegantly crowned with a delicate, creamy white chocolate drip and a generous, sky-high pile of fresh, juicy raspberries, making every slice a truly unforgettable experience.
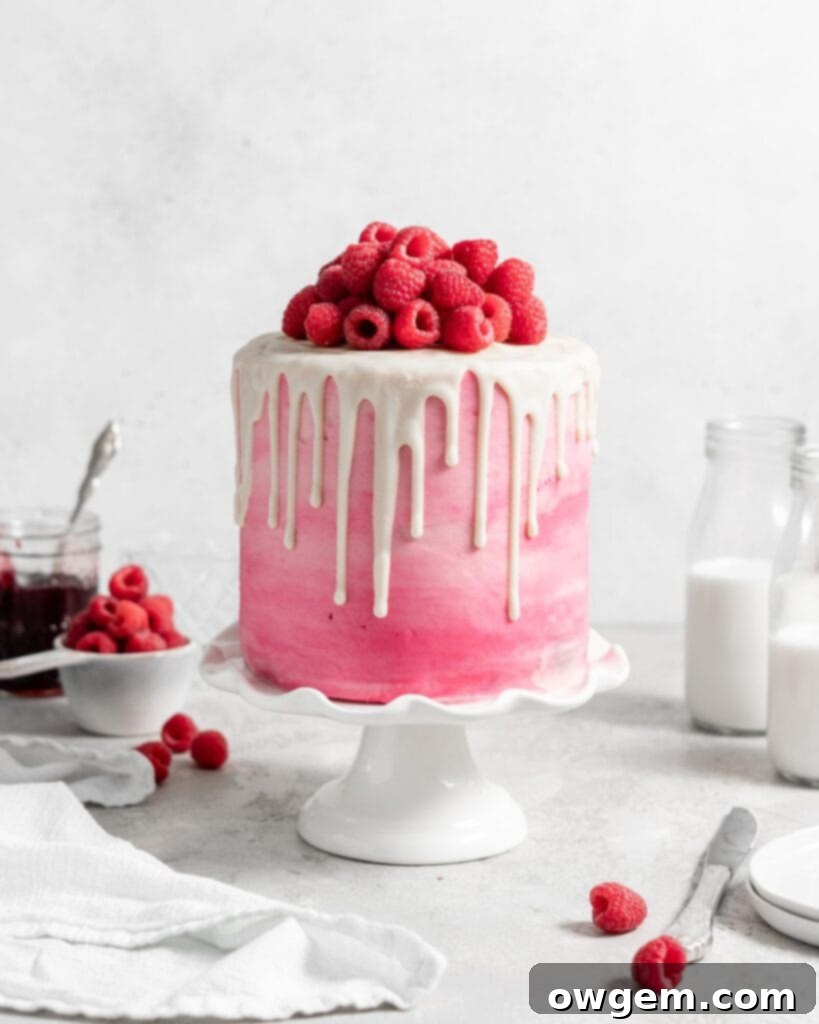
The Great Debate: Oil vs. Butter in Your Raspberry White Chocolate Cake
When you first glance at this delightful recipe for our Raspberry White Chocolate Cake, you might notice a key difference from many traditional cake recipes: we’ve opted for oil as our primary fat source instead of butter. Now, before you question this choice, allow me to elaborate on the wonderful advantages it brings to this specific dessert. While butter certainly has its place and provides a rich, distinctive flavor, using oil in this raspberry-packed cake yields a superior texture that is truly unparalleled.
First and foremost, the sheer ease of working with oil is a significant benefit. There’s no need for advance planning to bring butter to room temperature, which often requires waiting or a careful softening process. With oil, you can simply measure and go, streamlining your baking process and getting you to that delicious finished cake much faster. This convenience is a definite win for busy bakers or anyone looking for a straightforward approach to a complex-looking dessert.
Beyond convenience, the primary reason for choosing oil over butter in 9 out of 10 cases is the remarkable difference it makes in cake texture. Oil-based cakes consistently result in a much moister, more tender crumb. You might wonder why this is the case. It all comes down to the science of baking: oil is 100% fat, while butter contains water and milk solids. Oil also does a superior job at encapsulating the flour molecules, creating a more effective barrier against moisture loss and significantly reducing gluten formation during mixing. This enhanced encapsulation leads to better lubrication within the batter and a remarkably tender final product. Less gluten development means a softer, more delicate cake that truly melts in your mouth.
While butter undeniably imparts an excellent, rich flavor in many cake and cupcake recipes, in a cake like this Raspberry White Chocolate Cake, which is bursting with bright, fruity raspberry notes and the sweet creaminess of white chocolate, the distinct flavor of butter isn’t missed. The vibrant fruit and rich chocolate flavors take center stage, creating a harmonious balance where the neutral profile of vegetable oil allows the other ingredients to shine. This choice allows us to achieve maximum moisture and tenderness without compromising the overall flavor experience. It’s truly a win-win situation for a dessert designed to be both light and incredibly satisfying.
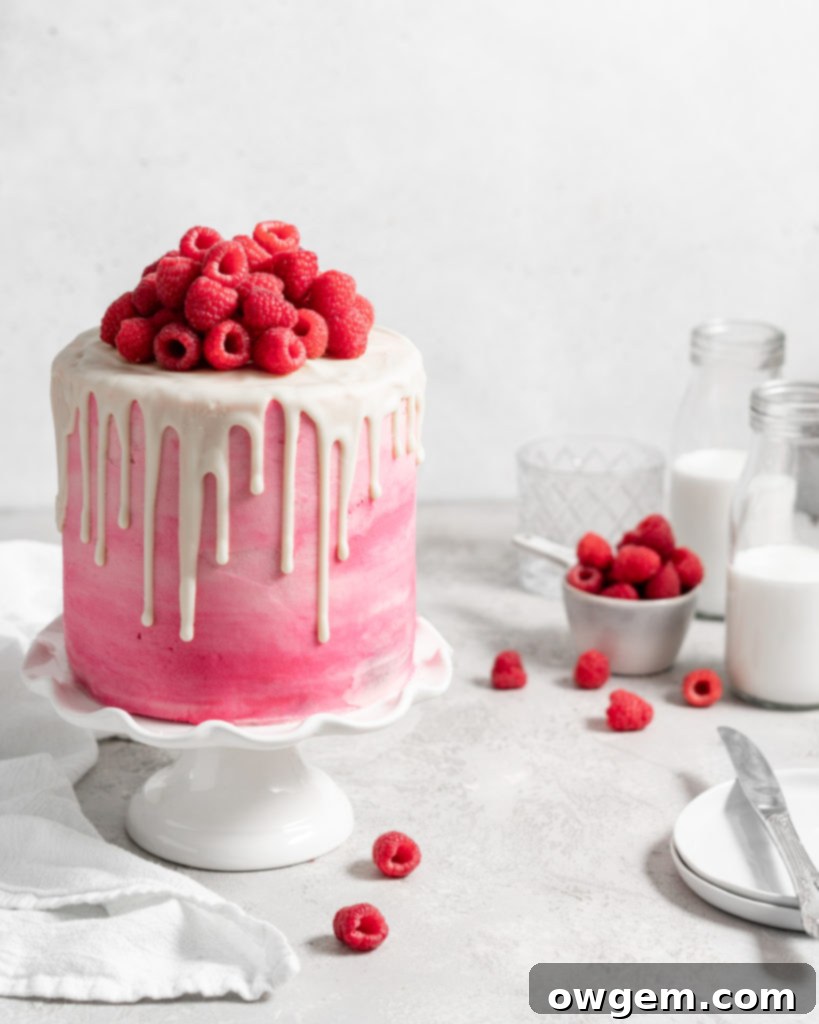
Crafting the Raspberry White Chocolate Cake Layers
Creating the perfect foundation for this magnificent layer cake begins with carefully preparing your cake batter. Each step is designed to ensure light, airy, and incredibly moist cake layers that will flawlessly complement the rich fillings and frosting.
1. Beat Eggs and Sugar to Perfection: In your stand mixer, combine the large eggs, granulated sugar, and pure vanilla extract. Beat these ingredients together on high speed for approximately 3-4 minutes. This crucial step is all about aeration. As you beat, the mixture will transform into a light, fluffy, and significantly increased volume – it should roughly triple in size. This process incorporates air, which contributes to the cake’s tender structure and helps create that desirable light texture.
2. Gently Incorporate the Oil: Once your egg and sugar mixture is light and voluminous, reduce your stand mixer speed to medium. Begin slowly drizzling the vegetable oil into the mixer bowl while it continues to beat. The key here is gradual addition, which helps to properly emulsify the oil into the mixture, ensuring even distribution and preventing the batter from splitting. After all the oil has been added, continue beating for an additional 30 seconds to fully combine.
3. Whisk Together the Dry Ingredients: In a separate, medium-sized mixing bowl, measure out your all-purpose flour, baking powder, and salt. Use a whisk to thoroughly combine these dry ingredients. This step ensures that the leavening agents (baking powder) and salt are evenly distributed throughout the flour, preventing pockets of unmixed ingredients and promoting a consistent rise and flavor in your cake.
4. Alternate Adding Wet and Dry Ingredients: Now, it’s time to bring the wet and dry mixtures together. With your stand mixer on low speed, add about one-third of the whisked dry ingredients to the egg-sugar-oil mixture. Beat only until just combined – overmixing can lead to a tough cake. Next, add half of the full-fat sour cream and beat until just incorporated. Continue this alternating pattern, finishing with the final third of the dry ingredients. The sour cream not only adds incredible moisture and a subtle tang but also helps tenderize the cake. Finally, and most delicately, fold in the fresh raspberries using a spatula. Be gentle to avoid crushing the berries too much, ensuring lovely pockets of fruit throughout the cake.
5. Prepare Pans and Bake: Divide your beautiful raspberry cake batter evenly among three prepared 6-inch cake pans. These pans should be greased, floured, and lined with parchment paper rounds at the bottom to prevent sticking and ensure easy release. Place the filled pans into your preheated oven and bake until a toothpick inserted into the center of a cake layer comes out clean, indicating it’s fully cooked. Once baked, allow the cake layers to cool completely in their pans on a wire rack before attempting to unmold or assemble. Cooling thoroughly is paramount for structural integrity and prevents your frosting from melting.
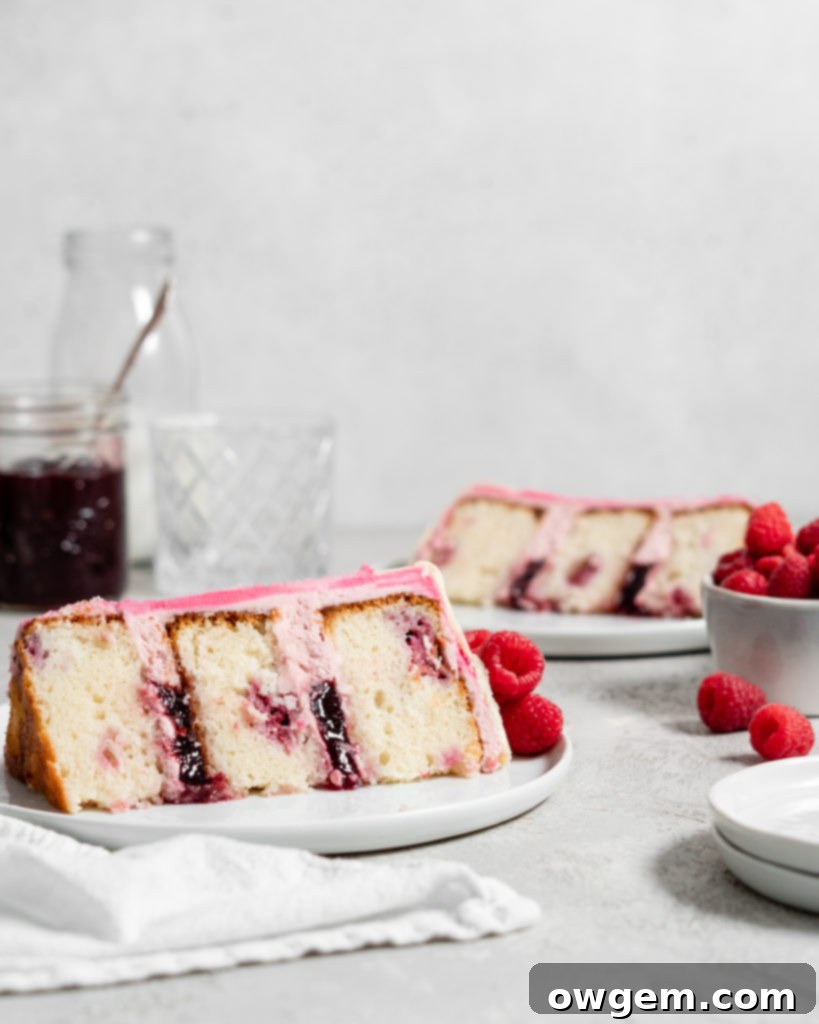
Assembling and Decorating Your Raspberry White Chocolate Cake: The Art of Layering
Once your cake layers are completely cooled, the exciting process of assembly and decoration begins. This is where your Raspberry White Chocolate Cake truly comes to life, building up layers of flavor and visual appeal.
Start by preparing your cake layers. Using a serrated knife or a cake leveler, carefully remove any doming from the tops of each cake layer, creating perfectly flat surfaces. This ensures a stable and professional-looking finished cake. Next, spread a very thin layer of raspberry buttercream over the cut-side of each leveled cake layer. This initial thin layer serves as a “crumb coat,” effectively trapping any loose crumbs and preventing them from mixing into your final frosting layer, resulting in a clean, smooth finish.
Place your first leveled and crumb-coated cake layer onto your chosen serving plate or a cardboard cake circle. Now, it’s time to create a “dam.” What exactly is a dam in cake decorating? It’s a small, piped ring of frosting that you apply along the perimeter of the cake layer. This dam acts as a protective barrier, preventing any soft fillings from escaping out of the center of your cake once the layers are stacked. After piping this secure dam, carefully spoon about 1/2 cup of luscious seedless raspberry jam into the center of the dam and spread it out evenly. The seedless jam ensures a smooth texture, allowing the vibrant raspberry flavor to truly shine without any interruption.
Gently place the next cake layer on top of the jam-filled first layer, aligning it carefully. Repeat the process: pipe another frosting dam, fill it with raspberry jam, and then add your final cake layer. Once all three layers are stacked, apply the remaining raspberry buttercream to completely cover the entire outside of the cake. Use an offset spatula or a cake scraper to smooth the frosting, creating a neat and even exterior. At this stage, your cake is looking beautiful, but we’re about to add an extra touch of artistry.
To achieve the stunning marbled effect on this cake, a delightful visual technique, I divided the prepared raspberry buttercream into two portions. Approximately one-third of the buttercream was transferred to a separate bowl. To this smaller portion, I added a few drops of pink food coloring gel (or red, for a deeper hue) to create a more saturated, slightly darker shade of pink. When applying the frosting to the cake, I used the lighter, original buttercream to pipe the dams for the filling. Then, for the outer frosting, I alternated applying dollops of both the lighter and darker pink buttercreams onto the cake in a seemingly random pattern. After the entire cake was covered in these contrasting spots of buttercream, I used a cake scraper to smooth the frosting. As the scraper moves around the cake, it simultaneously meshes the two colors together, creating an elegant, swirled, and truly captivating marbled look. The combination of technique and artistry makes this cake not just a dessert but a masterpiece.
Get the Recipe:
Raspberry White Chocolate Layer Cake
Pin
Rate
Ingredients
For the Raspberry Vanilla Cake Layers
- 360 g All Purpose Flour, approximately 3 cups if measuring volumetrically. Ensure it’s fresh for best results.
- 2 tsp Baking Powder, for leavening, ensure it’s active.
- 1 tsp Salt, to balance sweetness and enhance flavor.
- 2 cups (400g) Granulated White Sugar, provides sweetness and moisture.
- 4 Large Eggs, at room temperature, for structure and richness.
- 1 tbsp Pure Vanilla Extract, for classic flavor, avoid artificial extracts.
- 1 cup (240ml) Vegetable Oil, or other neutral-flavored oil for maximum moisture.
- 1 1/3 cups (320ml) Full-Fat Sour Cream, at room temperature, contributes to moisture and tenderness.
- 1 cup (125g) Fresh Raspberries, gently folded into the batter.
For the Raspberry Buttercream
- 7 cups (840g) Confectioners’ Sugar, sifted to prevent lumps.
- 2 cups (454g) Unsalted Butter, at true room temperature (soft but not melted) for optimal creaming.
- 1 ¾ cups (420ml) Seedless Raspberry Jam, divided for both filling and flavoring the buttercream.
- Pinch of Salt, enhances the sweet flavors.
For the White Chocolate Drip
- 3.5 oz (100g) High-Quality White Chocolate, finely chopped for even melting. Couverture chocolate works best.
- 3 tbsp (44g) Heavy Cream, full-fat for a rich, smooth ganache.
Equipment
-
Stand mixer with paddle and whisk attachments
-
Three 6-inch springform cake pans
-
Parchment paper rounds
-
Large mixing bowls
-
Wire rack
-
Serrated knife or cake leveler
-
Piping bags and tips
-
Offset spatula or cake scraper
-
Heatproof bowl and small saucepan for double boiler setup
Instructions
Raspberry Vanilla Cake Layers
-
Preheat your oven to 350°F (175°C). Prepare three 6-inch springform cake pans by coating them thoroughly with cooking spray, then lining the bottoms with parchment paper rounds. This ensures your delicate cake layers will release easily. In a medium to large sized mixing bowl, combine the all-purpose flour, baking powder, and salt. Whisk these dry ingredients together thoroughly for about 30 seconds to ensure they are well combined and aerated, preventing pockets of leavener in your final cake.
-
In the bowl of a stand mixer fitted with the paddle attachment, add the large eggs, granulated sugar, and vanilla extract. Beat these ingredients on high speed for approximately 5 minutes. The mixture should become noticeably thick, fluffy, and significantly increased in volume, roughly tripling. This aeration is crucial for a light and tender crumb. Next, with the mixer still running on medium-low speed, slowly drizzle in the vegetable oil. Continue beating for an additional minute after all the oil has been incorporated, ensuring a well-emulsified batter.
-
Reduce the stand mixer speed to low. Add the dry mixture to the wet ingredients in three alternating additions, with the full-fat sour cream added in between. Start and end with the dry ingredients. Mix only until the batter just comes together and looks smooth – avoid overmixing, which can develop gluten and result in a tough cake. Finally, gently fold in the fresh raspberries using a spatula. Be careful not to mash the berries, aiming to keep them mostly intact for beautiful bursts of fruit in each slice.
-
Divide the prepared cake batter evenly among the three prepared cake pans. You can use a kitchen scale for precision if desired. Place the pans into your preheated oven and bake for approximately 45 to 50 minutes. The cakes are done when a wooden toothpick or cake tester inserted into the center comes out clean or with a few moist crumbs attached. Once baked, remove the cakes from the oven and allow them to cool in their pans on a wire rack for at least 15-20 minutes before carefully inverting them onto the rack to cool completely. Ensuring the cakes are fully cooled before assembly is vital to prevent frosting from melting.
Raspberry Buttercream
-
In the clean bowl of a stand mixer fitted with the whisk attachment, add the room temperature unsalted butter. Beat the butter on high speed for 5-7 minutes, or until it has doubled in volume and appears very light, fluffy, and pale in color. This process aerates the butter, creating a light and stable buttercream.
-
Turn the stand mixer to low speed and gradually add the sifted confectioners’ sugar, one cup at a time, allowing each addition to be fully incorporated before adding more. Once all the sugar is in, increase the speed to medium-high and beat for another 2-3 minutes until the buttercream is smooth and creamy. Next, add 3/4 cup (180ml) of the seedless raspberry jam and the pinch of salt. Beat again until all ingredients are well-combined and fully incorporated, ensuring the buttercream takes on a beautiful pink hue and a delightful raspberry flavor.
Frosting & Finishing the Cake
-
Once your cake layers are completely cool, use a serrated knife or a cake leveler to carefully level off each layer, removing any domed tops. This creates flat surfaces essential for a stable and even cake. Spread a very thin layer of raspberry buttercream across the cut-side of each cake layer. This initial “crumb coat” traps any loose crumbs, ensuring a smooth and clean finish for your final frosting.
-
Place your first leveled cake layer onto your chosen serving plate or a cardboard cake circle. Using a piping bag fitted with a round tip (or simply snip the end off a disposable bag), pipe a frosting dam along the perimeter of the cake layer. This dam will act as a barrier for your filling. Into the center of this dam, spoon 1/2 cup (120ml) of the reserved seedless raspberry jam and carefully spread it out evenly to the edges of the piped dam.
-
Carefully place the second cake layer on top of the jam, ensuring it’s centered. Gently press down to secure. Then, repeat the piping of the frosting dam and the addition of 1/2 cup of raspberry jam as described in step 2.
-
Place the final cake layer on top. Now, use the remaining buttercream to frost the entire outside of the cake, including the top and sides. If aiming for a marbled effect as described above, divide a portion of your buttercream and color it, then apply alternating dollops before smoothing with a cake scraper. Once frosted, place the cake into the fridge for about 2 hours to allow the buttercream to firm up, creating a solid base for the white chocolate drip.
-
For the white chocolate drip, combine the finely chopped high-quality white chocolate and heavy cream in a heatproof bowl. Create a double boiler by placing this bowl over a small pot of simmering water, ensuring the bottom of the bowl does not touch the water. Heat gently, stirring continuously with a rubber spatula, until all the chocolate has melted and the mixture is completely smooth and glossy. Remove from heat and set aside to cool slightly, stirring occasionally, until it reaches a pourable but not-too-hot consistency (around 90-95°F or 32-35°C). For a perfectly bright white look, you can add a small amount of food whitening gel during this cooling stage.
-
Remove the chilled cake from the fridge. Carefully pour the slightly cooled white chocolate ganache over the top center of the cake. Use the back of a spoon or an offset spatula to gently encourage the white chocolate to drip organically down the sides of the cake. Control the amount of drip by how much you push it over the edge. Finish your exquisite Raspberry White Chocolate Cake by piling a generous amount of fresh raspberries on top for a vibrant and delicious garnish. Serve immediately or store in the refrigerator until ready to enjoy.
