Irresistible Homemade Chocolate Glazed Yeast Donuts: Your Guide to Fluffy Perfection
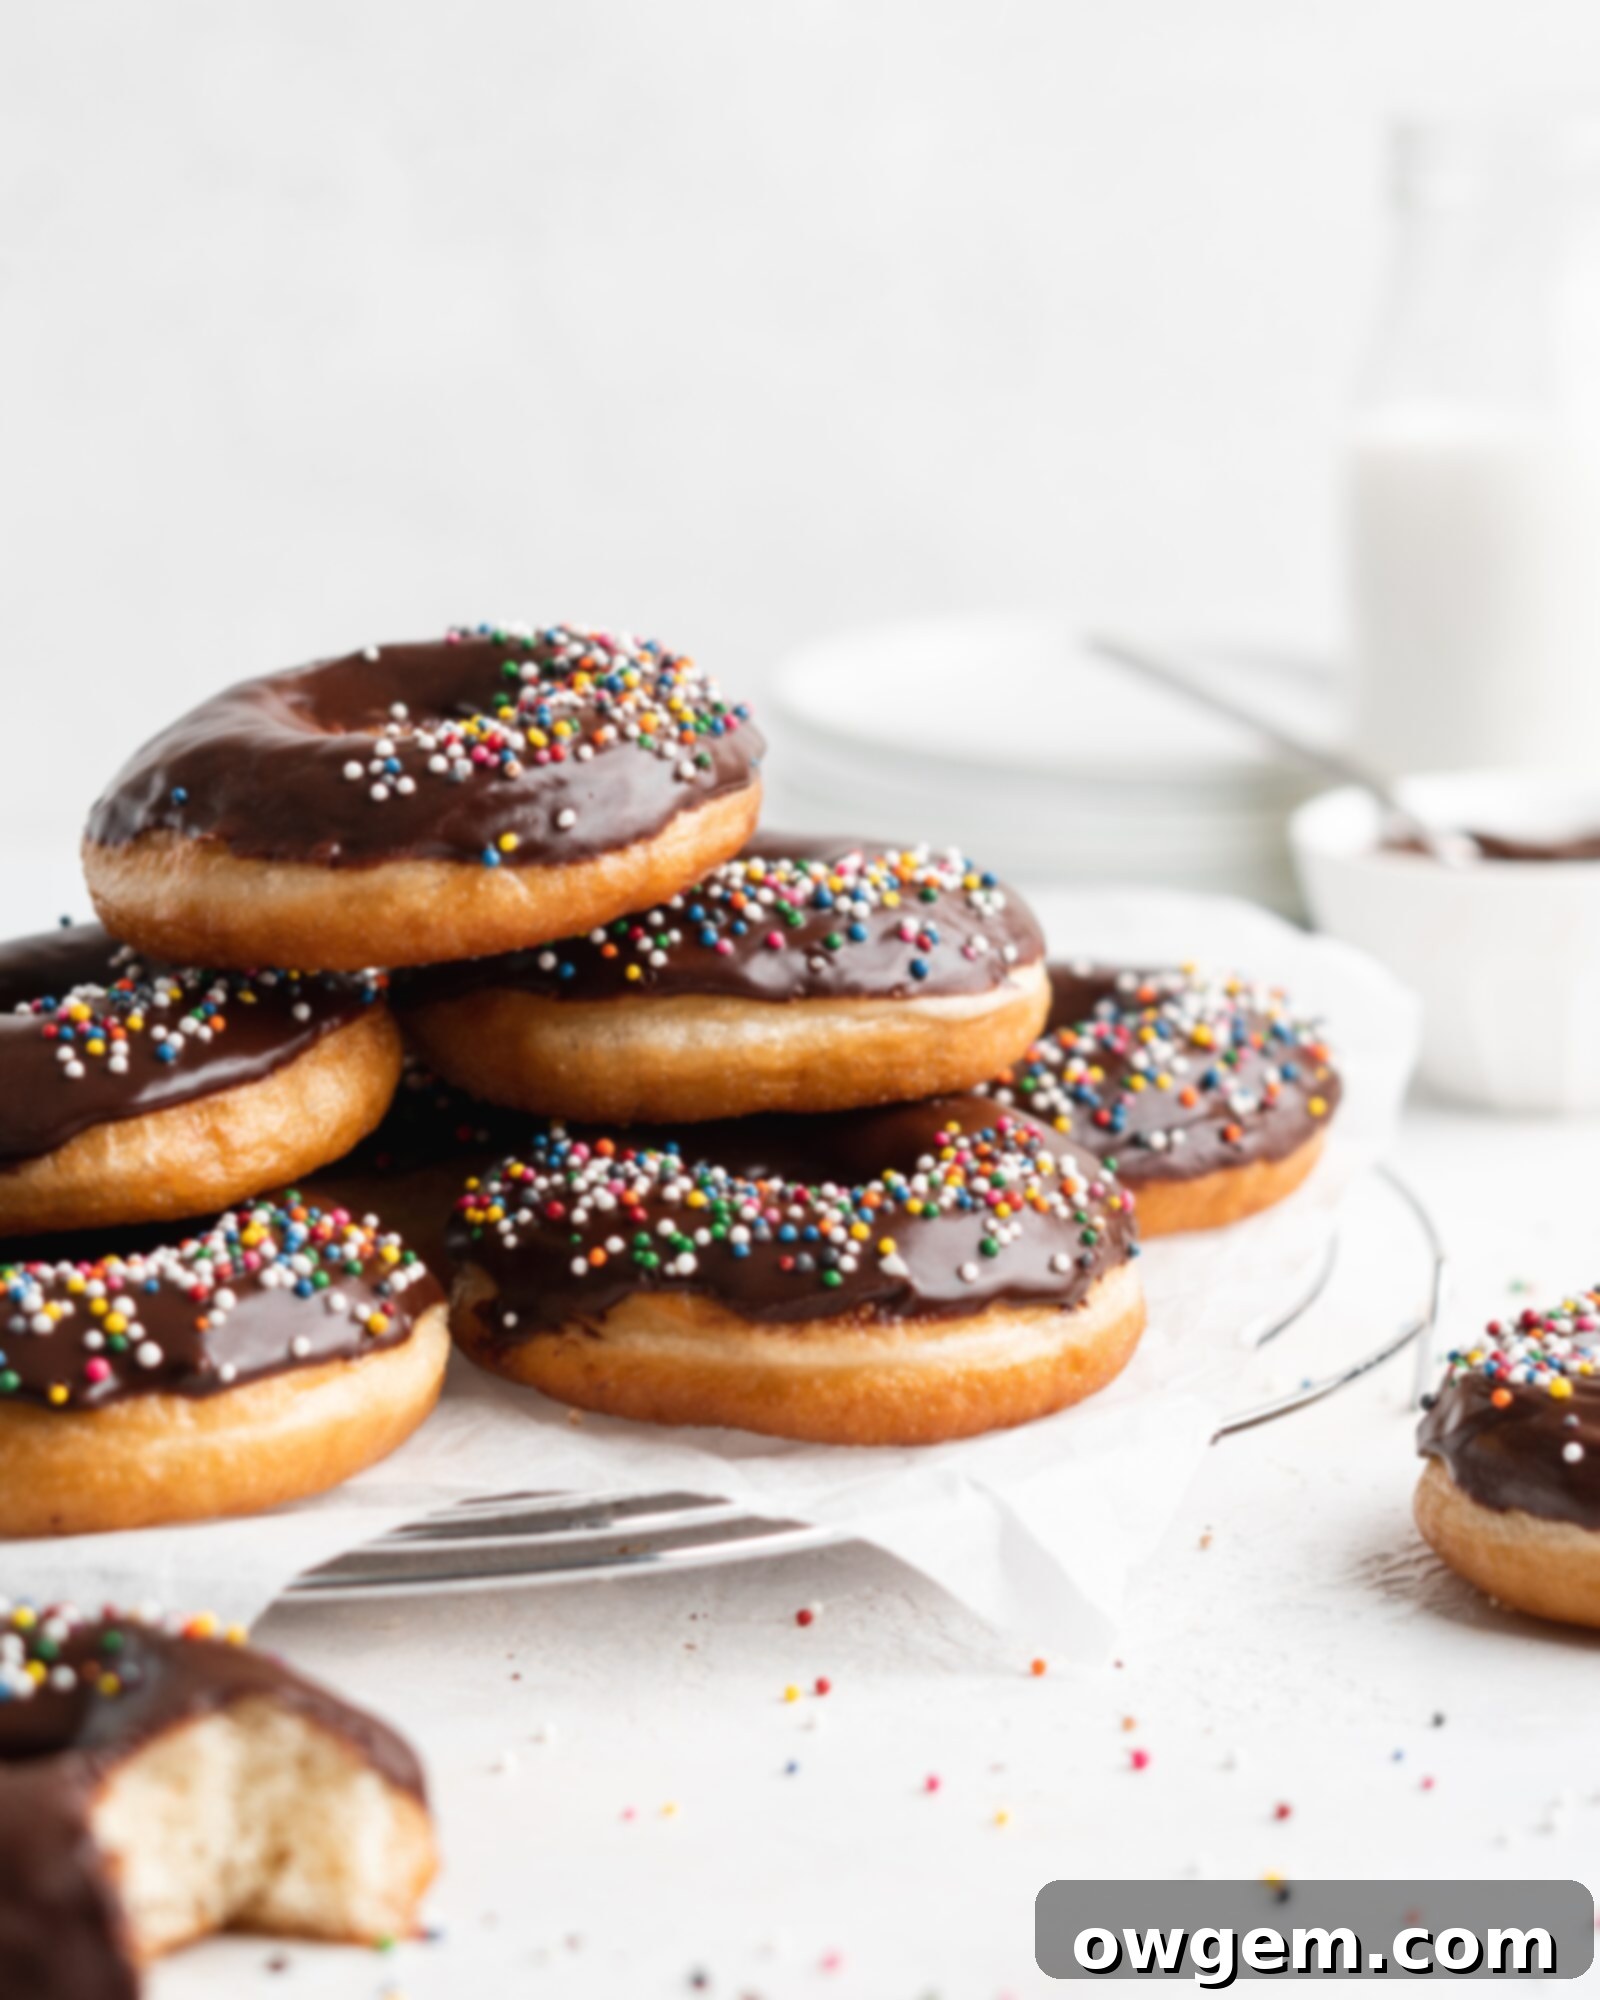
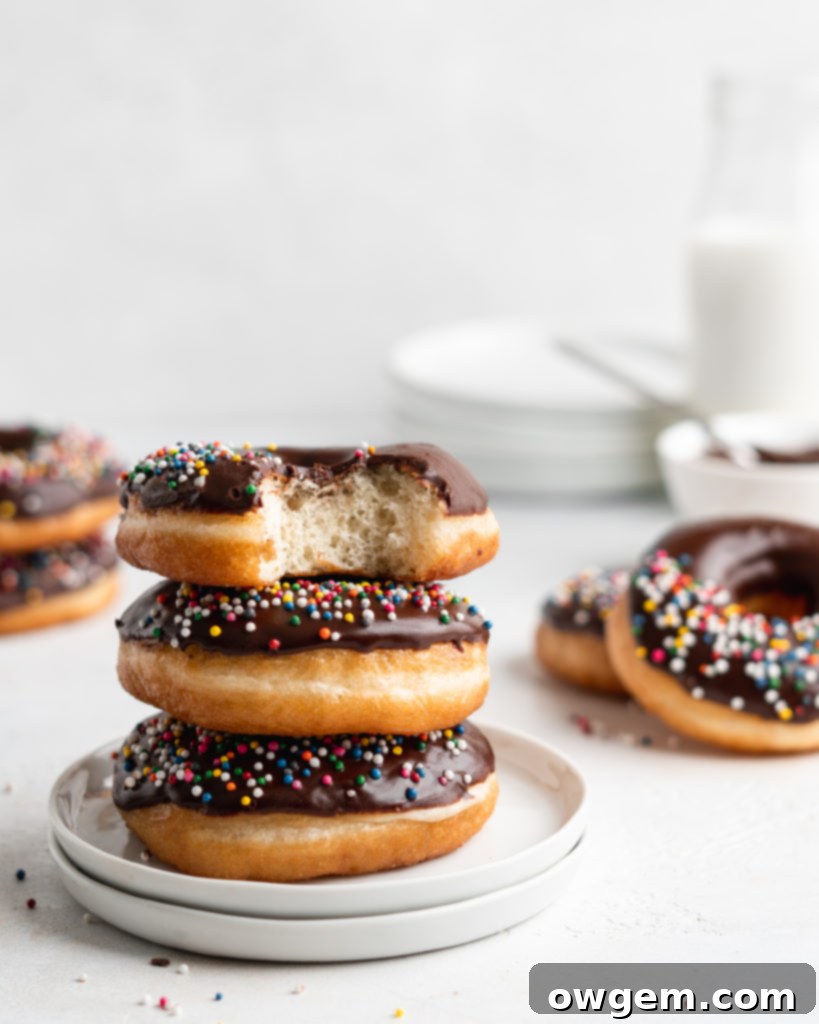
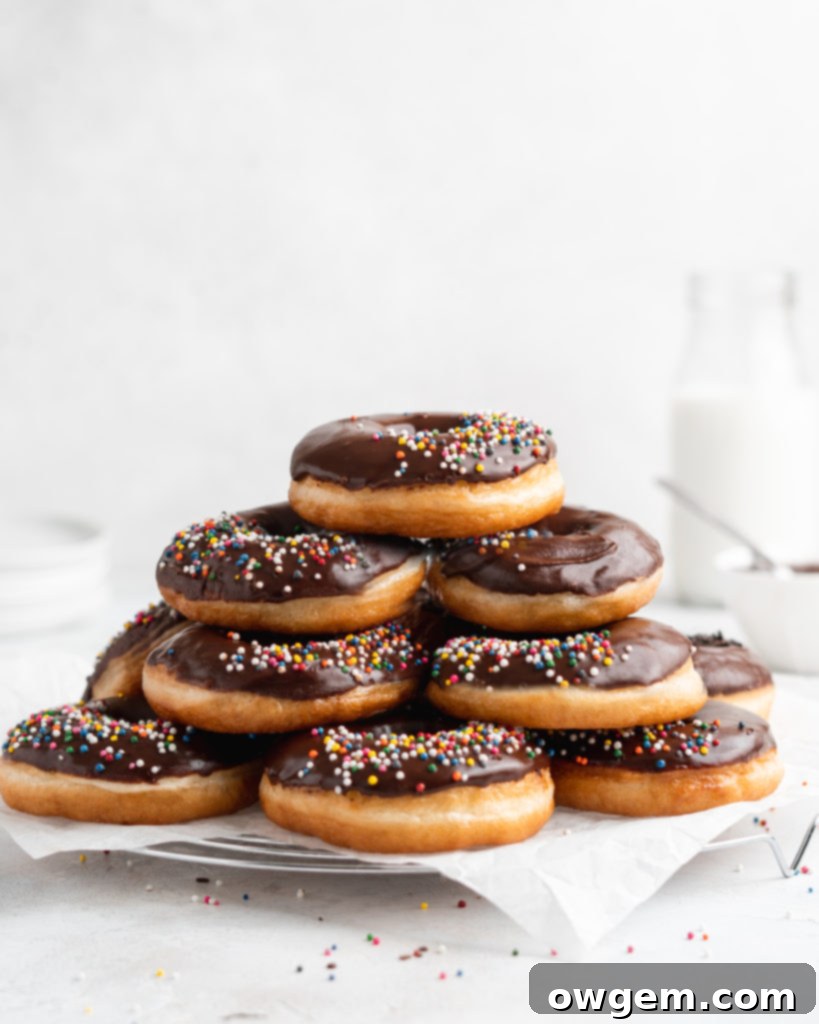
There are few culinary delights that truly rival the pure pleasure of a freshly made donut, especially when it’s still warm from the fryer and generously coated in a luscious, sweet chocolate glaze. This comprehensive guide will empower you to create the most incredible homemade chocolate glazed yeast donuts right in your own kitchen. Our recipe features a remarkably soft and airy dough that fries up to an exquisite golden-brown perfection, ensuring a melt-in-your-mouth experience with every bite. Each golden-fried donut is then lovingly dipped into a simple yet exquisitely rich chocolate glaze, striking the perfect balance of deep cocoa flavor and delightful sweetness. Forget the store-bought versions; these classic treats are a true labor of love that rewards you with an unparalleled taste and texture. They are an ideal project for weekend baking or a special breakfast indulgence that will impress everyone. Get ready to elevate your baking skills and delight in these utterly delicious, bakery-quality homemade wonders!
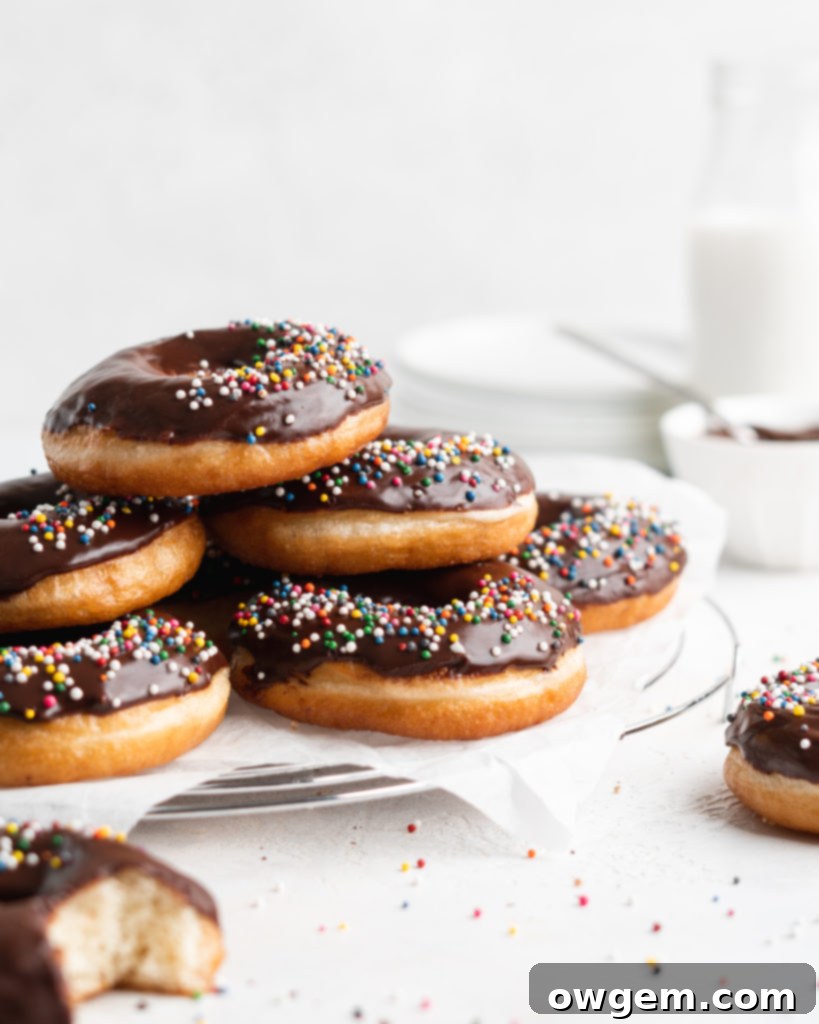
Why Master Homemade Chocolate Glazed Donuts?
Crafting donuts from scratch might initially seem like a daunting task, but the rewards are truly immense and well worth the effort. Homemade donuts offer an unparalleled freshness, flavor profile, and customizable quality that simply can’t be matched by their commercially produced counterparts. When you make them yourself, you have complete control over every ingredient, ensuring a superior texture and a taste that caters perfectly to your palate. Beyond the delicious outcome, the entire process itself – from watching the yeast dough slowly come to life, to the satisfying kneading, the anticipation of the rise, and the mesmerizing sizzle of the frying oil – is a deeply satisfying and enjoyable experience. Plus, the intoxicating aroma of fresh yeast donuts filling your kitchen is an added bonus that truly signals a treat in the making! This detailed recipe is specifically designed to be approachable for home bakers of all skill levels, breaking down each step into clear, easy-to-follow instructions. By following these simple guidelines, you are guaranteed to produce a batch of exceptionally light, pillowy, and utterly delicious chocolate glazed treats that will become a family favorite.
Crafting the Perfect Yeast Donut Dough
As with most enriched yeasted bread recipes, a stand mixer equipped with a dough hook attachment is an invaluable tool for preparing this donut dough. It significantly reduces the manual effort of kneading and ensures a consistently well-developed gluten structure, which is vital for that signature fluffy donut texture. Begin by proofing your yeast: gently warm the water to approximately 105°F (40°C). This temperature is absolutely crucial – water that is too hot will kill the yeast, rendering it inactive, while water that is too cold will not properly activate it. Sprinkle the instant or active dry yeast over the warm water in a small bowl or liquid measuring cup. Allow it to sit undisturbed for about 5-10 minutes. You’ll know the yeast is active and ready when it becomes visibly foamy and bubbly on the surface, indicating that it’s alive and thriving. If, after 10 minutes, there’s no foam, your yeast may be old or the water temperature was incorrect, and it’s best to start with a fresh batch of yeast and correctly tempered water.
Once your yeast is bloomed and bubbly, carefully transfer it to the large bowl of your stand mixer. To this, add the melted unsalted butter (it should be cooled slightly, not hot, to avoid harming the active yeast), the lightly beaten large egg (ensure it’s at room temperature for better incorporation into the dough), the buttermilk (also at room temperature for optimal emulsion and a tender crumb), and the granulated sugar. Whisk these wet ingredients together thoroughly for about a minute until they are well combined and homogenous. In a separate, medium-sized bowl, whisk together your all-purpose flour and salt until evenly distributed. Gradually add this dry flour mixture to the wet ingredients in the stand mixer bowl. Initially, mix it with a sturdy wooden spoon or spatula until a shaggy, somewhat sticky dough begins to form. This preliminary mixing helps to bring all the ingredients together before the mechanical kneading process begins.
Now, attach the dough hook to your stand mixer. Begin kneading the donut dough on medium-low speed for approximately 5-7 minutes. During this kneading period, you will observe a remarkable transformation: the dough will evolve from its initial shaggy state into a smooth, elastic, and glossy ball. A properly kneaded dough will exhibit a characteristic tackiness to the touch, meaning it’s slightly sticky but shouldn’t adhere excessively to your fingers or the sides of the bowl. This extensive development of gluten is absolutely essential for achieving the distinct chewy yet wonderfully soft texture that defines authentic yeast donuts. To confidently test for readiness, you can perform the classic “windowpane test”: carefully pull a small piece of dough and gently stretch it between your fingers. If you can stretch it thin enough to see light through it without it tearing, your dough is perfectly kneaded and ready. If it tears easily, continue kneading for another minute or two, then re-test.
Following the kneading process, lightly oil a large mixing bowl – a neutral-flavored oil such as vegetable, canola, or grapeseed oil works perfectly. Transfer the smooth, elastic donut dough to this oiled bowl, turning it over once to ensure all sides are coated with a thin layer of oil. This crucial step prevents the dough from sticking to the bowl during its rise and, more importantly, keeps the surface from drying out and forming a crust. Cover the bowl tightly with plastic wrap or a clean, damp kitchen towel to create a humid environment. Place the covered bowl in a warm, draft-free spot for its initial rise, also known as primary fermentation. The ideal temperature for this stage is typically around 75-80°F (24-27°C). This rising period can range anywhere from 1 to 3 hours, depending on the ambient warmth of your kitchen and the overall activity level of your yeast. The most definitive indicator that your dough is ready for the next step is when it has visibly doubled in size. In my experience, this critical first rise usually takes approximately 2 hours, resulting in a light, airy, and wonderfully pliable dough that’s a joy to work with.
Shaping and Proofing Your Chocolate Glazed Donuts
Once your donut dough has gloriously doubled in size, exhibiting its airy and expanded form, gently remove the plastic wrap or towel from the bowl. Carefully “punch down” the dough to deflate it, releasing the accumulated gases that formed during the first rise. This step helps to create a more even and consistent texture in the final fried donut. Turn the deflated dough out onto a lightly floured work surface. Using a rolling pin, meticulously roll the dough to a uniform thickness of about ½ inch (approximately 1.25 cm). Strive for an even thickness across the entire surface of the dough, as this will ensure consistent cooking and rising when the donuts are fried.
Now comes the satisfying task of cutting out your homemade chocolate glazed donuts! You will need two round cookie cutters: one larger cutter, typically around 3 inches (7.5 cm) in diameter, for the main donut shape, and a smaller one, about 1 inch (2.5 cm), for creating the iconic donut holes. For best results, dip your cookie cutters in flour between each cut to prevent the dough from sticking. Press straight down firmly, then lift without twisting the cutter, as twisting can seal the edges of the dough and inhibit proper rising in the fryer. Carefully arrange the cut-out donuts and their subsequent holes onto two baking sheets that have been lined with parchment paper. Utilizing two baking sheets is important to ensure there is ample space between each donut, allowing them sufficient room to undergo their second rise without overcrowding. From this recipe, you should typically yield about 10-12 full-sized chocolate glazed donuts, along with their equally delicious donut holes (which can also be fried and glazed!).
For exceptionally easy handling and seamless transfer into the hot frying oil later, consider implementing a clever trick: cut individual squares of parchment paper, each approximately 4×4 inches (10×10 cm). Place each cut-out donut onto its own parchment square. This innovative method prevents you from having to handle the delicate, proofed dough directly, which can very easily deflate the air pockets you’ve painstakingly created. Once proofed, you simply lift the donut (with its parchment square) and gently place it into the hot oil; the parchment will easily separate from the donut in the oil and can be carefully fished out with tongs after a few seconds. This technique drastically reduces the risk of deflated donuts.
The second rise, or “proofing,” is an absolutely crucial stage for achieving that coveted light, airy, and fluffy texture in your yeast donuts. For this stage, the donuts require a specific warm and, most importantly, humid environment. Humidity is particularly vital because it prevents the surface of the donuts from drying out and forming a “skin.” A dry skin can lead to large, undesirable air pockets or an uneven rise during the frying process. An ideal way to create this perfect proofing environment is by placing your parchment-lined baking sheets (with the cut-out donuts) onto the top and middle racks of your oven, ensuring the oven is turned OFF. On the very bottom rack, place a baking pan filled with freshly boiling water. Now, turn your oven on to 350°F (175°C) for **exactly one minute, then immediately turn it off.** It’s imperative that you do not let the oven reach its full temperature; the goal here is simply to create a gentle, moist warmth inside the oven that encourages optimal rising. Let the donuts proof in this environment for about 20 minutes. While they proof, this is the perfect time to start heating your frying oil to the correct temperature, ensuring a smooth transition to the next step.
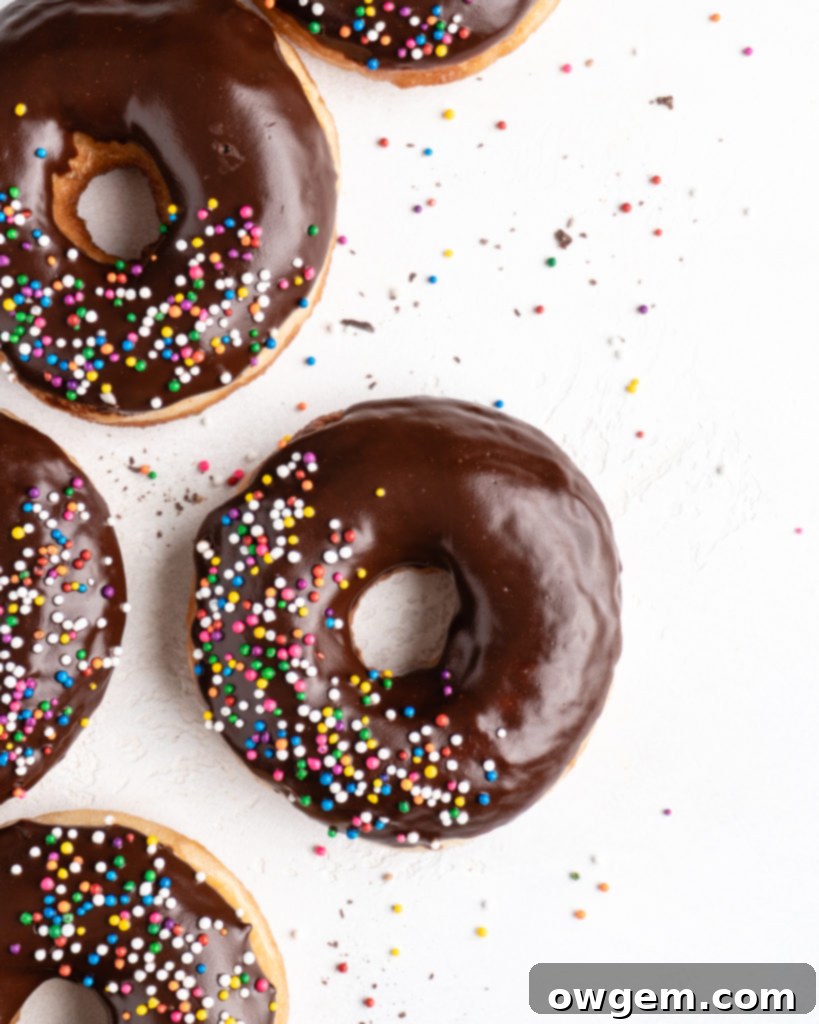
Frying Your Delicious Chocolate Glazed Donuts to Perfection
Once your homemade chocolate glazed donut dough has completed its second, crucial rise, and your frying oil has reached the optimal temperature range of 350°F – 375°F (175°C – 190°C), it’s finally time for the exciting step of frying! Using a reliable deep-fry thermometer is highly recommended to maintain this precise temperature, as it is the absolute key to perfectly cooked donuts. If the oil is too cool, the donuts will absorb too much oil and become greasy and heavy; if it’s too hot, they will burn on the outside before cooking thoroughly on the inside. Carefully pick up each proofed donut from the baking sheet. Remember to be exceptionally gentle; any aggressive handling at this stage can easily deflate the delicate, air-filled dough, resulting in dense and less desirable donuts. If you opted for the parchment square trick, simply pick up the donut with its parchment and gently lower it into the hot oil. The parchment will easily detach from the donut within the oil and can be carefully fished out with tongs after just a few seconds.
To ensure even cooking and to prevent the oil temperature from dropping too drastically, I strongly recommend frying your donuts in small batches, typically 4-5 donuts at a time, depending on the size and capacity of your pot. Overcrowding the pot is a common mistake that significantly lowers the oil temperature, leading to greasy donuts and uneven browning. While you are frying in batches, it’s a good practice to keep the un-fried donuts in the warm, humid oven environment from their proofing stage. This clever strategy prevents them from drying out or over-proofing as they await their turn in the fryer. Fry each side of the donut for approximately 1 to 1.5 minutes, or until it achieves a beautiful, deep golden-brown color. The exact frying time may vary slightly depending on your specific oil temperature and the precise thickness of your donuts, so it’s important to keep a close eye on them and adjust as necessary.
Once the donuts are golden brown and perfectly cooked, carefully remove them from the hot oil using a spider strainer or a pair of sturdy tongs. Immediately transfer the freshly fried donuts to a wire cooling rack that has been placed over a layer of paper towels. The paper towels will efficiently absorb any excess dripping oil, ensuring your finished donuts are light, airy, and deliciously non-greasy. Allow the donuts to cool for several minutes on the rack. They should be warm but not piping hot when you apply the glaze; if they’re too hot, the glaze will melt and slide off, and if they’re too cool, it won’t adhere smoothly or evenly. This crucial cooling period also allows the donut’s internal structure to fully set and solidify, contributing to that perfect fluffy texture.
The Velvety Chocolate Glaze: A Sweet Finish
These magnificent homemade chocolate glazed donuts wouldn’t be truly complete without their signature topping! This simple yet incredibly decadent chocolate glaze is remarkably quick to prepare, requiring just a few key ingredients that come together effortlessly. Its rich, glossy finish and deep, intense chocolate flavor perfectly complement the soft, fluffy texture of the fried donuts, creating an irresistible combination. While the process of making the glaze itself is quite straightforward, the critical step to master is properly melting the chocolate. Understanding the nuances and pitfalls of chocolate melting will ensure a smooth, unblemished, and perfectly pourable glaze every single time, elevating your homemade donuts to a professional level.
Mastering the Art of Melting Chocolate Without Seizing
Melting chocolate, while seemingly a basic kitchen task, demands a careful and precise approach. Chocolate has an incredibly low tolerance for errors and can seize into a gritty, thick, and unusable mess quite rapidly if not handled with care. The two primary adversaries of melting chocolate are moisture (even a tiny, almost imperceptible drop of water) and excessive heat. Overheating chocolate or attempting to heat it too quickly causes its delicate cocoa solids to separate from the cocoa butter, leading to that dreaded thick, grainy, and unworkable texture known as “seizing.”
To successfully prevent seizing and achieve a flawlessly silky-smooth chocolate glaze, this recipe employs a specific and highly effective microwave melting technique. It is absolutely crucial to use a completely dry, heatproof measuring cup or bowl, such as a sturdy Pyrex glass measuring cup. Any trace of water on your utensils or within the bowl can instantly trigger the seizing reaction. Begin by finely chopping your semi-sweet chocolate. Smaller, uniform pieces will melt much more evenly and quickly, significantly reducing the risk of localized overheating and scorching. Place the finely chopped chocolate into your thoroughly dry Pyrex cup. Microwave it on high power for exactly **one minute**. Immediately remove it from the microwave and stir vigorously with a completely dry spoon or spatula. Even if the chocolate doesn’t appear fully melted at this point, the act of stirring helps to distribute the latent heat and allows the residual warmth to continue the melting process. If there are still stubborn lumps after stirring, return the chocolate to the microwave for additional short bursts, specifically 15-20 second intervals, stirring thoroughly after each interval, until the chocolate is completely smooth, glossy, and fully liquid. Be patient, stir diligently between each burst, and resist the urge to rush the process to avoid any risk of scorching or seizing.
Assembling the Irresistible Chocolate Glaze
Once your chocolate is perfectly melted, smooth, and glistening, you’re ready to complete the magnificent chocolate glaze. To the bowl of melted chocolate, add the room temperature unsalted butter and the light corn syrup. The corn syrup is a true secret ingredient in this recipe; it not only contributes to the beautiful, highly glossy finish of the glaze but also plays a crucial role in preventing sugar crystallization, thereby ensuring a consistently smooth, pliable, and easy-to-dip coating. Stir these additional ingredients together with a dry spatula or whisk until the butter has completely melted and everything is thoroughly combined into a homogenous, velvety, and shiny mixture. The finished glaze should be thick enough to generously coat the back of a spoon but still fluid enough to drip smoothly and evenly off the donuts.
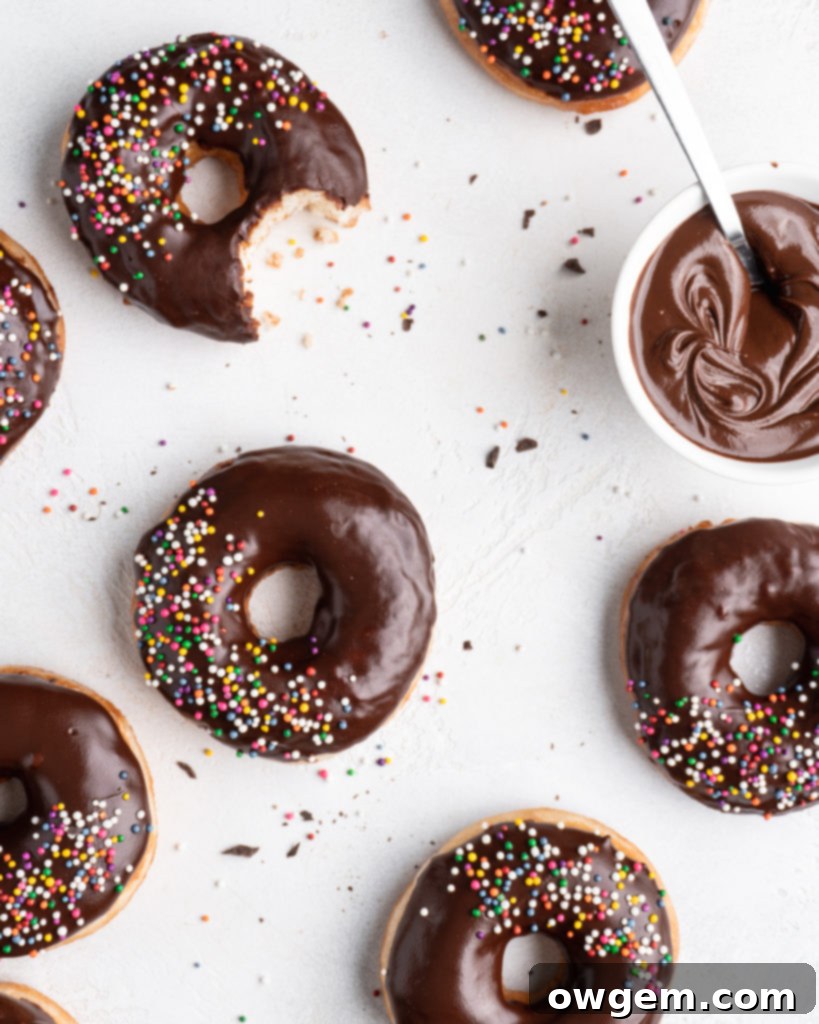
For optimal glazing results and ease of application, transfer the freshly prepared chocolate glaze to a wide-mouthed, shallow bowl. This shape makes the dipping process much simpler and less messy. Take each cooled (but still slightly warm) donut and gently dip its top surface into the chocolate glaze, allowing any excess glaze to drip back into the bowl. For an extra touch of visual appeal and a burst of texture, immediately decorate the glazed donuts with colorful sprinkles, chocolate shavings, or even a dusting of sea salt before the glaze has a chance to set. Allow the glazed donuts to rest at room temperature for about 10-15 minutes, giving the glaze sufficient time to set and firm up before you indulge. This brief setting time ensures the glaze adheres beautifully to the donuts and isn’t too messy to handle, making each bite a perfect experience.
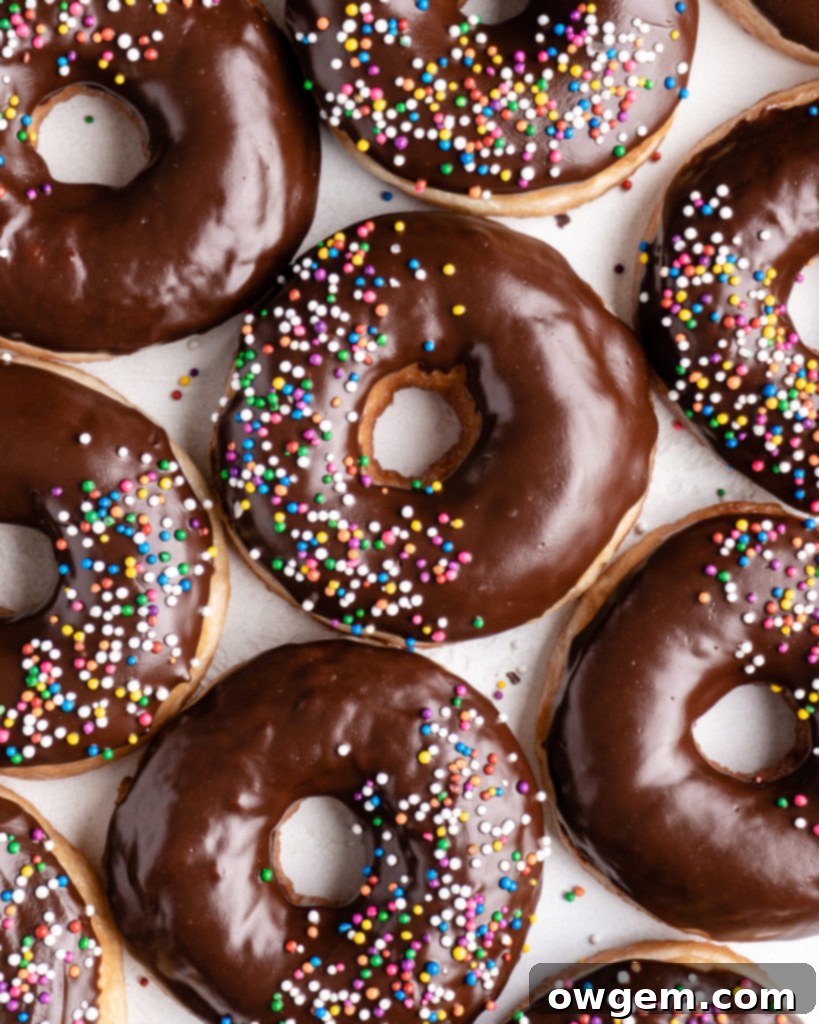

Get the Recipe:
Chocolate Glazed Donuts (Yeast Donuts)
Pin
Rate
Ingredients
Yeast Donuts
- 6 tbsp Water,, warmed to 105°F
- 1 ½ tsp Instant Or Active Dry Yeast
- 2/3 cup Buttermilk,, at room temperature
- 1 Large Egg,, lightly beaten, at room temperature
- 1/4 cup Unsalted Butter,, melted (but not hot)
- 1/4 cup Sugar
- 454 g (1 lb) All-Purpose Flour
- 1 tsp Salt
- Shortening/oil for frying
Chocolate Glaze
- 135 g Semi-Sweet Chocolate,, finely chopped
- 3 tbsp Unsalted Butter,, at room temperature
- 1 tbsp Light Corn Syrup
Equipment
-
Stand mixer
Instructions
Making the Donut Dough
-
In a measuring cup add warm water and yeast together. Stir together to combine, then allow to sit until it becomes foamy, about 10 minutes. Meanwhile, in a separate bowl, whisk together the flour and the salt, and set aside.
-
Add buttermilk, beaten egg, butter, and sugar to the stand mixer and whisk together to combine. Add bloomed yeast-milk to stand mixer and whisk to combine. Add the flour/salt to the stand mixer, and mix with a wooden spoon.
-
Next, attach the dough hook onto the stand mixer, and place on medium-low speed. and mix for around 5-10 minutes for the dough to form. When ready it should be smooth, elastic, and a little bit tacky to the touch.
-
Transfer dough to a greased large bowl, cover with plastic wrap, then place in a warm area to rise for about two hours, or until the dough is doubled in size.
Cutting, Proofing, & Frying
-
Turn the proofed dough out onto a lightly floured work surface and roll out to be about ½” thick. Using cookie cutters (I use a 3” cookie cutter and a 1” cookie cutter), cut out your donuts and their holes, then transfer them onto a parchment lined baking sheet. For easy transferring into the oil, cut out 4” square parchment sheets to place each donut on to proof – the parchment can be placed into the hot oil with the donut, then removed after. Ensure there is enough space between each donut to allow for rising room (I typically use 2 baking sheets for this).
-
Place the donuts into a warm, humid area to rise for about 20 minutes. The best place/way to do this is by placing the baking sheets onto the top and middle racks of your oven, then place a baking pan onto the bottom rack, then fill the baking pan with boiling water. Close the oven, then turn it on to 350°F for exactly one minute, then immediately turn it off (do not let the oven actually reach 350°F, you are only turning the oven on for 1 minute to slightly warm the oven to encourage rising). Alternatively, if your oven has a ‘bread proof’ function just turn that on instead.
-
Meanwhile, add oil to a large wide pot, such as a Dutch oven, filling it about halfway. Heat the oil over medium-high heat until it reaches between 350°F or 375°F. When ready, carefully (don’t be too aggressive or the donuts will deflate) pick up the donuts and place them into hot oil, and fry for about 1 ½ minutes per side, or until golden brown. Then place onto paper towel-lined baking sheet to cool off. Allow to cool to almost room temperature before glazing.
Making the Chocolate Glaze
-
Add chopped chocolate to a microwave proof bowl and place in microwave for 1 minute, or until melted (check at 1 minute, stir, and return to microwave if needed in 20 second intervals until melted).
-
Once the chocolate has completely melted, add the butter and corn syrup then stir together until the butter has melted and everything is well combined.
-
Transfer glaze to a wide-mouthed bowl, then glaze each cooled donut top with the chocolate glaze, decorate with sprinkles, then allow the glaze to set for 10-15 minutes before eating.
Tips for Donut Success: Achieving Bakery-Quality Results
- Precise Temperature Control is Key: For activating your yeast, ensure the water is precisely 105°F (40°C). When frying, utilize a deep-fry thermometer to consistently maintain the oil temperature between 350-375°F (175-190°C). This precision is crucial for non-greasy, perfectly cooked donuts.
- Room Temperature Ingredients are Essential: Make sure your butter, buttermilk, and egg are all at room temperature before beginning. This allows for optimal emulsion and contributes to a smoother, more consistent dough and a tender final crumb.
- Avoid Over-Flouring Your Work Surface: When rolling out the dough, use just enough flour to prevent sticking. Excessive flour can be incorporated into the dough, leading to a tougher, denser donut.
- Handle Proofed Dough with Extreme Gentleness: Fully proofed donut dough is delicate and filled with precious air pockets. Handle it with the utmost care, especially when transferring it to the hot oil, to avoid deflating these vital air cells.
- Utilize Parchment Squares for Easy Transfer: This simple but effective trick involves placing each cut-out donut on its own 4×4-inch parchment square. It makes transferring the delicate, proofed donuts to the hot fryer much easier and helps them retain their perfect round shape.
- Create a Humid Proofing Environment: The oven trick, where you place a pan of boiling water in a turned-off oven with your donuts, is essential. This creates a humid environment that prevents a dry skin from forming on the donuts, which could lead to large air pockets or an uneven rise during frying.
- Never Overcrowd the Fryer: Fry your donuts in small batches (typically 4-5 at a time) to maintain the oil temperature. Overcrowding will cause the oil temperature to drop, resulting in greasy, undercooked donuts.
- Ensure Proper Cooling on a Wire Rack: Always transfer freshly fried donuts to a wire cooling rack placed over a layer of paper towels. This allows excess oil to drain away efficiently and promotes air circulation, preventing the donuts from becoming soggy.
- Melt Chocolate Carefully to Prevent Seizing: Follow the microwave melting method precisely, using short intervals and stirring thoroughly. It’s vital to ensure all equipment (bowls, spatulas) is completely dry, as even a tiny drop of water can cause chocolate to seize.
- Glaze Warm, Not Hot, Not Cold, Donuts: The ideal temperature for glazing is when the donuts are warm but not piping hot. If they’re too hot, the glaze will simply melt and slide off; if they’re too cold, the glaze won’t adhere smoothly.
Storage and Reheating Homemade Donuts
Homemade chocolate glazed donuts are undoubtedly at their absolute best when enjoyed fresh, ideally within a few hours of being made. The fluffy texture and vibrant glaze are most appealing shortly after preparation. However, should you find yourself with any delicious leftovers (which, let’s be honest, is a rare occurrence!), you can certainly store them to preserve their delightful qualities for a short period. Place your completely cooled and glazed donuts in an airtight container at room temperature for up to 1-2 days. If your kitchen tends to be particularly warm, or if you prefer a slightly firmer glaze consistency, you can opt to refrigerate them. Be aware, however, that refrigeration can sometimes subtly alter the texture of yeast dough, making it a bit denser than its fresh, airy state. To help restore some of their warmth and initial softness, you can gently microwave individual donuts for about 10-15 seconds before serving.
It’s generally not recommended to freeze glazed donuts, as the glaze can become watery, sticky, or develop an undesirable texture upon thawing. However, you absolutely can freeze unglazed, fried donuts for longer-term storage. To do so, allow the fried donuts to cool completely to room temperature. Then, wrap each donut tightly in plastic wrap, followed by a layer of aluminum foil, to prevent freezer burn. These can be frozen for up to 1 month. When you’re ready to enjoy them, thaw the frozen donuts at room temperature for several hours or overnight. Once thawed, you can warm them gently in the microwave or a low oven (around 250°F / 120°C for 5-7 minutes) before applying a fresh batch of chocolate glaze. This method allows you to enjoy homemade treats with minimal effort on a whim.
Source: Dough recipe adapted from Christina Cucina
