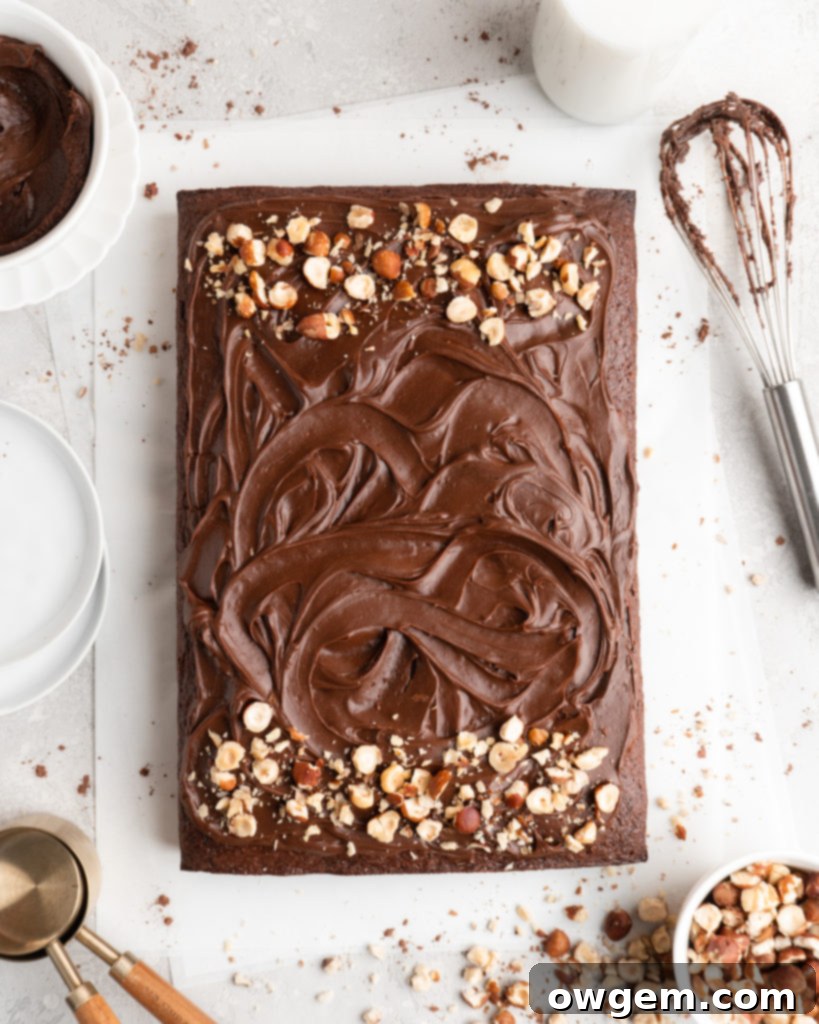
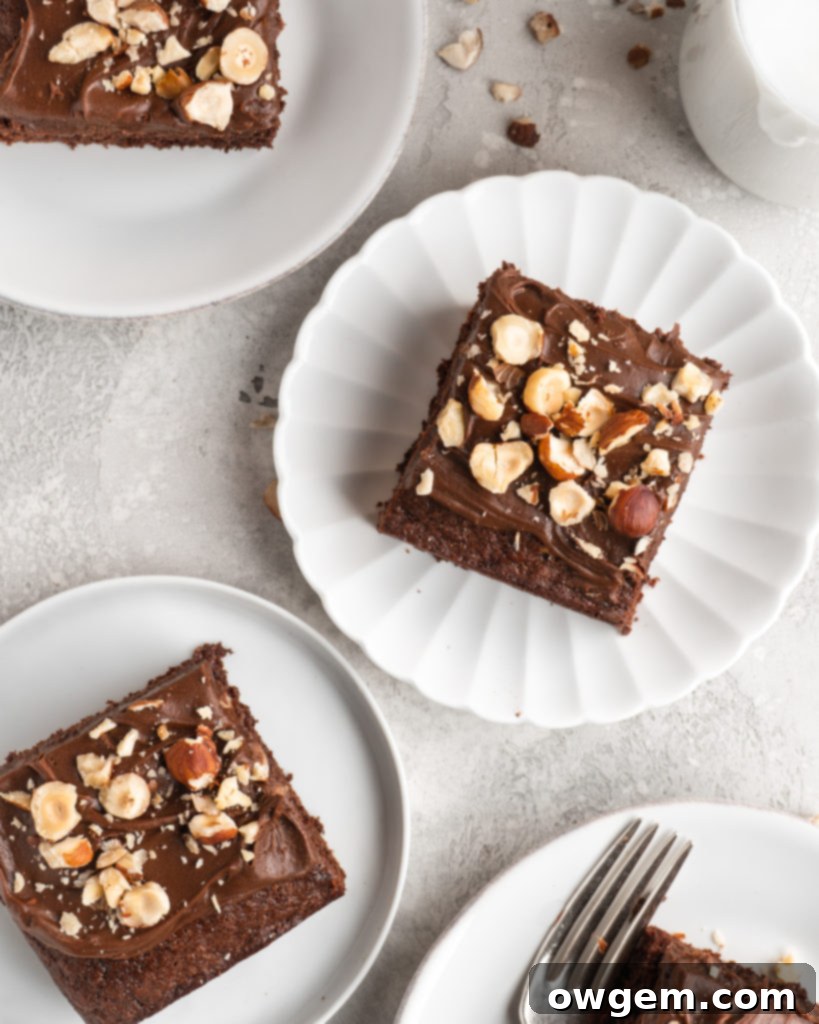
Decadent Toasted Hazelnut Chocolate Sheet Cake with Silky Nutella Frosting: Your Ultimate Dessert Guide
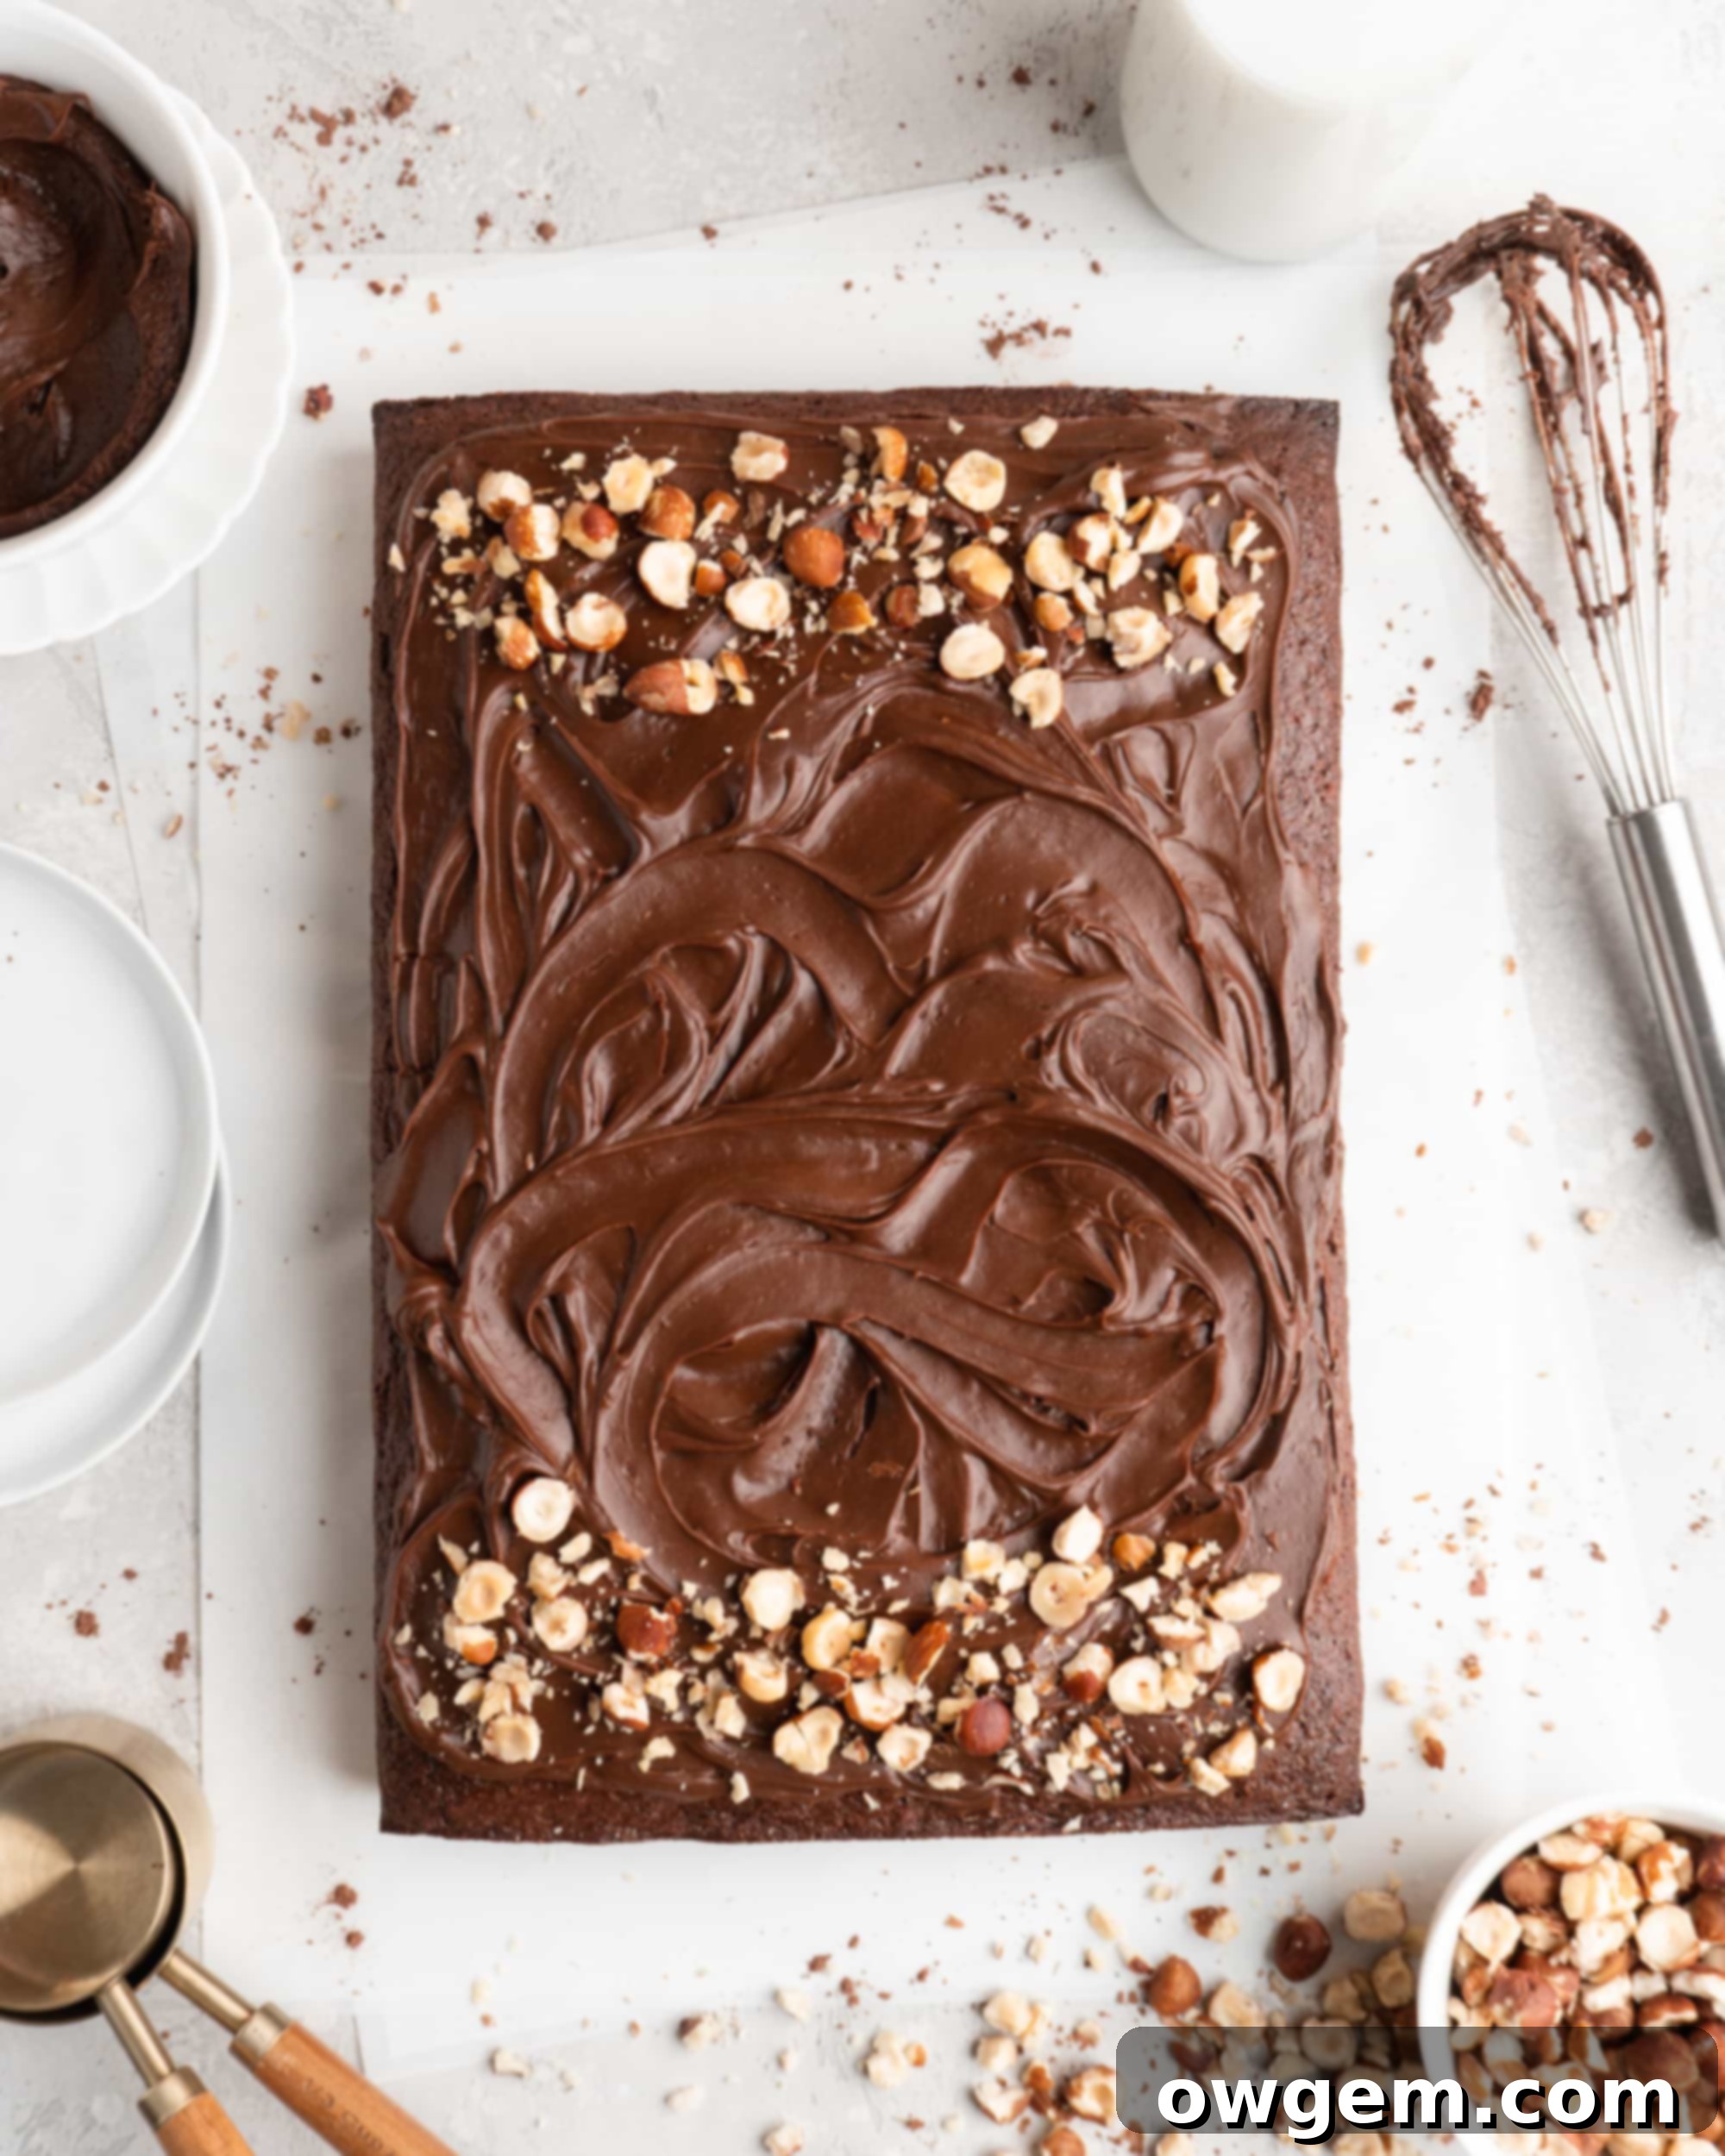
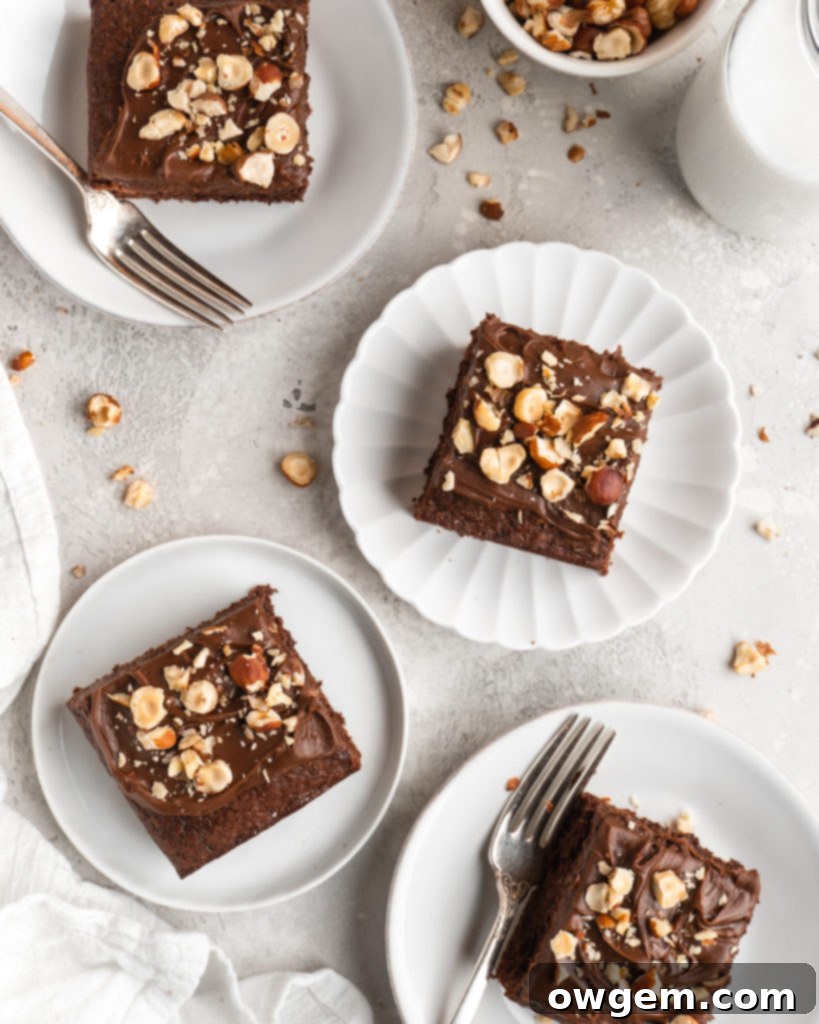
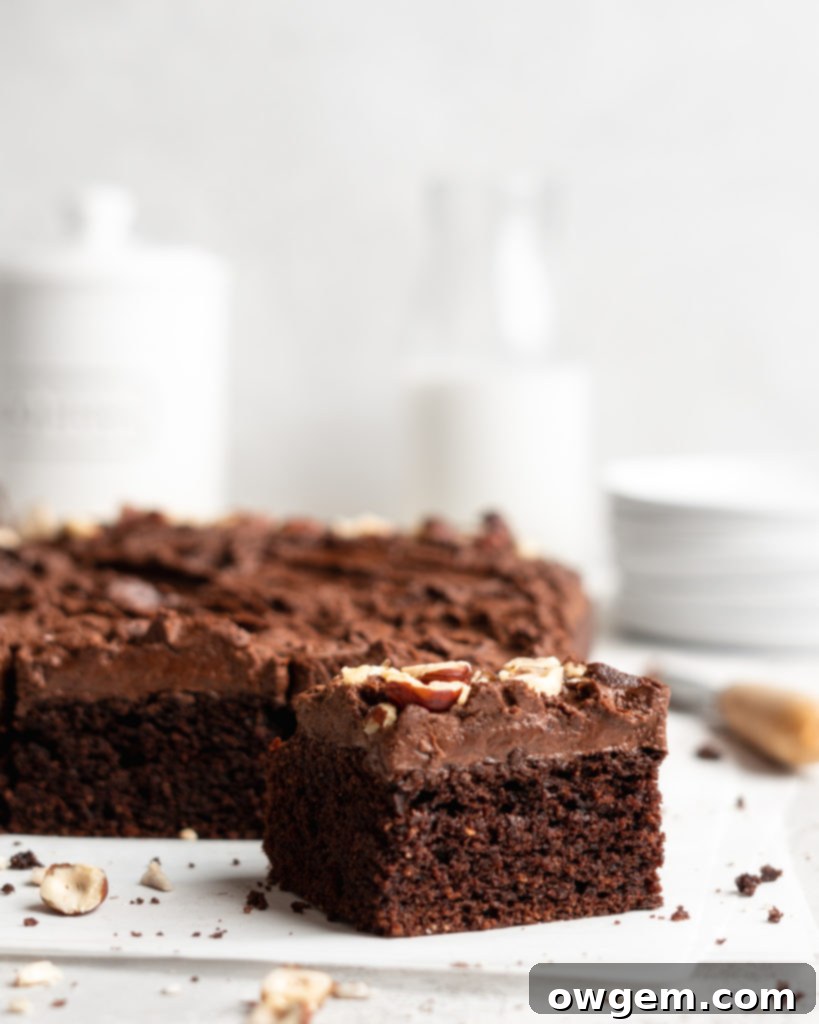
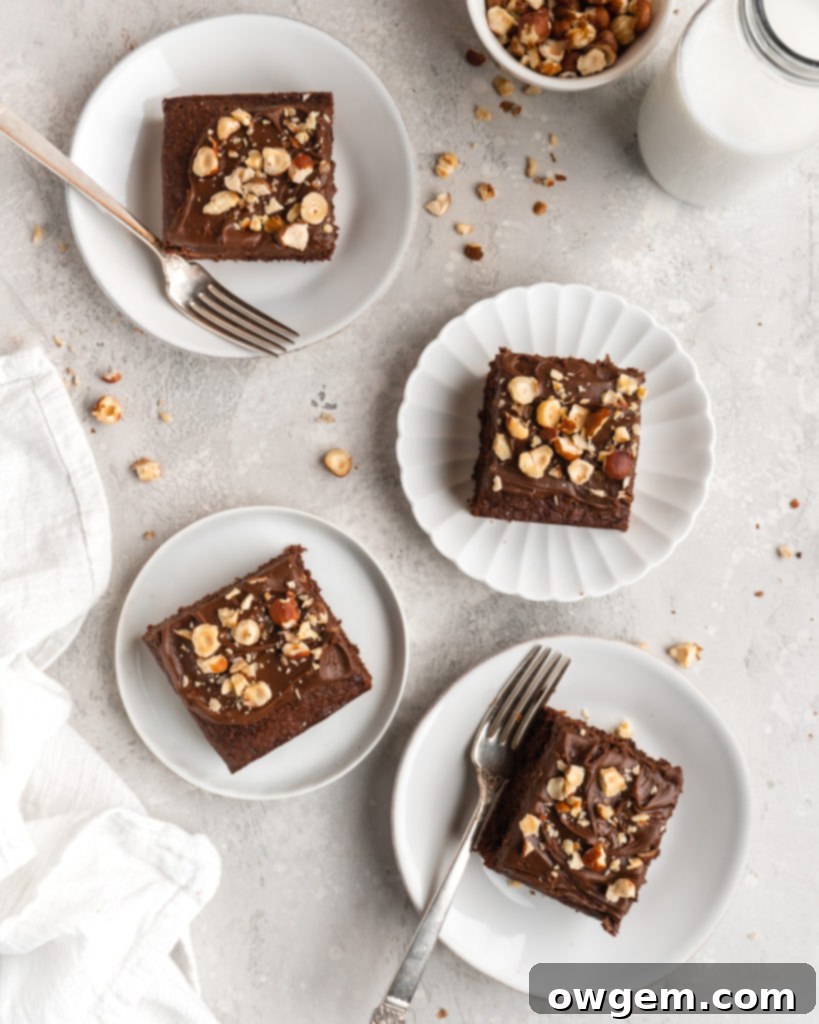
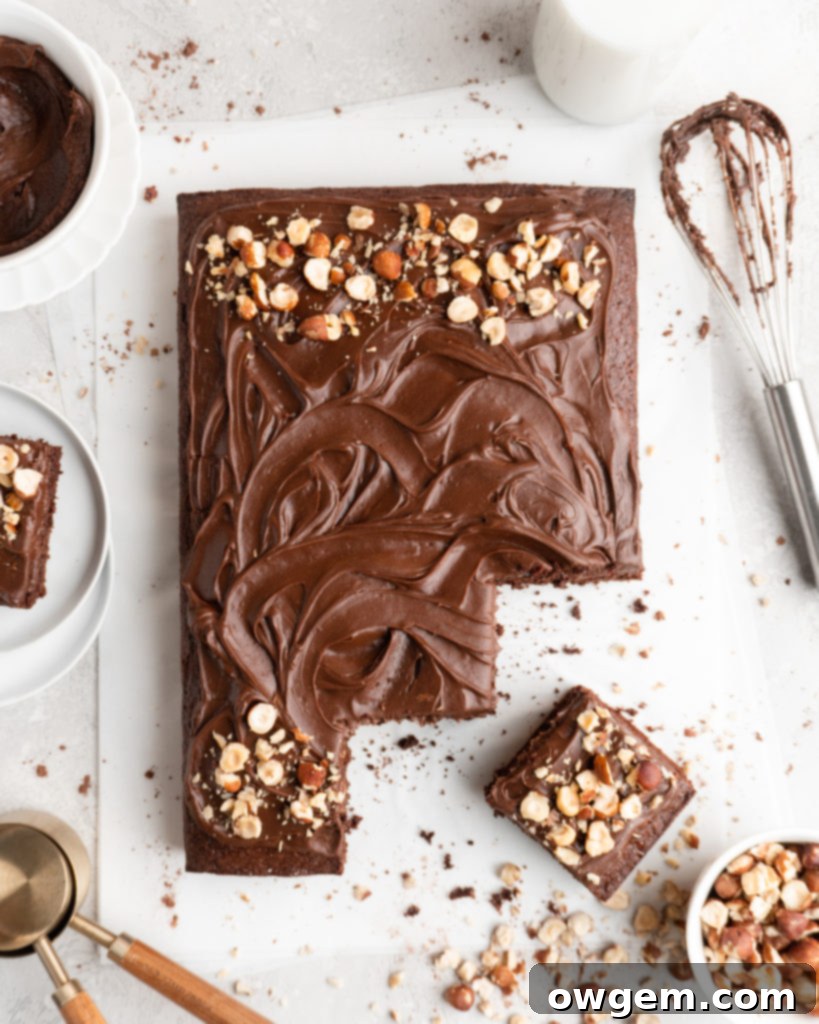
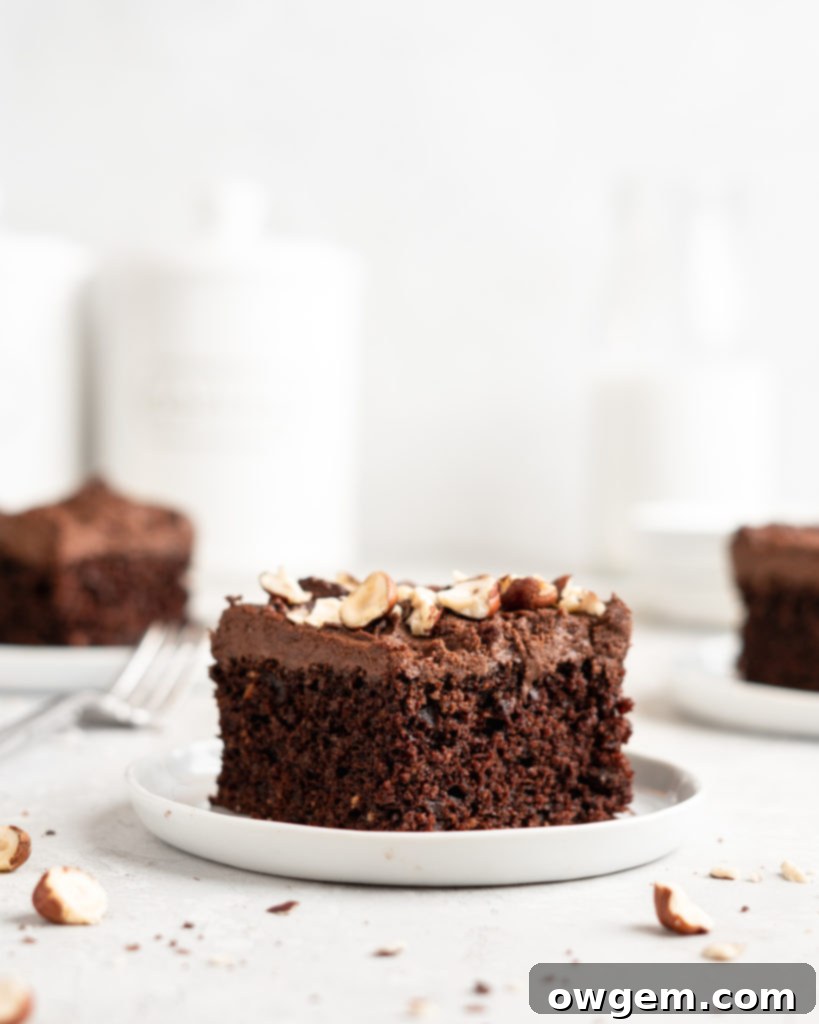
Prepare for an extraordinary culinary journey as the deep, rich flavors of fudgy chocolate cake intertwine with the creamy, aromatic essence of toasted hazelnuts, culminating in an unrivaled dessert experience. This simple yet utterly show-stopping Toasted Hazelnut Chocolate Sheet Cake, crowned with a luscious Nutella Frosting, is designed to impress. Its secret lies in the finely ground toasted hazelnuts, meticulously folded into the cake batter, creating a harmonious symphony of nutty undertones that perfectly complements the profound cocoa notes. Each bite of this cake promises a moist, exceptionally fudgy texture, imbued with that irresistible toasty hazelnut flavor. The grand finale is a generous layer of velvety Nutella frosting, elevating this creation to a level of indulgence that delights both young and old, making it an instant family favorite.
Crafting Your Own Toasted Hazelnut ‘Flour’ for Superior Flavor
The foundational step to unlocking the incredible depth of flavor in this Toasted Hazelnut Chocolate Sheet Cake begins with preparing your very own hazelnut ‘flour.’ This isn’t a pre-made product; rather, it’s a simple process of grinding freshly toasted hazelnuts. Toasting the hazelnuts before grinding is crucial as it intensifies their natural sweetness and nutty aroma, transforming them into a more complex and desirable ingredient. To start, spread your raw hazelnuts evenly in a single layer on a baking sheet. Place them into a preheated oven, typically around 350°F (175°C), for approximately 12-15 minutes. Keep a close eye on them, as nuts can burn quickly. You’ll know they’re ready when they take on a slightly darker hue and their skins appear visibly blistered and cracked.
Once toasted to perfection, immediately transfer the hot hazelnuts onto a clean, tightly woven kitchen towel. Gather the corners of the towel to create a pouch, then wrap it tightly. Allow the hazelnuts to ‘steam’ within the towel for 1-2 minutes. This brief steaming period is a clever trick to help loosen their papery skins, making them much easier to remove. Next, using the friction of the towel, rub the hazelnuts vigorously against each other. This action will effectively remove most of the skins. Don’t worry if a few stubborn pieces of skin remain; a little extra texture won’t negatively impact the final cake. Allow the peeled, toasted hazelnuts to cool completely to room temperature. This cooling step is important to prevent them from releasing too much oil when processed.
Finally, transfer the cooled, peeled hazelnuts into a food processor. Add half a cup of your all-purpose flour along with them. The flour helps to absorb some of the oils from the nuts, preventing them from turning into a greasy paste and ensuring a fine, flour-like consistency. Pulse the mixture until the hazelnuts are finely ground, resembling a coarse almond meal. It’s perfectly acceptable to have a few slightly larger pieces here and there, which will add delightful texture to the cake. However, be cautious not to over-process the mixture. Over-processing will cause the nuts to release their oils excessively, resulting in a thick, sticky hazelnut butter rather than a dry ‘flour,’ which would alter the cake’s texture.
Baking Perfection: A Step-by-Step Guide to Your Toasted Hazelnut Chocolate Sheet Cake
Creating this showstopping sheet cake is a straightforward process, broken down into manageable steps to ensure a delicious outcome every time. Follow these instructions carefully for a perfectly moist and flavorful cake:
1. Master the Hazelnut ‘Flour’: Begin by preparing your signature hazelnut ‘flour.’ As detailed in the section above, toast your raw hazelnuts until fragrant and slightly blistered. Immediately transfer them to a kitchen towel, wrap tightly, and allow them to steam briefly before rubbing off their skins. Once cooled, combine the peeled hazelnuts with ½ cup of all-purpose flour in a food processor. Pulse until you achieve a fine, meal-like consistency, being careful not to over-process into a paste. This step is critical for both texture and flavor, so don’t rush it. Set this aromatic hazelnut-flour blend aside.
2. Whip Up the Wet Ingredients: In a generously sized mixing bowl, combine your eggs, granulated sugar, pure vanilla extract, and the optional (but highly recommended) hazelnut or almond extract. Incorporate the sour cream, which is a secret weapon for adding incredible moisture and a subtle tang that balances the richness of the chocolate. Finally, stream in the vegetable oil. Using oil instead of butter contributes to a wonderfully moist and tender crumb that stays soft for longer. Whisk these ingredients together until the mixture is completely smooth, well-emulsified, and the sugar has dissolved. This ensures a consistent base for your cake.
3. Prepare the Dry Ingredients: In a separate, medium-sized mixing bowl, add the remaining all-purpose flour (after having used ½ cup for the hazelnut flour), your homemade toasted hazelnut flour, baking powder, baking soda, and salt. Whisk these dry ingredients together thoroughly. This step is crucial for even distribution of the leavening agents and salt throughout the batter, which in turn guarantees a uniform rise and consistent flavor in your final cake. Proper measurement of flour is key here; spoon and level rather than scooping directly from the bag to avoid a dense cake.
4. Unlock Cocoa’s Full Potential (Bloom the Cocoa): This technique is a game-changer for chocolate cakes. In a small, heat-proof bowl or a 2-cup liquid measuring cup, add your sifted Dutch processed cocoa powder to the hot, freshly brewed coffee. Whisk vigorously until the mixture is completely smooth and free of lumps. You’ll notice the aroma of the cocoa intensifies immediately. Allow this “bloomed” cocoa mixture to sit for a minute or two. This process, explained in detail below, dramatically enhances the chocolate flavor. Once slightly cooled, add this rich cocoa mixture to your bowl of wet ingredients and whisk until fully incorporated and smooth.
5. Combine Wet & Dry: Now, it’s time to bring everything together. Gently pour the combined wet ingredients (which now include the bloomed cocoa) into the bowl containing your prepared dry ingredients. Using a whisk or a rubber spatula, mix them together until just combined and smooth. The most important rule here is to avoid overmixing. Overmixing can develop the gluten in the flour too much, leading to a tough and chewy cake. Stop mixing as soon as no dry streaks of flour are visible.
6. Bake to Perfection & Cool: Carefully pour the finished Toasted Hazelnut Chocolate Sheet Cake batter into your prepared 9×13-inch cake pan. Ensure the pan is properly greased and floured, or lined with parchment paper, to prevent sticking. Place the pan into your preheated oven and bake for approximately 35 minutes, or until a wooden skewer or toothpick inserted into the center of the cake comes out clean. Once baked, remove the cake from the oven and allow it to cool completely on a wire rack before attempting to frost it. Frosting a warm cake will cause the Nutella frosting to melt, creating a messy and unappealing result.
The Magic of ‘Blooming’ Cocoa: Unlocking Deep Chocolate Flavor
You might have noticed a unique step in this recipe, and many other chocolate cake recipes, where cocoa powder is mixed with hot coffee before being added to the rest of the batter. This technique is known as ‘blooming’ the cocoa, and it’s a simple but incredibly effective way to intensify and deepen the chocolate flavor in your baked goods. The science behind it is fascinating: cocoa powder, by itself, contains flavor compounds that are dormant when dry. When these compounds are exposed to a hot liquid, such as coffee or hot water, they dissolve and become much more aromatic and flavorful.
Think of it like waking up the dormant flavor particles in the cocoa. The heat helps to release volatile flavor compounds, resulting in a more pronounced, complex, and richer chocolate taste in the final product. Without blooming, some of these flavor notes might remain subdued, leading to a milder chocolate flavor. This process also helps to create a smoother, lump-free cocoa mixture, ensuring even distribution throughout your cake batter. So, while it adds an extra minute or two to your prep time, blooming the cocoa is a crucial step for achieving that truly deep, intense chocolate experience we crave.
On a related note, you might also wonder why so many chocolate cake recipes, including this Toasted Hazelnut Chocolate Sheet Cake, call for coffee. Rest assured, your cake won’t taste like coffee! The reason is purely about flavor enhancement. Coffee, particularly hot coffee, acts as an excellent complement to chocolate. It doesn’t impart its own distinct flavor but rather amplifies and intensifies the chocolate notes, making them taste even more “chocolatey” and rich. It brings out the subtle complexities in the cocoa, resulting in a more profound and satisfying chocolate flavor profile. It’s a neat trick that professional bakers often employ, and now you know the secret too!
Understanding Dutch Processed Cocoa Powder and Its Role in Baking
This Toasted Hazelnut Chocolate Sheet Cake recipe specifically calls for Dutch processed cocoa powder. But what exactly is Dutch processed cocoa, and why does it matter? Dutch processing, also known as alkalization, is a process where natural cocoa powder is treated with an alkaline solution, such as potassium carbonate. This treatment neutralizes the acidity of the cocoa, raising its pH level from an acidic 5.3 to a more neutral 7.0. This process has several key effects on the cocoa powder.
Firstly, Dutch processed cocoa powder has a darker, richer color compared to natural cocoa powder, often appearing deep reddish-brown to almost black. This gives baked goods a more intense and appealing chocolate hue. Secondly, the alkalization process mellows out the often bitter and astringent notes present in natural cocoa. It results in a smoother, milder, and less acidic chocolate flavor, allowing the pure taste of chocolate to come forward more prominently. This is why many people perceive Dutch processed cocoa as tasting “more chocolatey” or richer; it’s less about a stronger flavor and more about a smoother, purer chocolate experience.
It’s crucial to understand that natural cocoa powder and Dutch processed cocoa powder are not always interchangeable in recipes. The pH difference is significant, particularly when it comes to leavening agents. Baking soda (sodium bicarbonate) is an alkaline ingredient that requires an acid to activate it, producing carbon dioxide gas which helps cakes and cookies rise. In recipes calling for natural cocoa (which is acidic), the cocoa itself often provides the necessary acid to react with baking soda. However, if you substitute Dutch processed cocoa (which is neutral) into a recipe that relies solely on natural cocoa to activate baking soda, your baked goods may not rise properly, resulting in a dense, flat product.
For recipes using Dutch processed cocoa, like this Toasted Hazelnut Chocolate Sheet Cake, an alternative acidic ingredient is typically included to activate the baking soda. In our case, that vital acidic component is sour cream, which has a pH of around 4.5. The sour cream reacts with the baking soda, creating the lift needed for a light and airy cake. Therefore, always check your recipe carefully and use the type of cocoa powder specified, or be prepared to adjust other ingredients if making a substitution. While regular natural cocoa can often be used in place of Dutch processed cocoa if you ensure another acid is present, it will slightly alter the final flavor and color of your cake.

Get the Recipe:
Toasted Hazelnut Chocolate Sheet Cake
Pin
Rate
Ingredients
Toasted Hazelnut Chocolate Cake
- 100 g Raw Hazelnuts
- 2 cups (240g) All Purpose Flour,, divided, measured correctly†
- 1 tsp Baking Soda
- 1 tsp Baking Powder
- 1/2 tsp Salt
- 2 Eggs
- 2 cups Sugar
- 1 cup Sour Cream
- 1/2 cup Vegetable Oil
- 2 tsp Vanilla
- 1/4 tsp Hazelnut or Almond Extract, (optional)
- 3/4 cup Dutch Processed Cocoa Powder, (regular cocoa can be used too)
- 3/4 cup Hot Freshly Brewed Coffee
Nutella Frosting
- 1/2 cup Unsalted Butter,, at room temperature
- 1/2 cup Nutella
- 1 1/2 cups Confectioners Sugar
- 1/4 cup Dutch Processed Cocoa Powder,, sifted
- 1 tbsp Heavy Cream
Equipment
-
Food Processor
-
Stand mixer
Instructions
Toasted Hazelnut Chocolate Cake
-
Preheat oven to 350°F (175°C). Spread raw hazelnuts on a baking pan and toast in the oven for 12-15 minutes, or until fragrant and slightly blistered. Immediately transfer the hot hazelnuts to a clean kitchen towel, wrap tightly, and allow them to steam for 1-2 minutes. This helps loosen the skins. Next, rub the hazelnuts vigorously within the towel to remove most of the skins (a few stubborn pieces are fine). Let the peeled hazelnuts cool completely to room temperature.
-
In a food processor, combine the cooled hazelnuts and 1/2 cup of the all-purpose flour. Pulse until the hazelnuts are finely ground, resembling almond meal, taking care not to over-process into a paste. Set aside.
-
Prepare a 9×13-inch cake pan by lightly greasing and flouring it, or lining it with parchment paper for easy removal. In a large mixing bowl, combine the homemade hazelnut-flour mixture, the remaining all-purpose flour, baking soda, baking powder, and salt. Whisk these dry ingredients together thoroughly to ensure even distribution. Set aside.
-
In a separate large bowl, add the eggs, granulated sugar, sour cream, vegetable oil, vanilla extract, and hazelnut or almond extract (if using). Whisk all these wet ingredients together until the mixture is smooth, well-combined, and the sugar has dissolved.
-
In a small mixing bowl or a 2-cup liquid measuring cup, combine the hot, freshly brewed coffee and the sifted Dutch processed cocoa powder. Whisk until completely smooth and lump-free. Allow the mixture to sit for about 2 minutes to “bloom” the cocoa. Then, add this rich cocoa mixture to the bowl with your wet ingredients (eggs, sour cream, etc.) and mix until just smooth.
-
Gently pour the wet ingredients into the bowl containing the dry ingredients. Mix with a whisk or rubber spatula until just combined and smooth, taking care not to overmix. Pour the finished cake batter evenly into your prepared 9×13-inch cake pan. Bake in the preheated oven (350°F / 175°C) for approximately 35 minutes, or until a toothpick inserted into the center comes out clean. Once baked, remove from the oven and allow the cake to cool completely on a wire rack before applying the frosting.
Nutella Frosting
-
In the bowl of a stand mixer fitted with the whisk attachment, add the softened unsalted butter. Beat on high speed for 3-5 minutes, until the butter doubles in volume, becoming light, pale, and fluffy. Then, add the Nutella and continue to beat until it is fully incorporated and smooth with the butter.
-
Reduce the stand mixer speed to low. Gradually add the confectioners’ sugar and sifted Dutch processed cocoa powder to the butter mixture. Once all the sugar and cocoa are added, increase the speed to medium and beat until the frosting is completely incorporated and smooth, scraping down the sides of the bowl as needed.
-
Pour in the heavy cream. Beat again on medium speed until the cream is well-combined and fully incorporated, resulting in a perfectly creamy and spreadable Nutella frosting.
