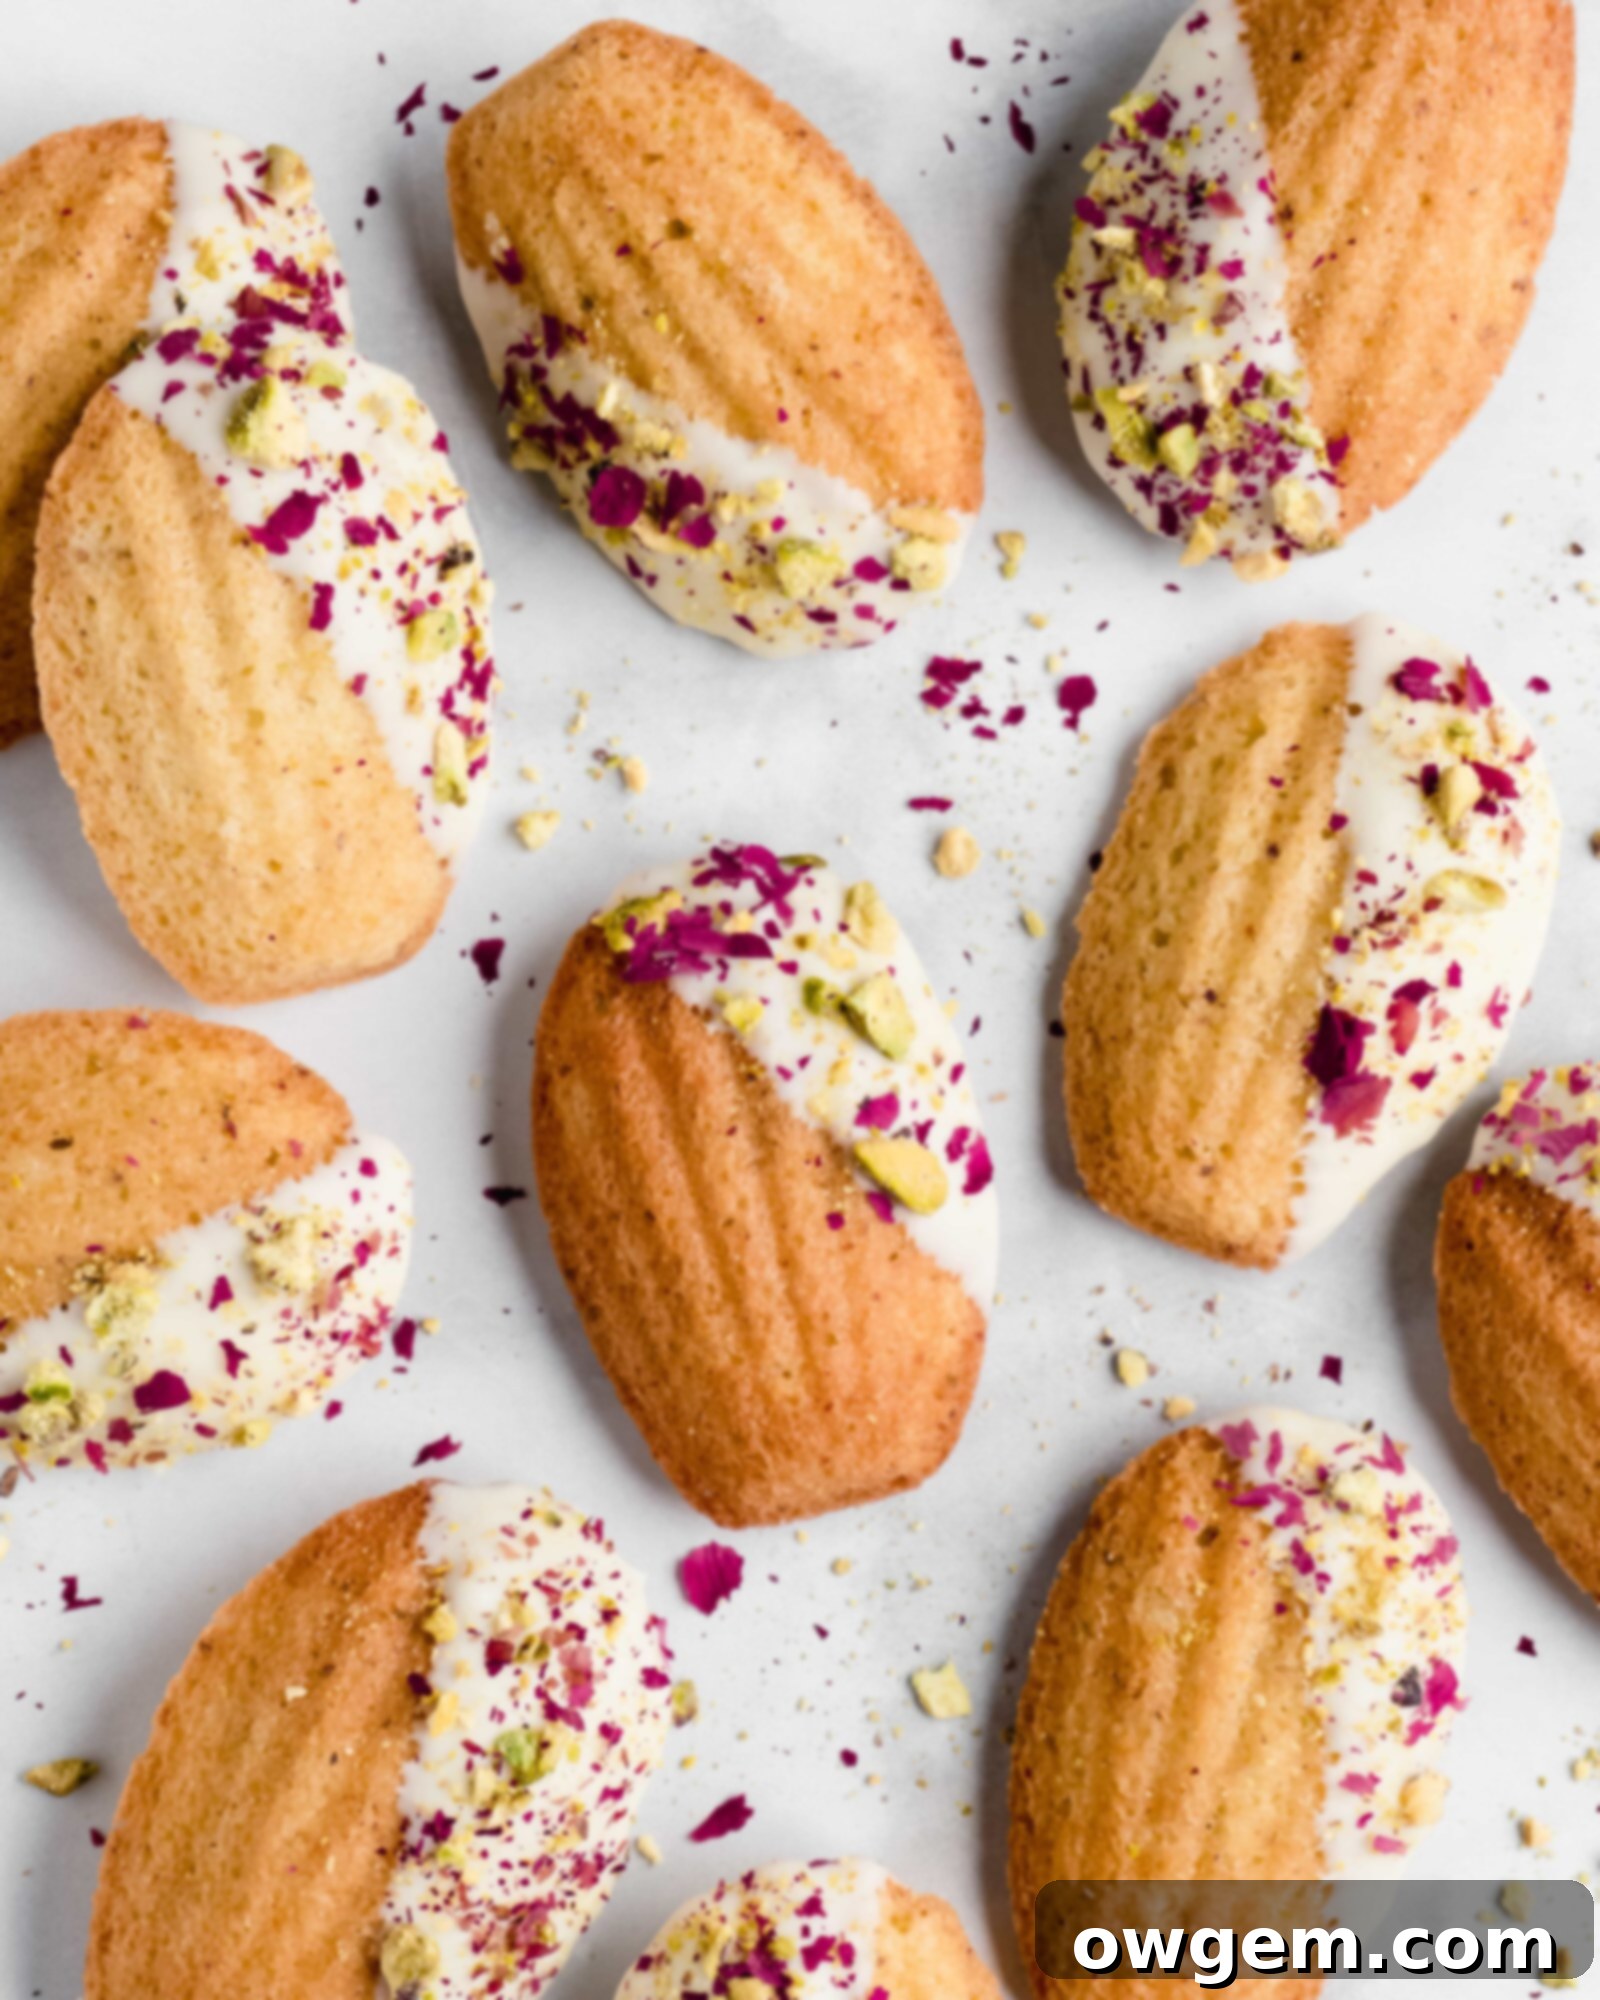
Pistachio Rosewater Madeleines: An Exquisite Blend of French Elegance and Middle Eastern Flavors
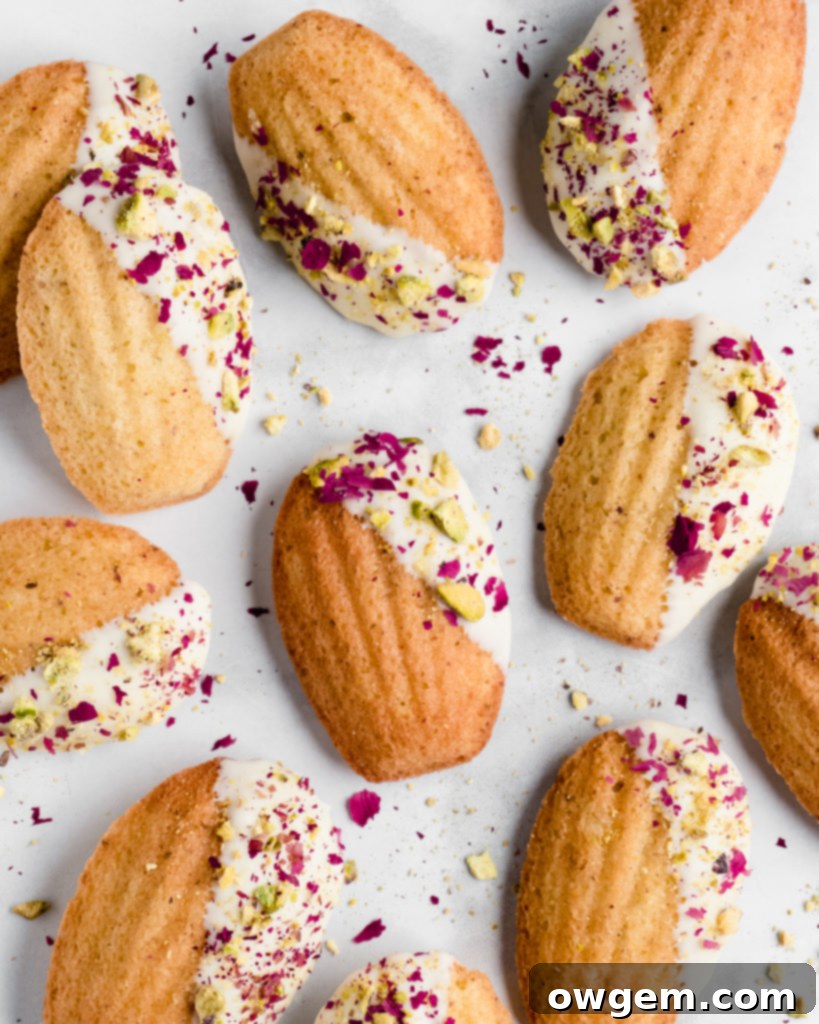
These charming, petite Pistachio Rosewater Madeleines offer a delightful journey for your taste buds, blending the classic elegance of French pâtisserie with the aromatic allure of Middle Eastern ingredients. Each golden, shell-shaped cake is a testament to delicate balance, featuring finely ground pistachios, a whisper of pistachio extract, and the intoxicating fragrance of rosewater. The result is a buttery, fluffy, and incredibly soft treat that melts in your mouth, culminating in a beautiful finish of creamy white chocolate and a scattering of vibrant crushed pistachios. This recipe provides a comprehensive guide to mastering these exquisite French cakes, infused with a unique and captivating Middle Eastern twist, ensuring you achieve perfect results every time.
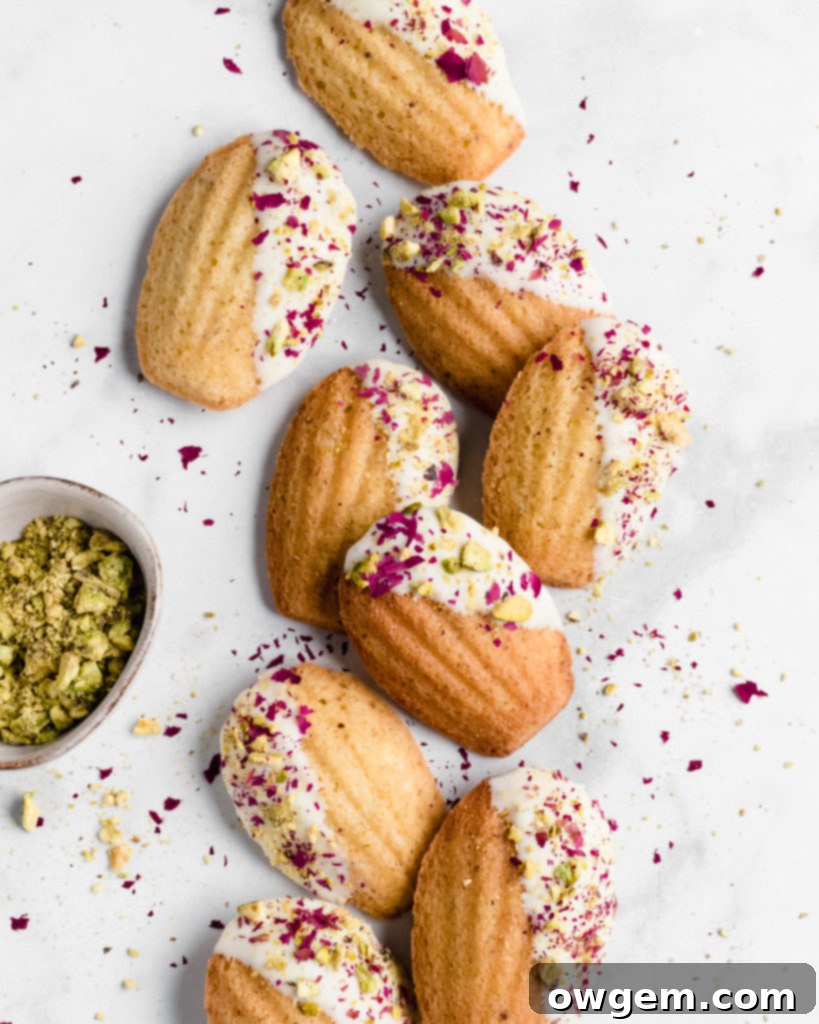
What are Madeleines?
Madeleines are quintessential French butter cakes, instantly recognizable by their distinctive shell shape and delicate texture. Originating from the Lorraine region of France, particularly the town of Commercy, these beloved confections have a rich history. Legend has it that they were first created by a young cook named Madeleine Paulmier in the 18th century, quickly gaining popularity for their unique charm and exquisite taste. Unlike typical cupcakes or muffins, madeleines are characterized by their signature ridged surface, imprinted by the special shell-shaped molds of a madeleine pan.
But beyond their charming appearance, a truly authentic madeleine boasts another crucial feature: a small, charming ‘hump’ or ‘bosse’ on its underside. This delightful rise is the hallmark of a perfectly baked madeleine, signifying a successful temperature shock during baking that creates its unique airy texture and tender crumb. The ideal madeleine should be crisp at the edges, buttery throughout, and possess a wonderfully light, almost sponge-like interior. While a madeleine without this hump is still undeniably delicious, achieving that perfect little dome is often considered the baker’s ultimate triumph, a testament to technique and patience that distinguishes a good madeleine from a truly great one.
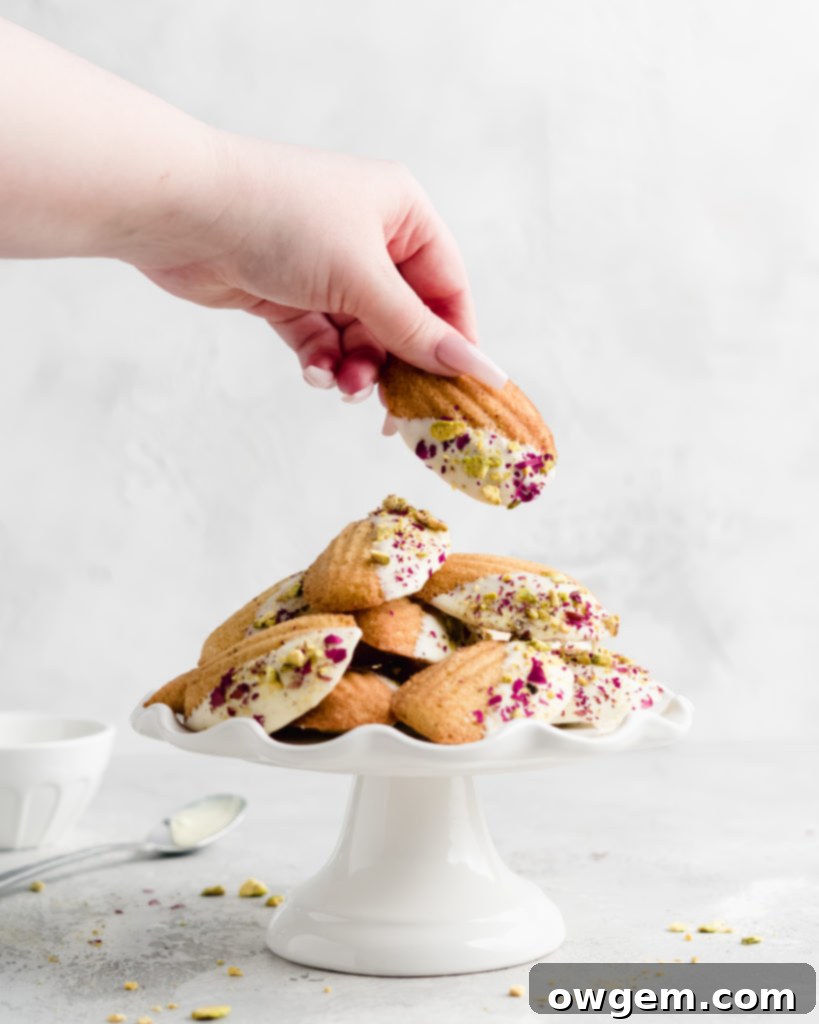
Why Pistachio and Rosewater? A Flavorful Fusion
The combination of pistachio and rosewater is a beloved pairing that transcends culinary boundaries, deeply rooted in Middle Eastern, Mediterranean, and South Asian dessert traditions. Pistachios, often referred to as the “green almond,” offer a rich, slightly earthy, and subtly sweet flavor, alongside a beautiful vibrant green hue that adds visual appeal to any dish. Rosewater, extracted from delicate rose petals through distillation, provides a delicate, floral, and intensely aromatic essence that is both exotic and comforting. Its perfumed notes are often associated with luxury and celebratory desserts.
When these two distinct flavors are thoughtfully brought together in a classic French madeleine, they transform a simple buttery cake into something truly extraordinary. The fragrant rosewater gently lifts the nutty intensity of the pistachios, preventing the flavors from becoming too heavy and creating a harmonious balance that is both elegant and deeply flavorful. This fusion results in a dessert that feels both familiar due to the madeleine’s classic base, yet refreshingly unique and sophisticated. It’s perfect for those seeking a sophisticated twist on a classic, offering a unique sensory experience that captivates with every bite.
Tips for Making Perfect Pistachio Rosewater Madeleines
Achieving madeleine perfection, especially with delicate flavors like pistachio and rosewater, requires attention to detail. Here are seven essential tips to ensure your madeleines are buttery, tender, and boast that coveted ‘hump’:
Tip 1) Don’t Overmix: The secret to madeleines’ signature light and airy texture lies in a delicate batter. When incorporating dry ingredients into the wet mixture, it’s crucial to mix *just* until combined. Overmixing develops gluten, which can lead to a dense, tough madeleine, detracting from its desired melt-in-your-mouth quality. Gentleness is key to preserving the precious air bubbles you’ve whipped into the eggs and sugar, ensuring a truly fluffy and tender outcome. Stop mixing as soon as you no longer see streaks of dry flour.
Tip 2) Use Cooking Spray Instead of Butter for Greasing: For effortless release and consistently golden-brown madeleines, cooking spray is often superior to butter for greasing your madeleine pans. Butter, while flavorful, can sometimes cause uneven browning or leave patchy marks on the delicate surface of the cakes, and in some cases, can even make them stick. A light, even coating of cooking spray provides a reliable non-stick barrier, ensuring your madeleines slide out perfectly every time, retaining their beautiful shape.
Tip 3) Brush Pans with Cooking Spray: Simply spraying the pans isn’t enough; for foolproof results, always take the extra step to brush the cooking spray into every crevice and ridge of your madeleine pan. This guarantees that every intricate detail of the shell mold is thoroughly coated, preventing any sticking and ensuring your madeleines emerge with their beautiful, crisp edges and defined shell patterns intact. A small, clean pastry brush works wonderfully for this task, ensuring no spot is missed.
Tip 4) Use a Cookie Scoop for Portioning: Achieving uniform madeleines is not just about aesthetics; it ensures even baking. A 1.5-inch sized cookie scoop is an invaluable tool for accurately portioning your batter. Filling the scoop to the top and depositing it into each indentation of the pan guarantees that every madeleine is consistent in size and shape. This uniformity leads to a batch that bakes evenly, cooks through at the same rate, and presents beautifully on any platter.
Tip 5) Spread the Batter Lightly: After scooping the batter into each mold, don’t just leave it in a dollop. Take the back of your cookie scoop or a small spoon and gently spread the batter to fill the contours of the madeleine pan’s shell depressions. This simple action helps the batter conform perfectly to the mold’s shape, ensuring perfectly formed madeleines with distinct ridges and an elegant shell-like appearance, ready to develop their characteristic hump.
Tip 6) Lightly Deflate the Batter if it Rises: This tip might seem counter-intuitive, as we emphasize maintaining air in the batter. However, if your batter sits for a while, especially after whipping, the baking powder might cause it to rise prematurely in the bowl. If you notice your batter becoming overly inflated or foamy, gently stir it once or twice with your cookie scoop or a spatula before portioning. This slight deflation can paradoxically help in achieving the coveted ‘hump’ during baking, as it allows for a more controlled and upward expansion in the hot oven.
Tip 7) Freeze the Pans Before Baking: This is arguably the most crucial game-changing technique for guaranteed ‘humps’! After portioning the batter into the prepared pans, transfer them directly to the freezer for precisely 15 minutes. The rapid temperature change from the chilled batter entering a hot oven creates a thermal shock. This shock causes the edges of the madeleine to set quickly while the center remains cooler and continues to rise rapidly, pushing upwards to form that beloved camel-like hump. Do not skip this crucial step for perfect, professional-looking madeleines.
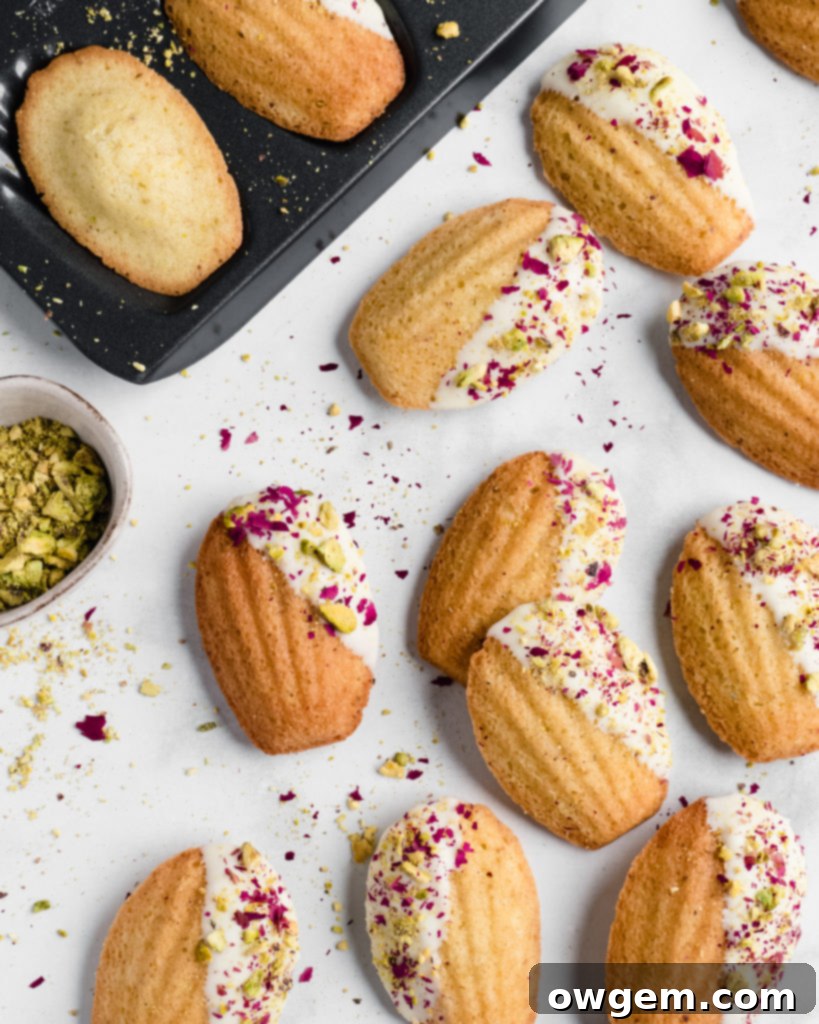
Substituting Flour with Ground Pistachios for Enhanced Flavor
One of the exciting aspects of this recipe is the clever and strategic incorporation of ground pistachios directly into the dry ingredients. Many bakers might be hesitant to substitute flour, fearing it will compromise the cake’s delicate structure, but it’s a well-known culinary secret that you can safely replace a significant portion of a cake’s flour with finely ground nuts without negatively impacting its structural integrity. In fact, adding ground nuts often contributes to a richer flavor profile and a more tender, moist crumb.
In this particular Pistachio Rosewater Madeleine recipe, we thoughtfully substituted 1/4 of the all-purpose flour with finely ground pistachios. This specific ratio is ideal because it not only deeply infuses the madeleines with a wonderfully nutty, rich, and authentic pistachio flavor but also maintains a superb, tender crumb structure that is characteristic of a perfect madeleine. The natural oils and fine texture of the ground nuts contribute moisture and a delicate bite that perfectly complements the buttery base, creating a truly unique and irresistible treat that highlights the star ingredient.
Making the Pistachio Rosewater Madeleines: Step-by-Step Guide
Follow these detailed steps carefully to create your batch of these exquisite French-Middle Eastern delights:
1. Grind flour and pistachios in food processor: Begin by preheating your oven to 350°F (175°C). While the oven heats, add your measured all-purpose flour and the shelled, unsalted pistachios to a food processor. Pulse the mixture repeatedly until the pistachios are very finely ground, resembling a coarse flour. It’s crucial to achieve a fine, almost flour-like consistency without over-processing, as pistachios release their oils quickly and can turn into a paste if processed for too long. Grinding them with the flour helps prevent this, ensuring an even distribution of pistachio flavor throughout your madeleines.
2. Sift flour/pistachio mixture: Next, place a fine-mesh sieve over a medium-sized mixing bowl, positioned on a food scale. Sift the ground flour and pistachio mixture into the bowl. This step is crucial for two reasons: it removes any larger, unground pistachio pieces, ensuring a smooth batter, and it aerates the dry ingredients, contributing to a lighter texture. Discard any coarse pistachio bits left in the sieve. Once sifted, check the total weight of your mixture; it should be 120g. If it weighs less, add a small amount of extra all-purpose flour until the target weight is reached, maintaining the recipe’s precise balance and ensuring optimal structure.
3. Add salt and baking powder: To your sifted flour-pistachio mixture, add the baking powder and a pinch of salt. Whisk these dry ingredients together thoroughly until they are uniformly combined. Baking powder is your leavening agent, responsible for the madeleines’ rise and airy crumb, while salt enhances all the flavors, balancing the sweetness and richness of the cake.
4. Whip sugar and eggs: In the bowl of a stand mixer fitted with the whisk attachment, combine the large eggs and white sugar. Turn the stand mixer on high speed and whip this mixture vigorously for approximately 8 minutes. This is a critical step for creating the madeleines’ characteristic structure and lightness. The mixture should become very thick, pale yellow, and triple in volume. When you lift the whisk, the batter should fall back into the bowl in a thick ‘ribbon’ that holds its shape for a few seconds before dissolving. This ‘ribbon stage’ indicates that sufficient air has been incorporated for a light and airy madeleine.
5. Add flavors: Once your egg and sugar mixture is perfectly whipped, gently add the vanilla extract, pistachio extract (or almond extract if pistachio is unavailable), and the fragrant rosewater. Mix on low speed just until these beautiful flavors are fully combined into the airy batter. Be careful not to overmix at this stage to preserve the volume and delicate texture achieved in the previous step.
6. Add dry to wet: Carefully remove the stand mixer bowl from its base. Add the prepared dry ingredients (flour, pistachios, baking powder, salt) to the wet batter in the bowl. Using a whisk, gently fold or lightly whisk the dry ingredients into the wet mixture. It’s paramount to be delicate here; mix only until there are no visible streaks of flour remaining. Overmixing will develop gluten, leading to tough, dense madeleines and deflating all the precious air you’ve worked hard to incorporate.
7. Fold in butter: The final addition is the melted unsalted butter, which adds richness and moisture. To ensure it’s evenly incorporated without deflating the delicate batter, try a two-step folding method. First, scoop a small amount of the madeleine batter (about a quarter) into the bowl of melted butter and gently fold them together until fully combined. Then, pour this butter-batter mixture back into the main bowl with the rest of the batter. Delicately fold until everything is just combined and no streaks of butter remain. This technique tempers the butter and makes it easier to incorporate smoothly without losing the batter’s essential volume.
8. Scoop into pans, freeze, then bake: Thoroughly prepare two madeleine pans by brushing them well with cooking spray. Now, using a 1.5-inch cookie scoop, carefully fill each indentation of your prepared madeleine pans. As you scoop, use the back of the scoop to gently spread the batter to fill the contours of the shell shape. Once all cavities are filled, immediately transfer the filled madeleine pans to the freezer for exactly 15 minutes. This chilling period is vital for achieving the characteristic ‘hump’ when baked. After freezing, place the pans directly into your preheated 350°F (175°C) oven and bake for 11-12 minutes, or until the madeleines are golden-brown at the edges, feel light and springy to the touch, and have developed their distinctive hump. Remove them from the oven and carefully invert them onto a wire rack to cool completely.
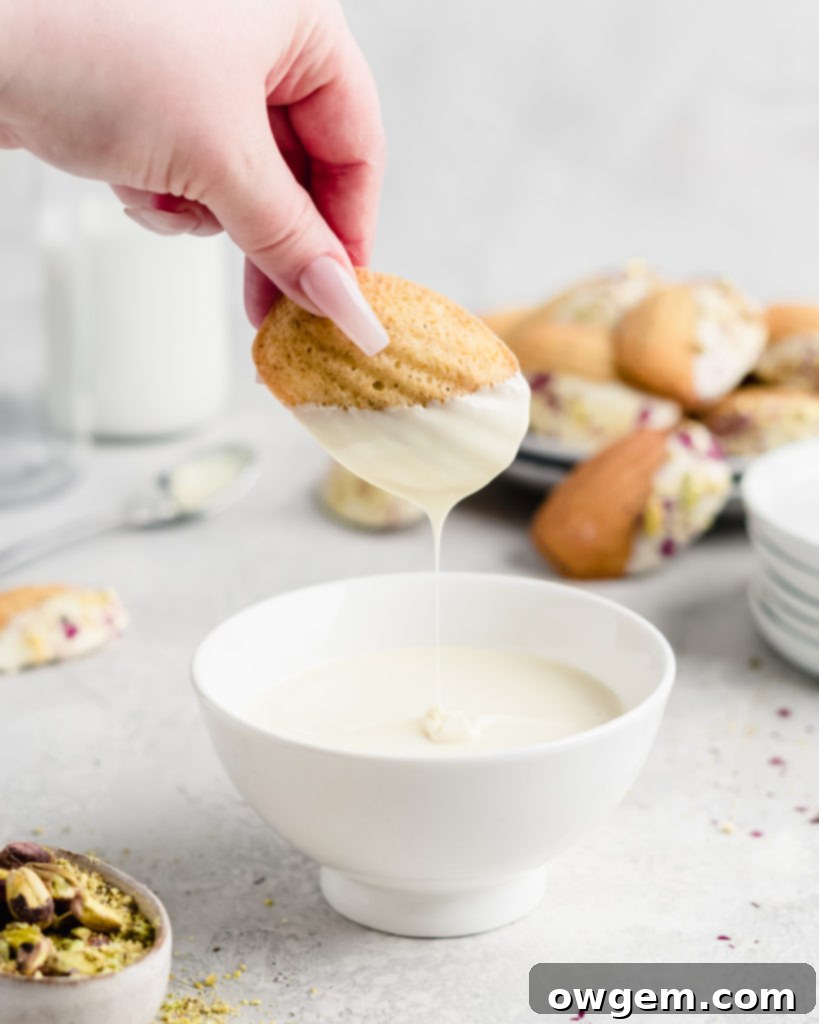
9. Dip in chocolate: Once your beautiful Pistachio Rosewater Madeleines have cooled completely to room temperature, it’s time for the delightful finishing touch. Prepare your melted white chocolate. Dip each madeleine into the bowl of smoothly melted white chocolate, allowing any excess to drip off gently. While the chocolate is still wet, sprinkle generously with finely crushed pistachios for an added burst of flavor, texture, and visual appeal. Let them set on parchment paper until the chocolate has hardened. Serve these exquisite treats fresh and enjoy their delicate charm!
Variations and Customizations
While the pistachio and rosewater combination is undeniably captivating and a true star, these madeleines serve as a wonderful base for other culinary explorations. You can easily adapt the recipe to suit different tastes or occasions. Consider adding a hint of orange blossom water instead of rosewater for a different, equally fragrant floral note, or incorporate a touch of lemon or orange zest directly into the batter for a brighter, citrusy flavor that cuts through the richness. You could also experiment with different extracts, such as pure almond extract for a more pronounced nutty taste, or even a subtle lavender extract for an unexpected and elegant twist. For the dipping, dark chocolate offers a sophisticated contrast to the sweet madeleine, or you could simply drizzle them with a delicate rosewater glaze made from powdered sugar and rosewater instead of a full chocolate dip. The possibilities are endless, allowing you to tailor these delightful French cakes to your personal preferences and creativity.
Serving and Storage Tips
Pistachio Rosewater Madeleines are versatile little gems that can elevate any occasion, whether it’s a casual coffee break or an elegant dinner party. Their petite size makes them ideal for entertaining, allowing guests to savor a delicate treat without feeling overwhelmed. Serve them alongside a freshly brewed cup of coffee or a fragrant tea, as part of a luxurious dessert platter, or even with a scoop of vanilla bean ice cream or fresh berries for a more substantial dessert. They also make thoughtful and beautiful edible gifts, elegantly packaged for friends and loved ones.
Madeleines are best enjoyed fresh on the day they are baked, when their edges are delightfully crisp and their interior is at its most tender and moist. However, if you have any leftovers, they can be stored in an airtight container at room temperature for up to 2-3 days. To restore some of their delightful freshness and bring back a hint of their original warmth, you can gently warm them in a preheated oven (around 250°F / 120°C) for a few minutes before serving. Freezing baked madeleines is also an option for longer storage; place them in a single layer on a baking sheet to freeze solid, then transfer them to a freezer-safe bag or container for up to one month. Thaw them at room temperature before serving or gently warm them for a fresh-baked experience.
Common Madeleine Mistakes & Troubleshooting
Baking madeleines, while incredibly rewarding, can sometimes present a few challenges. Don’t be discouraged if your first batch isn’t absolutely perfect; practice makes perfect! Here are some common issues home bakers face and how to troubleshoot them:
- No Hump: This is by far the most common complaint! The absence of the characteristic ‘bosse’ is usually due to insufficient chilling of the batter or the oven not being hot enough to create that crucial thermal shock. Ensure your pans, once filled, are frozen for the full 15 minutes as instructed, and always preheat your oven to the specified temperature, verifying it with an oven thermometer if possible. A quick transition from very cold batter to very hot oven is key.
- Madeleines Sticking to the Pan: This issue almost always points to inadequate greasing. Even if you have a non-stick madeleine pan, it’s essential to prepare it meticulously. Always brush your madeleine pan thoroughly with cooking spray (as opposed to butter), making sure to get into every single crevice and ridge of the shell molds. A light dusting of flour after greasing can also provide an extra layer of insurance.
- Dense, Tough Texture: If your madeleines lack the signature airy lightness and are instead dense or chewy, the culprit is almost certainly overmixing the batter. As emphasized in the tips, handle the dry ingredients and melted butter with extreme gentleness. Overmixing develops gluten, which leads to a tough texture and deflates the precious air you worked hard to incorporate during the egg-whipping stage.
- Uneven Browning: Madeleines that brown unevenly could be experiencing issues with inconsistent greasing or an uneven oven temperature. Ensure you’ve brushed the cooking spray evenly into all parts of the mold. If your oven tends to have hot spots, try rotating your madeleine pans halfway through the baking time to ensure consistent golden color on all your treats.
- Batter Spills Over Pans: This usually means you’ve overfilled the madeleine molds. Remember, the batter will expand as it bakes. Use the recommended 1.5-inch cookie scoop and don’t fill the molds to the very brim. Leave a little space for the batter to rise comfortably.
By paying close attention to these common pitfalls and employing the tips provided, you’ll be well on your way to baking a perfect batch of Pistachio Rosewater Madeleines.
Get the Recipe:
Pistachio Rosewater Madeleines
Pin
Rate
Ingredients
- 90 g All Purpose Flour,, plus more if needed
- 40 g Shelled, Unsalted Pistachios
- 1/2 tsp Baking Powder
- 1/8 tsp Salt
- 2 Large Eggs
- 1/2 cup White Sugar
- 1/2 tsp Vanilla
- 1/2 tsp Rosewater
- 1/4 tsp Pistachio Extract or Almond Extract
- 1/2 cup Unsalted Butter,, melted
- 1/2 cup Melted White Chocolate,, for dipping
- Crushed Pistachios,, for decorating
Equipment
-
Stand mixer
-
Madeleine Pans
Instructions
-
Preheat oven to 350°F (175°C). Prepare 2 madeleine pans by brushing them very well with cooking spray, ensuring every crevice is coated.
-
Add pistachios and flour to a food processor and pulse until the pistachios are well-ground and fine in texture. Be careful not to over-process as pistachios will eventually turn into a paste. Place a medium-sized mixing bowl over top of a food scale, then sift the flour mixture into the bowl, discarding any large pistachio pieces left over. The mixture should weigh 120g; if it weighs less, add more all-purpose flour until 120g is achieved.
-
Add baking powder and salt to the flour mixture, then whisk to combine thoroughly. Set aside.
-
Add eggs and sugar to a stand mixer fitted with the whip attachment. Turn the stand mixer on high and whip the mixture for about 8 minutes. When done, the batter should look thick, tripled in volume, and it should ribbon off the attachment, holding its shape for a few seconds. Add vanilla, rosewater, and pistachio extract (or almond extract), mix until just combined on low speed.
-
Remove the bowl from the stand mixer, then add the dry ingredients to the bowl. Lightly whisk or fold the dry ingredients into the batter, only mixing until just combined and no streaks of flour remain. Be gentle to avoid deflating the batter.
-
Delicately fold the melted butter into the batter until it is well combined, but the batter isn’t deflated. It may be easiest to do this in 2 steps: scoop some batter into the melted butter and fold together until incorporated, then pour that mixture into the rest of the batter, and fold again until everything is just combined.
-
Using a 1½” cookie scoop, scoop the batter into the prepared madeleine pans. Use the cookie scoop or a small spoon to lightly spread the batter into the shape of the pan. Place the filled pans into the freezer for exactly 15 minutes. This step is crucial for the madeleine’s characteristic hump.
-
Remove the pans from the freezer and immediately place them into the preheated oven to bake for 11-12 minutes, or until golden brown and springy to the touch. Remove from oven and place onto a wire rack to cool completely.
-
When cooled, dip each madeleine into the melted white chocolate, allowing excess to drip off. Decorate with crushed pistachios while the chocolate is still wet. Let them set on parchment paper until the chocolate has hardened.
