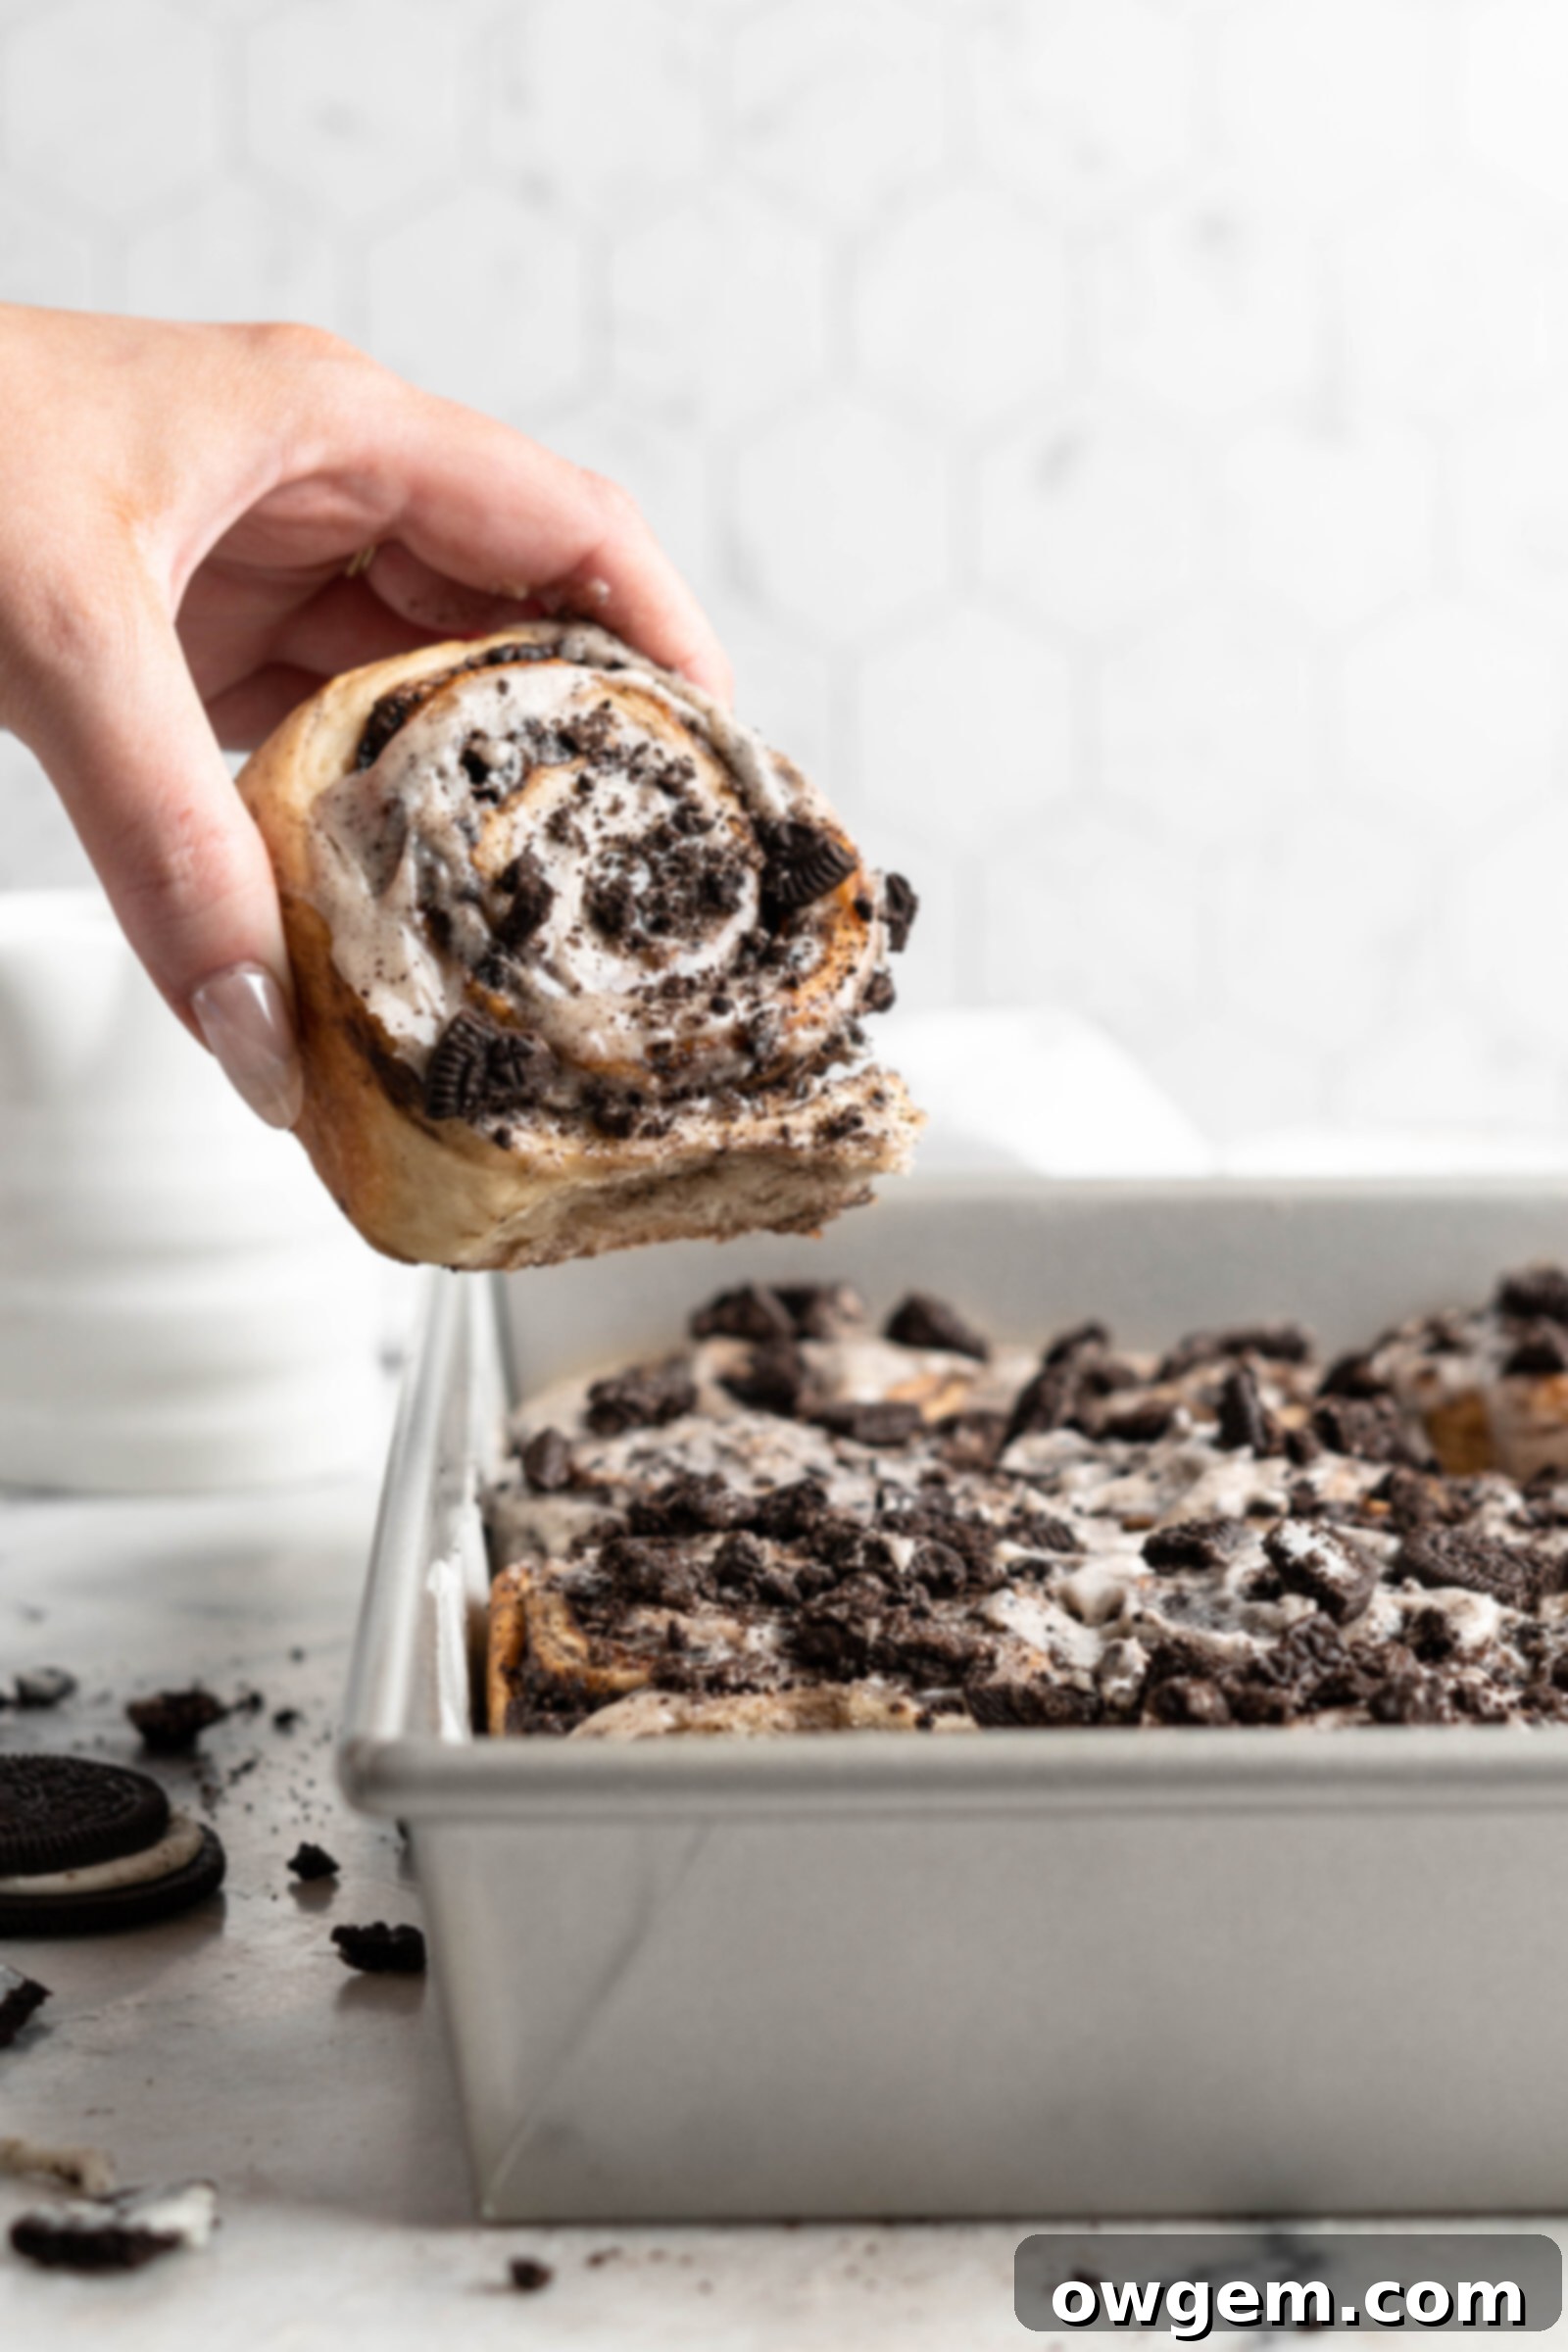
Ultimate Oreo Cookies and Cream Cinnamon Rolls: Soft, Gooey & Irresistibly Delicious
Prepare for a truly extraordinary baking experience with these **Oreo Cookies and Cream Cinnamon Rolls**. Far beyond your average sweet treat, these rolls are a testament to indulgence, combining the comforting warmth of a classic cinnamon roll with the iconic, irresistible flavor of Oreo cookies. Each bite promises an incredibly soft, tender dough, generously swirled with a rich, ooey-gooey chocolate-Oreo filling, and crowned with a luscious, tangy-sweet cream cheese frosting that’s speckled with even more Oreo crumbs. This recipe isn’t just about making cinnamon rolls; it’s about crafting a memorable dessert that will have everyone reaching for seconds. Get ready to bake the best of the best!
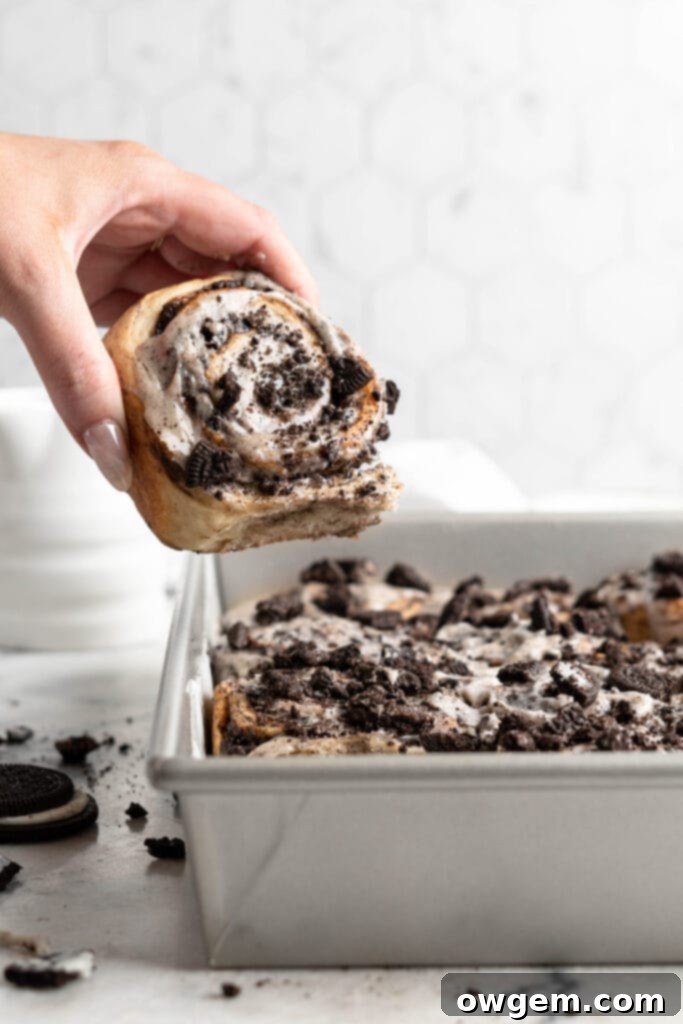
Why You’ll Fall in Love with These Oreo Cinnamon Rolls
These aren’t just any cinnamon rolls; they are a decadent fusion designed to delight. Here’s why these Oreo Cookies and Cream Cinnamon Rolls will become an instant favorite in your household:
Packed with Oreo Goodness: From the moment you take your first bite, you’ll discover multiple layers of delightful Oreo flavor. Crushed Oreo cookies are not only infused directly into the yeast dough itself, but they also form a significant part of the rich, chocolatey filling. To top it all off, generous amounts of Oreo crumbs are sprinkled over the decadent cream cheese frosting, ensuring an authentic “cookies and cream” experience in every single swirl. This multi-layered approach guarantees that the beloved flavor of Oreos shines through, making these rolls a dream come true for any cookie enthusiast.
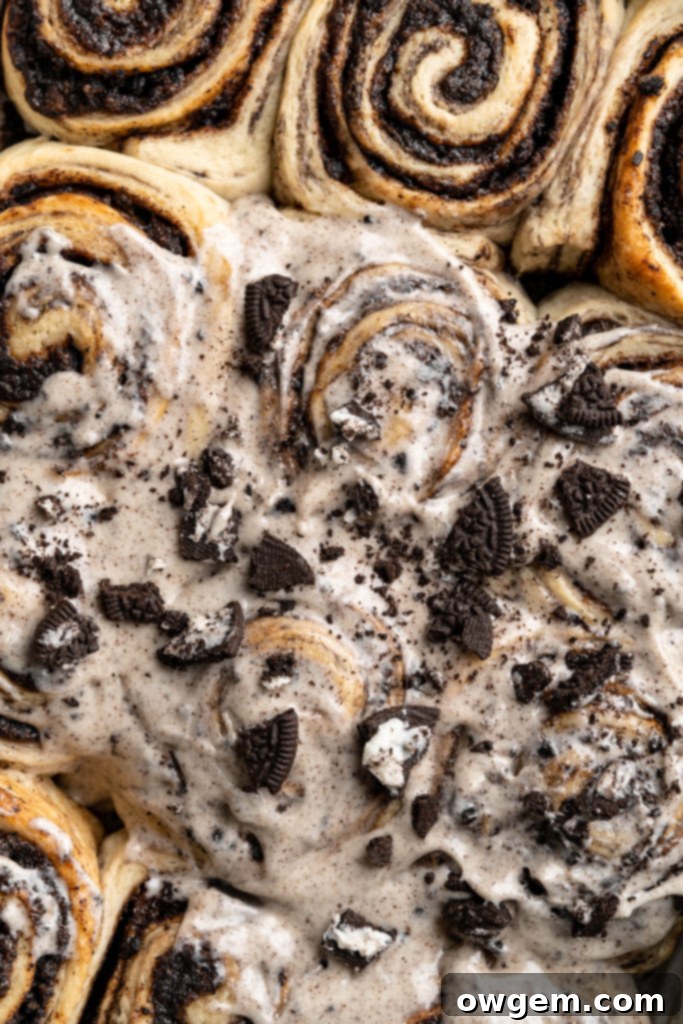
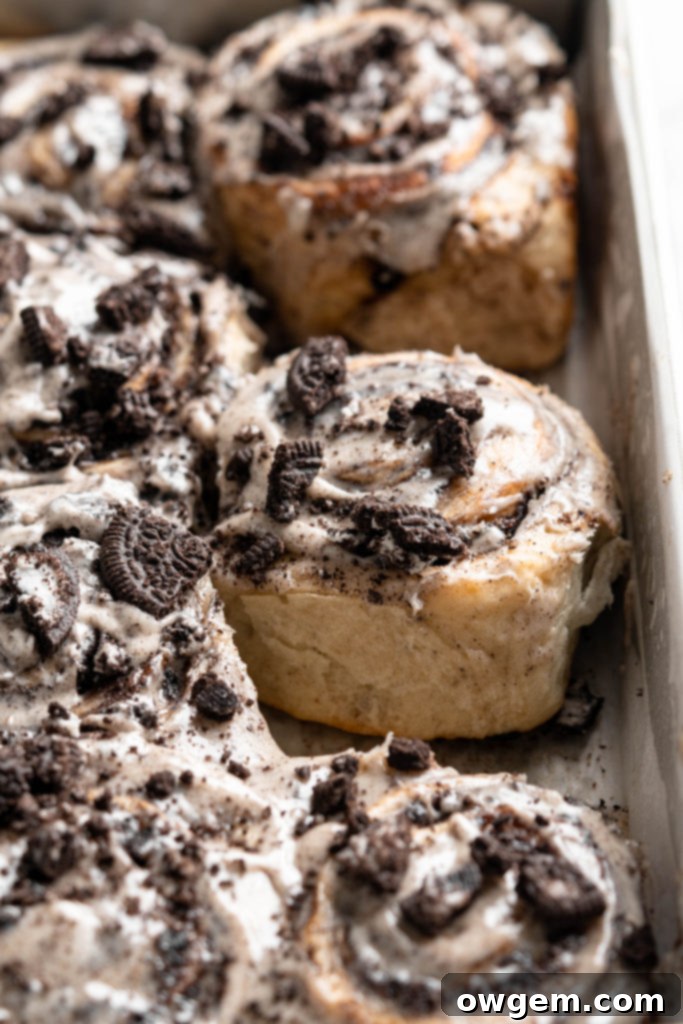
Luxurious Cream Cheese Frosting: A truly exceptional cinnamon roll demands an equally exceptional frosting. Our recipe delivers with a signature cream cheese frosting that strikes the perfect balance between tangy and sweet. But we don’t stop there – this frosting is lovingly infused with fine Oreo crumbs, adding an extra dimension of flavor and a subtle textural contrast. Once frosted, these rolls are then adorned with even more crushed Oreos, creating a visually stunning and utterly delicious topping that elevates the entire dessert.
Unbelievably Soft and Fluffy: Say goodbye to dry, dense cinnamon rolls! These rolls are renowned for their ethereal softness and tenderness, a quality achieved through the incorporation of a special technique known as Tangzhong. This Japanese water roux method pre-cooks a portion of the flour with liquid, allowing it to absorb more moisture. The result is a dough that remains incredibly moist, pliable, and wonderfully soft, even days after baking. This innovative approach ensures a melt-in-your-mouth texture that is simply unmatched.
Perfectly Ooey-Gooey Center: That coveted, irresistible gooey center is not just a happy accident; it’s a carefully crafted feature of this recipe. The generous application of softened butter, rich brown sugar, and cocoa in the filling, combined with optimal baking times and the strategic frosting of warm rolls, creates a caramelized, soft, and utterly luscious core. Each roll boasts that signature sticky, sweet, and comforting gooeyness that makes cinnamon rolls so beloved.
Made from Scratch for Maximum Flavor: While store-bought shortcuts exist, nothing compares to the profound satisfaction and superior taste of homemade cinnamon rolls. By crafting the dough from scratch, we ensure the freshest ingredients and complete control over the flavor profile. This dedication to a homemade approach guarantees a depth of flavor and a nuanced texture that simply cannot be replicated, resulting in rolls that are bursting with a truly authentic, bakery-quality taste.
Key Ingredients for Success
Understanding the role of each ingredient is vital for achieving the perfect Oreo Cookies and Cream Cinnamon Rolls. Here’s a deeper dive into some of the star components:
Tangzhong: This is our secret weapon for unbelievably soft and tender rolls! Tangzhong is a Japanese water roux, a paste made by cooking a small portion of flour with water and milk until it thickens. Scientifically, this process gelatinizes the starches in the flour, allowing them to absorb and retain significantly more liquid. When added to the main dough, the tangzhong contributes to a dough that is exceptionally soft, pliable, and moist. This increased moisture content also helps the rolls stay fresh and tender for a longer period, preventing them from drying out quickly. It’s a game-changer for any yeast-based baked good!
Oreos: The star of the show! Oreos are strategically incorporated at multiple stages to ensure an intense “cookies and cream” flavor throughout. You’ll use finely crushed Oreo crumbs in the yeast dough itself, adding a subtle chocolatey hint and unique texture. More crushed Oreos are mixed into the filling, creating a rich, chocolate-flavored swirl. Finally, a generous amount of Oreo crumbs are blended into the cream cheese frosting and sprinkled on top as a garnish, providing delightful crunch and an unmistakable Oreo punch. Be sure to crush them well for the dough and frosting, and slightly chunkier for the filling if you prefer some textural variation.
Cream Cheese: Essential for that signature tangy, sweet, and rich frosting. For the best results and a stable, spreadable frosting, it’s crucial to use full-fat block cream cheese, softened to room temperature. Avoid cream cheese spreads in tubs, as they often contain more water and stabilizers which can result in a thinner, less luxurious frosting. The tang of the cream cheese cuts through the sweetness of the rolls and the Oreos, creating a perfectly balanced flavor profile.
Yeast: The magical ingredient that makes our dough rise! We recommend using **instant yeast** for this recipe because it simplifies the baking process considerably. Instant yeast can be mixed directly with the dry ingredients without needing to be proofed (activated) in warm liquid first, saving you time and an extra step. If you only have active dry yeast, you can still use it. Simply warm the milk (for the dough) to about 105°F (40°C), sprinkle the active dry yeast over it, stir gently, and let it sit for 5-10 minutes until foamy. This indicates the yeast is alive and active before you add it to the rest of your ingredients.
Step-by-Step Guide: Crafting Your Oreo Cookies and Cream Rolls
Creating these divine Oreo Cinnamon Rolls is a joyful process. Follow these detailed steps to ensure perfectly soft, gooey, and flavorful results every time.
1. Master the Tangzhong: The first step to achieving that incredible softness begins with the tangzhong. In a small saucepan, combine the specified amounts of flour, water, and milk. Whisk these ingredients together until the mixture is completely smooth and free of lumps. Place the saucepan over medium heat, continuing to whisk constantly. As the mixture heats, you’ll notice it gradually thickening. It’s ready when the whisk leaves distinct streaks on the bottom of the pan, indicating the starches have gelatinized. Immediately remove the tangzhong from the heat and transfer it to a separate bowl or plate to cool. It should be just warm to the touch before you add it to your dough – too hot, and it can kill your yeast.
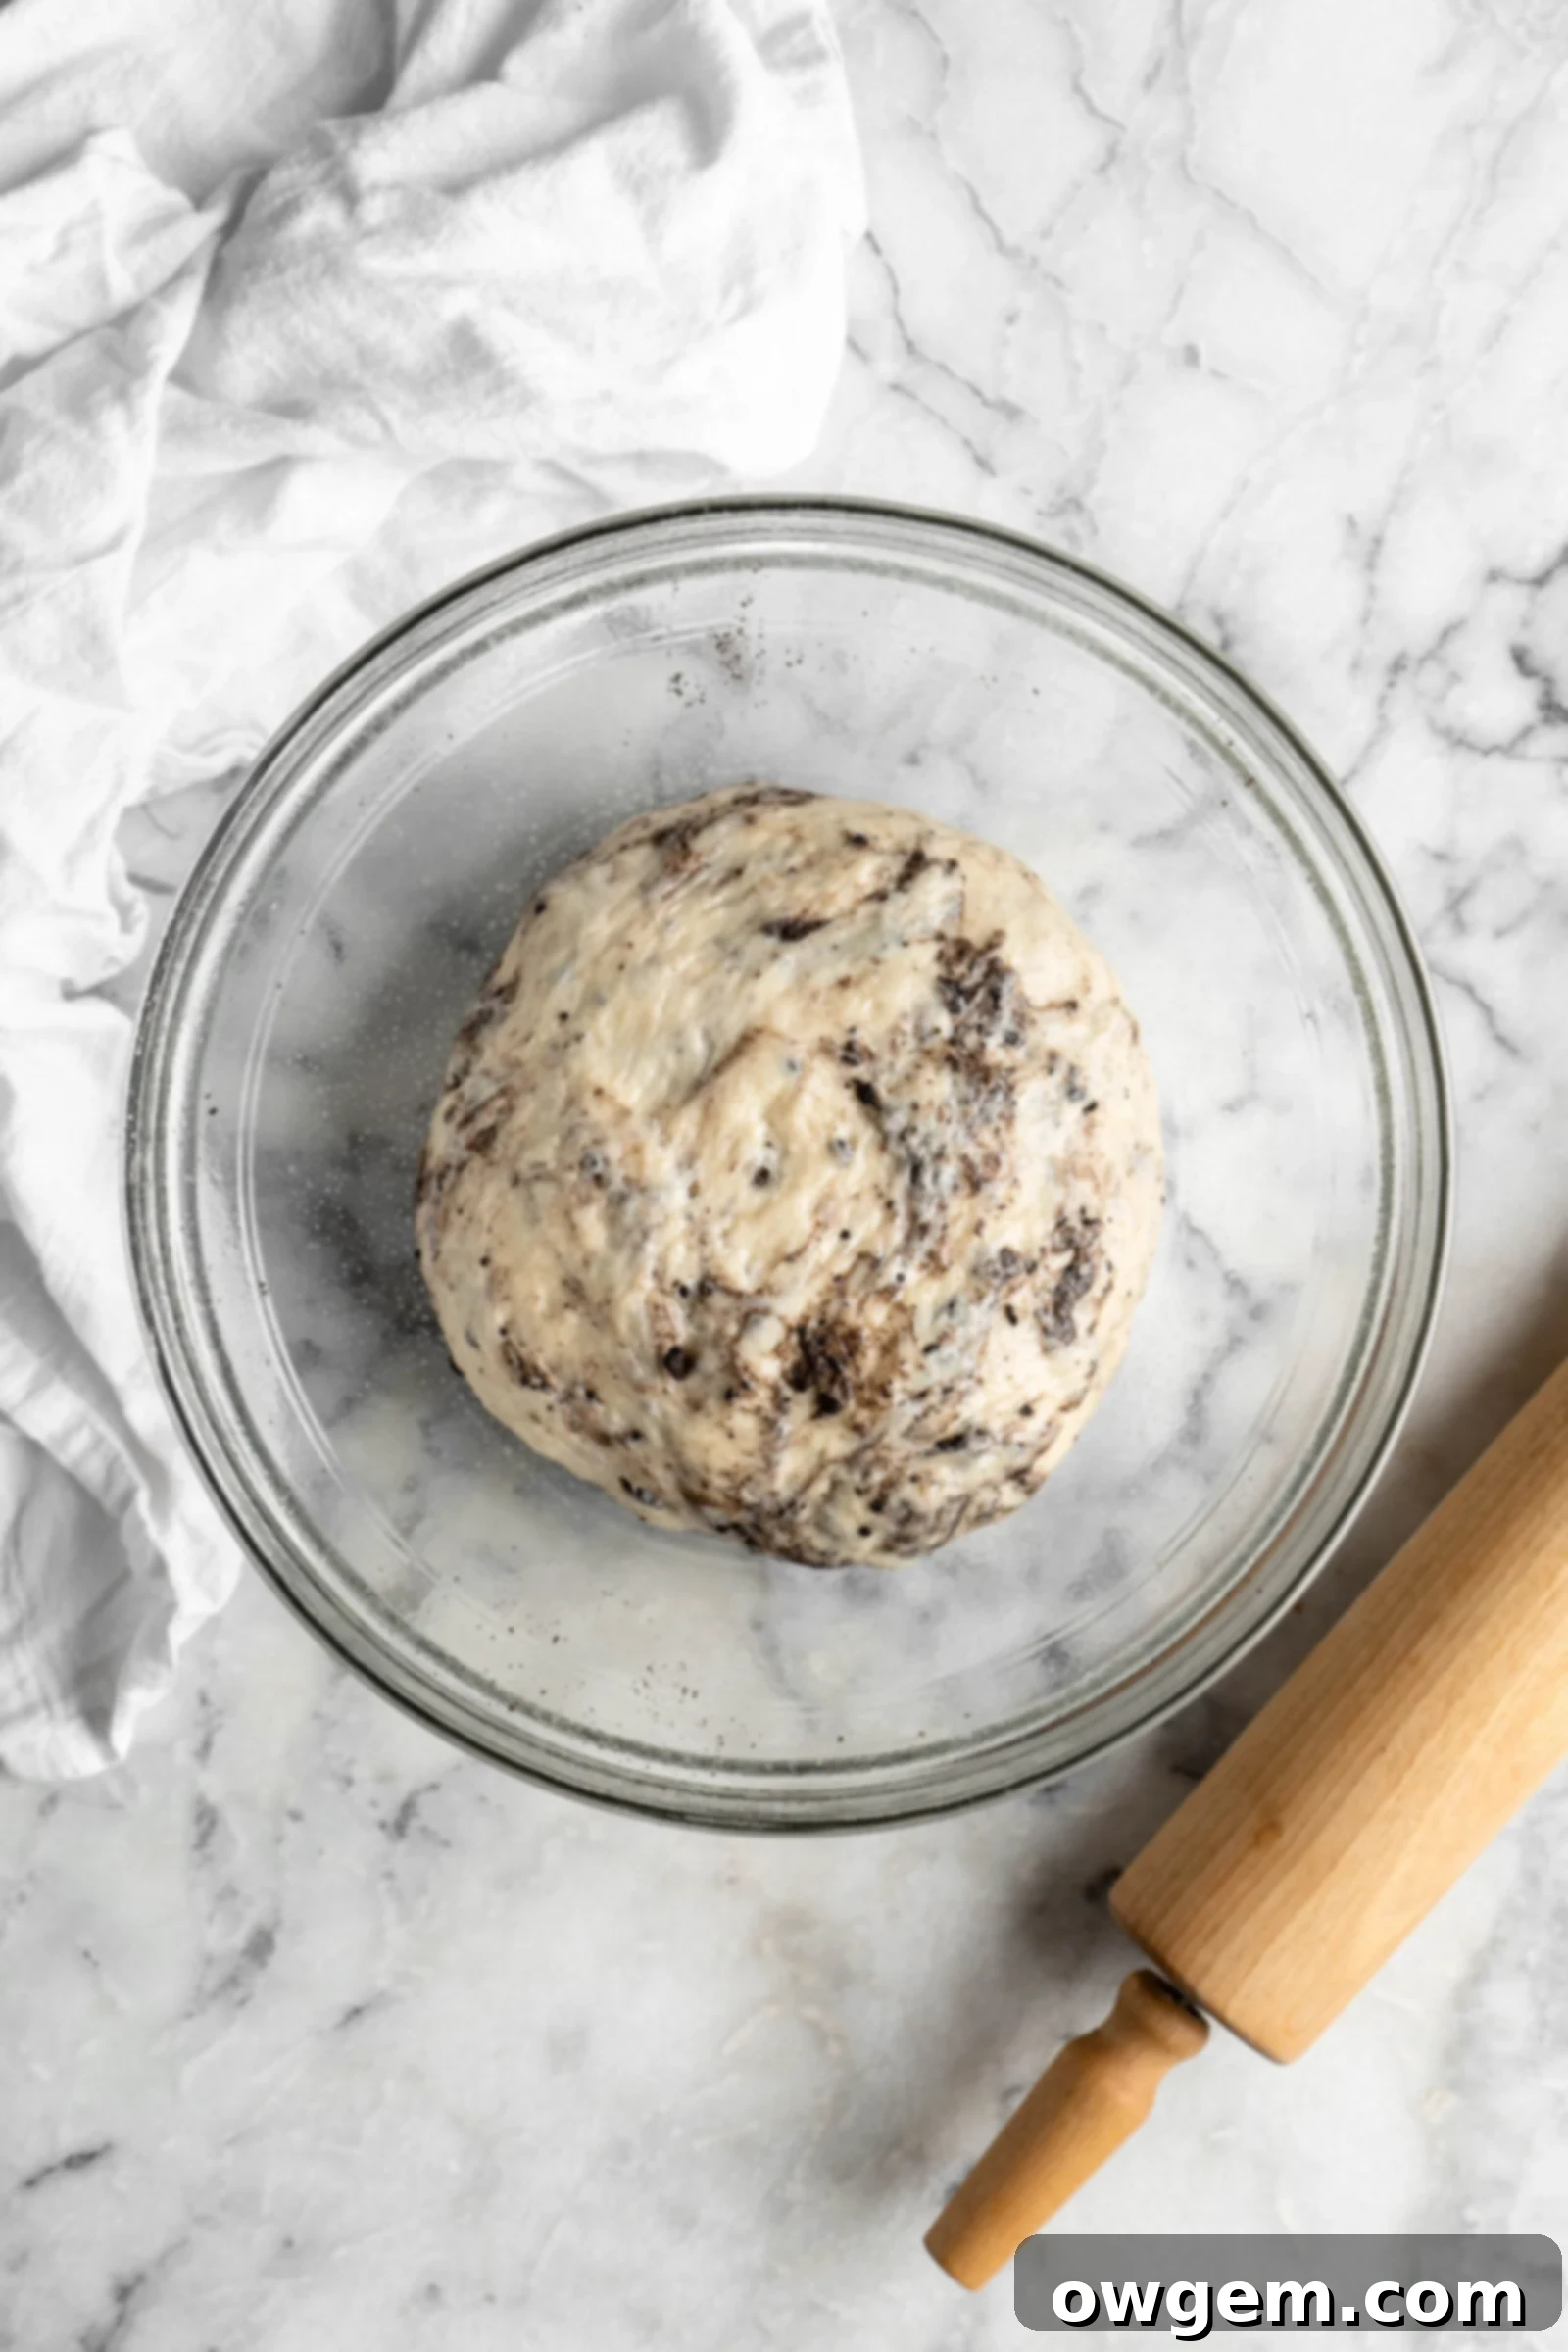
2. Prepare the Enriched Dough: In the bowl of a stand mixer fitted with a dough hook attachment, combine the all-purpose flour, white sugar, salt, instant yeast, whole milk, large eggs, melted unsalted butter, and your cooled tangzhong. Begin kneading on low speed, then increase to medium, allowing the mixer to work its magic for a good 15-20 minutes. This extended kneading time is crucial for developing the gluten, which creates the soft, elastic texture of the rolls. After the dough is smooth and elastic, gently mix in the 1/4 cup of Oreo crumbs until just combined. Overmixing the crumbs at this stage can break them down too much, so incorporate them quickly.
3. First Proof for Optimal Rise: Once your dough is ready, lightly oil a large mixing bowl. Place the dough into the bowl, turning it once to coat all sides with a thin layer of oil. This prevents it from sticking and drying out during the rise. Cover the bowl tightly with plastic wrap to create a warm, humid environment. Now, place the bowl in a warm spot in your kitchen to rise. An ideal temperature is around 75-80°F (24-27°C). This first proof typically takes about 1 hour, or until the dough has visibly doubled in size. You’ll know it’s ready when a gentle poke with your finger leaves a slight indentation that springs back slowly.
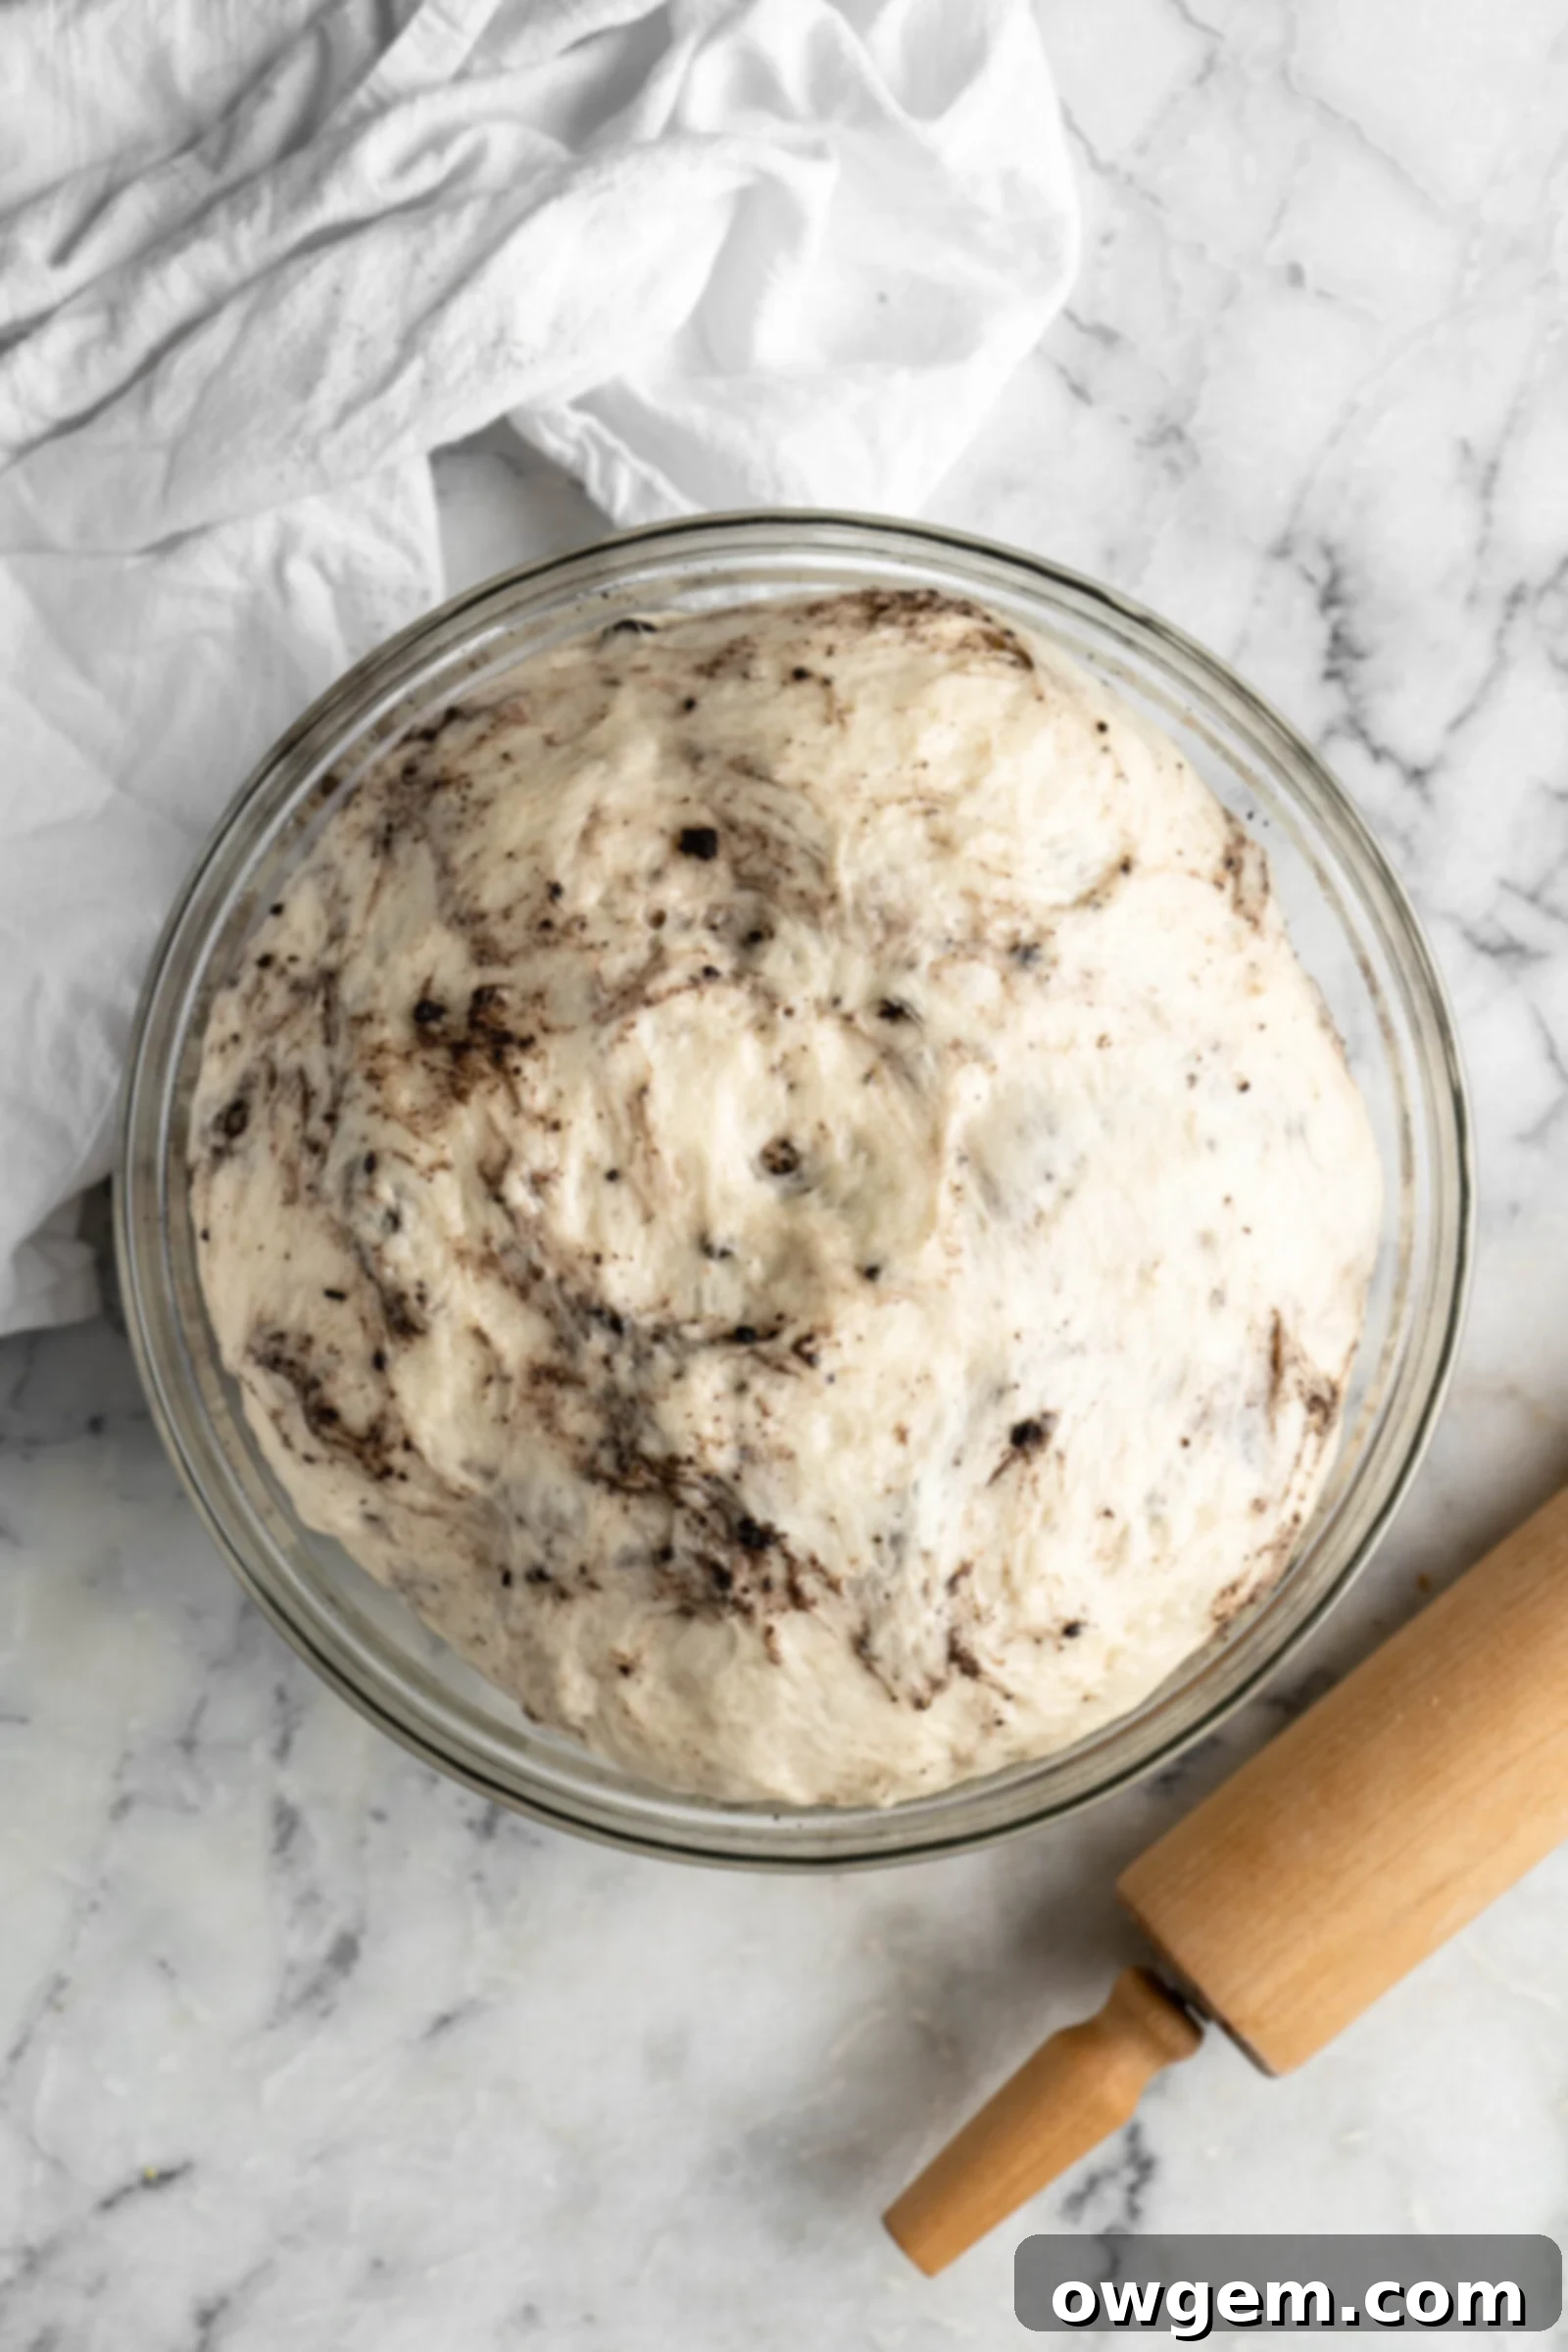
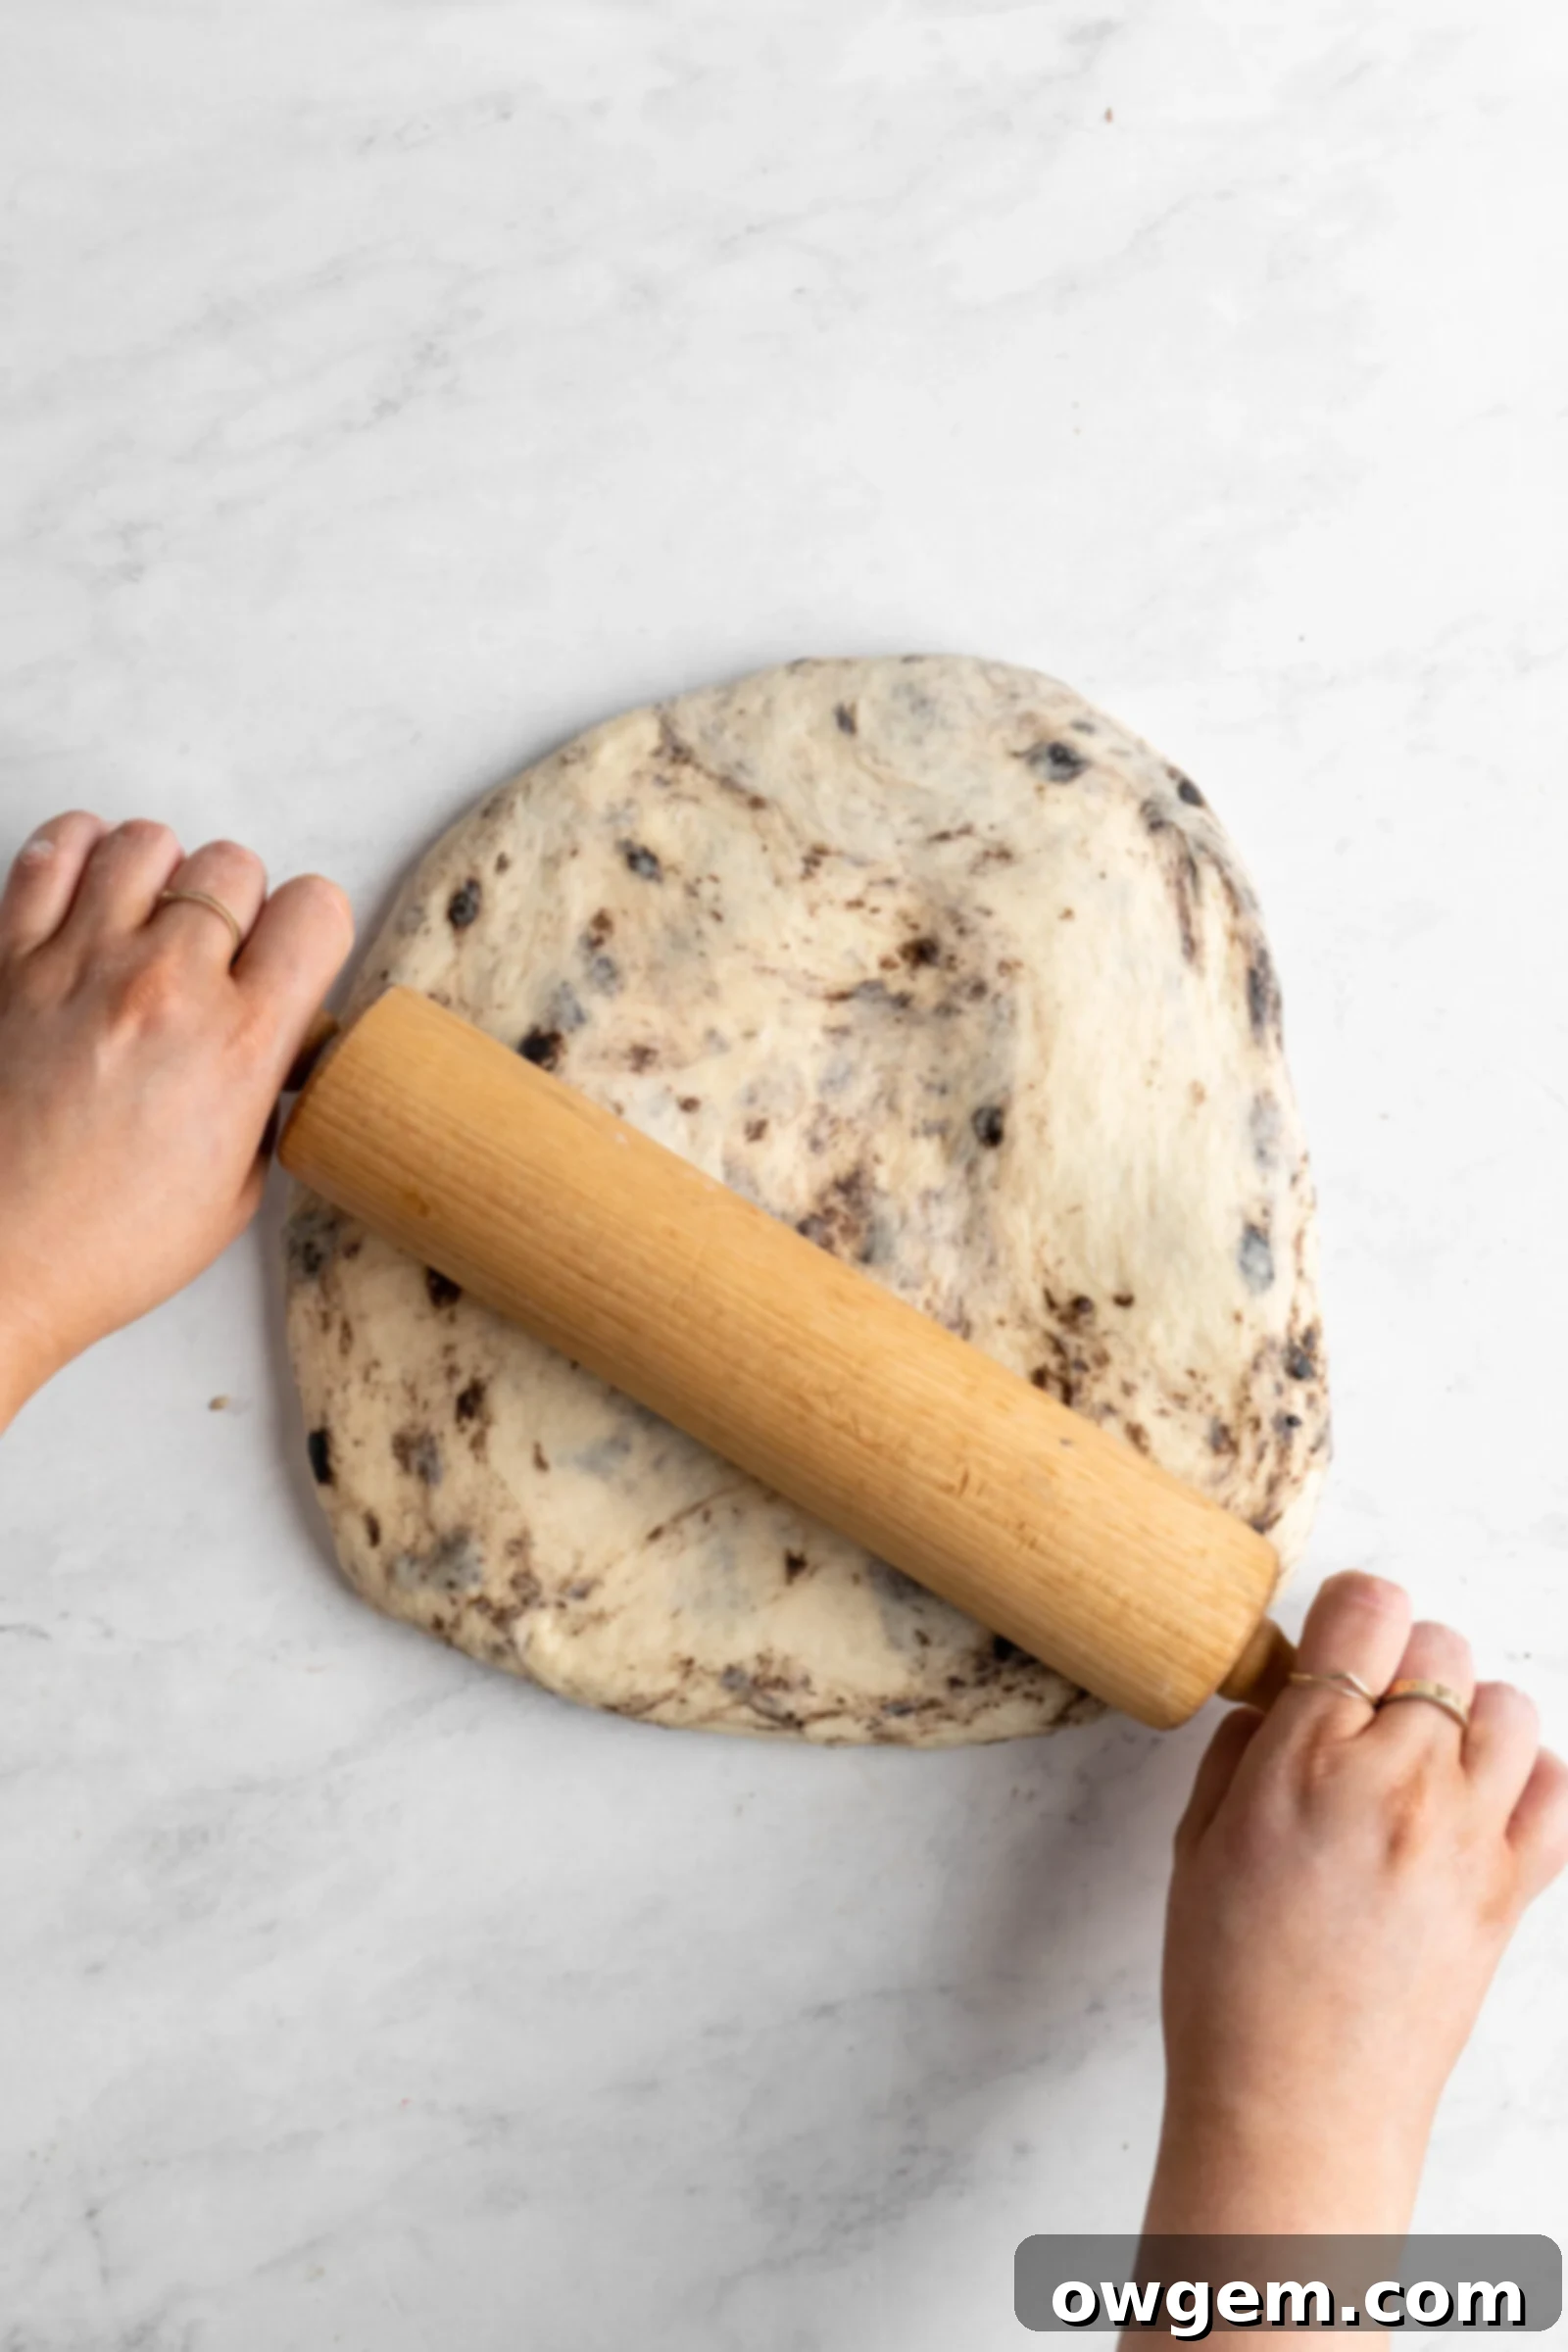
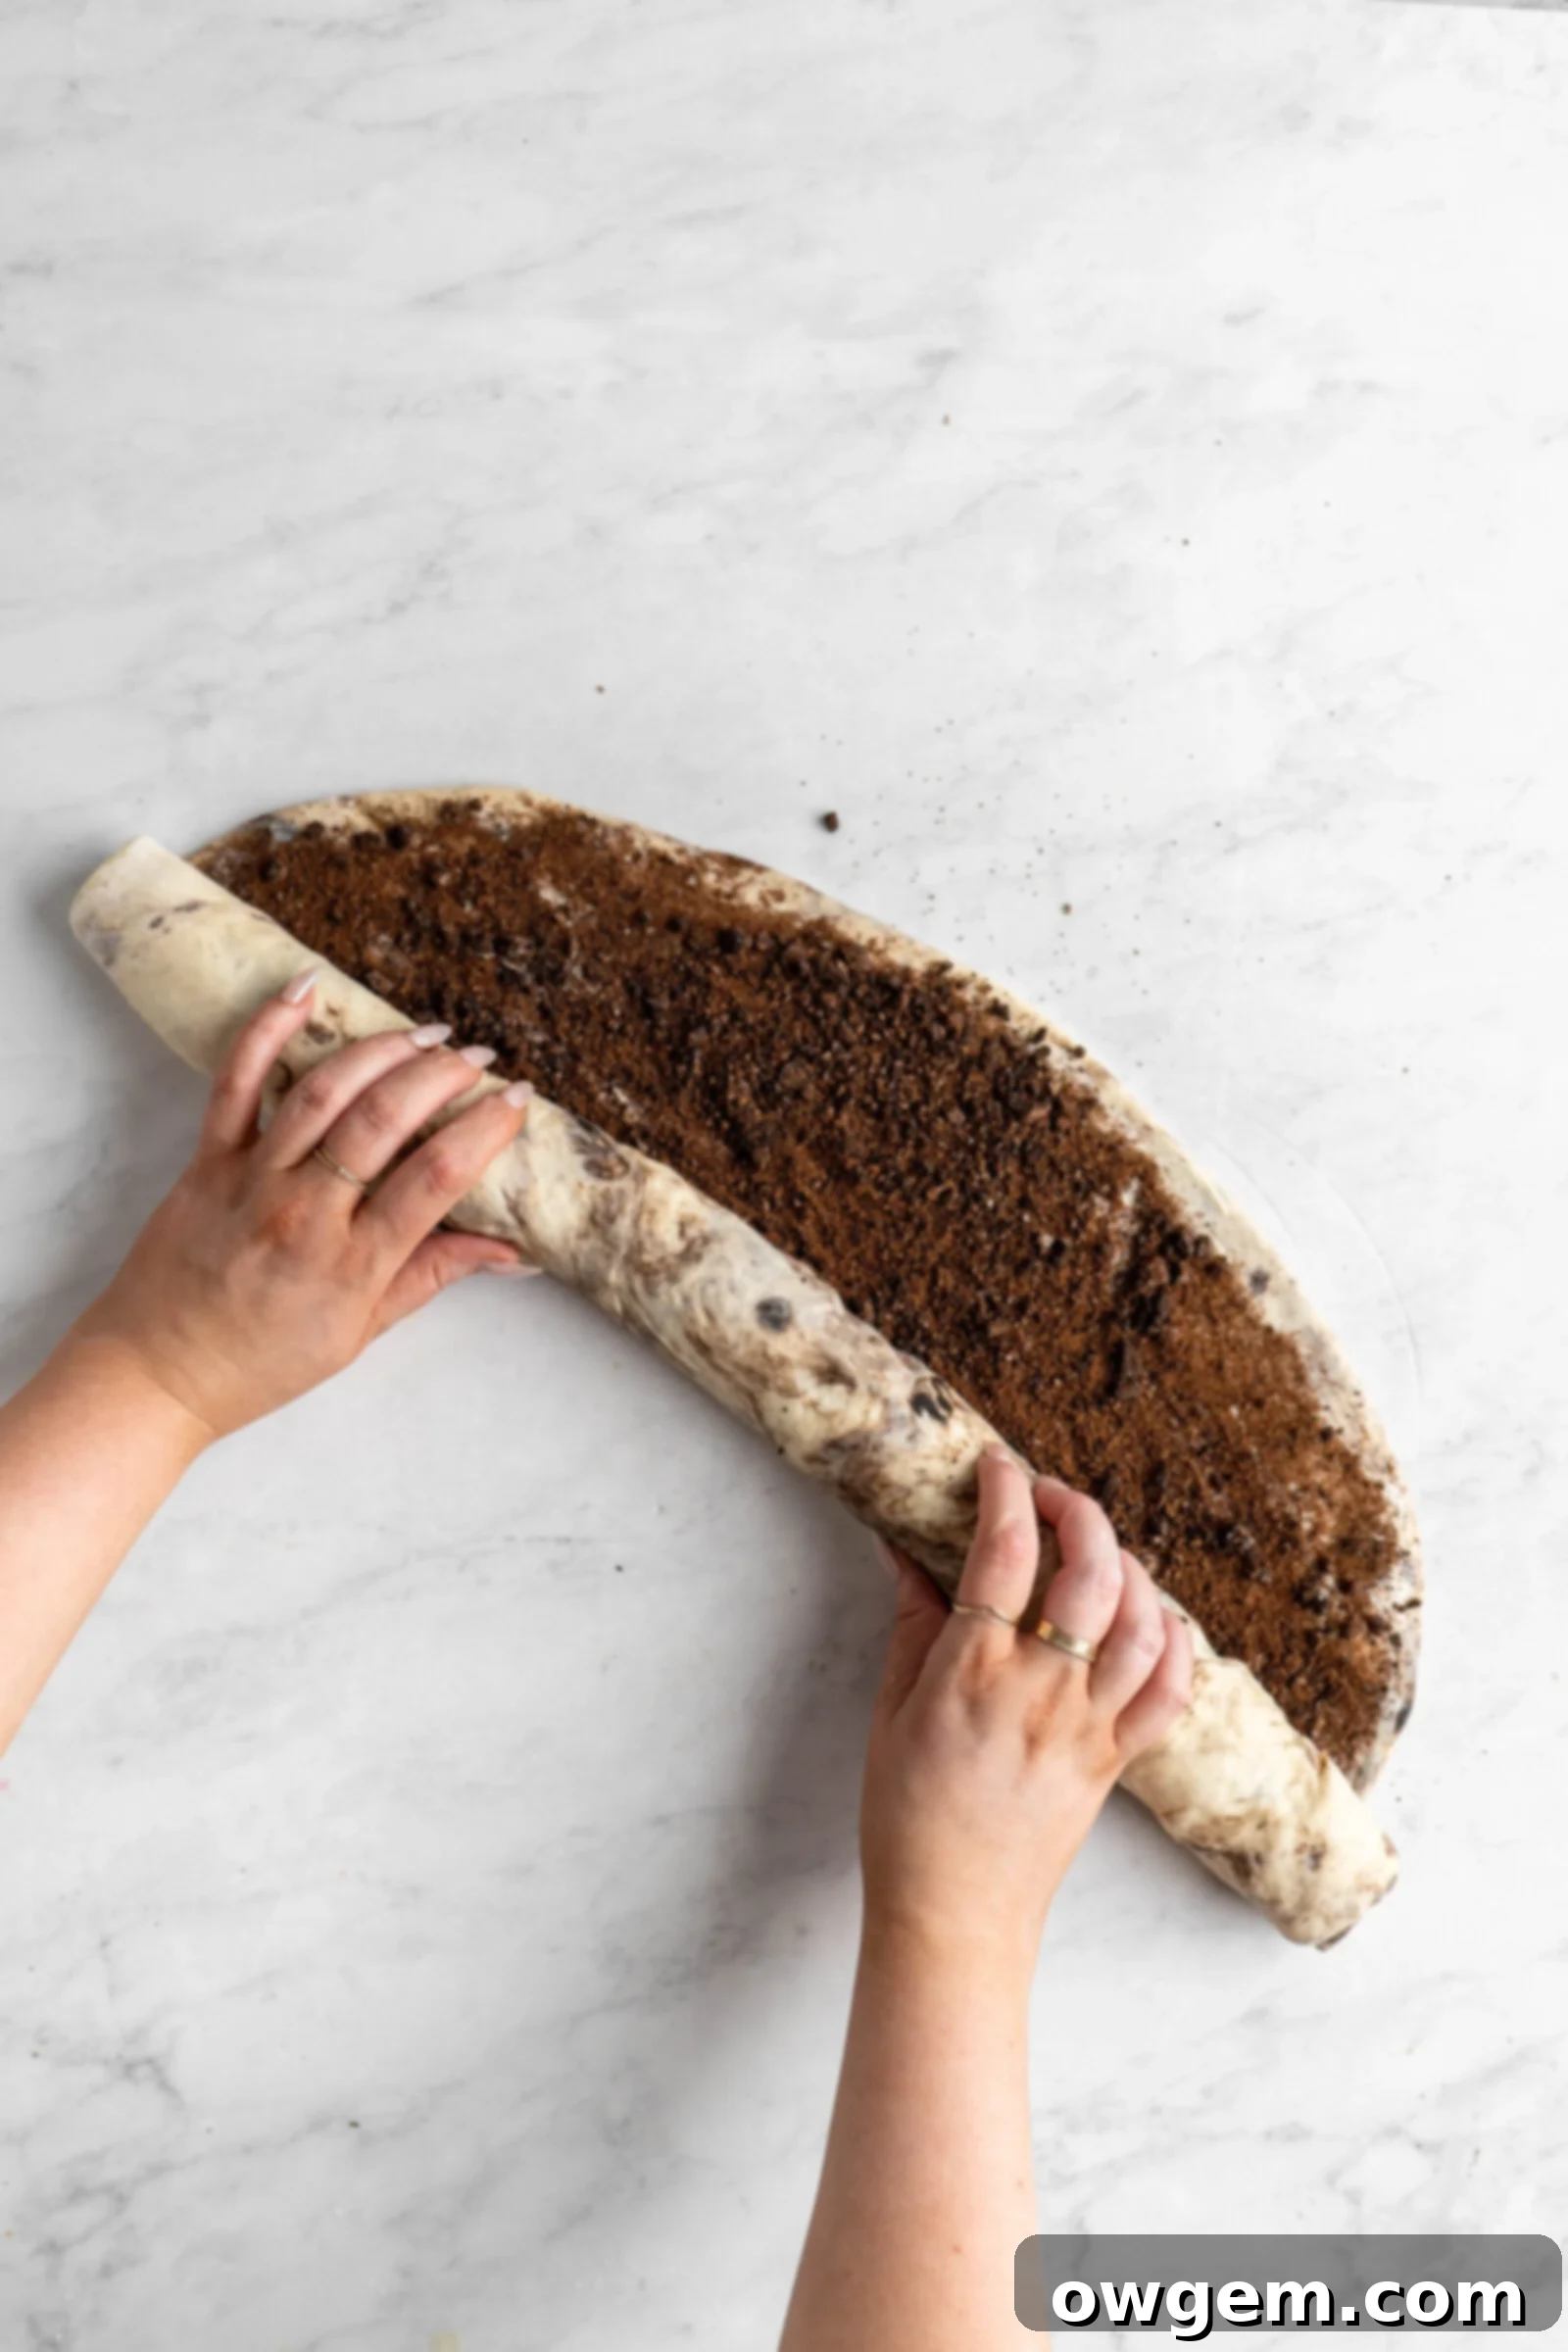
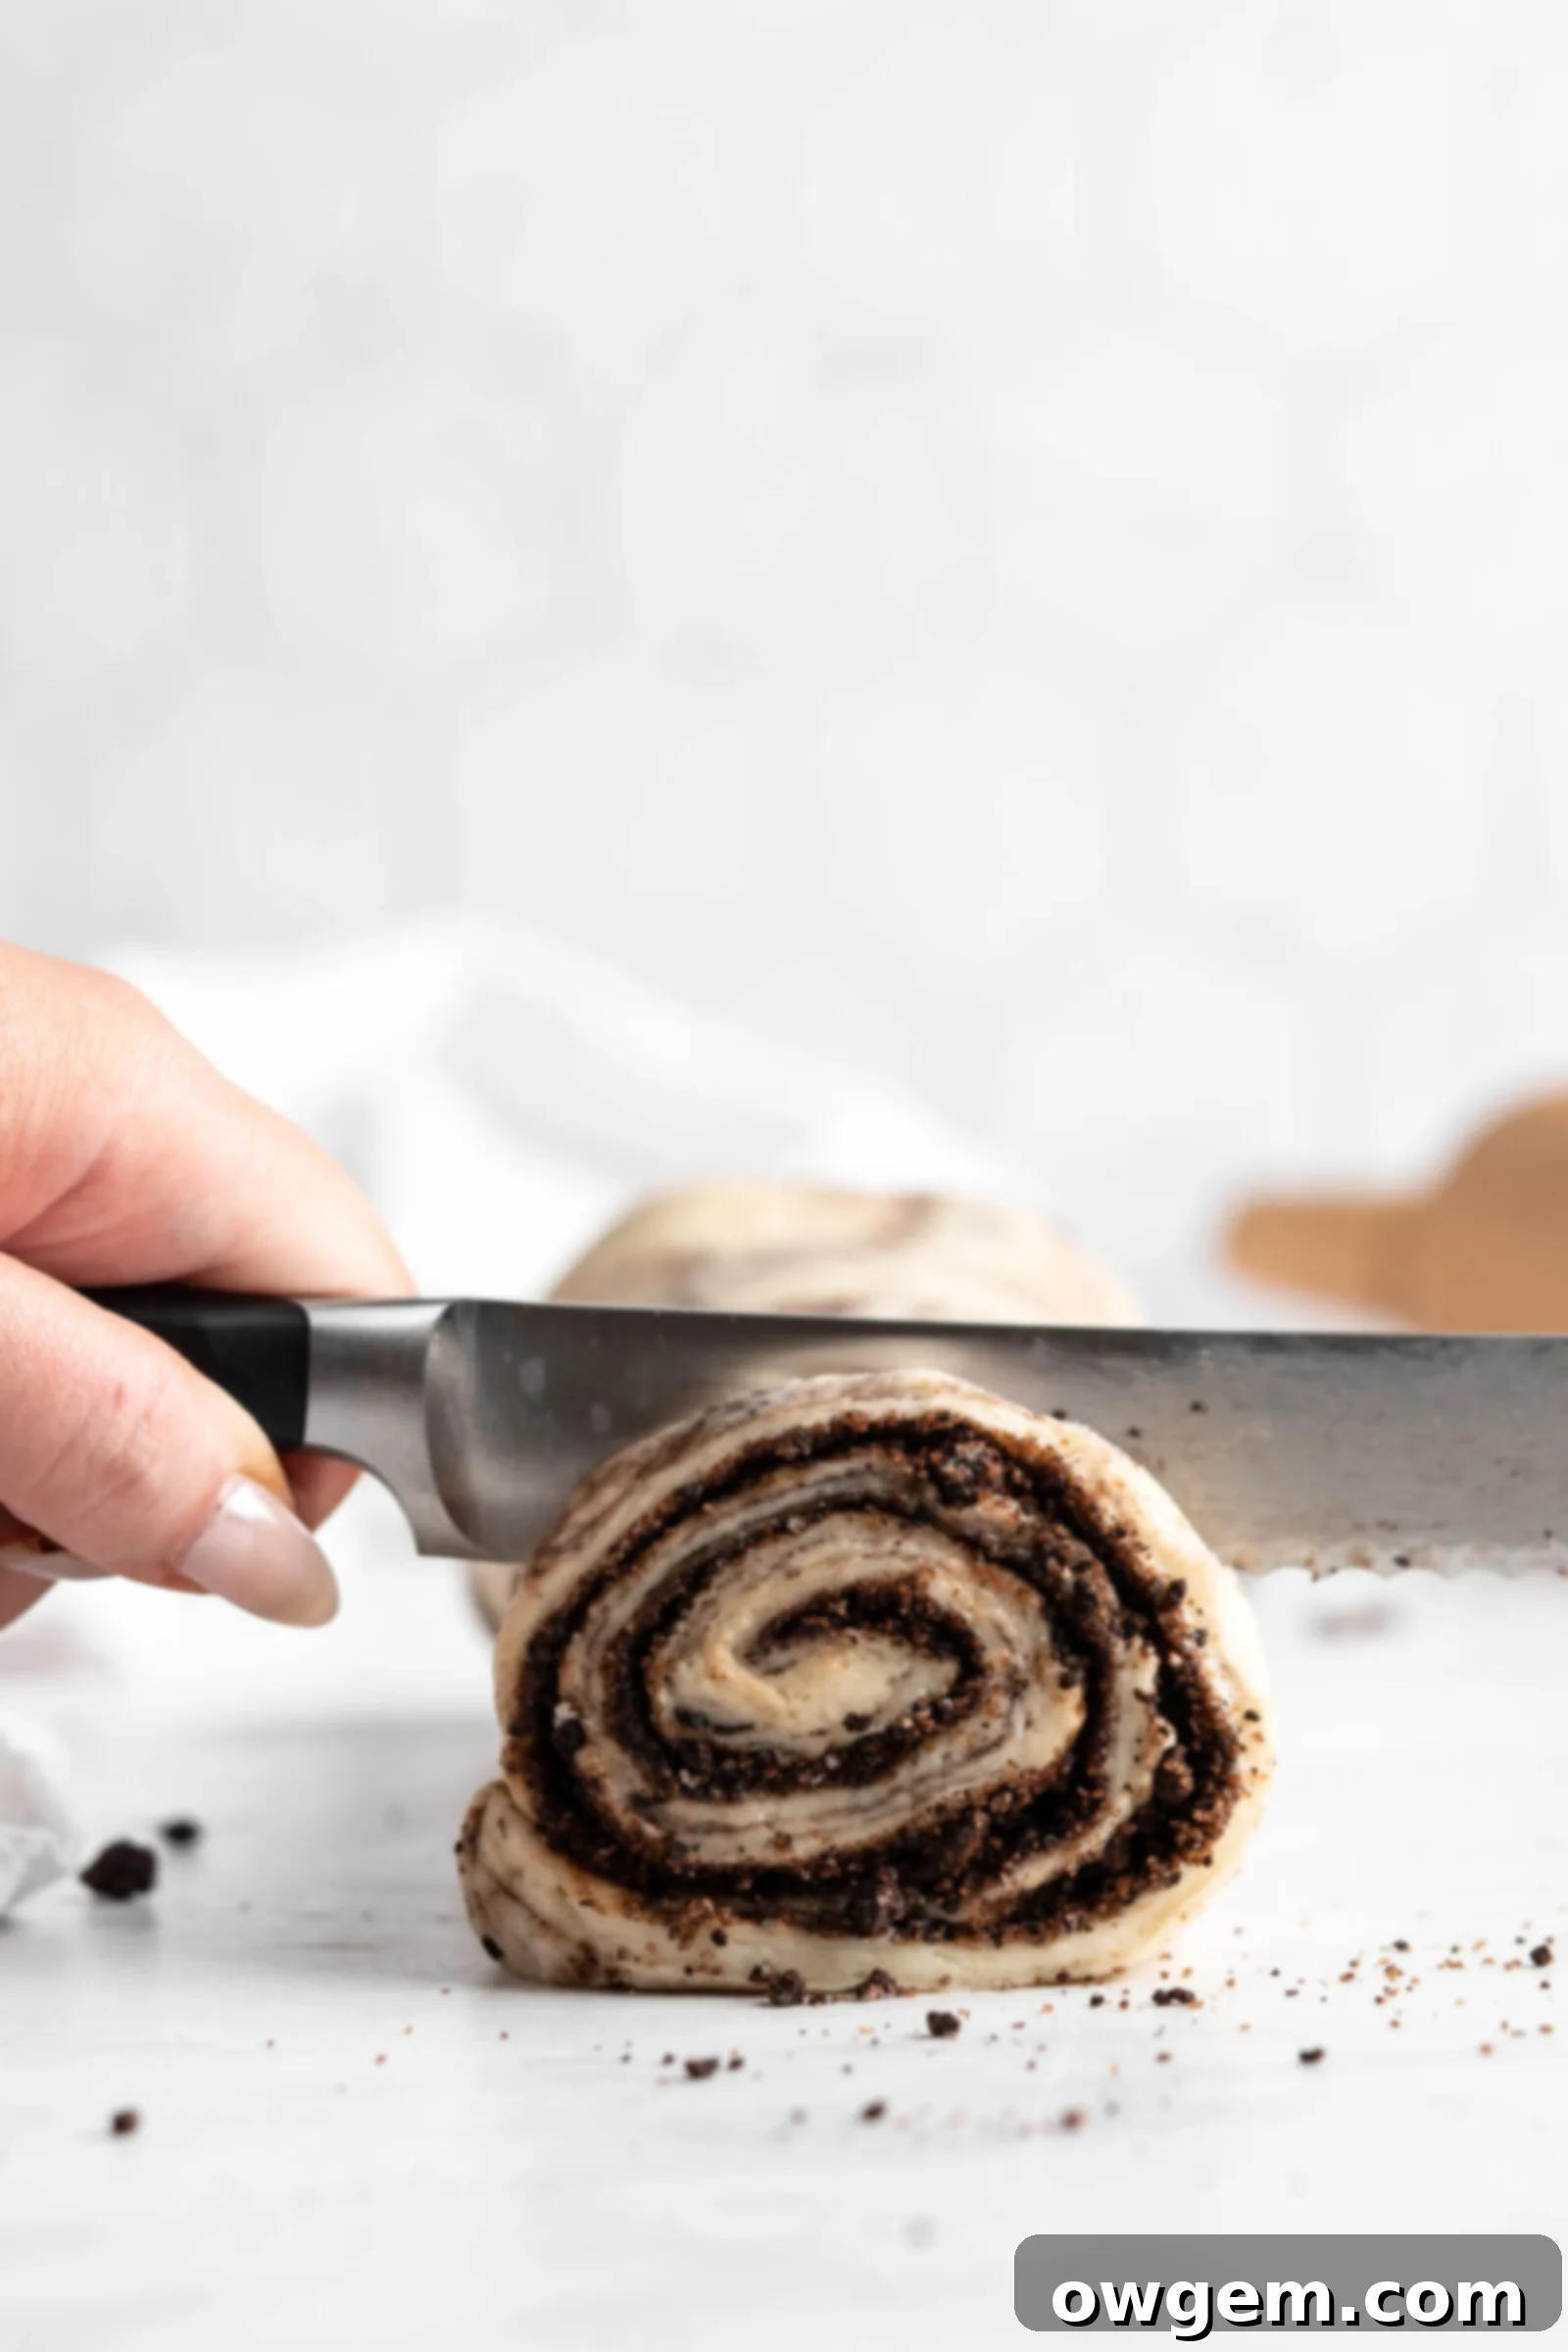
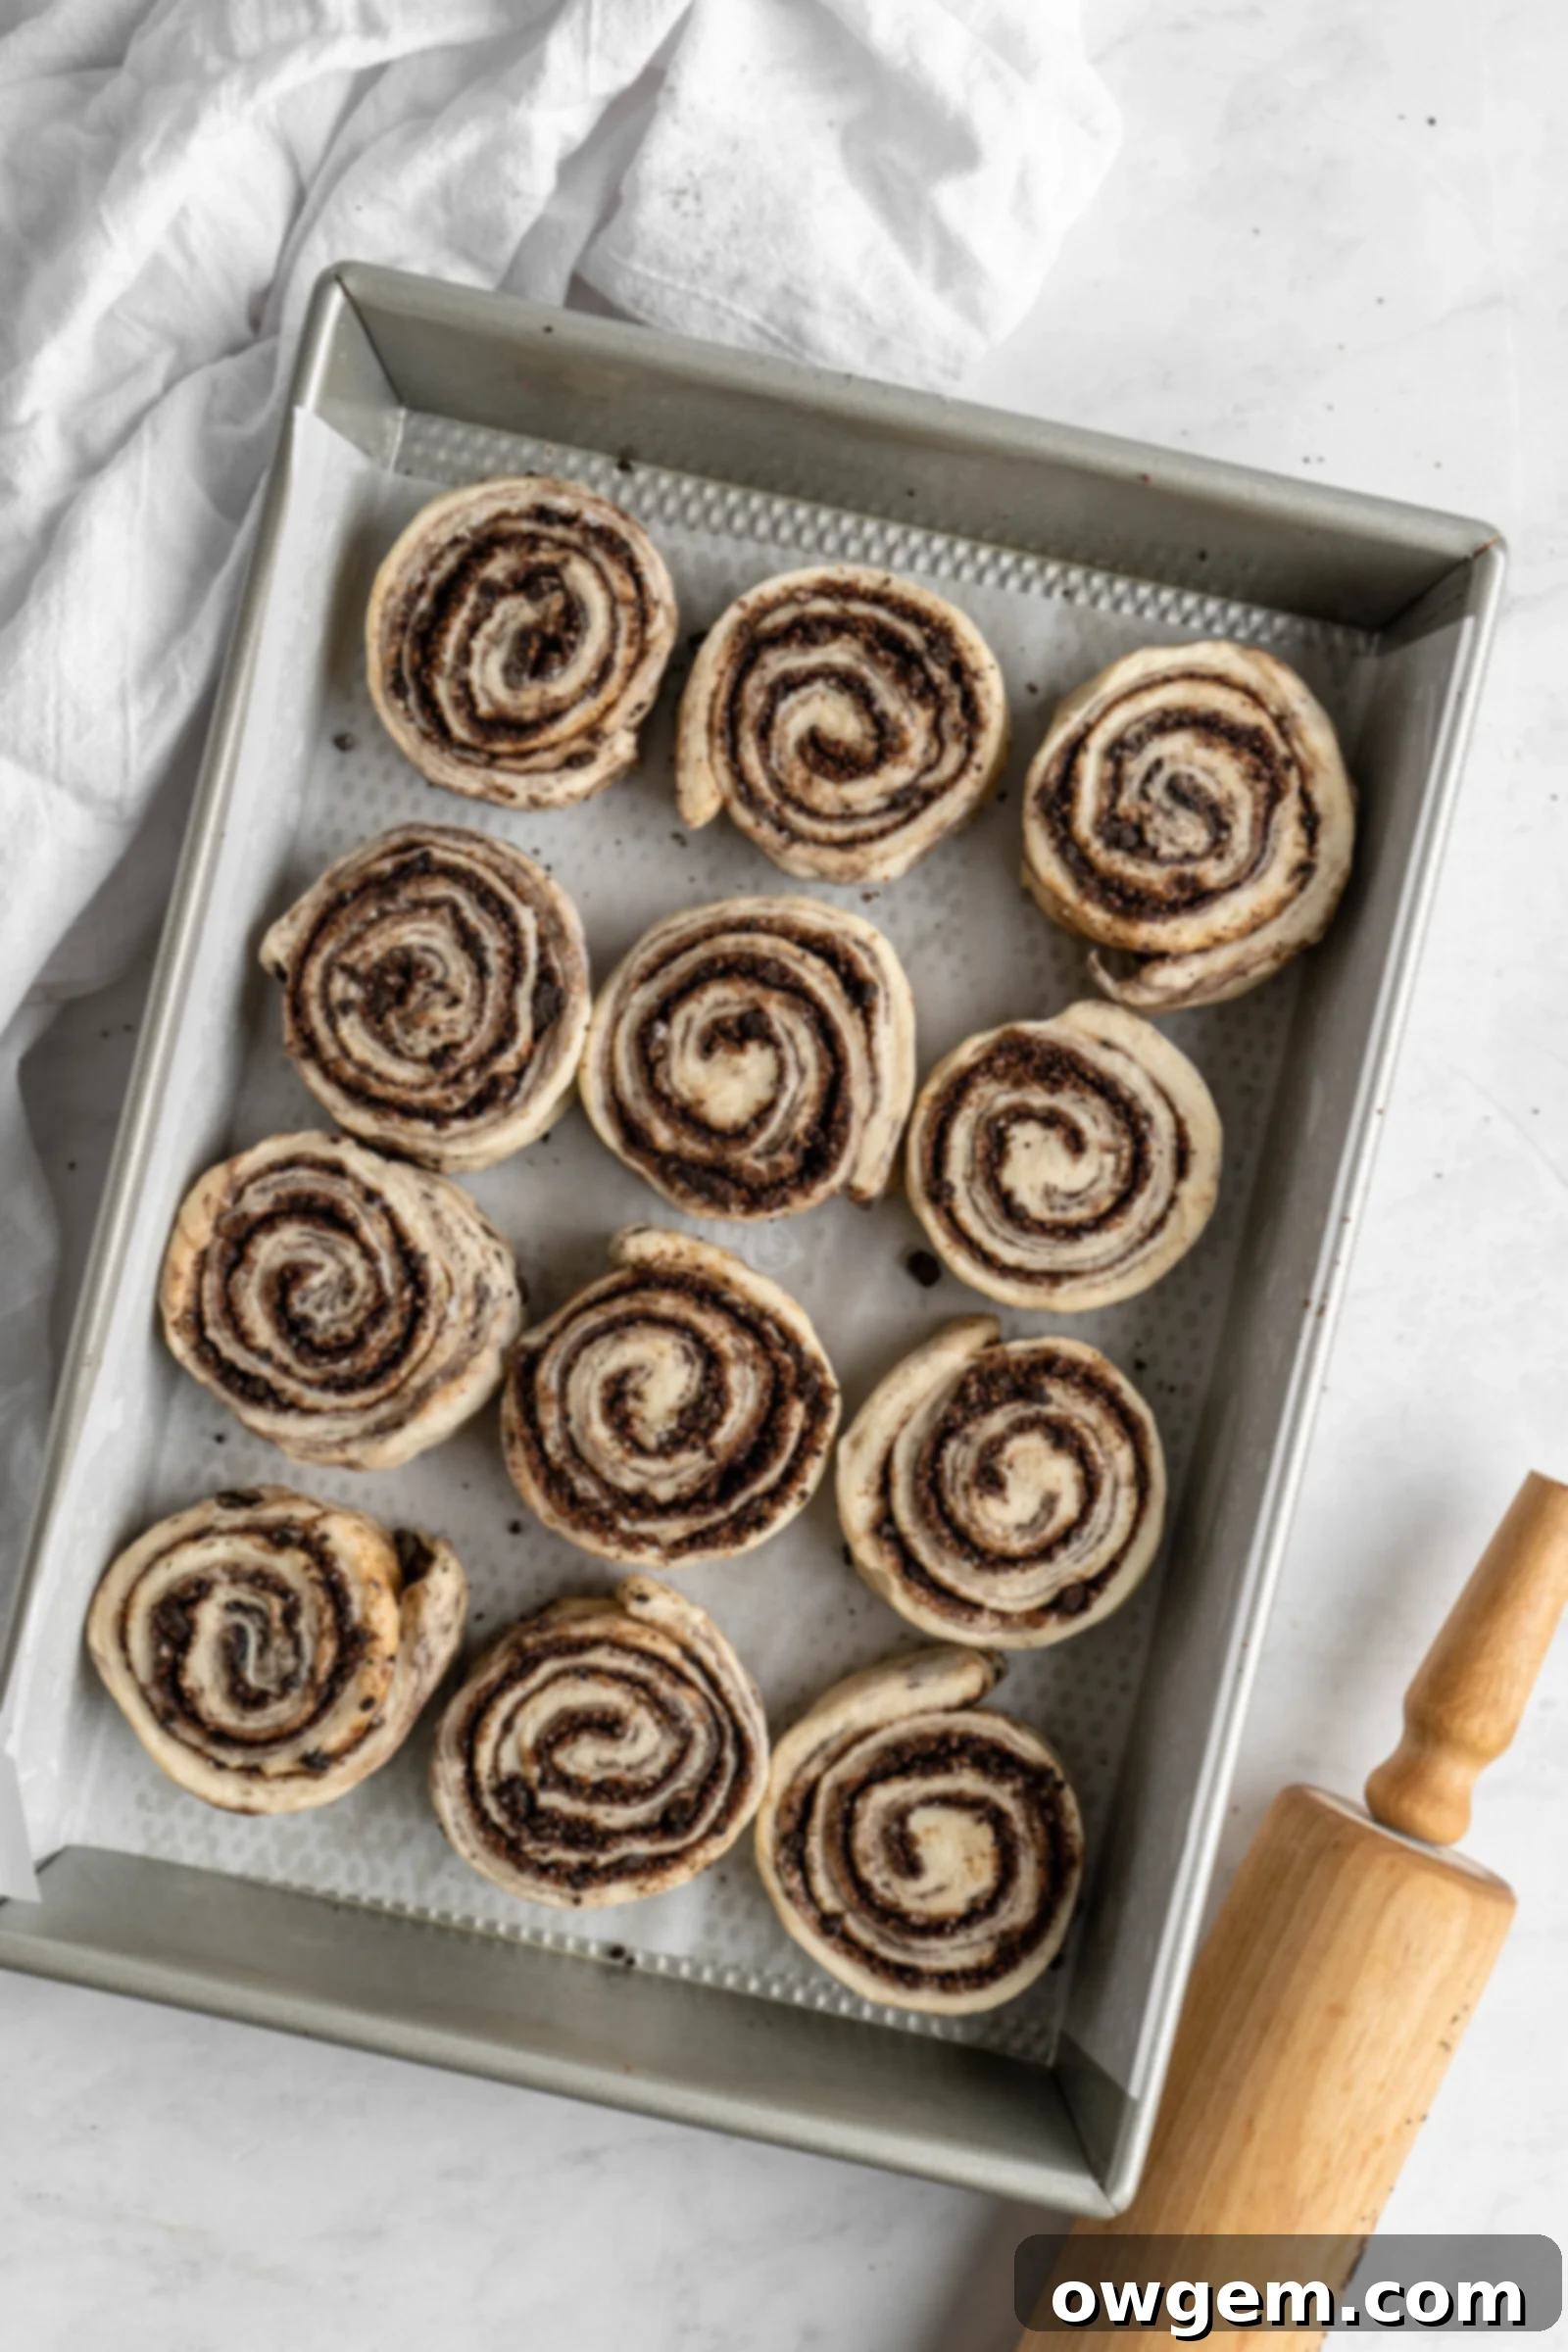
4. Roll, Fill, and Slice Your Rolls: Gently punch down the risen dough to release the accumulated gases. Transfer it to a lightly floured work surface. Using a rolling pin, roll the dough out into a large rectangle, approximately 12×16 inches, with the long side facing you. Evenly spread the softened unsalted butter across the entire surface of the dough, making sure to leave about a ½-inch strip bare along the top edge – this helps seal the roll. In a separate small bowl, mix together the brown sugar, cocoa powder (preferably Dutch cocoa for a richer color and flavor), cinnamon, and crushed Oreo pieces. Liberally sprinkle this delicious filling mixture over the buttered dough, gently pressing it down so it adheres. Starting from the long side closest to you, tightly roll the dough into a log. The tighter you roll, the better your rolls will hold their shape and reveal those beautiful swirls. For clean, even cuts, use a very sharp serrated knife, unflavored dental floss, or a piece of string. Slice the log into 12 equally sized pieces.
5. Second Proof: Arrange the sliced rolls in your prepared 9×12-inch baking pan, leaving a little space between each roll as they will expand. Cover the pan again with plastic wrap and place it back into a warm area for a second rise. This usually takes another hour, or until the rolls look noticeably puffy and have nearly doubled in size. This second proof is essential for creating an airy, light texture in the final baked rolls.
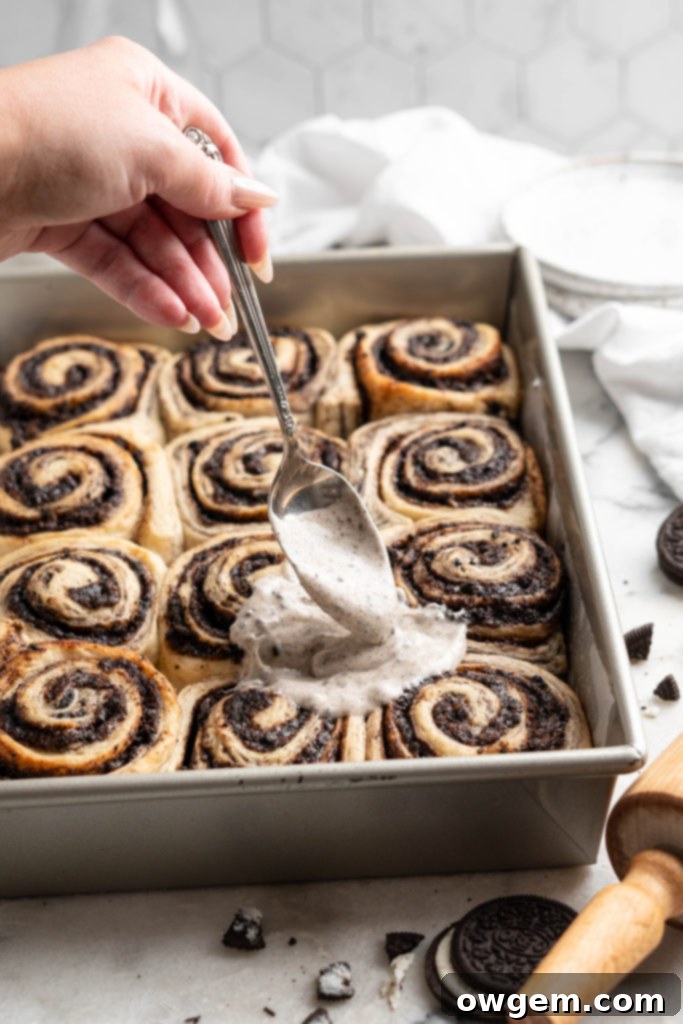
6. Bake to Golden Perfection: While your rolls are enjoying their second rise, preheat your oven to 350°F (175°C). Once the rolls have fully proofed, remove the plastic wrap and place the pan into the preheated oven. Bake for approximately 20-22 minutes, or until the tops are beautifully golden brown and the rolls are cooked through. Keep a close eye on them to prevent over-baking, which can lead to dry rolls. As soon as they come out of the oven, prepare to frost them while they are still warm – this is key for that ultimate gooey, slightly melted cream cheese frosting topping. After frosting, don’t forget to sprinkle on even more crushed Oreos for an extra pop of flavor and texture!
Pro Tips & Baking Tricks for Perfect Rolls
Even experienced bakers can benefit from a few clever tricks. Here are some expert tips to ensure your Oreo Cookies and Cream Cinnamon Rolls turn out perfectly every time:
Use a sharp knife, dental floss, or string to cut the rolls. To achieve beautifully clean, even slices without squishing your perfectly rolled dough, avoid using a dull knife. A very sharp serrated knife works wonders, but for the cleanest cut, many bakers swear by unflavored dental floss or a thin piece of kitchen string. Simply slide the floss/string under the log, cross the ends over the top, and pull them tight to slice through the dough. This method prevents the filling from oozing out and helps the rolls maintain their distinct spiral shape.
Add cream before baking for extra gooeyness. This step is entirely optional, but if you desire an ultra-gooey, impossibly soft center, try pouring about ¼ cup of heavy cream or whole milk over your proofed (but unbaked) cinnamon rolls just before they go into the oven. The cream creates steam during baking, which keeps the rolls incredibly moist and contributes to that desirable ooey-gooey texture without making them soggy.
Frost the rolls when they’re still warm. Timing is everything when it comes to frosting! The ideal moment to apply the cream cheese frosting is when the rolls are still warm, about 5-10 minutes after they’ve come out of the oven. The residual heat from the rolls will slightly melt the frosting, allowing it to gently cascade over the edges and seep into the nooks and crannies of the rolls, creating a truly luscious and irresistible gooey topping.
Proof the dough in a warm and humid place. For a proper and efficient rise, your dough needs a warm, draft-free environment. After placing the dough in an oiled bowl, cover it tightly with plastic wrap or a damp kitchen towel. A great trick is to warm your oven: turn it on to 350°F (175°C) for exactly 1 minute, then turn it OFF. The oven should now be at the perfect warm, cozy temperature for proofing. You can also place the bowl in a microwave with a cup of hot water, or near a sunny window.
Make sure your yeast is good. Yeast is a living organism, and like all living things, it has a shelf life. Always check the expiry date on your yeast package. If your yeast is old or has been improperly stored, it may no longer be active, and your dough won’t rise. If you’re unsure, you can “proof” a small amount of yeast in warm water with a pinch of sugar; if it gets foamy after 5-10 minutes, it’s good to go!
Weigh your ingredients for best results. While volumetric measurements (cups and spoons) are common, they can be inconsistent, especially with flour, leading to varied baking results. For the most accurate and consistent outcomes, especially in baking, weighing your ingredients with a kitchen scale is highly recommended. This ensures you have the precise amount of each ingredient, leading to the perfect dough texture every time.
Flour your work surface (but don’t overdo it). A lightly floured work surface is essential to prevent the dough from sticking when you roll it out and when you attempt to roll it up. However, be mindful not to add too much flour, as this can be incorporated into your dough, making it dry and tough. Use just enough to prevent sticking.
Roll the dough tightly. When forming your log after spreading the filling, make sure to roll the dough as tightly as possible. A tight roll helps the cinnamon rolls hold their shape during slicing and baking, creating those beautiful, distinct swirls of filling and ensuring a structured, yet soft, finished product.
Don’t overbake. Keep a close eye on your rolls in the oven. Overbaking is the quickest way to end up with dry, tough cinnamon rolls. They should be lightly golden brown on top and feel set, but still soft when gently pressed. Err on the side of slightly underbaked if you’re unsure, as they will continue to cook slightly from residual heat once removed from the oven.
Essential Equipment for Baking Success
While some tools are optional, others are highly recommended to make the baking process smoother and ensure the best results for your Oreo Cookies and Cream Cinnamon Rolls:
Stand Mixer: While not strictly required (you can knead by hand), a stand mixer with a hook attachment is a game-changer for making yeast dough. It significantly reduces the effort and time involved in kneading, ensuring a perfectly developed, elastic dough without the arm workout. If you don’t have one, be prepared for a good 20-25 minutes of vigorous hand kneading.
Rolling Pin: A good rolling pin is crucial for evenly flattening your dough. My personal favorite is a French rolling pin. Its tapered ends allow for excellent control and precision, making it easier to achieve a consistent thickness across your dough rectangle, which is key for uniform rolls.
9×13 Inch Baking Pan: A standard baking dish of this size is perfect for baking 12 cinnamon rolls. It allows enough space for the rolls to expand without overcrowding, ensuring they bake evenly and get those beautifully gooey edges.
Small Saucepan: For preparing the tangzhong, a small saucepan is ideal. You’ll need it to cook the flour, water, and milk mixture until it thickens.
Measuring Cups and Spoons: Essential for accurate ingredient measurements, although for best results, a kitchen scale is preferred (see tips above).
Whisk: For blending the tangzhong ingredients smoothly and mixing the dry ingredients.
Rubber Spatula: Useful for scraping down the sides of the mixing bowl and spreading the butter onto the dough.
Plastic Wrap: Crucial for covering the dough during its proofing stages to maintain moisture and create a warm, humid environment.
Storing Your Delicious Cinnamon Rolls
To keep your Oreo Cookies and Cream Cinnamon Rolls fresh and delicious for as long as possible, proper storage is key:
Fridge: I personally prefer to store frosted cookies and cream cinnamon rolls in the refrigerator. While some sources might suggest room temperature is fine for a short period, the cream cheese in the frosting makes refrigeration a safer and more cautious choice to maintain freshness and prevent spoilage. Place your frosted rolls in an airtight container to protect them from drying out and absorbing other fridge odors. They will keep well for up to 3-4 days. To enjoy them warm and gooey again, simply pop one in the microwave for 15-30 seconds until heated through and the frosting is slightly melty.
Freezer: These rolls are incredibly freezer-friendly, especially before baking! The **unbaked rolls** can be frozen. After slicing and placing them in a freezer-safe baking pan (or individual foil cups), cover them tightly with plastic wrap and then foil. They can be stored in the freezer for 4-6 weeks. When ready to bake, transfer the frozen rolls to the refrigerator overnight to thaw, then allow them to come to room temperature and proof in a warm place for 1-2 hours before baking as directed. Baked and frosted rolls can also be frozen in an airtight freezer bag or container for up to 1-2 months, though they may lose some of their initial softness upon thawing. To reheat baked frozen rolls, you can thaw them at room temperature and then warm them gently in the microwave or a low oven (300°F/150°C) until soft and warm.
Frequently Asked Questions (FAQ)
Absolutely! Making these Oreo Cookies and Cream rolls overnight is a fantastic way to enjoy fresh-baked goodness without the early morning rush. After you’ve sliced the rolls and placed them into your prepared baking pan, cover the pan tightly with plastic wrap and transfer it to the refrigerator. They can chill there for 8-12 hours. The next morning, remove the rolls from the fridge and let them sit at room temperature in a warm spot for 1-2 hours to finish their final rise before baking as normal. This ensures a beautifully risen and tender roll.
Yes, both baked and unbaked rolls can be frozen. The UNBAKED rolls freeze exceptionally well; simply arrange them in a freezer-safe pan, cover tightly, and freeze for 4-6 weeks. Thaw overnight in the fridge, then let them proof at room temperature before baking. Baked rolls can also be frozen in an airtight freezer bag, but they might lose a bit of their initial softness after thawing and reheating. Reheat gently in the microwave or oven.
Yes, definitely! You have a couple of excellent options for making these rolls ahead. For fresh morning rolls, follow the instructions for “overnight rolls” detailed two questions up. Alternatively, you can freeze the unbaked rolls as described in the previous question, which allows you to prepare them weeks in advance and bake them when a craving strikes.
Yes, you certainly can use active dry yeast, but it requires an extra step to activate it before mixing with the other ingredients. To do this, gently warm the milk (the 3/4 cup for the dough, not the tangzhong milk) to about 105°F (40°C). Sprinkle the active dry yeast over the warm milk, stir it in briefly, and then let the mixture sit for about 5-10 minutes. It should become visibly foamy and bubbly, indicating that the yeast is active and ready to be added to your dough mixture along with the other wet ingredients.
While all-purpose flour is recommended for its balance of tenderness and structure, you can use bread flour. If you opt for bread flour, your rolls will likely be chewier and slightly more dense due to the higher protein content in bread flour, which develops more gluten. They will still be delicious, but the texture will be different from the intended soft and tender outcome of this recipe.
There are a few common culprits if your dough isn’t rising. The most frequent reason is expired or inactive yeast, so always check the expiry date. Another possibility is that an ingredient you added to the dough – such as melted butter, tangzhong, or milk – was too hot. Yeast is a living organism, and it can be killed if exposed to liquids above 120°F (49°C). Ensure all liquids and additions are warm, not hot. Also, check that your proofing environment is warm enough (around 75-80°F or 24-27°C) and not too cold or drafty.
This dough is designed to be on the softer and slightly stickier side, thanks to the tangzhong method, which contributes to its incredible tenderness. However, if it feels excessively sticky and truly difficult to work with even after kneading, you can slowly add a tablespoon of all-purpose flour at a time until it becomes more manageable. Be careful not to add too much flour, as this can make the rolls tough. Alternatively, lightly oiling your hands and your work surface can help prevent sticking without altering the dough’s hydration.
For fine crumbs needed in the dough and frosting, a food processor is your best friend. Pulse the cookies until they resemble fine sand. If you don’t have a food processor, place the Oreos in a sturdy zip-top bag, seal it, and crush them with a rolling pin, the bottom of a heavy pan, or a meat mallet until they reach your desired consistency. For the filling, you can leave some slightly larger chunks for added texture if you like!
Yes, you can adjust the size of your rolls. For smaller rolls, simply slice the log into 15-18 pieces instead of 12. Keep in mind that smaller rolls will bake faster, so adjust your baking time accordingly (likely 15-18 minutes). For larger, more indulgent rolls, slice into 9-10 pieces and increase baking time by a few minutes, watching for that golden-brown color.
More Irresistible Roll Recipes to Try
If you loved these Oreo Cookies and Cream Cinnamon Rolls, you might enjoy exploring some of our other unique and flavorful roll recipes:
Pistachio Rosewater Cinnamon Rolls
Gingerbread Cinnamon Rolls
Chocolate SunButter Cinnamon Rolls
Recipe Card: Oreo Cookies and Cream Chocolate Cinnamon Rolls
Get the Recipe:
Oreo Cookies and Cream Chocolate Cinnamon Rolls
Pin
Rate
Ingredients
Tangzhong
- 1/4 cup + 2 tsp (70g) Water
- 1/4 cup + 2 tsp (70g) Milk
- 3 tbsp (25g) All Purpose Flour
Dough
- 4 cups + 2 tbsp (495g) All Purpose Flour
- 3 tbsp (38g) White Sugar
- 1 tsp Salt
- 1 tbsp Instant Yeast
- 3/4 cup (180g) Whole Milk
- 2 Large Eggs
- 6 tbsp (85g) Unsalted Butter,, melted
- 1/4 cup (30g) Oreo crumbs
Filling
- 6 tbsp (85g) Unsalted Butter,, softened
- 1/2 cup (110g) Light Brown Sugar
- 1 tbsp Cocoa Powder, (preferably Dutch cocoa)
- 1 tbsp Cinnamon
- 1 cup Crushed Oreos Cookies, (about 10 cookies)
Cream Cheese Frosting
- 1/2 cup (120g) Cream Cheese,, softened
- 1/2 cup (114g) Unsalted Butter,, softened
- 1 cup (120g) Confectioners Sugar
- 1 tsp Vanilla
- 1/4 cup (60g) Heavy Cream or Whole Milk
- 1 tbsp Oreo Crumbs
Equipment
-
Stand mixer
Instructions
Tangzhong
-
Add the flour, water and milk to a small sauce pan. Whisk until smooth, then turn heat to medium. Continue whisking while it heats. Once the tangzhong has thickened (should be thick enough that whisking leaves streaks), remove it from the heat to cool until just warm.
Dough
-
Add the flour, sugar, salt, yeast, milk, eggs, butter and tangzhong to a stand mixer. Knead with hook attachment for 15-20 minutes. Lastly, add in oreo crumbs, then knead until just combined into the dough. The dough should be smooth but will also be very soft and slightly sticky.
-
Place dough in oiled bowl, cover with plastic, and place into a warm place to rise for an hour or until double in size.
-
After the dough is doubled, punch it down, then roll the dough out to be about 12×16”, with the long side facing you. Spread butter across the dough (leave a ½” strip bare along the top).
-
In a bowl, mix together cinnamon, brown sugar, dutch cocoa, and oreo pieces. Sprinkle this overtop of the buttered dough.
-
From the longside (facing you), roll the dough up tightly into a log. Use string, floss or a sharp serrated knife to slice 12 rolls. Place rolls into a 9×12” pan sprayed with cooking spray and lined with parchment, then cover with plastic, and allow to rise for another hour.
-
Preheat oven to 350°F.
-
Remove plastic and place the risen rolls into the oven to bake for 20-22 minutes. Frost the rolls when still warm.
Cream Cheese Frosting
-
Add all of the cream cheese glaze ingredients to a medium mixing bowl and beat together using a hand mixer until smooth. Add to rolls while they’re still very warm, then sprinkle on more crushed oreos.
