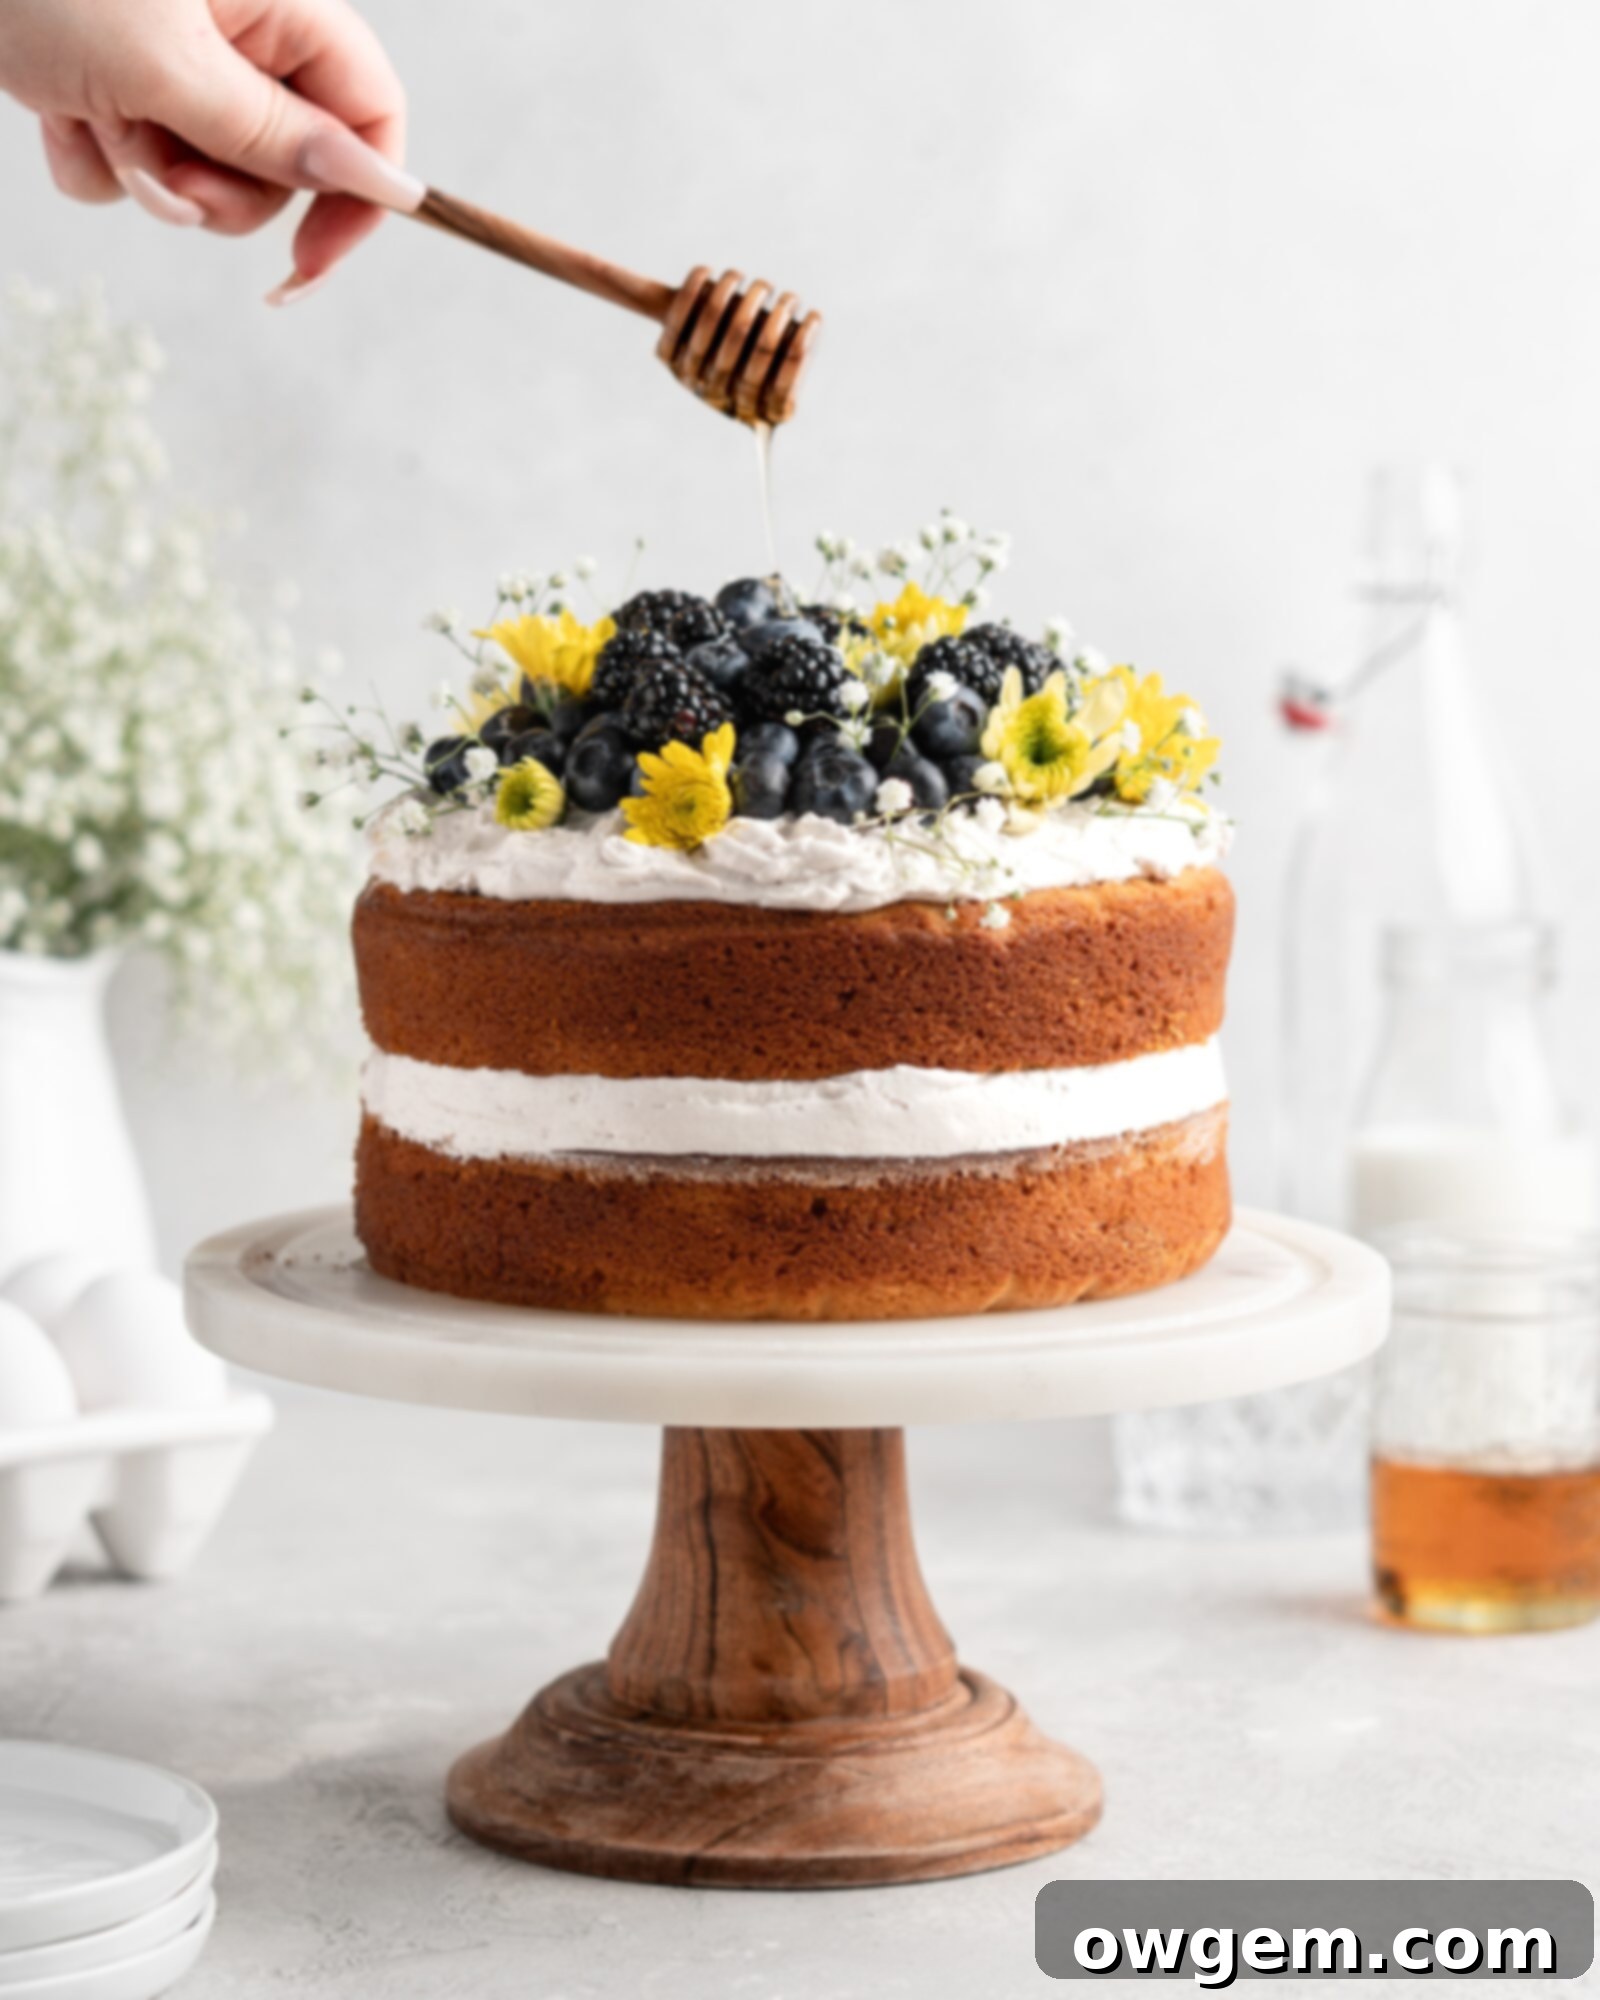
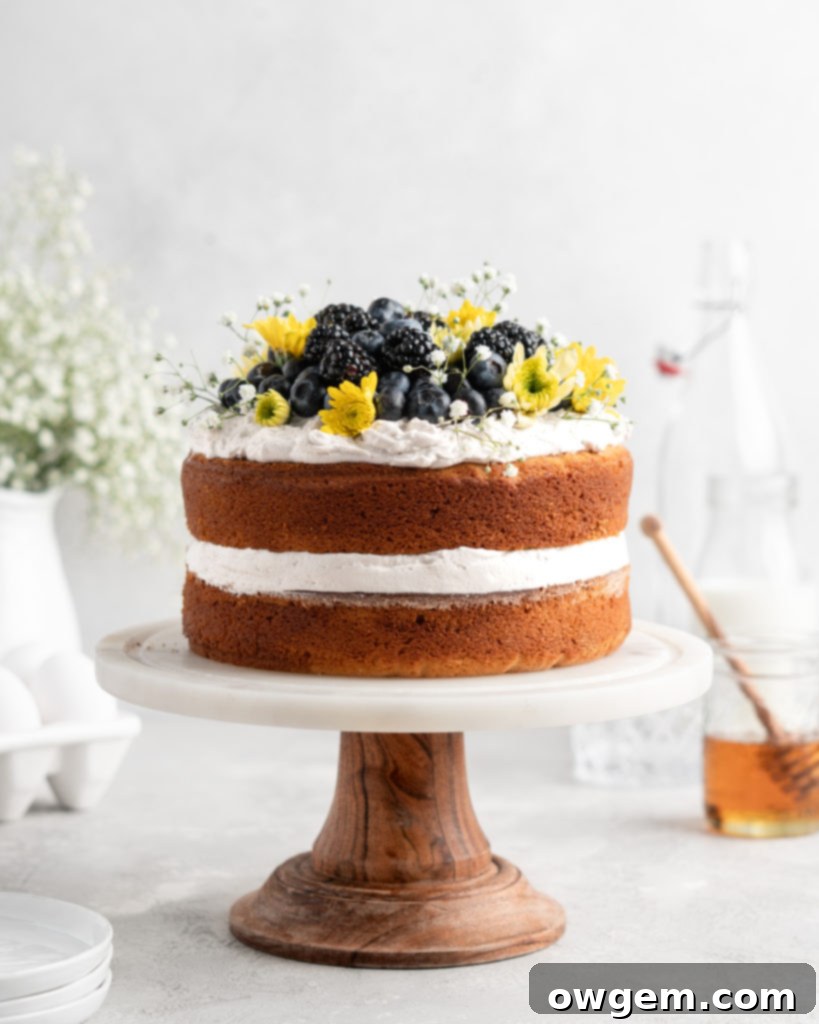
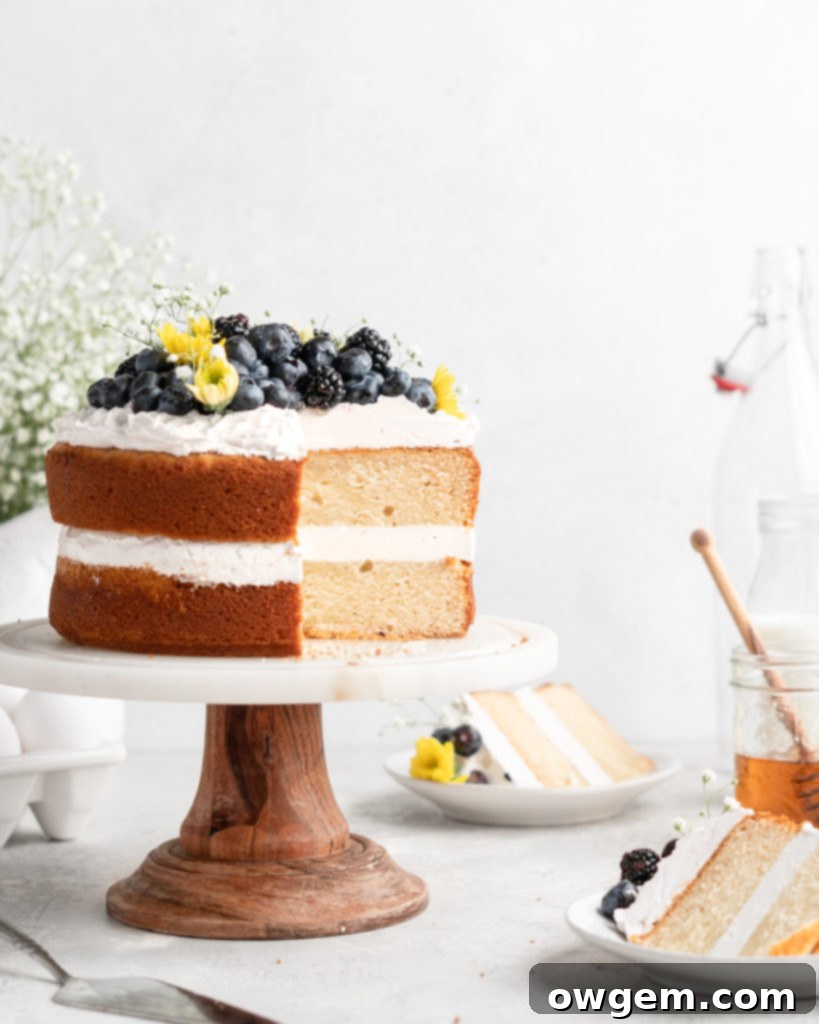
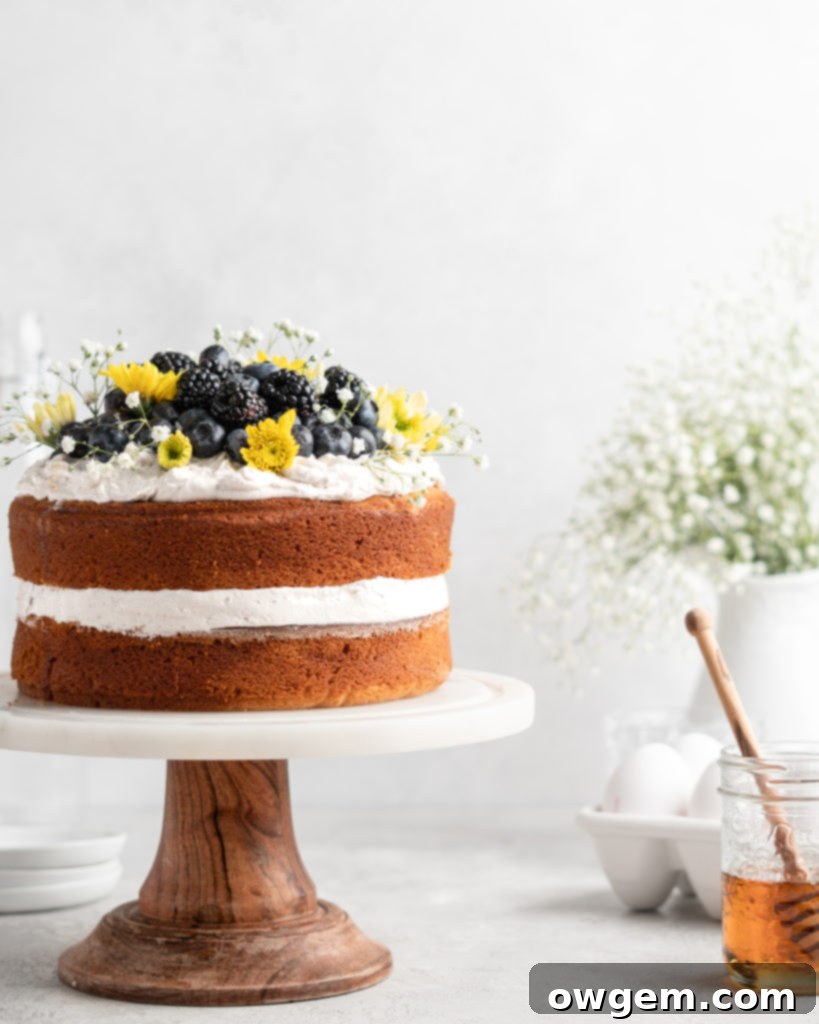
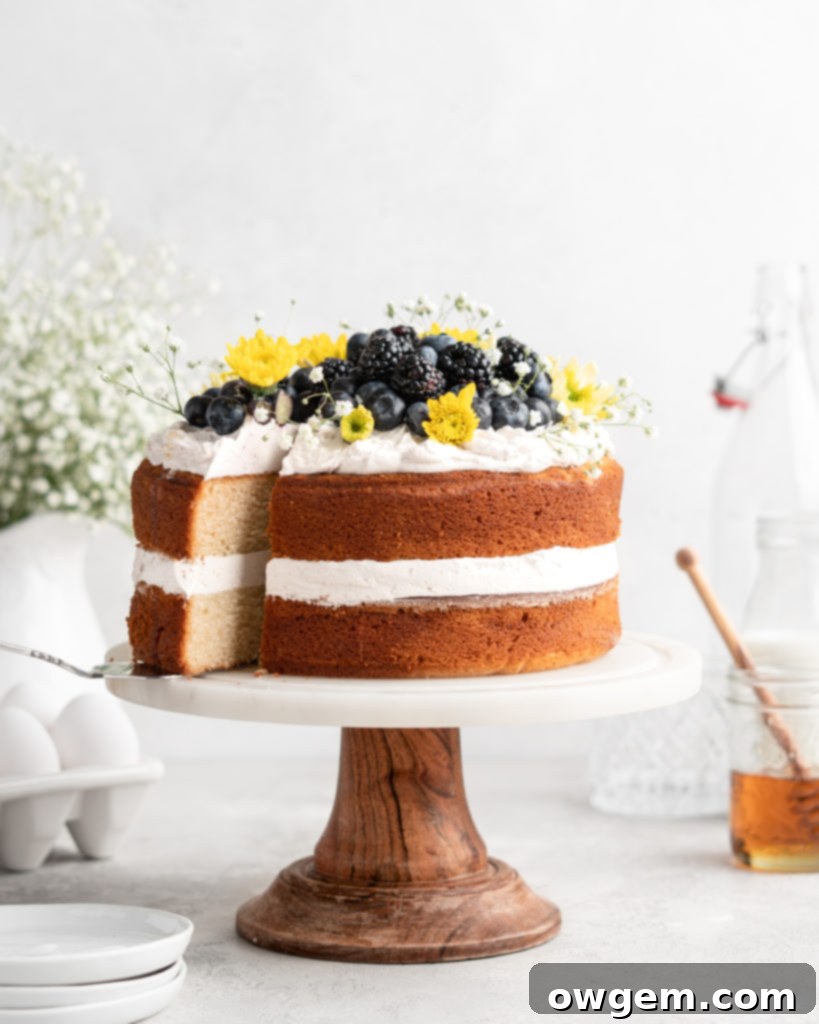
Elegant Honey Chamomile Cake with Silky Swiss Meringue Buttercream: A Unique Floral Dessert
Experience a truly exceptional dessert with this incredibly tender Honey Chamomile Cake. This unique and delectably delicious layer cake stands out with its delicate infusion of chamomile, lending a subtle, sweet, and comforting floral flavor profile that is both intriguing and delightful. Complementing this exquisite cake is a luxurious, creamy, and silky honey Swiss meringue buttercream, applied lightly to allow the cake’s nuanced flavors to truly shine. Perfect for any special occasion or a sophisticated treat, this cake promises a memorable culinary journey.
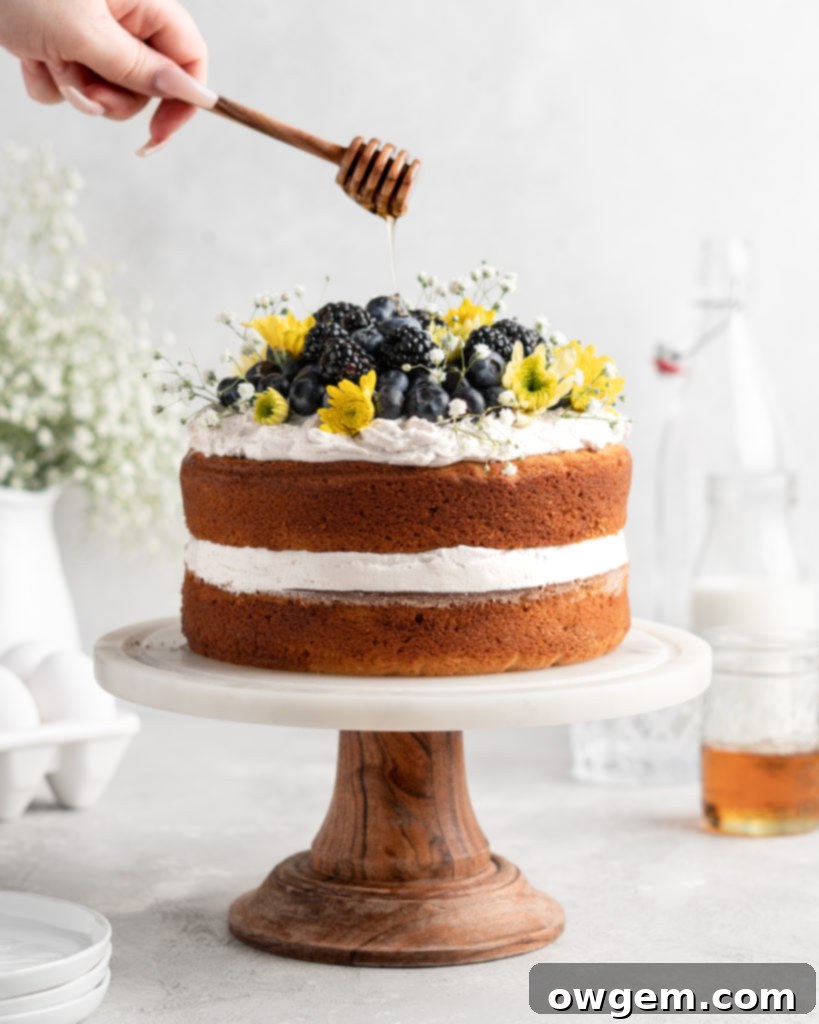
Discovering the Charm of Chamomile in Baking
While chamomile tea is widely recognized for its soothing properties and often enjoyed before bedtime, its application in baking might surprise you. This Honey Chamomile Cake harnesses the gentle, sweet, and subtly earthy notes of chamomile, transforming a classic dessert into something truly extraordinary. The floral essence permeates every bite of the moist cake layers, creating a sophisticated flavor that is both unique and comforting.
What is Chamomile Tea? Its Flavor and Benefits
Chamomile tea is a beloved herbal infusion derived from the beautiful chamomile plant. These delicate plants, often resembling miniature daisies with their white petals and yellow centers, are members of the *Asteraceae* family. Historically, chamomile has been cherished for centuries, not only for its pleasing floral aroma and slightly sweet taste but also for its medicinal properties.
Known primarily for its calming effects, chamomile tea is often recommended as a natural aid for improving sleep quality and reducing anxiety. Its flavor profile is distinctly floral, with hints of apple and a very slight herbaceous earthiness, which makes it a surprisingly versatile ingredient in culinary applications. When incorporated into baked goods, it imparts a wonderfully fragrant and sweet undertone that elevates the entire dish, creating a dessert that feels both indulgent and serene.
The Art of Infusing Milk with Chamomile Tea for Maximum Flavor
The secret to achieving the rich, distinctive flavor in this Honey Chamomile Cake lies in the meticulous infusion of milk with chamomile tea. This crucial first step ensures that the delicate floral notes are deeply embedded into the cake batter, creating a truly aromatic experience. The process is simple but requires a little patience to extract the maximum flavor from the tea.
Begin by gently heating the milk in a small saucepan over medium heat. The goal is to bring the milk to a bare simmer, just until tiny bubbles start forming around the edges. It’s important not to let it come to a rolling boil, as this can scorch the milk and negatively affect the flavor. Once it reaches a simmer, remove the saucepan from the heat immediately. This prevents the tea from stewing or becoming bitter.
Next, add a generous amount of chamomile tea to the hot milk. We recommend using 4 chamomile tea bags or 3 tablespoons of loose-leaf chamomile tea for approximately 2 cups of milk. This might seem like a substantial amount of tea for such a small volume of milk, but this concentration is essential. The robust infusion is necessary to ensure the chamomile flavor is pronounced enough to stand out against the other ingredients in the finished cake, rather than getting lost.
After adding the tea, give it a gentle stir. To prevent a “skin” from forming on the surface of the milk as it cools and to keep the infusion potent, place a piece of plastic wrap directly onto the surface of the milk. Then, transfer the saucepan to the refrigerator to cool down completely and allow the tea to steep and infuse for at least 2 hours. This extended cooling and steeping period allows the volatile aromatic compounds from the chamomile to fully dissolve into the milk, enriching it with its unique essence.
Once the milk has thoroughly cooled and infused, carefully remove the tea bags or strain the loose-leaf tea. Make sure to press gently on the tea bags or leaves to extract any remaining flavorful milk before discarding them. This infused milk is now ready to be incorporated into your cake batter, promising a cake that is beautifully fragrant and uniquely delicious.
How to Bake the Perfect Honey Chamomile Cake Layers
Creating the Honey Chamomile Cake is a joyous process that results in tender, flavorful layers. Follow these steps carefully to ensure a light and aromatic cake.
1. Infuse the milk: As detailed above, gently heat your milk until it just simmers, then remove from heat. Add the chamomile tea bags or loose-leaf tea, cover with plastic wrap directly on the surface, and let it steep in the refrigerator for at least 2 hours. This step is crucial for the cake’s signature flavor. Once infused, remove and discard the tea components.
2. Prepare your wet ingredients: In the bowl of your stand mixer, fitted with the whisk attachment, combine the large eggs, vanilla extract, and granulated sugar. Beat these ingredients together on high speed for approximately 5 minutes. During this time, the mixture will transform into a pale, fluffy, and significantly increased volume—ideally tripled. This aeration is key to a light and tender cake texture, so don’t rush it.
3. Incorporate the oil: Reduce the stand mixer speed to medium-low. Slowly and steadily drizzle the vegetable oil into the egg and sugar mixture while the mixer continues to beat. The oil adds incredible moisture and tenderness to the cake. Once all the oil has been incorporated, increase the speed to high and beat for an additional 30 seconds to ensure everything is well emulsified.
4. Whisk together the dry ingredients: In a separate, large mixing bowl, combine the all-purpose flour, baking powder, and table salt. Whisk them thoroughly to ensure the leavening agent and salt are evenly distributed throughout the flour. This prevents uneven rising or pockets of flavor.
5. Alternate adding dry and wet ingredients: Turn your stand mixer down to the lowest speed. Begin by adding about one-third of the dry ingredient mixture to the wet ingredients in the stand mixer. Beat until just combined; be careful not to overmix, as this can develop gluten and lead to a tough cake. Next, add half of your cooled, chamomile-steeped milk and beat until just incorporated. Continue this alternating process, adding the remaining dry ingredients (in two batches) and the last half of the milk. Always finish with a dry ingredient addition. Mix only until the last streaks of flour disappear. Overmixing at this stage is the enemy of a tender crumb.
6. Pour into pans and bake: Divide the Honey Chamomile Cake batter evenly between two greased and floured 9-inch cake pans (or springform pans with parchment rounds at the bottom for easy release). Place the pans into a preheated oven and bake according to recipe instructions, typically until a toothpick inserted into the center comes out clean. Allow the cakes to cool completely in their pans on a wire rack before attempting to invert them. Once removed from pans, cool completely on a wire rack before leveling, stacking, and frosting. A fully cooled cake is crucial for successful frosting.
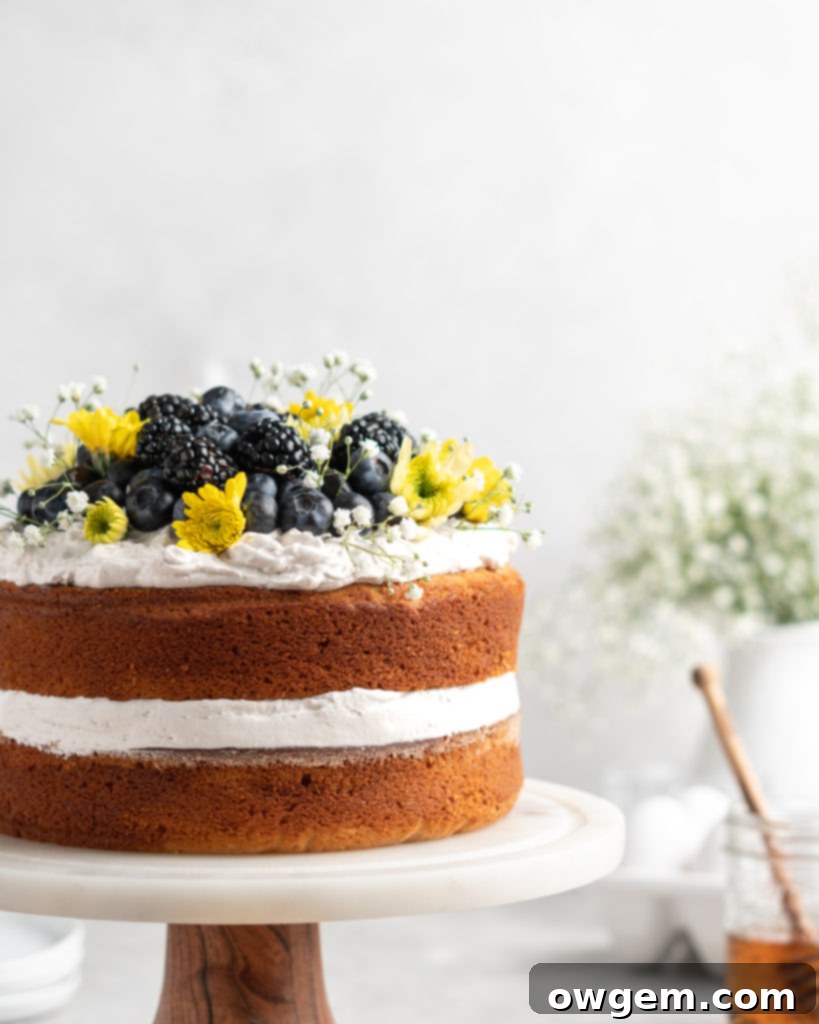
HOW TO MAKE SILKY SMOOTH HONEY SWISS MERINGUE BUTTERCREAM
Swiss Meringue Buttercream (SMB) is renowned among bakers for its incredibly smooth, stable, and less sweet profile compared to traditional American buttercream. While it might appear a little intimidating at first glance due to the cooking of egg whites, it’s actually quite straightforward to master with a little practice. The reward for your efforts is a truly luxurious frosting that complements the Honey Chamomile Cake perfectly, allowing the delicate floral and sweet notes of the cake to shine without being overwhelmed by excessive sweetness. Its delicate sweetness and soo silky, smooth texture make it an irresistible topping.
Crafting the Honey Swiss Meringue Buttercream: Step-by-Step Guide
To create this exquisite buttercream, you’ll need a stand mixer and a heat-proof metal bowl, ideally the bowl of your stand mixer itself.
1. Prepare the Meringue Base: Combine the large egg whites, granulated sugar, and honey in your clean, metal stand mixer bowl. Place this bowl over a saucepan containing 1-2 inches of *simmering* water, creating a double boiler. Ensure the bottom of the metal bowl does not touch the simmering water; the steam is what gently cooks the mixture. Whisk the egg white mixture *constantly* over the heat until it reaches 160°F (70°C) on an instant-read thermometer. This step is crucial for both food safety (pasteurizing the egg whites) and dissolving the sugar completely. Rub a small amount between your fingers; it should feel perfectly smooth, with no grittiness from undissolved sugar.
2. Whip the Meringue: Immediately remove the bowl from the heat and attach it to your stand mixer, fitted with the whisk attachment. Begin whipping the meringue on high speed for approximately 7 minutes. During this time, the mixture will cool down considerably and transform into a glossy, thick, and voluminous meringue that holds stiff peaks. When you lift the whisk, the peaks should stand upright and firm. This thorough whipping ensures a stable buttercream.
3. Incorporate the Butter: Reduce the stand mixer speed to low. Begin adding the room temperature unsalted butter, one tablespoon at a time. It’s important to add the butter slowly, allowing each addition to incorporate partially before adding the next. This methodical approach helps maintain the emulsion. Don’t be alarmed if the mixture starts to look curdled, soupy, or completely separated after adding a few tablespoons of butter—this is a normal stage in SMB making. Just keep beating!
4. Achieve Smooth Buttercream: After all the butter has been added, increase the stand mixer speed back to high. Continue beating for several more minutes. Magically, the “soupy” or “curdled” mixture will come together, transforming into a perfectly smooth, creamy, and luscious Swiss meringue buttercream. The emulsion will re-establish itself. Be patient; this can take 5-10 minutes. Once it’s smooth, add the vanilla extract and a pinch of salt. Beat for another 30 seconds to combine fully. Your luxurious honey Swiss meringue buttercream is now ready to frost your beautiful Honey Chamomile Cake!
Tips for Baking a Perfect Honey Chamomile Cake
Achieving a bakery-quality cake at home is entirely possible with a few key considerations. Here are some essential tips to ensure your Honey Chamomile Cake turns out perfectly every time:
- Room Temperature Ingredients: Always ensure your eggs, milk, and butter (for the buttercream) are at room temperature. This allows them to emulsify properly, creating a smoother, more uniform batter and a lighter cake.
- Accurate Flour Measurement: The “spoon and level” method for flour is crucial. Spoon the flour into your measuring cup, then level off with a straight edge. Do not scoop directly from the bag or pack it, as this can add too much flour, resulting in a dry cake. Better yet, use a kitchen scale for precise measurements (1 cup all-purpose flour = 120g).
- Do Not Overmix: After adding the dry ingredients, mix only until just combined. Overmixing develops gluten, leading to a tough, chewy cake. A few small streaks of flour are preferable to an overmixed batter.
- Patience with Buttercream: As noted, Swiss Meringue Buttercream can look “broken” or “curdled” during the butter addition phase. Resist the urge to stop or add more ingredients. Keep beating on high speed, and it will magically come together into a smooth, luxurious frosting.
- Cool Completely: Ensure your cake layers are completely cooled before frosting. Attempting to frost warm cakes will melt your beautiful buttercream, leading to a messy and disappointing result.
- Oven Temperature: Invest in an oven thermometer to ensure your oven is consistently at the correct temperature. Ovens can often be off by 25-50 degrees, which significantly impacts baking time and cake texture.
Serving and Storage Suggestions
This Honey Chamomile Cake is a true showstopper. Serve it as the centerpiece of a brunch, a sophisticated dessert for a dinner party, or simply as a special treat with your afternoon tea. The subtle floral notes pair wonderfully with a light cup of tea or even a delicate sparkling wine.
To store, cover any leftover cake loosely with plastic wrap or place it in an airtight cake container. It will keep at room temperature for up to 2 days, or in the refrigerator for up to 5 days. For longer storage, slices can be individually wrapped and frozen for up to a month, then thawed overnight in the refrigerator.
Get the Recipe:
Honey Chamomile Cake
Pin
Rate
Ingredients
Honey Chamomile Cake
- 2 cups Whole Milk
- 4 Chamomile Tea Bags, (or 3 tbsp loose leaf tea)
- 5 cups (600g) All Purpose Flour,, measured correctly †
- 3 tsp Baking Powder
- 1 tsp Table Salt
- 3 cup White Sugar or Coconut Sugar for refined sugar free
- 6 Large Eggs
- 2 tsp Vanilla Extract
- 1 ½ cup Vegetable Oil
Swiss Meringue Buttercream
- 4 Large Egg Whites
- 3/4 cup + 1 tbsp White Sugar
- 1/2 cup Honey
- 2 cups Unsalted Butter,, at room temperature (or very slightly colder)
- 1 ½ tsp Vanilla
- Pinch of Salt
Equipment
-
Stand mixer
Instructions
Making the Honey Chamomile Cake Layers
-
Add milk to a small saucepan over medium heat. Bring the milk to a simmer then immediately remove from heat. Place the tea bags into the milk and gently stir. Place a piece of plastic over the surface of the milk and place into the fridge to cool and steep for about 2 hours.
-
Preheat oven to 350°F, and prepare two 9” springform cake pans with oil and parchment rounds. In a large sized mixing bowl, add the flour, baking powder, and salt, then whisk together to combine.
-
In a stand mixer fitted with the paddle attachment, add eggs, sugar, and vanilla. Beat on high for around 5 minutes, the mixture should look thick, fluffy, and be tripled in volume. Scrape down the sides of the bowl and then slowly drizzle in the oil while on medium-low speed. After all the oil has been added, beat on high for an additional minute.
-
On low, add the dry mixture to the stand mixer, mixing until just combined. Add in the tea-infused milk and mix only until the batter becomes smooth. Add the batter evenly to the cake pans, then bake in the oven for around 45-50 minutes, or until a toothpick comes out clean. Allow to cool completely before stacking and frosting.
Making the Swiss Meringue Buttercream
-
Place egg whites, sugar, and honey, into a metal bowl and place over top of a pot of simmering water (ensuring the water is not touching the metal bowl). Whisk the mixture constantly until it reaches 165°F or 70°C. Remove from heat immediately and place into the stand mixer.
-
Using the whip attachment, turn the stand mixer onto high and beat the meringue for about 7 minutes. The meringue should have stiff peaks.
-
Turn the stand mixer to low and add in the butter 2 tbsp at a time, allowing each addition to incorporate a bit before the next. When all the butter has been added turn the stand mixer back onto high and beat until the buttercream looks smooth. (It may look curdled and soupy at one point, but just keep beating).
-
Add vanilla and salt to the buttercream and beat to combine.
Frosting & Finishing the Cake
-
Level off each of the cake layers to remove any doming from the cakes.
-
Place one cake layer onto your serving plate or onto a cardboard cake circle. Spread an even layer of buttercream, about 1″ to 1 ½” thick, across the top of the layer.
-
Add the second layer on top, then repeat step 2. Decorate the top with anything you’d like!
