Classic French Canadian Sugar Pie (Tarte au Sucre): The Ultimate Guide to a Flaky Crust and Creamy Filling
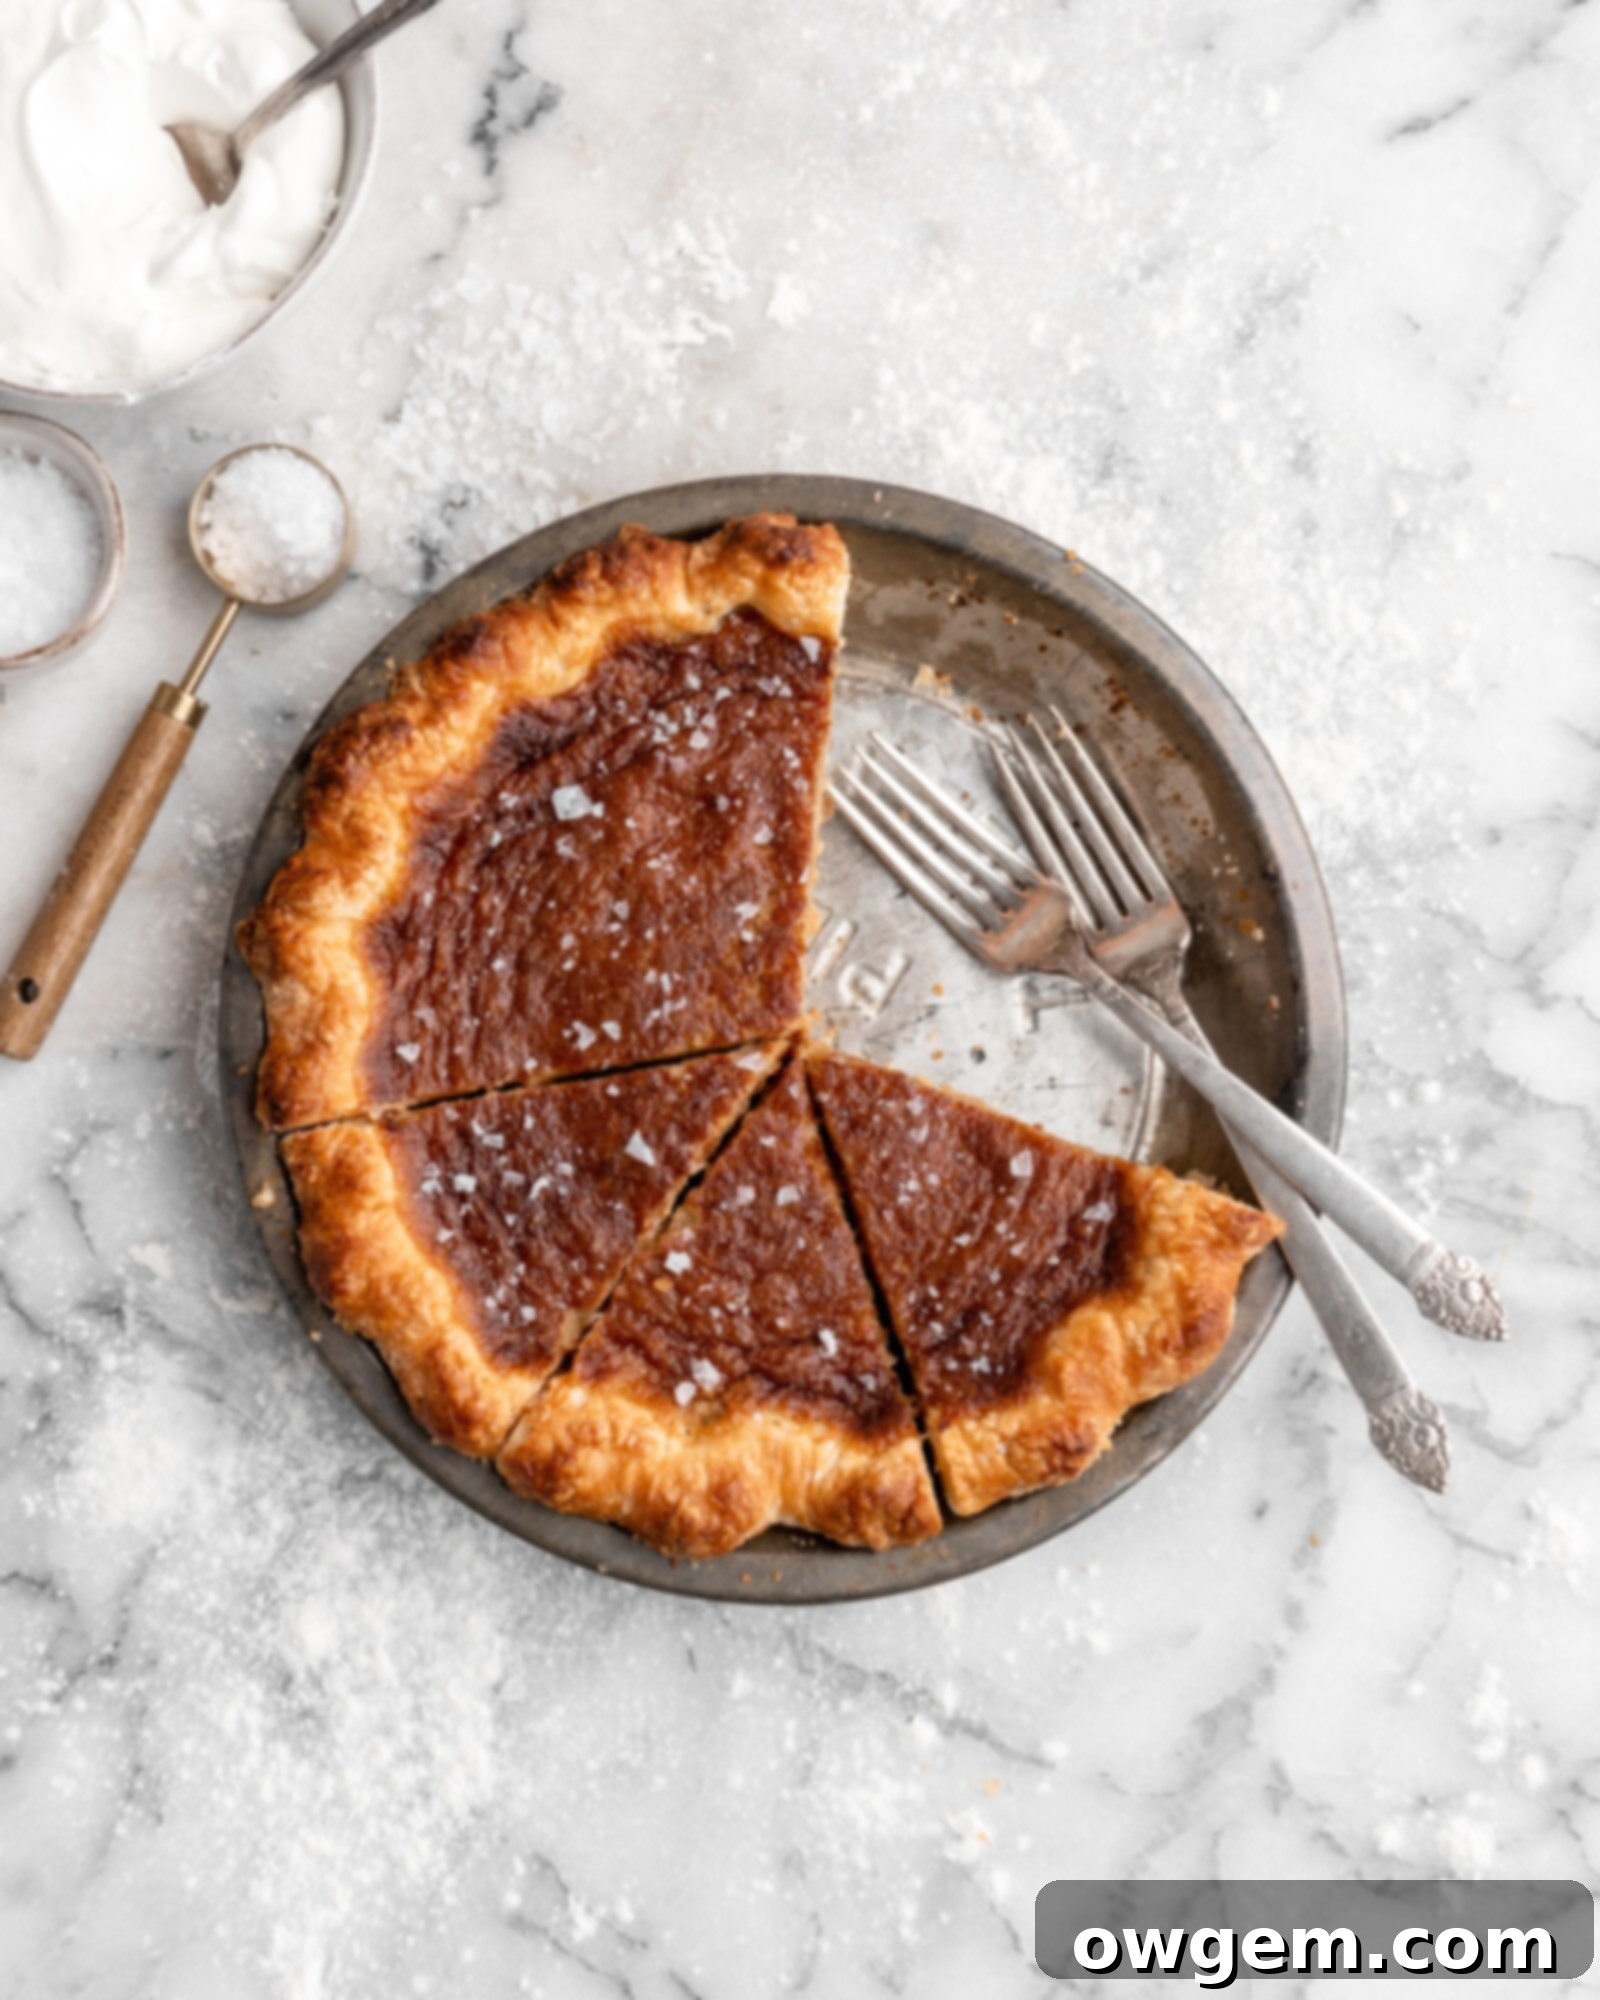
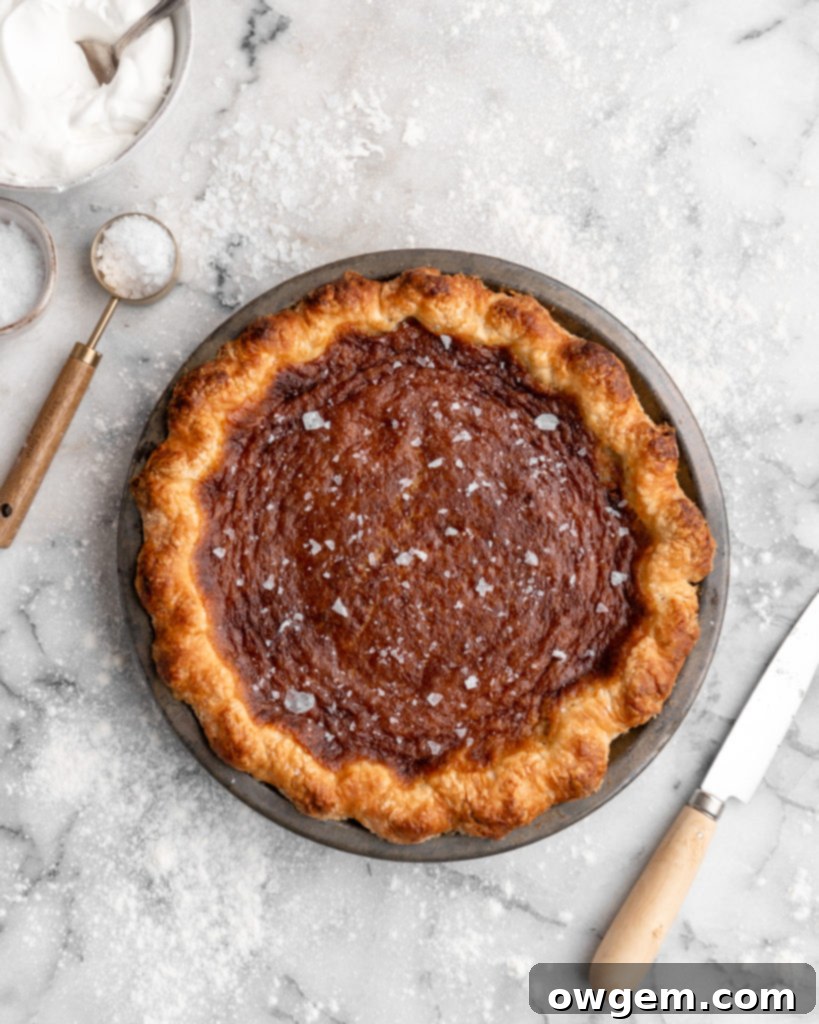
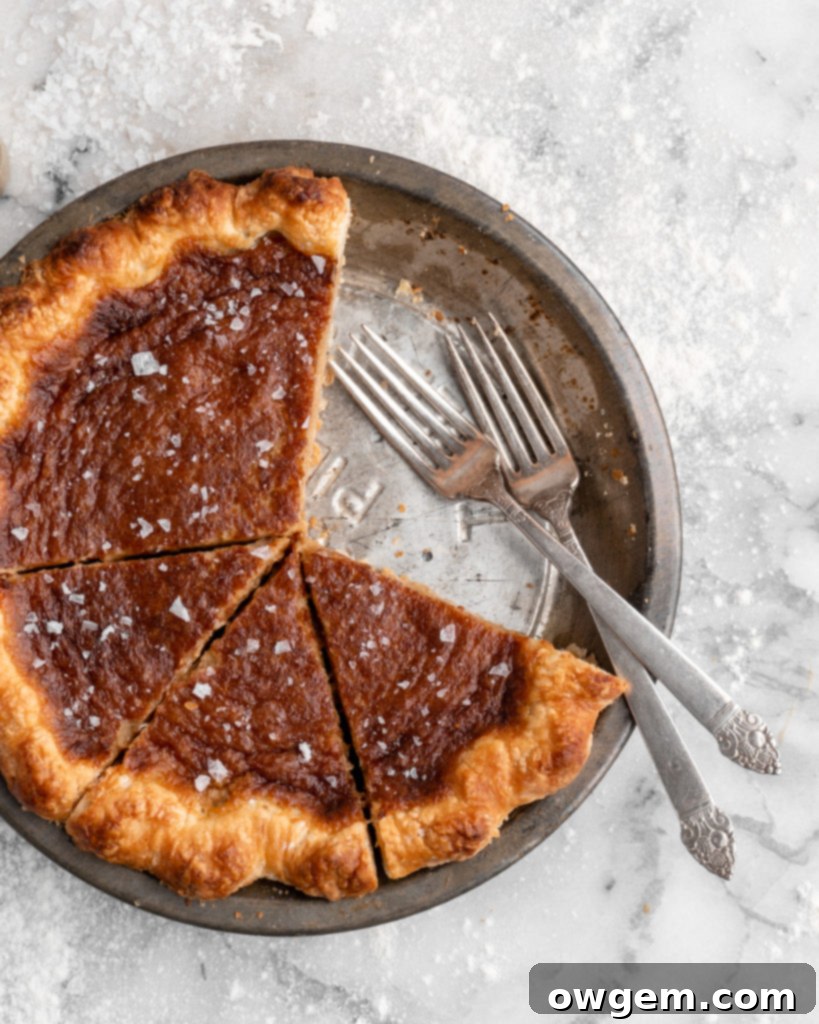
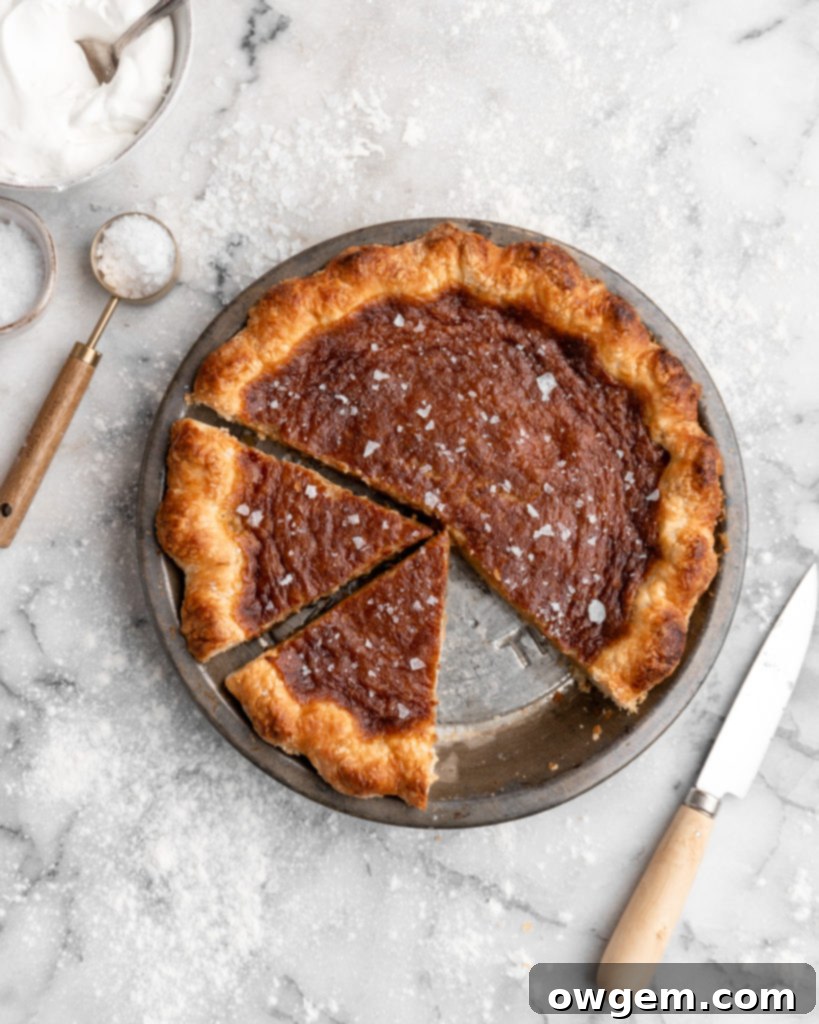
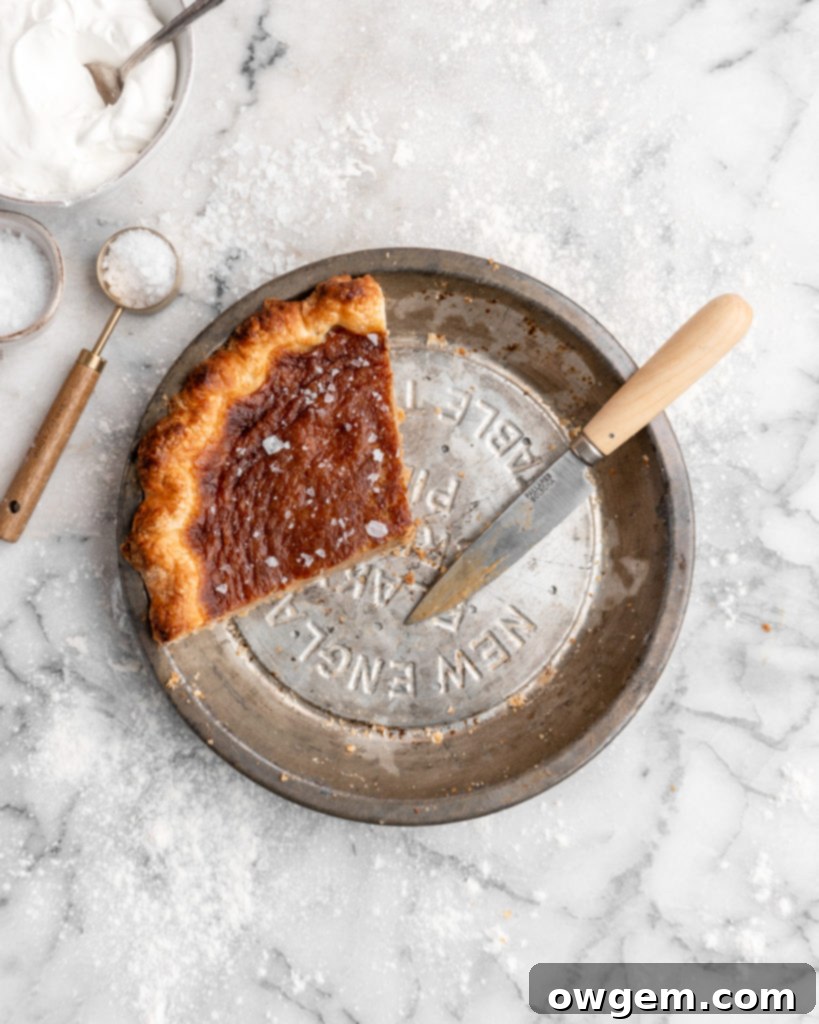
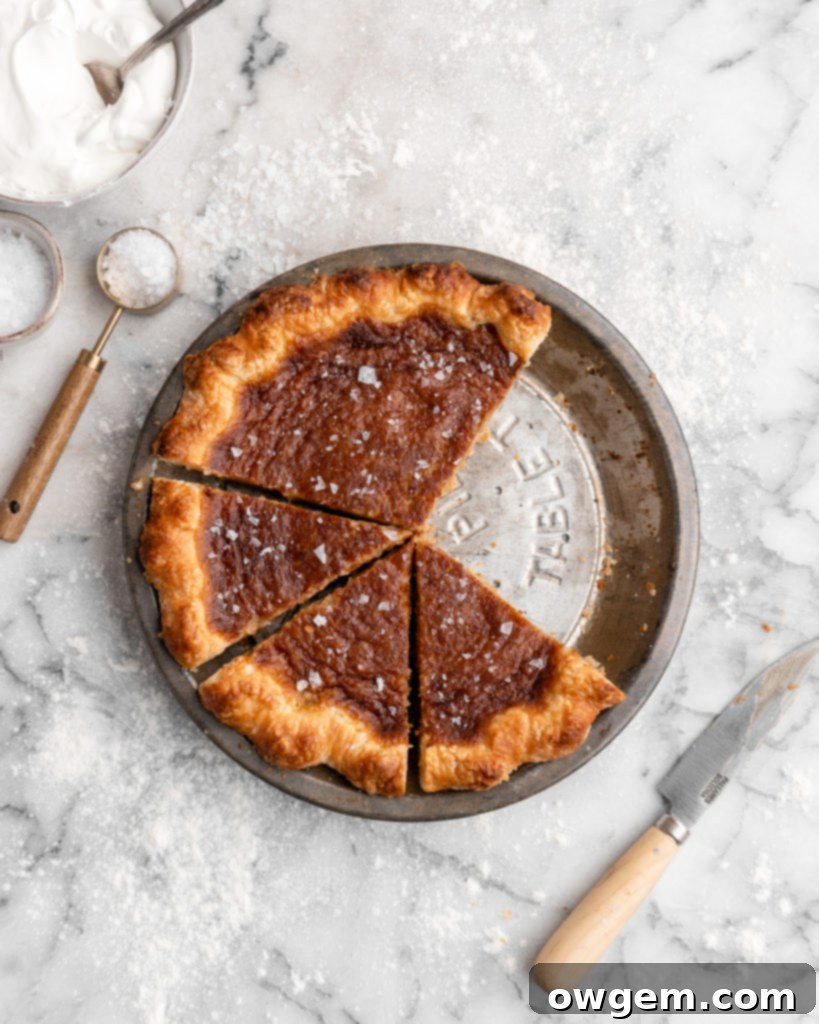
Indulge in a truly iconic Canadian dessert with this French Canadian Sugar Pie, known affectionately as Tarte au Sucre. This deeply sweet, incredibly creamy, and exceptionally delicious pie is a culinary masterpiece cherished across Canada, especially in Quebec. Our recipe elevates this classic with a buttery, ultra-flaky crust – thanks to a unique secret ingredient in the dough – and a decadently smooth filling that comes together with minimal effort. This guide will walk you through crafting a sugar pie that boasts layers of flavor and texture, reminiscent of a rich caramel crème brûlée. Whether enjoyed plain, with a dollop of whipped cream, a scoop of vanilla ice cream, or a delicate sprinkle of flaky sea salt, this pie is guaranteed to become a household favorite for any occasion.
What is French Canadian Sugar Pie (Tarte au Sucre)?
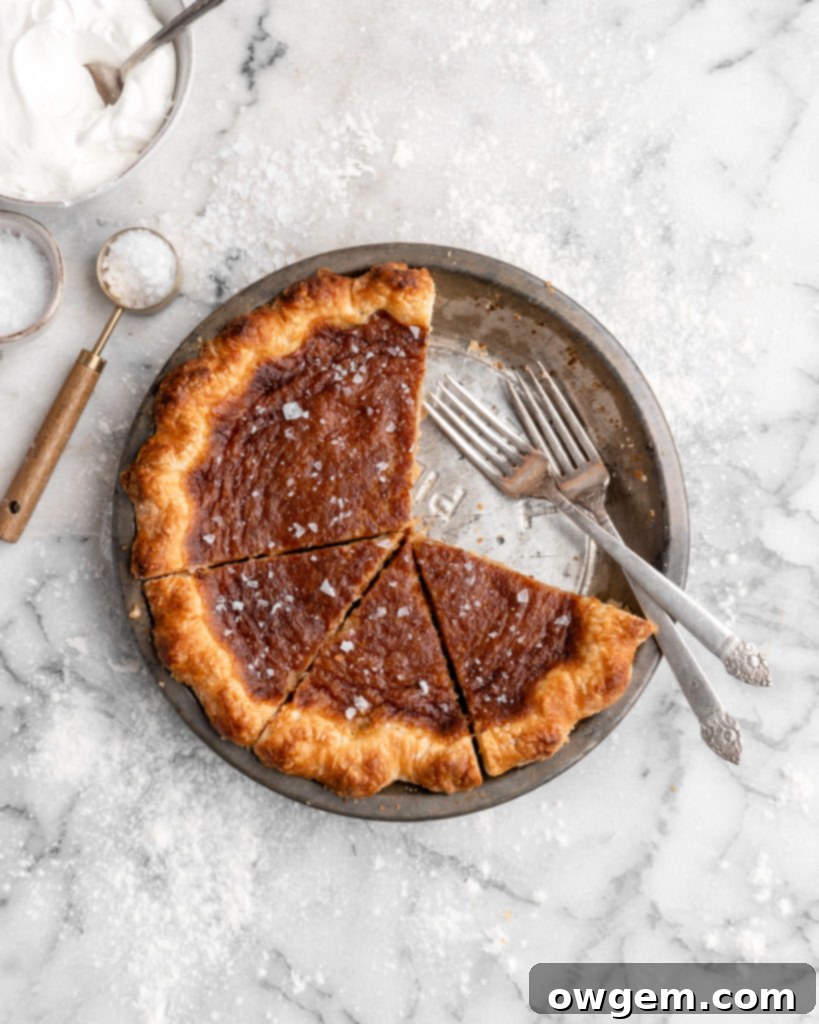
French Canadian Sugar Pie, or Tarte au Sucre as it is called in French, is a beloved dessert with deep historical roots. Its origins trace back to France, presumably arriving in Quebec with early colonists and subsequently spreading its sweet influence across the rest of Canada. This culinary gem became a staple, particularly during colder months and festive seasons, embodying comfort and indulgence. While variations of sugar pies can be found in other Western European countries and across the American Midwest, the French Canadian version holds a special place, often characterized by its simplicity and richness.
Traditionally, the filling for this delectable pie is crafted from a modest yet powerful combination of basic ingredients: eggs, cream, sugar, butter, flour, and vanilla. These foundational components transform into a filling with a flavor profile and texture that, in my opinion, strikingly resembles a luxurious, caramelly crème brûlée. It offers a beautiful balance of profound sweetness and a velvety smooth consistency. My rendition of this classic elevates these characteristics by incorporating brown sugar for a deeper, more nuanced caramel note and evaporated milk, which contributes an unparalleled richness and a wonderfully creamy mouthfeel, taking this pie to an even more decadent level.
Essential Ingredients for the Perfect Sugar Pie Filling
The magic of French Canadian Sugar Pie lies in its deceptively simple filling, which transforms humble pantry staples into a rich, creamy custard. Each ingredient plays a crucial role in achieving the signature texture and profound sweetness that defines this Canadian classic. Here’s a closer look at the key components:
- Flour & Corn Starch: These two classic thickening agents are indispensable for ensuring the sugar pie filling sets perfectly and holds its shape beautifully once cooled. Flour provides structure and body, contributing to a smooth, cohesive filling. Corn starch, on the other hand, is a powerful stabilizer that helps create that desirable glossy, velvety texture without making the filling dense. Together, they prevent the pie from becoming watery and ensure every slice is firm yet tender.
- Brown Sugar: This is the star sweetener and the primary flavor driver of our French Canadian Sugar Pie. Unlike white sugar, brown sugar contains molasses, which imparts a deeper, more complex caramel-like flavor, a richer color, and a slight moisture that enhances the filling’s texture. While traditional recipes might use white sugar or even maple syrup, brown sugar provides an incredible depth of flavor that truly sets this version apart. You could experiment with a blend of sweeteners, but brown sugar is key for that signature rich profile.
- Egg: The whole egg serves a vital dual purpose in the sugar pie filling: it acts as a powerful binder, holding all the ingredients together, and is the primary setting agent. As the pie bakes, the egg proteins coagulate, transforming the liquid mixture into a firm, custard-like consistency. This is what gives the sugar pie its characteristic smooth and sliceable texture, similar to a classic custard pie.
- Butter: Beyond adding a luxurious tenderness to the filling, butter is a fantastic flavor enhancer. Fats are often referred to as ‘flavor transporters’ because they dissolve and distribute flavor compounds more effectively, allowing the other exquisite tastes in the pie to shine through. The butter contributes to the overall richness, creating a melt-in-your-mouth experience and a subtly decadent undertone that complements the sweet caramel notes.
- Evaporated Milk: This is the main liquid component in our sugar pie filling and forms the bulk of its creamy volume. Evaporated milk is essentially cow’s milk from which about 60% of the water has been removed through a heating process. This concentration gives it a richer, slightly caramelized flavor and a thicker consistency than regular milk. Its high milk solids and fat content contribute immensely to the filling’s extraordinary creaminess and depth, making it incredibly luscious. Heavy cream can be substituted, but evaporated milk offers a unique, richer profile due to its condensed nature.
Crafting the Perfect Flaky Pie Crust for Your Sugar Pie
A truly perfect French Canadian Sugar Pie isn’t just about the exquisite filling; it demands an equally perfect pie crust. The ideal crust should be an experience in itself – utterly flaky, remarkably tender, richly buttery, and delicately sweet, providing the perfect counterpoint to the creamy filling. Achieving this level of perfection requires not only the right ingredients but also adherence to precise techniques. Let’s dive into the science and art behind creating a pie dough that will elevate your Tarte au Sucre to legendary status.
The Essential Ingredients for a Flaky Pie Crust
To construct the ultimate pie dough, two ingredients are absolutely non-negotiable and must be kept intensely cold: **cold butter** and **cold water**. The reason for this strict temperature requirement is purely scientific and fundamental to achieving that coveted flaky texture. When cold butter, distributed in small pieces throughout the dough, encounters the high heat of the oven, the tiny pockets of water within it rapidly turn into steam. This steam dramatically puffs up the layers of dough, creating those distinctive, airy pockets that are the hallmark of a flaky crust. If the butter melts before baking, these layers collapse, resulting in a dense, tough crust. Similarly, cold water is essential because it prevents the butter from warming up during the mixing process, thus preserving its crucial role in creating flakiness.
Now for the secret ingredient that takes this pie crust from great to extraordinary: **vodka**. Yes, you heard that right – vodka! Replacing a portion of the water with vodka offers a significant advantage in inhibiting gluten formation. Gluten, when overdeveloped, can make a pie crust tough and chewy, which is the antithesis of a tender, flaky crust. Water activates gluten in flour, creating elastic strands. Vodka, typically composed of 60% water and 40% ethanol, reduces the overall water content available for gluten activation. The alcohol in vodka evaporates much faster than water during baking, contributing to an even crispier, flakier texture without imparting any discernible flavor, as the alcohol cooks off completely. However, caution is advised: adding too much vodka can affect the dough’s workability and potentially leave a slight flavor. Therefore, I’ve found that a 50% water and 50% vodka mix provides the perfect balance for optimal flakiness and tender results without compromising taste.
Mastering the Technique for a Flawless Pie Dough
The golden rule for achieving a perfect pie dough is to **handle it as little as possible**. Overhandling the dough generates friction and warmth, which can cause the cold butter to melt prematurely. When butter melts into the flour before baking, it loses its ability to create those essential steam pockets, resulting in a dense, greasy, and tough crust instead of a light and flaky one. Similarly, excessive kneading develops the gluten too much, leading to an overly elastic and ultimately tough dough. Your goal is to work the dough just enough for it to come together into a “shaggy” consistency, where it’s cohesive but still looks a bit rough and uneven.
Once the shaggy dough forms, gently press it into a disc shape. Avoid over-kneading at this stage. Immediately wrap the disc tightly in plastic wrap and place it into the refrigerator for at least an hour. This crucial chilling period serves two purposes: it allows the gluten to relax, preventing the dough from becoming elastic and difficult to roll, and it re-solidifies the butter, ensuring it remains cold and distinct within the dough until baking. A well-chilled dough is much easier to handle and will yield a superior crust.
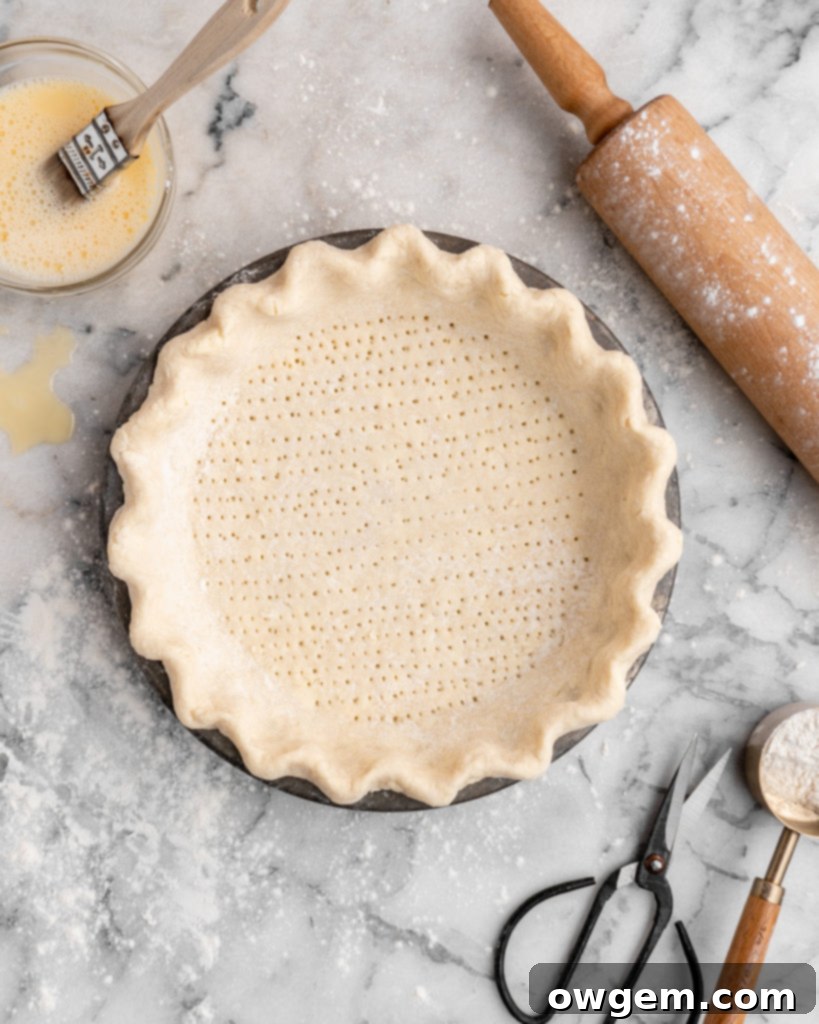
After an hour of chilling, remove the dough from the fridge and let it sit on your counter for about 3-4 minutes to soften ever so slightly, making it more pliable for rolling. Lightly flour your work surface and rolling pin, then begin to roll out the dough. Aim for a relatively even circle, approximately 1/4 inch thick and large enough to fit your 9-inch pie plate with some overhang. To prevent sticking and ensure even rolling, turn the dough frequently (about a quarter turn after every few rolls) and re-flour as needed. The easiest way to transfer the rolled-out dough to the pie plate is to gently roll it back onto your rolling pin, then unroll it smoothly over the plate. Carefully ease the dough into the contours of the plate without stretching it, as stretching can cause it to shrink during baking. Trim any excess dough from the edges, leaving about a 1-inch overhang, and then crimp the edges decoratively if desired.
Finally, place the prepared pie plate, with the crust nestled inside, back into the freezer for at least 30 minutes. This final chill is vital. It ensures the butter is rock-hard and the gluten is completely relaxed, which helps the crust maintain its shape, prevents shrinking, and contributes to maximum flakiness when it hits the hot oven. This meticulous preparation of the crust is your foundation for an unforgettable French Canadian Sugar Pie.
Serving Suggestions & Storage for Your Sugar Pie
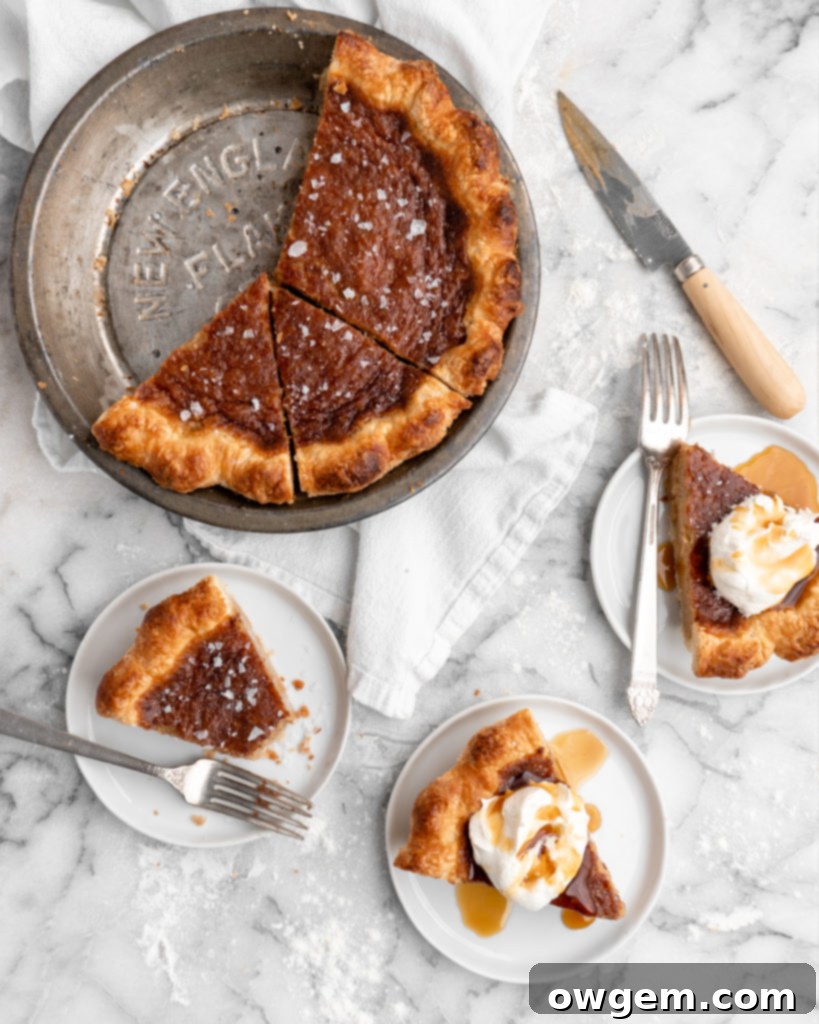
Once your French Canadian Sugar Pie has cooled and fully set, it’s ready to be savored! The rich, creamy filling and flaky crust are a match made in heaven, but a few accompaniments can elevate the experience even further. Serve your Sugar Pie chilled or at room temperature. A generous dollop of freshly whipped cream provides a light, airy contrast to the pie’s density and richness. For an extra layer of decadence, a scoop of vanilla bean ice cream melting gently over a warm slice of pie is simply divine. The cold, creamy ice cream and warm, sweet pie create a delightful interplay of temperatures and textures. A sprinkle of flaky sea salt is another fantastic addition, as its subtle salinity beautifully cuts through the sweetness, highlighting the caramel notes in the filling. Consider a dusting of cinnamon or nutmeg for a hint of spice, especially during fall and winter months. This pie pairs wonderfully with a strong cup of coffee or a comforting mug of tea.
To store your homemade French Canadian Sugar Pie, cover it loosely with plastic wrap or aluminum foil and refrigerate it. It will keep well in the refrigerator for up to 3-4 days. While it’s best enjoyed fresh, the pie can also be frozen for longer storage. To freeze, wrap the cooled pie (either whole or in individual slices) tightly in plastic wrap, then again in aluminum foil, and place it in an airtight freezer-safe container. It can be stored in the freezer for up to 2-3 months. Thaw frozen pie overnight in the refrigerator before serving. For best results, allow slices to come to room temperature or gently warm them in the oven before serving.
Troubleshooting: Common Pie Baking Dilemmas
Even experienced bakers can encounter challenges. Here are a few common issues and how to address them:
- Soggy Bottom Crust: This is often a result of insufficient chilling of the crust or a filling that is too hot when poured. Ensure your pie crust is thoroughly chilled (even frozen for 30 minutes) before adding the filling. Baking the pie on a preheated baking sheet can also help to cook the bottom crust quickly.
- Cracked Filling: A cracked filling usually indicates overbaking. Keep a close eye on your pie during the last stages of baking. The filling should still have a slight jiggle in the center when you remove it from the oven, as it will continue to set as it cools.
- Tough Crust: As discussed, a tough crust is typically caused by overworking the dough, which develops too much gluten, or by using butter that wasn’t cold enough, leading to a dense texture. Remember to handle the dough minimally and keep all ingredients, especially butter and water/vodka, very cold.
- Filling Not Setting: If your filling remains too liquid, it might be underbaked, or your thickening agents (flour and corn starch) might not have been incorporated properly or measured inaccurately. Ensure your oven temperature is accurate and that the pie bakes for the recommended time, checking for that slight jiggle.

Get the Recipe:
French Canadian Sugar Pie (Tart au Sucre)
Pin
Rate
Ingredients
Pie Crust
- 1 ½ cups (180g) All Purpose Flour,,
measured correctly†
- 3 tbsp White Sugar
- Pinch of Salt
- 3/4 cup Cold Unsalted Butter,, cubed
- 3 tbsp Cold Water,, plus more if needed
- 3 tbsp Cold Vodka
Sugar Pie Filling
- 3 Large Eggs
- 2 tbsp Corn Starch
- 2 tbsp All Purpose Flour
- 2 tbsp Unsalted Butter,, softened
- 2 cups Brown Sugar
- 1 can (12 fl oz or 354mL) Evaporated Milk
- Pinch of Salt
Instructions
Pie Crust
-
Mix together vodka and water into a small measuring cup, then set aside. In a large mixing bowl, add flour, sugar, and salt. Whisk to combine. Add in cold butter cubes, and work the butter into flour with your hands or a pastry cutter. Work the butter until it is crumbly and about the size of peas.
-
Slowly drizzle in vodka-water while simultaneously tossing with a fork to combine. After all the vodka-water has been added, knead the dough a few times inside the bowl until a shaggy dough forms. If the dough doesn’t come together, slowly add more water until a shaggy dough forms.
-
Form dough, as best as you can, into a disk shape, then place into a freezer bag, then into the fridge for an hour to chill.
-
Remove dough from fridge and place onto counter for 5 minute to warm-up a bit. Remove the dough from the freezer bag and place onto a well-floured work surface.
-
Roll dough out to be about 1/4” thick, and about 10-11” in diameter.
-
Place rolled out dough into a 9” pie plate, then trim the edges (and crimp them if you’d like). Place the prepared pie plate back into the freezer for 30 minutes.
Filling & Baking the Sugar Pie
-
Preheat oven to 350°F. In a large mixing bowl, whisk together the eggs, flour, and corn starch. Once smooth, add the softened butter and whisk together until the butter is well-dispersed (a few butter chunks here and there is fine). Add the brown sugar, evaporated milk, and salt to the bowl and whisk until well-combined.
-
Remove the prepared pie plate from the freezer and pour the filling into the prepared pie plate.
-
Place the pie on top of a baking sheet and then place into the oven for 35-45 minutes. When done, the filling should still be a little jiggly (it’ll set after you pull it out). Allow the pie to cool at room temperature for an hour and then place into the fridge for at least 4 hours to cool.
-
Serve cold with whipped cream, ice cream, or a sprinkling of flaky salt.
