Mastering Macarons: Your Ultimate Guide to Perfect French Cookies Every Time
Note: This post contains affiliate links.
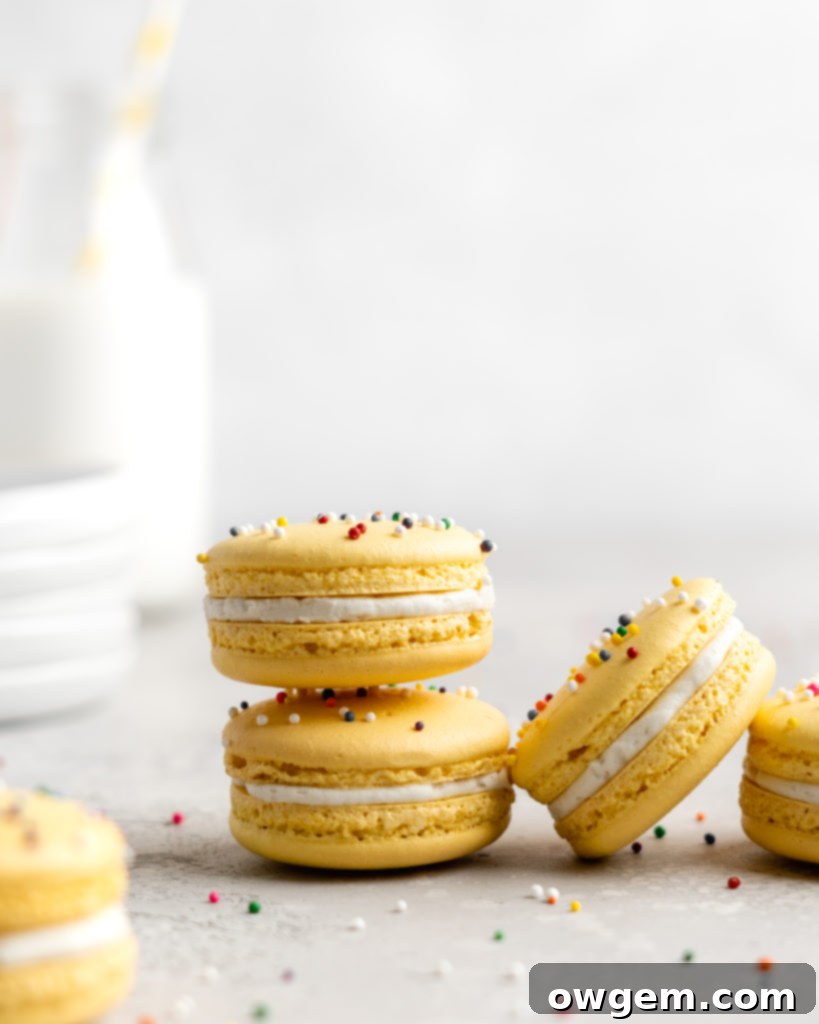
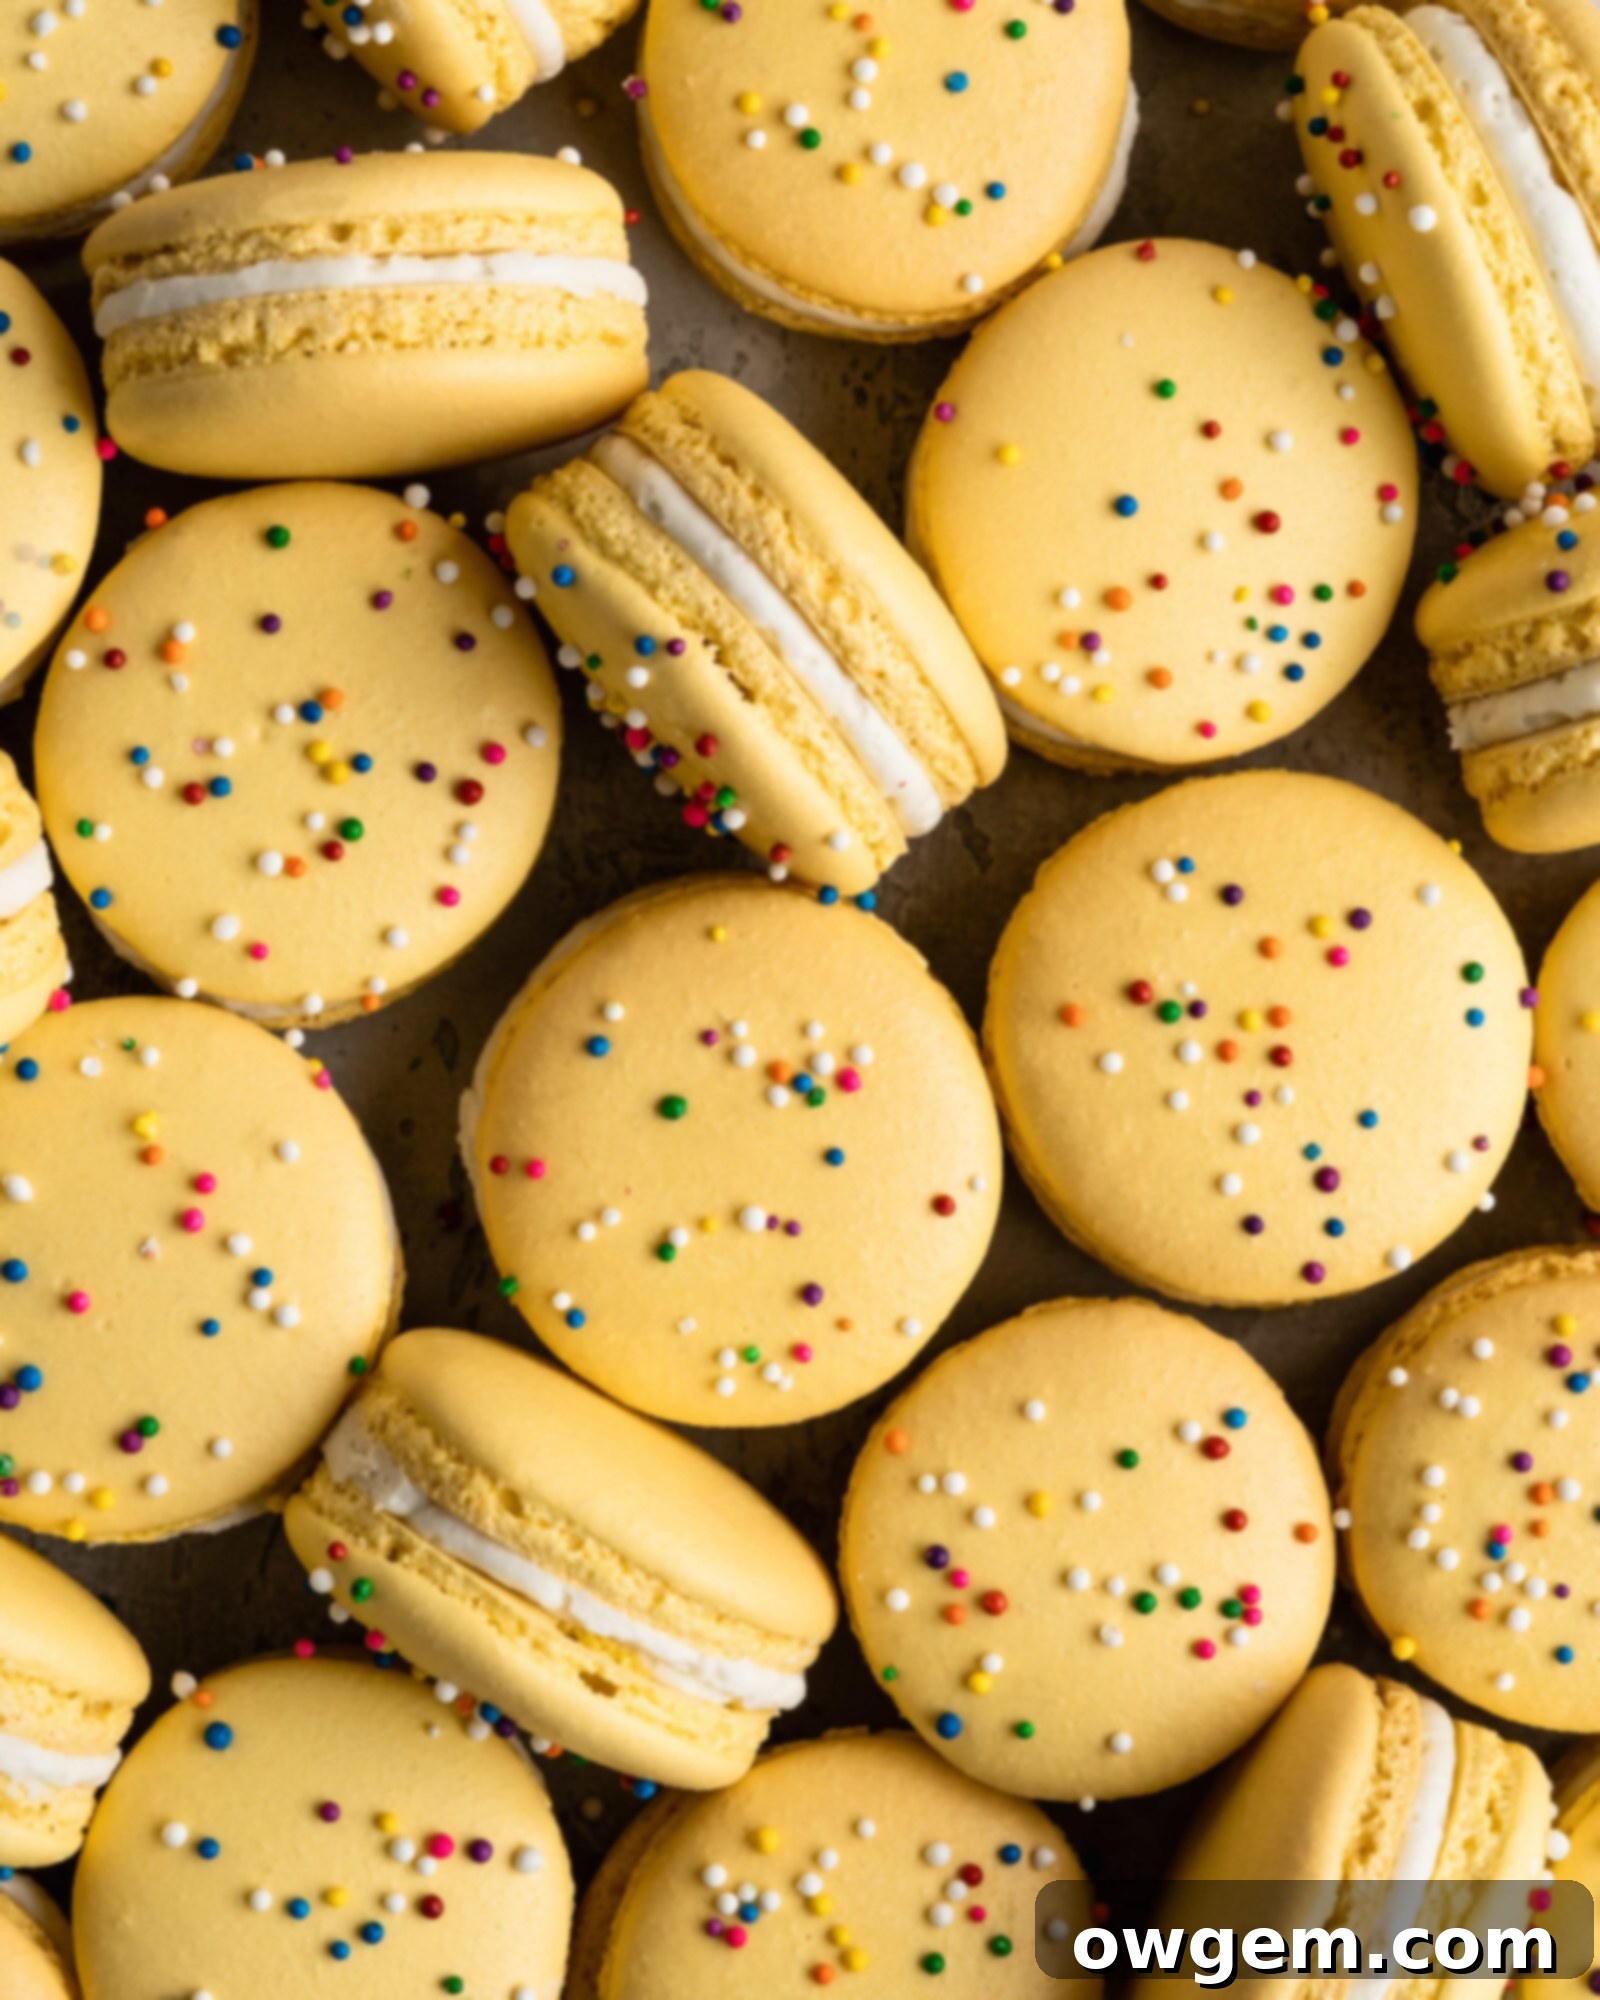
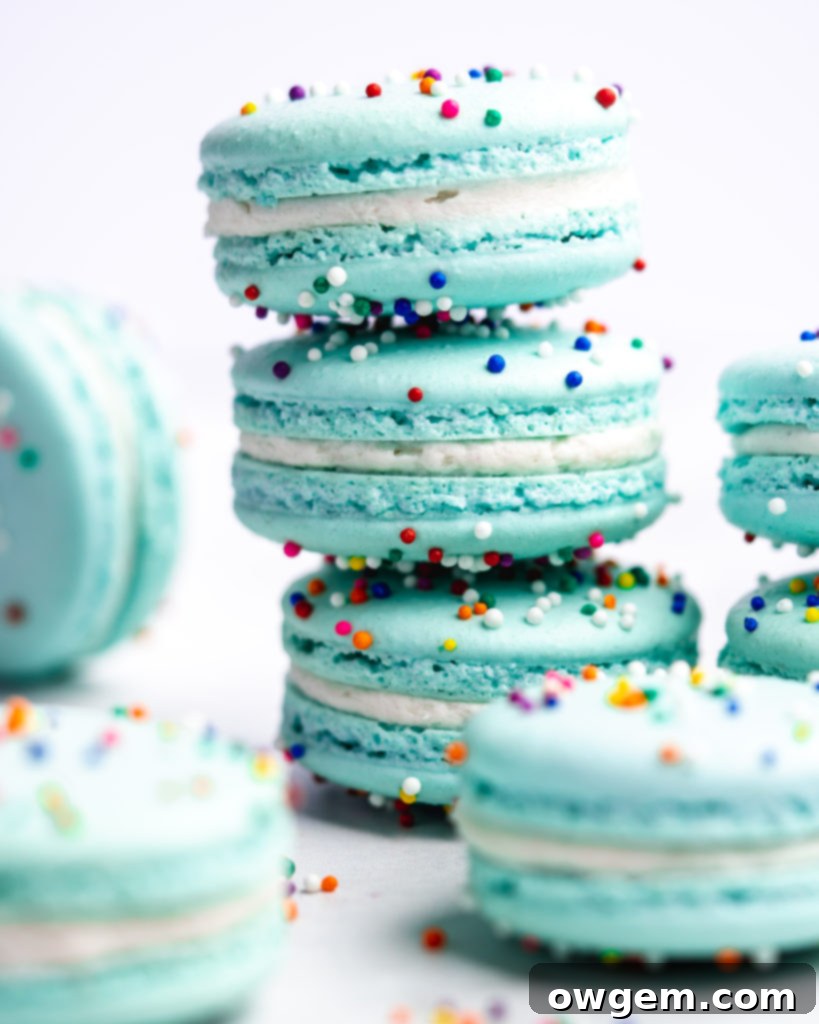
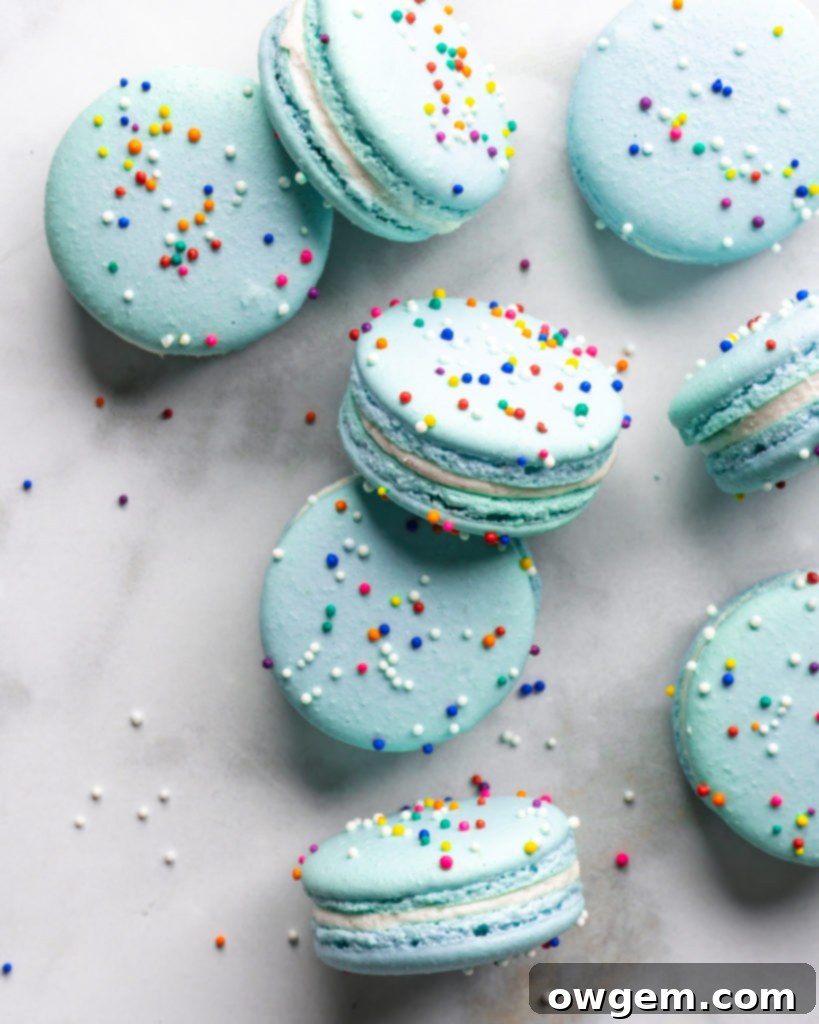
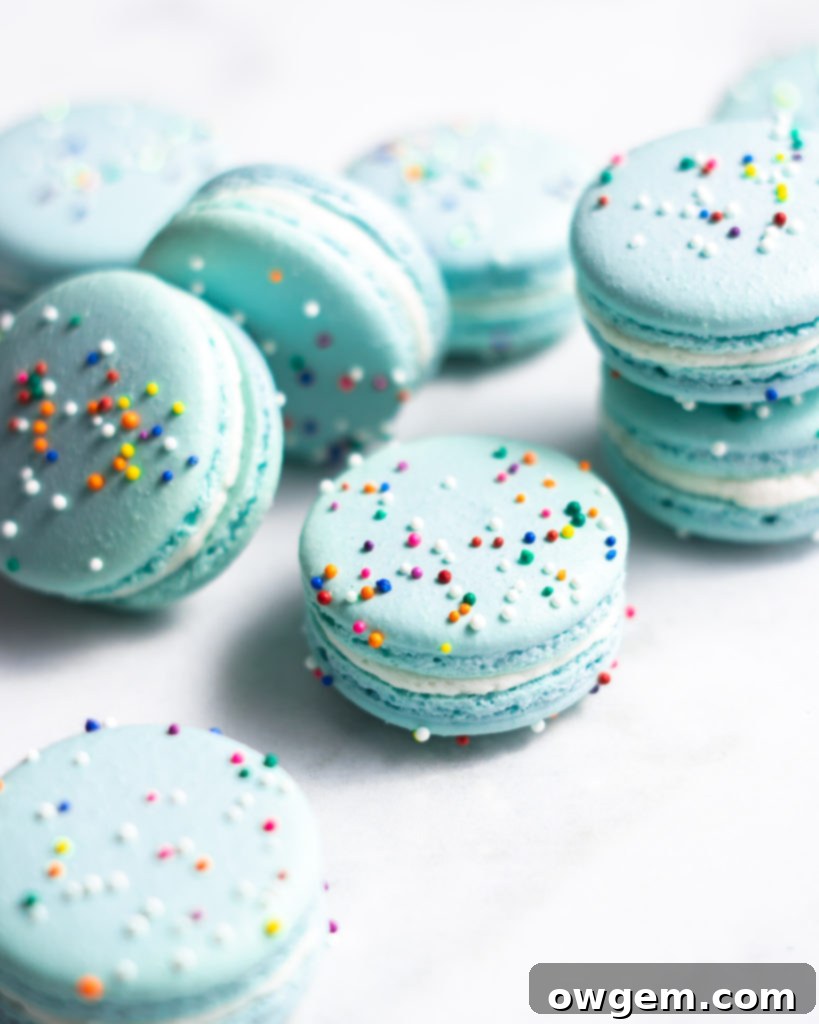
Ah, macarons! These exquisite French pastries are renowned for their delicate crunch, chewy interior, and vibrant colors. They are synonymous with elegance and deliciousness, yet for many home bakers, the thought of making them evokes a sense of apprehension. While macarons do have a reputation for being finicky and challenging, the journey to mastering them is incredibly rewarding. This comprehensive guide, born from years of trial and error and countless hours of dedicated practice, is meticulously designed to demystify the entire process. I’ve compiled my most effective tips and tricks to help you achieve consistent success, transforming you into a confident macaron maker. Alongside these invaluable insights, you’ll find my reliable basic macaron recipe, complete with detailed, step-by-step instructions, perfect for creating any flavor you dream of.
My Macaron Journey: From Apprehension to Obsession
Before I ever attempted to bake macarons, I shared the common sentiment of many aspiring bakers: a deep apprehension about investing significant time and ingredients into a project that might ultimately fail. The delicate nature of these cookies, coupled with their notoriously specific requirements, felt incredibly daunting. Yet, the allure of creating these beautiful treats was too strong to ignore. After immersing myself in countless YouTube tutorials – seriously, it felt like thousands! – I finally gathered the courage to bake my very first batch. The initial results were, admittedly, mediocre. They weren’t a complete disaster, but they certainly weren’t the picture-perfect pastries I envisioned. This initial attempt, however, sparked an unyielding obsession to perfect my macaron-making skills. I embarked on a mission, meticulously testing every method, trick, and technique I encountered, gradually uncovering what truly works and what doesn’t. This dedication has culminated in the foolproof strategies and the adaptable recipe I’m eager to share with you today, turning initial failures into consistent triumphs.
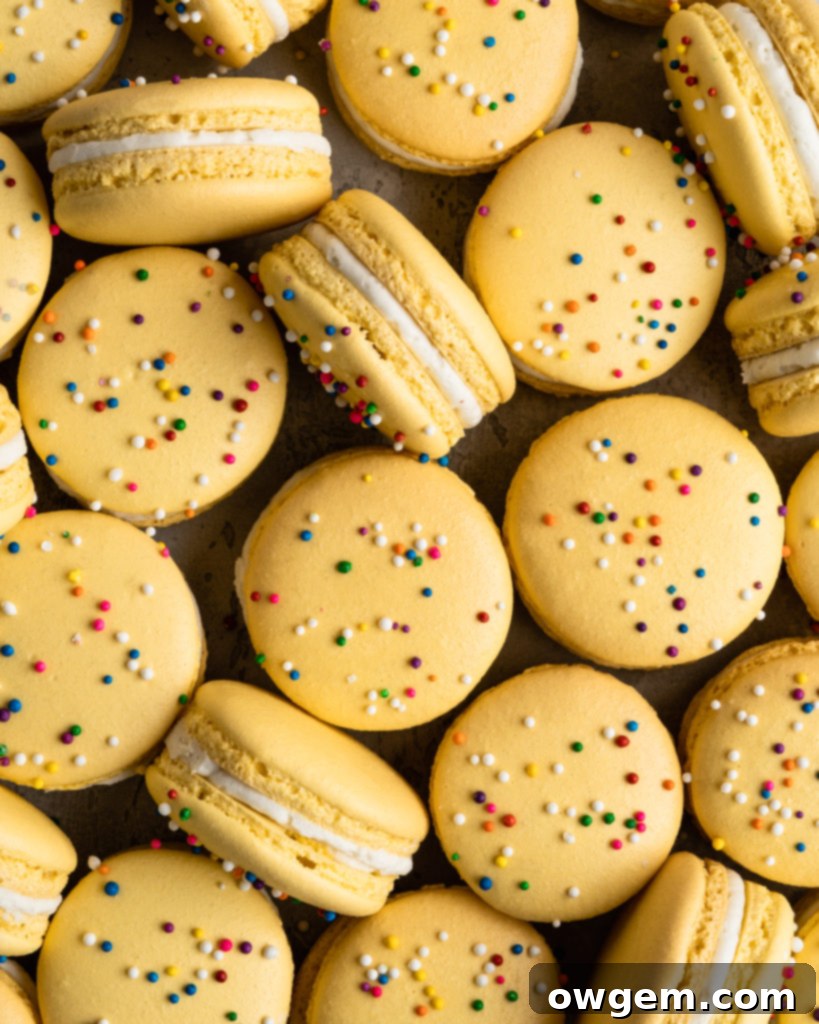
Customizing Your Macarons: Flavors and Fillings
One of the most exciting aspects of macaron making is the endless potential for customization. While the basic macaron recipe I provide is absolutely delicious on its own, it also serves as a versatile canvas for any flavor you can possibly imagine. Want rich chocolate macarons? Simply incorporate a small amount of high-quality cocoa powder into your dry ingredients. Craving a vibrant fruity burst? Infuse your macaron shells or your filling with citrus zest, freeze-dried fruit powder, or a delightful fruit puree. The possibilities extend far beyond the shells themselves and into the realm of fillings. There are numerous delightful options, each adding its own unique texture and taste dimension. Consider classic French buttercream, decadent chocolate ganache, tangy fruit jam, silky smooth custard, or even a light and airy whipped cream. The sky truly is the limit when it comes to personalizing these delightful treats, allowing you to create unique flavor combinations perfectly suited for any season, occasion, or personal preference.
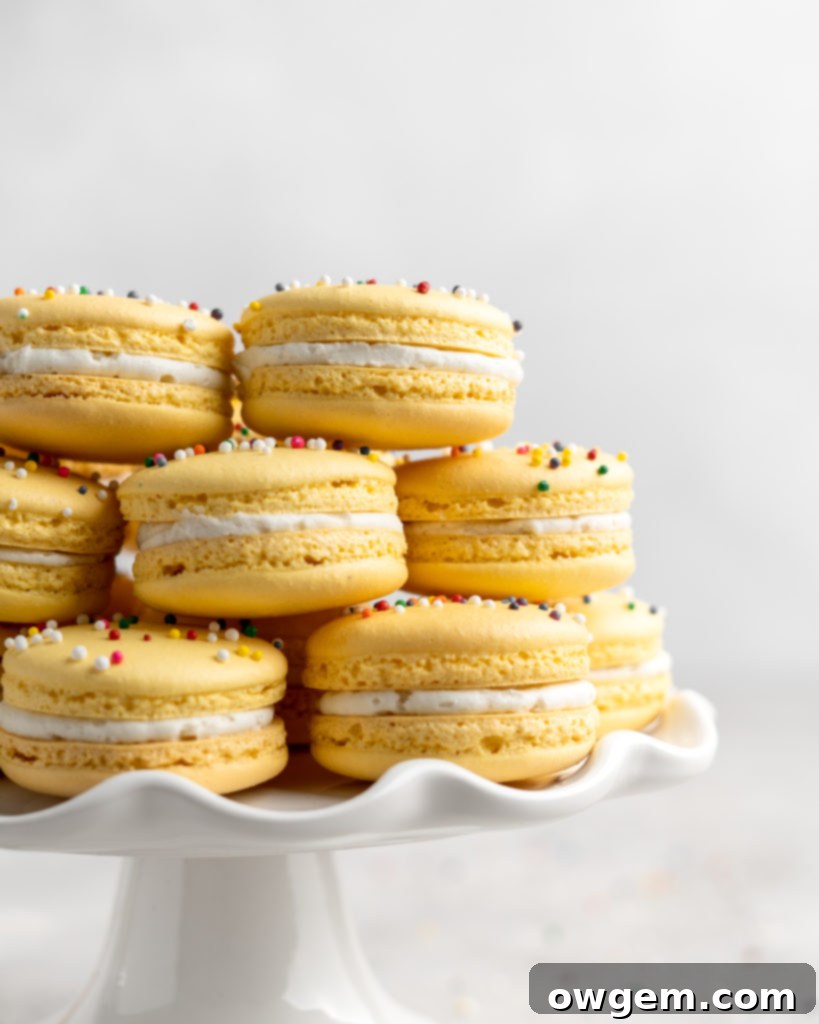
Essential Tips & Tricks for Macaron Success
Achieving perfect macarons consistently requires attention to detail and strict adherence to specific techniques. Over the years, I’ve distilled my extensive knowledge and experience into these essential tips, designed to guide you step-by-step toward flawless results. By understanding and diligently following these guidelines, you will dramatically increase your chances of macaron success and confidently create beautiful, delicious pastries every time.
Tip 1: Use a Food Scale and Weigh Everything Out
Precision is paramount when embarking on the delicate art of macaron making. This is precisely why my recipe, along with nearly all professional macaron recipes, provides ingredient measurements exclusively in weight rather than volume. Macarons have an incredibly low tolerance for error; even slight variations in ingredient amounts can significantly impact the final outcome. Volumetric measurements, such as cups and tablespoons, can lead to huge discrepancies depending on how ingredients are packed, scooped, or leveled, introducing an unacceptable margin of error. For a finicky and delicate pastry like macarons, it is absolutely crucial to be as precise as possible, measuring every ingredient down to the exact gram. Investing in a reliable digital food scale is arguably the single most important tool for any aspiring macaron baker. This small investment will undoubtedly save you immense frustration and wasted ingredients in the long run, ensuring accuracy and consistency with every batch you bake.
Tip 2: Age the Egg Whites
This preparatory step is a true game-changer for many bakers, significantly improving meringue stability. To age egg whites, simply separate them from the yolks and leave them in a lightly covered bowl (I typically use tin foil to allow some air circulation while preventing them from drying out too quickly) for 1 to 3 days at room temperature. The fundamental idea behind this process is to slightly dehydrate the egg whites while carefully preserving their vital protein bonds. This subtle dehydration increases the elasticity of the egg whites, making them considerably easier to whip into a stable, voluminous, and glossy meringue. While not strictly essential – you can certainly make decent macarons with fresh egg whites – this added step provides invaluable extra insurance that your meringue will whip up beautifully and hold its critical shape. Furthermore, by optimizing the egg whites’ whipping potential, aging often eradicates the need for additional stabilizing agents like cream of tartar, simplifying the overall process.
Tip 3: Wipe All Utensils, Bowls, and Apparatus with Vodka or Vinegar
Cleanliness is an absolute critical factor when dealing with egg whites, as even the slightest trace of fat or oil can completely sabotage your meringue. Any oil residue will prevent the egg whites from whipping up properly, leading to a weak, unstable meringue that will inevitably result in macaron failure. Before you begin any mixing, thoroughly wipe down every single piece of equipment that will come into contact with the egg whites – including your mixing bowl, whisk attachment, and even your spatula – with a paper towel dampened with either unflavored vodka or white vinegar. Both alcohol and acid are exceptionally effective at cutting through any invisible grease residues that might be present on your equipment, ensuring a completely fat-free environment. This simple, yet often overlooked, step provides a pristine, clean slate for your meringue, allowing it to achieve maximum volume and stability, which is the foundational element for achieving perfect macaron shells.
Tip 4: Use the Italian Method of Macarons
While there are several distinct methods for making macarons, after extensive experimentation and countless batches, I consistently find that the Italian method yields far superior and much more consistent results time after time. The French method, for example, involves whipping egg whites with granulated sugar to form a French meringue. While seemingly simpler in steps, French meringue tends to be quite delicate and prone to overmixing, which can easily deflate the crucial air structure during the macaronage process (the gentle folding of meringue into the dry almond mixture). In contrast, the Italian method incorporates a hot sugar syrup into partially whipped egg whites, creating a significantly more stable and robust meringue. This inherent stability makes the macaronage process more forgiving, dramatically reducing the risk of deflating your precious batter. Furthermore, Italian method macarons often exhibit a more desirable vertical rise and a notably smoother top, contributing to that quintessential elegant appearance and the sought-after “feet” at the base.
Tip 5: Don’t Under-whip or Over-whip Your Meringue
Achieving the correct meringue consistency is arguably one of the most critical steps in the entire macaron-making process. An improperly whipped meringue can lead to a host of common macaron problems, with hollow shells being one of the most frustrating and frequently encountered issues. I’ve certainly fallen victim to this myself! After slowly drizzling the hot sugar syrup into your whipping egg whites, continue beating the meringue until it cools down considerably and reaches the perfect consistency. The absolute best way to tell if your meringue is ready is by checking if it can form a distinct “bird’s beak” – or as the French eloquently call it, the “bec d’oiseau.” When you lift the whisk attachment, the meringue should form a soft, glossy peak that gently curls over, resembling the curved beak of a bird. It should be stiff enough to hold its shape firmly but still soft and pliable. If the meringue is too soft (under-whipped), it won’t provide enough structure. If it’s too stiff and dry (over-whipped), it will be difficult to fold into the dry ingredients without deflating, leading to brittle, cracked, or hollow shells. Example here.

Tip 6: Stop Folding Once the Batter ‘Ribbons’
The macaronage process – the crucial stage of gently folding the stable meringue into the almond flour and confectioners’ sugar mixture – is where many aspiring macaron bakers encounter significant challenges. The ultimate goal is to achieve a specific batter consistency often described as “lava-like” or having a “ribbon stage” flow. When you lift your spatula from the bowl, the batter should flow off it in a slow, continuous stream, forming distinct ribbons that hold their shape on the surface of the batter for a few seconds before slowly and completely reabsorbing into the rest of the mixture. These ribbons should disappear entirely within approximately 30 seconds. If the batter falls off your spatula in distinct, thick chunks or is too stiff, it indicates it is under-mixed and requires a few more gentle folds. Conversely, if the batter runs off the spatula too quickly without forming any discernible ribbons, it is unfortunately over-mixed and has lost too much of its vital air, which can lead to flat, oily, or brittle shells without the characteristic “feet.” Practice makes perfect with this delicate stage, so observe carefully and be patient.
Tip 7: Tap the Pan and Remove Air Bubbles
After you have meticulously piped your macaron shells onto the baking sheet, a crucial, albeit somewhat aggressive, step to achieve beautifully smooth, crack-free tops is to eliminate any trapped air bubbles within the batter. Firmly tap the baking sheet against your kitchen counter multiple times. Then, rotate the pan 90 degrees and smack it against the counter again, continuing this rotational tapping process until all four sides of the pan have been thoroughly smacked – it might sound a bit silly, but trust me, it’s highly effective! This forceful action serves two vital purposes: first, it encourages any hidden air bubbles within the macaron batter to rise to the surface and pop, resulting in significantly smoother and more stable macaron shells. Second, it helps the freshly piped batter to settle and flatten out evenly, eliminating any slight humps or unevenness that might have been left over from the piping process. I usually tap my pans more than four times, continuing the process until I’m confident that most of the larger air bubbles have surfaced and the batter appears nicely leveled and smooth.
Tip 8: Use a Toothpick to ‘Pop’ Any Remaining Air Bubbles
Even after vigorously tapping your baking sheets to release trapped air, some stubborn air bubbles might remain within your macaron batter, especially those that are small or slightly hidden just beneath the surface. Take a moment to closely inspect your beautifully piped little macaron shells. You are looking for any obvious, large bubbles, but also pay attention to subtle irregularities or tiny bumps on the surface that indicate persistent trapped air. For these tenacious bubbles, a simple toothpick is your best friend. Gently poke each individual bubble to release the trapped air, then use the very tip of the toothpick to lightly swirl the surrounding batter, smoothing over and filling the tiny hole you’ve created. Skipping this seemingly minor step can sometimes result in unsightly surface imperfections or, more importantly, contribute to the formation of hollow macarons, so it’s a small effort with a significant positive impact on achieving those coveted full and smooth shells.
Tip 9: Allow the Macarons to Form a “Skin”
This step is absolutely critical – I repeat, THIS IS CRUCIAL – and should never be skipped, no matter what! After piping and thoroughly degassing your macaron shells, they must be left to “dry” at room temperature until a delicate, dry skin forms on their surface. This skin is the undeniable secret to the characteristic “feet” (pieds) that define a perfectly baked macaron. As the macarons bake in the oven, this dried skin prevents the batter from spreading horizontally, instead forcing it to rise vertically and elegantly create that iconic ruffled base. The time it takes for this essential skin to form varies significantly depending on your local climate and ambient humidity. In cold, dry environments (like the Prairies in Western Canada where I reside), it can take as little as 8-10 minutes. Conversely, in hot, humid climates, this crucial drying process can stretch to 30 minutes, an hour, or even longer. You’ll know they’re ready for baking when you can gently touch the top of a macaron with your finger and it feels completely dry to the touch, with absolutely no batter sticking to your skin. Macarons are notoriously sensitive to humidity – too much moisture can entirely prevent the skin from forming, leading to cracked shells or a sticky, spread-out appearance. However, they are also finicky with excessively dry climates (because, of course, they are! *eye roll*). In very dry conditions, over-drying can cause them to stick stubbornly to silicone mats or result in undesirable lopsided shells. So, find that perfect sweet spot, and be diligent about checking them regularly!
Tip 10: Know Your Oven
This might sound slightly vague or unusual, but truly understanding your specific oven’s quirks and characteristics is incredibly important for consistent macaron success. Every oven is a unique appliance; some run hotter or colder than the temperature you set, others possess uneven heating zones, and the fan strength can vary significantly in convection ovens. All of these seemingly minor factors can collectively be the deciding difference between a tray of beautiful, perfectly baked macarons and a frustrating batch of failures. For instance, my oven has a tendency for uneven heating, which initially led to lopsided macarons. Through diligent experimentation and observation, I eventually discovered that using my oven on the convection setting consistently produced the most uniform and consistent results for me. It might feel a bit annoying and time-consuming, but you will almost certainly need to experiment with your own oven – adjusting temperatures, experimenting with different rack positions, and fine-tuning baking times – to find the optimal method for achieving flawlessly baked macaron shells. Don’t be afraid to take detailed notes on what works and, equally importantly, what doesn’t.
Tip 11: Allow the Finished and Assembled Macarons to Sit in the Fridge for One to Two Days Before Indulging
I know, I know… after dedicating several hours of effort to crafting these delectable pastries, the immediate, overwhelming urge is to devour your edible masterpieces without delay! But I strongly, strongly urge you to exercise patience, at least overnight, and ideally for one to two full days. This crucial “maturation” period in the refrigerator allows the delicate macaron shells and their chosen filling to completely meld together. During this time, the shell softens slightly to a perfect texture, and, most importantly, the flavors fully integrate and harmonize, becoming much more complex and cohesive. “Un-matured” macarons (those eaten directly after assembly) often taste too chewy or brittle, can be quite messy, and might even fall apart easily. The flavors also won’t be as deeply cohesive or as rich as they can be. As they mature, the textures soften and the flavors deepen, transforming them into a truly sublime culinary experience. It’s worth noting that fillings with higher moisture content, such as fruit jams, rich buttercreams, or creamy custards, tend to mature and soften the shells faster than those with lower moisture content, like a decadent ganache. This waiting period is the final, essential step to elevate your macarons from simply “good” to absolutely extraordinary.
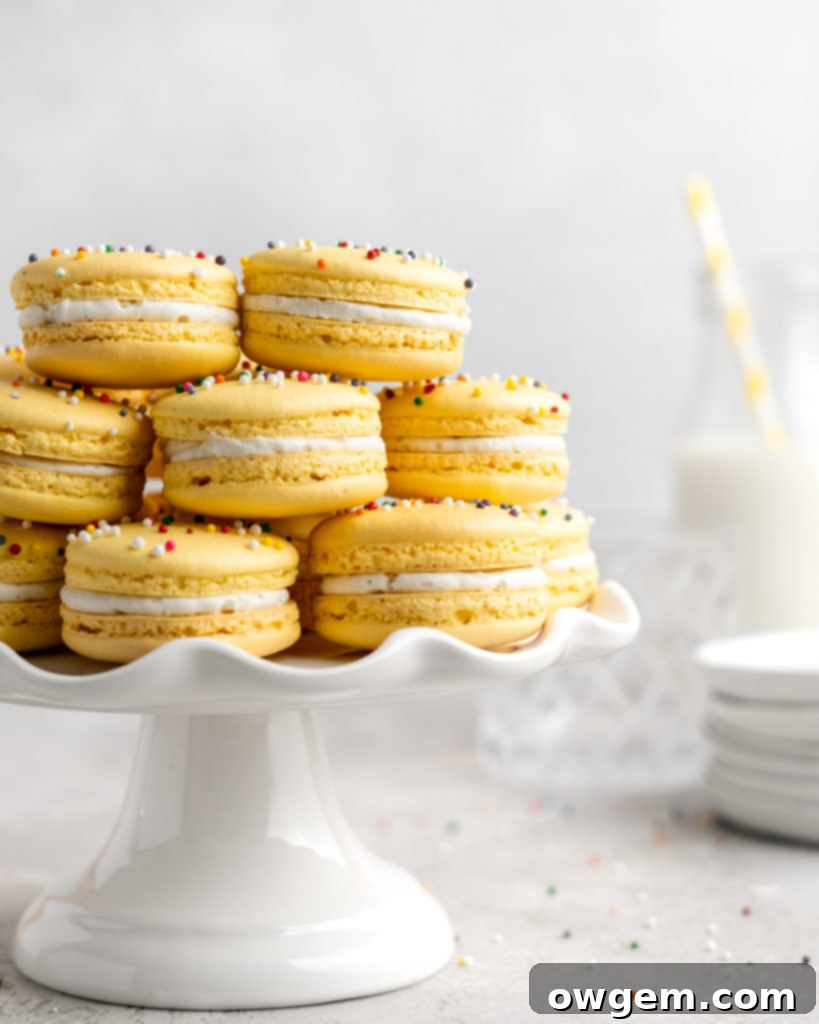
Additional Insights for Macaron Perfection
Beyond the core tips shared above, these extra considerations can further refine your macaron-making process and significantly help you avoid common pitfalls, pushing you closer to macaron perfection:
- It really is crucial to meticulously sift all the dry ingredients – both the almond flour and the confectioners’ sugar. This often-underestimated step ensures a consistently fine, uniform powder, which is absolutely essential for achieving macaron tops that are flawlessly smooth, even, and entirely free from any grainy texture or unsightly bumps. Do not skip this!
- When creating your Italian meringue, ensure the hot sugar syrup is poured SLOWLY and steadily onto the side of the stand mixer bowl. Pouring too quickly can “shock” or break the delicate egg whites, instantly ruining your meringue. Furthermore, aiming the stream along the side of the bowl prevents large, unwanted sugar crystals from forming directly in the meringue, which could lead to a grainy or gritty final texture.
- Do not stir the sugar syrup with any utensil while it is heating up on the stove. Stirring can introduce sugar crystals from the sides of the pot back into the syrup, which can then act as a nucleation point and cause the entire syrup to rapidly crystallize. Instead, simply swirl the pot gently to mix the sugar and water as it heats.
- Consider using a macaron mat. These specialized silicone mats typically feature pre-printed circles or guides, making the piping of uniform macarons significantly easier and more consistent. This consistency in size is crucial for matching pairs later and ensures a professional finish.
- Find “perfect pairs” before you start icing. Once your baked macaron shells are completely cooled and separated, take the time to meticulously match them by size and shape. This careful pairing significantly reduces the number of mismatched halves and ensures a beautifully presented, consistent look for your finished macarons, ultimately resulting in more perfect final cookies.
- Macarons are notoriously sensitive to excessive moisture – so if it’s an excessively humid day, or if you reside in a very humid climate, it might genuinely be best to wait for a less humid day. High humidity can severely prevent the crucial “skin” from forming on the macaron shells, leading to cracked tops or a persistently sticky surface.
- If you’re prone to experiencing minor hollows in your baked macarons, a clever trick to try is cooling the macarons upside down once you’ve carefully peeled them off the baking mat. This technique can sometimes help the internal structure settle more uniformly, potentially reducing the incidence of those annoying small air pockets.
- Your arm will probably ache after the extensive folding process (macaronage) – especially if you’re making a larger batch! But trust me, the incredibly delicious and beautiful reward of perfectly baked macarons makes all that effort absolutely worth it. Consider it a small workout for a very sweet treat!

Get the Recipe:
How to Make Macarons – Easy & Thorough Guide
Pin
Rate
Ingredients
- 210 g Confectioners Sugar
- 210 g Super Fine Almond Flour
- 150 g Egg Whites,, divided
- 190 g Sugar
- 60 mL Water
- (Optional) Gel Food Coloring
Instructions
Dry Ingredients
-
Begin by combining the almond flour and confectioners sugar in a food processor. Pulse the mixture about 20 times to ensure both ingredients are thoroughly combined and extra fine. Then, sift this mixture into a large bowl, discarding any larger, un-pulverized pieces of almond flour. It is important not to force these larger pieces through the sifter, as they will lead to bumpy macaron tops. Add 75g of the divided egg whites into this sifted dry mixture. Mix everything together thoroughly and aggressively to form a thick, uniform paste. Once well combined, cover the bowl and set it aside while you prepare the meringue.
Making the Meringue
-
Place the remaining 75g of egg whites into the bowl of a stand mixer, fitted with a whisk attachment, and set it aside. In a small, heavy-bottomed pot, combine the granulated white sugar and water. Turn the heat to medium-high. As the sugar mixture heats up and reaches a temperature of 110°C (230°F), start beating the egg whites in your stand mixer on high speed. The timing here is crucial to ensure both components are ready simultaneously.
-
When the sugar mixture reaches 118°C (244°F) – and your egg whites have just reached stiff peaks (they should be firm but still glossy, not dry or curdled) – carefully and slowly drizzle the hot sugar syrup into the beating egg whites. Ensure the stream is very slow and steady, pouring it down the side of the bowl to avoid hitting the whisk directly, which could splash hot syrup or cause crystallization. Continue beating on high speed during this process.
-
Continue to beat the meringue on high speed until it cools down considerably and reaches the aforementioned ‘bird’s beak’ stage. The bowl should feel warm to the touch, not hot. At this point, if you desire colored macarons, add your gel food coloring. Gel colors are preferred over liquid food coloring as they don’t introduce excess moisture. Quickly mix the food coloring into the meringue, being careful not to overmix and deflate the beautifully whipped meringue.
Macaronage
-
Now it’s time for the macaronage, the delicate process of combining your meringue and almond paste. Take about one-third of the prepared meringue and add it to the almond flour and egg white paste. Work this dollop of meringue aggressively into the paste to loosen it up. At this stage, you don’t need to be gentle; the purpose is to make the thick paste more pliable and easier to fold with the remaining meringue without losing too much air.
-
Add the remaining meringue into the bowl with the now-loosened almond mixture. Using a spatula, begin to fold the meringue into the paste mixture using a “J-folding” motion, gently scraping the sides of the bowl and bringing the mixture from the bottom to the top. Be gentle and careful not to overmix or over-deflate the meringue. This stage requires patience and observation. The mixture is ready to be piped when it achieves the “ribbon stage” – it should flow off your spatula in a continuous stream, forming ribbons that slowly melt back into the batter within 30 seconds. If it’s too thick and falls off in large V-shaped chunks, it needs a few more folds. If it’s too runny, it’s overmixed.
Piping and Drying the Macarons
-
Transfer the macaron batter into a piping bag fitted with a medium to large-sized round tip (such as an Ateco 804 or 805). Prepare your baking sheets by lining them with silicone baking mats or parchment paper. If using parchment, you might want to draw macaron templates on the underside to guide your piping. Hold the piping bag straight up, perpendicular to the baking sheet, and pipe small, consistent circles of batter. Aim for macarons approximately 1½ inches in diameter. Using a macaron mat with pre-drawn guides can significantly simplify this process and ensure uniform sizes.
-
Once all your macarons are piped, firmly tap the baking sheet multiple times against your counter. Rotate the sheet 90 degrees and tap again, repeating this process on all four sides. This helps to release any trapped air bubbles from the macarons. After tapping, visually inspect each macaron for any remaining small air bubbles. If you see any, use a toothpick to gently poke them out, then lightly swirl the batter with the toothpick to smooth over the tiny hole. This step is crucial for achieving smooth, unblemished macaron tops.
-
Preheat your oven to 300°F (150°C), or 275°F (135°C) if using a convection oven. While the oven is preheating, allow the piped macarons to sit undisturbed at room temperature to form a “skin” on their surface. This skin is paramount for the formation of the classic “feet” during baking, preventing the macaron from spreading horizontally. The drying time can range from 8 minutes to an hour or more, depending on the humidity of your environment. You’ll know the macarons are ready for baking when you can gently touch the top of a shell with your finger and no batter sticks to it. Remember, overly dried macarons can be as problematic as under-dried ones, so check them regularly!
Baking & Filling
-
Bake the macarons for 15-20 minutes. The exact baking time will depend on the size of your macarons and the specifics of your oven. Begin checking for doneness at 15 minutes. The macarons are ready when their tops are firm and do not wobble or move from their base when gently touched. If they still move, continue baking and check every minute thereafter. Overbaked macarons can be brittle, while underbaked ones might stick or be too soft.
-
Once baked, allow the macarons to cool completely on the baking sheets/mats/parchment before attempting to remove them. Rushing this step can cause them to break or leave their feet behind. When thoroughly cooled, carefully peel them off the surface. Before filling, take the time to find “perfect pairs” of macaron halves that match in size and shape. This careful pairing reduces waste and ensures beautifully presented final cookies. Finally, fill your paired shells with your chosen filling. After filling, place the assembled macarons into the fridge overnight, or for one to two days, to mature and allow the flavors and textures to meld together into a cohesive, delicious treat.
