Irresistible Homemade Dulce De Leche Filled Donuts: Your Ultimate Guide to Fluffy Perfection
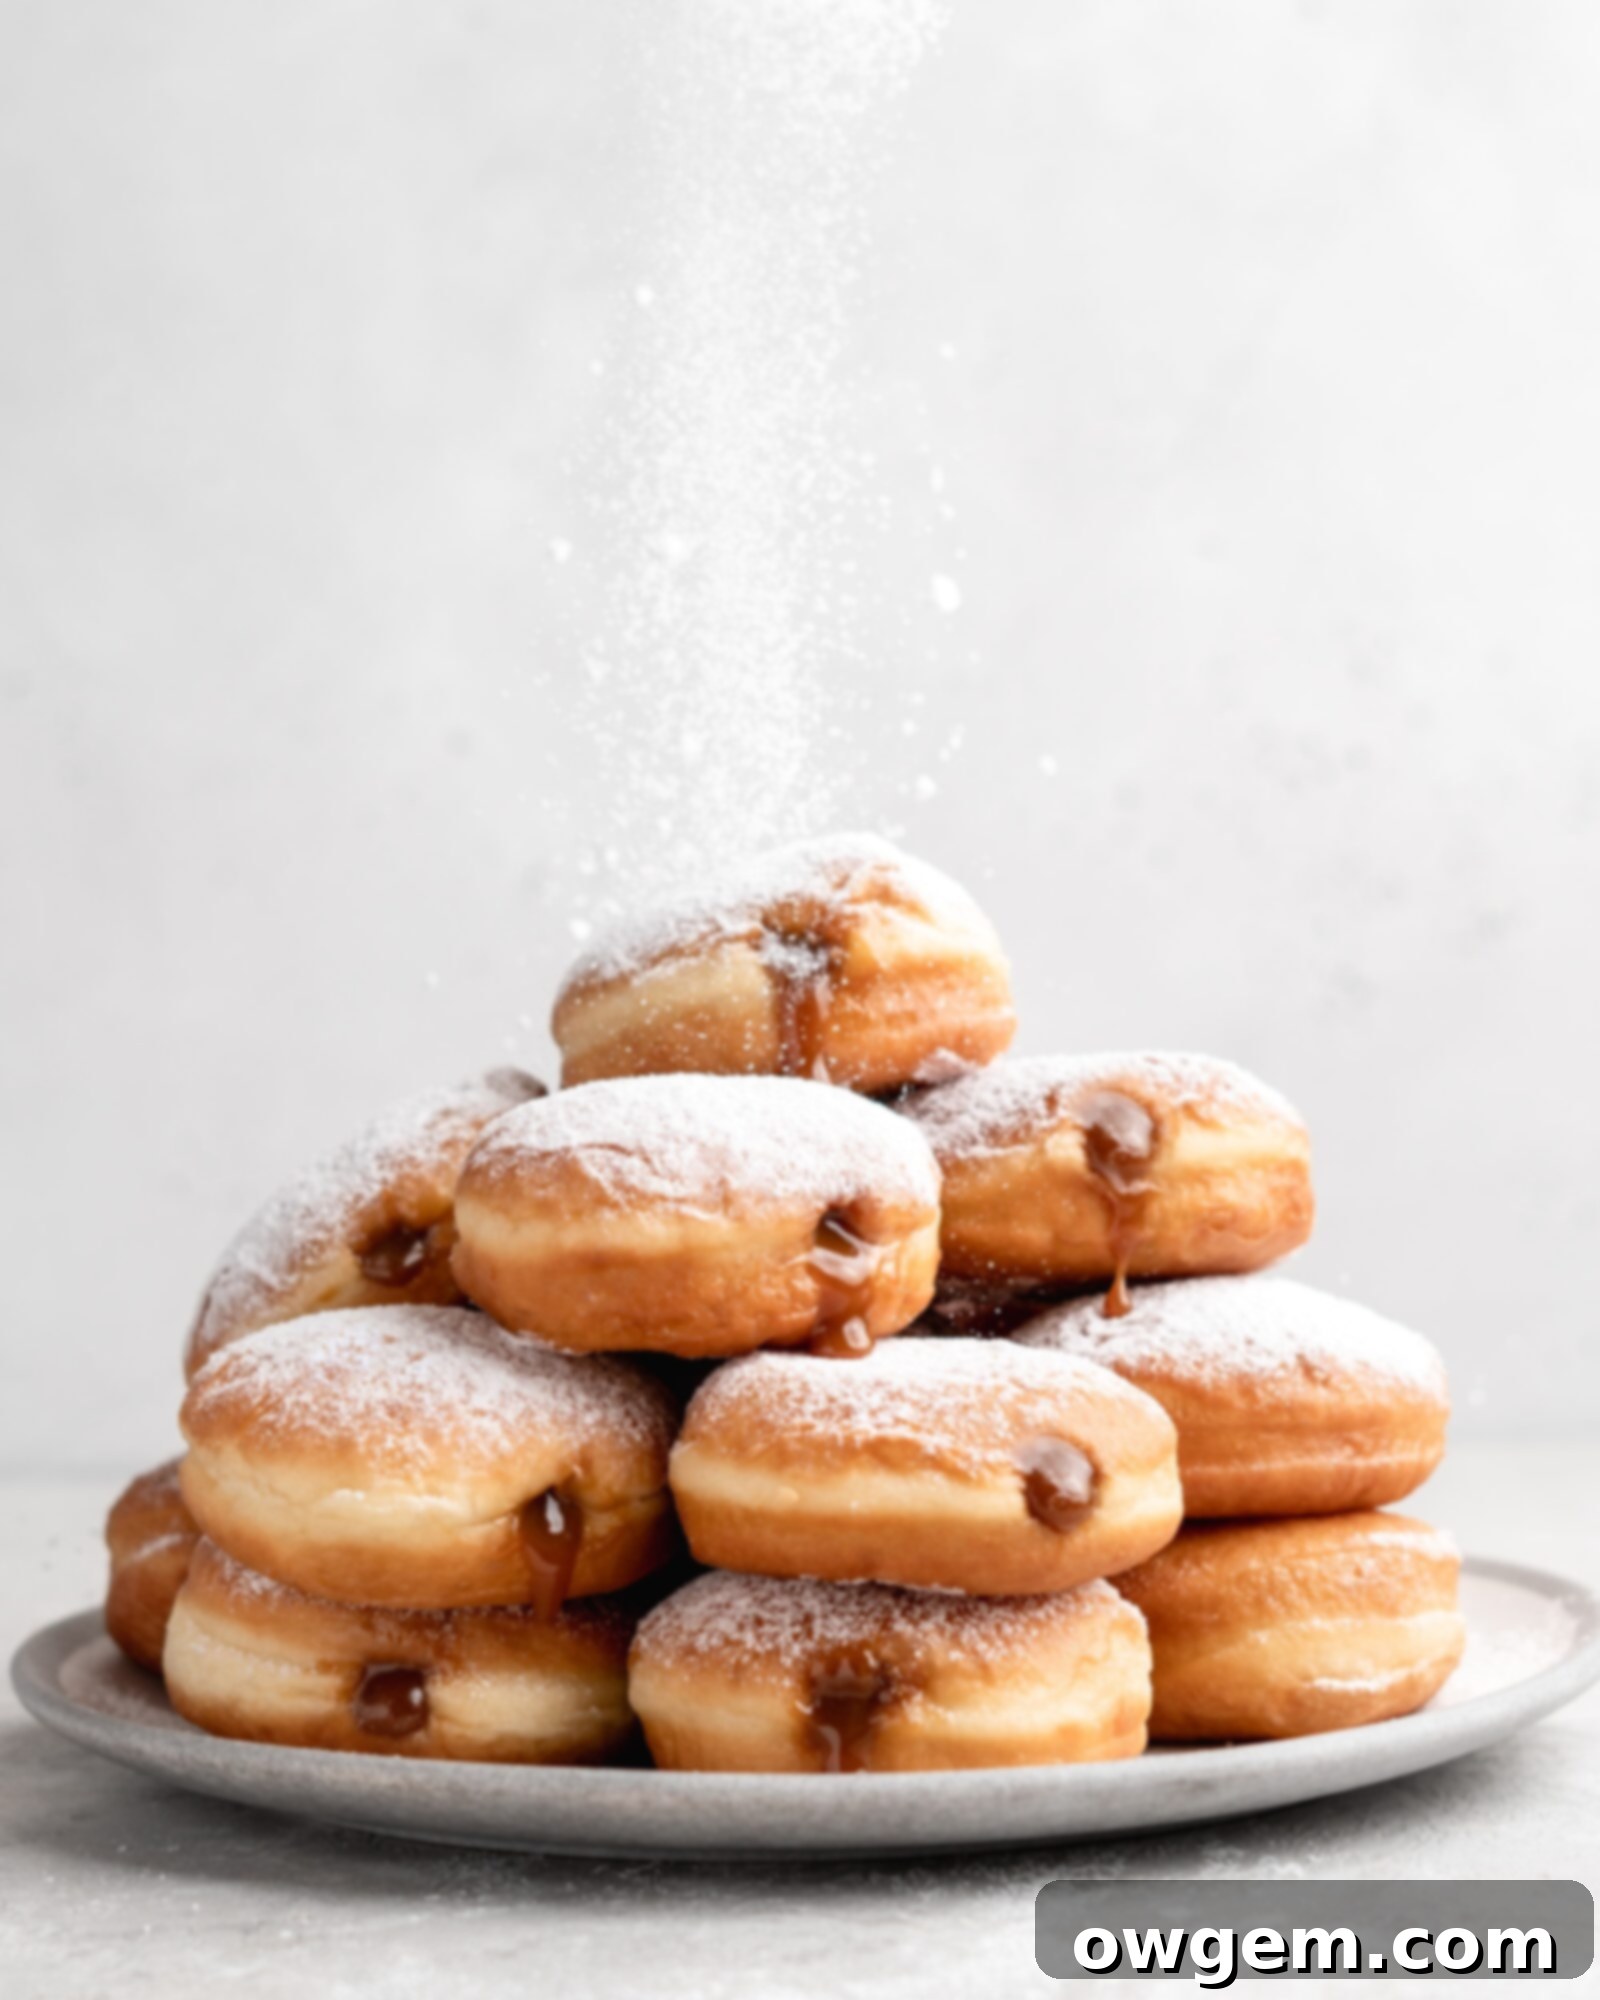
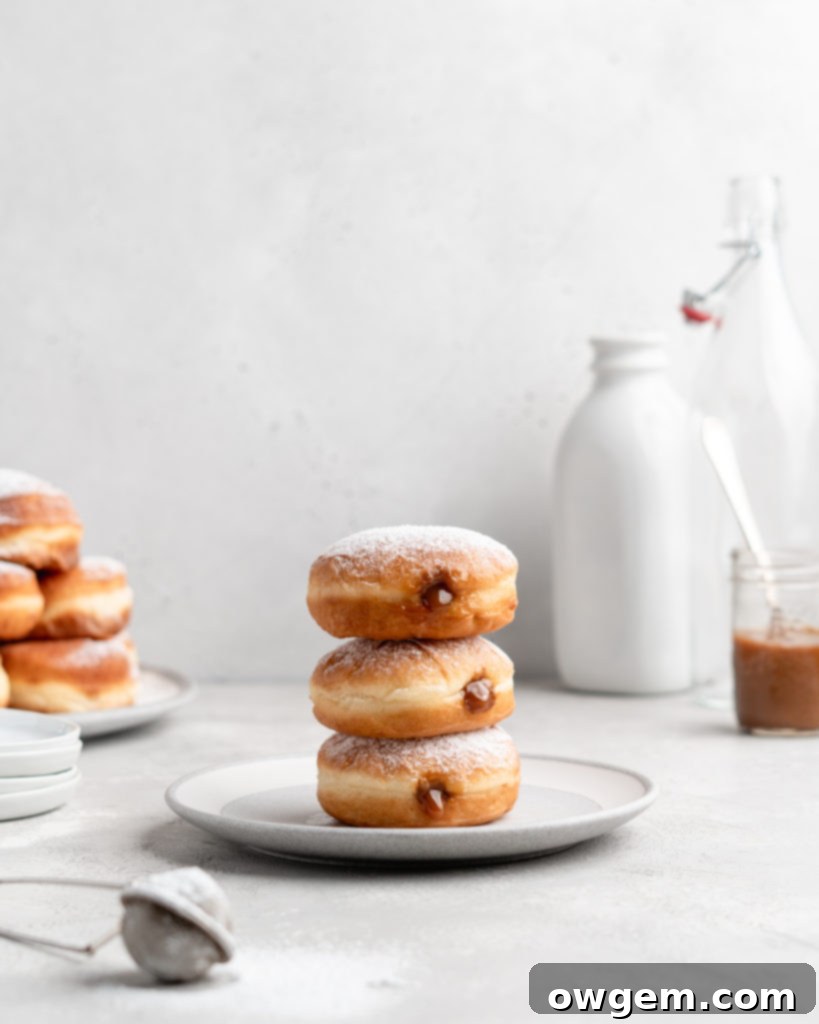
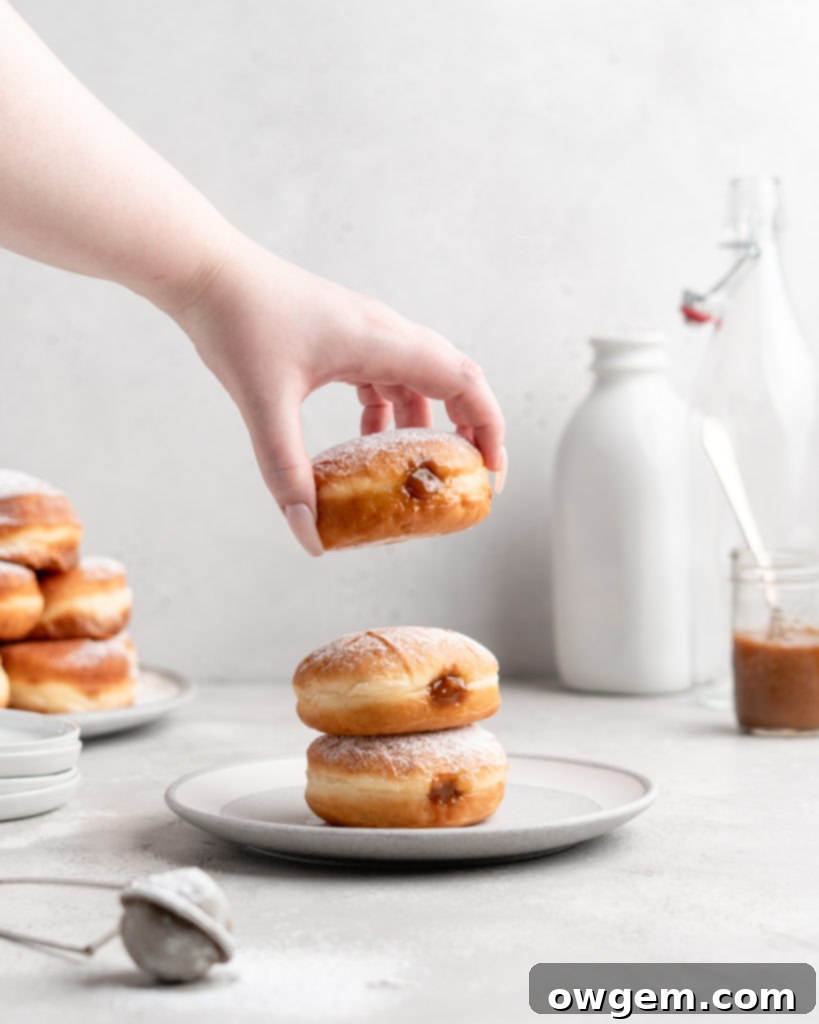
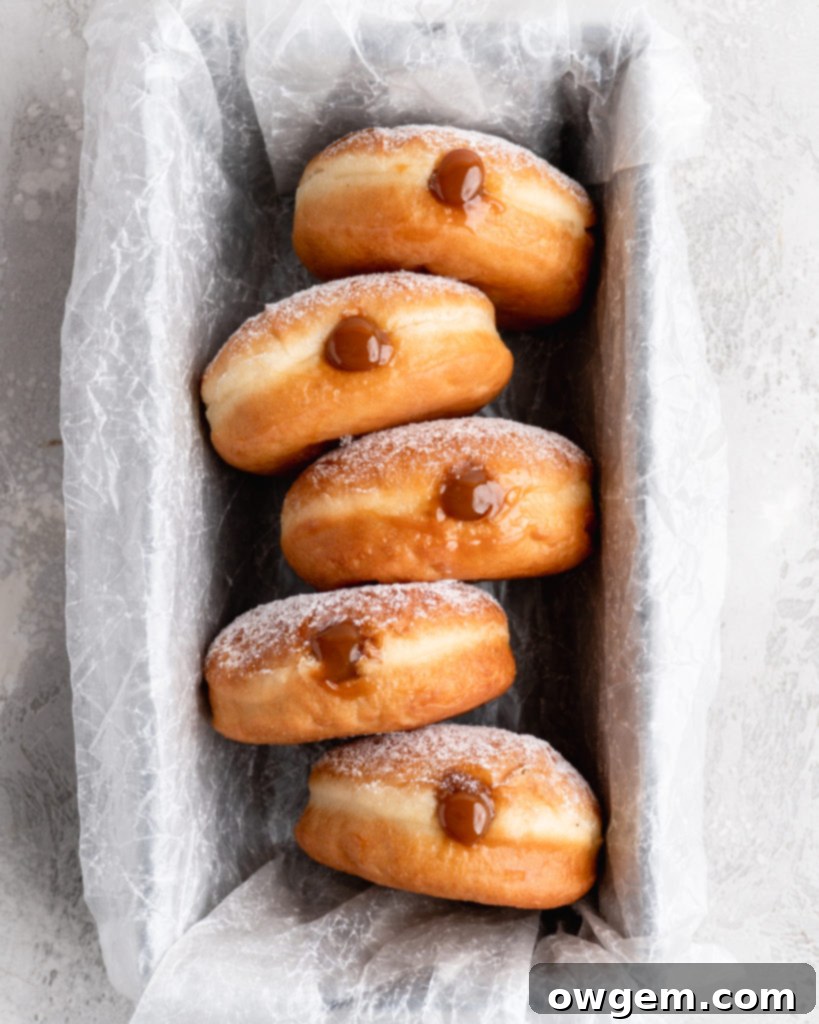
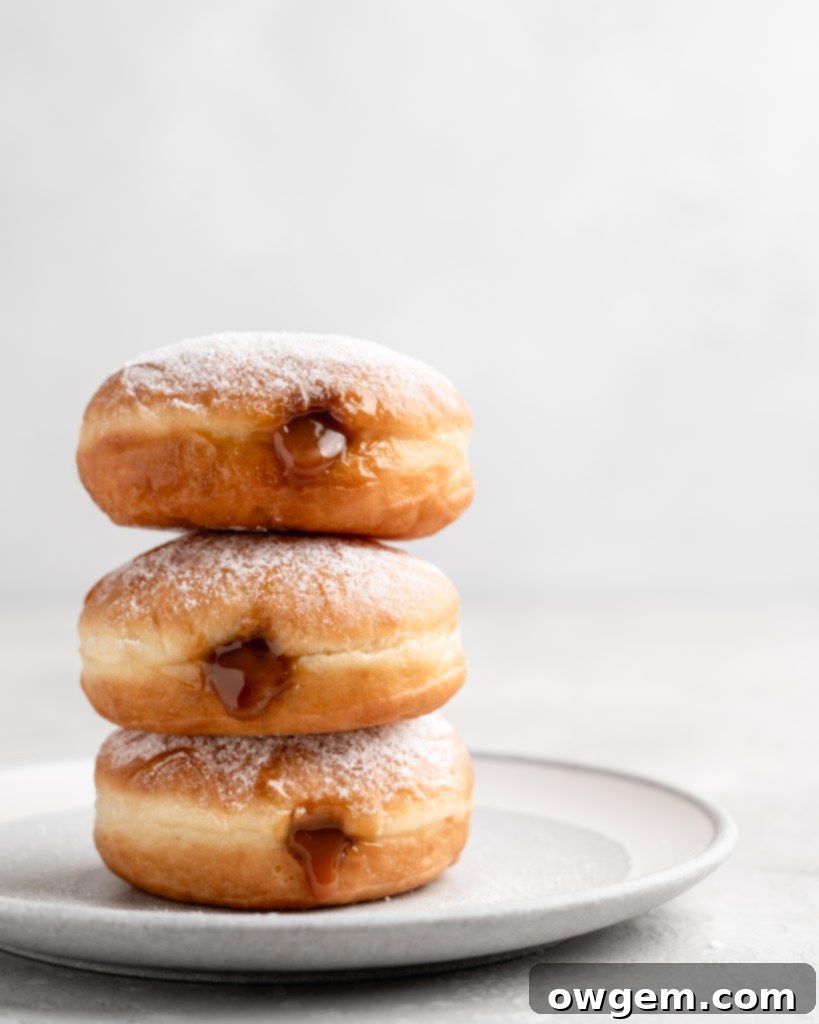
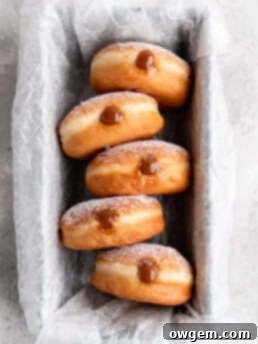
Get ready to experience the most incredible filled donut you’ve ever tasted! These homemade Dulce De Leche Filled Donuts are a true culinary masterpiece, guaranteed to blow your mind with every bite. Imagine a supremely buttery and ultra-tender yeast dough, expertly fried to a beautiful golden perfection, creating a light and fluffy cloud. Each one of these delightful donuts is then generously piped full of luscious, creamy dulce de leche and finished with a delicate dusting of powdered sugar. While they might seem like a gourmet treat, this recipe makes them surprisingly accessible for the home baker, ensuring they’ll become a cherished favorite in your kitchen in no time. Prepare yourself for a sweet indulgence that’s both deeply satisfying and wonderfully easy to achieve.
What is Dulce De Leche? A Sweet Dive into a Latin American Classic
Dulce de leche is a beloved Latin American confection whose name literally translates to ‘candy made of milk’. This incredibly rich, caramel-colored sauce is traditionally crafted by slowly simmering a can of sweetened condensed milk for several hours. During this gentle cooking process, the milk solids and sugars within the condensed milk undergo the Maillard Reaction, resulting in a beautiful caramelization that develops its distinctive flavor and deep hue. While often compared to traditional caramel, dulce de leche offers a unique taste profile that is generally milder and less bitter, boasting a nuanced creamy sweetness. This delicate balance of flavor makes it exceptionally versatile, complementing a wide array of dishes without overpowering other ingredients, unlike some more intense caramels.
The beauty of dulce de leche lies in its simplicity, both in taste and preparation. You can embark on the rewarding journey of making your own homemade version with just two essential ingredients: a can of sweetened condensed milk and a pot of simmering water. This traditional method, while requiring patience and a few hours (typically 2-3 hours of simmering, plus cooling time), yields an incredibly fresh and authentic dulce de leche that’s hard to beat. However, if time is of the essence or you prefer convenience, store-bought dulce de leche is widely available and performs wonderfully in this donut recipe. You can usually find it in the international aisle or alongside other baking ingredients like sweetened condensed milk at most grocery stores. Opting for a quality store-bought brand ensures you get that rich, creamy filling without the extra waiting, allowing you to focus on the joy of donut making!
Crafting the Perfect Donut Dough: The Foundation of Fluffy Fried Treats
Just like with most excellent bread recipes, a stand mixer equipped with a dough hook attachment is truly a game-changer when it comes to making these delectable donut masterpieces. We’ll begin by blooming the yeast in warm water, ensuring it’s at the ideal temperature of 105°F (about 40-41°C). This warmth activates the yeast, preparing it to leaven our dough. After about 5-10 minutes, you should see a lovely foamy layer on top, indicating that your yeast is active and ready to work its magic. This blooming step is crucial; if your yeast doesn’t foam, it might be expired or the water wasn’t at the right temperature, and you should start over to ensure your donuts rise properly.
Once your yeast is bloomed, transfer it to the stand mixer bowl. Now, incorporate the rich melted butter, the lightly beaten egg, the tangy buttermilk (which contributes to the donut’s tender crumb and subtle flavor), and the sugar. Whisk these wet ingredients together thoroughly to ensure they are well combined and evenly distributed. Next, it’s time to add the dry components: the all-purpose flour and a pinch of salt. Salt is essential for flavor and also helps to control the yeast activity. Initially, mix everything together with a sturdy wooden spoon until a shaggy, somewhat cohesive dough forms. This pre-mixing helps prevent a cloud of flour when you turn on the mixer.
Now, attach the dough hook to your stand mixer and begin kneading the dough on medium-low speed. Continue mixing for approximately 5 to 7 minutes. During this time, the dough will transform from a rough mixture into a smooth, elastic, and visibly shiny ball. While it should be supple and stretch easily without tearing, it should still feel slightly tacky to the touch. This tackiness is a good sign, indicating proper hydration without being overly sticky. Avoid adding too much extra flour during kneading, as this can result in tough, dry donuts. The goal is a dough that is soft, pliable, and resilient – the perfect foundation for our fluffy dulce de leche filled donuts. After kneading, transfer the dough to a generously oiled bowl, turning it once to coat all sides, then cover it tightly with plastic wrap. Place the bowl in a warm spot in your kitchen for its initial rise. The rising period can vary from 1 to 3 hours, depending on the warmth of your environment and the activity of your yeast. The key indicator for readiness is that the dough has visibly doubled in size. In my experience, this typically takes around 2 hours, but always rely on visual cues rather than strict timing.
Shaping and Proofing: Preparing Your Dulce De Leche Donuts for Frying
Once your donut dough has gloriously doubled in size, it’s time for the next exciting step: shaping. Gently remove the plastic wrap from the bowl and press down on the dough to softly deflate it, releasing the accumulated gases. Turn the dough out onto a lightly floured work surface. Using a rolling pin, carefully roll the dough to an even thickness of about ½ inch. This consistent thickness is important for uniform cooking and a consistent texture in your finished donuts. Grab a large round cookie cutter – typically around 3-inches in diameter works well – and begin cutting out your Dulce De Leche Donuts. Remember, these delicious treats are designed to be filled, so they do not have holes in the center. From one batch of this dough, you can typically yield about 10-12 beautifully shaped donuts. Gather any dough scraps, gently knead them together, and re-roll to cut out additional donuts, ensuring you make the most of your delicious dough.
Now, it’s time for the crucial second rise, also known as proofing. Carefully place your cut-out Dulce De Leche Donuts onto two parchment-lined baking sheets. It’s essential to use two sheets or ensure ample space between each donut, as they will expand significantly during this second proofing. To make handling and transferring the delicate proofed donuts to the hot oil much easier, I highly recommend cutting parchment paper into individual squares, roughly 5×5 inches, and placing one donut on each square. This method provides a stable base and prevents sticking, minimizing the risk of deflating your perfectly risen donuts.
The final proofing stage demands a warm and, most importantly, humid environment. Humidity is critical because it prevents the surface of the donuts from drying out and forming a ‘skin’. A dry skin can inhibit proper rising and often leads to large, undesirable air pockets inside the fried donut. The ideal method for proofing your donuts is to create a makeshift proofing box in your oven. Place your baking sheets with the donuts on the top and middle racks of your oven. On the very bottom rack, place a baking pan filled with freshly boiled water. Next, turn your oven on to 350°F (175°C) for *exactly one minute*, then immediately switch it off. Do not allow the oven to preheat fully; you are simply creating a warm, steamy environment. Let the donuts proof in this warm, humid oven for about 20 more minutes. This is the perfect time to start heating your frying oil, ensuring it’s ready once your donuts are perfectly proofed. If your oven has a dedicated ‘bread proof’ function, that’s an even easier option to utilize for this step!
Frying Your Golden Dulce De Leche Donuts: Achieving Crispy Perfection
With your Dulce De Leche Donuts beautifully proofed and your frying oil heated to the optimal temperature, it’s time for the exciting transformation! The oil should be maintained between 350°F and 375°F (175°C – 190°C). A consistent oil temperature is paramount for perfect frying: if the oil is too cold, the donuts will absorb too much grease and become heavy; if it’s too hot, they’ll brown too quickly on the outside, leaving the inside raw. Therefore, a reliable deep-fry thermometer is your best friend here. Carefully pick up each proofed donut from its baking sheet – remember to be gentle! Aggressive handling can deflate the delicate air pockets that you worked so hard to create. If you used the parchment squares, you can place the donut directly into the hot oil still on its square. The parchment will easily detach in the oil and can be fished out with tongs after a few seconds.
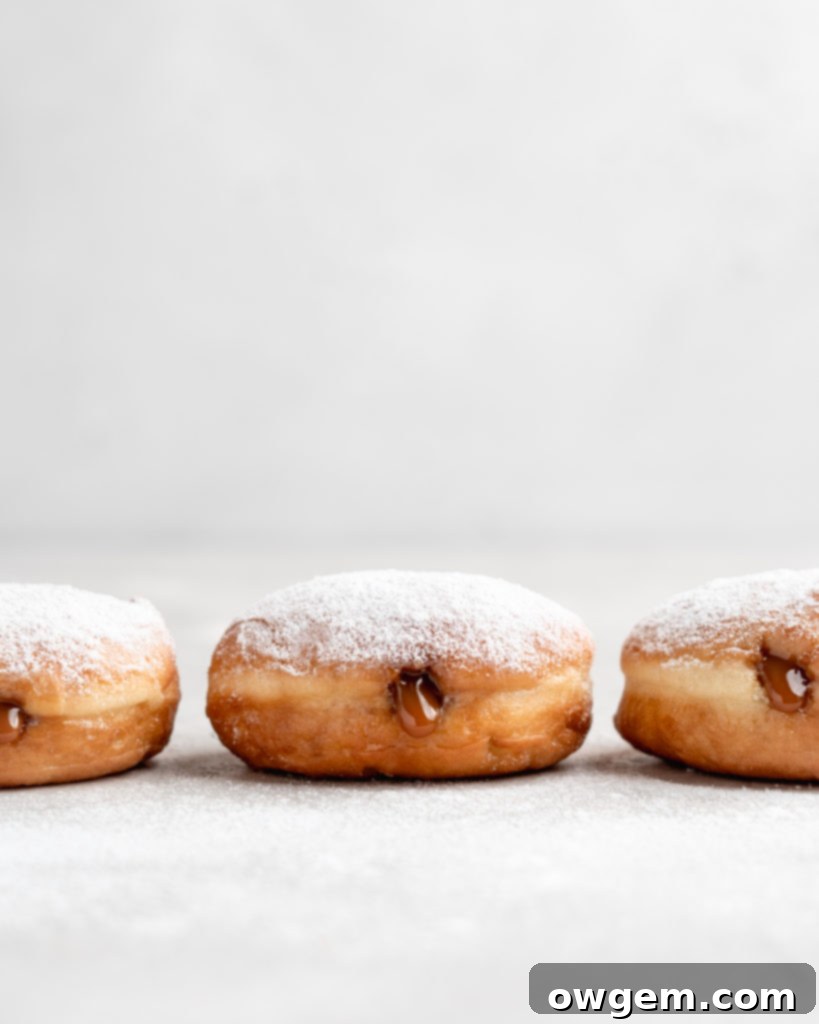
To ensure even cooking and to maintain the oil’s temperature, I recommend frying 4-5 donuts at a time, depending on the size of your pot. Overcrowding the pot will drastically drop the oil temperature and lead to greasy, undercooked donuts. As you fry in batches, it’s a good idea to keep the un-fried donuts in the humid oven (without the boiling water now, just the residual warmth) to prevent them from drying out while they wait their turn. Fry each side of the donut for approximately 1 to 1.5 minutes, or until it develops a gorgeous, even golden-brown color. Once fried to perfection, use a spider skimmer or tongs to gently remove the Dulce De Leche Donuts from the hot oil. Transfer them immediately to a wire cooling rack placed over a sheet of paper towels. The paper towels will absorb any excess oil, helping to keep your donuts light and less greasy. Allow them to cool slightly before moving on to the best part – the filling!
Filling Your Dulce De Leche Donuts: The Sweet Grand Finale
Once your freshly fried donuts have cooled enough to be comfortably handled – they should still be slightly warm, but not hot – it’s time for the moment you’ve been waiting for: filling them with that glorious dulce de leche! Begin by transferring your dulce de leche into a piping bag fitted with a medium-sized round piping tip. This tip size is ideal for creating a generous, even filling without tearing the donut. Next, take a bamboo skewer or a thin knife and insert it about halfway into the side of each donut. Gently wiggle the skewer around to create a hollow pocket inside, being careful not to push through the other side or tear the donut excessively. This pocket will neatly house your creamy filling.
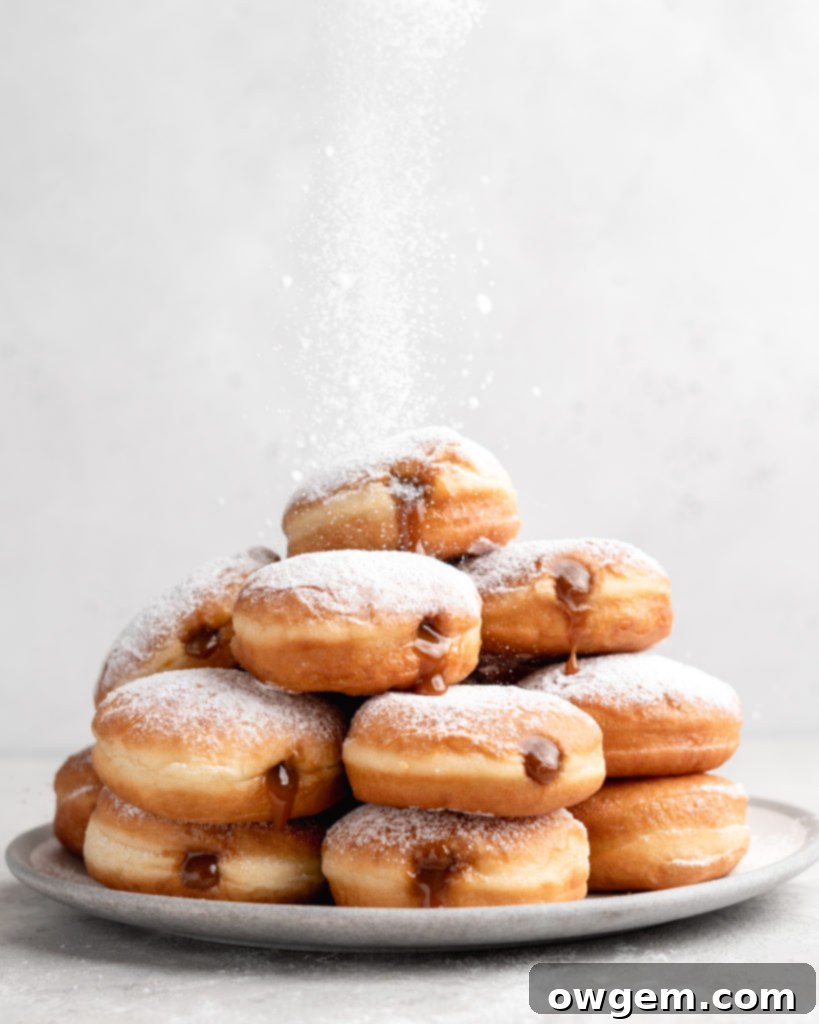
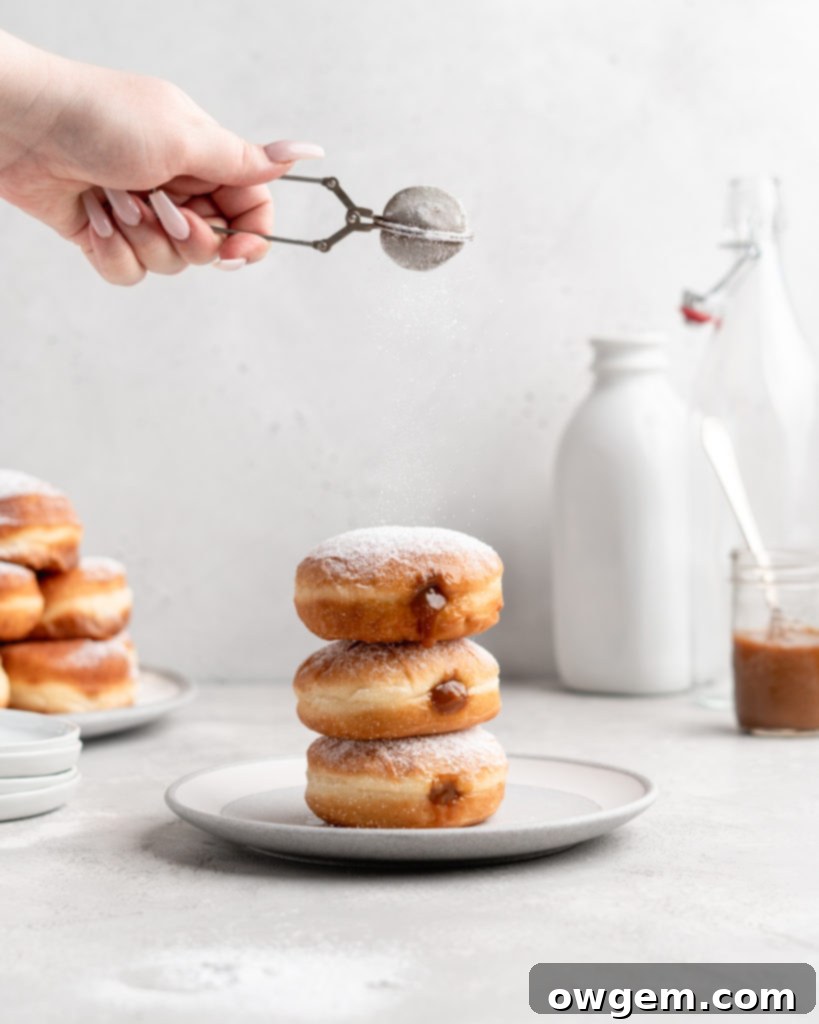
Now, insert the piping tip into the pocket you’ve created. Gently but firmly squeeze the piping bag, allowing the dulce de leche to flow into the donut. You’ll feel the donut become heavier and firmer as it fills. Continue piping until you feel a slight resistance, or until the filling just begins to peek out from the entry point. This indicates the donut is generously filled. Repeat this process with all your fried donuts. To complete these irresistible treats, give them a liberal dusting of confectioners’ sugar (also known as powdered sugar). This adds a beautiful presentation and an extra touch of sweetness. These Dulce De Leche Filled Donuts are truly at their peak when enjoyed warm, allowing the sweet, creamy dulce de leche to be the star. Prepare to be amazed by this delightful combination of tender donut and rich, milky caramel!
Get the Recipe:
Dulce De Leche Filled Donuts (Yeast Donuts)
Pin
Rate
Ingredients
- 6 tbsp Water, warmed to 105°F (40-41°C)
- 1 ½ tsp Instant Or Active Dry Yeast
- 2/3 cup Buttermilk, at room temperature
- 1 Large Egg, lightly beaten, at room temperature
- 1/4 cup Unsalted Butter, melted (but not hot)
- 1/4 cup Granulated Sugar
- 454 g (1 lb) All-Purpose Flour
- 1 tsp Salt
- Shortening/oil for frying, such as vegetable or canola oil
- 1-2 cups Dulce De Leche, store-bought or homemade, for filling
- Confectioners’ Sugar, for dusting on top
Equipment
-
Stand mixer with dough hook
-
Large wide pot (e.g., Dutch oven)
-
Deep-fry thermometer
-
Piping bag with medium round tip
Instructions
Making the Donut Dough
-
In a small measuring cup or bowl, combine the warm water (105°F / 40-41°C) and the instant or active dry yeast. Stir gently to combine, then set it aside for about 5-10 minutes until the mixture becomes foamy. This indicates your yeast is active. Meanwhile, in a separate medium bowl, whisk together the all-purpose flour and salt, then set it aside.
-
In the bowl of a stand mixer, add the buttermilk, lightly beaten egg, melted (but not hot) butter, and granulated sugar. Whisk these wet ingredients together until they are well combined. Pour in the bloomed yeast mixture from the measuring cup and whisk again to fully incorporate.
-
Add the reserved flour and salt mixture to the stand mixer bowl. Using a wooden spoon or spatula, mix until a shaggy dough begins to form and most of the flour is incorporated. Attach the dough hook to the stand mixer and knead on medium-low speed for approximately 5-7 minutes. The dough should become smooth, elastic, and slightly shiny, yet still remain tacky to the touch.
-
Lightly grease a large bowl with oil. Transfer the kneaded dough to this bowl, turning it once to coat all sides. Cover the bowl tightly with plastic wrap and place it in a warm, draft-free area to rise for about 1.5 to 2 hours, or until the dough has noticeably doubled in size.
Cutting, Proofing, & Frying
-
Once the dough has completed its first rise, gently remove the plastic wrap and press down to deflate it. Turn the proofed dough out onto a lightly floured work surface and roll it out evenly to about ½” thick. Using a round cookie cutter (a 3-inch cutter is recommended), cut out your donuts. Transfer the cut donuts onto two parchment-lined baking sheets, ensuring sufficient space between each for proper expansion during the second rise. For easier handling, you can place each donut on its own 5×5-inch parchment square before placing it on the baking sheet.
-
Now, it’s time for the second proofing in a warm, humid environment. This helps prevent a skin from forming and promotes an even rise. The best way to do this is by placing the baking sheets with donuts onto the top and middle racks of your oven. On the bottom rack, place a baking pan filled with boiling water. Close the oven door. Turn your oven on to 350°F (175°C) for exactly one minute, then immediately turn it off (the goal is not to bake them, but to create a warm, steamy microclimate). Let the donuts proof in this environment for about 20 minutes. Alternatively, if your oven has a ‘bread proof’ function, simply use that.
-
While the donuts are proofing, add enough shortening or frying oil (such as vegetable or canola oil) to a large, wide pot (like a Dutch oven) to fill it about halfway. Heat the oil over medium-high heat until it reaches a consistent temperature between 350°F and 375°F (175°C – 190°C) using a deep-fry thermometer. When ready, carefully (without deflating them) pick up the proofed donuts and gently place them into the hot oil. Fry 4-5 donuts at a time to avoid overcrowding. Fry each side for about 1 to 1.5 minutes, or until both sides are beautifully golden brown. Remove the fried donuts with a spider skimmer or tongs and place them on a wire cooling rack set over paper towels to drain excess oil.
Filling with Dulce De Leche
-
Once the fried donuts are cool enough to handle comfortably, prepare your filling. Add the dulce de leche into a piping bag fitted with a medium-sized round tip. For each donut, insert a bamboo skewer (or a small, thin knife) about halfway into the side, then gently wiggle it around to create a small pocket for the filling. Insert the piping bag tip into this pocket and squeeze the dulce de leche into the donut until it feels full and slightly resists more filling. Finally, dust the filled donuts generously with confectioners’ sugar before serving immediately and enjoying warm!
Notes
Source: Recipe adapted from Christina Cucina
