Delightful Brown Butter & Vanilla Yeast Donuts: The Ultimate Homemade Donut Recipe
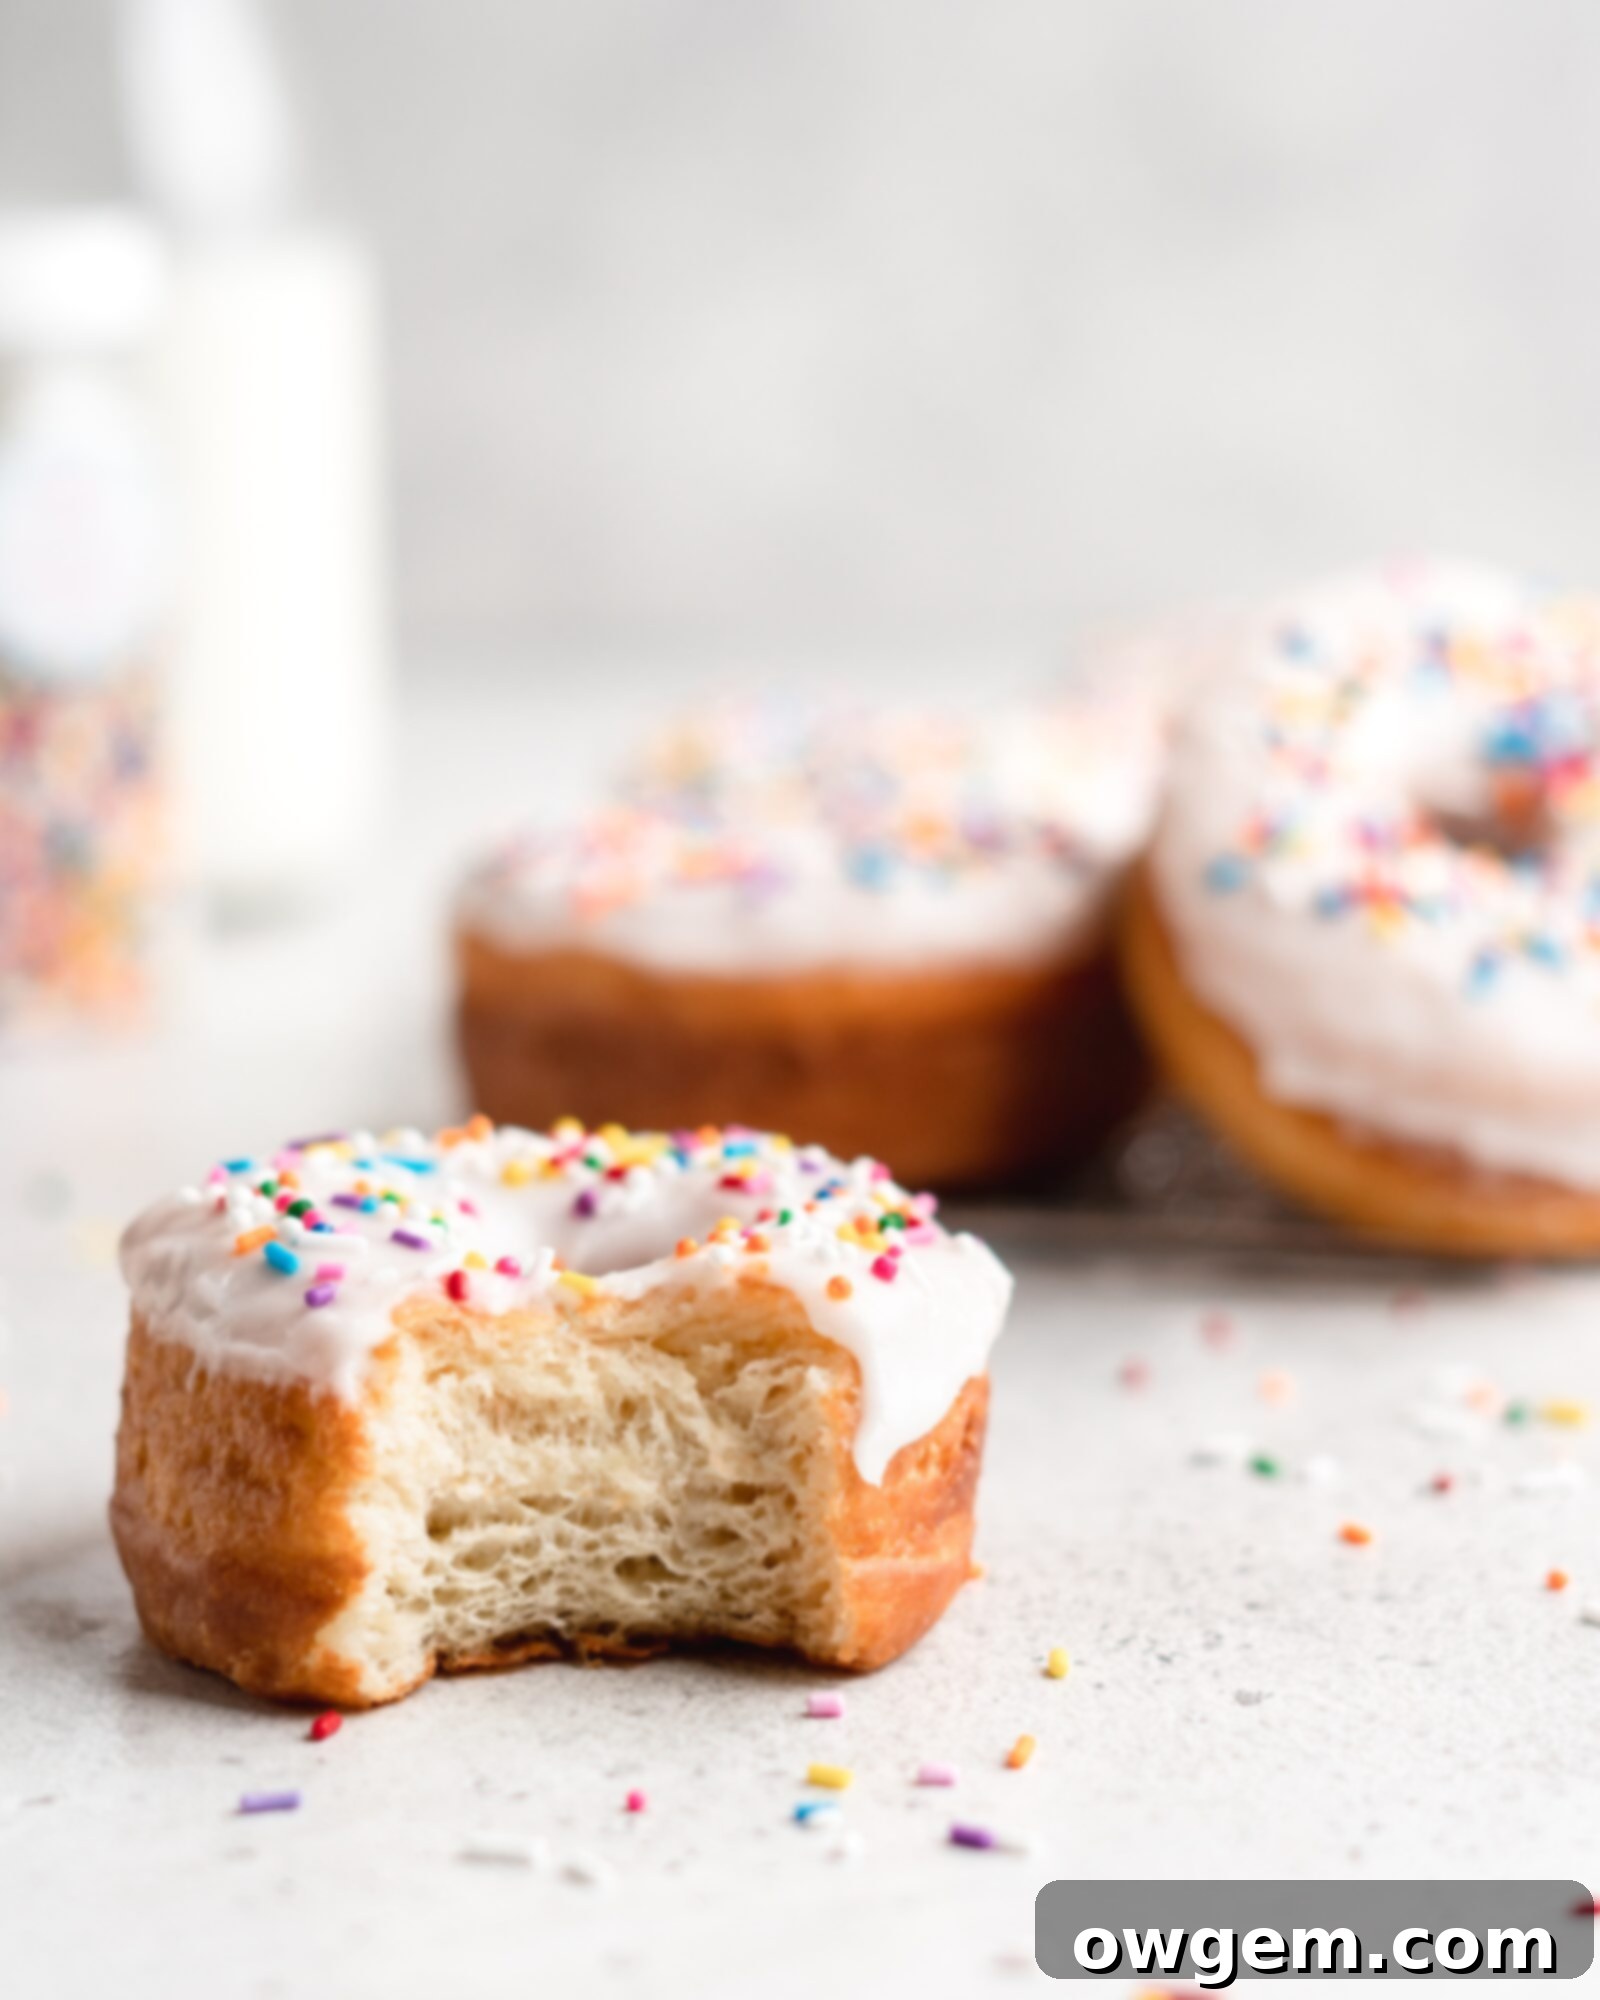
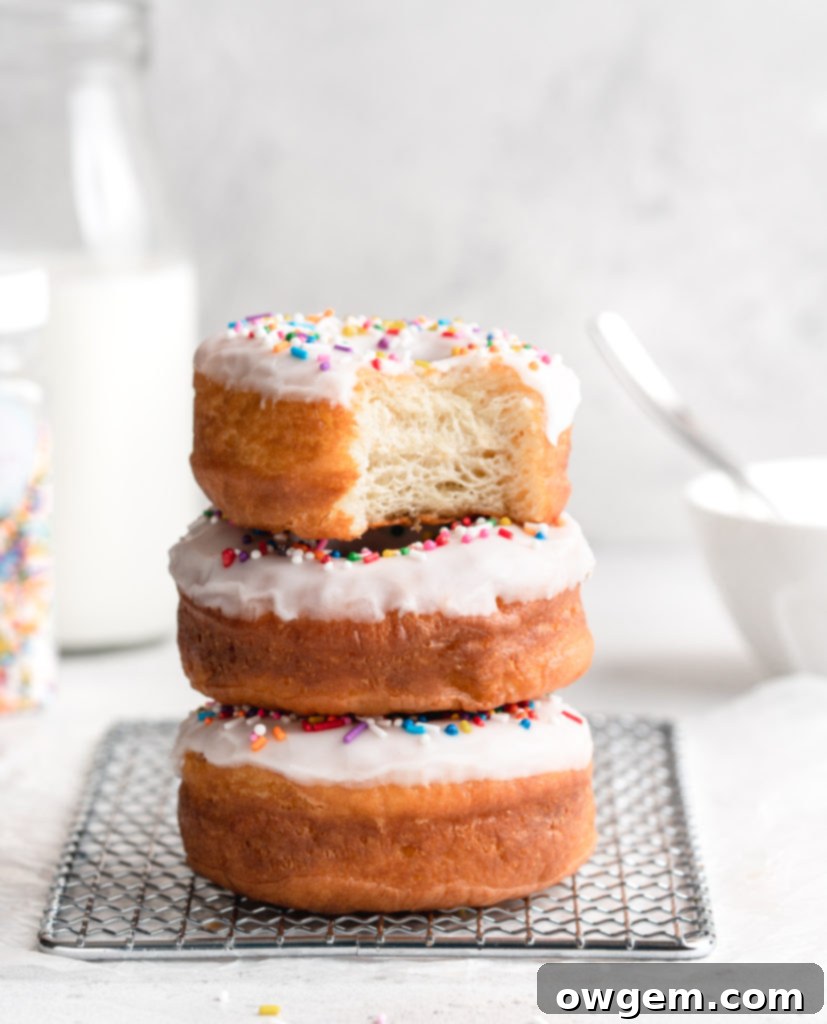
If you’re anything like me, you have an undeniable weakness for donuts. Seriously, I could easily devour an entire dozen without a second thought! While there’s a vast universe of donut varieties and endless ways to prepare them, I’ve always been particularly fond of the classic, fluffy yeasted donut. But even perfection can be enhanced, right? That’s where brown butter and vanilla enter the scene, transforming an already beloved treat into something truly extraordinary. These aren’t just any donuts; these Brown Butter & Vanilla Donuts are exceptionally soft, delightfully light, incredibly airy, and undeniably delicious. Prepare to elevate your homemade donut game to a whole new level of flavor and texture with this incredible recipe.
What is Brown Butter and Why It’s a Game-Changer
If you’ve ever had the pleasure of smelling butter as it browns, then you inherently understand why it’s the secret ingredient in this recipe. The aroma alone is enough to captivate any baker! But what exactly happens during the browning process? It’s a culinary marvel that involves gently heating unsalted butter until its water content evaporates and the milk solids separate from the butterfat. As these milk solids sink to the bottom of the pan, the heat causes them to undergo a fascinating chemical reaction known as the Maillard reaction. This is the same reaction responsible for the irresistible browning and deepening of flavors in everything from seared steaks to roasted vegetables and baked goods.
In the context of butter, the Maillard reaction essentially caramelizes these tiny milk solids, transforming them from bland components into intensely flavorful, toasted particles. The result is brown butter, also known as *beurre noisette* (hazelnut butter) in French cuisine, which takes on a deep, amber color and an incredibly rich, complex flavor profile. It imparts a distinctive nutty, toasty, and subtly caramel-like taste that adds immense depth and sophistication to any dish, especially baked goods like these yeast donuts. This rich flavor component perfectly complements the sweet vanilla, creating a truly harmonious and unforgettable donut experience.
How to Perfectly Brown Butter for Your Donuts
Browning butter might sound intimidating, but it’s actually quite simple and incredibly rewarding. Don’t let the idea of it hold you back! Here’s a step-by-step guide to ensure you achieve perfectly browned butter every time:
- **Preparation:** Start with unsalted butter, cubed and brought to room temperature. This helps it melt more evenly. Place it in a small, light-colored saucepan over medium heat. A light-colored pan allows you to easily monitor the color changes.
- **Melting & Foaming:** The butter will first melt, then begin to foam. This foam is primarily the water content evaporating.
- **The Maillard Reaction:** As the foam subsides, you’ll see tiny milk solids begin to appear at the bottom of the pan. Continue to gently boil the butter, stirring constantly with a whisk or heat-proof spatula. Constant stirring is crucial to ensure even cooking and prevent the milk solids from burning.
- **Color & Aroma:** Keep a close eye on the color. The butter will transition from yellow to golden, then to a beautiful nutty brown. Simultaneously, you’ll be treated to an incredibly fragrant aroma reminiscent of toasted nuts and caramel. It can be tricky to see the exact color through the foam, so occasionally remove the pan from the heat and swirl it gently to check the color.
- **Cooling is Key:** Once it reaches that perfect nutty brown, immediately remove the pan from the heat and pour the brown butter into a heat-proof measuring cup or bowl. It’s essential to stop the cooking process promptly to prevent it from burning. For this donut recipe, the brown butter needs to be cooled down significantly before being incorporated into the dough. I recommend placing the measuring cup in the refrigerator or even the freezer. In the freezer, it typically takes about 15-30 minutes for it to cool sufficiently. When it’s ready to be used, it should still be liquid but only slightly warm or cool to the touch. This cool temperature is vital to avoid activating the yeast prematurely or cooking the eggs in the dough mixture.
Crafting the Perfect Brown Butter Donut Dough
As with most enriched bread doughs, a stand mixer equipped with a dough hook attachment is an absolute lifesaver. It makes the kneading process effortless and ensures a perfectly developed dough. Here’s how to create the ideal foundation for your incredible brown butter donuts:
- **Activate the Yeast:** Begin by “blooming” your yeast. In a small bowl or measuring cup, combine warm whole milk (around 105°F / 40°C is perfect – too hot will kill the yeast, too cold won’t activate it) and a spoonful of sugar. Sprinkle the instant or active dry yeast over the top, give it a gentle stir, and let it sit for about 5-10 minutes. You’ll know it’s ready when a frothy layer forms on the surface, indicating the yeast is alive and active.
- **Combine Wet Ingredients:** Once your yeast is bloomed, pour this milky mixture into the bowl of your stand mixer. Add the cooled (but still liquid) brown butter and the lightly beaten eggs. Whisk these ingredients together until they are well combined. The brown butter will add an unparalleled richness and complexity, while the eggs contribute to the dough’s softness and color.
- **Incorporate Dry Ingredients:** Gradually add the all-purpose flour and salt to the wet mixture. The salt is crucial not just for flavor, but also for controlling yeast activity and strengthening the gluten structure.
- **Knead to Perfection:** Attach the dough hook to your stand mixer and begin kneading on medium-low speed. Continue to beat the dough for approximately 5-10 minutes. You’re looking for a dough that transforms into a smooth, elastic, and shiny consistency. It should still feel slightly tacky to the touch – meaning it will cling to the bottom of the bowl but pull away cleanly from the sides. This tackiness is a good sign of proper hydration and will result in light, airy donuts.
- **Adjusting Consistency:** If, after 5-10 minutes, your dough still feels excessively wet and sticky, add a small amount of flour (about a tablespoon at a time), continuing to knead until it reaches the desired consistency. Avoid adding too much flour, as this can lead to dense donuts.
- **First Rise (Bulk Fermentation):** Once kneaded, transfer the dough to a well-oiled large bowl. Turn the dough once to ensure it’s coated in oil, which prevents it from drying out. Cover the bowl tightly with plastic wrap or a damp kitchen towel. Place it in a warm, draft-free spot for its initial rise. This “bulk fermentation” typically takes about an hour, or until the dough has noticeably doubled in size. A warm oven (turned off) or a sunny spot on your counter works wonders for proofing.
Proofing and Cutting Your Delicious Brown Butter Donuts
After the dough has completed its initial rise and become wonderfully puffy, it’s time to shape your donuts. This step is crucial for achieving that classic donut shape and ensuring a light texture.
- **Deflate the Dough:** Gently remove the plastic wrap from the bowl and, with a soft touch, press down on the dough to deflate it. This releases the gases built up during the first rise and helps create a finer, more even crumb in the final donut.
- **Roll Out the Dough:** Turn the dough out onto a lightly floured work surface. Using a rolling pin, roll the dough out to an even thickness of approximately ½ inch (about 1.25 cm). Aim for consistent thickness across the entire sheet of dough for uniformly cooked donuts.
- **Cut Your Donuts:** Now for the fun part – cutting! You can use a specific donut cutter, which creates both the donut and the hole simultaneously. Alternatively, you can use a large round cookie cutter (around 3-3.5 inches in diameter) for the outer shape and a smaller round cutter (about 1 inch) for the donut holes. Carefully press the cutters straight down, avoiding twisting, to ensure clean edges that will rise beautifully. From a batch of this dough, you can typically yield about 10-12 full-sized donuts, plus their delicious donut holes.
- **Second Rise (Proofing):** Once cut, carefully transfer your brown butter donuts onto two parchment-lined baking sheets. It’s important to use two sheets to provide ample space between each donut, as they will expand during this second rise. Overcrowding can lead to uneven rising and difficulty in handling. Loosely cover the baking sheets with a clean kitchen towel or more plastic wrap to prevent the donuts from drying out. Place them in a warm, draft-free spot for their second proofing, which should take about 15 minutes. During this time, the donuts will puff up slightly and become even lighter.
- **Prepare for Frying:** While your donuts are undergoing their final rise, it’s the perfect opportunity to start heating your frying oil. This way, everything will be ready simultaneously, ensuring a smooth transition from proofing to frying.
Frying Your Golden Brown Butter Donuts to Perfection
The moment of truth! Frying is where your beautifully proofed dough transforms into those irresistible, golden-brown donuts. Precision in oil temperature is key here for success.
- **Oil Temperature Control:** Once your brown butter donuts have completed their second rise and are visibly puffed, and your oil has reached the ideal temperature range of 350°F – 375°F (175°C – 190°C), it’s time to fry! Using a deep-fry thermometer is highly recommended for accuracy. If the oil is too cool, the donuts will absorb too much oil and become greasy. If it’s too hot, they’ll brown too quickly on the outside, remaining raw in the center.
- **Careful Placement:** Gently and carefully pick each donut up from the baking sheet. Be extremely gentle – you don’t want to deflate all that wonderful air created during proofing. Carefully place them into the hot oil. Avoid dropping them from a height, which can also cause deflation and splashing.
- **Fry in Batches:** To maintain the oil temperature and ensure even cooking, I typically fry 4-5 donuts at a time, depending on the size of my pot. Overcrowding the pot will drastically drop the oil temperature and lead to greasy, undercooked donuts.
- **Golden Brown Finish:** Fry each side for approximately 1 to 1 ½ minutes, or until it achieves a beautiful, even golden-brown color. You’ll see the edges start to darken first. Use tongs or a spider strainer to carefully flip them.
- **Draining Excess Oil:** Once both sides are golden and cooked through, remove the brown butter donuts from the oil using a spider or tongs. Immediately transfer them to a cooling rack placed over a layer of paper towels. The paper towels will absorb any excess dripping oil, ensuring your donuts aren’t overly greasy.
- **Don’t Forget the Donut Holes!** After all the larger donuts have been fried, don’t forget those adorable donut holes! They fry much faster, usually in about 30-60 seconds per side, and are perfect for a quick taste test.
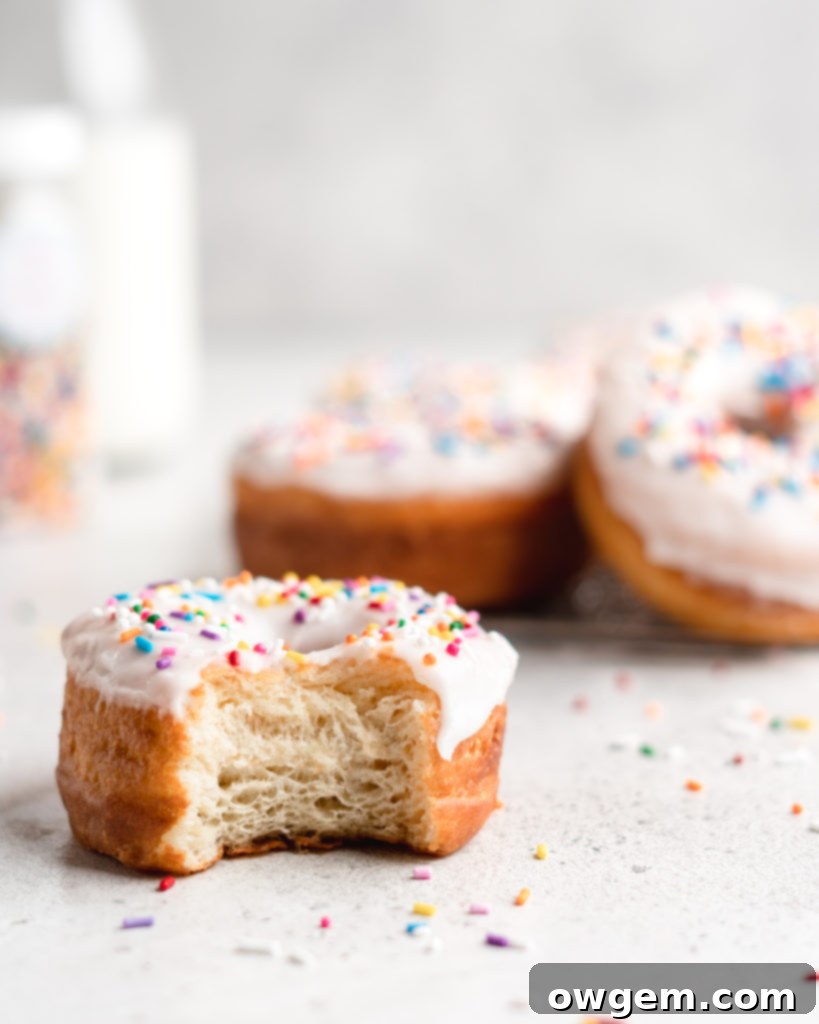
Decorating Your Brown Butter & Vanilla Masterpieces
Once your beautiful brown butter donuts have cooled slightly, it’s time to get creative with decoration! The beauty of these donuts is their versatility – they serve as a fantastic canvas for almost any topping. While a simple vanilla glaze perfectly highlights the rich brown butter and vanilla notes, feel free to experiment with your favorites. I’ve successfully decorated these donuts with:
- **Rich Chocolate Glaze:** A dark, glossy chocolate glaze provides a wonderful contrast to the nutty brown butter flavor.
- **Sweet Honey Glaze:** For an extra layer of sweetness and a delicate floral aroma, a honey glaze is a delightful choice.
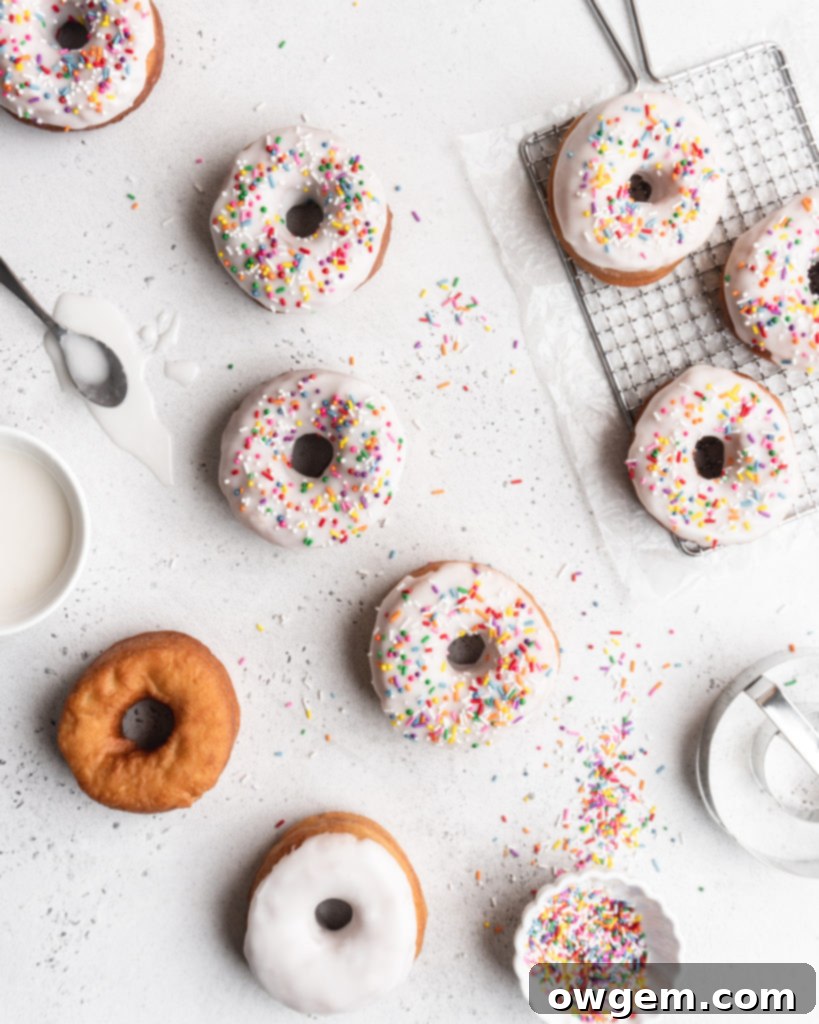
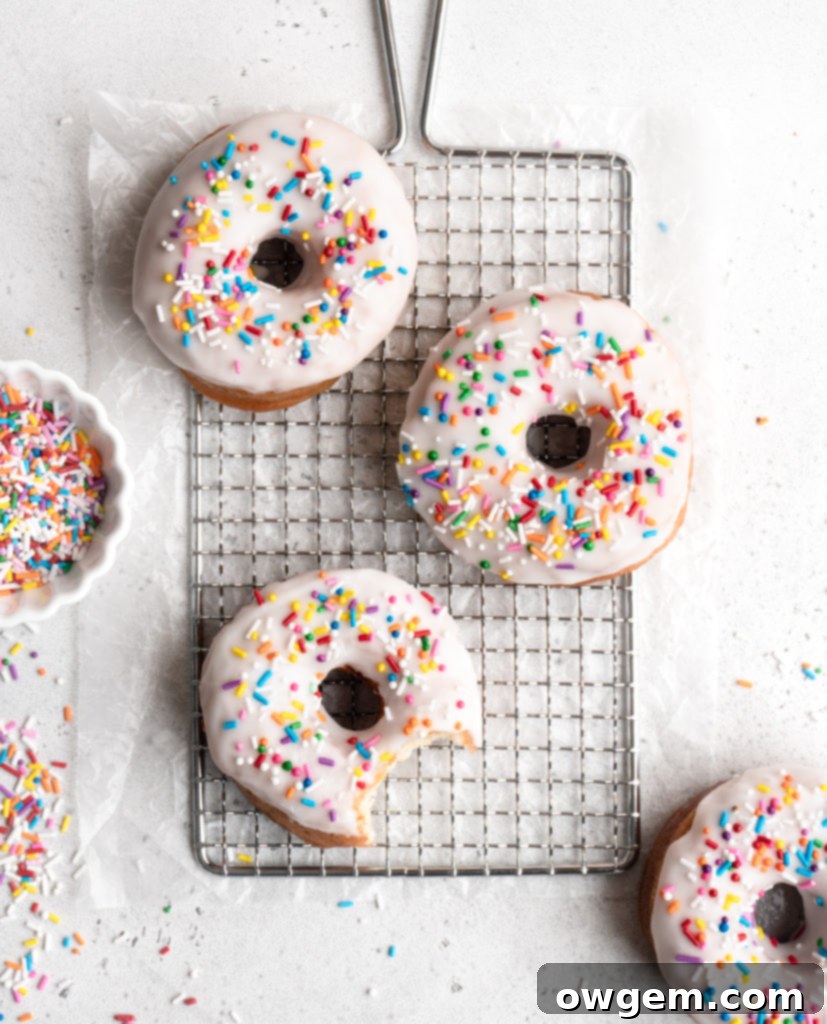
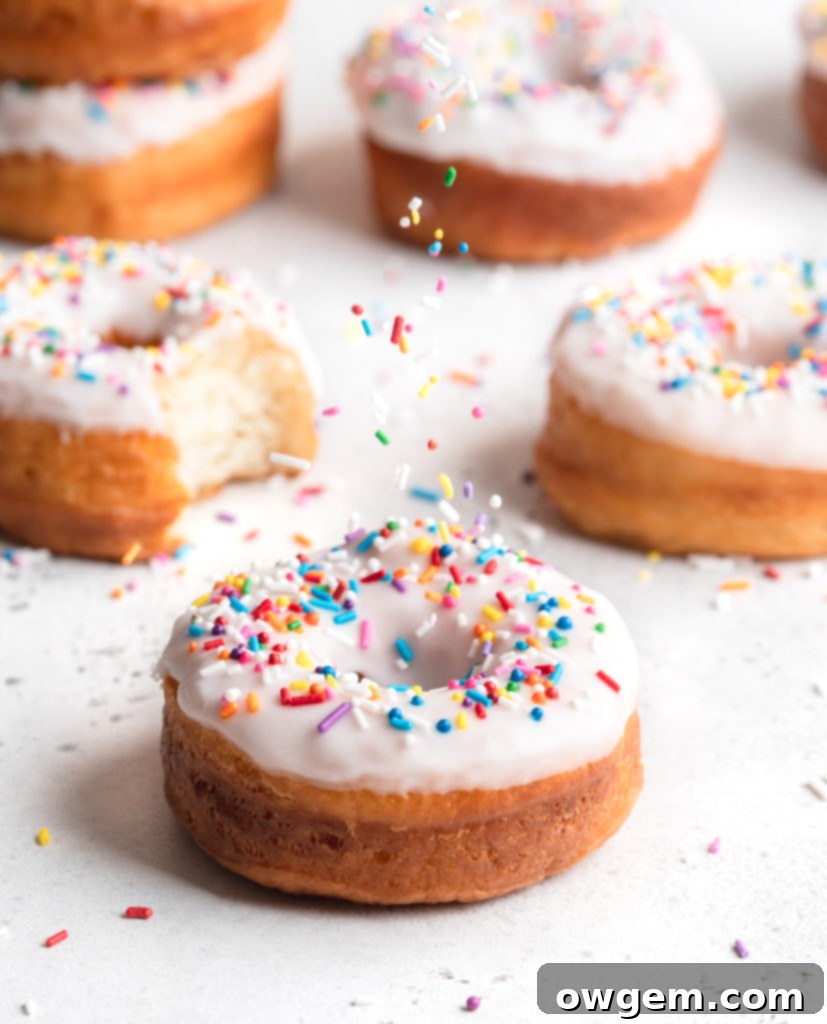
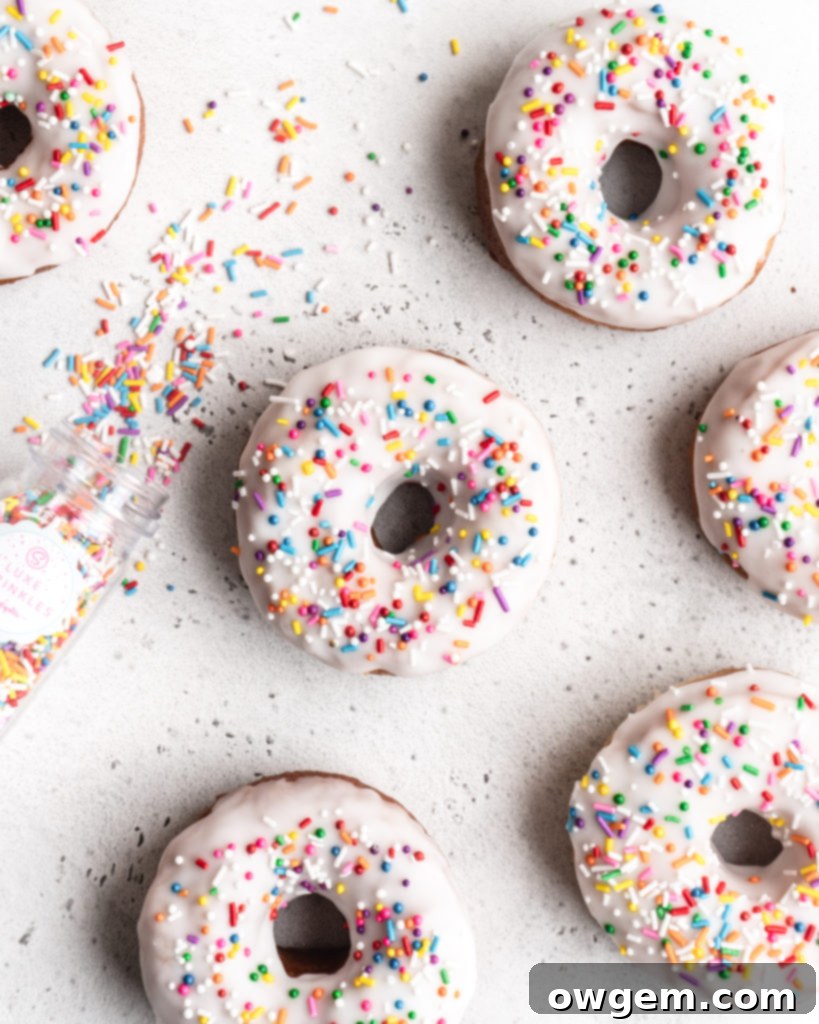
- **Classic Vanilla Glaze:** This is often my go-to, as it enhances the vanilla within the donut while offering a smooth, sweet finish. A simple mix of powdered sugar, milk, and vanilla extract does the trick.
- **Vibrant Candy Melts:** For a pop of color and a fun, customizable look, melted candy wafers are excellent.
- **Donut Sugar or Cinnamon Sugar:** For those who prefer a simpler, less-frosted donut, a quick toss in granulated sugar, or a blend of sugar and cinnamon, is always a crowd-pleaser. The warmth of the freshly fried donut helps the sugar adhere perfectly.
These brown butter donuts truly take any type of glaze or decoration well, so let your imagination guide you! Add sprinkles, chopped nuts, a drizzle of caramel, or even a dusting of cocoa powder for an extra flourish. Enjoy the process of personalizing your homemade treats!

Get the Recipe:
Brown Butter & Vanilla Yeast Donuts
Pin
Rate
Ingredients
- 10 tbsp Unsalted Butter,, at room temperature and cut into pieces
- 1 1/8 cups Whole Milk,, warmed to 105°F (40°C)
- 1/4 cup Granulated Sugar
- 2 1/4 tsp Instant Or Active Dry Yeast
- 2 Large Eggs,, lightly beaten
- 1 tsp Pure Vanilla Extract
- 5 cups (600g) All-Purpose Flour,, measured correctly †
- 1/2 tsp Fine Sea Salt
- Shortening or High Smoke Point Oil for frying
Equipment
-
Stand mixer with dough hook
-
Small saucepan
-
Deep-fry thermometer
-
Donut cutter or round cookie cutters
-
Large wide pot (e.g., Dutch oven)
-
Cooling rack and paper towels
Instructions
Making the Donut Dough
-
In a small, light-colored saucepan over medium heat, add the cubed unsalted butter. Bring the butter to a gentle boil and continue heating, stirring constantly with a whisk or heat-proof spatula. This promotes even browning and prevents burning. The butter will melt, then foam, and as the foam subsides, you’ll see milk solids browning at the bottom. Keep heating and stirring until the butter turns a rich, nutty brown color and becomes ultra-fragrant. If foam obstructs your view, periodically remove the pan from heat to check the color. Immediately remove from heat, pour the brown butter into a heat-proof glass measuring cup, and place it in the freezer to cool off for 15-30 minutes. It should still be liquid but only slightly warm or cool to the touch before adding to the dough.
-
In a separate small measuring cup, combine the warm milk (105°F / 40°C), granulated sugar, and yeast. Stir gently to combine. Allow this mixture to sit undisturbed for about 5-10 minutes, or until it becomes noticeably foamy on the surface, indicating the yeast is active. Meanwhile, in a separate bowl, whisk together the all-purpose flour and fine sea salt, and set this dry mixture aside.
-
Into the bowl of your stand mixer, add the lightly beaten eggs, pure vanilla extract, and the cooled (but still liquid) brown butter. Whisk these ingredients together until well combined. Then, add the bloomed yeast-milk mixture to the stand mixer and whisk once more to ensure everything is thoroughly incorporated. Attach the dough hook to your stand mixer and prepare to begin kneading.
-
With the stand mixer on medium-low speed, gradually add the flour-salt mixture to the wet ingredients. Mix for approximately 8-10 minutes, allowing the dough to come together and develop. When ready, the dough should be smooth, elastic, and have a slight tackiness to the touch (it should cling to the bottom of the bowl but pull away cleanly from the sides). If the dough appears too wet and sticky after kneading, add more flour in small increments (1 tablespoon at a time), continuing to mix until the proper consistency is achieved.
-
Lightly grease a large bowl with oil. Transfer the kneaded dough into the greased bowl, turning it once to coat. Cover the bowl securely with plastic wrap or a clean, damp kitchen towel. Place the covered bowl in a warm, draft-free area to rise for about an hour, or until the dough has doubled significantly in size.
Cutting, Proofing, & Frying
-
Once the dough has proofed, turn it out onto a lightly floured work surface. Using a rolling pin, roll the dough out evenly to be between ¼” and ½” thick. With your donut cutter (or a 3.5” round cookie cutter and a small 1” donut hole cutter), carefully cut out your donuts. Transfer the cut donuts onto two parchment-lined baking sheets, ensuring sufficient space between each donut to allow for their final rise. Cover the baking sheets loosely with a clean towel or plastic wrap, and place them in a warm area to rise for an additional 15 minutes. During this time, start heating your frying oil.
-
Fill a large, wide pot (like a Dutch oven) about halfway with your chosen frying oil or shortening. Heat the oil over medium-high heat until it reaches between 350°F (175°C) and 375°F (190°C) – use a deep-fry thermometer for accuracy. Carefully pick up each proofed donut (being gentle not to deflate it) and gently place it into the hot oil. Fry 4-5 donuts at a time to avoid overcrowding and maintain oil temperature. Fry each side for about 1 to 1 ½ minutes, or until beautifully golden brown. Remove the fried donuts from the oil with a spider strainer or tongs and place them onto a cooling rack set over paper towels to drain excess oil. Don’t forget to fry the donut holes, which will cook even faster!
Notes
Source: Adapted from The Pioneer Woman
Discover More Irresistible Yeast-Dough Recipes
If you loved making these Brown Butter & Vanilla Yeast Donuts and are eager to explore more delightful yeast-based bread recipes, you’re in for a treat! The world of yeasted doughs offers incredible versatility, from sweet pastries to savory breads. Check out these other fantastic recipes that are sure to impress:
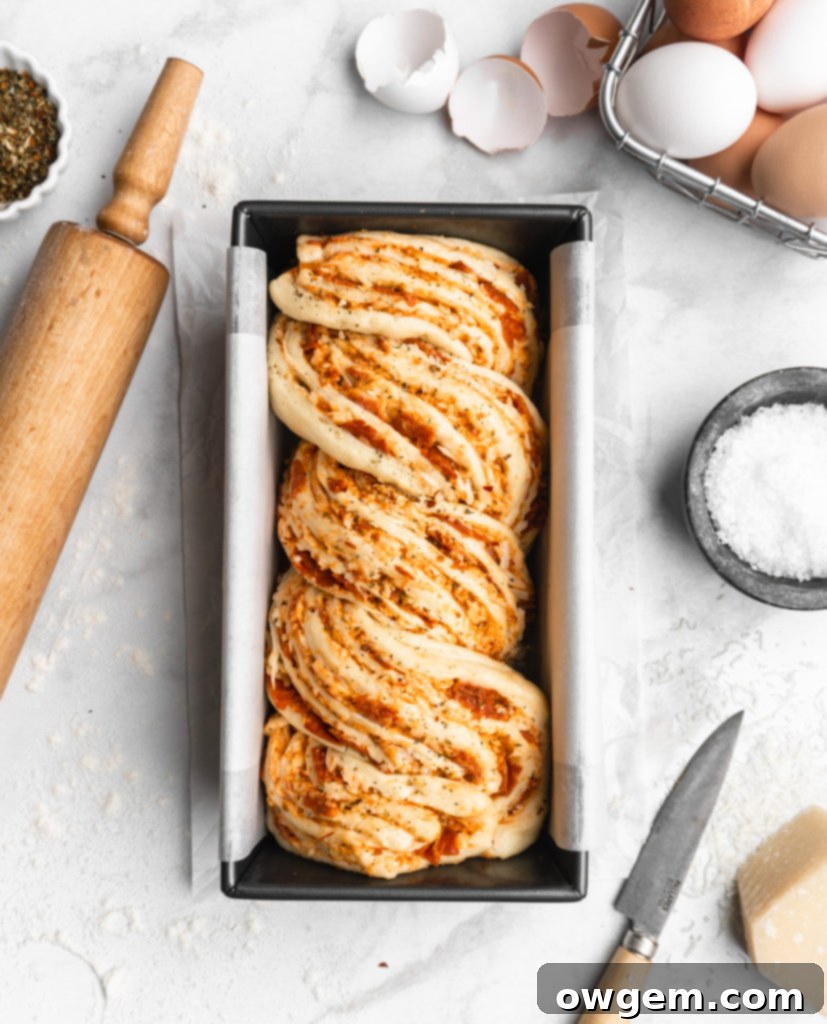
PEPPERONI PIZZA BABKA LOAF. Imagine the savory goodness of pepperoni pizza beautifully intertwined with soft, buttery bread. This incredible hybrid combines your favorite pizza flavors – rich marinara, gooey mozzarella, and salty pepperoni – all baked into an artistic, braided babka loaf. It’s cheesy, savory, and wonderfully buttery, perfect for a unique appetizer, snack, or even a casual meal. A true crowd-pleaser that’s as delicious to eat as it is stunning to look at!
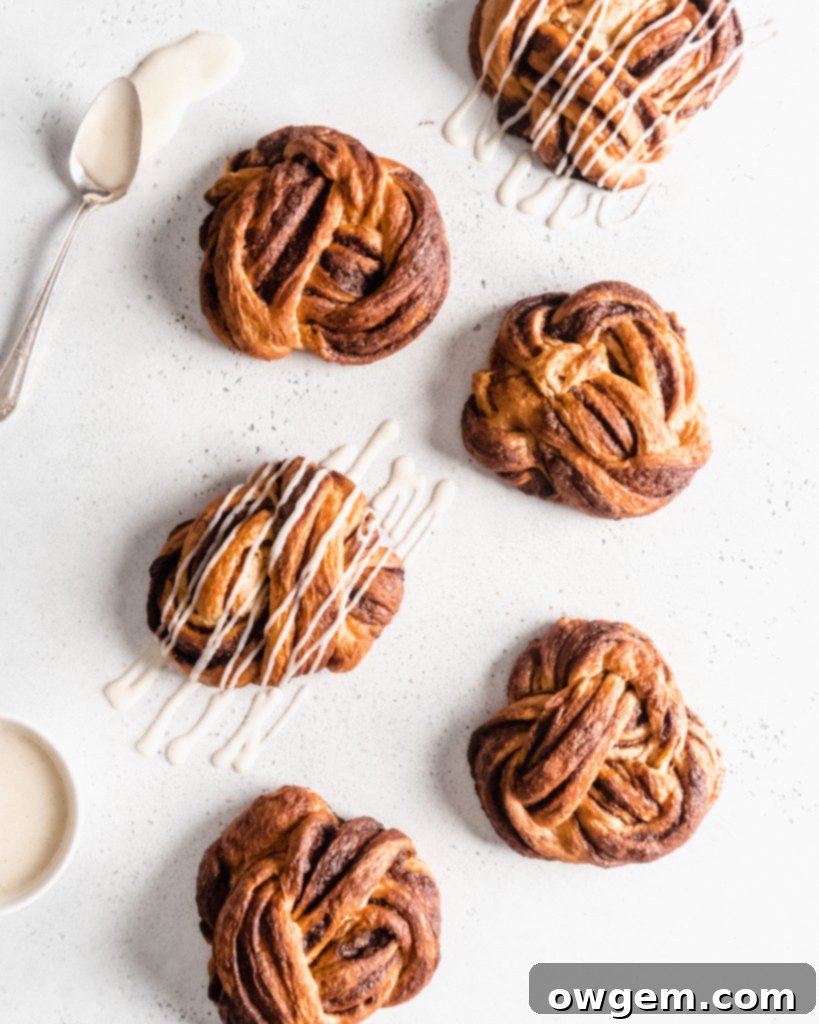
CINNAMON BRIOCHE BABKA KNOTS. Prepare for pure indulgence with these adorable and delectable babka knots. They feature a tender, rich, and incredibly buttery brioche dough, generously filled with a classic cinnamon-brown sugar mixture. Each knot is a perfect swirl of sweet spice and soft bread, making them an ideal treat for breakfast, brunch, or a sweet snack. Their beautiful knotted shape makes them extra special and a joy to share.

