Decadent Salted Honey Cheesecake: The Ultimate Creamy, Sweet & Salty Dessert Recipe
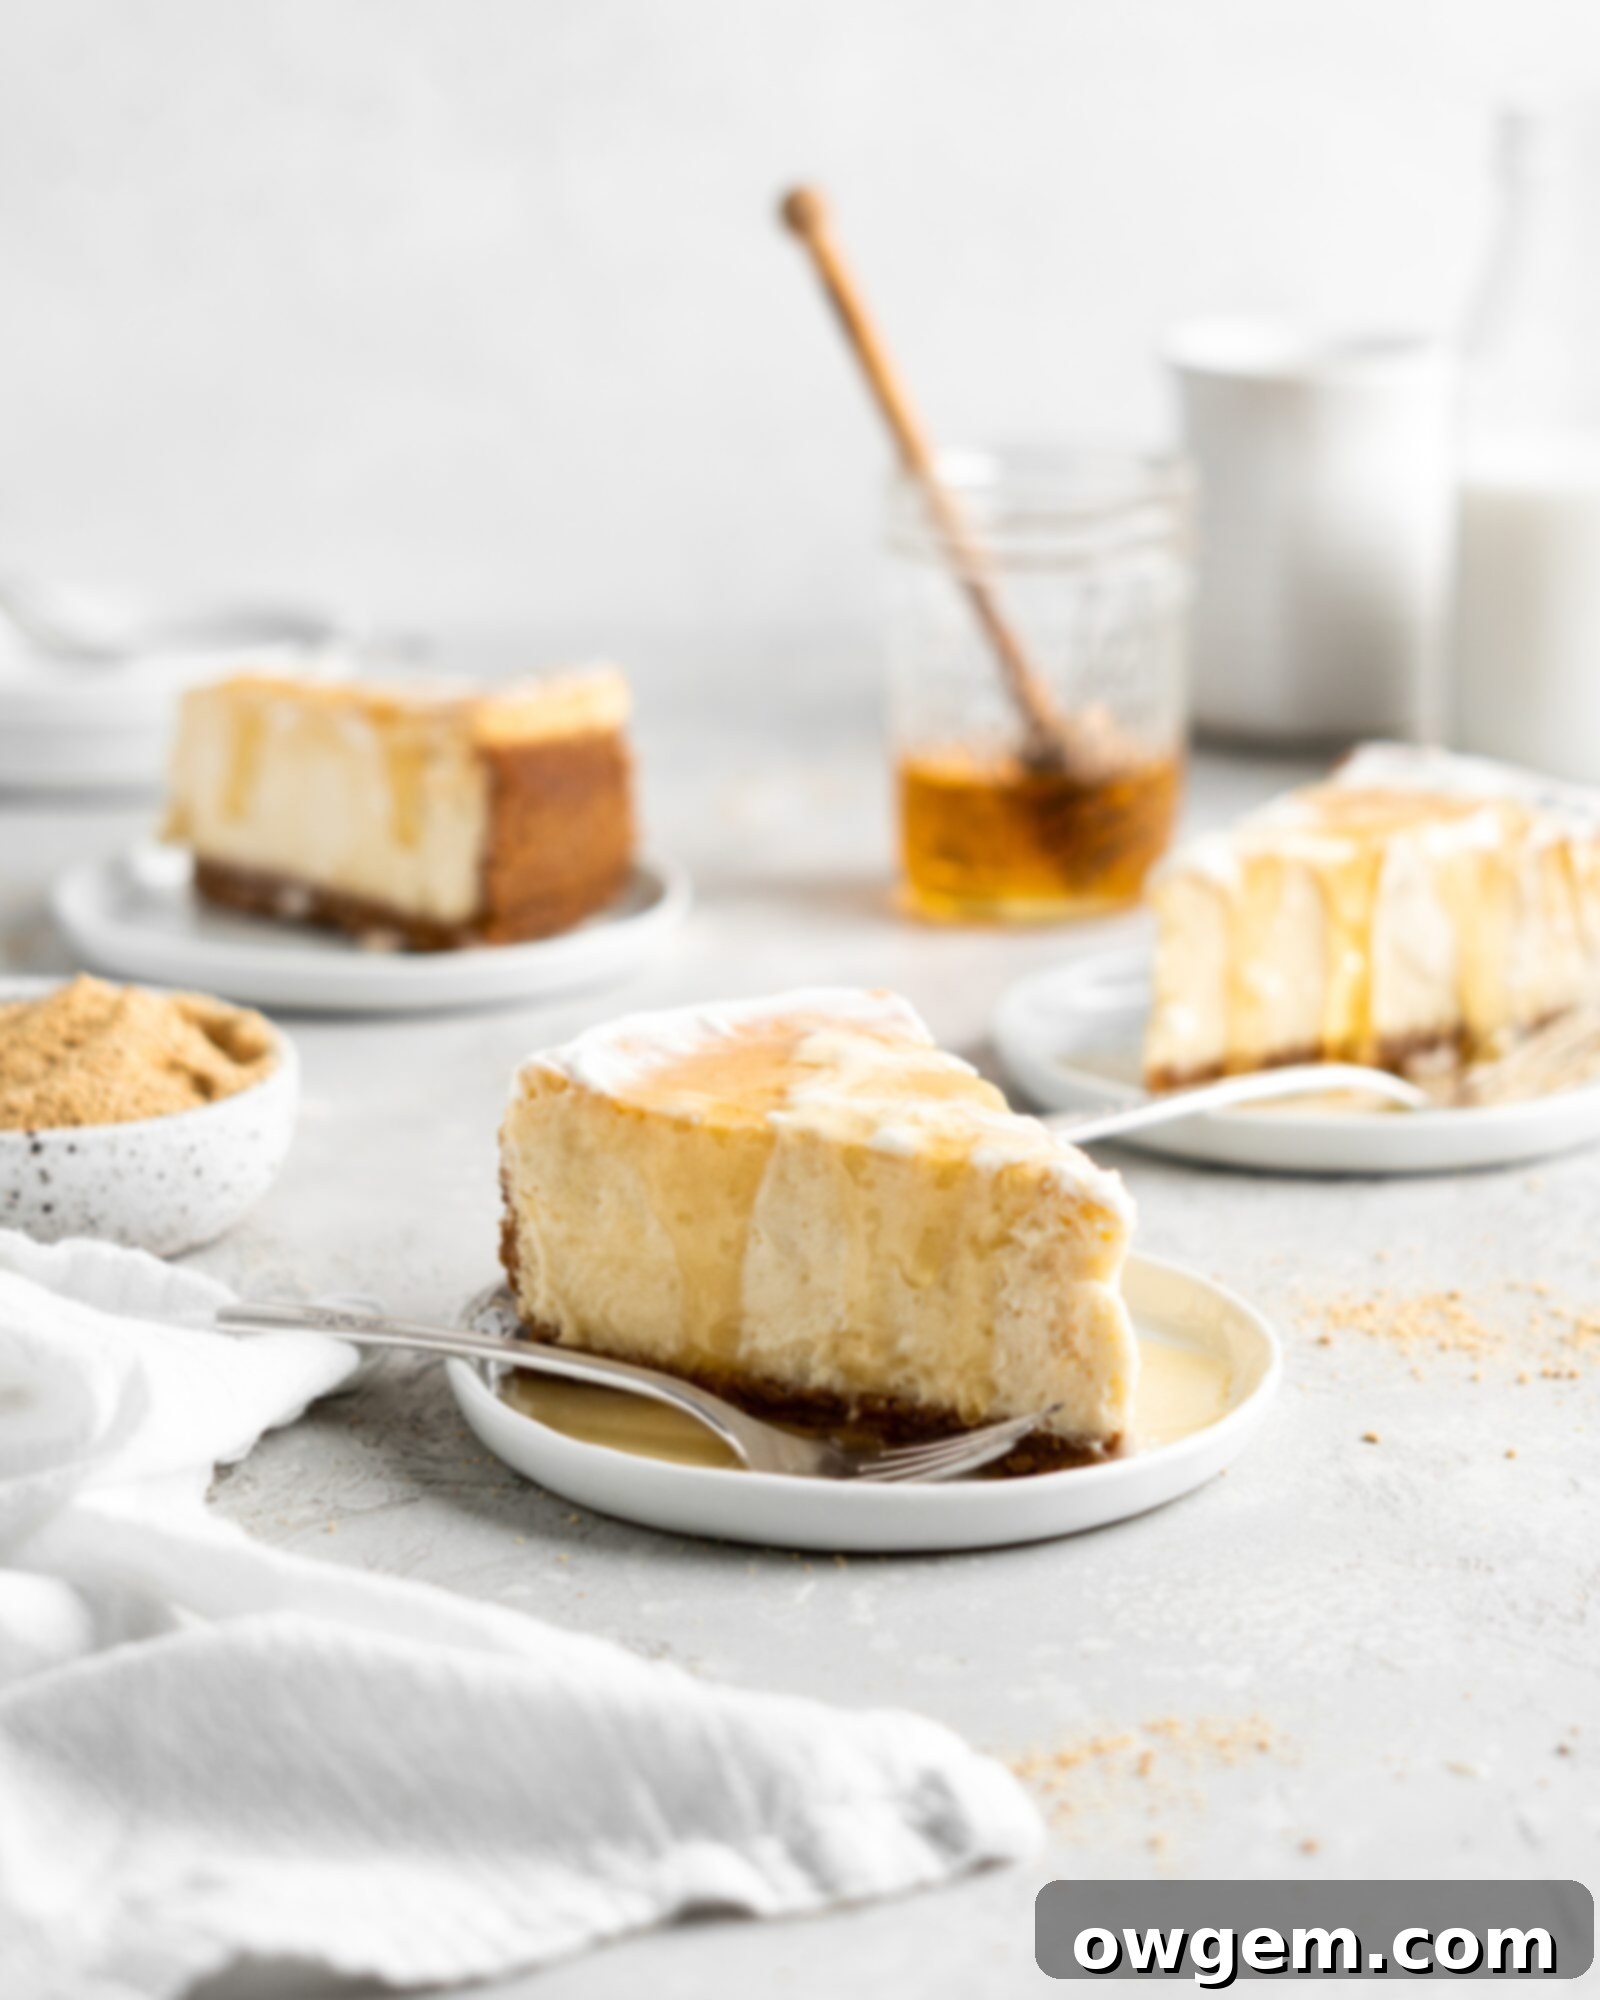
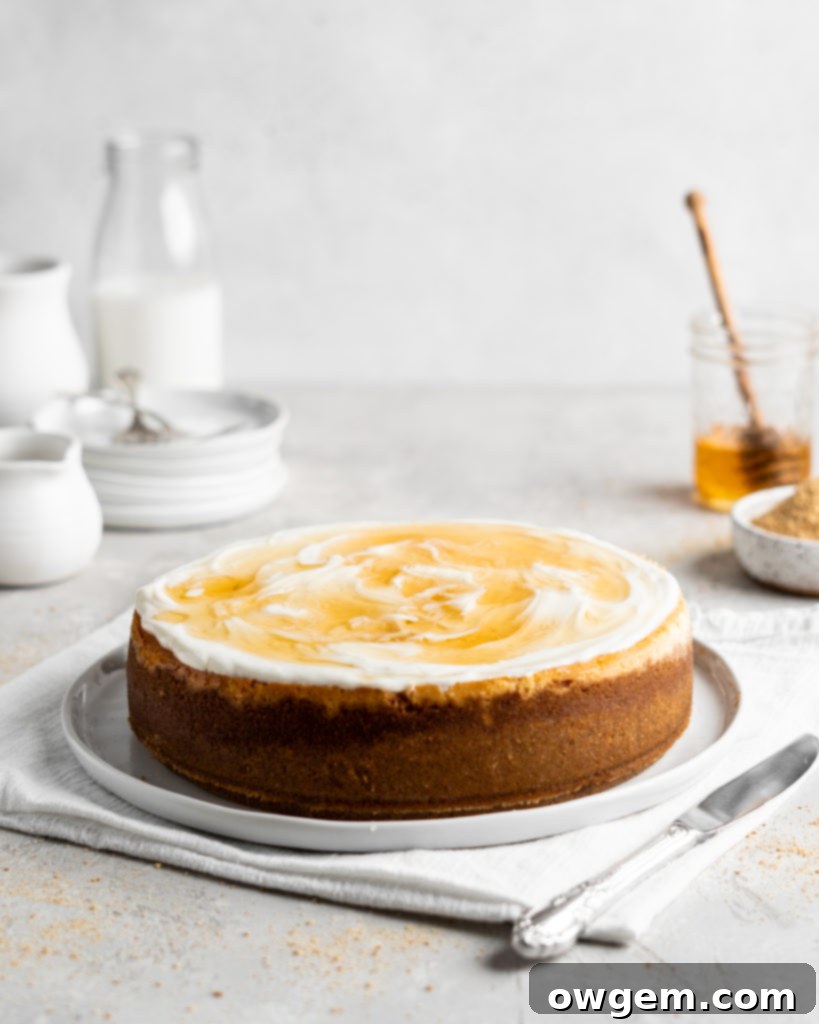
Prepare to elevate your dessert experience with this truly extraordinary Salted Honey Cheesecake. Far from your average cheesecake, this recipe promises an ultra-creamy, incredibly smooth texture that melts in your mouth, infused with a delicate yet distinct undertone of salted honey. Encased in a classic, buttery graham cracker crust and crowned with a luscious sour cream topping, it’s generously finished with an exquisite drizzling of homemade salted honey. This decadent dessert isn’t just a treat; it’s a masterpiece of balanced flavors, where the pure sweetness of honey meets a subtle hint of salt to create an unforgettable taste sensation. Get ready to impress with this perfect blend of rich, creamy, and satisfyingly sweet and salty notes.
The Secret to Perfection: Why Softened Cream Cheese is Crucial for Your Cheesecake
Achieving the signature velvety smooth texture of this Salted Honey Cheesecake hinges on one critical ingredient preparation: your cream cheese must be exceptionally soft. This isn’t just a suggestion; it’s a fundamental step that determines the success of your cheesecake’s consistency and overall appeal. Using cream cheese straight from the refrigerator is a common pitfall that often leads to lumpy batter and an unevenly textured final product, detracting from the luxurious mouthfeel we’re aiming for. For optimal results, your cream cheese needs to be at true room temperature, soft throughout its entire block.
To properly soften cream cheese, I recommend planning ahead. Remove the cream cheese blocks from the fridge several hours before you intend to bake, allowing them to sit on your kitchen counter. Depending on your room’s ambient temperature, this process could take anywhere from 2 to 4 hours. You’ll know it’s perfectly ready when it feels very pliable to the touch and has a consistent, soft texture throughout the block, not just on the outside. This patience will be richly rewarded in the final creamy cheesecake.
If time is of the essence and you’ve forgotten to take the cream cheese out in advance, don’t despair! A quick softening method involves cutting the cream cheese into smaller, 1-inch cubes. Place these cubes in a microwave-safe bowl and heat them in very short 30-second intervals. After each interval, stir the cream cheese vigorously with a spatula or spoon. Repeat this process until the cream cheese is wonderfully soft and creamy, resembling a thick paste, but crucially, not hot or melted. Overheating can change its chemical structure, making your cheesecake batter too thin and potentially affecting its setting capabilities.
The science behind using softened cream cheese for cheesecakes is both simple and profound. Soft cream cheese mixes far more easily and uniformly with other ingredients like sugar, honey, and eggs. This effortless blending ensures that your batter is impeccably smooth and completely free of any unmixed chunks, resulting in a perfectly homogeneous and luxuriously creamy Salted Honey Cheesecake every single time. Cold cream cheese, on the other hand, resists mixing, creating friction and leading to a lumpy batter that no amount of beating will fully rectify. This can compromise the delicate texture you’re striving for, resulting in an inferior cheesecake experience.
Crafting Your Salted Honey Cheesecake: A Detailed Step-by-Step Guide for Home Bakers
Creating this stunning Salted Honey Cheesecake is a rewarding process, and following these detailed steps carefully will ensure a flawless and exceptionally delicious result. From the sturdy, flavorful base to the luscious, perfectly set filling and the exquisite final touches, every detail contributes to its irresistible charm and sophisticated flavor profile.
1. Building the Perfect Graham Cracker Crust: The Essential Foundation
The foundation of any truly great cheesecake is its crust, and for our Salted Honey Cheesecake, a classic graham cracker crust provides the ideal complement. Begin by combining finely crushed graham cracker crumbs with white sugar in a medium-sized bowl. Whisk these dry ingredients thoroughly to ensure the sugar is evenly distributed throughout the crumbs. Next, pour in the melted unsalted butter. For the best incorporation, use your hands to mix this until every graham cracker crumb is thoroughly coated, resulting in a mixture that delightfully resembles wet sand. This specific texture is key for a crust that holds its shape beautifully and provides a satisfying crunch.
2. Baking and Cooling the Crust for Optimal Stability
Before adding the rich cheesecake filling, the crust needs a quick bake to set its structure. Lightly grease a 9-inch or 10-inch springform pan with baking spray to prevent any sticking. Then, evenly press the prepared graham cracker mixture into the bottom and halfway up the sides of the pan. A flat-bottomed glass or a measuring cup is an excellent, simple tool for compacting the crust firmly and creating a dense, stable base that won’t crumble when sliced. Bake the crust in a preheated oven at 350°F (175°C) for 10 minutes. Once baked, remove it from the oven and allow it to cool completely to room temperature. A cool crust is essential to prevent the cheesecake filling from “sweating” or becoming soggy once added.
3. Whipping the Cream Cheese to Silky Smoothness for the Filling
With your perfectly softened cream cheese (as emphasized in the previous section), transfer it to the bowl of a stand mixer fitted with the paddle attachment, or use a large mixing bowl with a reliable hand mixer. Beat the cream cheese on low speed for about 3 minutes until it transforms into a wonderfully creamy, smooth, and lump-free consistency. It’s crucial to avoid over-beating at this initial stage, as incorporating too much air can cause unwelcome cracks during the baking process and affect the final texture of your creamy cheesecake.
4. Infusing the Decadent Flavors: Sugar, Honey, Salt, and Vanilla
Now, it’s time to add the star flavors that define this extraordinary dessert. Introduce the white sugar, liquid honey, kosher salt, and vanilla extract to the creamy cream cheese mixture. Continue beating on low speed, allowing these complementary ingredients to thoroughly meld together until the mixture is beautifully smooth, uniform, and even more luscious in appearance. The honey provides its characteristic sweetness and depth, while the kosher salt balances it perfectly, enhancing the overall depth of flavor and creating that signature “salted honey” profile that truly sets this cheesecake apart.
5. Incorporating Eggs for Structure and Richness (with Care)
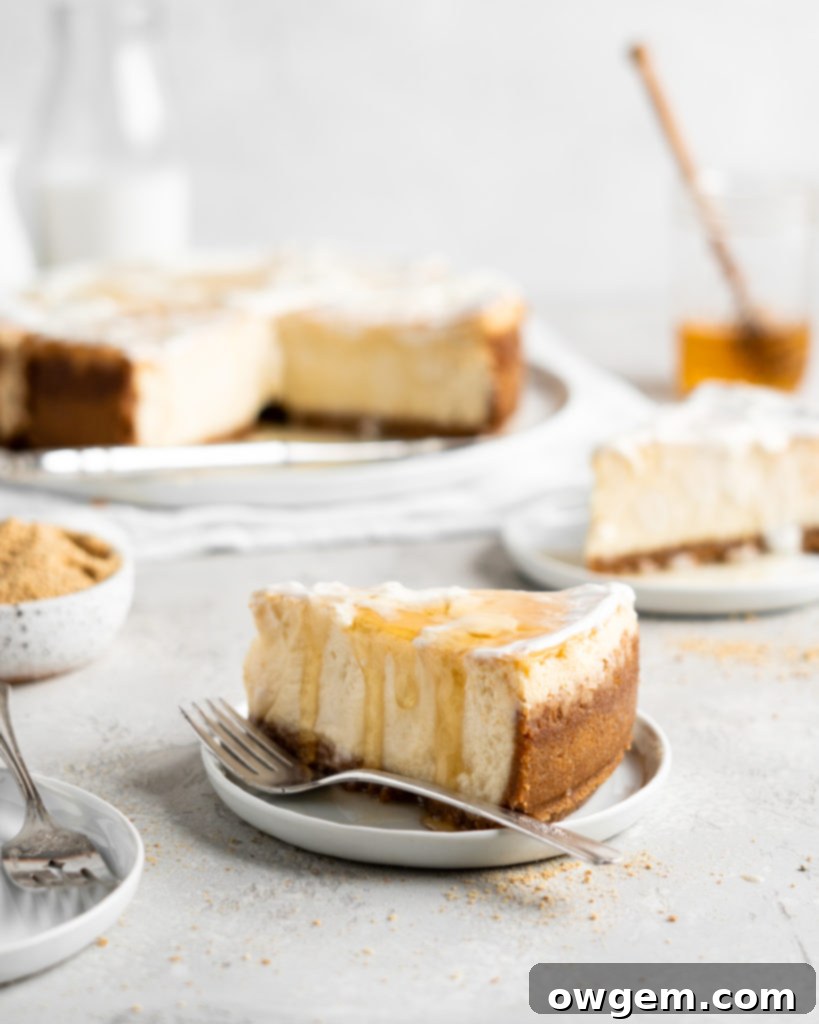
The eggs are absolutely crucial for the cheesecake’s structure, richness, and ability to set properly. Add the large eggs and egg yolks one at a time, beating slowly on low speed after each addition until it is just fully incorporated into the batter. This precise method is vital to prevent over-mixing the batter, which can introduce too much air and lead to a puffed-up, then subsequently cracked, surface on your baked cheesecake. As you go, frequently scrape down the sides of the mixing bowl with a spatula to ensure all ingredients are evenly combined without any streaks of egg remaining, guaranteeing a consistent texture.
6. The Finishing Touches for the Filling: Cream, Sour Cream, and Cornstarch
After the eggs are perfectly blended into the cream cheese mixture, pour in the heavy cream and sour cream. Continue to beat on low speed until the entire cheesecake filling looks incredibly creamy, smooth, and uniform. These dairy components contribute significantly to the cheesecake’s exceptional richness, luxurious creaminess, and a subtle tang that beautifully cuts through the sweetness of the honey. Finally, add the cornstarch. Beat one last time on low speed, just until the cornstarch is completely incorporated and no dry spots remain. Cornstarch acts as a crucial stabilizer, helping to prevent cracking during baking and contributing to the incredibly smooth, custardy texture of the finished dessert.
7. Baking with a Water Bath: The Essential Key to Creaminess and Crack Prevention
A water bath (bain-marie) is an indispensable technique for baking a truly perfect cheesecake, ensuring a silky-smooth texture and preventing unsightly cracks. Begin by securely wrapping the base of your springform pan tightly with two layers of heavy-duty aluminum foil. This creates a waterproof barrier, protecting your crust from the water. Carefully pour the prepared cheesecake filling over the cooled graham cracker crust in the foil-wrapped springform pan. Place the entire springform pan into a larger roasting pan. Then, carefully pour enough boiling water into the roasting pan, ensuring the water level comes about halfway up the outside of the cheesecake pan. The water bath creates a moist, even heat environment in the oven, which prevents the cheesecake from baking too quickly, drying out, and most importantly, developing those common surface cracks. Bake in a preheated oven at 325°F (160°C) for approximately 1 ½ hours (90 minutes), or until the edges are set and the center still has a slight jiggle.
8. The Art of Gradual Cooling: Preventing Cracks and Ensuring a Perfect Set
Cooling is an equally important, if not more critical, step than baking for achieving a beautiful, unblemished cheesecake. Once baked, turn off the oven but leave the Salted Honey Cheesecake inside with the oven door slightly ajar for about an hour. This gradual cooling process significantly reduces the thermal shock that can cause cracks as the cheesecake cools rapidly. After an hour, carefully remove the cheesecake from the oven and the water bath, then let it cool completely to room temperature on your kitchen counter. Once it reaches room temperature, cover the cheesecake tightly with plastic wrap and refrigerate it overnight (or for at least 6 hours) to allow it to fully set and firm up. Patience during this chilling phase is truly a virtue, as it’s key to developing the perfect dense yet creamy texture.
9. Serving Time: The Grand Finale with Toppings
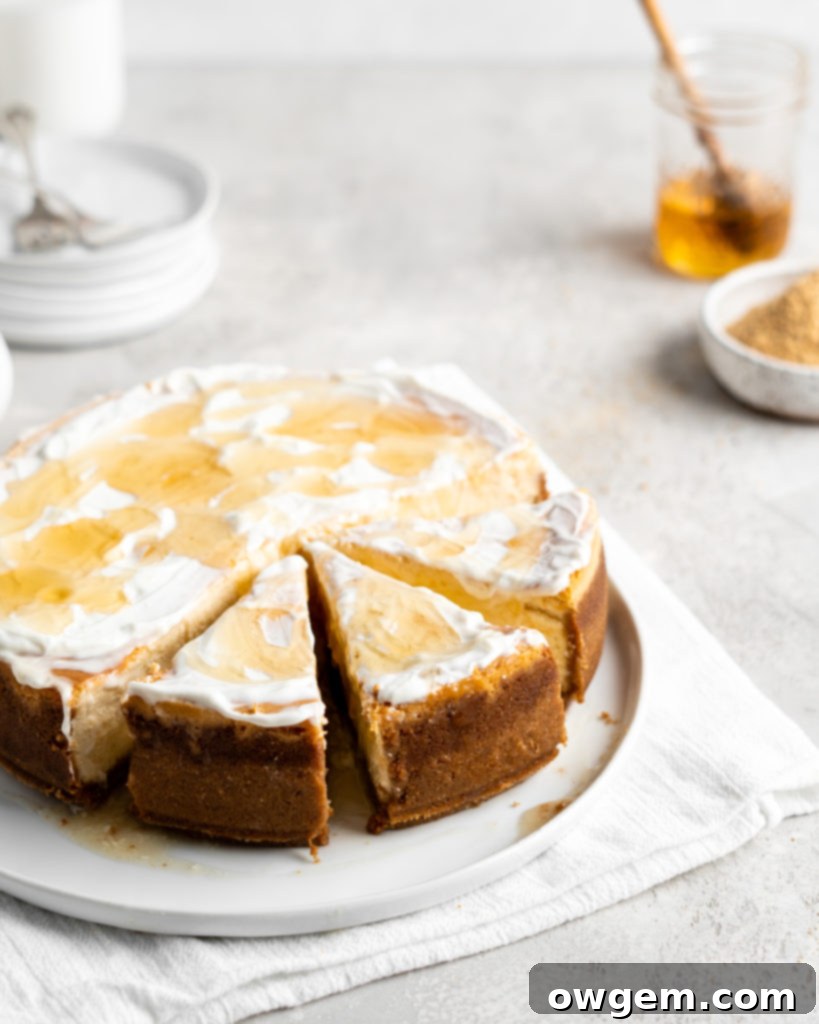
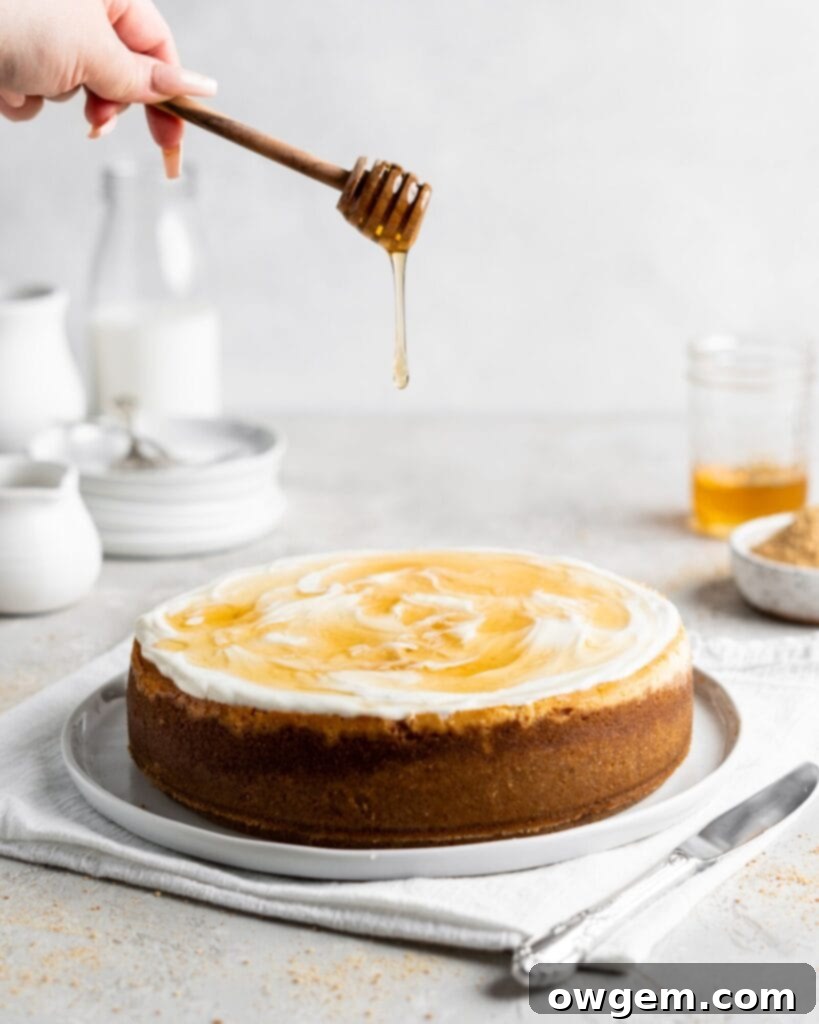
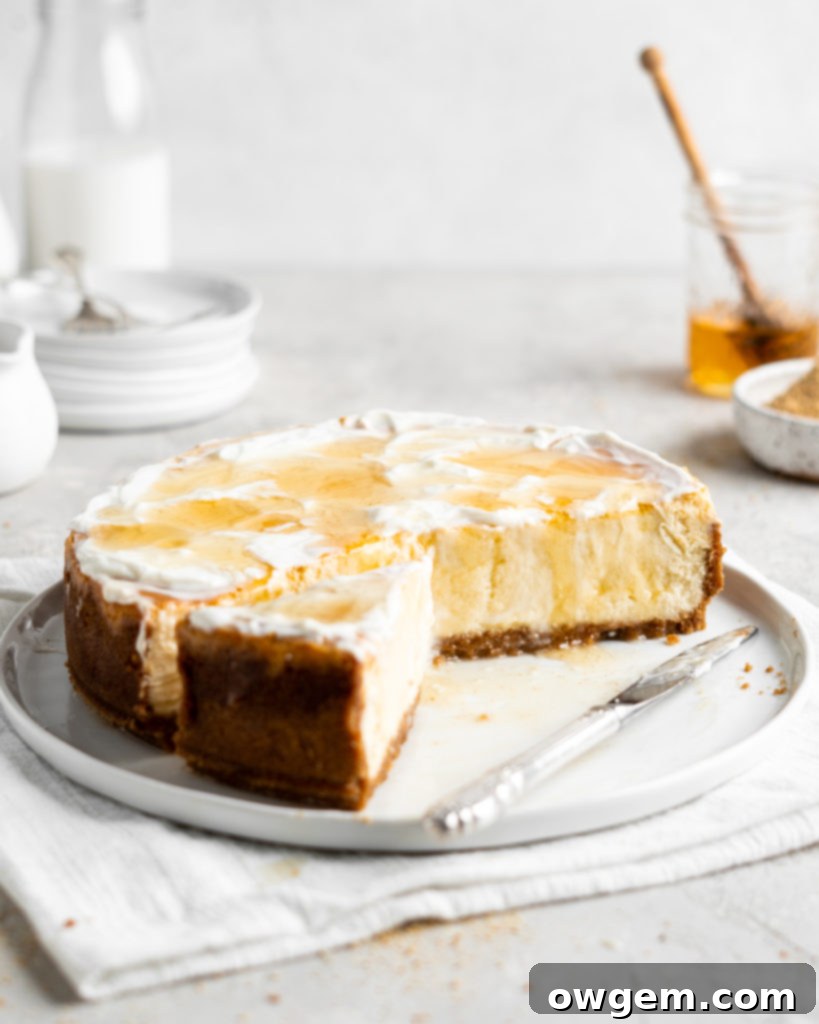
Once your Salted Honey Cheesecake has thoroughly chilled and set in the fridge, it’s time for the grand reveal and the final, irresistible touches. Carefully remove it from the springform pan. Spread a smooth, even layer of full-fat sour cream over the top – this adds another layer of delightful tang and creaminess that beautifully complements the sweet and salty flavors. Then, generously drizzle your homemade salted honey over the sour cream. Slice into elegant portions and serve immediately to enjoy this exquisite balance of sweet, salty, and creamy goodness! It’s a show-stopping dessert perfect for any occasion.
What Exactly is Salted Honey? Exploring This Unique Flavor Combination
You might have heard of salted caramel, a beloved classic that expertly balances sweet and savory notes. Now, allow us to introduce you to its equally captivating and perhaps more intriguing cousin: salted honey! One delightful description I encountered called it “Salted Caramel’s cool hipster cousin,” and it perfectly encapsulates its unique and modern appeal. Simply put, salted honey is precisely what it sounds like: pure, natural honey infused with a thoughtful touch of salt. Much like how salt enhances the richness and depth of caramel, it works wonders with honey, elevating its natural sweetness and complex floral or earthy notes, making it even more flavorful, dynamic, and utterly addictive.
The addition of salt to honey creates a fascinating flavor paradox, where the perceived sweetness is amplified, and the overall taste profile becomes more complex and nuanced. It’s a simple trick that transforms ordinary honey into something extraordinary, making it a fantastic topping or ingredient for a wide array of dishes. And the best part? Making your own salted honey is incredibly simple and requires minimal effort.
To prepare it, just combine your favorite liquid honey with a pinch of fine table salt or kosher salt in a small saucepan. Start with a quarter to half a teaspoon of salt per half cup of honey, then adjust to your desired level of saltiness. Gently heat the mixture over medium-low heat, stirring occasionally, until the salt has completely dissolved into the honey. This gentle heating process allows the flavors to meld beautifully without scorching the honey. Once dissolved, remove it from the heat and let the salted honey cool back down to room temperature. It will thicken slightly as it cools. Once at room temperature, it’s perfect for drizzling over your Salted Honey Cheesecake or using it in other culinary creations. It’s a versatile condiment that can also be enjoyed over Greek yogurt, ice cream, toast, pancakes, oatmeal, or even as a unique glaze for roasted vegetables or meats. Its unique sweet-and-savory profile makes it a gourmet addition to almost anything.
Get the Recipe: Salted Honey Cheesecake
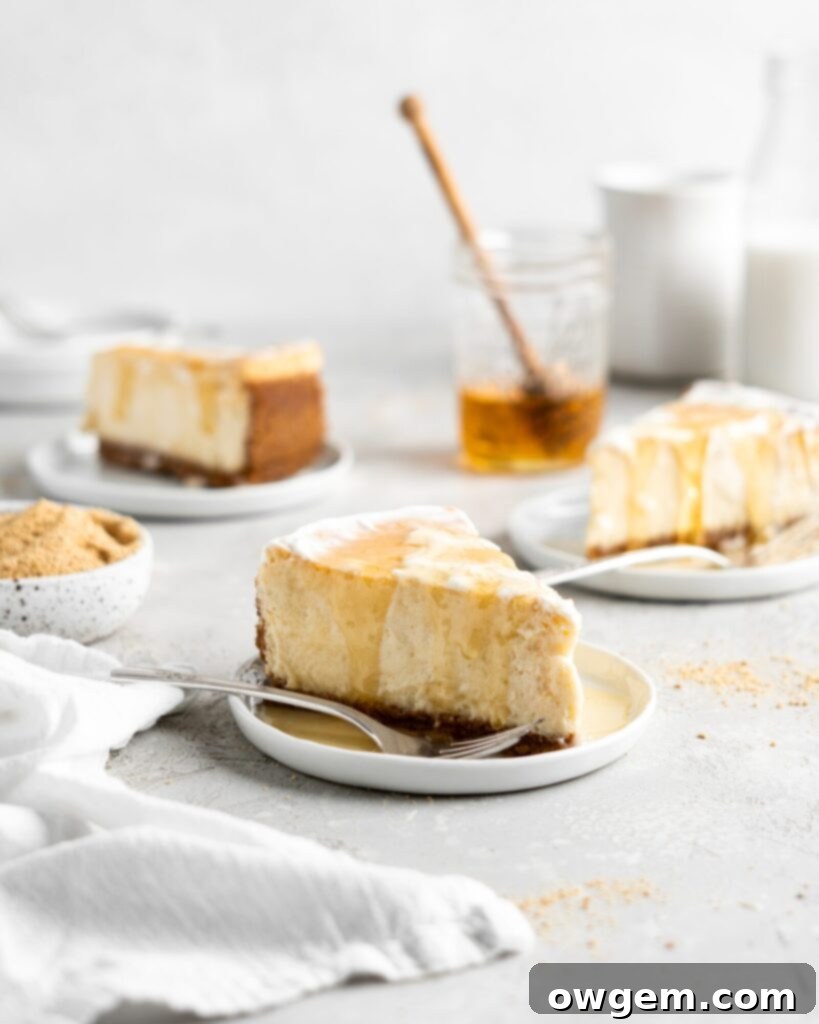
Salted Caramel’s cool cousin Salted Honey has made its way into cheesecake form! This Salted Honey Cheesecake is creamy, decadent, and sweet, with a perfect touch of saltiness.
Prep Time: 45 mins
Cook Time: 1 hr 30 mins
Total Time: 2 hrs 15 mins
Servings: 12 servings
Pin Recipe
Rate This Recipe
Ingredients
Graham Cracker Crust
- 2 ¼ cups Graham Cracker Crumbs
- 5 tbsp White Sugar
- 10 tbsp Unsalted Butter, melted
Salted Honey Cheesecake Filling
- 32 oz (1000g) Cream Cheese, well softened
- 3/4 cup White Sugar
- 1/2 cup Liquid Honey
- 1 tbsp Vanilla Extract
- 3/4 tsp Kosher Salt
- 3 Large Eggs, at room temperature
- 2 Large Egg Yolks, at room temperature
- 3/4 cup Heavy Cream
- 3/4 cup Sour Cream
- 1 tbsp Cornstarch
Topping
- 1/2 cup Full-Fat Sour Cream
- 1/2 cup Liquid Honey
- 1/4 – 1/2 tsp Table Salt, to desired saltiness
Instructions
Graham Cracker Crust
- Preheat oven to 350°F (175°C). Add graham cracker crumbs and sugar to a bowl and whisk until well combined. Pour melted butter into the bowl, then mix with a fork or your hands until the butter is well dispersed and the mixture resembles wet sand.
- Grease a 9” or 10” springform pan, then add crust into pan and press it down evenly into the bottom and halfway up the side of the pan. Use a flat bottom measuring cup to really compact the crust down.
- Place the crust into the oven to bake for 10 minutes. Remove from oven and allow to cool completely to room temperature.
Salted Honey Cheesecake
- Preheat oven to 325°F (160°C). Prepare the cooled springform pan (with crust) by wrapping the bottom of the pan tightly with 2 sheets of heavy-duty aluminum foil, then set aside.
- In a large mixing bowl, or stand mixer, add the well-softened cream cheese and beat on low until it looks soft and creamy – about 3 minutes. Add sugar, honey, vanilla extract, and kosher salt, and beat on low until very creamy and well combined – 3-4 minutes.
- Add eggs and egg yolks, one at a time, ensuring that each egg is fully incorporated before adding the next. Remember to scrape down the bowl as necessary to ensure even mixing.
- Add heavy cream and sour cream, then beat on low until the cheesecake filling looks creamy, smooth, and uniform. Finally, add in cornstarch then beat one last time on low until the cornstarch is completely well-combined.
- Pour the filling over top of the cooled crust in the springform pan and lightly smooth it out. Carefully place the cheesecake into a large roasting pan. Pour enough boiling water into the roasting pan so that it reaches about halfway up the outside of the springform pan. Place into the preheated oven to bake for 1 ½ hours (1 hour 30 minutes). When the Salted Honey Cheesecake is done, it should still be a little jiggly in the very center.
- When done, turn off the oven and lightly crack the oven door open to allow the cheesecake to slowly cool for about an hour. After an hour, remove the cheesecake from the oven and water-bath and place onto the counter to cool completely to room temperature. Once at room temperature, wrap tightly with plastic wrap and place into the fridge for at least 6 hours or preferably overnight to fully set.
Topping
- Place honey and salt into a small saucepan over medium-low heat. Heat and stir until the salt has completely dissolved into the honey. Remove from heat and allow the salted honey to come down to room temperature.
- At serving time, carefully remove the chilled cheesecake from the springform pan. Spread the full-fat sour cream evenly on top, then generously drizzle the homemade salted honey over the sour cream. Slice and serve immediately.
Cuisine: American
Course: Baking, Dessert
Tried this recipe? Rate the recipe and leave a comment!
