Indulge in Holiday Cheer: The Ultimate Guide to Perfect Eggnog Macarons with Swiss Meringue Method
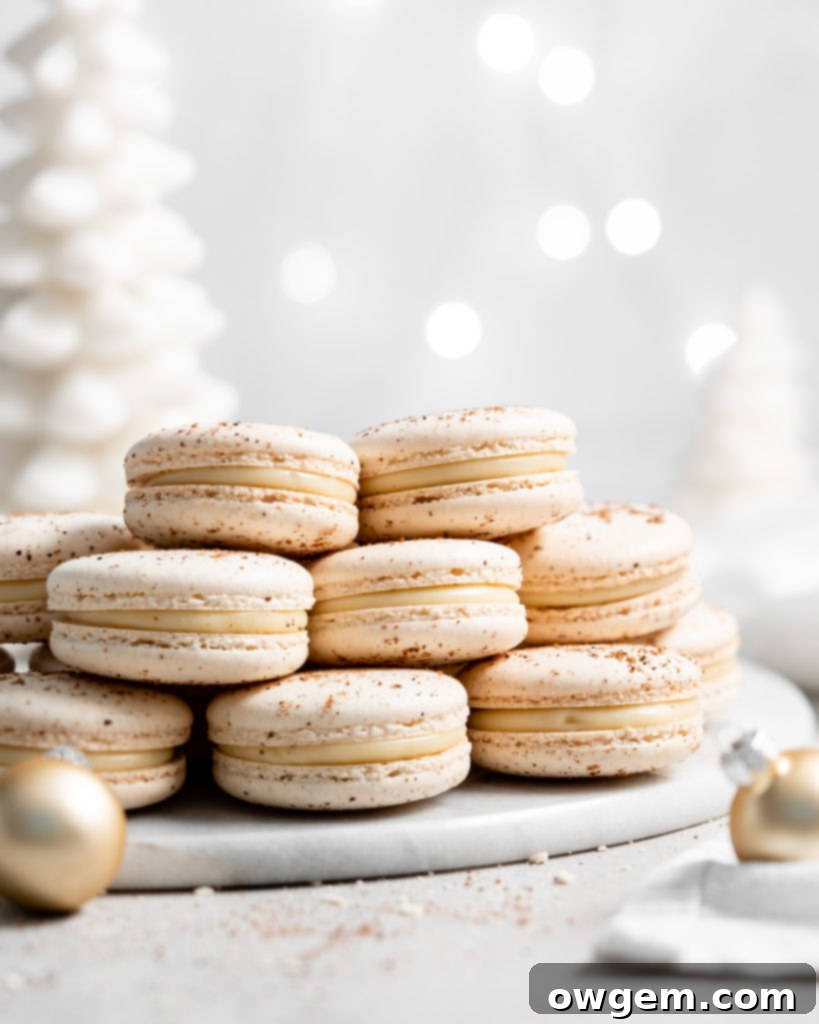
For many, the rich, creamy flavor of eggnog, with its warm, cozy spiced undertones, is the quintessential taste of Christmas. It evokes memories of festive gatherings and sweet indulgence. These exquisite eggnog macarons artfully blend the classic elegance of a French macaron with that beloved holiday flavor. Each delicate macaron shell is subtly spiced with nutmeg, providing a comforting warmth, while the luscious filling is a decadent eggnog white chocolate ganache, offering a melt-in-your-mouth experience that’s simply irresistible. This recipe is designed to help you create these holiday masterpieces with confidence and ease, bringing a touch of gourmet sophistication to your festive dessert table.
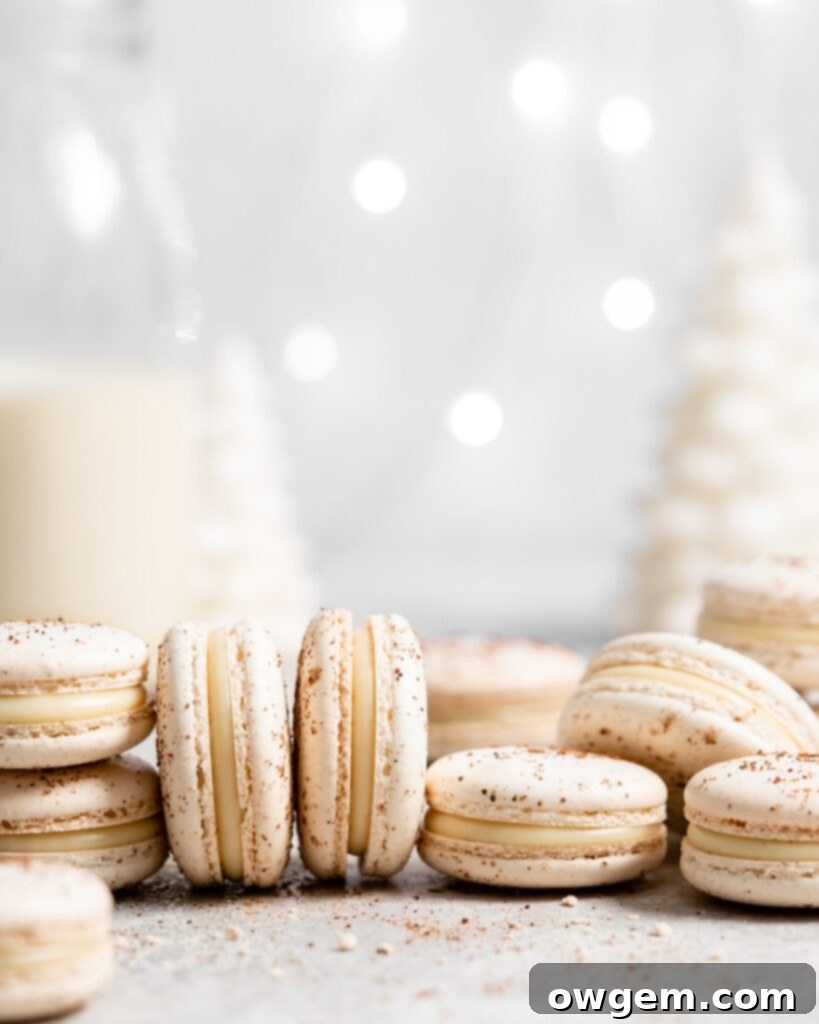
Mastering the Swiss Meringue Macaron Method
If you’re familiar with my comprehensive How to Make Macarons: A Step by Step Guide + Tips/Tricks, you’ll know that it primarily features the Italian method for macaron shells. The Italian method is renowned for its superior stability, making it a favorite for many bakers, especially beginners. However, there’s another fantastic approach that offers incredible results: the Swiss Meringue Method for macarons! For these delightful Eggnog Macarons, I’ve opted for the Swiss method, and I’m excited to share why it’s such an excellent choice.
The Swiss method for macarons combines many of the advantageous characteristics of the Italian method – particularly its robust and easy-to-handle meringue – while significantly simplifying the overall process. That’s right, the Swiss method is often considered both easier and faster than its Italian counterpart, without compromising on the quality and consistency of your macaron shells. It strikes a wonderful balance between the simplicity of the French method and the stability of the Italian method, making it an ideal technique for achieving those coveted “feet” and a smooth, professional finish.
So, how does the Swiss meringue method work? It involves a unique initial step where egg whites and sugar are gently heated together over a bain-marie (a double boiler) until they reach a specific temperature. This heating process dissolves the sugar and slightly cooks the egg whites, creating a more stable and pliable base for your meringue. Once heated, the mixture is then transferred to a stand mixer and beaten vigorously until it forms a stiff, glossy meringue. Finally, the sifted confectioners’ sugar and almond flour are carefully folded into this stable meringue during the macaronage process, resulting in a perfectly textured batter ready for piping. This gentle cooking and subsequent whipping create a meringue that holds its structure exceptionally well, forgiving minor errors and producing consistently beautiful macaron shells.
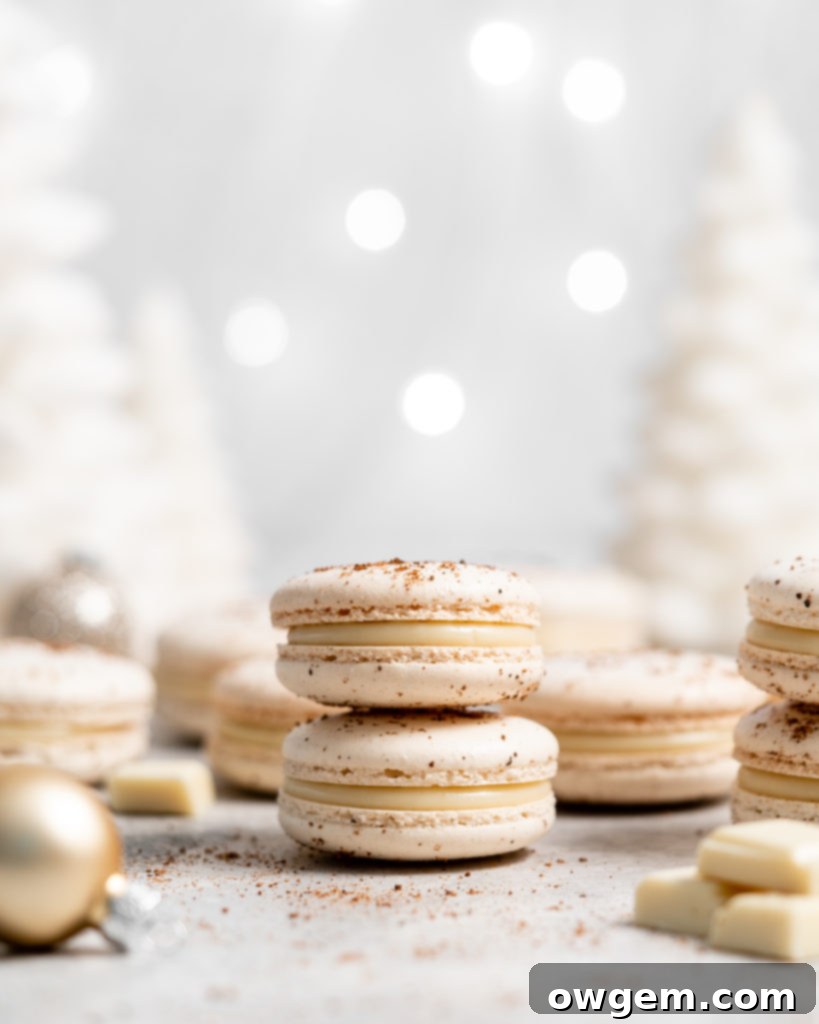
Essential Tips & Tricks for Flawless Swiss Meringue Macarons
Crafting perfect macarons, regardless of the method, requires attention to detail. I’ve compiled a list of time-tested tips and tricks, including some foundational advice that applies to all macaron methods, alongside new insights specifically tailored for the Swiss meringue technique. Follow these guidelines closely, and you’ll be well on your way to creating stunning eggnog macarons.
Tip 1) Embrace Precision: Use a Food Scale and Weigh Everything Out
When it comes to macarons, precision is not just a recommendation; it’s a golden rule. Just like with the Italian method, it is absolutely critical that you measure out all your macaron ingredients by weight using a reliable food scale. Macarons are notoriously finicky and have a very low tolerance for even minor discrepancies in ingredient ratios. Using volumetric measurements (cups and spoons) can result in significant variance – a cup of flour can weigh differently depending on how it’s packed or scooped. This slight difference can throw off the delicate balance of your batter, leading to issues like hollow shells, cracked tops, or uneven feet. For a confection as particular as macarons, being precise down to the exact gram with your measurements is your best defense against common baking frustrations and your clearest path to consistent success.
Tip 2) Ensure a Pristine Environment: Wipe All Utensils/Bowls/Apparatus with Vodka or Vinegar
Before you even begin, meticulously clean every piece of equipment that will come into contact with your egg whites. This includes your mixing bowl, whisk attachment, and any spatulas. Wipe them thoroughly with a paper towel dampened with vodka or white vinegar. The reason for this crucial step is simple: fats and oils are the arch-nemeses of meringue. Even a tiny, invisible residue of oil can prevent your egg whites from whipping up properly, resulting in a flat, unstable meringue that won’t form those beautiful macaron feet. Vodka and vinegar act as degreasers, ensuring a perfectly clean surface for your egg whites to achieve their maximum volume and stability.
Tip 3) The Secret Weapon: Use Egg White Powder
For many macaron bakers, including myself, incorporating egg white powder (also known as meringue powder) into the egg whites and sugar mixture has been a game-changer. This simple addition helps create incredibly stable and resilient macarons. Egg white powder contains dried egg whites and often a stabilizer like cream of tartar, which significantly boosts the protein structure of your meringue. If you’ve ever struggled with frustrating hollows in your macaron shells, this is the trick you’ve been looking for! It helps create a stronger internal structure, leading to full, beautifully textured shells that hold their shape perfectly during baking. Just a small amount can make a huge difference in the consistency and quality of your results.
Tip 4) Achieve Structural Integrity: Beat Meringue to Stiff Peaks:
With the Swiss meringue macaron method, achieving the correct meringue consistency is absolutely vital. I have consistently found that the meringue must be beaten to stiff peaks to ensure proper structure and rise for your macarons. Stiff peaks mean that when you lift the beater from the mixture, the meringue holds its shape completely, standing up straight and firm without flopping over. Visually, the meringue should also gather firmly inside the whisk attachment, indicating its density and strength. Under-beating will result in a weak meringue that deflates easily, leading to flat shells with no feet, while over-beating can make the meringue grainy and difficult to fold. Watch carefully for these visual cues to ensure your meringue is perfectly prepared.
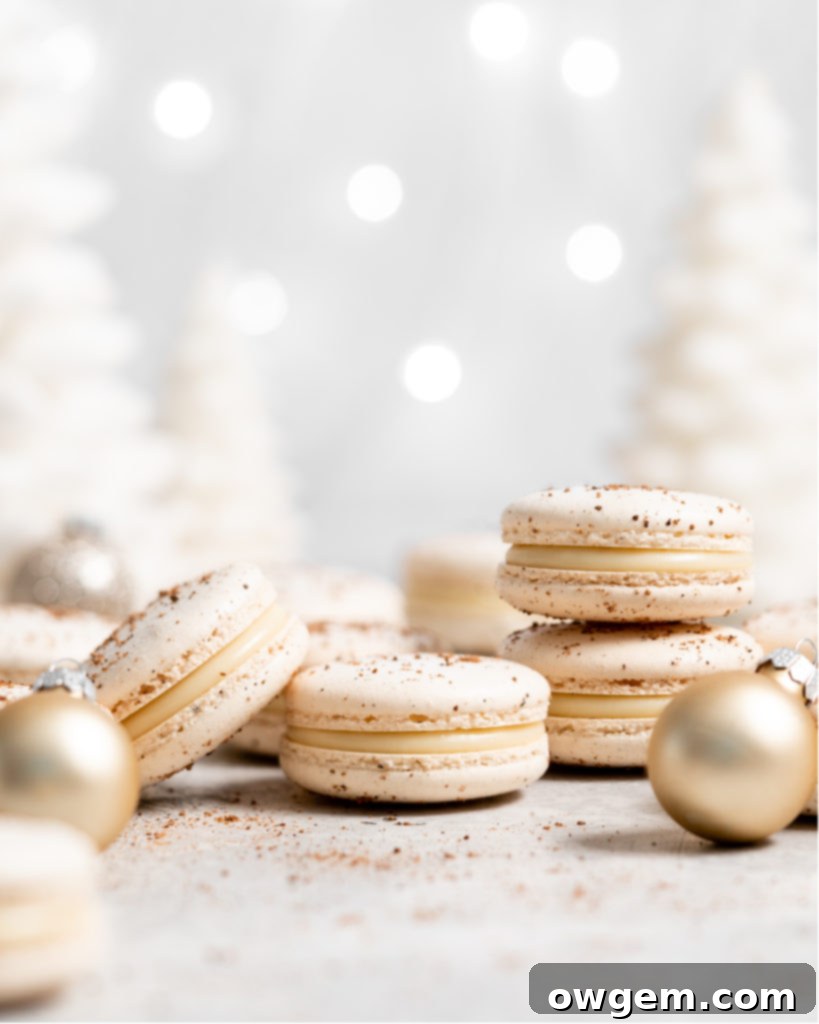
Tip 5) The Art of Macaronage: Stop Folding Once the Batter ‘Ribbons’
Macaronage is perhaps the most critical stage in macaron making, and mastering it determines the final texture and appearance of your shells. The goal is to reach a consistency known as the “ribbon stage.” When the macaronage process is complete, the batter should flow off your spatula in a continuous, thick stream, resembling slow-moving lava. This stream should form ribbons that slowly melt back into the rest of the batter within approximately 20-30 seconds. If the batter falls off in distinct, V-shaped chunks, it is under-mixed and needs a few more gentle folds. Conversely, if it runs off the spatula too quickly without forming defined ribbons, it is over-mixed, leading to flat, spreading shells without feet. Practice makes perfect with this stage, so pay close attention to the visual cues.
Tip 6) Eliminate Air Bubbles: Tap the Pan and Remove Air Bubbles
After piping your macaron shells onto the baking sheet, it’s essential to remove any trapped air bubbles. This step serves two vital purposes. First, vigorously tapping the pan against your counter causes internal air bubbles to rise to the surface and pop. This process is crucial for achieving smooth, unblemished macaron tops and preventing unsightly cracks during baking. Second, tapping helps the batter to settle and flatten, evening out any small humps or peaks left from piping, which contributes to uniformly shaped macarons with perfect “feet.” To do this, smack the pan against the counter, rotate it 90 degrees, and smack again. Repeat this for all four sides, or alternatively, lift the pan a few inches and drop it onto the counter several times. I typically give mine more than four taps, continuing until I’m confident all significant air bubbles have surfaced and the batter appears nicely flattened.
Tip 7) The Final Touch: Use a Toothpick to ‘Pop’ Any Remaining Air Bubbles
Even after vigorously tapping your baking sheets, some stubborn air bubbles might remain hidden or small enough to evade the initial tap. Take a moment to get up close and personal with your beautifully piped macaron shells. Look carefully for any obvious air bubbles, but also for very subtle irregularities or tiny bumps on the surface – these are often hidden air pockets waiting to cause trouble. Using a clean toothpick, gently poke these bubbles to release the air. Then, lightly swirl the toothpick over the small hole to smooth the batter back into place. I’ve found that skipping this seemingly minor step can sometimes result in hollow macarons, making it a surprisingly important detail for achieving perfectly solid shells. This meticulous attention ensures the smoothest possible finish for your festive eggnog macarons.
Tip 8) The Critical Drying Stage: Allow the Macarons to Form a “Skin”
This step is absolutely crucial – I repeat, THIS IS CRUCIAL. Do not skip or rush this stage under any circumstances! Allowing your piped macaron batter to sit exposed to the air until a “skin” forms on top is what enables the macarons to rise vertically during baking, rather than spreading out horizontally. This vertical rise is what creates those desirable, ruffled “feet” that are the hallmark of a perfect macaron. The time required for a skin to form can vary significantly based on your environment. In cold, dry climates, the skin will form much faster, sometimes in as little as 8-10 minutes. Conversely, in hot, humid climates, this process can take anywhere from 30 minutes to a full hour, or even longer. I live in the Prairies in Western Canada, which has a relatively cold and very dry climate, so my macarons typically form a skin quite quickly. However, someone living in a more humid region will need to exercise more patience.
It’s important to note that macarons are incredibly sensitive to humidity. If you live in a very humid climate or if it’s a particularly humid day, you might struggle to form a proper skin, which can unfortunately lead to failed macarons – they may crack or spread without forming feet. That being said, macarons are also finicky with excessively dry climates (because of course they are! *eye roll*). In very dry conditions, my macarons can sometimes over-dry, causing them to stick to my silicone mats and resulting in lopsided shells, even if I let them dry for just an extra five minutes. You’ll know your macarons are perfectly ready to bake when you can delicately touch the top of a shell with your finger, and it feels dry to the touch, with no batter sticking to your finger. Regularly check them, as both under-dried and over-dried macarons can lead to baking issues. This stage requires observation and patience, but it’s essential for macaron success.
Tip 9) Understand Your Equipment: Know Your Oven
This tip might seem a bit vague, but it is profoundly important for consistent macaron success. Every oven is unique, and understanding its quirks is paramount. Does your oven run hot or cold? Are there uneven heating spots? Is the convection fan overly strong, potentially causing your macarons to dry out too quickly or bake unevenly? All of these factors can be the difference between a tray of beautiful, perfectly risen macarons and a disheartening batch of failures. It can be annoying, but sometimes you’ll just have to conduct a few test bakes to truly understand how your specific oven performs. Consider investing in an oven thermometer to verify your oven’s true temperature, and experiment with rotating your baking sheets halfway through the bake time, or adjusting the temperature slightly, to find the optimal settings for your unique kitchen setup. Patience and observation here will pay off immensely.
Tip 10) For Perfect Presentation: Find ‘Perfect Pairs’ Before Filling
Let’s be honest, not all of us are master macaron makers capable of piping perfectly identical shells every single time. It’s perfectly normal for your macaron shells to have slight variations in size, especially when you’re first starting out. For this reason, it is incredibly important to “find perfect pairs” before you even think about filling and sandwiching your macarons. This means matching up two macaron shells that are as close as possible in size and shape. Take the time to lay out all your cooled shells and systematically match them into pairs. There’s truly nothing worse than getting to the end of your assembly only to be left with a bunch of mismatched macaron halves that don’t fit together, compromising both the aesthetics and structural integrity of your finished treats. This simple organizational step ensures a professional and appealing final product.
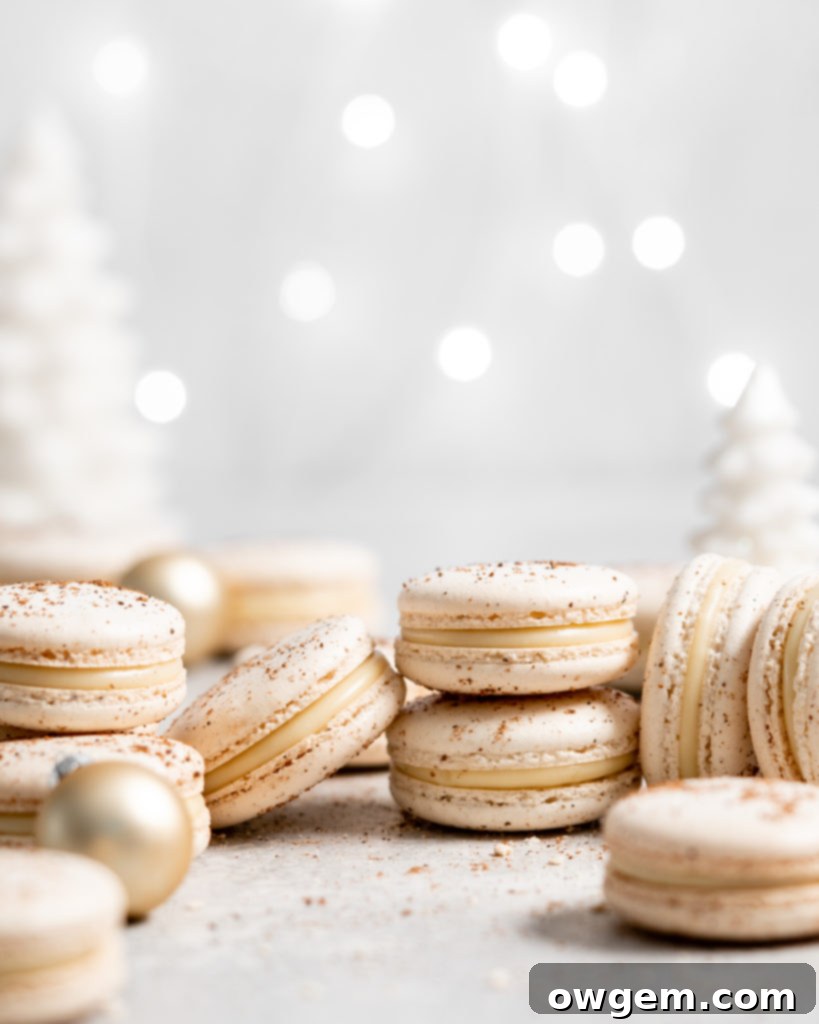
Crafting the Irresistible Eggnog White Chocolate Ganache
Creating the luxurious filling for these eggnog macarons is surprisingly simple, much like making a classic chocolate ganache, but with a festive twist. The process begins by finely chopping your white chocolate and placing it in a heat-proof bowl; smaller pieces will melt more evenly and quickly. Next, gently heat your eggnog in a small saucepan over medium heat until it just begins to simmer, taking care not to let it boil, as this can affect its flavor and consistency. Once simmering, immediately pour the hot eggnog over the chopped white chocolate. Allow the mixture to sit undisturbed for a few minutes – this gives the warm eggnog time to gently melt the chocolate, creating a smoother emulsion.
After the chocolate has had a chance to melt, simply whisk the mixture until it comes together into a wonderfully smooth, glossy ganache. It’s SO EASY! The final, and crucial, step is to allow the ganache to cool and thicken to the proper piping consistency. You’ll want it to reach room temperature, or even be a tiny bit colder if you’re using the refrigerator to speed things along. Just be sure to monitor it closely. If the ganache is too warm, it will be too runny to pipe effectively, potentially spilling out of your macaron shells. Conversely, if it becomes too cold, it will be too stiff and difficult to pipe, possibly even breaking your piping bag. The ideal consistency is firm enough to hold its shape but soft enough to flow smoothly through a piping tip, ensuring beautifully filled eggnog macarons.
Recommended Products & Equipment I used for the Eggnog Macarons
Note, these links are all affiliate links with Amazon – simply meaning that I make a small commission off them if you purchase them. These are products I personally use and trust for macaron baking.
My preferred baking pan for macarons is this USA Pan Cookie Pan. Its robust construction makes it exceptionally sturdy and warp-resistant, ensuring even heat distribution for perfectly baked macaron shells. Additionally, these pans are designed to circulate air efficiently, which significantly reduces the likelihood of issues like lopsided macarons or uneven browning.
These are my absolute favorite silicone mats specifically for macarons! They feature perfectly spaced circles that serve as a guide, helping you pipe consistently sized macaron shells every time. The guide size creates the ideal macaron diameter – not too big or too small – ensuring uniform and professional-looking results.
For the finest macaron shells, the quality of your almond flour is crucial. This is the almond flour I like to use! It is super finely ground, which is essential for achieving those coveted smooth, unblemished macaron tops, contributing to the delicate texture and professional appearance of your finished treats.
Recipe Acknowledgement
The foundation for these delightful eggnog macaron shells, utilizing the Swiss method, was graciously adapted from the expert work of Camila at Pie and Tacos. Her meticulous approach to macaron baking is truly inspiring. I highly recommend checking out her website for an incredible array of macaron recipes and invaluable tips that will elevate your baking skills.
Explore More Delicious Macaron Recipes
If you’ve thoroughly enjoyed creating these festive eggnog macarons and are eager to expand your macaron repertoire, you’re in luck! There’s a whole world of macaron flavors waiting to be explored. Be sure to check out these other fantastic macaron recipes to continue your baking journey:
• Nutella Macarons – A delightful chocolate-hazelnut indulgence.
• Red Velvet Macarons – Classic cake flavor transformed into elegant cookies.
• Maple Pecan Macarons – A comforting, nutty, and sweet autumn favorite.
Get the Recipe:
Eggnog Macarons
Pin
Rate
Ingredients
Eggnog Macarons
- 105 g Sifted Super Fine Almond Flour
- 105 g Sifted Confectioners Sugar
- 1/2 tsp Nutmeg
- 100 g Egg Whites
- 100 g White Sugar
- 3 g (1 tsp) Egg White Powder,, otherwise known as meringue powder (optional but highly recommended)
- Cinnamon or Nutmeg,, for sprinkling on top
Eggnog White Chocolate Ganache
- 200 g White Chocolate,, finely chopped
- 1/3 cup Eggnog, (do not use light variety)
Equipment
-
Stand mixer
Instructions
-
Note: For best results, I highly recommend making the eggnog white chocolate ganache several hours before, or even the day before, you plan to make the macarons. This allows ample time for it to chill and thicken to the perfect piping consistency.
Dry Ingredients Preparation
-
Begin by preparing your baking sheets. Line one or two (if you have enough) baking sheets with parchment paper or a high-quality silicone mat. Set these aside for later.
-
Place a large mixing bowl onto a food scale. Carefully sift 105g of super fine almond flour into the bowl. Be sure to discard any larger, unsifted pieces that remain in your sieve. Repeat this sifting process with 105g of confectioners’ sugar. Finally, add 1/2 teaspoon of nutmeg to the sifted mixture. Whisk these dry ingredients together thoroughly until they are very well-combined and homogenous. Set this bowl aside.
Making the Swiss Meringue
-
In the bowl of your stand mixer, combine the 100g egg whites, 100g white sugar, and 3g (1 tsp) egg white powder. Whisk them together gently to combine. Create a bain-marie by placing the stand mixer bowl over a pot of simmering water. Ensure that the bottom of the mixer bowl does not touch the water, and that the seal between the bowl and the pot is relatively tight to trap steam.
-
While the bowl is over the bain-marie, continuously whisk the egg white mixture. This constant stirring prevents the egg whites from scrambling and helps the sugar dissolve uniformly. Heat the mixture until it reaches a temperature of 140°F (60°C). Once the target temperature is achieved, carefully remove the bowl from the simmering water and attach it to your stand mixer, fitted with the whisk attachment.
-
Begin beating the warm egg white mixture on low speed. As the mixture begins to gain volume and forms soft peaks, gradually increase the speed to medium. Continue beating until medium peaks are achieved. Finally, increase the speed to high and beat until the meringue forms stiff, glossy peaks that hold their shape firmly when the whisk is lifted.
Macaronage: Folding the Batter
-
Carefully remove the bowl of stiff meringue from the stand mixer. Position a fine-mesh sieve over the bowl. Pour the previously prepared dry ingredient mixture (almond flour, confectioners’ sugar, nutmeg) into the sieve, then sift it directly over the meringue. This ensures no lumps are incorporated into your delicate batter.
-
Using a rubber spatula, begin the macaronage process by gently folding the dry ingredients into the meringue. I find it effective to scrape around the sides of the bowl in a complete circle, then cut through the center of the batter – a motion similar to drawing the Greek letter Phi (Φ). This technique helps to evenly incorporate the dry ingredients without overworking the meringue.
-
Be extremely gentle and careful during folding to avoid overmixing or over-deflating the delicate meringue. The mixture is ready to be piped when it reaches the “ribbon stage.” This means that when you lift some batter with your spatula, it should flow off in a continuous, thick ribbon, like slow-moving lava, and slowly disappear back into the main batter within about 20-30 seconds. If the batter is still falling off in large, distinct V-shaped chunks, it needs to be folded a few more times. A classic test is the “figure 8 test”: if you can lift some batter and use it to draw several continuous figure 8’s without the stream breaking, your batter is perfectly ready!
Piping and Drying the Macarons
-
Transfer the macaron batter into a piping bag fitted with a medium to large round tip (e.g., Wilton 1A or Ateco 805). Hold the piping bag straight up, perpendicular to the baking sheet. Pipe small, consistent circles of batter onto your prepared cookie sheets, using a silicone baking mat with macaron guides or a stencil if available, as this makes the process much easier and ensures uniform sizes. Aim for macarons approximately 1½ inches in diameter.
-
Once piped, firmly tap each baking sheet multiple times against your counter. Rotate the sheet 90 degrees and tap again, repeating until all sides have been tapped. Alternatively, lift the pan a few inches and drop it onto the counter several times. This forceful tapping helps to release any trapped air bubbles within the macaron batter, which can cause cracking during baking. If any stubborn air bubbles still remain visible on the surface, use a clean toothpick to gently poke them out and lightly swirl the batter to smooth the surface. Finally, sprinkle the tops of the piped macarons with a touch of additional nutmeg or cinnamon for an extra festive touch.
-
Preheat your oven to 300°F (150°C), or 275°F (135°C) if using a convection oven. While the oven is preheating, allow the piped macarons to sit undisturbed at room temperature to form a “skin.” This crucial drying step is what allows the macarons to rise vertically and develop their characteristic “feet” during baking, preventing them from spreading out horizontally. The time for skin formation can vary greatly depending on ambient humidity and temperature, ranging from 8 minutes to over an hour. You’ll know the macarons are ready to be baked when you can gently touch the top of a shell with your finger, and it feels dry and does not pick up any batter. It is important to check them regularly; overly dried macarons are just as problematic as under-dried ones, both potentially leading to baking failures.
Baking the Macarons
-
Bake the macarons for 15-20 minutes. The exact bake time will depend on your oven, the size of your macarons, and the humidity of your environment. Start checking your macarons at the 15-minute mark. Gently try to wiggle a macaron shell; if it moves freely from its base, it needs more time. Continue baking and checking every minute until the tops are firm and the shells do not budge from their bases when gently touched or nudged.
-
Once baked, remove the macarons from the oven and allow them to cool completely on the baking sheets/mats/parchment paper. Attempting to remove them while still warm will likely result in broken shells. Once thoroughly cooled, carefully peel them off the baking surface. Before filling, take the time to find “perfect pairs” of macaron halves that are similar in size and shape. Set these matched pairs aside, ready for assembly.
Preparing the Eggnog White Chocolate Ganache
-
Measure out 200g of white chocolate and finely chop it. Place the finely chopped chocolate into a heat-proof bowl and set it aside. Smaller pieces will melt more efficiently and evenly.
-
Pour 1/3 cup of eggnog (ensure it’s not a light or fat-free variety, as the fat content is important for ganache consistency) into a small saucepan. Heat the eggnog over medium heat, stirring occasionally, until it just begins to simmer around the edges. Do not bring it to a rolling boil. As soon as it simmers, immediately remove it from the heat and pour it over the chopped white chocolate in the bowl. Lightly stir the mixture once, then let it sit undisturbed for 2 minutes to allow the residual heat from the eggnog to melt the chocolate.
-
After 2 minutes, begin whisking the ganache gently but continuously until the chocolate is fully melted and the mixture comes together into a completely smooth, luscious consistency. Cover the bowl with plastic wrap, ensuring the wrap touches the surface of the ganache to prevent a skin from forming. Place the ganache into the refrigerator to cool for at least 6 hours, or preferably overnight, until it reaches a firm, pipeable consistency.
Assembling the Eggnog Macarons
-
Once your eggnog white chocolate ganache has chilled to a pipeable consistency, transfer it to a piping bag fitted with your desired tip (a round tip works well). Take your cooled, “perfectly paired” macaron shells. Pipe a generous dollop of ganache onto the flat side of one macaron half (this will be the bottom). Then, gently place its corresponding top macaron shell on top, twisting slightly to secure and evenly distribute the filling. Repeat this process for all your macaron pairs. For the flavors to fully meld and the texture to soften perfectly, place the assembled macarons into an airtight container and refrigerate them overnight. This “maturing” period is essential for the best macaron experience.
Recipe for Swiss Meringue Macaron shells adapted from Pies and Tacos.