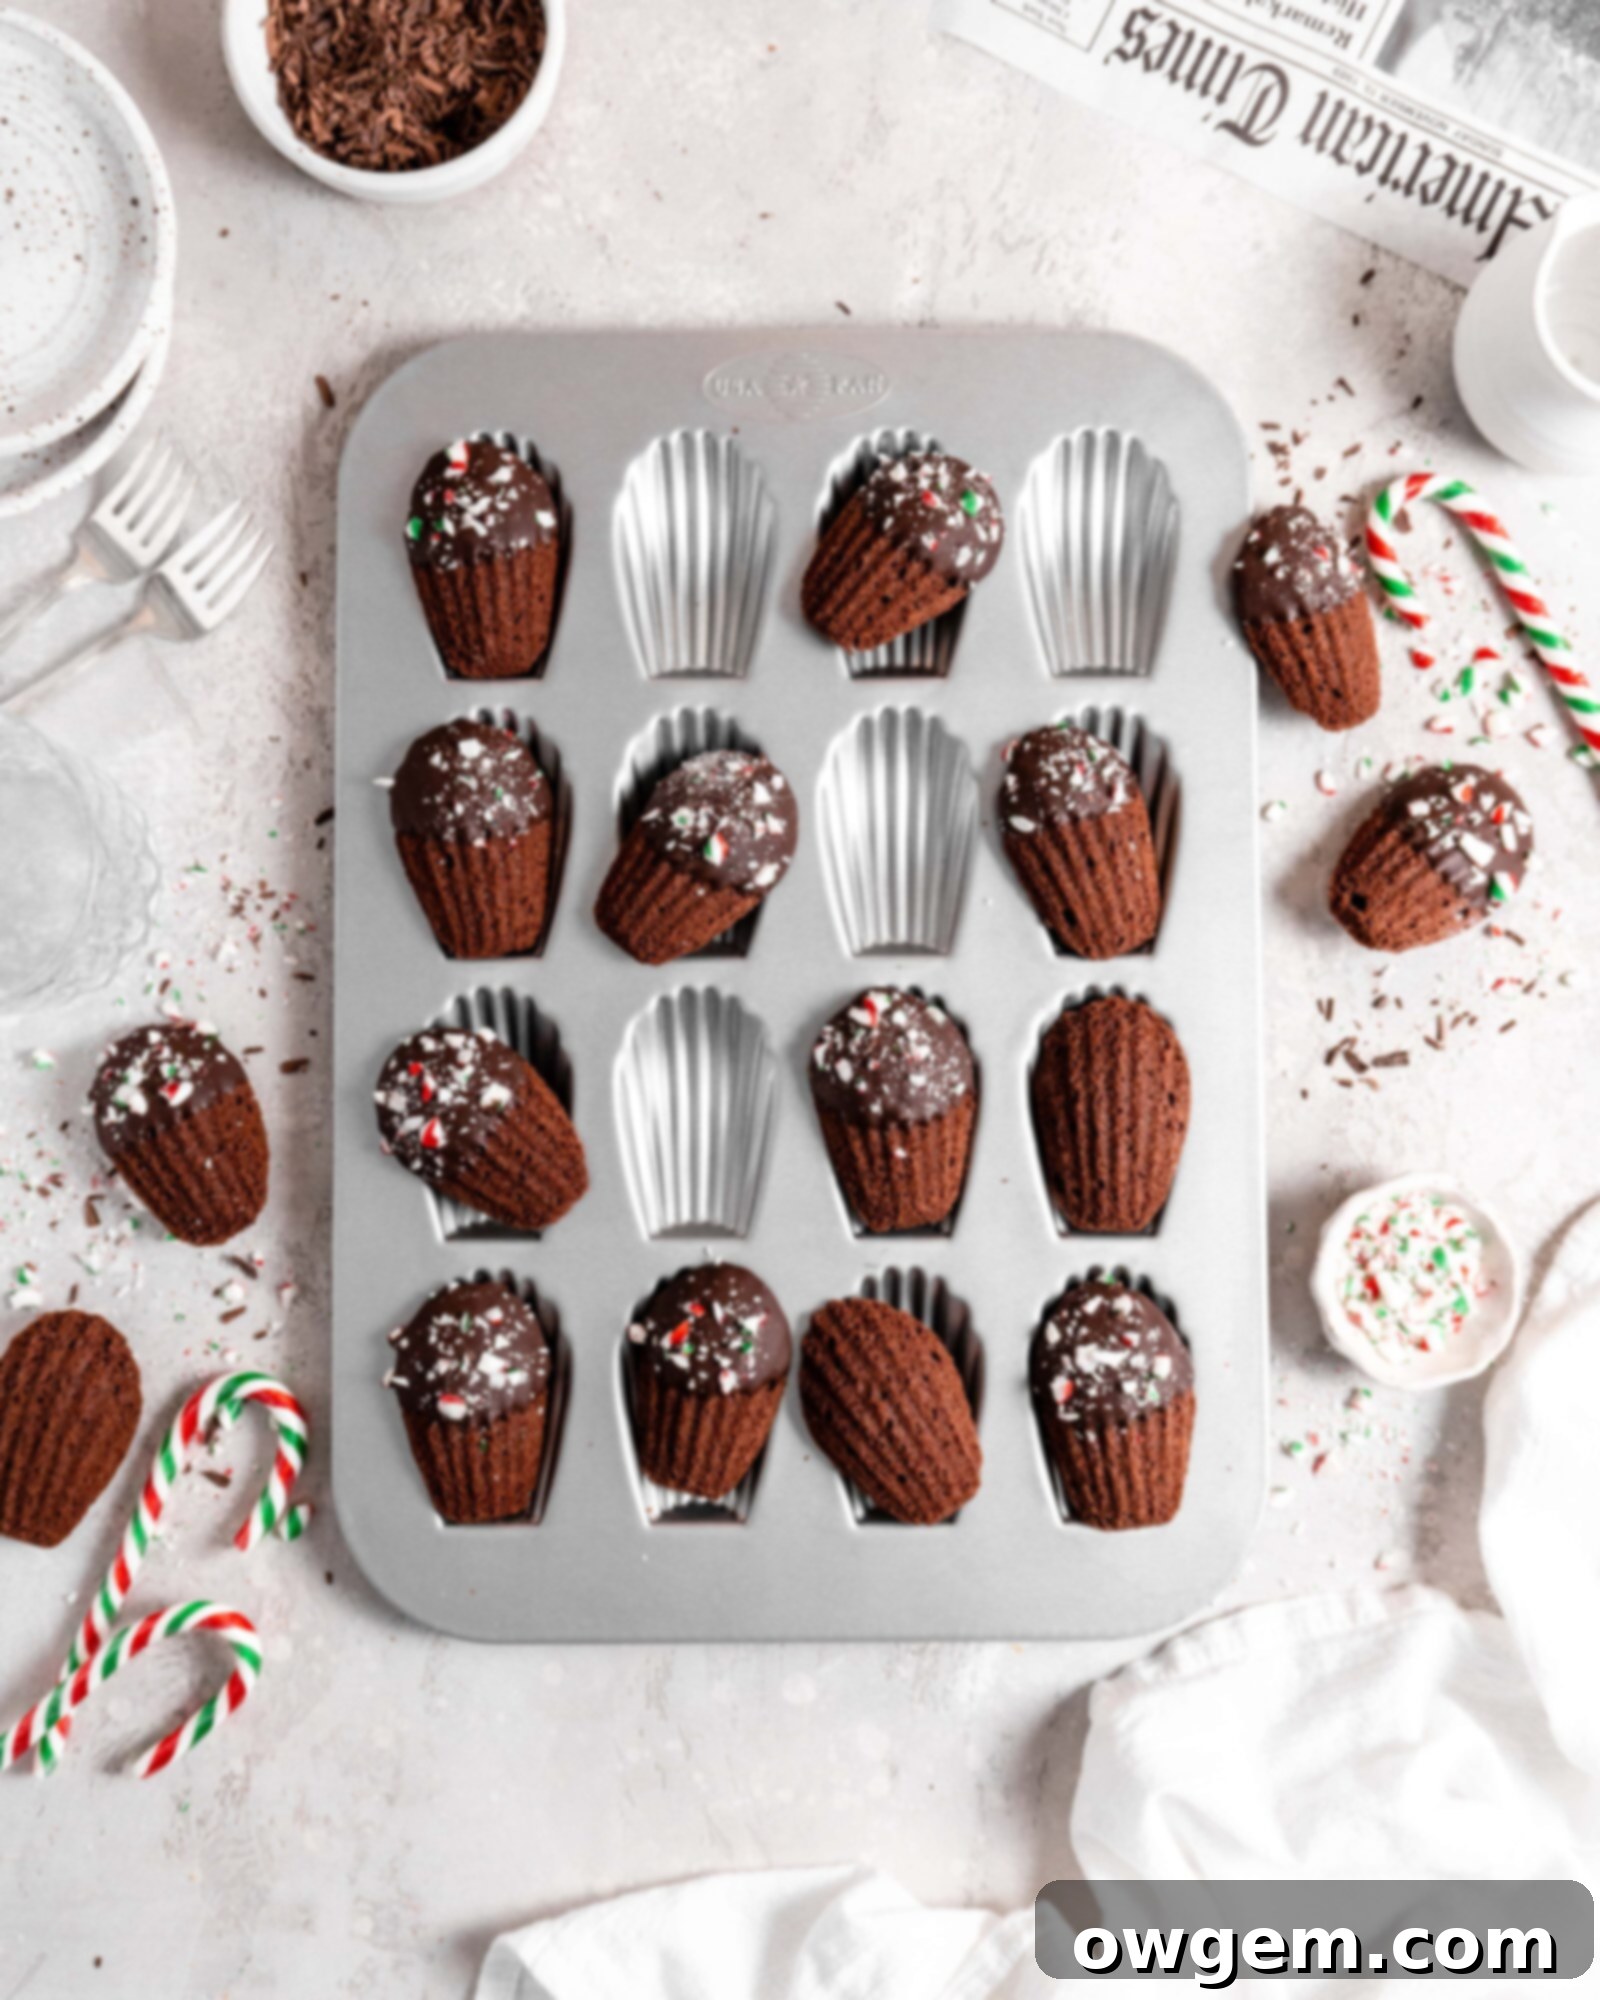
Indulge in Festive Delight: Perfect Chocolate Peppermint Madeleines Recipe
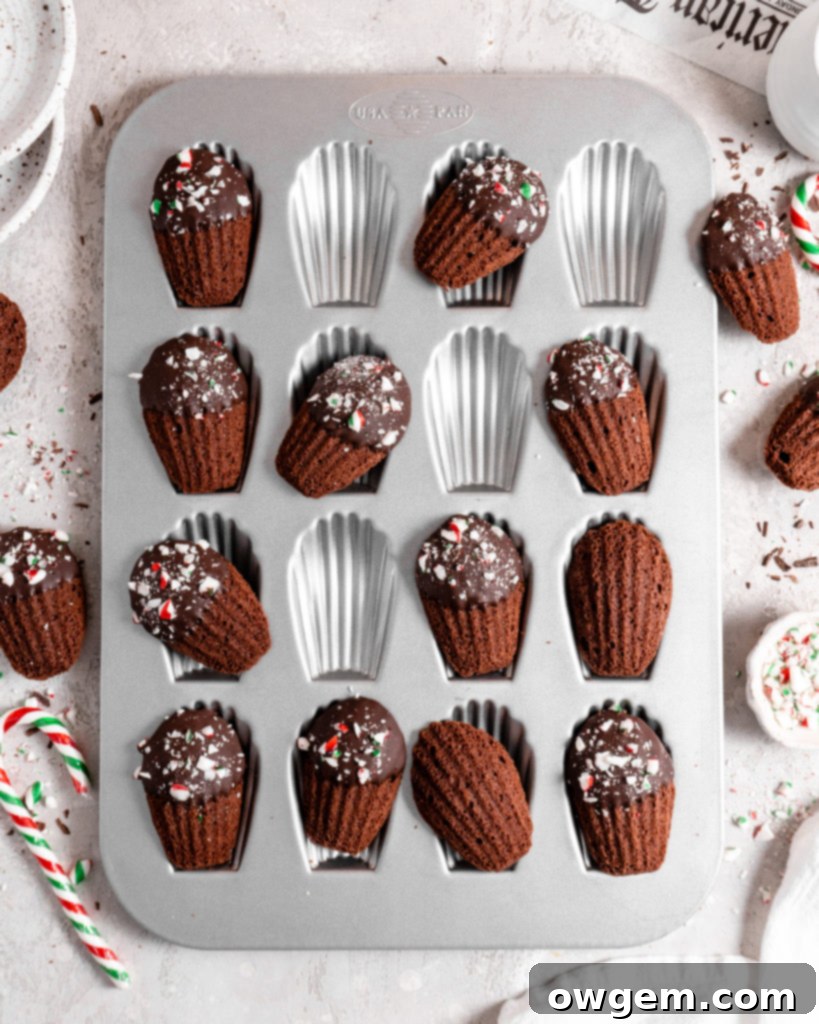
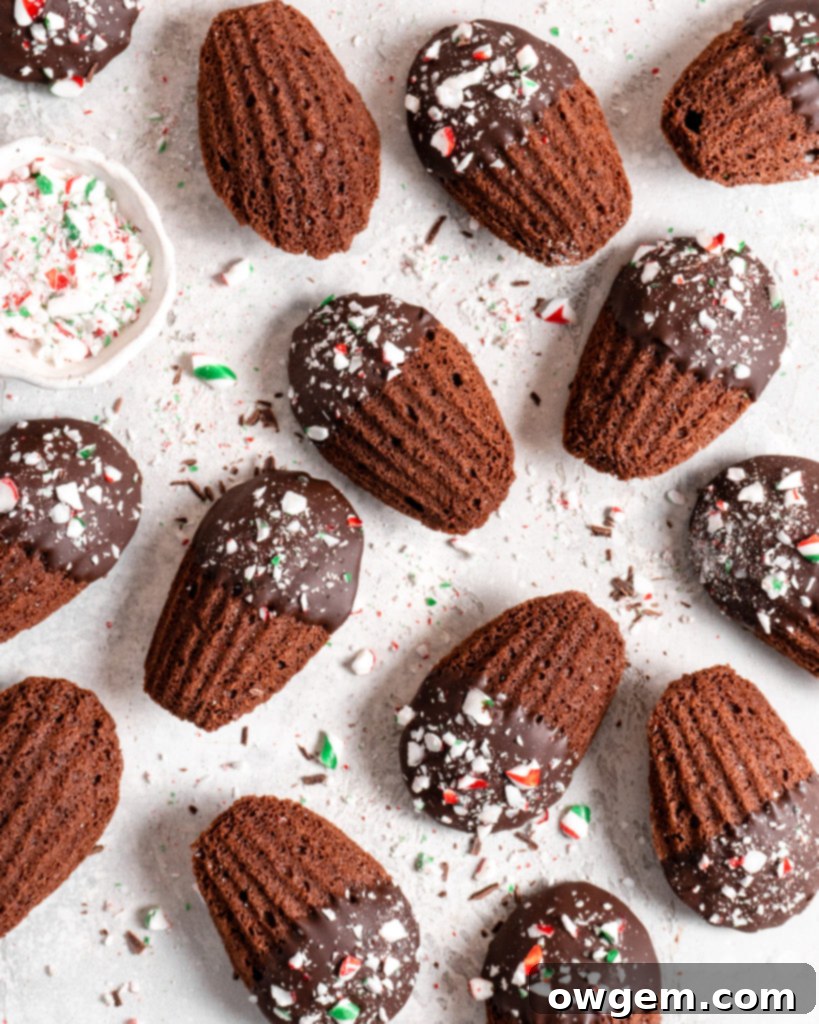
Step into a world of holiday cheer with these exquisite Chocolate Peppermint Madeleines, the very essence of soft, buttery perfection! These delicate, Christmas-inspired cake-cookies boast a wonderfully spongey texture, brimming with the rich, inviting flavors of dark chocolate and cool peppermint. Each petite madeleine is lovingly dipped in a luscious, creamy dark chocolate coating and then generously sprinkled with vibrant, crushed candy canes, making them an absolutely irresistible treat for your holiday gatherings or a thoughtful homemade gift. They are not just a dessert; they are a sensory experience that captures the spirit of the festive season in every delightful bite, promising to be a highlight of your culinary celebrations.
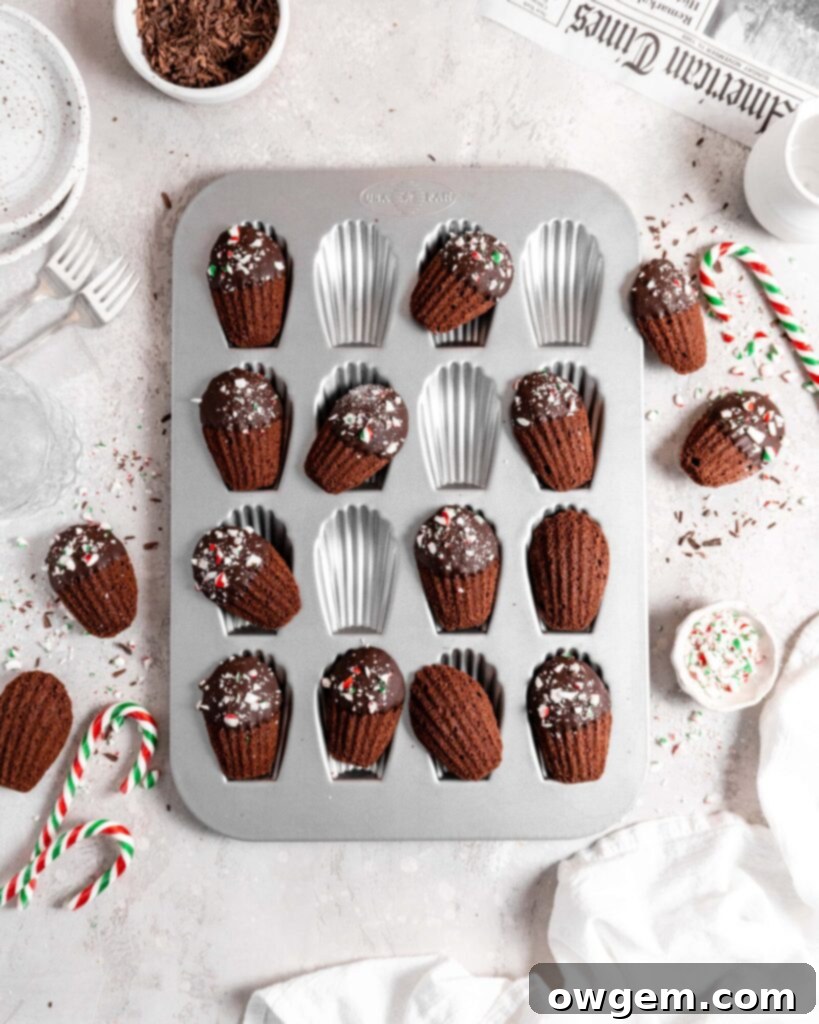
What Exactly Are Madeleines? A French Culinary Gem
Madeleines are an iconic symbol of French patisserie, renowned for their distinctive shell-like shape and delicate, buttery sponge cake texture. Originating from the Lorraine region of northeastern France, these small cakes are baked in a specialized madeleine pan, which features shell-shaped indentations that give them their signature appearance. While often referred to as “cake cookies,” madeleines truly represent a unique category, offering the richness of a butter cookie combined with the airy lightness of a sponge cake.
The history of the madeleine is steeped in folklore, with one popular tale crediting a young cook named Madeleine Paulmier from Commercy with their creation in the 18th century. Regardless of their exact origins, madeleines quickly became a beloved French dessert, celebrated for their elegance and comforting flavor. They are traditionally served alongside tea or coffee, making them a perfect accompaniment for any occasion, from casual afternoon breaks to sophisticated dinner parties.
The Signature Madeleine Hump: A Mark of Perfection
For baking enthusiasts and French culinary purists, a “proper” madeleine possesses two crucial characteristics. Firstly, it must clearly display the intricate, ridged pattern transferred from the shell-shaped pan. This gives it its characteristic beauty and charm. Secondly, and perhaps most importantly, a perfect madeleine features a small, charming “hump” on its underside. This dome-like rise is considered the hallmark of a successfully baked madeleine, indicating that the batter was prepared and baked under ideal conditions. Achieving this hump is often a point of pride for bakers, as it signifies a superior light and airy crumb structure. While delicious madeleines can certainly be enjoyed without this precise hump, its presence elevates the madeleine from merely good to truly exceptional, a testament to the baker’s skill and attention to detail. Thankfully, with a few key techniques, even home bakers can achieve this desired characteristic.
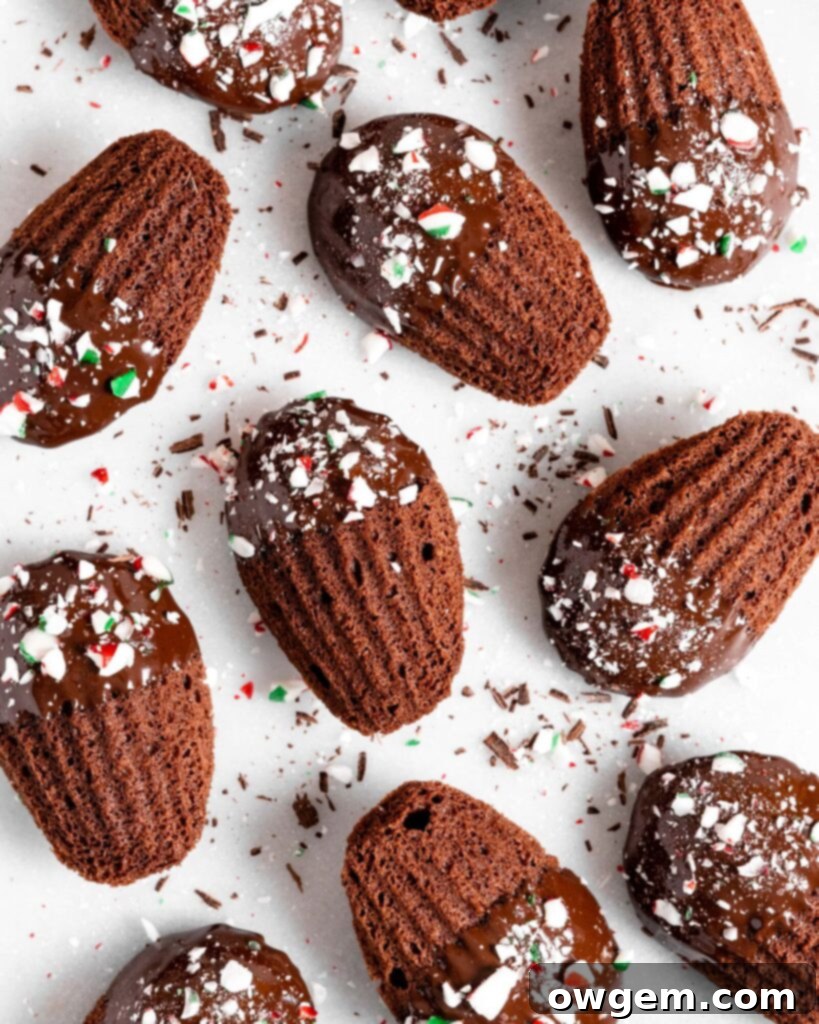
Essential Tips for Baking Flawless Chocolate Peppermint Madeleines
Crafting the perfect batch of Chocolate Peppermint Madeleines involves a few key techniques that can elevate your baking from good to truly exceptional. Follow these expert tips to ensure your madeleines are soft, tender, and beautifully formed, with that coveted signature hump.
Tip 1) The Art of Gentle Mixing: Don’t Overmix
When it comes to incorporating your dry ingredients into the wet batter, precision and gentleness are paramount. Only mix the dry ingredients until they are *just* combined, and no streaks of flour remain. The delicate, airy structure of madeleine batter is easily compromised. Overmixing develops the gluten in the flour, leading to a tough, dense, and chewy madeleine, rather than the light, spongey texture we desire. It also risks deflating all the precious air you worked so hard to whip into your eggs, which is essential for that signature light crumb. Use a spatula for folding rather than a whisk, employing gentle, deliberate motions to preserve the aeration.
Tip 2) Invest in a Quality Madeleine Pan
The foundation of a perfectly shaped madeleine lies in the pan itself. A high-quality madeleine pan is your best insurance for achieving those beautifully defined ridges and ensuring a clean release. Look for heavy-gauge aluminum or non-stick silicone-coated pans. Heavy-gauge metal pans ensure even heat distribution, which is critical for uniform baking and the formation of the hump. Non-stick coatings are equally important, allowing the delicate madeleines to pop out effortlessly without damaging their intricate shell pattern. While there are many options on the market, investing in a reliable pan, like those from USA Pan (as linked in the original recipe), can make a significant difference in your results, preventing sticking and promoting consistent baking.
Tip 3) The Secret to Even Browning: Use Baking Spray Instead of Butter
While butter is often the go-to for greasing baking pans, it can surprisingly be detrimental to the appearance of madeleines. When I experimented with greasing my madeleine pans, I consistently found that baking spray yielded superior results compared to butter. Butter, with its milk solids and water content, tends to brown unevenly and can sometimes burn in spots, leading to a patchy and unattractive browning on the baked madeleines. Baking spray, on the other hand, provides a consistent, thin layer of grease that ensures uniform golden-brown edges and a much cleaner, more appealing finish across the entire surface of the madeleine. This small switch can make a big visual impact on your final product.
Tip 4) Achieve Uniformity with a Cookie Scoop
When it’s time to transfer your delicate batter into the madeleine pan, using the right tool can make all the difference for consistency. A 3/4 oz sized cookie scoop is ideal for this task. Fill the scoop to the top with batter and then carefully place it into each indentation of the pan. This method ensures that every madeleine receives approximately the same amount of batter, which is crucial for uniform baking. Madeleines of similar size will bake at the same rate, preventing some from being overdone while others are underbaked. Beyond practicalities, consistent sizing also lends a professional and polished appearance to your finished platter of treats.
Tip 5) Spreading the Batter for Perfect Shells
After portioning the batter into each shell indentation with your cookie scoop, don’t just leave it as a dollop. Take a moment to lightly spread the batter using the back of the cookie scoop or a small offset spatula. Gently push the batter to fill the entire cavity of the shell, extending it to the edges. This seemingly small step is vital for ensuring that your madeleines fully capture the beautiful, intricate shell design of the pan. It helps achieve well-defined ridges and a uniform thickness, contributing to both the aesthetic appeal and the even baking of each madeleine. A properly spread batter will yield madeleines that are perfectly shaped and visually stunning.
Tip 6) The Chilling Trick for the Iconic Hump: Freeze Them!
One of the most essential and often overlooked steps for achieving the coveted “hump” on your madeleines is chilling the batter in the pans. After you have scooped the chocolate peppermint madeleine batter into the prepared pans, immediately transfer them to the freezer for precisely 15 minutes. This quick freeze creates a significant temperature contrast when the cold batter hits the hot oven. The cold exterior of the batter will set slowly, while the center heats up rapidly, causing steam to build and push upwards, resulting in that distinctive camel-like hump. Through trial and error, I’ve found that omitting this crucial freezing step almost always leads to flat madeleines, whereas this brief chill guarantees that beautiful rise.
Tip 7) Sift Your Dry Ingredients for a Smooth Batter
To ensure the lightest possible madeleines and a perfectly smooth batter, always sift your dry ingredients. This includes the flour, cocoa powder, baking powder, and salt. Sifting helps to break up any lumps, incorporate air, and ensures an even distribution of the leavening agents throughout the mixture. A finely sifted dry mix will integrate more smoothly into the wet ingredients, reducing the need for excessive mixing (which, as discussed, can lead to tough madeleines) and contributing to a uniform, delicate crumb.
Tip 8) Bring Ingredients to Room Temperature
For optimal emulsion and batter consistency, it is highly recommended that your eggs and melted butter (once cooled slightly) are at room temperature. Room temperature eggs whip up to a greater volume and create a more stable foam, which is crucial for the madeleines’ airy texture. Similarly, slightly cooled melted butter (not hot!) incorporates more smoothly into the batter without deflating the whipped eggs. Cold ingredients can cause the batter to seize or become lumpy, making it harder to achieve that desired silky-smooth consistency.
Step-by-Step Guide: Crafting Your Chocolate Peppermint Madeleines
Let’s walk through the process of bringing these delightful Chocolate Peppermint Madeleines to life, ensuring each step contributes to their perfect flavor and texture.
1. Prepare Your Dry Ingredients: Begin by sifting together the all-purpose flour, Dutch-processed cocoa powder, baking powder, and salt into a medium-sized mixing bowl. Sifting is crucial here as it removes any lumps from the cocoa and flour, ensuring a smooth batter and an even distribution of the leavening agent. Once sifted, whisk these dry ingredients thoroughly to combine them evenly. Set this mixture aside.
2. Whip Eggs and Sugar to Perfection: In the bowl of your stand mixer, fitted with the whisk attachment, combine the large eggs, white sugar, vanilla extract, and peppermint extract. Turn the mixer on high speed and whip the mixture for approximately 8 minutes. During this time, the mixture will undergo a remarkable transformation: it will become significantly lighter in color, thick, and triple in volume. When you lift the whisk attachment, the batter should fall back into the bowl in a thick “ribbon” that holds its shape for a few seconds before dissolving. This “ribbon stage” indicates that ample air has been incorporated, which is vital for the madeleines’ characteristic spongey and light texture.
3. Gently Fold Dry into Wet: Once your egg and sugar mixture has reached the ribbon stage, carefully remove the stand mixer bowl from the machine. Add the prepared dry ingredients (flour, cocoa, etc.) to the whipped egg mixture. Using a flexible rubber spatula, gently fold the dry ingredients into the wet batter. The key here is to be delicate; use a cutting and folding motion to combine everything until the batter is smooth and no pockets of dry ingredients remain. Avoid aggressive stirring or beating, as this will deflate the airy batter you’ve just created, leading to dense madeleines.
4. Incorporating Melted Butter: Now it’s time to add the melted unsalted butter. To prevent deflating the batter and ensure even incorporation, I find a two-step process works best. First, scoop a small amount of the madeleine batter (about 1/4 to 1/3 of it) into the bowl with the melted butter. Gently fold these two together until they are well combined. This essentially tempers the butter into a smaller portion of the batter. Then, pour this butter-batter mixture back into the main bowl with the remaining batter. Fold gently until everything is fully incorporated and the batter is smooth and glossy. Again, maintain that gentle folding motion to keep the batter as light as possible.
5. Fill, Chill, and Bake: Using a 3/4 oz cookie scoop, carefully scoop the batter into the prepared and greased madeleine pans. Use the back of the scoop to lightly spread the batter to fill the entire shell indentation, ensuring well-defined shapes. Immediately after filling, place the pans into the freezer for exactly 15 minutes. This crucial chilling step helps develop the signature hump during baking. After chilling, transfer the pans directly from the freezer to your preheated oven. Bake for 11-12 minutes, or until the madeleines are golden brown at the edges, feel springy to the touch, and have developed their characteristic hump. Remove from the oven and let them cool in the pans for about 30 minutes before gently popping each madeleine out onto a wire rack to cool completely.
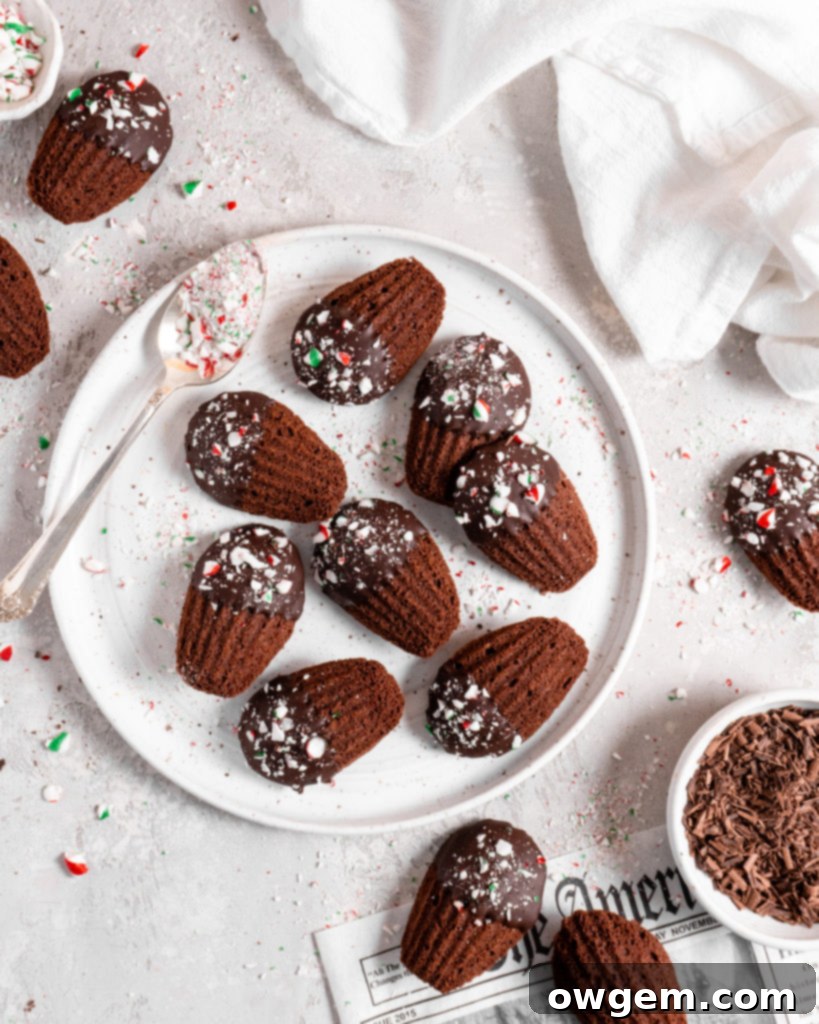
6. The Festive Finish: Dip and Decorate: Once your chocolate peppermint madeleines have cooled completely, it’s time for the festive finishing touch! Melt your semi-sweet chocolate using a double boiler or microwave, stirring until smooth and glossy. Dip each cooled madeleine halfway or fully into the melted chocolate. Before the chocolate sets, generously sprinkle the wet chocolate with crushed candy canes. The vibrant red and white against the dark chocolate create a stunning visual contrast and add an extra layer of delightful peppermint crunch. Arrange them on a wire rack for the chocolate to set, or place them on parchment paper. These are best served fresh, but can be stored in an airtight container.

Get the Recipe:
Chocolate Peppermint Madeleines
Pin
Rate
Ingredients
- 90 g (3.2oz) All Purpose Flour
- 30 g (1oz) Dutch Processed Cocoa Powder,, sifted
- 1/2 tsp Baking Powder
- 1/8 tsp Salt
- 2 Large Eggs
- 1/2 cup White Sugar
- 1 tsp Peppermint Extract
- 1/2 tsp Vanilla
- 1/2 cup Unsalted Butter,, melted
- 1/2 cup Melted Semi Sweet Chocolate,, for dipping
- Crushed Candy Canes,, for decorating
Equipment
-
Stand mixer
Instructions
-
Preheat oven to 350°F (175°C). Prepare 2 madeleine pans (yielding 18 madeleines total) by spraying them thoroughly with baking spray. Ensure every indentation is lightly coated for easy release and even browning.
-
In a medium mixing bowl, combine the all-purpose flour, sifted Dutch-processed cocoa powder, baking powder, and salt. Whisk these dry ingredients well until they are thoroughly combined and evenly distributed. Set this bowl aside for later use.
-
In the bowl of a stand mixer fitted with the whip attachment, add the large eggs, white sugar, vanilla extract, and peppermint extract. Turn the stand mixer to high speed and whip the mixture for approximately 8 minutes. You’ll know it’s ready when the batter appears thick, has tripled in volume, and forms a visible ribbon when you lift the attachment.
-
Carefully remove the bowl from the stand mixer. Add the reserved dry ingredients to the whipped wet batter. Using a rubber spatula, gently fold the dry ingredients into the batter with slow, deliberate motions until they are just combined and the mixture is smooth. Be cautious not to overmix, as this will deflate the air in the batter.
-
To delicately incorporate the melted butter, follow a two-step process: first, scoop about one-third of your batter into the bowl with the cooled melted butter and gently fold until fully combined. This helps to temper the butter. Then, pour this mixture back into the main batter bowl and gently fold until the butter is entirely incorporated and the batter remains light and airy, without any streaks.
-
Using a 3/4 oz cookie scoop, carefully portion the batter into each indentation of the prepared madeleine pans. Use the back of the scoop to gently spread the batter to fully fill the shell shape. Immediately place the filled pans into the freezer for exactly 15 minutes. This chilling step is essential for achieving the signature madeleine “hump.”
-
After 15 minutes, remove the pans directly from the freezer and transfer them to the preheated oven. Bake for 11-12 minutes, or until the madeleines are lightly golden around the edges, feel springy when gently pressed, and have developed a distinct hump on their backs. Once baked, remove from the oven and allow the madeleines to cool in the pan for 30 minutes before carefully unmolding them onto a wire rack to cool completely.
-
When the madeleines have fully cooled, dip each one into the melted semi-sweet chocolate, coating as much or as little as you prefer. Immediately after dipping, decorate with a generous sprinkle of crushed candy canes for that beautiful festive touch and extra peppermint flavor. Allow the chocolate to set before serving or storing.
