The Ultimate Chewy Brown Butter Chocolate Chip Cookies: A Master Recipe Guide
Update Alert! This recipe has been refined and perfected. This post is an updated version of my original Chewy Brown Butter Chocolate Chip Cookies. We’ve made subtle yet impactful changes to the ingredient ratios and techniques, along with adding fresh new photos, to bring you an even more incredible cookie experience.
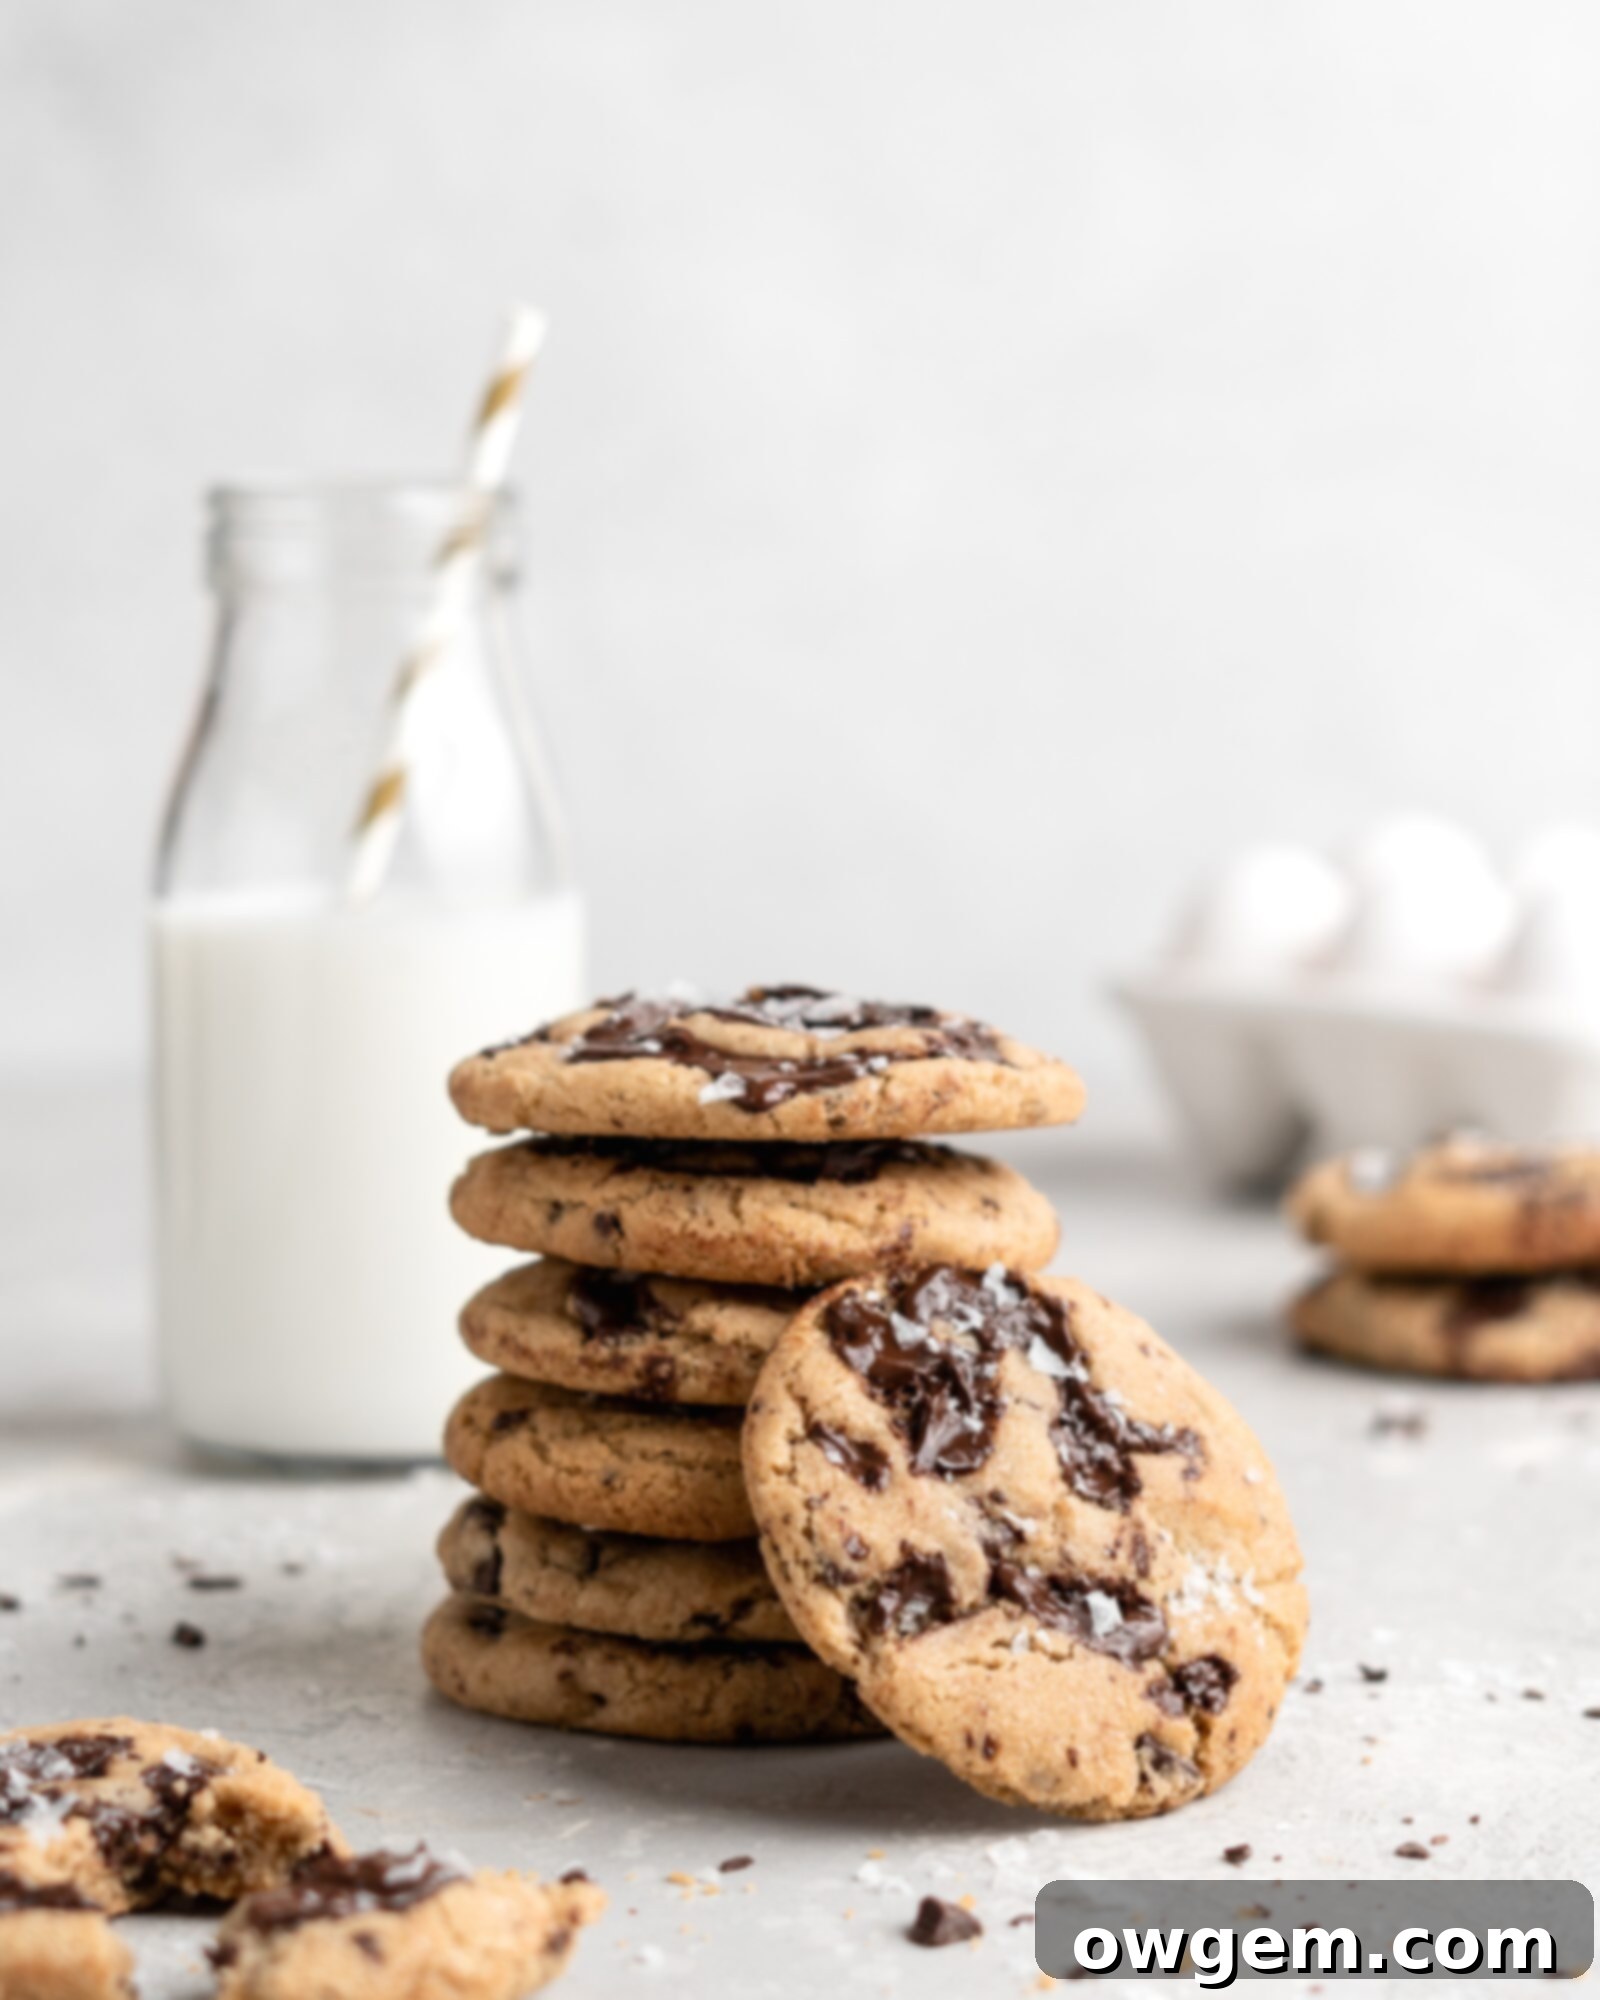
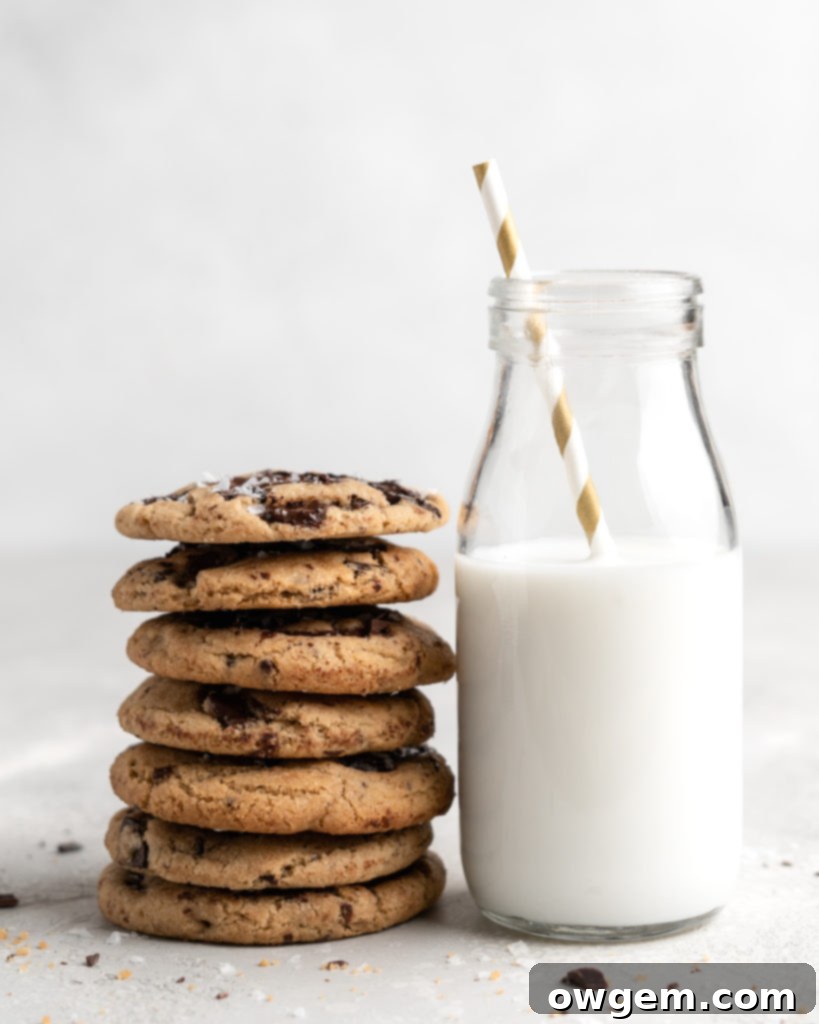
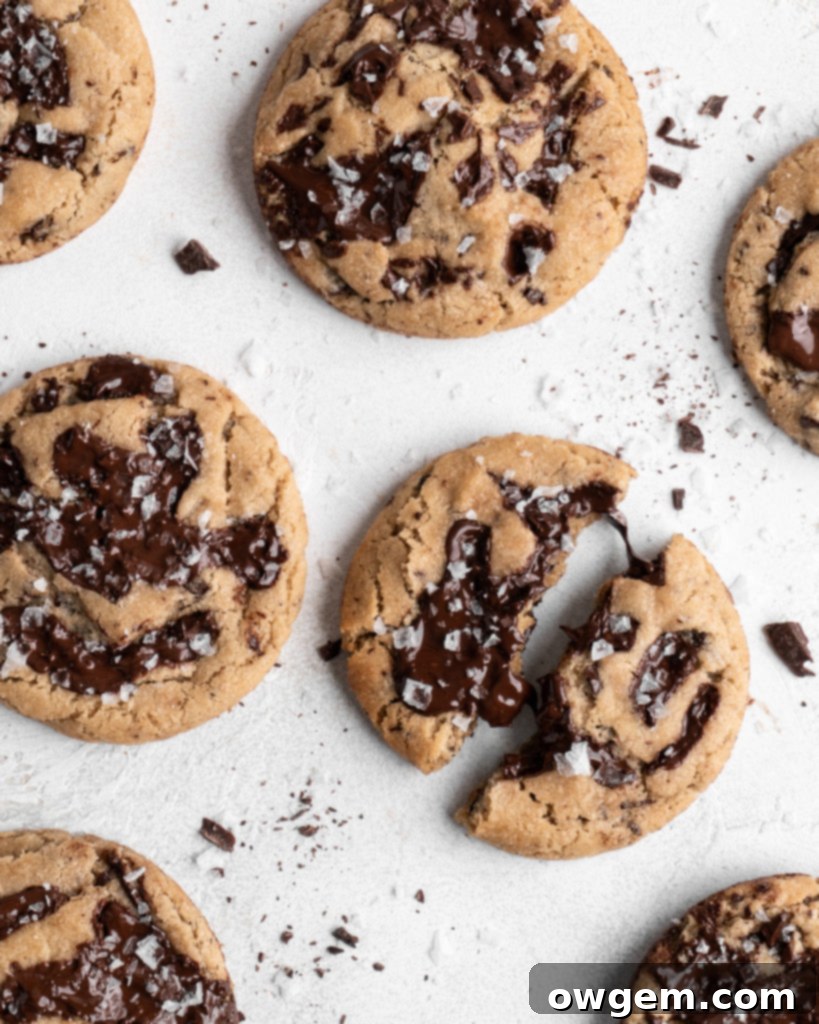
Prepare to be amazed by these absolutely perfect Chewy Brown Butter Chocolate Chip Cookies. Imagine a cookie with a delicate, crisp exterior that gives way to a luxuriously soft and delightfully chewy center – these are the cookies of your wildest dreams! For me, the quintessential chocolate chip cookie isn’t just a treat; it’s an art form. It should maintain its irresistible softness for days after baking, while still offering that satisfying initial crunch from its caramelized, golden-brown edges. This meticulously developed recipe utilizes a precise combination of ingredients and techniques, backed by baking science, to guarantee cookies that are consistently soft, wonderfully chewy, incredibly tender, and bursting with unparalleled flavor!
Achieving the Perfect Brown Butter Chocolate Chip Cookie: A Scientific Approach
As I passionately stated in the introduction, my vision for the perfect cookie revolves around a sublime texture: a soft, tender, and incredibly chewy center juxtaposed with those wonderfully crispy, caramelized outer edges. Beyond texture, flavor is paramount – it should be a truly unforgettable culinary experience. Achieving this elusive balance in a chocolate chip cookie can often feel like a quest, as many recipes fall short of true perfection. The secret to these ultimately chewy brown butter chocolate chip cookies doesn’t lie in a single magic ingredient, but rather in the harmonious interaction of several key components and precise baking methods. This involves a thoughtful consideration of brown versus white sugar ratios, the exact measurement of flour, the strategic use of whole eggs and an extra yolk, and, crucially, the often-overlooked resting period for the dough. Through extensive trial and error, coupled with a deep dive into baking science, I have meticulously crafted a recipe that consistently delivers on all fronts: cookies that are remarkably chewy, intensely flavorful, delightfully tender, and boast that signature slightly caramelized, crispy exterior.
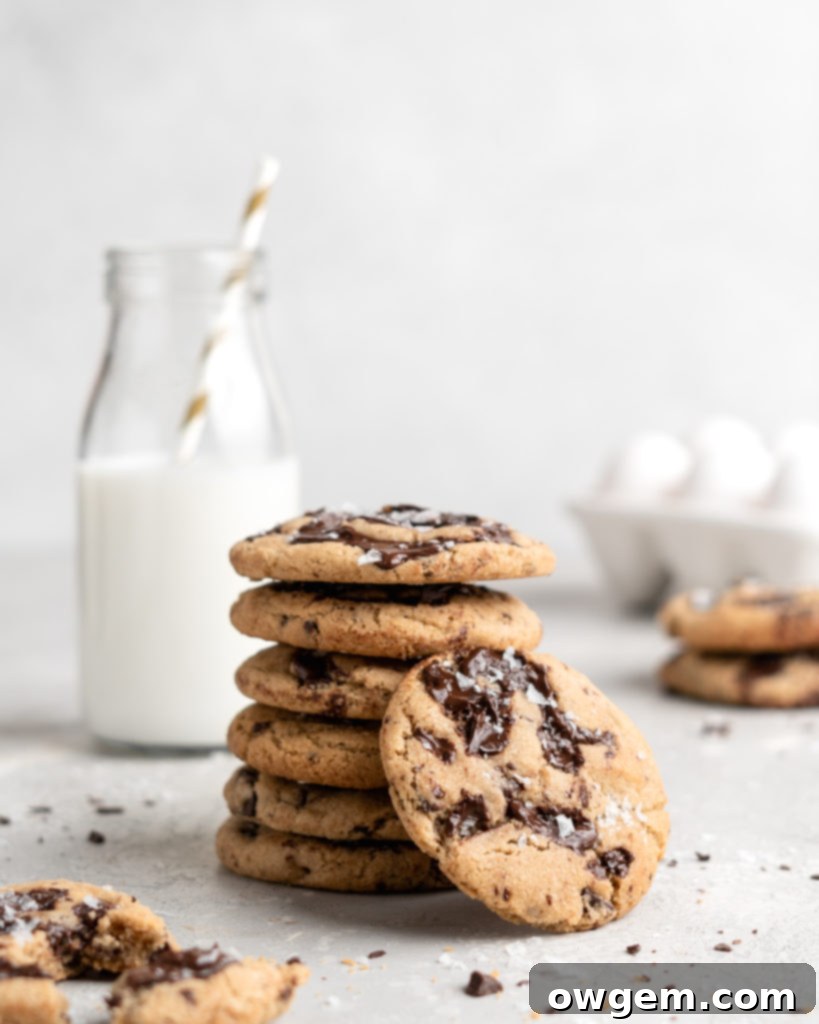
Browning the Butter: Unlocking Deep Flavor
A significant portion of the extraordinary flavor profile in these chocolate chip cookies stems directly from the magic of brown butter, also known as beurre noisette. This simple yet transformative process involves heating unsalted butter until its milk solids separate from the butterfat. As these milk solids sink to the bottom of the pan, they undergo the Maillard reaction – a complex chemical process responsible for browning and developing deep, rich flavors in food. Essentially, these milk solids caramelize, resulting in butter that is not only deeper in color but also profoundly richer in taste and aroma. The Maillard reaction infuses the butter with delightful notes reminiscent of toasted nuts, caramel, and a subtle toffee-like sweetness, elevating the entire cookie experience.
Despite its sophisticated outcome, browning butter is surprisingly straightforward and should not intimidate any home baker! To begin, add unsalted butter, cut into cubes and at room temperature, to a small, light-colored saucepan. A light-colored pan is crucial because it allows you to clearly observe the changing color of the milk solids. Place the saucepan over medium heat. The butter will first melt, then foam, and eventually begin to boil. Continue to boil, stirring constantly with a heat-proof spatula or whisk. Constant stirring is key to promoting even cooking and preventing the milk solids from burning at the bottom of the pan. Keep a close eye on the color; the butter will progress from yellow to golden, then to an amber, nutty brown, releasing a wonderfully fragrant aroma. If the foam makes it difficult to see the color, momentarily remove the pan from the heat and swirl to check. Once it reaches that beautiful nutty brown, immediately remove it from the heat to prevent burning. After browning, it is absolutely essential to let the butter cool back down to room temperature. This step is critical because the butter needs to be at a specific temperature and consistency to properly cream with the sugars later in the recipe, ensuring the right texture and structure for your cookies. To expedite this cooling process, I recommend transferring the hot browned butter into a heat-proof glass measuring cup or bowl and placing it in the freezer. Stir the butter every 15 minutes or so to ensure even cooling and to prevent it from solidifying unevenly. This cooling period typically takes about 45 minutes to an hour, until the butter reaches a consistency similar to soft, room-temperature butter.
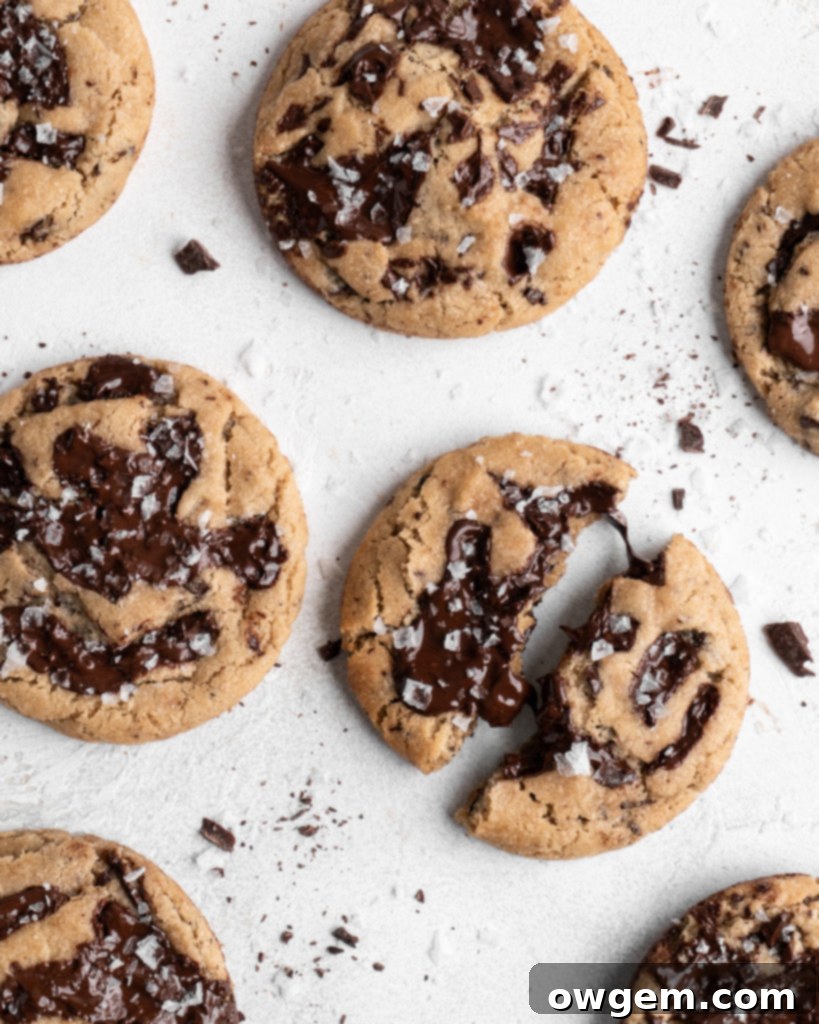
The Right Amount of Flour: Precision for Perfect Texture
In previous iterations of this recipe, I might have suggested using bread flour to achieve a chewier cookie. However, after over a year of rigorous testing and countless batches of these brown butter chocolate chip cookies, I have conclusively found that using bread flour is simply unnecessary to achieve the desired ultimate chewy texture. What truly makes the difference, and what is absolutely essential for consistently perfect cookies, is the proper and precise measurement of all-purpose flour.
The impact of flour measurement on cookie texture cannot be overstated. Too much flour will inevitably lead to cookies that are tough, dry, and crumbly, lacking the desired chewiness. Conversely, too little flour will result in cookies that spread excessively, becoming thin and lacking any structural integrity. The key to achieving that perfectly chewy and tender brown butter chocolate chip cookie every single time is to measure your flour by weight, using a kitchen scale. Volumetric measurements (using cups) for flour can be notoriously inaccurate, often over-measuring by as much as 100%. This means you could inadvertently be adding double the required flour, which is a common culprit for dry and dense chocolate chip cookies. Measuring flour by weight eliminates this variability, guaranteeing that your brown butter chocolate chip cookies will possess that ideal chewy and tender consistency, batch after glorious batch.
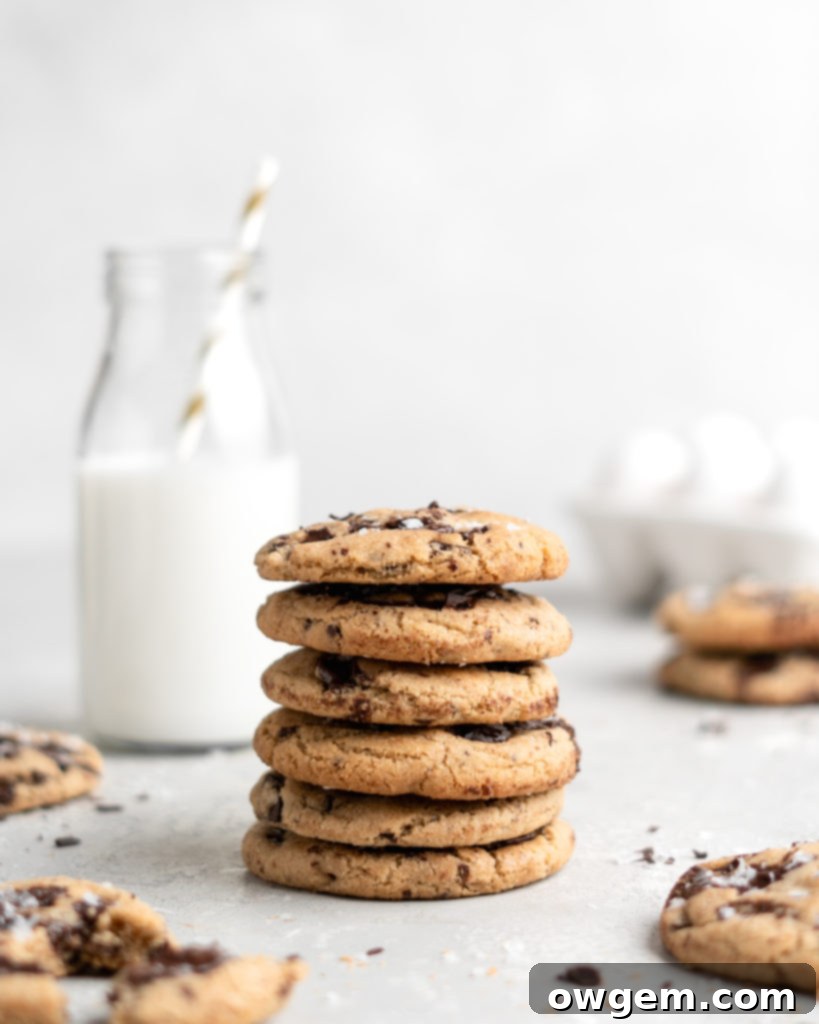
Brown Sugar vs. White Sugar: The Sweet Science of Texture
The careful balance between brown sugar and white sugar is a cornerstone of this recipe’s success in achieving the perfect texture and flavor. Brown sugar plays a multifaceted role; it imbues the cookie with a deeper, more complex flavor thanks to its inherent molasses content. Beyond taste, brown sugar naturally contains more moisture than white sugar, which directly contributes to a chewier and softer cookie. Furthermore, brown sugar is slightly acidic. This acidity helps to speed up gluten production in the dough, causing it to set more quickly during baking. The result is a cookie that holds its shape better, spreads less, and develops a thicker, wonderfully chewy texture.
On the other hand, white sugar serves its own distinct and equally important purpose. While brown sugar promotes chewiness, white sugar actually interferes with gluten production to a certain extent, allowing the cookie dough to spread out more during baking. This spread is essential for creating those coveted crispy edges and a thinner, more caramelized exterior. White sugar also caramelizes at a lower temperature and more readily than brown sugar, which not only provides that desirable crispy texture but also plays a crucial role in the cookie’s beautiful golden-brown appearance and enhanced caramelized flavor. It’s the precise combination and ratio of these two sugars that creates the ideal symphony of textures and tastes: a cookie that is both satisfyingly chewy in the center and deliciously crispy on the outside.
Whole Eggs vs. Yolks: The Secret to Richness and Chewiness
Eggs are far more than just binders in cookie dough; they are essential structural and textural contributors. Whole eggs bring a wealth of benefits: the water content in the egg whites facilitates gluten development, contributing to the cookie’s structure. Lecithin, found in the yolk, acts as a natural emulsifier, helping to bind fats and liquids evenly throughout the dough for a smoother texture. The fat in the yolk adds tenderness and richness, while the protein provides crucial structure. However, the addition of an extra egg yolk is where a significant textural transformation occurs. Egg yolks are primarily composed of fat, and this additional fat significantly enhances both the color and tenderness of the cookie. This boost of extra fat leads to a richer, more intensely flavorful, and most importantly, an exceptionally chewier cookie. Furthermore, the fats and proteins in the yolks actively participate in the Maillard reaction during baking, aiding in the caramelization process, which ensures those golden-brown, wonderfully crispy edges.
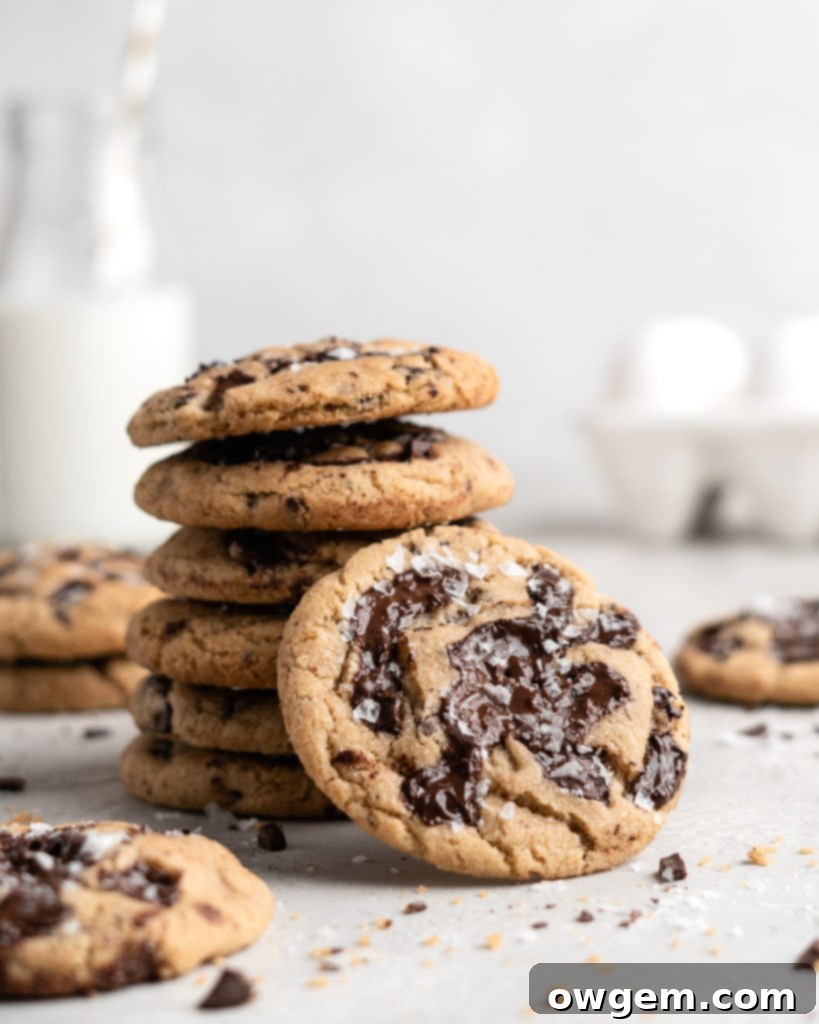
Resting vs. No Resting: The Unsung Hero for Superior Cookies
Now, we arrive at arguably the most critical step for achieving truly superior brown butter chocolate chip cookies: resting and chilling the dough. I fully understand the temptation to simply scoop and bake the moment the dough is mixed – the aroma alone is enough to make anyone impatient! However, providing the cookie dough with a short, yet crucial, 30-minute resting period in the freezer (or longer in the fridge) is an absolute game-changer. This resting phase is the final, pivotal touch in all the baking science we’ve discussed, and skipping it will invariably result in a cookie with an inferior texture and less complex flavor. Allowing the cookie dough to rest offers a multitude of distinct advantages that elevate a good cookie to an exceptional one.
Firstly, chilling allows the fats within the dough, particularly the browned butter and the butter added at room temperature, to solidify and cool down significantly. When these chilled cookie dough balls enter a hot oven, the solidified fats melt more slowly. This slow melting prevents the cookies from spreading out too rapidly or excessively, allowing them to retain a thicker shape and develop that desirable chewy texture throughout. If the fats are too warm, they melt quickly, leading to flat, crispy, and often greasy cookies. Secondly, resting the dough gives the flour and sugars ample time to fully absorb any free-floating liquid present in the dough. This absorption leads to a more uniformly hydrated dough, which, in turn, creates a more consistent and better-textured cookie. Properly hydrated flour also means less uncontrolled spread during baking. Think of it this way: more free-floating liquid equals a runnier dough, which inevitably means more spreading and thinner cookies. Beyond texture, chilling the dough also subtly dehydrates it over time. This slight dehydration isn’t detrimental; rather, it concentrates the flavors within the cookie dough, leading to a richer, more pronounced taste profile. The enzymes in the flour also have a chance to break down complex carbohydrates into simpler sugars during this rest, which enhances caramelization and deepens flavor further. For the ultimate flavor development and texture, consider chilling your dough for at least 30 minutes in the freezer or even overnight in the refrigerator. Trust the process – this step is truly worth the wait for the perfect brown butter chocolate chip cookie.
The Right Chocolate & Baking for Success
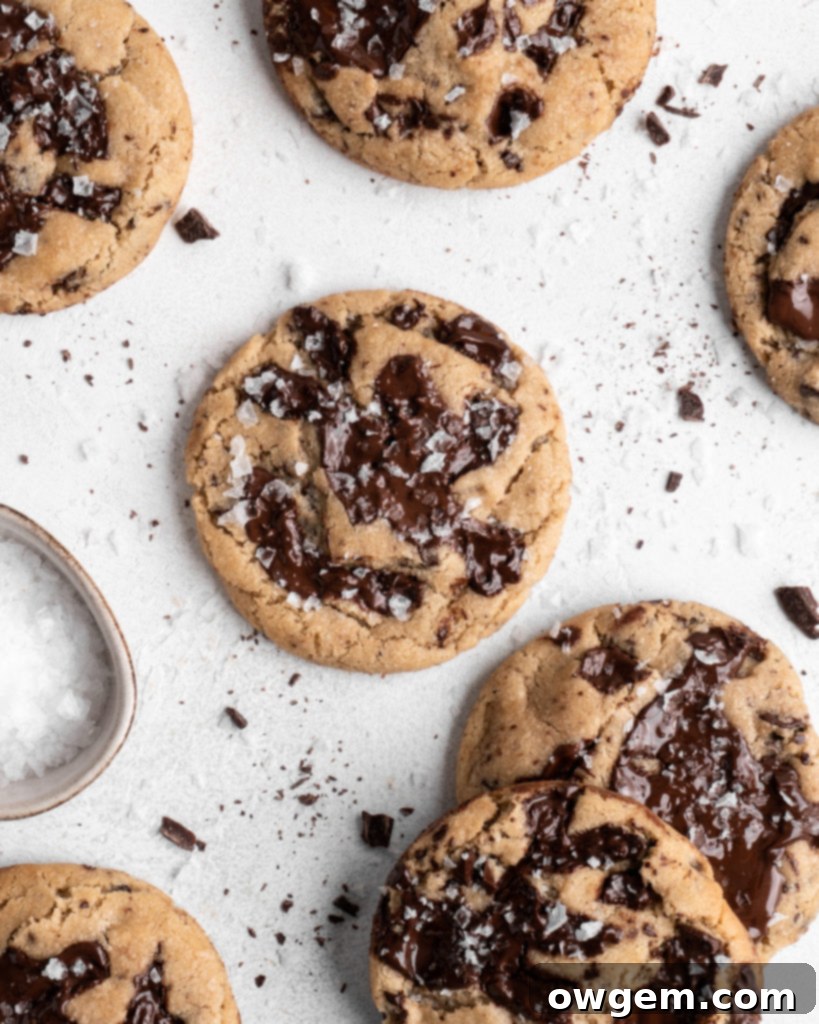
Beyond the foundational elements, the choice of chocolate significantly impacts your cookie experience. While semi-sweet chocolate chips are a classic choice, consider using high-quality chocolate chunks or a chopped semi-sweet chocolate bar for varying textures and richer pools of melted chocolate. A good quality chocolate will melt beautifully and contribute to the overall gooeyness of the cookie’s center. For an extra touch of sophistication, a sprinkle of flaky sea salt immediately after baking enhances the complexity of flavors, balancing the sweetness and highlighting the nutty notes of the brown butter. When baking, ensure your oven is preheated to the correct temperature. An oven thermometer can be a baker’s best friend, as oven temperatures can often vary from what the dial indicates. Bake until the edges are golden brown and set, but the centers still look slightly soft and underbaked. This ensures that coveted chewy center. They will continue to set as they cool on the baking sheet.
Storage and Freezing Tips for Chewy Perfection
To maintain the irresistible chewiness of these brown butter chocolate chip cookies, proper storage is key. Once completely cooled, store them in an airtight container at room temperature for up to 3-4 days. For longer storage, you can freeze baked cookies. Arrange cooled cookies in a single layer on a baking sheet to flash freeze for about 30 minutes, then transfer them to a freezer-safe bag or container. They’ll keep well for up to 2-3 months. Thaw at room temperature or gently warm them in the microwave for a few seconds for that fresh-out-of-the-oven feel.
Alternatively, you can freeze the raw cookie dough balls for future baking. Scoop the dough into individual portions, place them on a parchment-lined baking sheet, and freeze until solid. Then transfer the frozen dough balls to a freezer-safe bag. When you’re ready to bake, simply place the frozen dough balls on a baking sheet (no need to thaw!) and bake for an extra 2-4 minutes, or until the edges are golden and the centers are soft. This means fresh, warm brown butter chocolate chip cookies are always just minutes away!
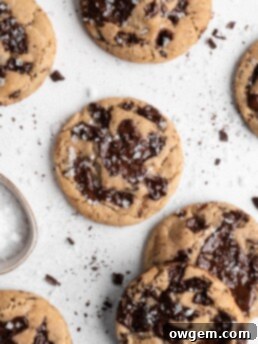
Get the Recipe:
Chewy Brown Butter Chocolate Chip Cookies
Pin
Rate
Ingredients
- 300 g All Purpose Flour
- 1 tsp Baking Soda
- 1 tsp Salt
- 1/2 cup Unsalted Butter,, cubed
- 1/2 cup Unsalted Butter,, at room temperature
- 1 cup Brown Sugar
- 1/2 cup White Sugar
- 2 Large Eggs
- 1 Egg Yolk
- 2 tsp Vanilla
- 1 cup Semi Sweet Chocolate Chips or Chopped Semi Sweet Chocolate
- (Optional) Flaky Sea Salt,, for sprinkling
Equipment
-
Stand mixer
Instructions
-
In a small sauce over medium heat, add cubed 1/2 cup butter and bring to a boil. Continue heating over medium heat, constantly stirring until the butter has turned a nutty brown color. It may be hard to see the color if your butter is foaming a lot, so periodically take it off the heat to check the color. Remove from heat, place into a heat proof glass and then into the freezer to cool off for 45 minutes to 1 hour, stirring every 15 minutes to promote even cooling. When ready, the butter should be similar in consistency to room temperature butter.
-
In a medium to large sized bowl, add in flour, baking soda, and salt. Whisk well to combine, then set aside.
-
In a stand mixer, fitted with the paddle attachment, add room temperature 1/2 cup butter and cooled browned butter. Beat on medium-high until well combined. Add in both sugars and beat for 3 minutes, it should look light and fluffy, and expanded in size.
-
Add the eggs, yolk and vanilla until smooth, then beat for another 1 minute, scraping at the edges periodically. Add in the dry mixture and mix on low until combined, scraping at the edges. Ensure it is well combined, but do not overmix. Add in the chocolate chips, and fold with a spatula until well dispersed.
-
Preheat oven to 350°F. Meanwhile, prepare a baking sheet with parchment paper. Using your hands or a scoop, arrange cookies to be about 2 tbsp each. Place all the cookies onto the baking sheet (do not worry about arrangement yet), sprinkle with sea salt if using, and place into the freezer for 30 minutes to rest and cool(don’t skip, see above!)
-
Remove baking sheet from the freezer, and arrange cookies evenly onto 3 baking sheets fitted with parchment paper (I do 8-9 per sheet). Place into the oven and bake for 9-11 minutes.
-
Note: If baking in batches, keep cookies cold before baking by keeping them in the fridge.
