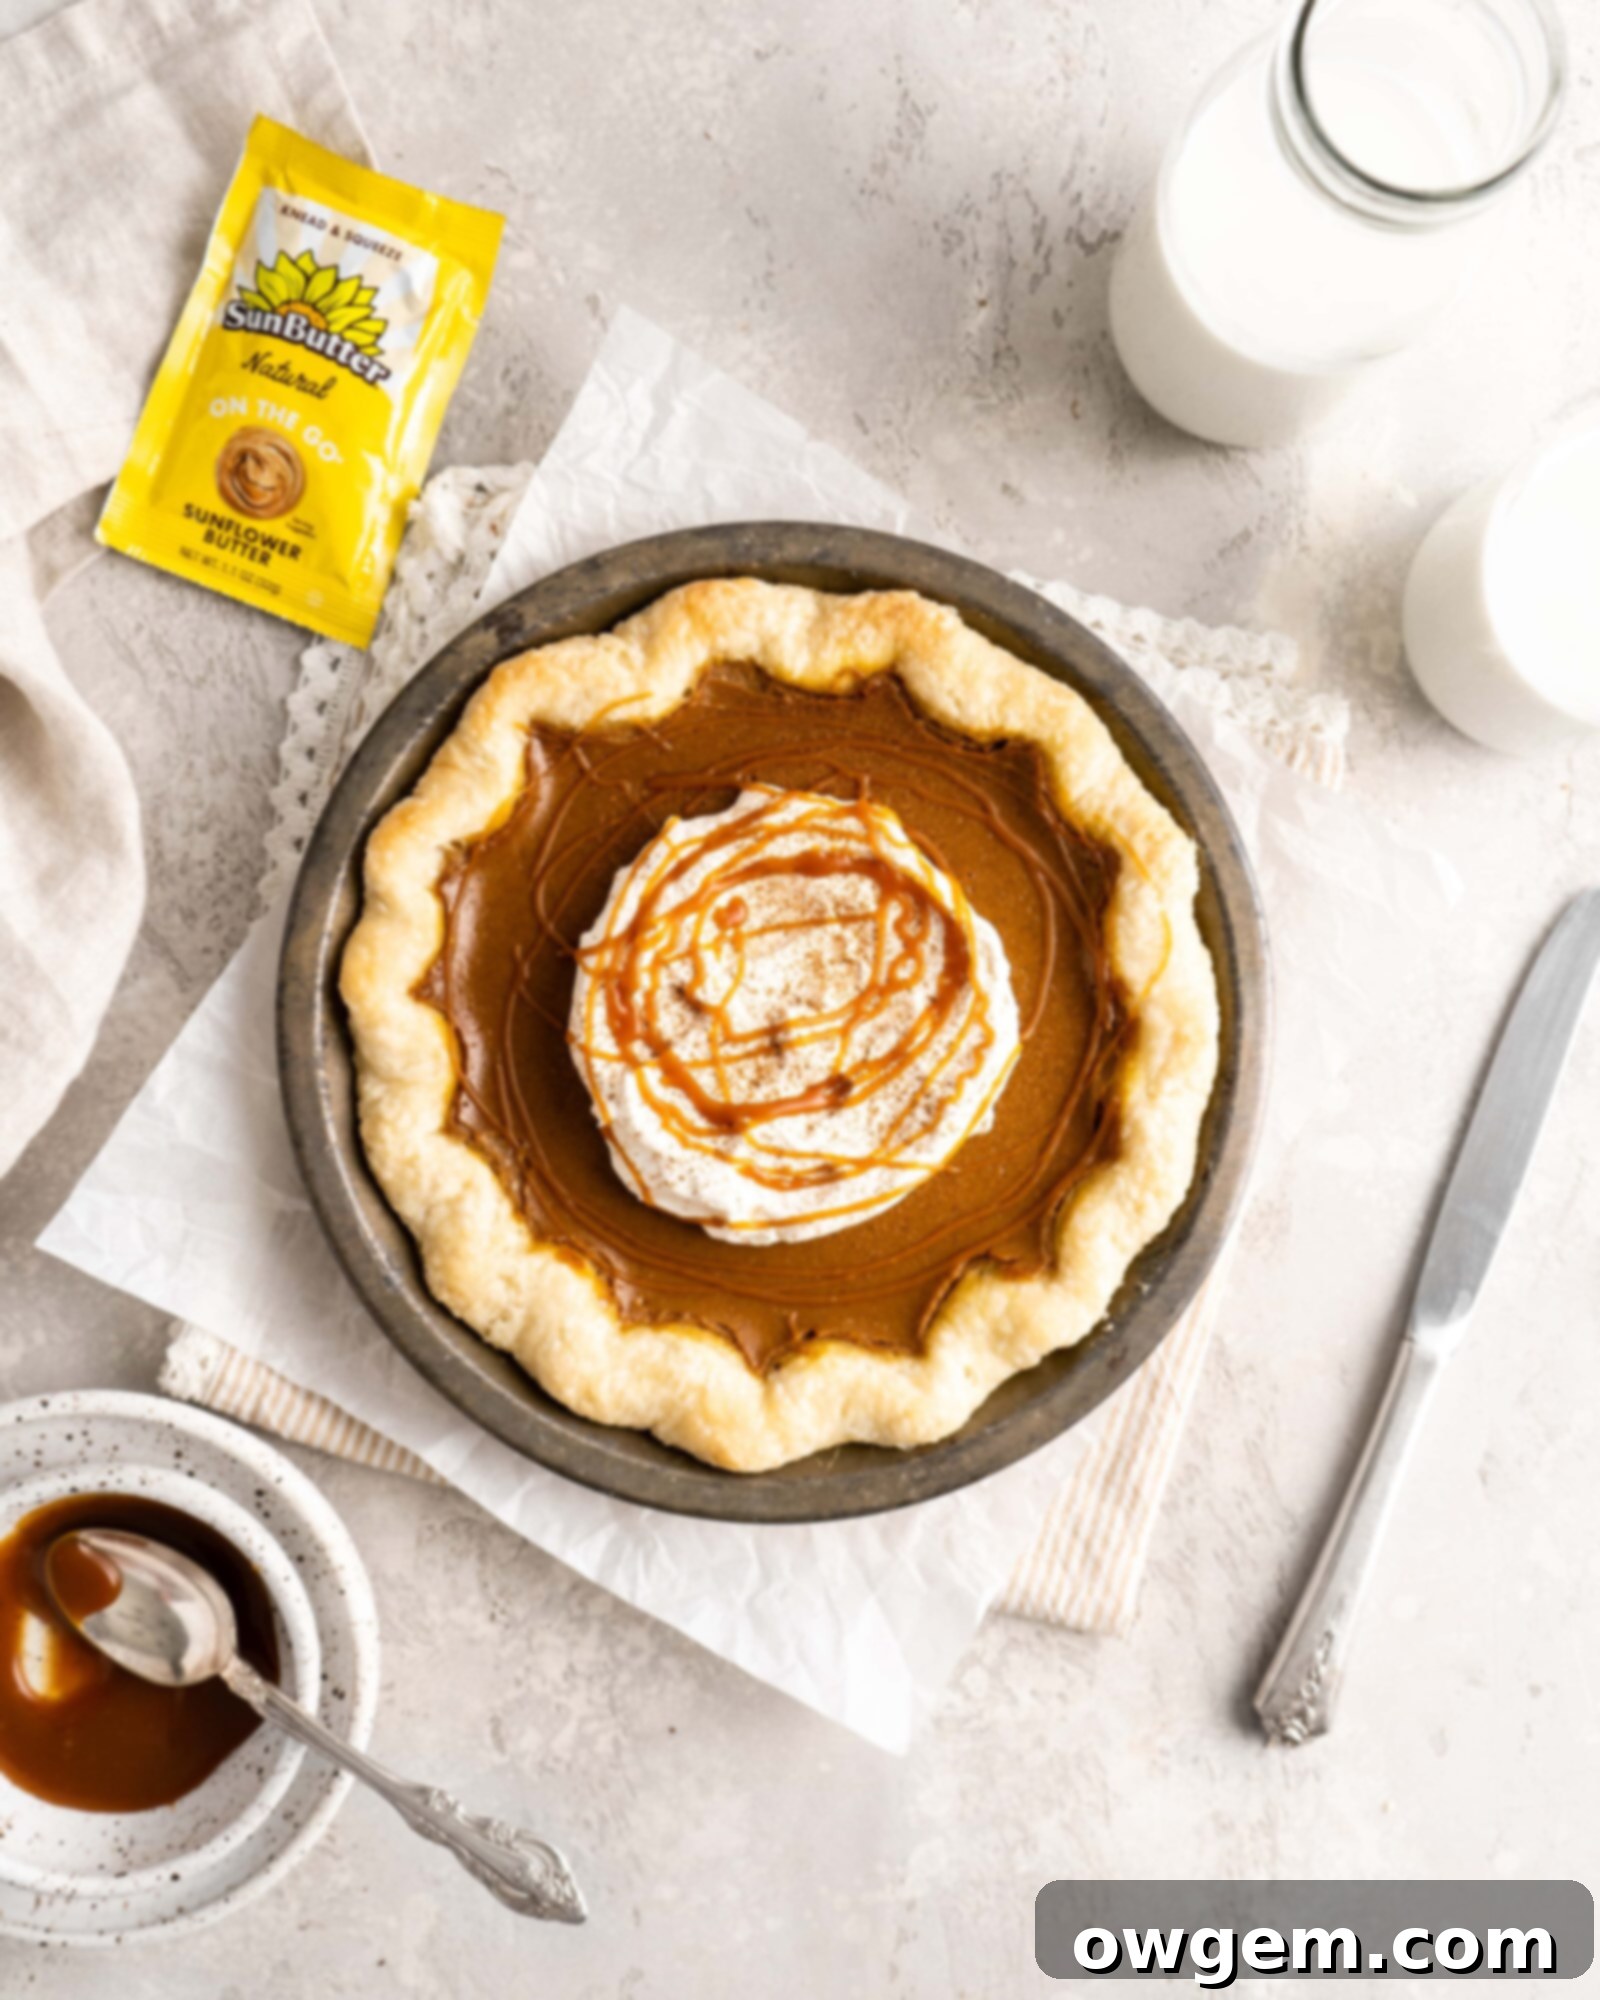
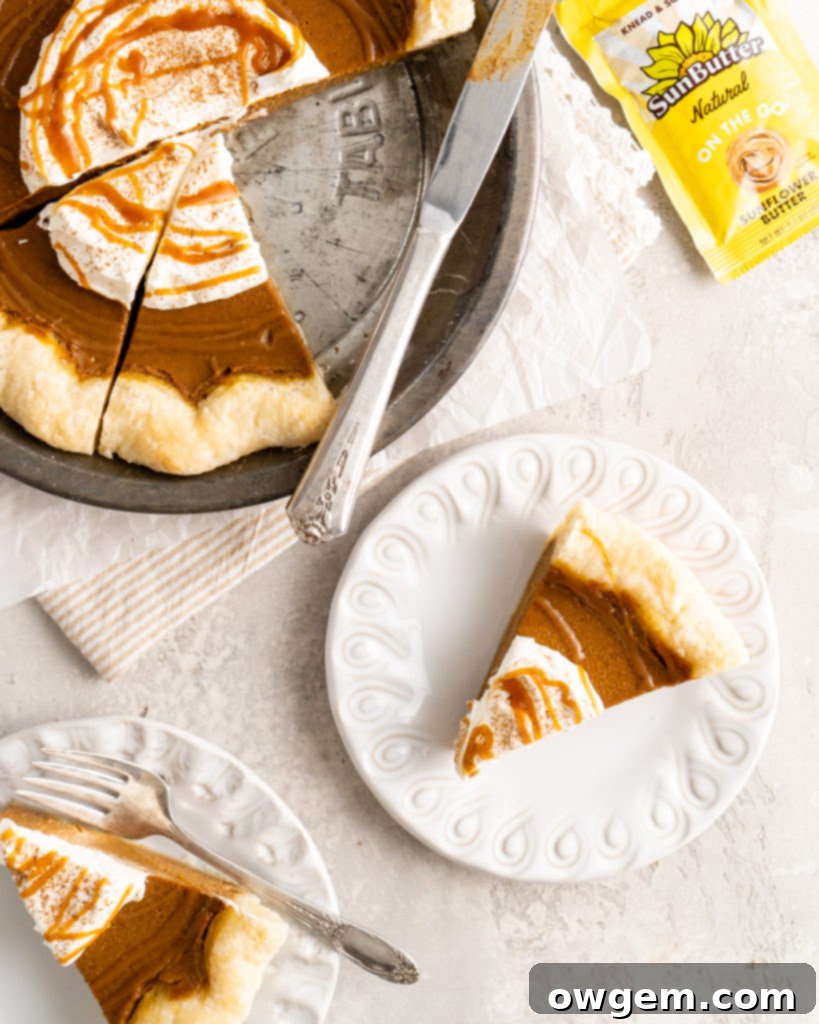
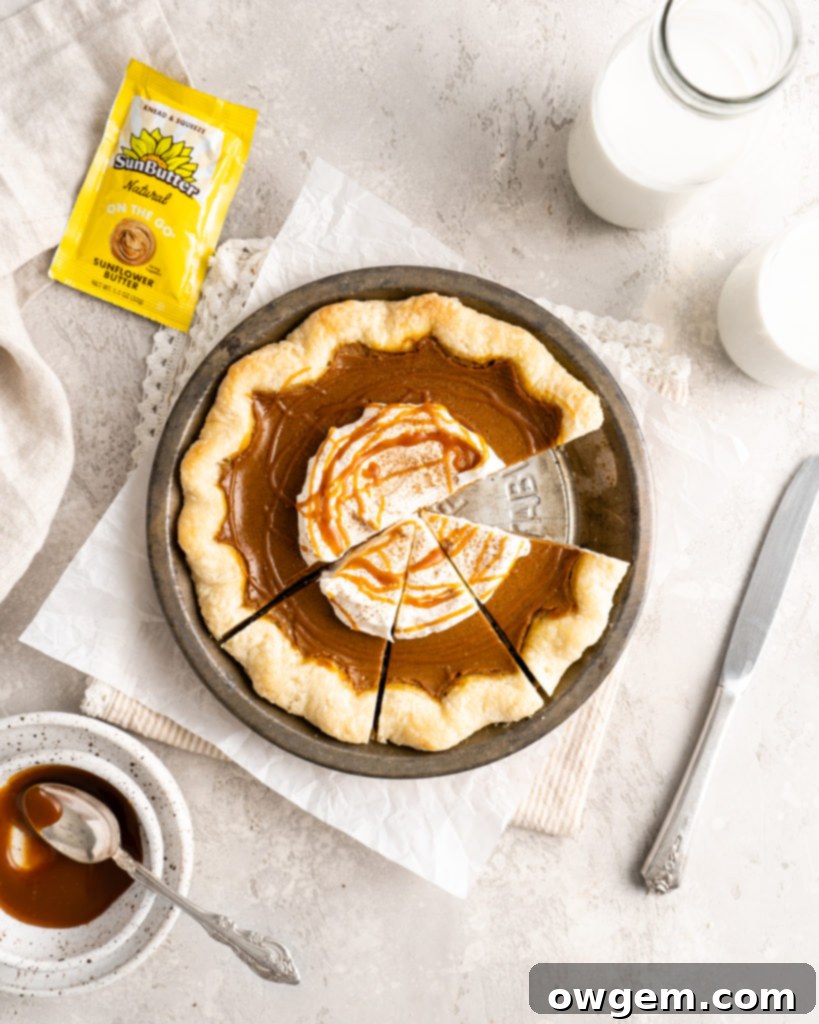
Ultimate SunButter Salted Caramel Pumpkin Pie: A Deliciously Flaky and Nut-Free Thanksgiving Treat
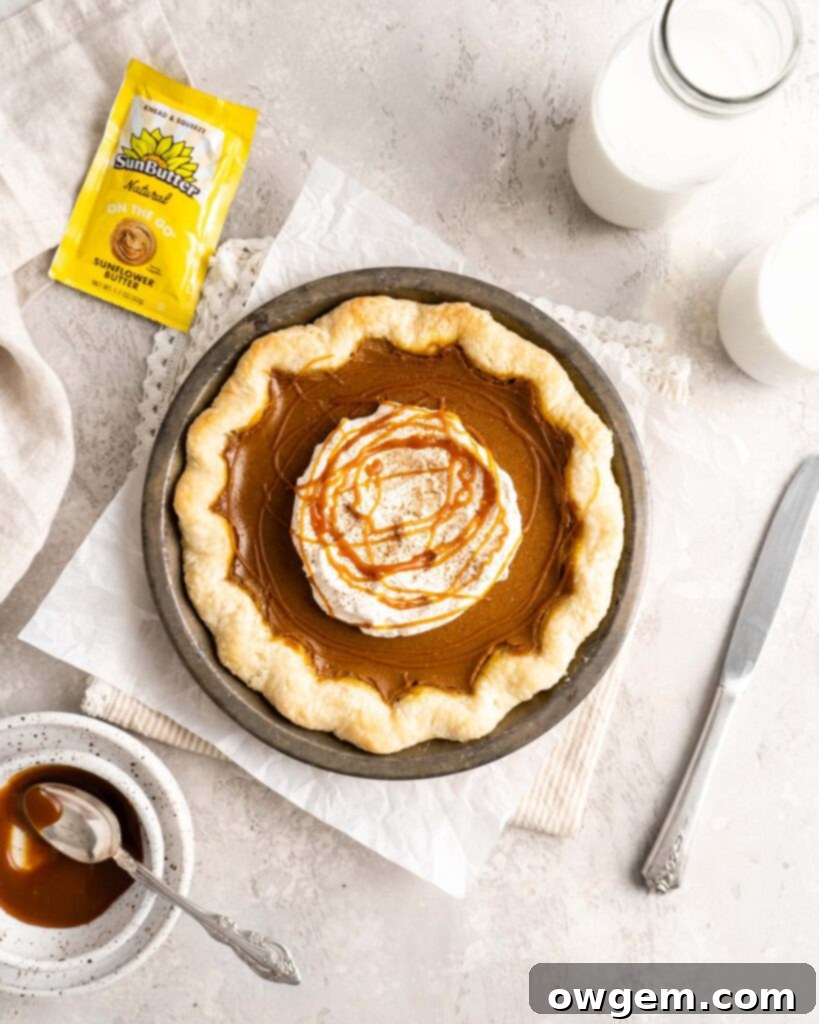
Experience a delightful twist on a cherished classic with this ultra-flaky and luxuriously silky SunButter Salted Caramel Pumpkin Pie. This innovative dessert features a velvety homemade pumpkin pie filling, beautifully infused with the rich depths of salted caramel and the unique, subtly nutty notes of SunButter. Together, these elements perfectly complement the familiar, warm pumpkin pie spices that everyone adores, creating an unforgettable flavor profile that is both comforting and exciting. Perfect for Thanksgiving or any festive occasion, this recipe offers a delicious, allergy-friendly alternative without compromising on taste or texture.
What is SunButter? Your Allergy-Friendly Alternative
For those who may be unfamiliar with SunButter, or haven’t yet had the pleasure of tasting this remarkable spread, it is a truly exceptional seed-butter made entirely from roasted sunflower seeds. SunButter stands out as a superior alternative to traditional nut butters, making it an ideal choice for individuals with peanut or tree nut allergies, sensitivities, or simply for anyone looking to incorporate a delicious and healthier option into their diet. Its smooth, creamy texture and distinct, savory-sweet flavor profile make it incredibly versatile in both sweet and savory applications.
Beyond its allergy-friendly attributes, SunButter boasts an impressive nutritional profile. Each serving provides a substantial 7 grams of protein, essential for muscle repair and satiety. It’s also brimming with vital vitamins and minerals, contributing to overall well-being. Furthermore, SunButter contains absolutely no trans fats and surprisingly, less saturated fat than many common almond butters. This makes it a smart choice for health-conscious individuals seeking flavorful yet nutritious ingredients. Its unique taste adds a wonderful depth to baked goods, sauces, and snacks, making it much more than just a substitute – it’s a star ingredient in its own right.
Intrigued by the versatility of SunButter? Explore more delightful recipes featuring this incredible ingredient! Check out my SunButter Milk Chocolate Cream Puffs, a light and airy dessert; the rich and decadent SunButter Salted Caramel Cheesecake; and the comforting SunButter Banana Layer Cake. These recipes showcase just how wonderfully SunButter can elevate your baking creations!
Crafting the Perfect Flaky Pie Crust: Secrets to Success
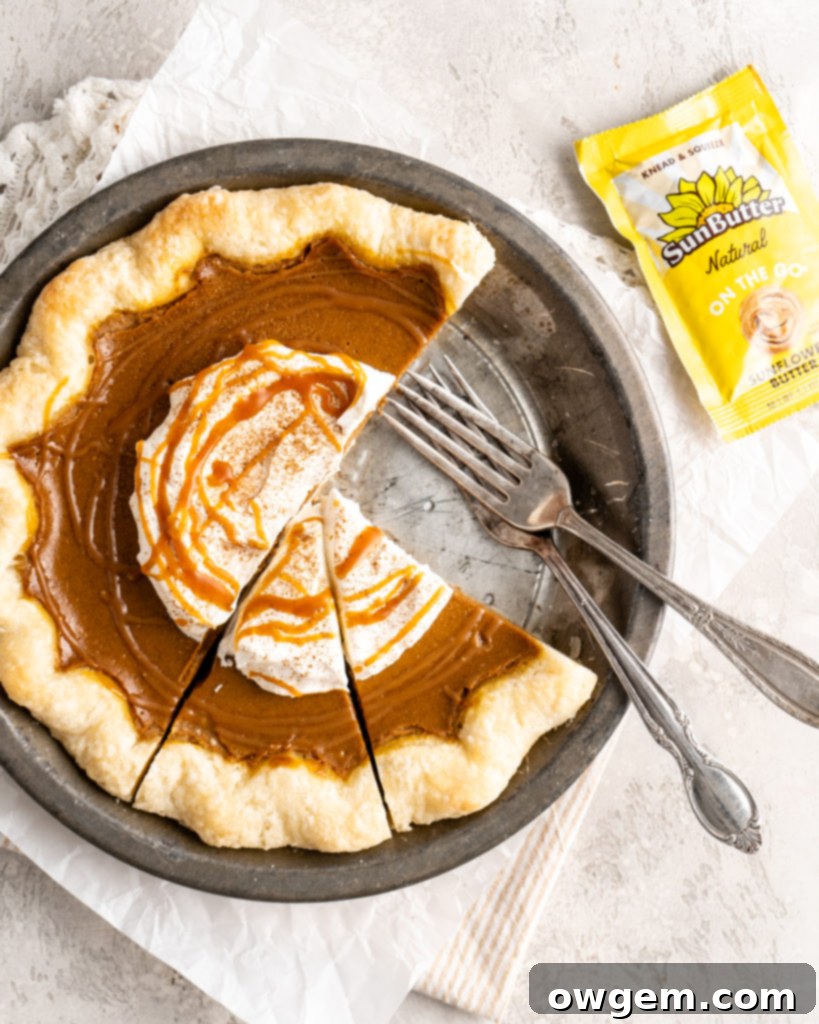
A truly exceptional pie starts with an equally exceptional crust. Achieving that coveted ultra-flaky, tender texture requires attention to detail and a few key techniques. This section will guide you through the essential ingredients and methods needed to create a pie crust that will impress every time, providing the perfect foundation for our delicious SunButter Salted Caramel Pumpkin Pie.
The Essential Ingredients for a Superior Pie Crust
When it comes to crafting a stellar pie dough, certain ingredients are non-negotiable, with cold butter and cold water leading the charge. The principle behind using intensely cold butter is fundamental to achieving that desirable flaky texture. As the cold butter encounters the high heat of the oven, the small pockets of water trapped within it rapidly evaporate, creating steam. This steam then pushes apart the layers of dough, leaving behind delicate air pockets that define a perfectly flaky crust. If the butter melts too early, before baking, these layers won’t form, resulting in a dense or tough crust instead of a light and airy one. Similarly, using cold liquid (water or vodka) is crucial to prevent warming up the butter and activating gluten prematurely, ensuring your dough remains pliable and easy to work with.
An unconventional, yet highly effective ingredient I incorporate into my pie doughs is vodka. Yes, you read that correctly – vodka! The ingenious reason for using vodka instead of solely water lies in its ability to inhibit gluten formation. Gluten, when overdeveloped, can lead to a tough and rubbery final product. Water is the primary activator of gluten in flour. By substituting a portion of the water with vodka, we effectively reduce the overall water content available for gluten activation. Vodka typically consists of about 60% water and 40% ethanol. Therefore, replacing some of the water with vodka reduces the gluten-activating moisture content by approximately 40% for that portion. This results in a much more tender, melt-in-your-mouth crust.
However, precision is key; it’s important not to add too much vodka, as an excessive amount could potentially affect the flavor of your delicate pie crust. To strike the perfect balance between tenderness and taste, I recommend a 50% water and 50% vodka ratio. This blend provides just enough moisture to bring the dough together without overdeveloping the gluten or imparting any noticeable alcoholic taste, as the alcohol largely evaporates during baking.
For those who do not consume alcohol, or if you simply don’t have vodka on hand, rest assured that you can still achieve a fantastic pie crust. Simply substitute the vodka with the same amount of additional cold water. While the texture might be marginally less tender than with the vodka, following the cold ingredient and minimal handling techniques will still yield a delicious and workable dough.
Mastering the Technique for a Truly Flaky Crust
The golden rule for achieving a perfect, flaky pie dough lies in minimizing handling. Overworking the dough is the enemy of flakiness and tenderness. Excessive handling can cause the cold butter to melt and become fully incorporated into the flour, which will eliminate those crucial pockets of butter that create steam and separate the layers during baking. This results in a dense, hard, and unappetizing crust. Furthermore, kneading the dough too much also encourages excessive gluten formation. As previously mentioned, too much gluten leads to a tough, chewy texture rather than the delicate, tender bite we desire in a pie crust.
Therefore, it is paramount to work the dough just until it barely comes together. You’re looking for a shaggy consistency that can be gently pressed into a cohesive mass, not a smooth, elastic dough like you would achieve for bread. Once the dough has formed, divide it into two equal portions, then gently press each portion into a flat disk shape. This disk shape makes it easier to roll out later. Wrap each disk tightly in plastic wrap to prevent it from drying out, and then place it into the refrigerator to chill for a minimum of 2 hours. This chilling period is essential; it allows the gluten to relax, and more importantly, it re-chills the butter, ensuring it’s firm and ready to create those flaky layers when baked.
After the dough has sufficiently chilled for at least 2 hours, remove it from the refrigerator. Allow it to sit on the counter for just 3-4 minutes to slightly warm up. This brief resting period makes the dough more pliable and easier to roll without cracking, but not so warm that the butter begins to melt. Lightly flour your work surface and your rolling pin, then begin rolling out one disk of dough. Aim for a perfect circle, approximately 1/4 inch thick and large enough to fit your pie plate with a slight overhang. To prevent sticking and ensure even thickness, rotate the dough frequently, lifting and flouring underneath as needed.
Once rolled, carefully transfer the dough to your pie plate. The easiest method is to gently roll the dough back onto your rolling pin, then unroll it directly over the center of the pie plate. Gently ease the dough into the contours of the plate, making sure there are no air bubbles trapped underneath. Trim any excess dough from the edges, leaving about a 1/2 to 1-inch overhang. Now is the time to crimp the edges if you desire a decorative finish; you can use your fingers or a fork for this. Finally, and this step is crucial, place the prepared pie plate with the crust back into the freezer for at least 30 minutes. This final chill ensures the butter is rock-hard and the crust is thoroughly cold before it goes into the oven, preventing shrinkage and further guaranteeing that exquisite flaky texture. This patience will be richly rewarded with a golden, crisp, and incredibly tender pie crust.
The Rich and Velvety SunButter Salted Caramel Pumpkin Pie Filling
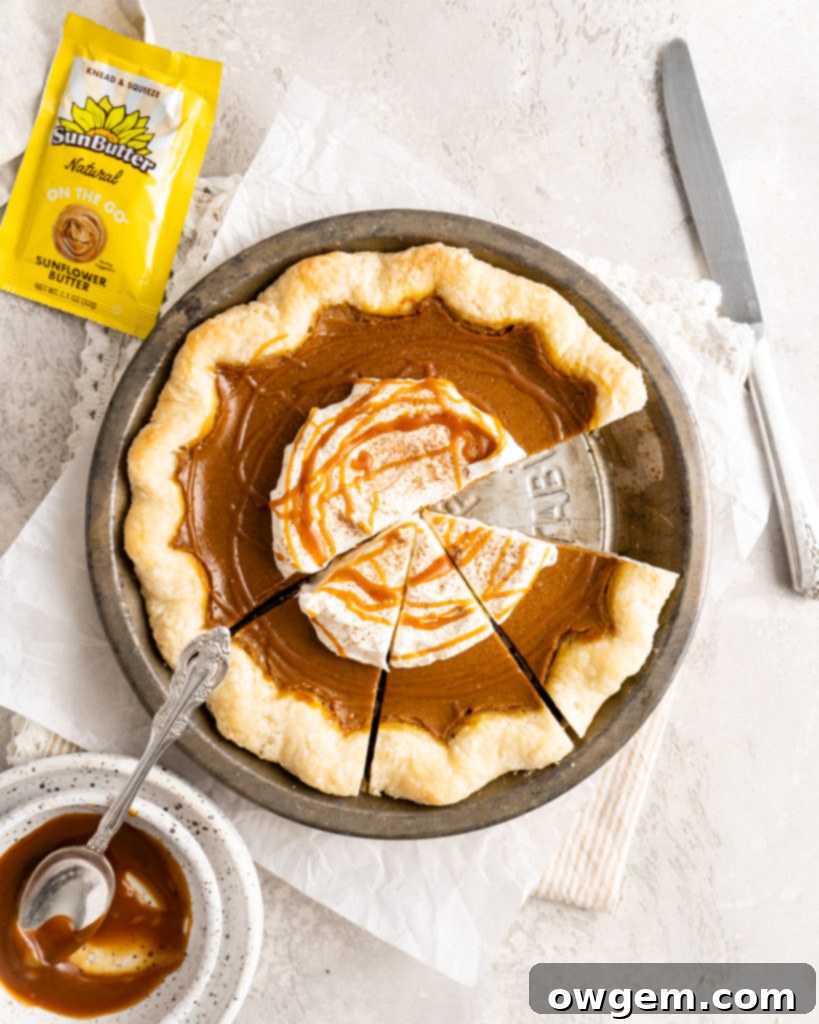
The heart of this extraordinary dessert is its incredibly rich, smooth, and aromatic filling. This isn’t just a standard pumpkin pie; it’s an elevated experience where the earthy sweetness of pumpkin meets the luscious depth of homemade salted caramel and the subtle, unique flavor of SunButter. The combination of these elements creates a symphony of flavors that is both familiar and excitingly new.
Pumpkin puree provides the classic base, offering its signature autumnal taste and creamy consistency. To this, we add a generous amount of homemade salted caramel, which infuses the filling with a complex sweetness, buttery notes, and a delightful hint of salt that perfectly balances the overall profile. The addition of SunButter is where this pie truly differentiates itself. It contributes a wonderful, slightly toasted seed flavor and an extra layer of creaminess, enriching the texture and flavor without any nuts. The traditional warm spices – cinnamon, ginger, allspice, and nutmeg – are carefully measured to enhance the pumpkin and caramel, creating that quintessential cozy aroma and taste. Cornstarch acts as a subtle thickener, ensuring the filling sets beautifully without becoming overly stiff, while evaporated milk adds a crucial richness and velvety mouthfeel that whole milk simply cannot replicate. Together, these ingredients bake into a luxurious filling that is silky smooth and bursting with harmonious flavors.
Knowing When Your Salted Caramel Pumpkin Pie is Perfectly Baked
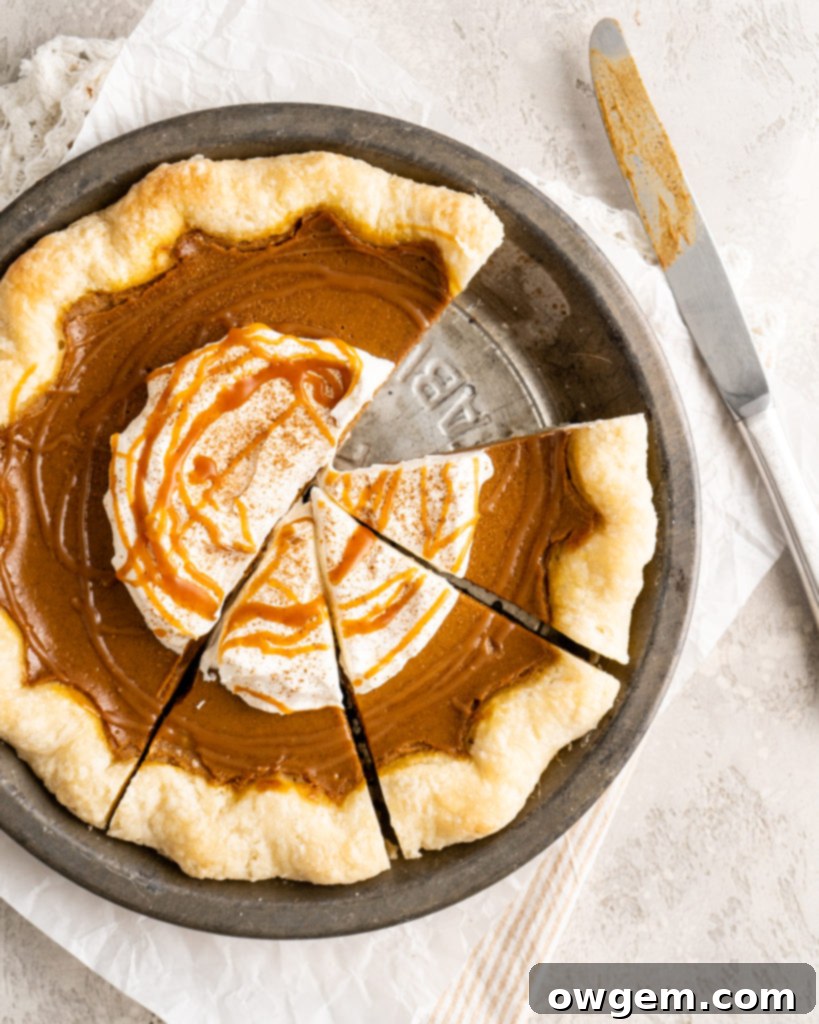
Determining the precise moment your pumpkin pie is done baking can feel like an art form, but with a few simple cues, you’ll achieve that perfect custardy texture every time. The key is to look for a specific jiggle in the center of the pie. When the pie is ready to be removed from the oven, the edges should appear set and slightly puffed, while the very center of the filling should still have a slight, delicate wobble, much like a perfectly set Jell-O. If the center still appears visibly liquid or sloshes when you gently shake the baking dish, it needs more time in the oven. However, if the entire pie is completely firm and shows no movement, it may be overbaked, which can lead to cracking and a less creamy texture.
For those who prefer a more precise and foolproof method, especially if you’re unsure about judging doneness by eye, a reliable instant-read thermometer is your best friend. Insert the thermometer into the center of the pumpkin filling, avoiding touching the crust. The pie is perfectly cooked when the internal temperature registers between 165°F and 170°F (74°C to 77°C). Baking it beyond this range, particularly above 170°F, significantly increases the risk of the filling cracking during cooling. These cracks are often a visual indicator of overcooked protein in the eggs, which contracts and pulls apart. Once you’ve confirmed the doneness, remove the pie from the oven. It will continue to set as it cools, transforming into that ideal, smooth consistency. Allow it to cool completely at room temperature before chilling it in the refrigerator for at least 4 hours to ensure it is thoroughly set and easy to slice, delivering that irresistible creamy texture in every bite.
Get the Recipe:
SunButter Salted Caramel Pumpkin Pie
Pin
Rate
Ingredients
For the Salted Caramel
- 1 cup (200g) Granulated Sugar
- 1/4 cup (60g) Water
- 6 tbsp (85g) Unsalted Butter,, room temperature, cubed
- 1/2 cup (116g) Heavy Cream
- 1 tsp Vanilla Extract
- 1 tsp Kosher Salt
For the Flaky Pie Crust
- 1 ½ cups (180g) All-Purpose Flour,, measured accurately
- 3 tbsp Granulated Sugar
- Pinch of Salt
- 3/4 cup (170g) Cold Unsalted Butter,, cubed
- 3 tbsp (45g) Cold Water,, plus more if needed
- 3 tbsp (45g) Cold Vodka
For the SunButter Salted Caramel Pumpkin Pie Filling
- 15 oz (425g) Canned Pumpkin Puree
- 2 Large Eggs
- 1 Egg Yolk
- 3/4 cup (255g) Salted Caramel, from recipe above or store-bought
- 3/4 cup (165g) Dark Brown Sugar
- 1 tbsp Cornstarch
- 2 tsp Ground Cinnamon
- 1 tsp Ground Ginger
- 1 tsp Ground Allspice
- 1/2 tsp Ground Nutmeg
- 1/2 tsp Table Salt
- 1 tsp Vanilla Extract
- 1 ¼ cups (300g) Evaporated Milk
- 2 tbsp (28g) Natural SunButter
Instructions
Homemade Salted Caramel
-
In a large, heavy-bottomed saucepan over medium heat, combine the granulated sugar and water. Stir occasionally until the sugar has fully dissolved and the mixture begins to boil vigorously.
-
Once boiling, increase the heat to medium-high and allow the mixture to boil without stirring. Watch carefully as it transforms, turning a rich amber color. Stirring at this stage can cause crystallization, so resist the urge to stir.
-
As soon as the mixture reaches a deep amber hue (around 360°F / 182°C on a candy thermometer), carefully add the cubed room temperature butter. Whisk very vigorously to combine. Be cautious, as the mixture will bubble up rapidly. If the butter appears to separate from the caramel, remove it from the heat and whisk continuously until it emulsifies and comes together smoothly.
-
Next, slowly and carefully drizzle in the heavy cream (it will bubble vigorously again), followed by the vanilla extract and kosher salt. Whisk until the caramel is completely smooth and well-combined. Remove the caramel from the heat, let it cool for about 5 minutes, then cover tightly and allow it to cool completely to room temperature before using. This recipe yields approximately 1 cup of delicious salted caramel.
Perfect Flaky Pie Crust
-
In a small measuring cup, combine the cold vodka and cold water, then set aside. In a large mixing bowl, whisk together the all-purpose flour, granulated sugar, and a pinch of salt. Add the cold butter cubes to the dry ingredients. Using your hands or a pastry cutter, quickly work the butter into the flour mixture until it resembles coarse crumbs or small pea-sized pieces. It’s crucial to keep the butter cold.
-
Gradually drizzle the vodka-water mixture into the bowl while simultaneously tossing with a fork. Continue adding the liquid until a shaggy dough begins to form. Gently knead the dough a few times within the bowl just until it comes together. If the dough is too dry, add a tiny bit more cold water, a teaspoon at a time, until it forms a cohesive, shaggy mass.
-
Form the dough into a disk shape, wrap it tightly in plastic wrap or place it into a freezer bag, and then refrigerate for at least 2 hours to chill thoroughly. This resting period is essential for gluten relaxation and firming up the butter.
-
After chilling, remove the dough from the fridge and let it sit on the counter for about 5 minutes to slightly soften, making it easier to roll. Unwrap the dough and place it onto a well-floured work surface.
-
Roll out the dough into a circular shape, aiming for about 1/4 inch thickness and a diameter of approximately 10-11 inches, ensuring it will fit your pie plate with some overhang. Rotate the dough often to prevent sticking.
-
Carefully transfer the rolled dough into a 9-inch or 10-inch pie plate. Trim the edges, leaving about a 1/2 to 1-inch overhang, and crimp them if desired for a decorative finish. Place the prepared pie plate back into the freezer for 30 minutes to firm up the crust before filling and baking.
SunButter Salted Caramel Pumpkin Pie Assembly & Baking
-
Preheat your oven to 425°F (220°C). In a large mixing bowl, whisk together all of the pie filling ingredients – pumpkin puree, eggs, egg yolk, salted caramel, dark brown sugar, cornstarch, cinnamon, ginger, allspice, nutmeg, table salt, vanilla extract, evaporated milk, and natural SunButter – until the mixture is completely smooth and well combined.
-
Remove the chilled pie plate from the freezer. Carefully pour the pumpkin filling into the prepared pie crust until it’s about three-quarters full. Depending on the depth and size of your pie plate, you may have a small amount of extra filling.
-
Place the pie onto a baking sheet (this helps catch any potential drips and makes it easier to transfer) and then carefully place it into the preheated oven. Bake at 425°F (220°C) for an initial 5 minutes. After 5 minutes, reduce the oven temperature to 325°F (160°C) and continue baking for an additional 40-50 minutes. The pie is done when the edges are set, but the very center still has a slight, delicate jiggle. It will continue to set as it cools.
-
Once baked, remove the pie from the oven and allow it to cool completely at room temperature for at least one hour. After this initial cooling, transfer the pie to the refrigerator and chill for a minimum of 4 hours, or preferably overnight, to allow the filling to fully set. Serve cold, garnished with a dollop of fresh whipped cream and an extra drizzle of homemade salted caramel for an indulgent finish.
