Chai Salted Caramel Chocolate Tart: An Irresistible Autumn & Holiday Dessert
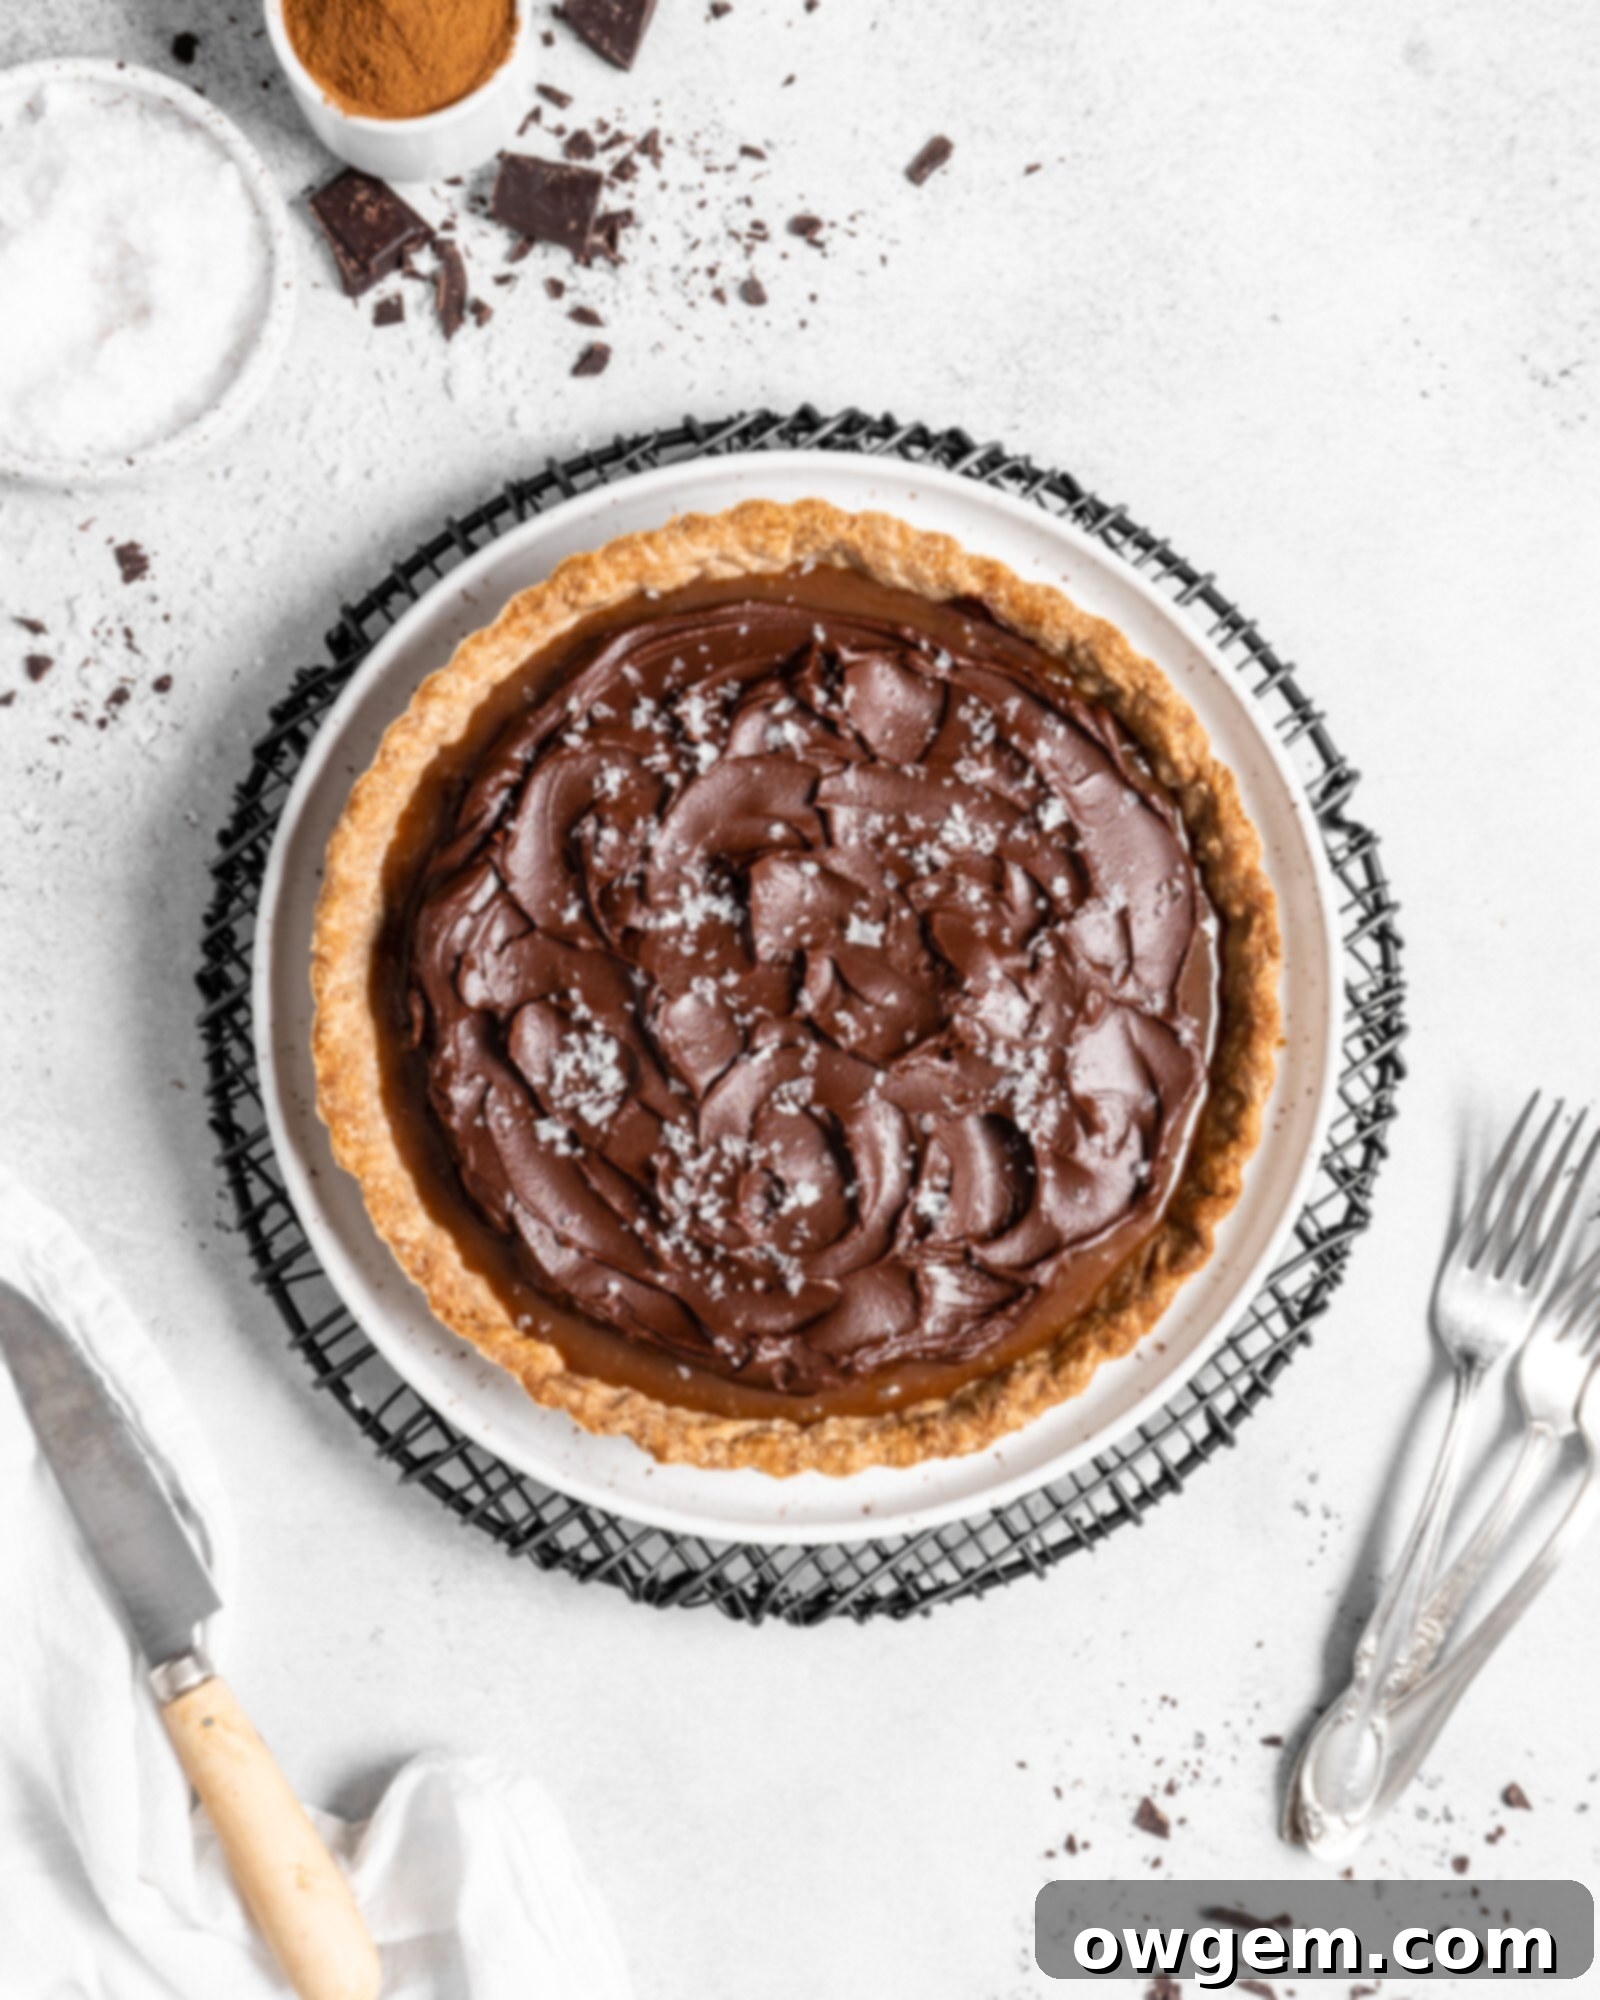
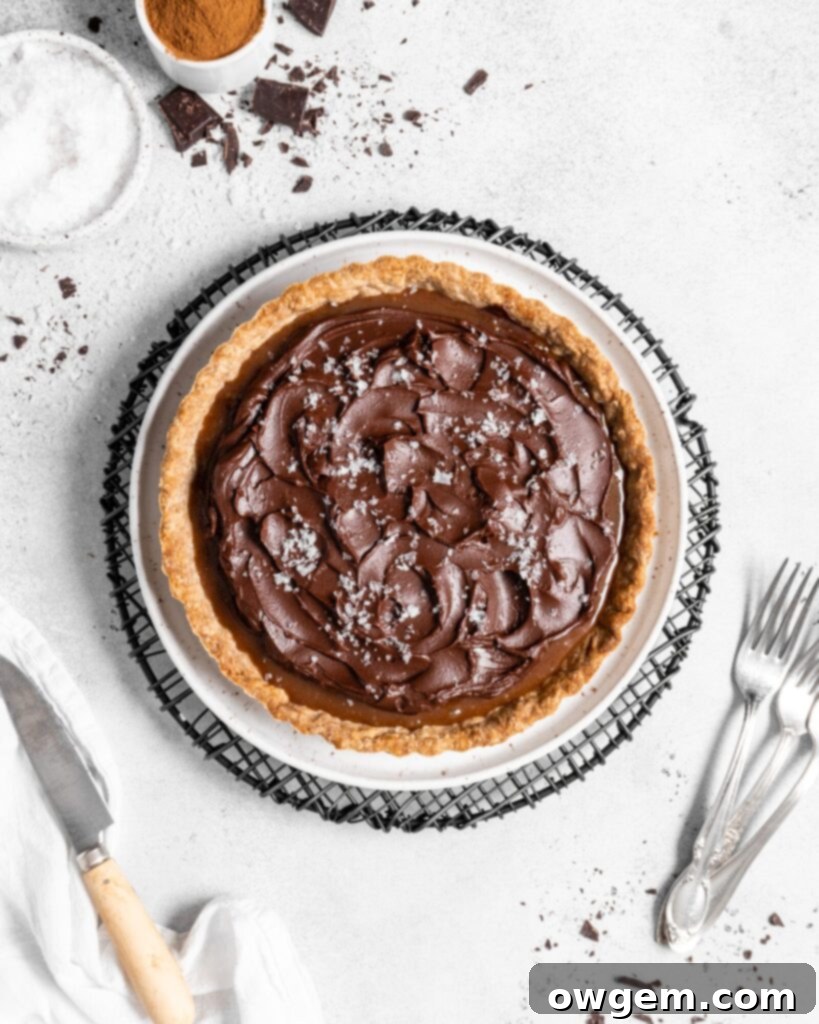
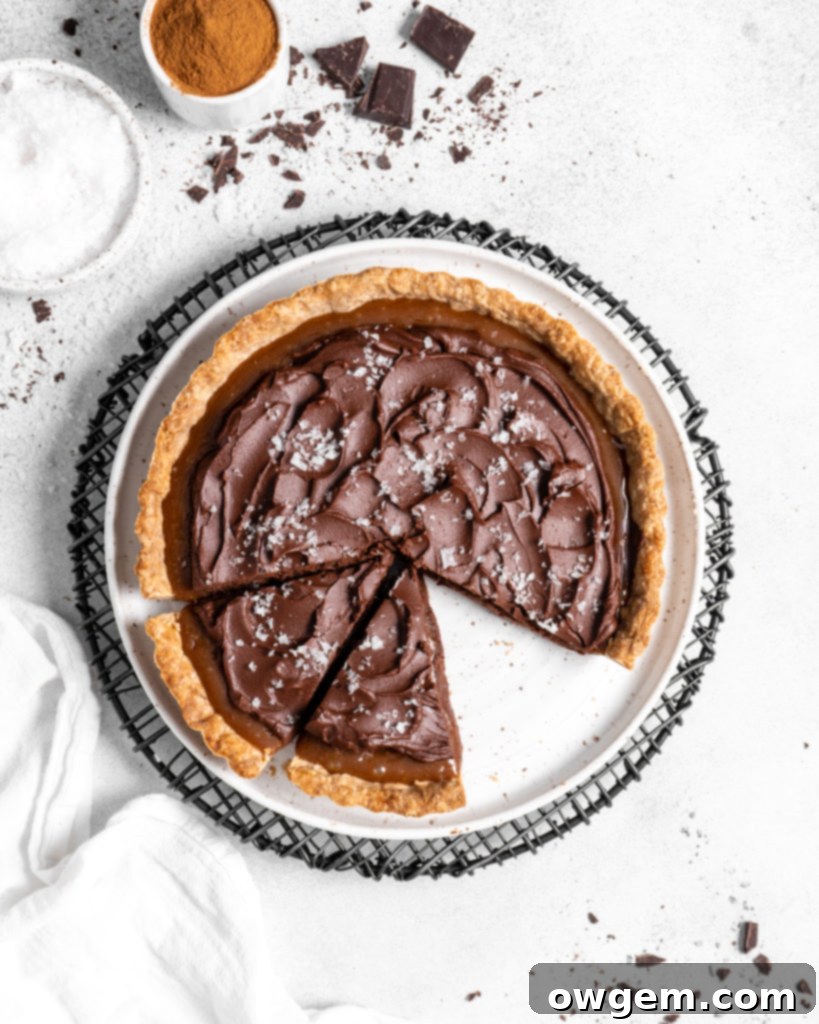
Indulge in a truly spectacular dessert that perfectly captures the essence of autumn and festive gatherings: the Chai Salted Caramel Chocolate Tart. This elegant creation is a symphony of flavors and textures, featuring a tender, chai-spiced shortcrust pastry, a lusciously creamy and deeply sweet salted caramel filling infused with warm chai spices, all crowned with a velvety, rich chocolate ganache. It’s more than just a dessert; it’s a show-stopping centerpiece designed to impress at any Fall or Thanksgiving celebration. Each bite offers a harmonious blend of aromatic spices, decadent caramel, and rich chocolate, making it an unforgettable culinary experience.
Crafting the Perfect Chai-Spiced Shortcrust Pastry for Your Tart
Creating the chai shortcrust pastry for this tart shares similarities with traditional pie dough, yet it incorporates key differences that elevate its richness and texture. Unlike most pie crusts that primarily rely on cold water, this recipe calls for heavy cream and an egg yolk. This deliberate choice enriches the dough significantly, contributing to an incredibly tender crumb and a more luxurious mouthfeel. Furthermore, the method for incorporating butter in this chai shortcrust pastry is unique. While traditional pie dough often requires leaving visible pea-sized butter pieces to achieve a flaky texture, here, the butter is worked into the flour mixture until it almost completely disappears. This ensures a delicate, melt-in-your-mouth crust that provides a sturdy yet tender foundation for the indulgent fillings.
The infusion of chai spices into the crust itself is what truly sets this tart apart. A blend of warm cinnamon, pungent ginger, aromatic allspice, and fragrant cardamom transforms a simple shortcrust into an exotic and inviting base, perfectly complementing the caramel and chocolate layers to come. The subtle warmth of the spices in the crust creates an aromatic foundation that promises comfort and sophistication in every slice.
To begin, combine all the dry ingredients – flour, dark brown sugar, cinnamon, ginger, allspice, cardamom, and salt – in a spacious bowl and whisk them thoroughly to ensure the spices are evenly distributed. Next, add your cold, cubed unsalted butter to the dry mixture. Toss the butter pieces with the flour, then use your fingertips to work the butter in. The goal is to squeeze and smash the butter until it has almost completely integrated into the flour, leaving no large lumps. This technique ensures a very tender and cohesive dough. In a separate measuring cup, whisk together the heavy cream and egg yolk until smooth. Gradually drizzle this liquid mixture into the butter-flour blend, using a fork to gently toss and combine. Continue mixing until a shaggy, cohesive dough begins to form. Once the dough comes together in a shaggy mass, gently knead it a few times with your hands to bring it into a single, uniform ball. Finally, pat the dough into a flat disc shape, wrap it tightly in plastic, and refrigerate it for at least 2 hours. This crucial chilling period allows the gluten to relax and the butter to firm up, making the dough easier to roll and preventing shrinkage during baking.
Expert Tips for Rolling and Transferring Delicate Chai Shortcrust Pastry
Due to its rich composition, this chai shortcrust pastry is more delicate and prone to tearing than a standard pie crust. Therefore, a specific and careful method should be employed when rolling out and transferring the dough into your tart pan to ensure a perfect, intact crust. Patience and a gentle touch are key to success with this exquisite pastry.
- **Prepare Your Workspace:** Begin by dusting a clean, flat surface generously with all-purpose flour. This prevents sticking and allows the dough to be rolled smoothly.
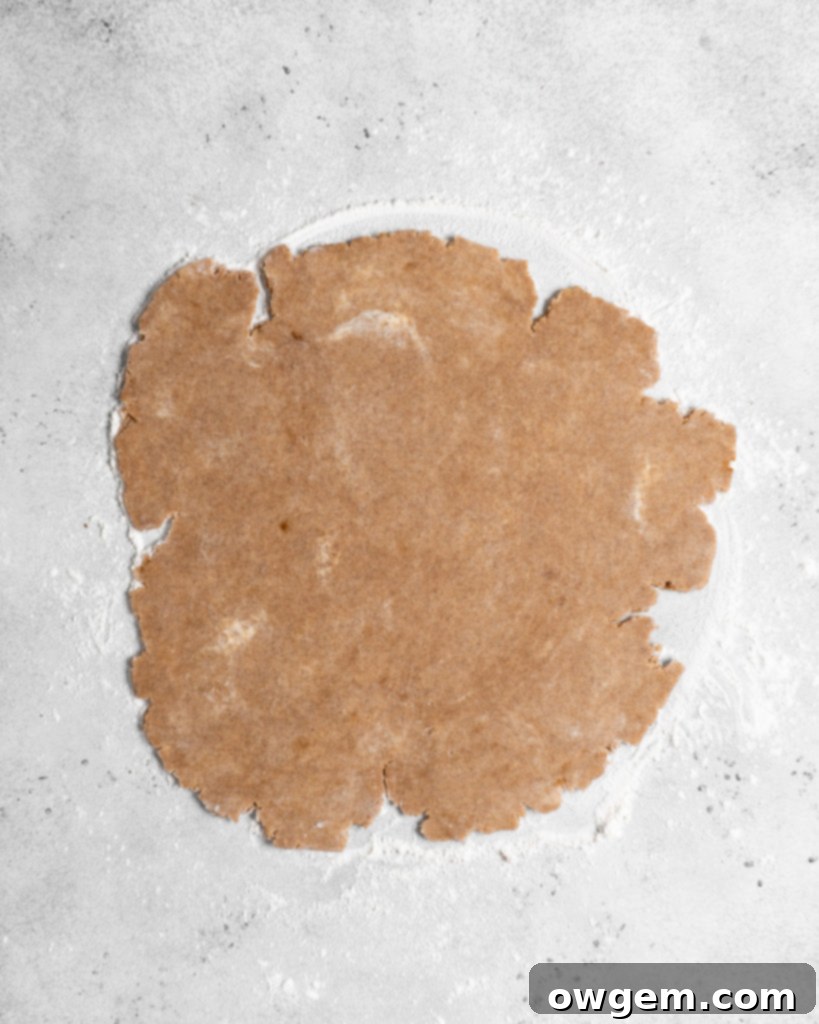
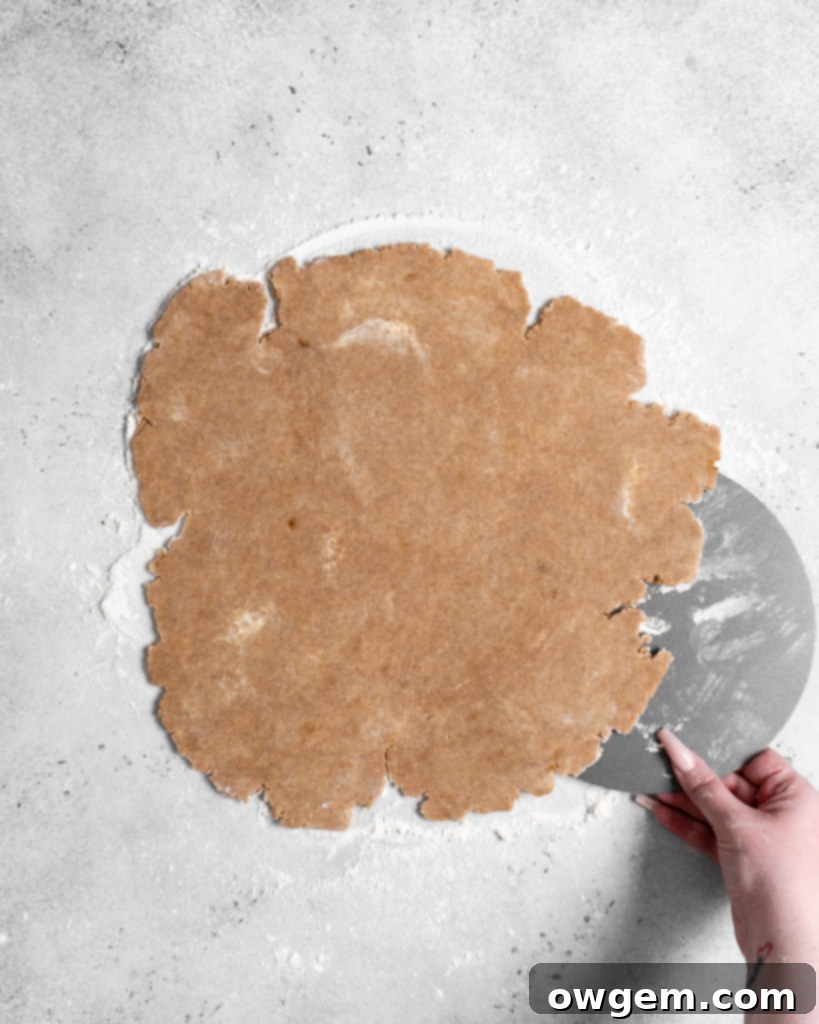
- **Roll with Precision:** Remove the chilled dough disc from the fridge. Using a rolling pin, roll the dough out into a circular shape approximately 13 inches in diameter and between ¼ inch and 1/8 inch thick. Aim for even thickness to ensure uniform baking.
- **The Tart Pan Bottom Method:** Detach the removable bottom of your tart pan. Carefully slide this bottom piece underneath your rolled-out dough. This provides support and makes the initial transfer much easier.
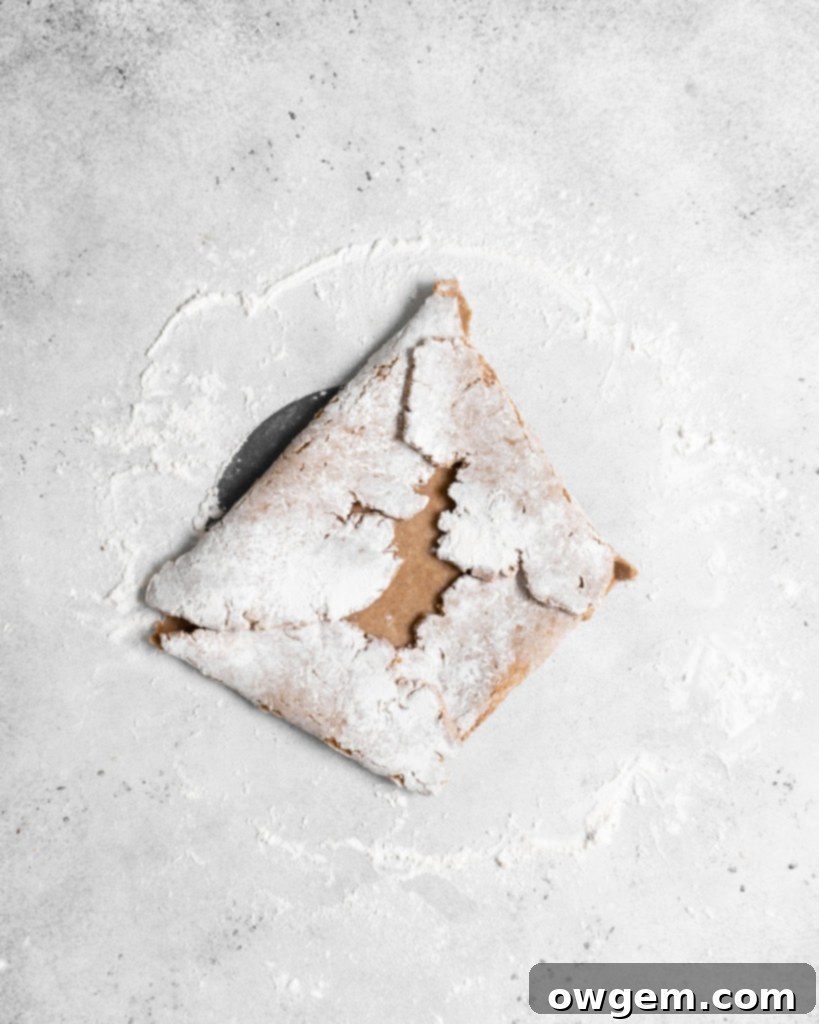
- **Gentle Folding:** Gently fold the rolled-out dough inward onto the tart pan bottom. Continue folding until the dough is entirely resting on the tart pan bottom. Exercise extreme caution during this step, as aggressive handling can cause the delicate dough to tear.
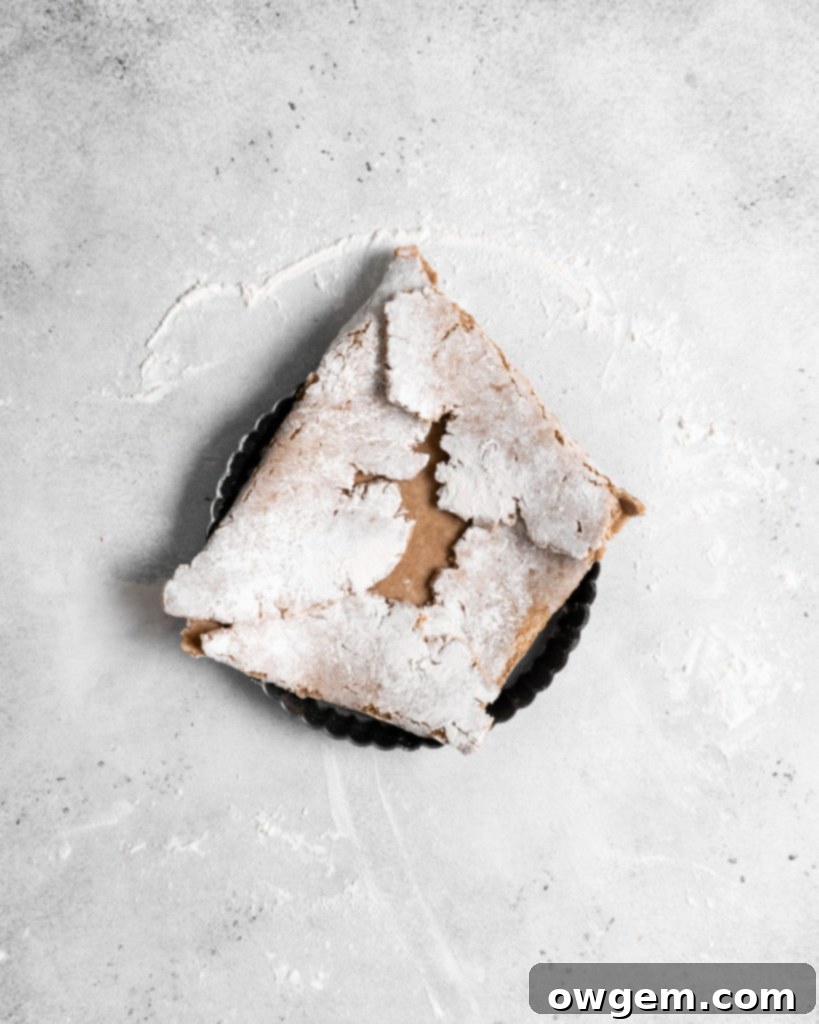
- **Final Assembly:** With the dough resting on the tart pan bottom, carefully pick up the bottom piece (with the crust on top) and lower it into the rest of the tart pan. This method minimizes stress on the dough.
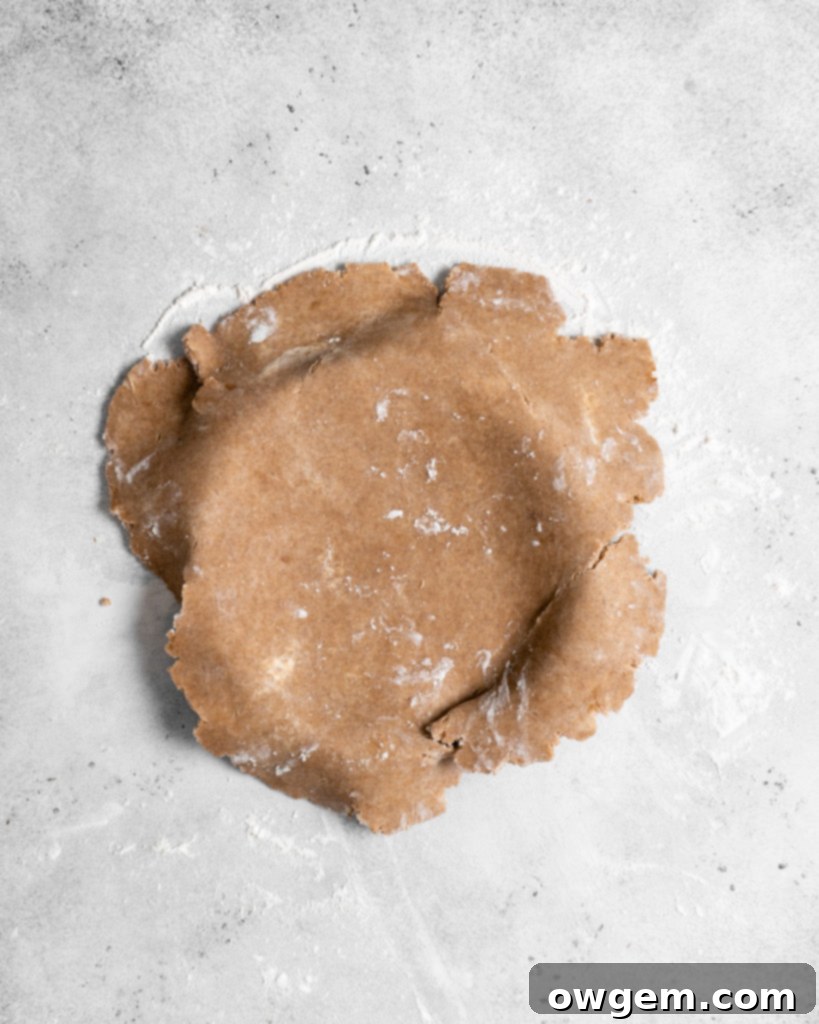
- **Press and Conform:** Once the dough is in the pan, carefully unfold it and firmly press it into the bottom and up the sides of the tart pan. Ensure it fits snugly into all the fluted edges for a beautiful presentation.
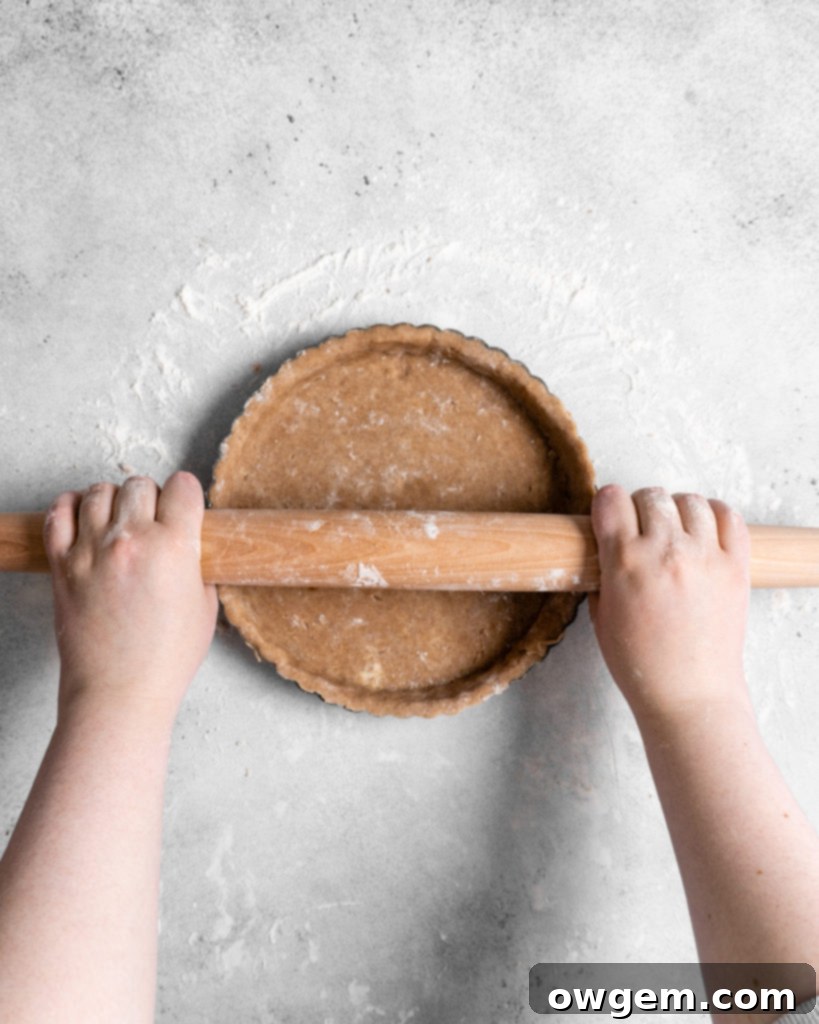
- **Trim Excess:** Use a rolling pin to roll over the top edge of the tart pan, effectively trimming off any excess dough and creating a clean, professional edge.
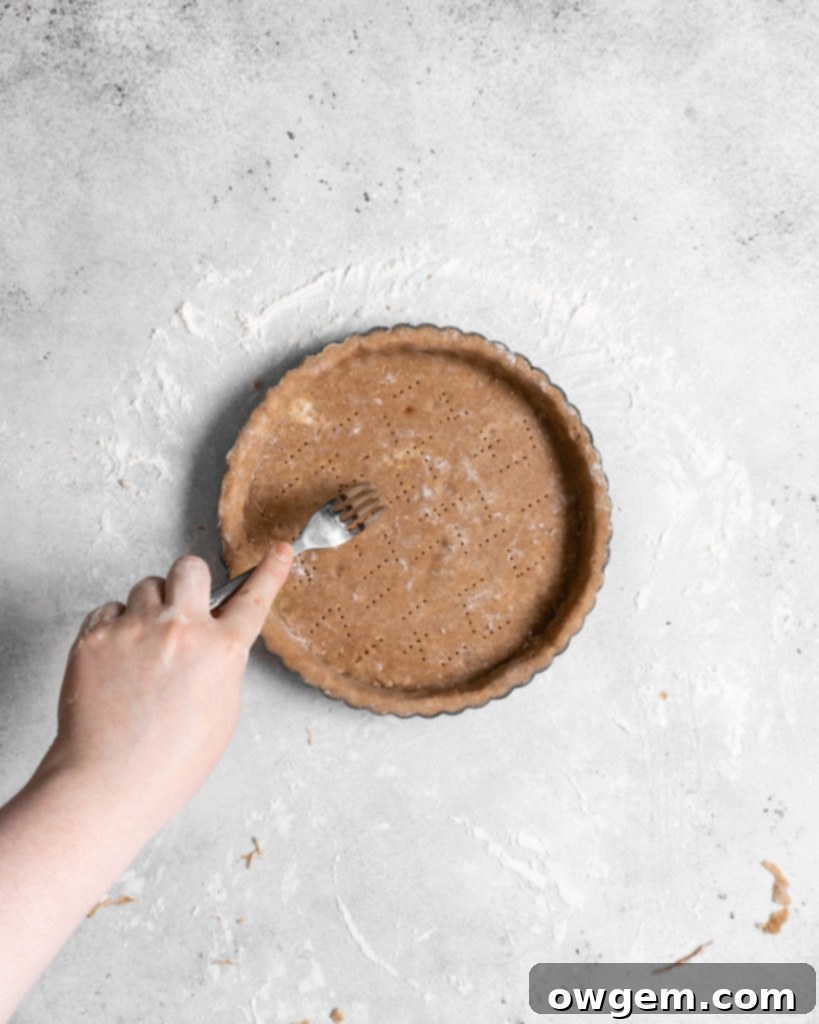
- **Pre-Baking Preparation:** Prick the bottom of the crust all over with a fork. This prevents air bubbles from forming and ensures the crust bakes evenly without puffing up. Place the prepared tart shell into the freezer for 20 minutes. This quick chill helps the butter firm up, setting the crust and reducing shrinkage during baking.
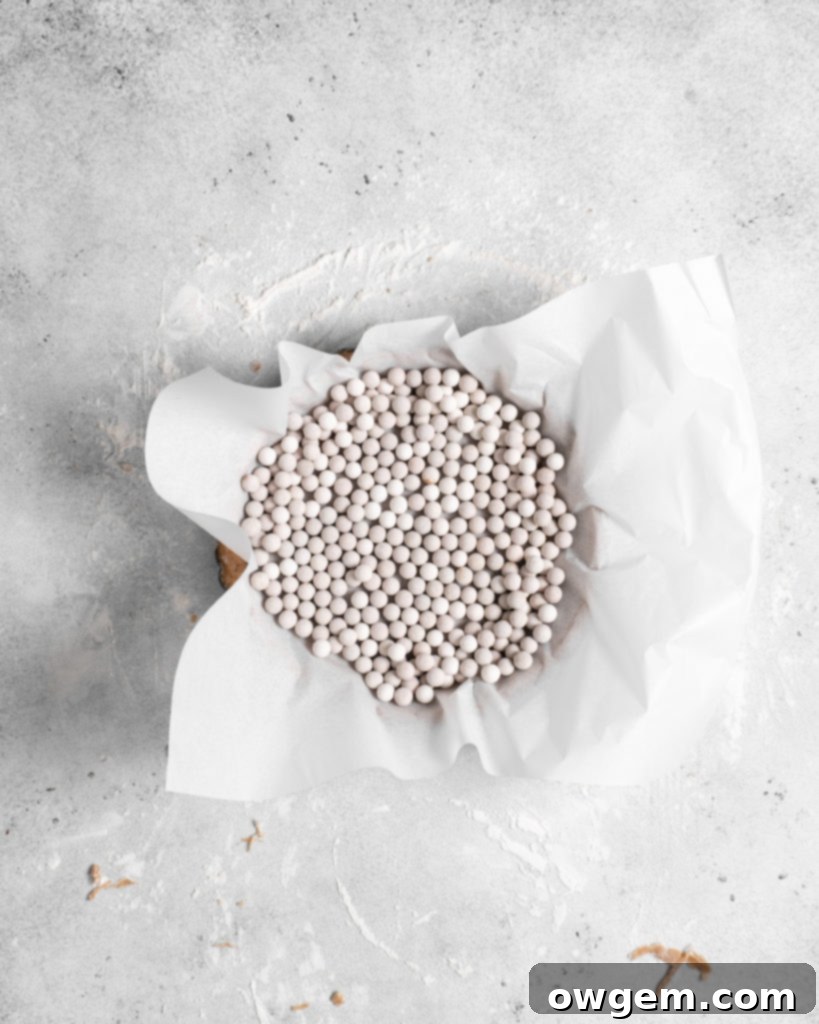
After the chilling period, remove the tart shell from the freezer. Line the inside with a piece of parchment paper, then fill it with pie weights or dried beans. This crucial step, known as blind baking, helps prevent the crust from puffing up or shrinking during baking, ensuring a perfectly flat bottom and stable sides. Bake the crust as directed, then carefully remove the parchment and weights (being cautious not to disturb the still-fragile crust) and return it to the oven for further baking until golden brown and fully cooked. Allow the baked crust to cool completely to room temperature before adding the filling, as a warm crust can cause the caramel to soften too much.
Creating the Rich and Aromatic Chai Salted Caramel Filling
The heart of this extraordinary dessert is its chai-infused salted caramel filling, a truly decadent and aromatic layer. Crafting perfect caramel requires patience and precision, but the reward is immense. Begin by combining white sugar, water, and a touch of cream of tartar in a large, heavy-bottomed saucepan over medium heat. The cream of tartar helps prevent crystallization, ensuring a smooth caramel. Stir occasionally until all the sugar has completely dissolved and the mixture comes to a gentle boil. Once boiling, increase the heat to medium-high and allow the mixture to caramelize without stirring. This “no-stir” rule is paramount; stirring can introduce air bubbles and sugar crystals, leading to a grainy, uneven caramel. Watch closely as the sugar syrup transforms from clear to a beautiful, rich amber color. For accuracy, a candy thermometer is highly recommended, aiming for approximately 360°F (182°C).
Once the caramel reaches that inviting amber hue, immediately remove it from the heat. Carefully add the room-temperature cubed unsalted butter, whisking vigorously as you incorporate it. Be prepared for the mixture to bubble up quite dramatically; using a large enough saucepan and a long-handled whisk is crucial for safety and control. If the butter appears to resist incorporation, continue whisking energetically off the heat until it is fully melted and blended. Next, *slowly* and *carefully* drizzle in the heavy cream. Again, the caramel will bubble and steam rapidly, so proceed with caution. Continue whisking until the mixture is smooth and fully combined. Finally, stir in the vanilla extract, flaky salt, and the warm chai spices – cinnamon, ginger, allspice, and cardamom. These spices will infuse the caramel with a depth of flavor that is simply irresistible. Allow the chai salted caramel to cool down until it is just warm to the touch but still fluid enough to pour easily. This ensures it sets beautifully in the tart shell without becoming too hard or too runny.
The Velvety Chocolate Ganache Topping: A Decadent Finale
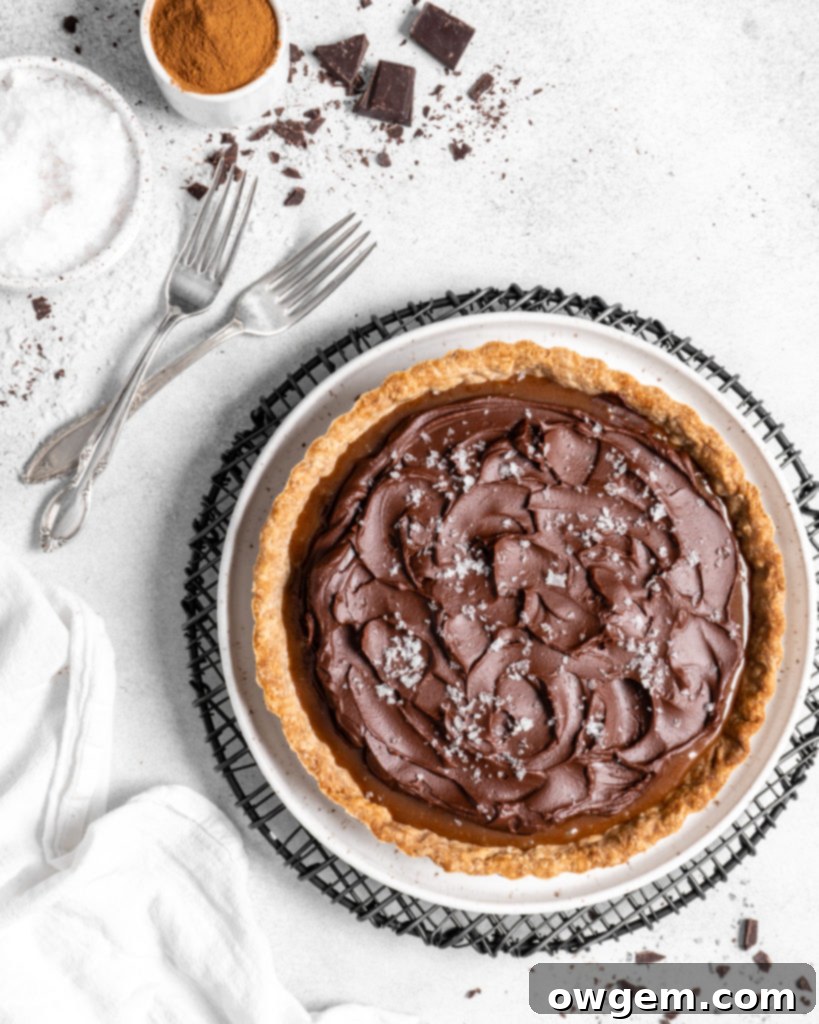
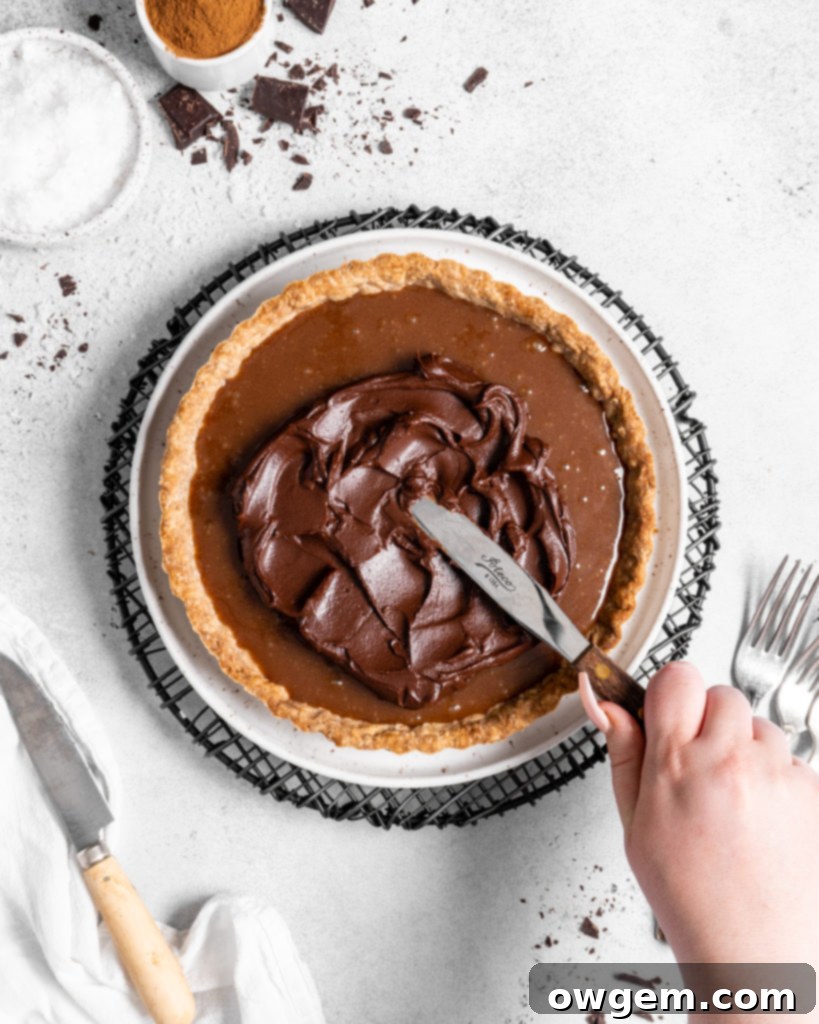
No tart is complete without its crowning glory, and for this Chai Salted Caramel Chocolate Tart, it’s a luscious, velvety chocolate ganache. This simple yet elegant topping adds another layer of rich flavor and a beautiful, glossy finish that contrasts perfectly with the spiced caramel. To prepare, finely chop semi-sweet chocolate and place it in a heat-proof bowl. In a small saucepan, gently heat heavy cream and butter over medium heat until it just begins to simmer, taking care not to let it boil vigorously. As soon as small bubbles appear around the edges, remove the saucepan from the heat and pour the hot cream mixture directly over the chopped chocolate.
Allow the hot cream to sit undisturbed over the chocolate for about 5 minutes. This allows the heat to gently melt the chocolate, ensuring a smooth ganache. After 5 minutes, begin whisking the mixture from the center outwards until it transforms into a silky, homogeneous, and perfectly smooth ganache. For a thicker ganache that sets beautifully, transfer the ganache to the fridge to cool for 1-2 hours, stirring occasionally. Once the caramel layer in your tart has had ample time to chill and firm up in the refrigerator, spoon the cooled ganache over the caramel. Use the back of a spoon to spread it evenly across the tart, then create artful swoops and swirls for an elegant presentation. A final sprinkle of flaky salt on top of the chocolate ganache not only adds a touch of visual appeal but also enhances the flavors, providing a delightful textural contrast and balancing the sweetness. Keep the finished tart chilled until you are ready to serve to maintain its structural integrity and exquisite taste.
Storing Your Chai Salted Caramel Chocolate Tart for Optimal Enjoyment
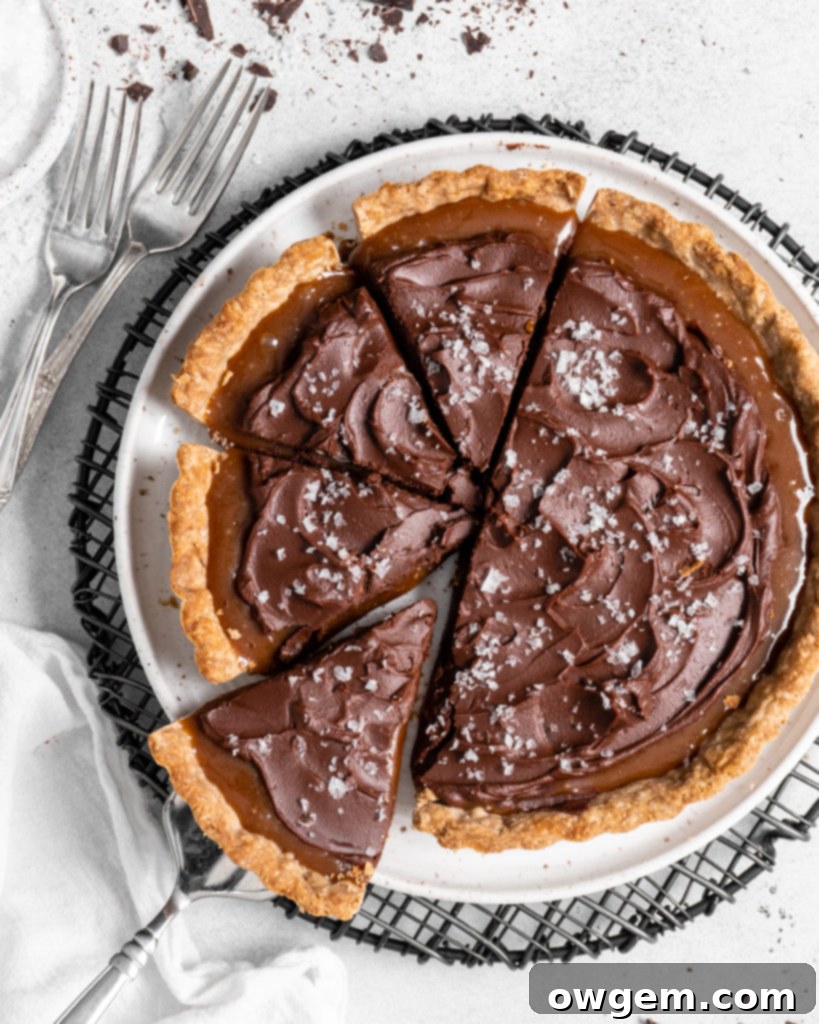
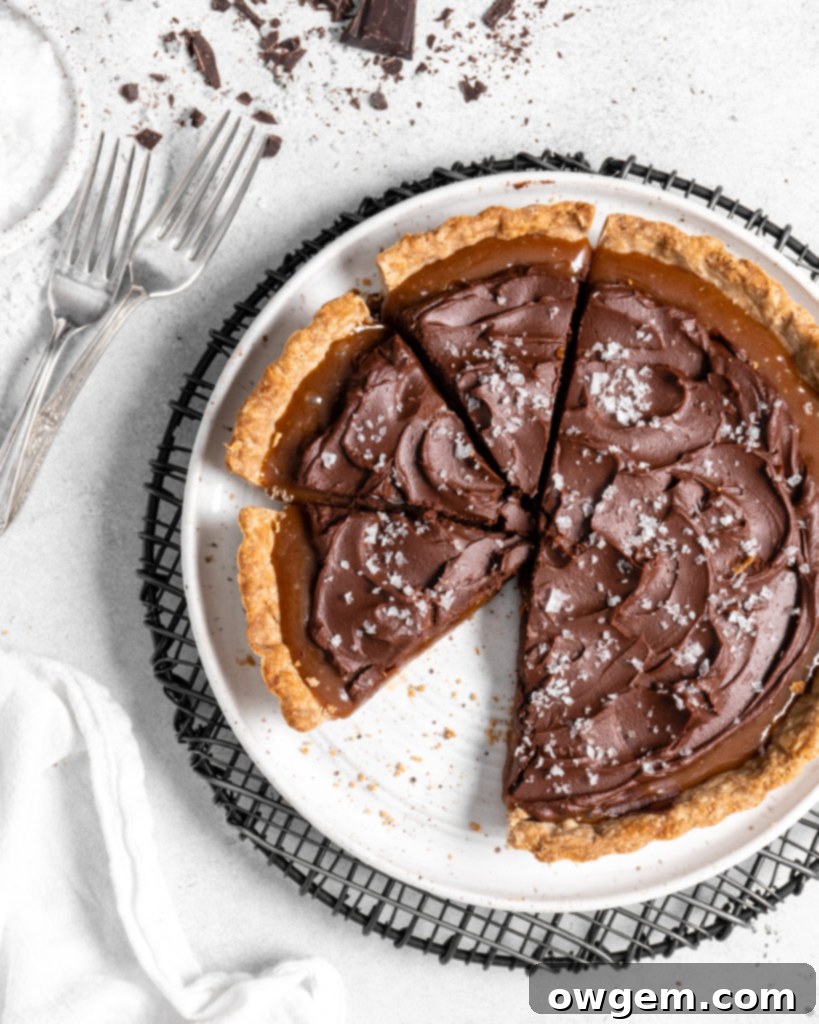
While this chai salted caramel chocolate tart is an excellent make-ahead dessert, it’s important to understand how to store it properly to maintain its pristine condition and delightful texture. This tart truly shines when enjoyed freshly sliced, as caramel, regardless of its thickness or temperature, has a natural tendency to flow once cut. This means that if you cut slices from the tart and leave them exposed, the warm, spiced caramel filling will inevitably begin to ooze out, slowly but surely spreading onto your serving plate or pan. This is simply the nature of a rich, soft caramel and part of its allure, but it’s something to consider for presentation and mess management.
For best results, store the uncut tart covered tightly with plastic wrap in the refrigerator. The cold temperature will help the caramel and ganache firm up, maintaining their structure. When you’re ready to serve, remove the tart from the fridge about 15-30 minutes before slicing to allow it to soften slightly, making it easier to cut and enhancing the flavors. To mitigate the caramel flow after cutting, a helpful trick is to place a piece of plastic wrap-covered foil snugly against the cut edge of the remaining tart. This acts as a temporary barrier, helping to contain the caramel and preserve the tart’s appearance. The tart can be stored in the refrigerator for up to 3-4 days. While it remains delicious, the crust may soften slightly over time. For the absolute best experience, aim to consume it within the first 24-48 hours after cutting. This ensures you enjoy the perfect balance of crisp crust, creamy caramel, and smooth ganache that makes this tart so irresistible.
Get the Recipe:
Chai Salted Caramel Chocolate Tart
Pin
Rate
Ingredients
Chai Crust
- 240 g (8.5oz) All Purpose Flour,, approximately 2 cups measured volumetrically
- 2 tbsp Dark Brown Sugar
- 1 tsp Cinnamon
- 1/2 tsp Ground Ginger
- 1/2 tsp Allspice
- 1/4 tsp Cardamom
- 1/4 tsp Salt
- 3/4 cup Cold Unsalted Butter,, cubed
- 1/4 cup Heavy Cream
- 1 Egg Yolk
Salted Caramel Filling
- 1 ½ cups White Sugar
- 5 tbsp Water
- 1/8 tsp Cream of Tartar
- 1/2 cup Unsalted Butter,, at room temperature and cubed
- 6 tbsp Heavy Cream
- 1 tsp Vanilla
- 1/2 tsp Salt
- 1 tsp Cinnamon
- 1/2 tsp Ground Ginger
- 1/2 tsp Allspice
- 1/4 tsp Cardamom
Chocolate Ganache Topping
- 113 g (4oz) Semi Sweet Chocolate,, chopped finely
- 1/2 cup Heavy Cream
- 2 tbsp Unsalted Butter,, at room temperature
- Flaky Salt,, for garnish
Equipment
-
9″ tart pan
Instructions
Chai Crust
-
Add the flour, brown sugar, spices, and salt to a large mixing bowl and whisk well to combine. Add cubed, cold butter, and work the butter into the flour mixture using your fingers. Once the butter has been worked to basically disappear into the mixture, set the bowl aside.
-
Add the egg yolk to the heavy cream, and whisk until smooth. Slowly drizzle the cream+yolk into the flour/butter mixture, tossing with a fork while you drizzle to promote even coverage. After all the liquid has been added, use your hands to slightly knead the dough until it comes together into a slightly shaggy ball of dough. Press the dough into a disc shape, wrap in plastic, and place into the fridge to cool for at least 2 hours.
-
Remove the dough from the fridge, and roll it out to be about a 13” wide circle. Transfer the dough into the tart pan (see write up for instructions and pictures on easy transferring). Firmly press the dough into the pan, remove the excess overhang, prick the bottom of the crust with a fork, then place into the freezer for 20 minutes.
-
Preheat oven to 350°F.
-
Remove the crust from the freezer, place a piece of parchment into it, and place pie weights (or dried beans) into the parchment. Place into the oven to bake for 15 minutes, then remove the parchment and pie weights (be careful that you are not pulling up the pie crust), then return back into the oven for another 20 minutes. Allow the crust to cool to room temperature.
Chai Caramel Filling
-
In a large saucepan over medium heat add sugar, water and cream of tartar. Stir occasionally until the sugar has dissolved and the mixture begins to boil.
-
Once the mixture begins to boil turn the heat up to medium-high and allow the mixture to boil, ensuring not to stir it, until it turns amber in color (stirring the mixture will cause crystallization, so refrain from stirring).
-
Once the mixture has become amber in color (360°F on a candy thermometer), add the cubed butter and mix very vigorously to combine. (Be careful, however, because the mixture will bubble and rise up rapidly when you add the butter). If the butter seems to be separating from the caramel, remove it from the heat, then whisk vigorously until it comes together.
-
Next, slowly and carefully add in the heavy cream (it will bubble rapidly again), then add the vanilla, salt and spices. Whisk until smooth and well-combined. Remove the caramel from the heat, allow to cool to until it is just warm but still fluid.
-
When just warm, pour the caramel filling into the cooled crust. Place into the fridge for at least 1 hour to cool.
Chocolate Ganache Filling
-
Add chopped chocolate to a heat proof bowl.
-
Add cream and butter to a small saucepan over medium heat. Bring to a simmer, then remove from the heat and pour over the chopped chocolate. Allow to sit for 5 minutes, then whisk well until well-combined and smooth. Place the ganache in the fridge to cool for 1-2 hours.
-
Remove the filled tart from the fridge, add the chocolate ganache on top, then using a spoon smooth the chocolate across the tart, then create swoops and swirls with the spoon. Top with flaky salt. Keep cold until serving.
Source: Loosely based on a recipe by Bon Appetit
