Chewy Chocolate Dipped SunButter Cookies: The Ultimate Nut-Free Delight
We’re thrilled to thank SunButter® for their generous sponsorship of this delectable Chewy Chocolate Dipped SunButter Cookies recipe! Rest assured, all opinions, ideas, and the passion for creating these delightful treats are 100% our own.
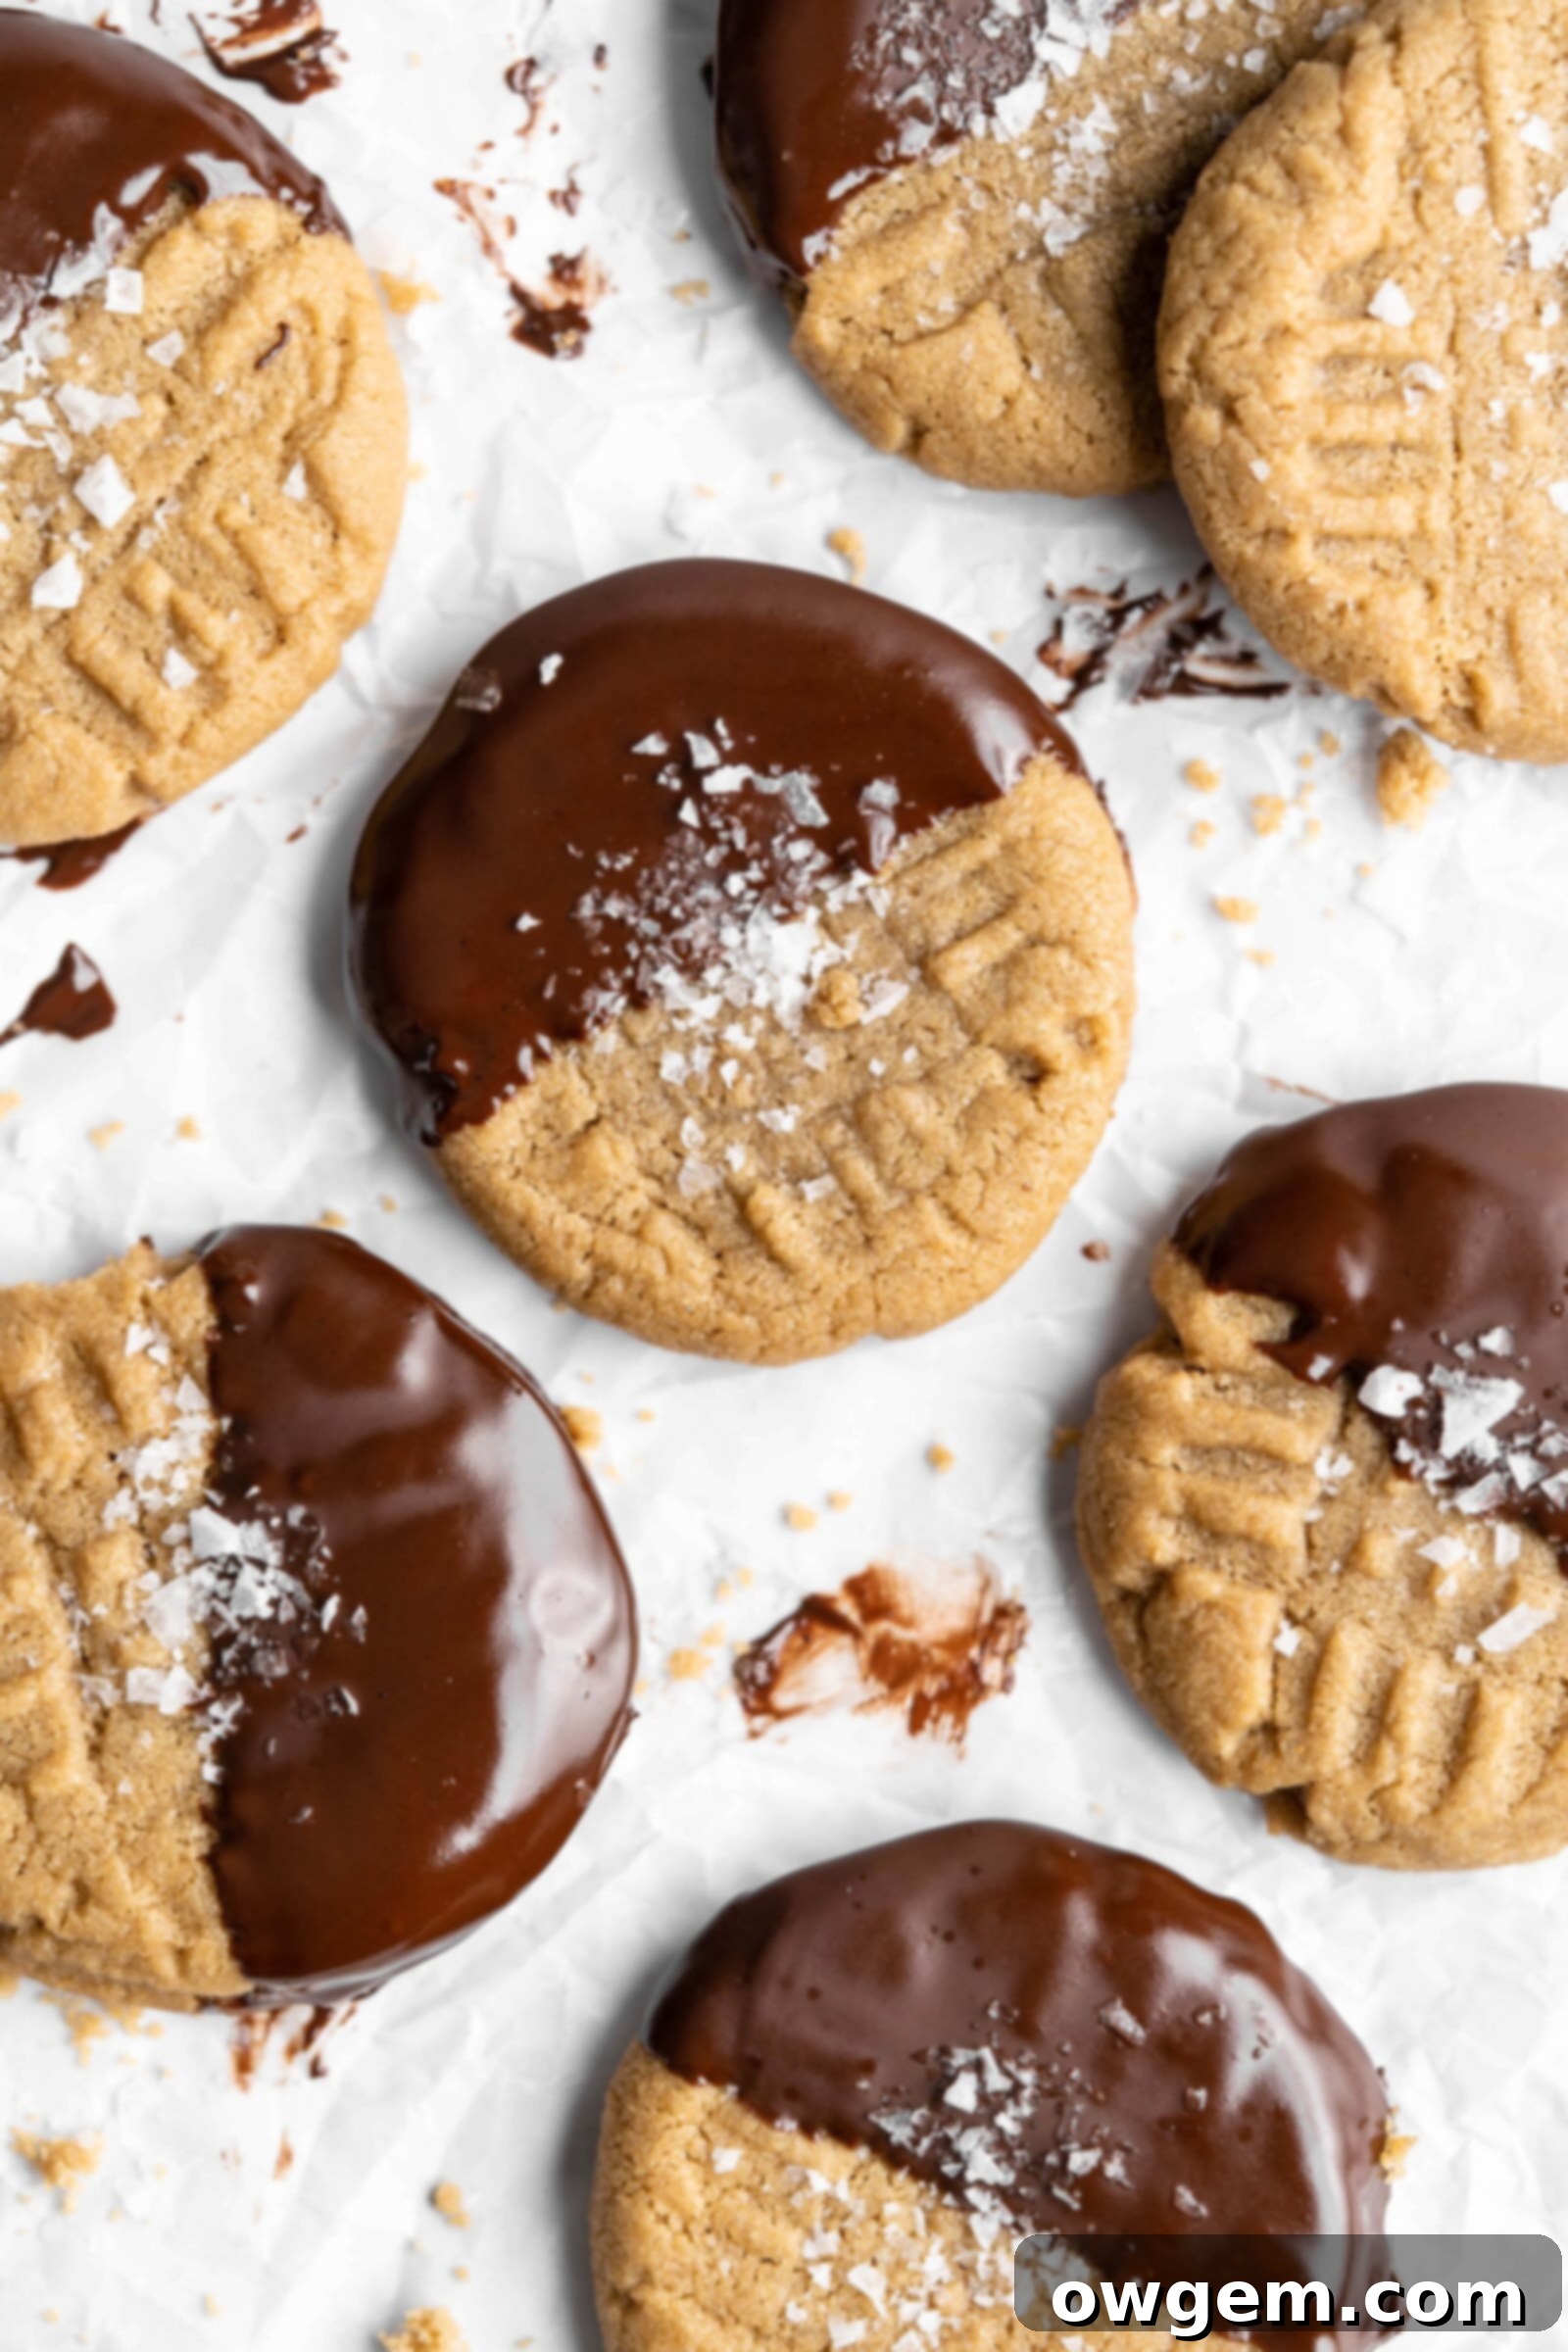
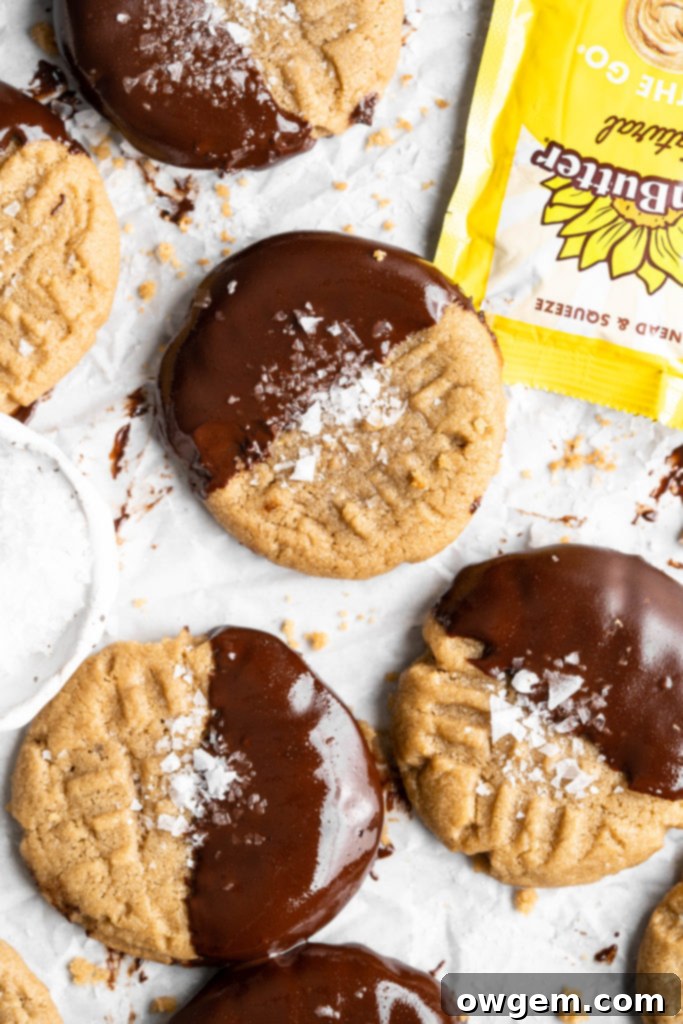
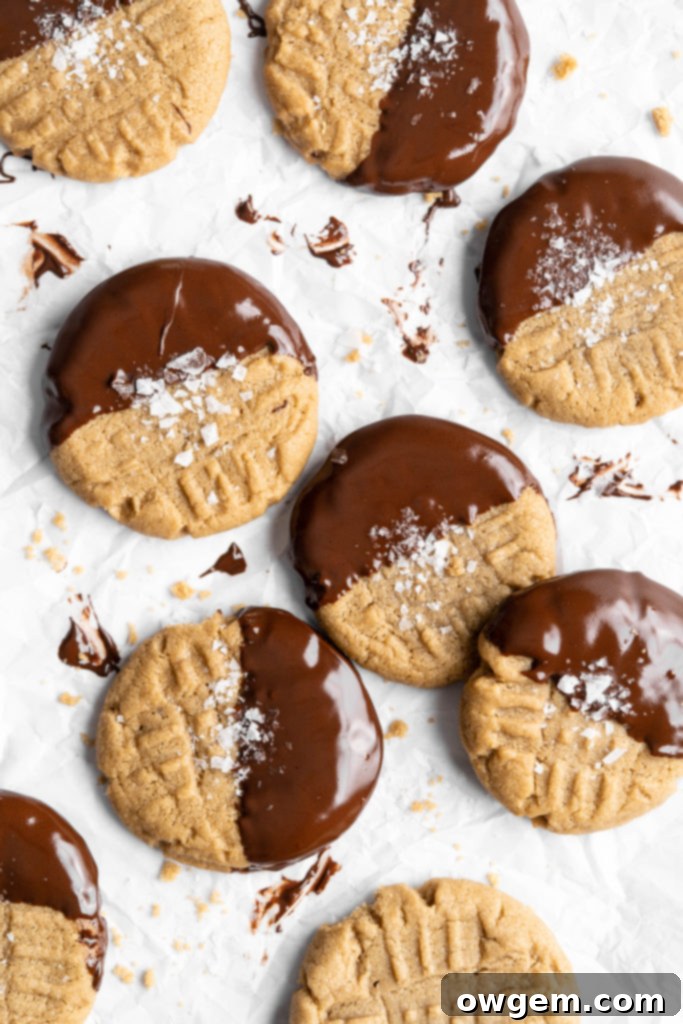
Indulge in the unparalleled experience of these incredibly chewy and tender SunButter Cookies, each lovingly dipped in a layer of velvety smooth chocolate. This recipe offers the perfect peanut and nut-free alternative to traditional peanut butter cookies, ensuring everyone can enjoy a classic favorite without worry. Crafted with natural SunButter, these cookies deliver that desirable nutty flavor without any actual nuts, making them a safe and scrumptious choice for those with allergies or sensitivities. Combined with light brown sugar and a few other simple ingredients, these cookies boast a moist, soft interior and that irresistible chewy mouthfeel that cookie lovers dream of. To complete this luxurious dessert, half of each cookie is enrobed in rich chocolate and then delicately sprinkled with flaky sea salt, providing a perfect balance of sweet and savory.
What Exactly is SunButter? Your Allergen-Friendly Alternative
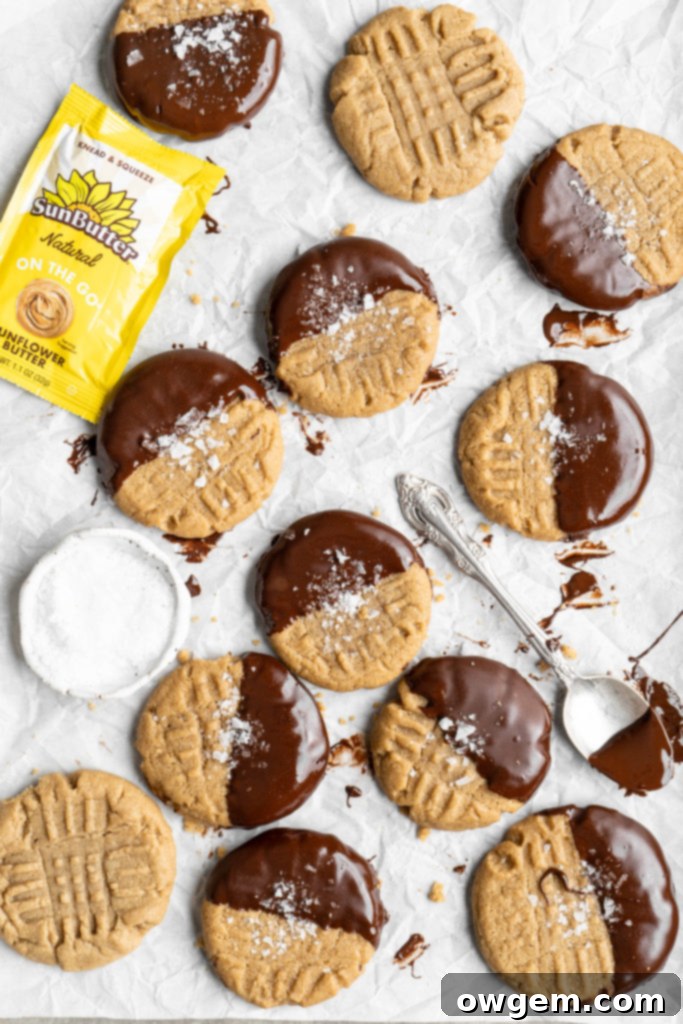
For those unfamiliar with this fantastic ingredient, SunButter is a delightful seed-butter spread expertly crafted from roasted sunflower seeds. It stands out as an outstanding alternative to peanut butter and other nut-butters, making it an ideal choice for individuals with allergies, sensitivities, or anyone simply seeking a delicious and wholesome spread. Beyond its incredible taste, SunButter offers impressive nutritional benefits. Each serving provides a substantial 7 grams of protein, essential for energy and muscle repair. It’s also packed with a wide array of vitamins and minerals, contributing to a balanced diet. Moreover, SunButter contains absolutely no trans-fats and boasts less saturated fat than many typical almond butters, positioning it as a smarter choice for health-conscious consumers. Its smooth texture and rich, slightly earthy flavor make it wonderfully versatile, perfect for sandwiches, baking, smoothies, or simply enjoying by the spoonful. Choosing SunButter means embracing a healthier, more inclusive, and incredibly tasty option for your pantry.
Looking for more ways to enjoy SunButter? Explore some of my other popular recipes: SunButter M&M Blondies, SunButter Chocolate Chip Toffee Cookies, & SunButter Triple Chocolate Brownie Skillet. These recipes showcase the amazing versatility and flavor that SunButter brings to various baked goods.
Why You’ll Adore These Chewy Chocolate Dipped SunButter Cookies
These aren’t just any cookies; they’re a celebration of flavor, texture, and inclusivity. Here’s why this recipe will quickly become a household favorite:
- Irresistibly Chewy Texture: The combination of natural SunButter and light brown sugar creates a soft, pliable, and perfectly chewy cookie that melts in your mouth.
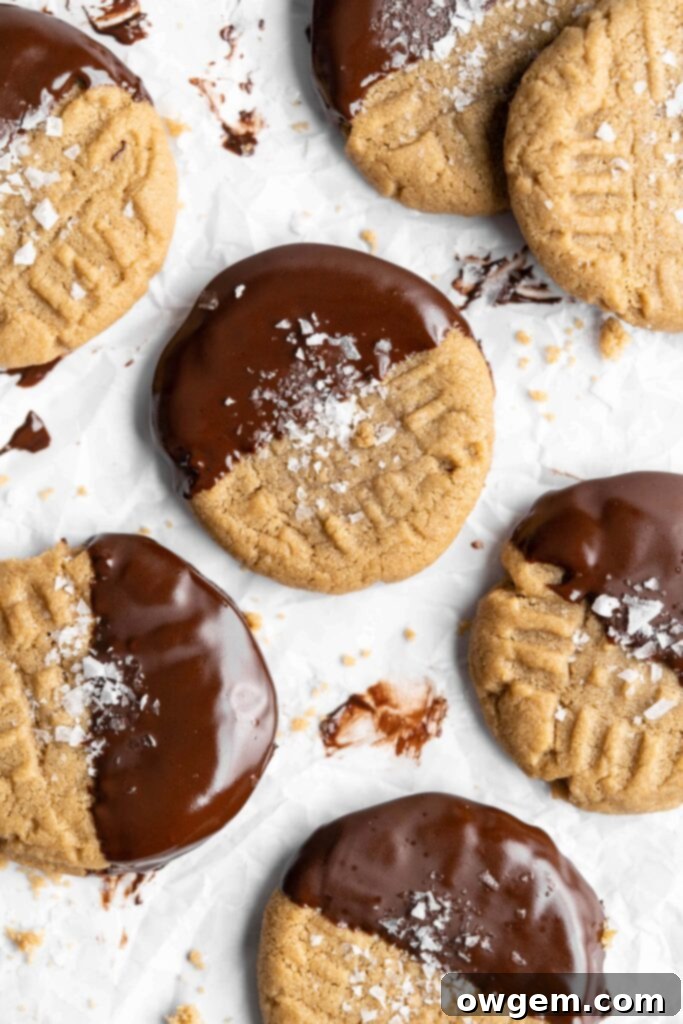
- Rich Chocolate Coating: A generous dip in high-quality melted chocolate adds a luxurious depth of flavor and a satisfying snap with every bite. The optional sprinkle of flaky sea salt elevates the taste profile, creating a gourmet experience.
- Peanut & Nut-Free: Ideal for households managing nut allergies, these cookies offer a safe and delicious alternative, ensuring everyone can enjoy a classic-style cookie without compromise.
- Easy to Make: With straightforward instructions and no chilling required, these cookies come together quickly, making them perfect for last-minute cravings or spontaneous baking sessions.
- Versatile & Crowd-Pleasing: Whether for a school lunchbox, a party dessert, or a comforting snack, these cookies are sure to be a hit with both kids and adults alike.
Crafting Your Chewy SunButter Cookies: A Step-by-Step Guide
Making these delicious chocolate-dipped SunButter cookies is a simple and rewarding process. Follow these detailed steps to achieve perfect results every time:
1. Prepare Dry Ingredients: In a medium-sized bowl, meticulously whisk together the all-purpose flour and baking powder until they are thoroughly combined. This ensures an even distribution of leavening agents, crucial for consistent cookie texture. Set this mixture aside for later use.
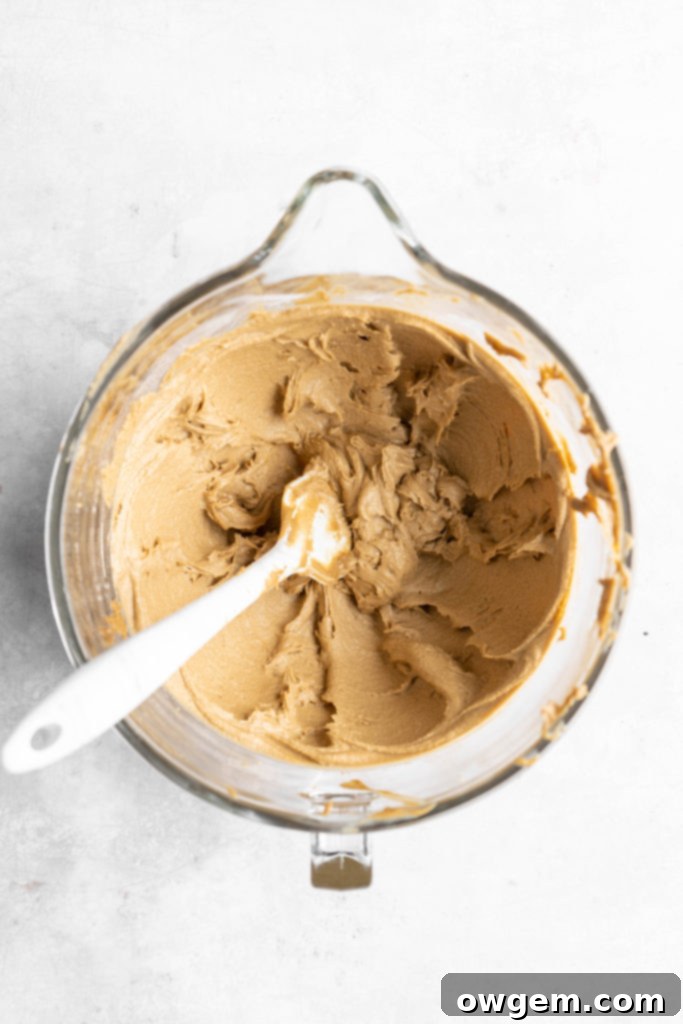
2. Cream Wet Ingredients: In the bowl of a stand mixer fitted with the paddle attachment, combine the softened salted butter, natural SunButter, light brown sugar, and vanilla extract. Beat these ingredients on medium-high speed for approximately 3-4 minutes, or until the mixture becomes wonderfully light, fluffy, and well-combined. This creaming process incorporates air, contributing to the cookies’ tender texture.
3. Incorporate the Egg: Add the large egg to the creamed mixture in the stand mixer. Continue to beat on medium-high speed until the egg is fully incorporated and the mixture regains its fluffy consistency. The egg acts as a binder and adds richness.
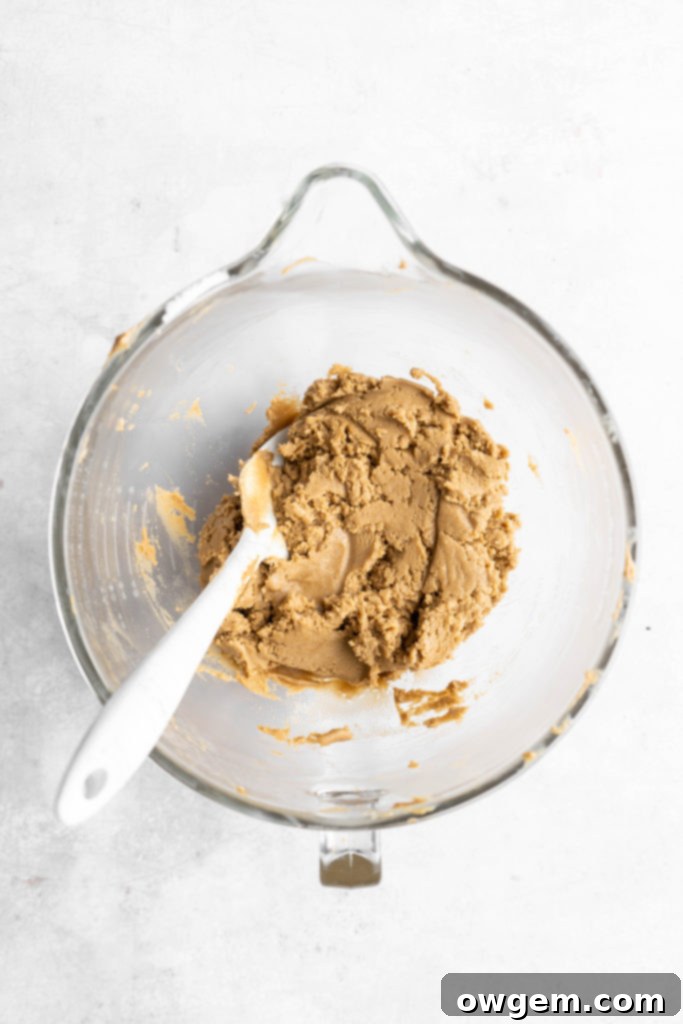
4. Combine Wet and Dry: Gradually pour the reserved dry ingredients into the stand mixer bowl. Beat on a low speed until the ingredients are just combined and a smooth, cohesive cookie dough forms. Be careful not to overmix at this stage, as overworking the dough can lead to tougher cookies.
-

Cream the SunButter, butter, sugar and vanilla until light and fluffy. -

The finished SunButter cookie batter, smooth and ready for shaping.
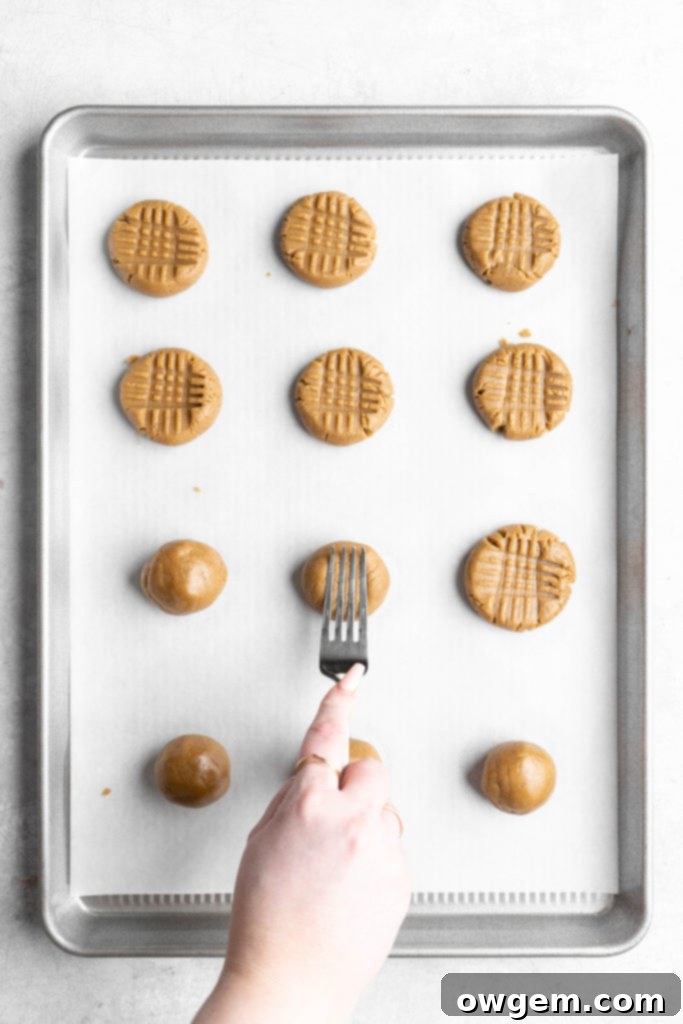
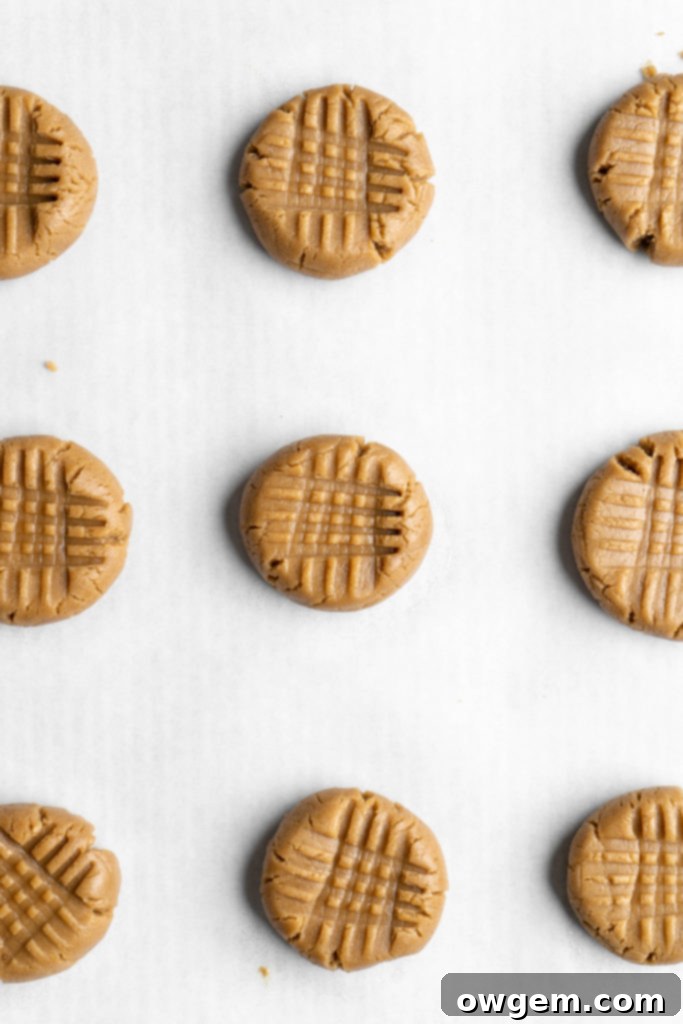
5. Shape and Flatten: Using a small cookie scoop, portion out the dough. Roll each scoop into a smooth ball between your palms and place them onto a prepared baking sheet lined with parchment paper. Take a fork and gently press down on each cookie dough ball twice, in a criss-cross pattern. This flattening step is crucial as these cookies do not spread much in the oven, and the criss-cross also adds a charming, classic look.
-

Press a fork into the cookies to create a distinctive criss-cross shape, ensuring even baking. -

Cookies prepped and ready for the oven, awaiting their transformation into golden perfection.
6. Bake to Perfection: Bake the cookies (arranging about 12 per sheet to allow for slight spreading) in a preheated oven according to the recipe instructions. Once baked, remove them from the oven and let them cool completely on the baking sheet before attempting to move them or dip them in chocolate. Cooling is essential for them to firm up and hold their shape.
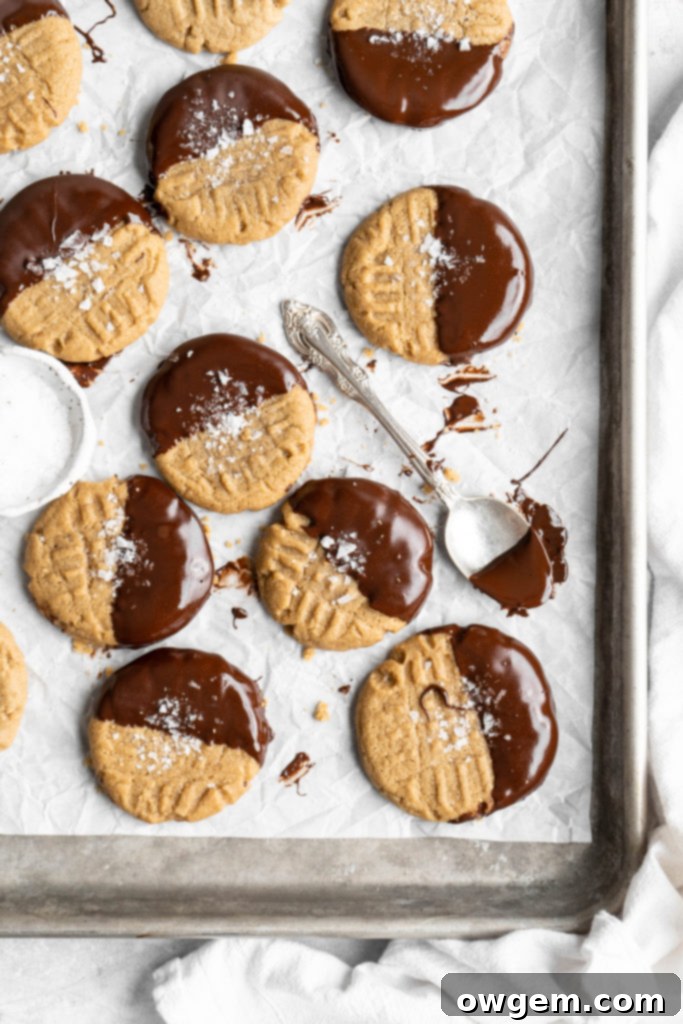
7. Dip and Set: Once the cookies are entirely cool, it’s time for the decadent chocolate dip! Dip half of each cookie into the melted chocolate. You can do this by holding the cookie and immersing it, or by using a spoon to drizzle the chocolate over half of it. Place the dipped cookies back onto parchment paper. Allow the chocolate to harden at room temperature for about 30 minutes, or speed up the process by placing them in the fridge for just 10 minutes until the chocolate is firm and set.
Choosing the Right Chocolate for Dipping
Given that chocolate is a significant component of these extraordinary cookies, the quality and type of chocolate you choose will profoundly impact the final flavor and experience. We highly recommend using a high-quality chocolate that you genuinely enjoy eating on its own. While personal preference is key, for an ultra-rich and superior flavor, our top recommendation is Lindt 70% Dark Chocolate (affiliate link). Its intense cocoa notes beautifully complement the nutty undertones of the SunButter. However, don’t hesitate to experiment! Feel free to use any chocolate brand or ‘darkness’ level you prefer – milk chocolate for a sweeter profile, semi-sweet for a classic balance, or even white chocolate for a unique twist. Ensure your chosen chocolate is designed for melting and dipping for the best results.
How to Melt Chocolate Perfectly for Dipping
Achieving perfectly melted chocolate for dipping is crucial for a smooth, glossy finish on your SunButter cookies. While there are several methods, our preferred technique for its ease and effectiveness is using the microwave. Here’s how to do it:
- Chop Your Chocolate: Start by finely chopping your high-quality chocolate. Smaller pieces melt more evenly and reduce the risk of scorching.
- First Microwave Interval: Place the chopped chocolate into a microwave-safe bowl. Microwave it on high for 1 minute.
- Stir and Repeat: Remove the bowl and stir the chocolate thoroughly, even if it doesn’t look fully melted. The residual heat will continue to melt the pieces.
- Short Intervals: Return the chocolate to the microwave and continue heating in 15-second intervals, stirring vigorously after each interval. This cautious approach prevents the chocolate from overheating and seizing.
- Achieve Smoothness: Continue this process until the chocolate is completely melted and beautifully smooth, with no lumps remaining. It should be fluid enough for easy dipping.
**Pro Tip:** If you want a slightly thinner chocolate coating or to help prevent seizing, you can stir in a teaspoon of neutral oil (like coconut oil or vegetable oil) per cup of chocolate once it’s almost melted. This will give you a wonderfully smooth, dippable consistency.
FAQ: Frequently Asked Questions About SunButter Cookies
Absolutely! While we recommend a high-quality dark chocolate for a rich flavor, any type of chocolate you enjoy can be used. Milk chocolate, for instance, pairs wonderfully with these cookies for a sweeter, creamier finish. You can even try white chocolate for a different aesthetic and flavor profile.
To keep your SunButter cookies fresh and delicious, store them in an airtight container at room temperature. They will remain wonderfully soft and chewy for up to one week. For best results, keep them in a single layer or separate layers with parchment paper if stacking.
Yes, both the un-dipped baked cookies and the raw cookie dough can be easily frozen. For baked cookies, ensure they are completely cooled before freezing in an airtight freezer bag or container. The cookie dough can be scooped into balls and frozen on a baking sheet before transferring to a freezer bag. However, we do not recommend freezing the cookies once they have been dipped in chocolate, as the chocolate can become chalky or develop an undesirable texture upon thawing.
Yes, this recipe is quite versatile! You can use most nut butters, including classic peanut butter, almond butter, or cashew butter, as a direct substitute for SunButter. Just be mindful that using a different butter will alter the flavor profile and, of course, remove the nut-free characteristic of the original recipe.
No, that’s one of the best parts about this recipe! This is a fantastic no-chill cookie recipe, meaning you can mix the dough and bake it immediately without any waiting time. This makes for a quicker and more convenient baking experience.
While the criss-cross pattern is traditional and adds to the charm, its primary function is to flatten the cookies. These particular cookies tend not to spread as much in the oven as typical cookie recipes, so they need to be flattened to ensure proper cooking and a desirable shape. If you prefer not to make the criss-cross pattern, you can simply flatten the cookie dough balls lightly with the palm of your hand or the bottom of a glass before baking.
Essential Baking Tips for the Best SunButter Cookies
Achieving the perfect chewy texture and rich flavor in your SunButter cookies is easy with a few key tips:
- Use Room Temperature Ingredients: Ensure your butter and egg are at room temperature. This allows them to cream together more effectively with the SunButter and sugar, creating a smoother batter and a more consistent cookie texture.
- Do Not Overmix: Once you add the dry ingredients, mix only until just combined. Overmixing can develop the gluten in the flour, leading to tougher cookies.
- Parchment Paper is Your Friend: Always line your baking sheets with parchment paper. This prevents sticking, ensures even baking, and makes cleanup a breeze.
- Don’t Overbake: SunButter cookies are best when slightly underbaked, as this contributes to their ultimate chewiness. The edges should be lightly golden, and the centers should still look soft when you take them out of the oven. They will continue to set as they cool.
- Cool Completely Before Dipping: Patience is key! Dipping warm cookies in chocolate will cause the chocolate to melt and slide off. Allow the cookies to cool completely on a wire rack to ensure the chocolate adheres beautifully.
- Weigh Your Ingredients: For the most precise and consistent results, especially in baking, weighing your ingredients (flour, sugar, butter) using a kitchen scale is highly recommended over volumetric measurements.
Variations and Serving Suggestions
While these chocolate-dipped SunButter cookies are phenomenal as is, there are many ways to customize them to your liking or enjoy them in different ways:
- Add-ins: Stir in a half cup of mini chocolate chips, sprinkles, or even chopped toffee bits into the cookie dough before baking for extra texture and flavor.
- Spice it Up: A pinch of cinnamon or a touch of nutmeg in the dough can add a warm, comforting note to the cookies.
- Different Toppings: Instead of or in addition to sea salt, try sprinkling with finely chopped nuts (if not making nut-free), shredded coconut, or colorful sprinkles before the chocolate sets.
- Drizzle Instead of Dip: For a lighter chocolate touch, simply drizzle melted chocolate over the cooled cookies using a fork or a piping bag.
- Make Sandwich Cookies: Spread a thin layer of extra SunButter or a cream cheese frosting between two un-dipped cookies to create delightful sandwich treats.
These cookies are perfect for any occasion: a thoughtful gift, a delightful dessert after dinner, a satisfying afternoon snack, or a welcome addition to any party platter. They pair wonderfully with a cold glass of milk, a warm cup of coffee, or even a scoop of vanilla ice cream for a truly indulgent experience.
-

A close-up of the perfectly dipped, rich chocolate coating with a hint of flaky sea salt. -

An array of freshly baked and chocolate-dipped SunButter cookies, ready to be devoured.

Get the Recipe:
Chewy Chocolate Dipped SunButter Cookies (Peanut & Nut-Free Cookies)
Pin
Rate
Ingredients
- 1 ½ cups (180g) All Purpose Flour
- 3/4 tsp Baking Powder
- 1/2 cup (114g) Salted Butter,, softened
- 1 cup (240g) Natural SunButter
- 1 cup (220g) Light Brown Sugar
- 1 tsp Vanilla
- 1 Large Egg
- 7 oz (200g) Semi Sweet Chocolate,, melted
Equipment
-
Stand mixer
Instructions
-
Preheat your oven to 350°F (175°C). Prepare two baking sheets by lining them with parchment paper. In a medium bowl, whisk together the all-purpose flour and baking powder until thoroughly combined. Set this dry mixture aside.
-
In the bowl of a stand mixer, add the softened butter, natural SunButter, light brown sugar, and vanilla extract. Beat on medium-high speed until the mixture is light, fluffy, and well-combined, which typically takes about 4 minutes. Next, add the large egg to the mixer, then beat again on medium-high speed until it is fully incorporated and the mixture is once again fluffy.
-
Pour the prepared dry ingredients into the stand mixer bowl. Beat on low speed until the dry and wet ingredients are just combined and the dough is smooth. Be careful not to overmix. Use a small cookie scoop to portion out the dough. Roll each scoop into a ball and place them onto the prepared baking sheets, leaving some space between each cookie. Use a fork to create a criss-cross pattern on top of each cookie, flattening them slightly.
-
Bake the cookies (approximately 12 per sheet) for 10 minutes, or until the edges are lightly golden and the centers are still soft. Once baked, remove the cookies from the oven and allow them to cool completely on the baking sheets before proceeding. Once cooled, dip half of each cookie into the melted chocolate. You can also sprinkle with flaky sea salt at this stage for extra flavor and texture. Allow the chocolate to harden at room temperature, or place them in the fridge for about 10 minutes to speed up the setting process. Enjoy your delicious SunButter cookies!
Notes
- This recipe will yield the best and most consistent results if the ingredients, especially flour and butter, are weighed using a kitchen scale, rather than volumetrically measured with cups.
- Ensure your SunButter is natural and well-stirred if oil separation has occurred, to maintain the correct consistency in the dough.
- For a truly professional finish on your chocolate, consider tempering it. However, the microwave method described above works perfectly for home bakers.
