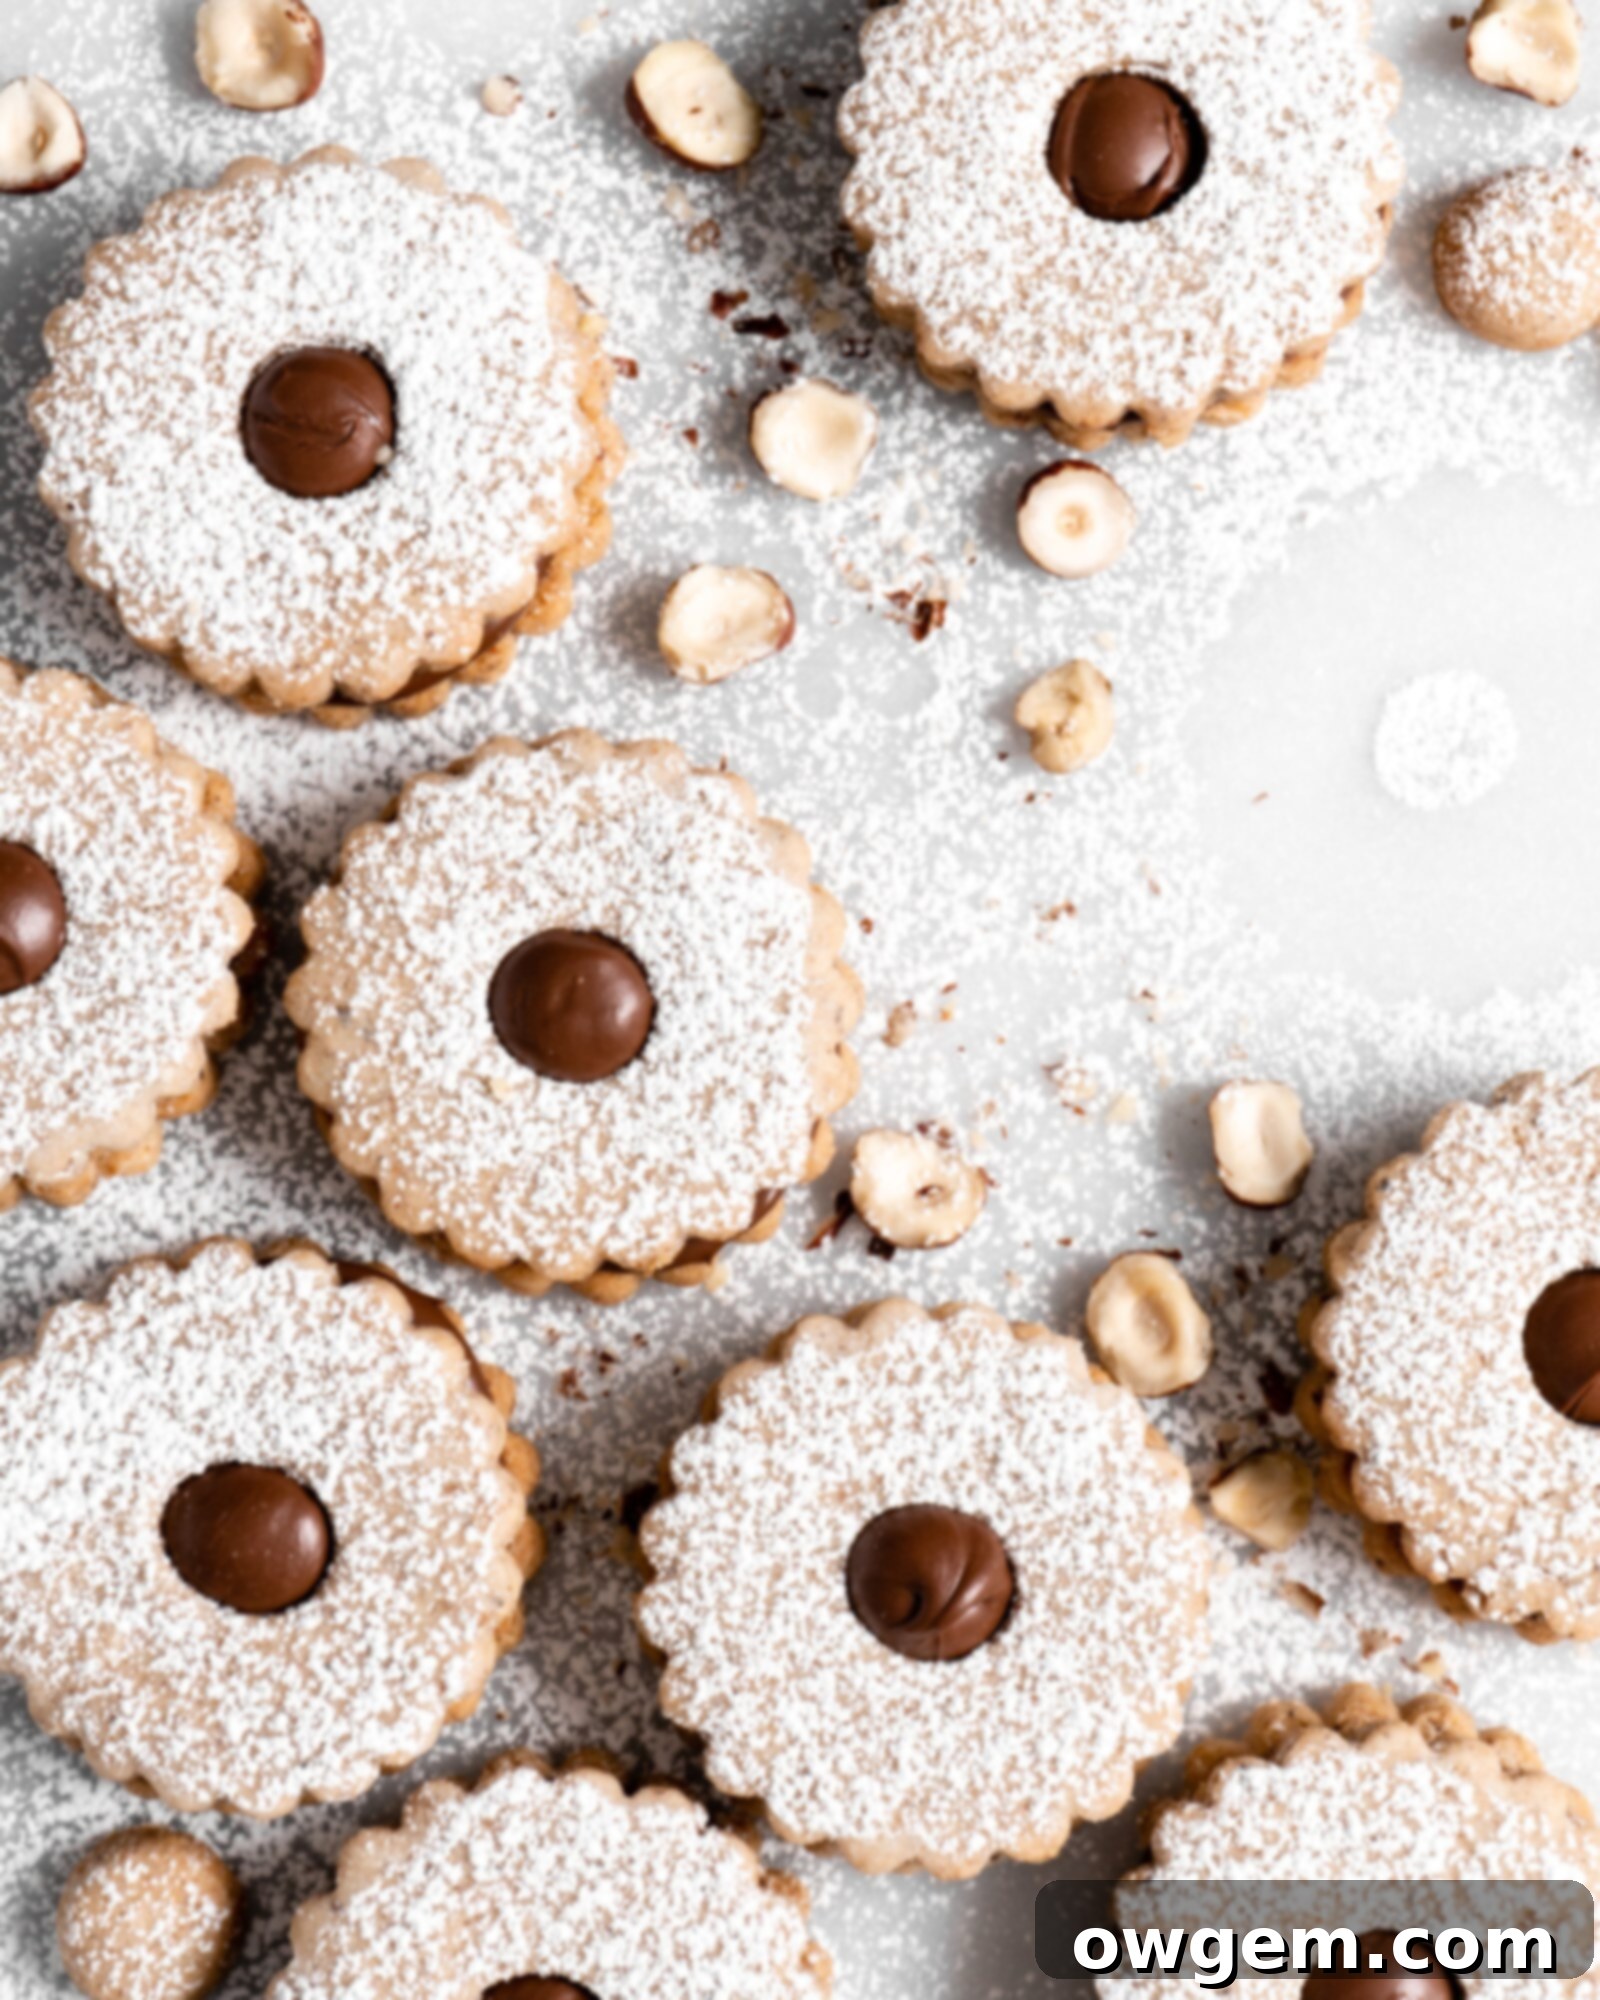
Irresistible Nutella Linzer Cookies: Your Ultimate Guide to Festive Chocolate Hazelnut Delight
Prepare to fall in love with these exquisite Nutella Linzer Cookies, where every bite is a dream come true! These delectable cookie sandwiches feature a perfectly toasted hazelnut-infused cookie base, generously filled with the iconic, creamy chocolate hazelnut spread, Nutella. The rich, nutty flavor of the cookie harmonizes flawlessly with the smooth, sweet Nutella, creating a truly unforgettable treat. Whether you’re planning for holiday gatherings, a cozy evening, or simply craving something extraordinary, these Nutella Linzer Cookies are an absolute must-bake. They are not just cookies; they are little parcels of joy, ideal for making any occasion feel special and festive.
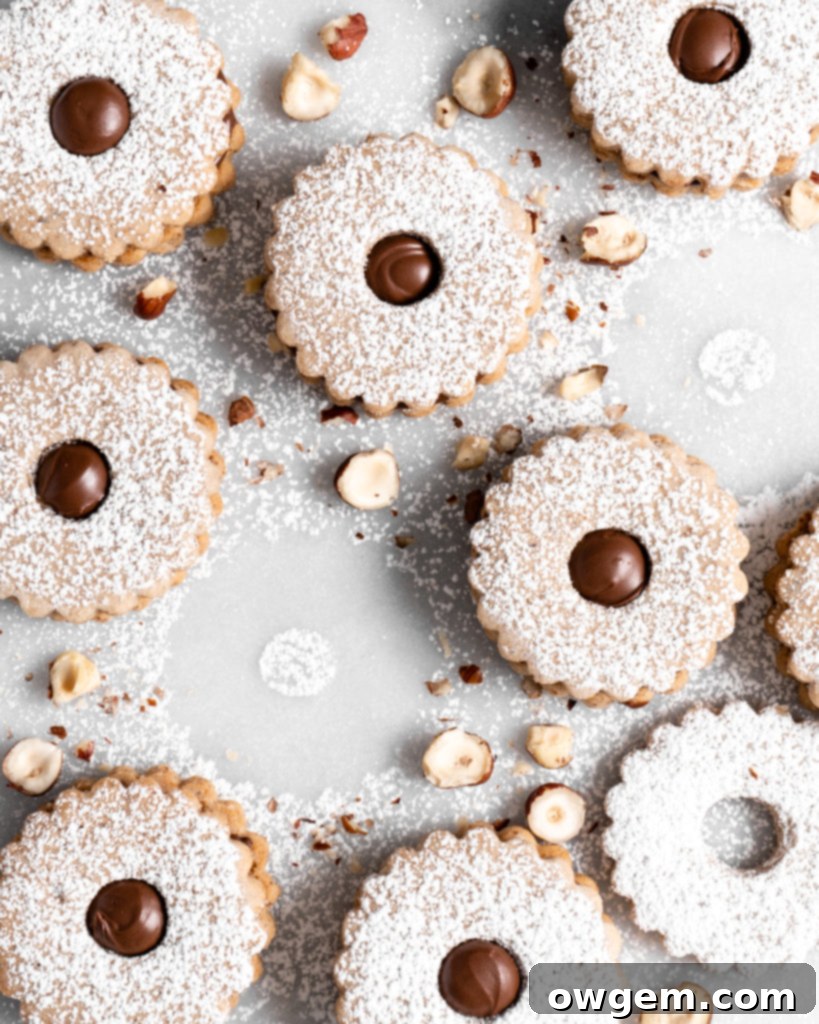
Embrace the Festive Spirit with Nutella Linzer Cookies
While Nutella has certainly become a beloved pantry staple enjoyed year-round, the classic combination of chocolate and hazelnuts undeniably evokes a sense of festivity and holiday cheer. This timeless pairing is deeply rooted in many traditional holiday treats, making these Nutella Linzer Cookies the perfect addition to your seasonal celebrations. Imagine bringing a plate of these elegant, flavorful cookies to your Thanksgiving feast, Christmas party, or any festive gathering! They are guaranteed to be a showstopper, delighting guests of all ages. Beyond family events, they’re also fantastic for cookie swaps, school bake sales, or as thoughtful homemade gifts. Their charming appearance, with the Nutella peeking through the delicate cutout, makes them as beautiful to look at as they are delicious to eat, instantly elevating any dessert spread. These cookies don’t just taste good; they spread joy and bring people together, embodying the true spirit of the holidays.
Understanding the Linzer Cookie Tradition
To truly appreciate the Nutella Linzer Cookie, it’s helpful to understand its rich history, which traces back to the celebrated Austrian dessert, the Linzertorte. Originating from Linz, Austria, the Linzertorte is a grand, elaborate tart made from a rich, buttery, nutty dough (often almond or hazelnut), pressed into a tart pan. It’s traditionally filled with red currant jam and topped with a distinctive lattice crust. Linzer cookies are essentially charming, miniaturized versions of this iconic torte. They retain the buttery, tender, and often nutty cookie dough base, but instead of a large tart, they form small, delightful sandwiches. Each cookie sandwich consists of a solid bottom cookie and a top cookie with a decorative cut-out in its center, typically a circle, star, or heart. These two halves are then filled with a delicious spread – traditionally jam, but in our case, the irresistible Nutella – allowing the filling to playfully peek through the cutout on top. This elegant design and harmonious blend of flavors make Linzer cookies a cherished classic in the world of baking.

The Secret to Deep Flavor: Toasting Hazelnut Flour
One of the most crucial steps, and arguably the secret to the exceptional flavor of these Nutella Linzer Cookies, is toasting the hazelnut flour (or hazelnut meal). This simple step transforms the raw, sometimes slightly bitter, taste of hazelnuts into a profoundly deep, warm, and intensely nutty aroma. Toasting helps to release the natural oils in the hazelnuts, enhancing their inherent sweetness and creating a more complex flavor profile that perfectly complements the chocolatey Nutella filling. Without toasting, the cookies would lack that rich, earthy undertone that makes them truly stand out.
The process of toasting hazelnut flour is remarkably straightforward. Begin by spreading the hazelnut flour into a thin, even layer on a baking sheet. This ensures that the heat distributes uniformly, leading to consistent toasting. Place the baking sheet into a preheated oven (usually around 300-350°F or 150-175°C). The key is to stir the flour every 5 minutes or so. This prevents any single spot from burning and promotes even browning, allowing all the flour to achieve that beautiful golden hue. You’ll know it’s ready when the kitchen fills with a wonderfully fragrant, toasted nutty aroma and the flour visibly changes to a golden-brown color. Once toasted to perfection, remove it from the oven immediately and transfer it to a cool surface or another tray to stop the cooking process. Allow it to cool completely for at least 30 minutes before incorporating it into your dough. This cooling period is essential as warm flour can negatively affect the cookie dough’s texture. This easy, yet impactful, step makes all the difference in achieving the signature depth of flavor for your Linzer cookies!
Crafting the Perfect Nutella Linzer Cookie Dough
Creating the ideal dough for these Linzer cookies is a delightful process, balancing rich flavors with a tender texture. Follow these steps carefully to ensure your cookies turn out perfectly:
1. Cream Sugar, Butter, and Cinnamon: Start by adding room temperature unsalted butter, granulated white sugar, and a touch of cinnamon to the bowl of a stand mixer fitted with the paddle attachment. Creaming these ingredients together is vital; it incorporates air into the mixture, which contributes to a light and tender cookie. Beat on medium speed for about 3-5 minutes, or until the mixture becomes visibly light, fluffy, and pale in color. Ensure your butter is truly at room temperature (soft enough to indent with a finger but not melted) for optimal creaming results.
2. Incorporate Egg Yolk and Vanilla: Next, add the large egg yolk and the vanilla extract to the creamed butter mixture. The egg yolk adds richness and helps bind the dough, while the vanilla extract enhances the overall flavor profile. Beat again on medium-low speed just until these ingredients are fully combined. Be careful not to overmix at this stage.
3. Add Dry Ingredients: In a separate medium-sized bowl, whisk together your all-purpose flour, the cooled toasted hazelnut flour/meal, and salt. Whisking ensures these dry ingredients are evenly distributed. Gradually add this dry mixture to the stand mixer, beating on low speed until a crumbly dough begins to form. The dough will look a bit shaggy and not fully come together into a smooth ball at this stage, which is perfectly normal for Linzer cookies. The key is to mix just until combined to avoid overdeveloping the gluten, which can lead to tough cookies.
Mastering the Art of Rolling Out Linzer Cookie Dough
Working with Linzer cookie dough can be a unique experience, especially because its tenderness is part of its charm. To achieve that signature melt-in-your-mouth texture, the dough is purposefully soft, which means it requires a bit of finesse during rolling and cutting. The most crucial piece of advice I can offer for successfully rolling and cutting these delicate Nutella Linzer Cookies is to prepare a **heavily** floured surface. I cannot stress “heavily” enough – you’ll want to use significantly more flour than you might typically for a standard rolled sugar cookie. This generous dusting of flour on your countertop or pastry mat will act as a protective barrier, preventing the soft dough from sticking and tearing.
Equally important is to ensure your cookie cutter is also well-floured before each cut. A sticky cutter is an open invitation for frustration as the dough will cling, distorting your beautiful shapes. Dip your cutter into flour, tap off the excess, and then make your cut. If at any point the dough becomes too warm or difficult to handle, don’t hesitate to gather it, form it into a disk, and pop it back into the refrigerator for 10-15 minutes to firm up slightly. Patience here truly pays off. Finally, transferring these cut-out cookies onto the baking sheet requires a gentle touch. I’ve found that using a thin, flat metal spatula is the best tool for the job. Carefully slide the spatula under the cookie and lift it, reducing the risk of warping or distorting the delicate Nutella Linzer Cookie shapes you’ve worked so hard to create. This careful handling ensures your baked cookies will have perfectly defined edges and a consistent appearance.
Designing the Iconic Centre Cut-Out
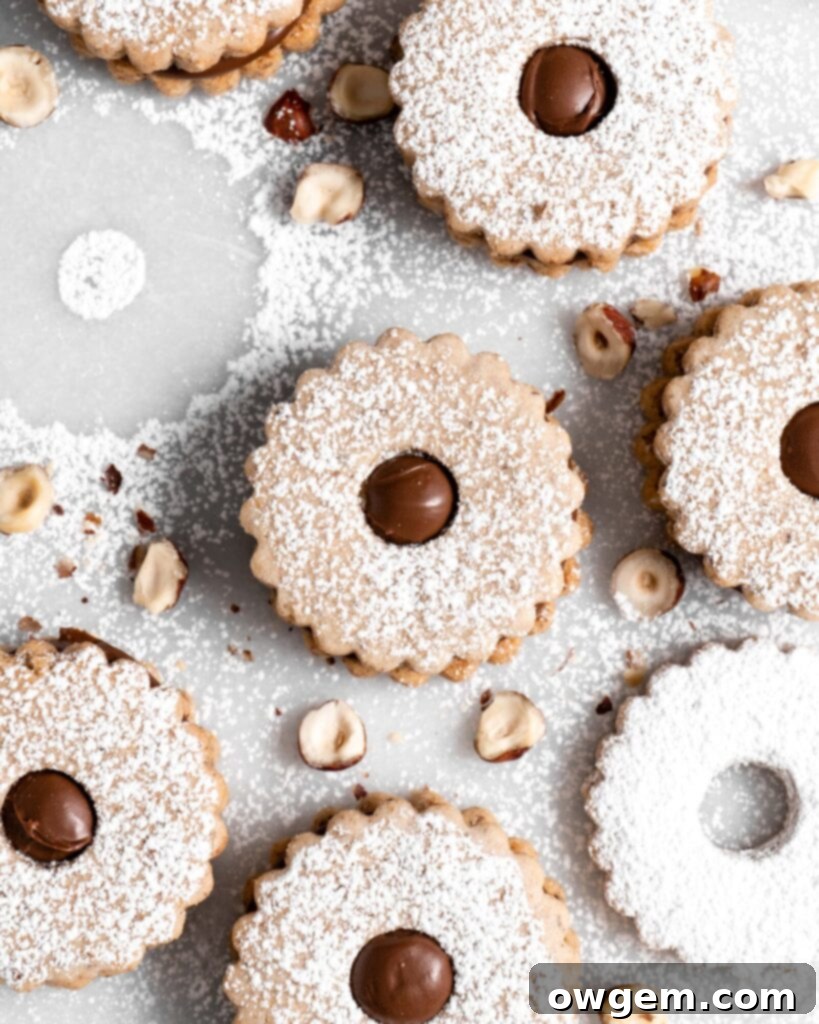
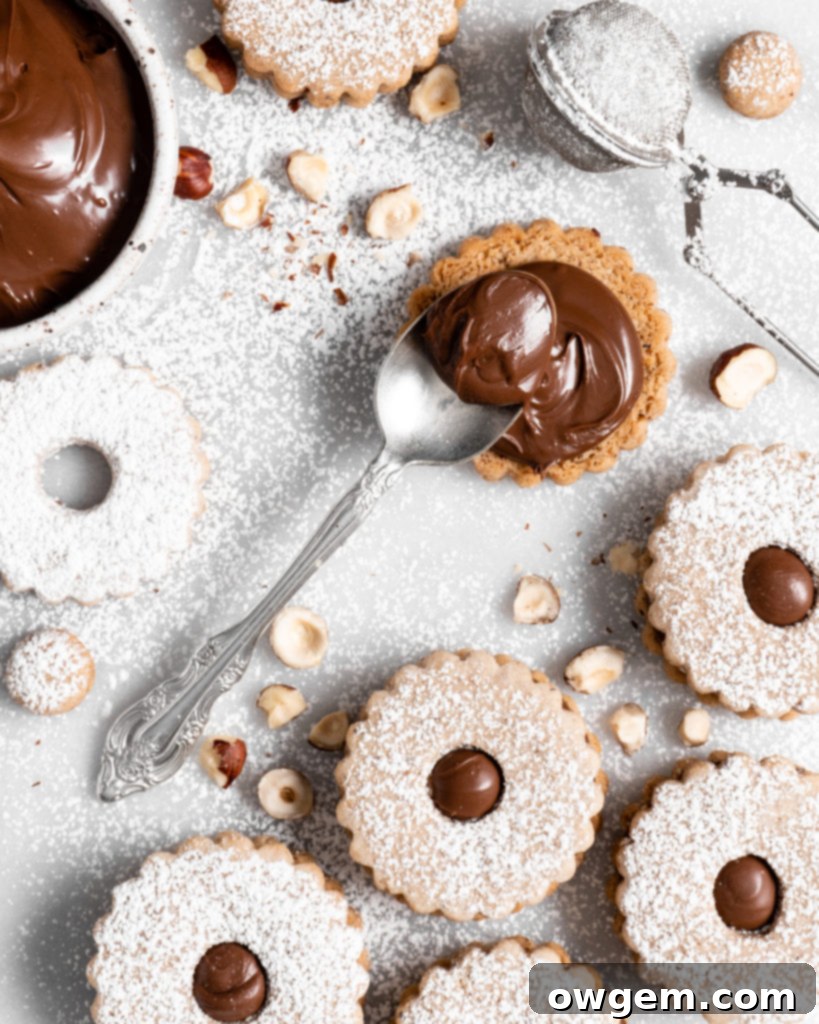
The distinctive center cut-out is what gives Linzer cookies their charming signature look, allowing the vibrant filling to peek through. For these Nutella Linzer Cookies, this window reveals the rich, dark chocolate hazelnut spread, making them even more enticing. The beauty of this step lies in its versatility; you can choose from a multitude of shapes and tools to achieve your desired aesthetic. Traditionally, small circles are common, and you can easily create these using the back end of a small piping tip, as I often do, or even a small, round bottle cap. However, don’t limit yourself! Mini cookie cutters in shapes like stars, hearts, diamonds, or even tiny flowers add a delightful touch and are perfect for various themes. Fondant punches also work wonderfully for intricate designs. Experiment with different shapes to personalize your cookies for different occasions – a heart for Valentine’s, a star for Christmas, or a simple circle for timeless elegance. And don’t forget the tiny dough cut-outs! These can be baked off separately as mini cookies, or even crumbled as a delicious topping for ice cream or yogurt.
The Essential Quick Freeze for Perfect Shapes
For many types of cookies, especially delicate rolled-out varieties like our Nutella Linzer Cookies, a crucial step before baking is a short stint in the freezer. This isn’t just an optional tip; it’s a technique that guarantees perfectly shaped cookies with beautifully crisp edges. Once you’ve cut out your raw cookie shapes and placed them on the baking sheets, transfer them to the freezer for a quick 15-minute chill. The science behind this step is simple yet effective: the cold temperature causes the butter in the dough to re-solidify. When the butter is firm, it melts more slowly in the oven, allowing the cookie structure to set before the butter fully spreads. Without this quick freeze, the butter in the slightly softened dough would melt too quickly, causing the cookies to spread out excessively and lose their intricate shapes and defined edges, often resulting in flat, less appealing “pancake” cookies. This brief chilling period ensures that your Linzer cookies maintain their elegant form, resulting in a professional-looking bake with consistent results every time.
Assembling and Filling Your Nutella Linzer Cookies
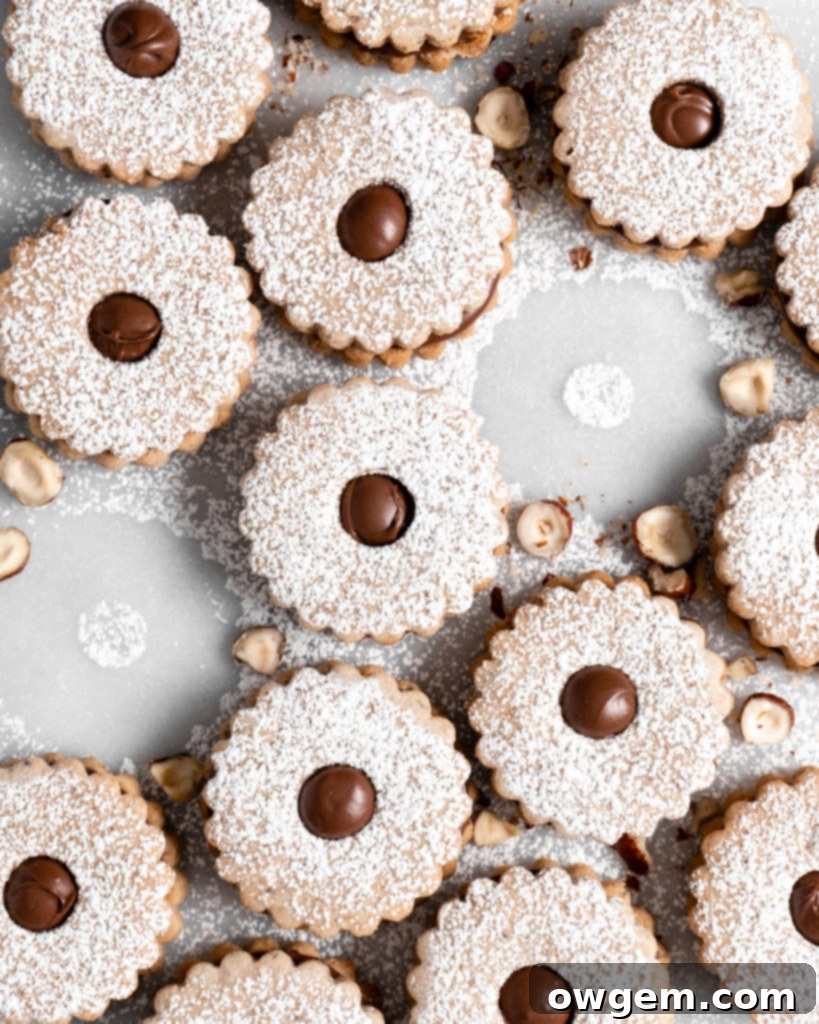
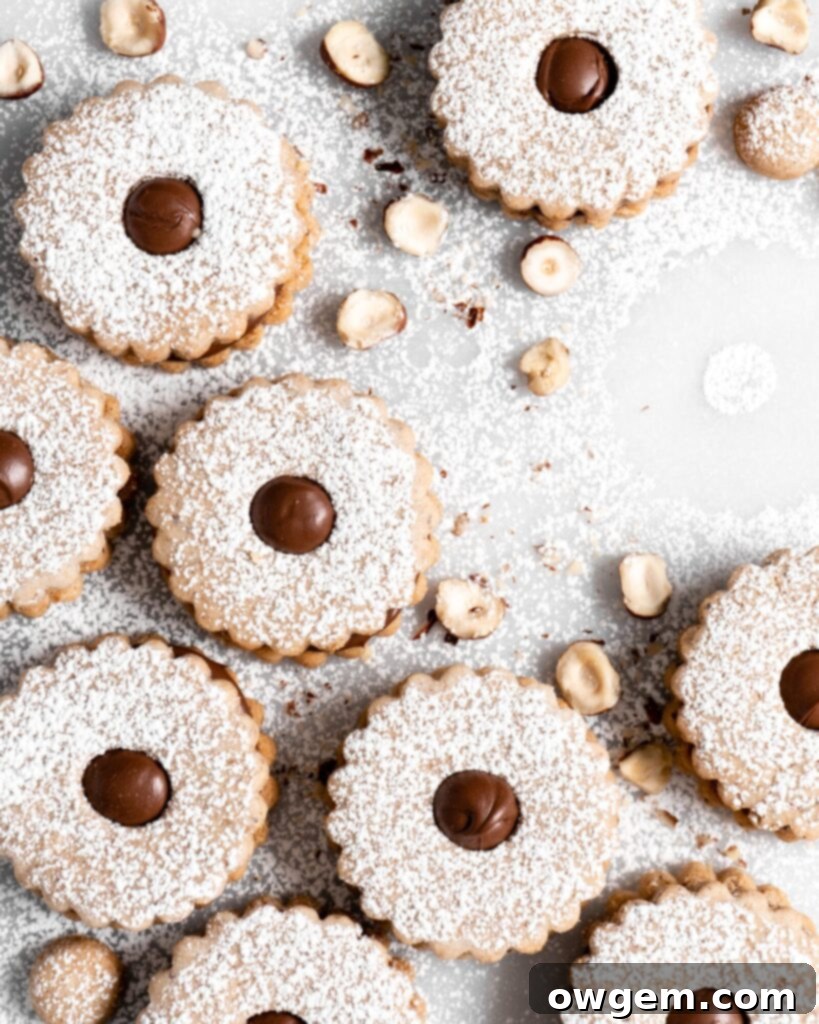
Once your Linzer cookies have emerged from the oven, beautifully golden and fragrant, and have completely cooled, it’s time for the most anticipated part: assembly and filling! This is where these cookies truly come to life. Begin by identifying the top halves – these are the cookies with the charming center cut-out. Give these tops a delicate dusting of confectioners’ sugar. This not only adds a touch of elegance and a subtle sweetness but also enhances their festive appeal, mimicking freshly fallen snow. For the bottom halves (the solid cookies), generously spread a spoonful of creamy Nutella, or your favorite high-quality hazelnut spread, across the flat surface. Be mindful not to overfill, but ensure a good, even layer for maximum flavor in every bite. Once both halves are prepared, carefully sandwich them together, aligning the top cookie with the bottom so the Nutella peeks invitingly through the cutout. The beauty of these cookies is that they can be enjoyed immediately for a delightful crisp texture, where the cookie provides a satisfying crunch against the soft filling. However, for a truly transcendent experience, allow them to sit for a few hours, or even better, overnight. During this time, the moisture from the Nutella will slightly soften the cookie, melding the flavors and creating a wonderfully tender cookie sandwich – a texture many, including myself, find utterly irresistible. These cookies are perfect served with coffee, tea, or a glass of milk, making any moment a little more special.
Tips for Nutella Linzer Cookie Success
Baking these exquisite Nutella Linzer Cookies is a rewarding experience, and a few key tips can ensure your success every time. Firstly, always use room temperature butter and egg yolk. This ensures a smooth, emulsified dough, preventing curdling and promoting even mixing, which is critical for a tender cookie. When adding the dry ingredients, mix just until combined. Overmixing develops gluten, which can lead to tough, chewy cookies instead of the delicate, melt-in-your-mouth texture we’re aiming for. Another crucial tip involves chilling your dough if it becomes too warm during rolling. If the dough starts to stick excessively or becomes too soft to handle, gather it, form it into a disk, and return it to the refrigerator for 10-15 minutes. A slightly chilled dough is much easier to work with. For those perfect cut-out shapes, consider investing in a good set of Linzer cookie cutters. While a piping tip works for circles, specialized cutters offer a variety of festive shapes. Finally, don’t rush the cooling process before filling. Warm cookies will cause the Nutella to melt, creating a messy and less appealing sandwich. Allow them to cool completely on a wire rack for the best results.
Storage and Variations
Once baked and assembled, Nutella Linzer Cookies can be stored in an airtight container at room temperature for up to 5-7 days. While they are delicious immediately, their flavors and textures truly meld beautifully after a few hours or overnight, as the Nutella slightly softens the cookie. If you’re planning ahead, the unbaked dough can be wrapped tightly in plastic wrap and refrigerated for up to 3 days, or frozen for up to 3 months. Thaw frozen dough in the refrigerator overnight before rolling and cutting.
Looking to experiment? These cookies are wonderfully adaptable! While Nutella is a star, you can certainly try other fillings. Classic Linzer cookies often feature raspberry, apricot, or red currant jams – choose a good quality, thick jam for best results. For a different twist on the hazelnut theme, consider a white chocolate hazelnut spread, or even a homemade caramel filling. You could also infuse the cookie dough with different spices; a pinch of cardamom or a touch of orange zest could add another layer of complexity. For a gluten-free option, you might experiment with a gluten-free all-purpose flour blend, though adjustments to liquid might be needed. The possibilities are endless, allowing you to customize these delightful cookies to your taste and occasion.

Get the Recipe:
Nutella Linzer Cookies
Pin
Rate
Ingredients
- 3/4 cup (72g or 2.5oz) Hazelnut Flour (or Hazelnut Meal)
- 160 g (5.6 oz) All-Purpose Flour, approximately 1 1/3 cup measured volumetrically
- 1/4 tsp Salt
- 3/4 cup Unsalted Butter, at room temperature
- 1/2 cup White Sugar (Granulated Sugar)
- 1 tsp Ground Cinnamon
- 1 Large Egg Yolk
- 1 tsp Vanilla Extract
- 1/4 cup Nutella (or other chocolate hazelnut spread)
- Confectioners’ Sugar, for dusting
Equipment
-
Stand mixer with paddle attachment
-
Baking sheets
-
Parchment paper
-
Rolling pin
-
2 ½” scalloped edge or flower-shaped cookie cutter
-
Mini cookie cutter or small piping tip for cut-outs
-
Thin metal spatula
Instructions
-
Preheat your oven to 350°F (175°C). Line two baking sheets with parchment paper. Spread the hazelnut flour evenly in a thin layer on one of the prepared baking sheets. Place it into the preheated oven to toast for approximately 15 minutes. Ensure you stir the flour every 5 minutes to promote uniform toasting and prevent burning. Once it’s golden in color and fragrant, remove the toasted hazelnut flour from the oven and allow it to cool completely for about 30 minutes.
-
In a medium mixing bowl, thoroughly whisk together the cooled toasted hazelnut flour, all-purpose flour, and salt. Set this dry mixture aside.
-
In a stand mixer equipped with the paddle attachment, cream together the softened unsalted butter, white sugar, and ground cinnamon. Beat on medium speed for about 3-5 minutes until the mixture is light, fluffy, and pale. Add the large egg yolk and vanilla extract, then continue to beat until well-combined, scraping down the sides of the bowl as needed. Gradually add the whisked flour mixture to the stand mixer. Beat on low speed just until combined and a crumbly, shaggy dough has formed. Be careful not to overmix.
-
Remove the dough from the stand mixer and gently form it into a disk shape with your hands. Place the dough disk onto a heavily floured surface (and remember to generously flour your rolling pin and cookie cutter as well). Roll the dough out to an even thickness of about ⅛-¼ inch. Using a 2 ½” scalloped edge cookie cutter (or your chosen flower shape), cut out your cookies. Carefully transfer the cut-out cookies onto the second prepared baking sheet. Using a thin metal spatula helps immensely to lift them without distorting their shape.
-
For half of the cut-out cookies, use a mini cookie cutter (or the back end of a small piping tip) to create a center cut-out. These will be your top cookie halves. Place both baking sheets, with all the cut-out cookies, into the freezer for a quick 15 minutes. After chilling, place the cookies into the preheated oven and bake for 10 minutes, or until the edges are lightly golden. Allow them to cool completely on the baking sheet before proceeding to the next step.
-
Once the cookies are thoroughly cooled, dust the top halves (the ones with the center cut-outs) generously with confectioners’ sugar. On the remaining solid cookie halves (the bottoms), spread about 1 teaspoon of Nutella. Carefully sandwich a sugared top cookie with a Nutella-covered bottom cookie. For the best flavor and texture, allow the assembled cookies to meld together for at least 1 hour, or ideally, overnight, allowing the Nutella to slightly soften the cookie for a more tender bite.
