Irresistible Marble Chocolate Banana Bread: A Swirled Masterpiece Recipe
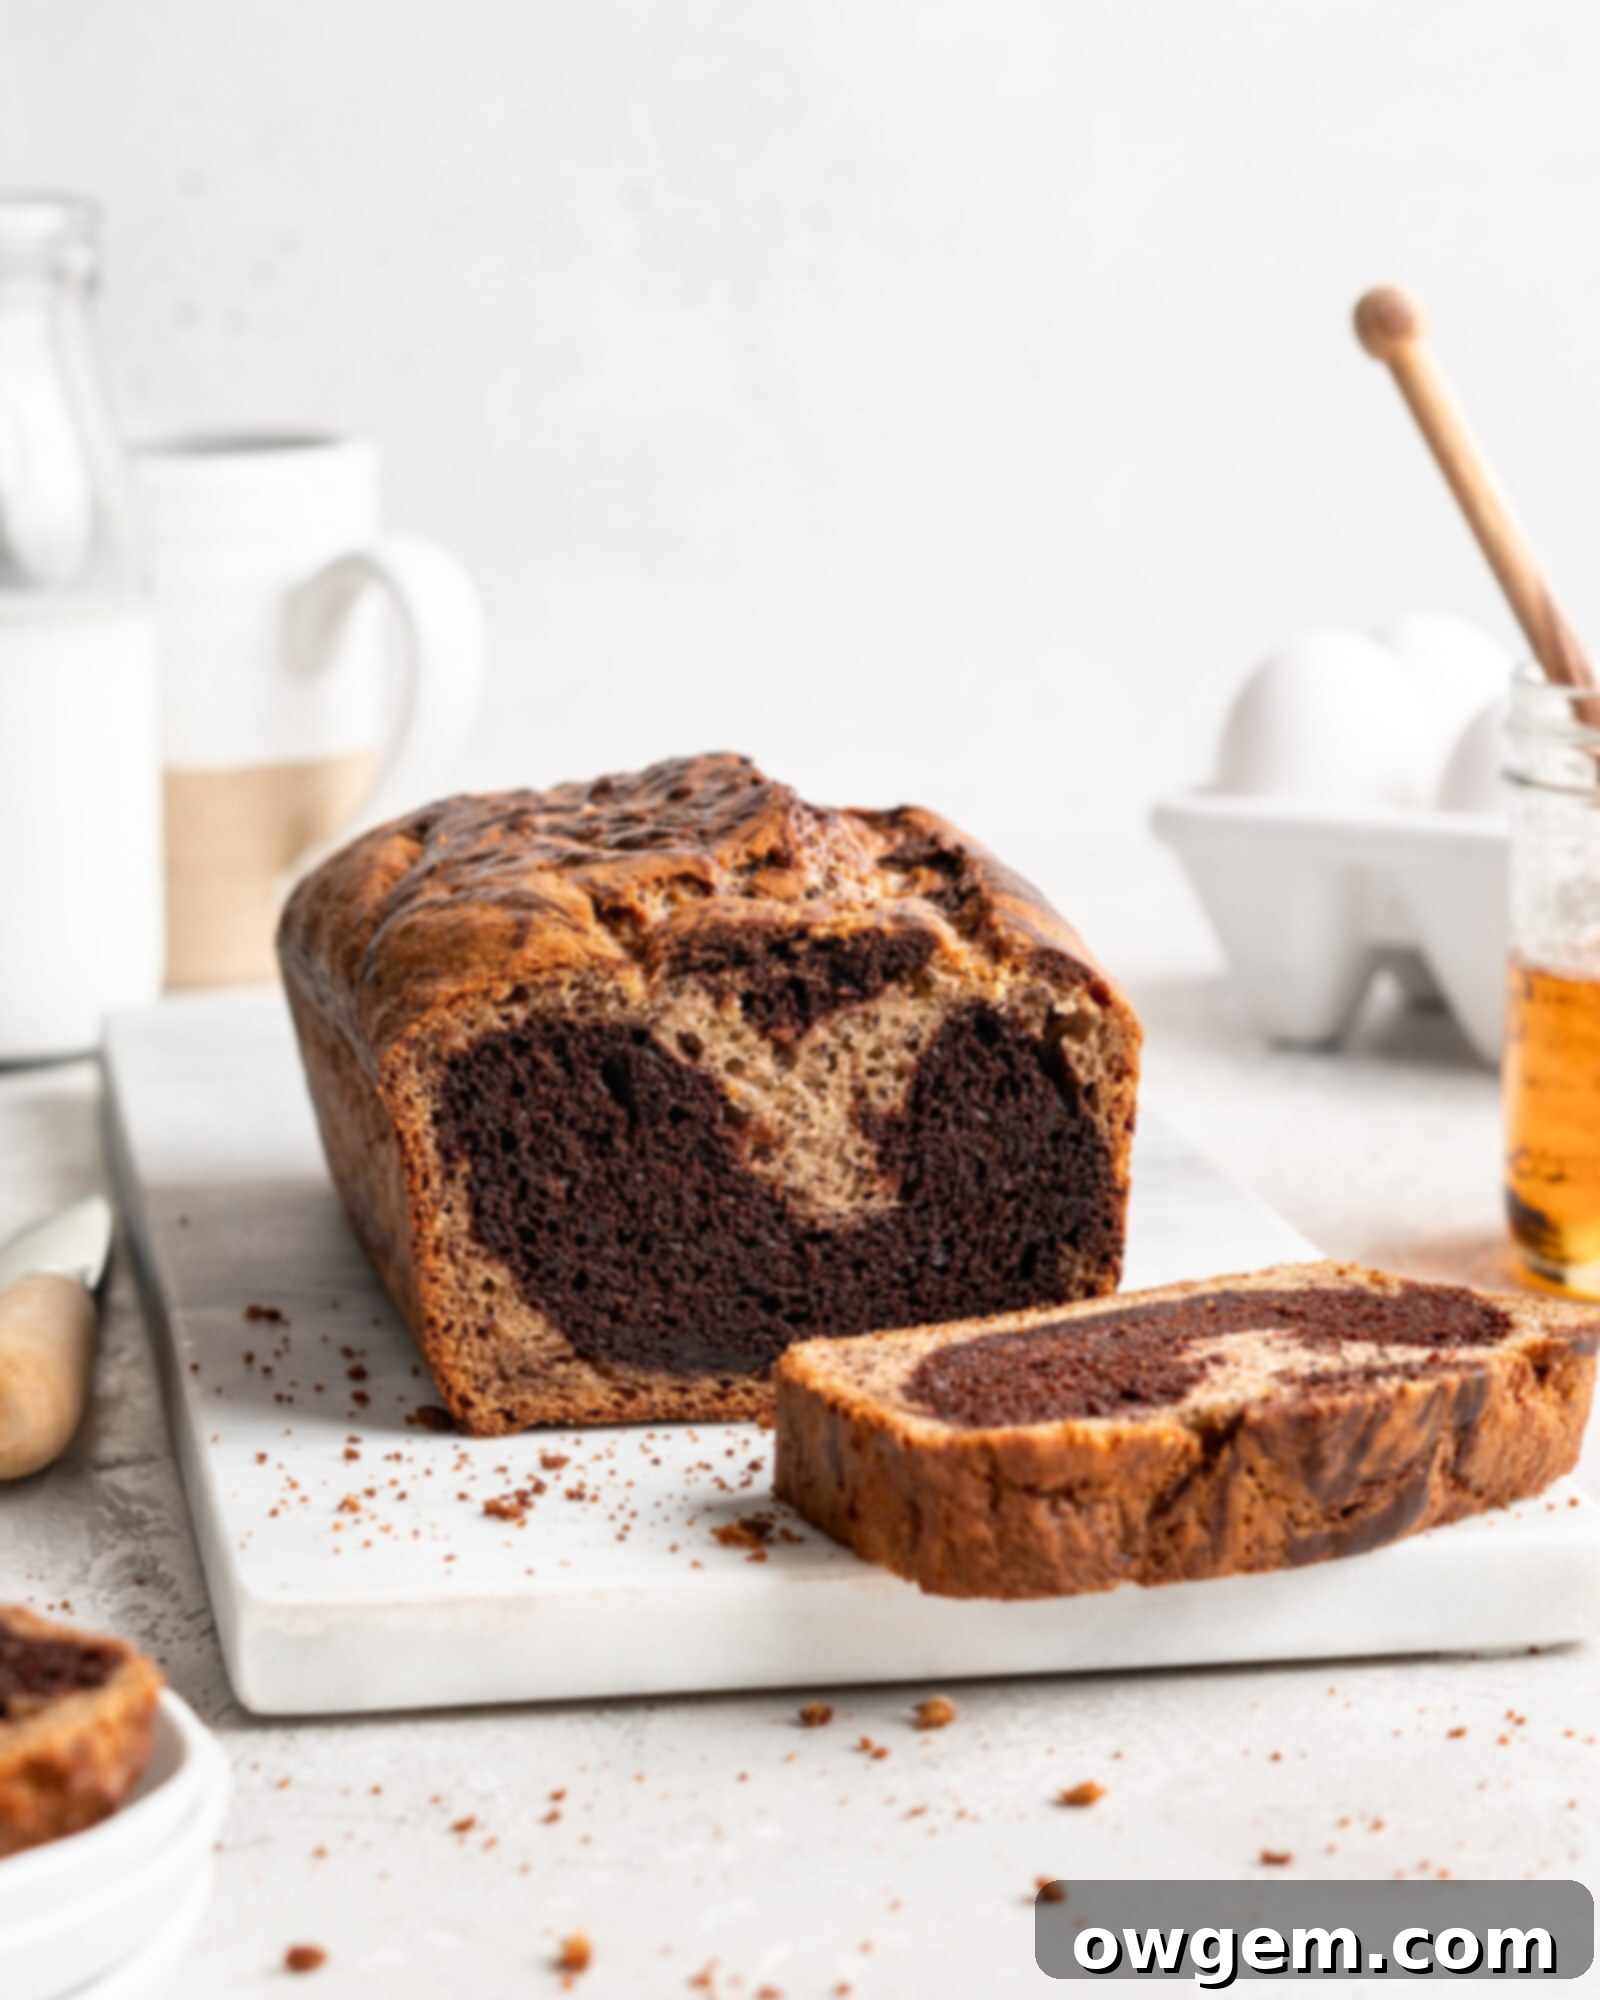
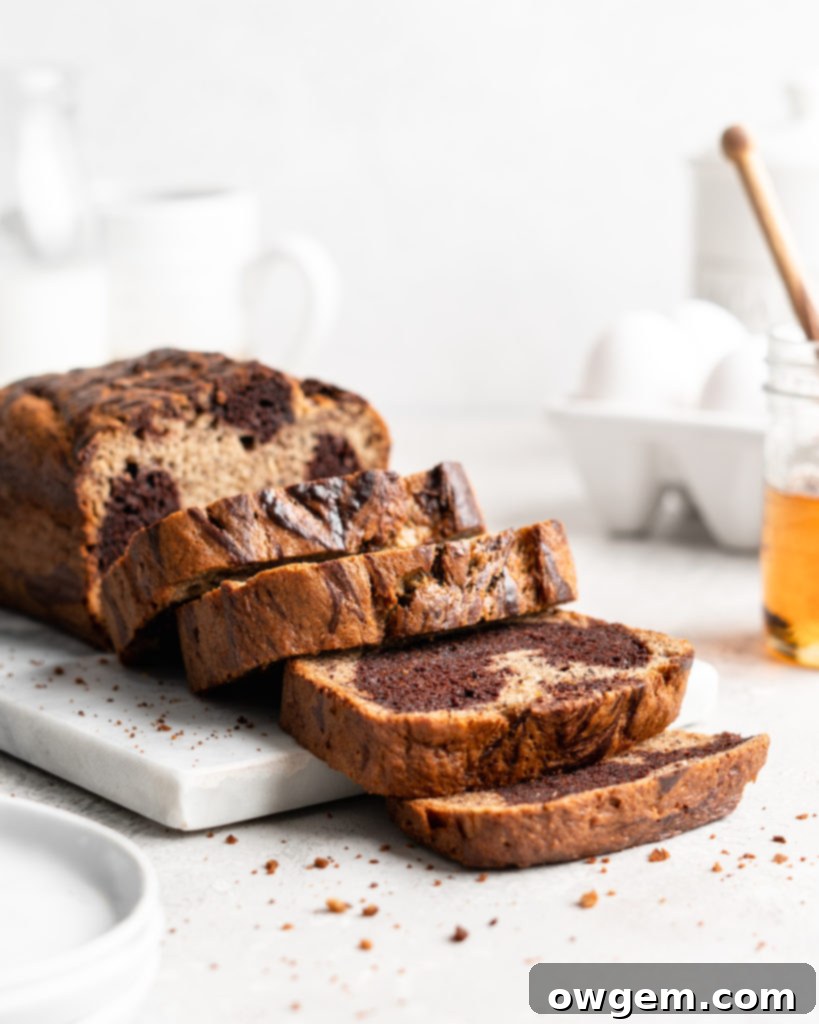
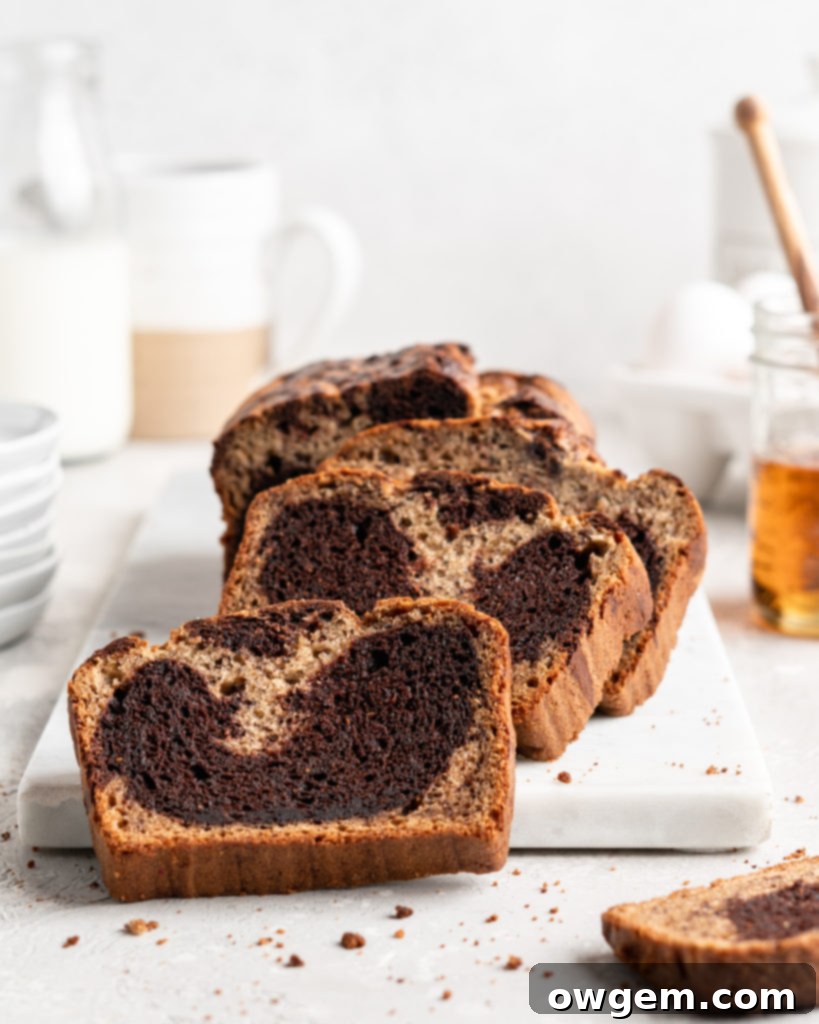
Prepare to fall in love with this extraordinary Marble Chocolate Banana Bread recipe! It’s a true showstopper, marrying the comforting familiarity of classic, moist banana bread with a rich, decadent chocolate swirl. The result is a loaf that’s not only a feast for the eyes with its beautiful marbling effect but also an absolute delight for your taste buds. Each slice offers a perfect balance of sweet banana and deep chocolate flavors, creating a symphony of taste and texture that’s insanely tender, rich, and wonderfully fluffy. This isn’t just another banana bread; it’s an elevated baking experience designed to impress and satisfy, making it perfect for breakfast, a special snack, or an elegant dessert.
Crafting the Perfect Marble Swirl: Your Guide to Beautiful Banana Bread
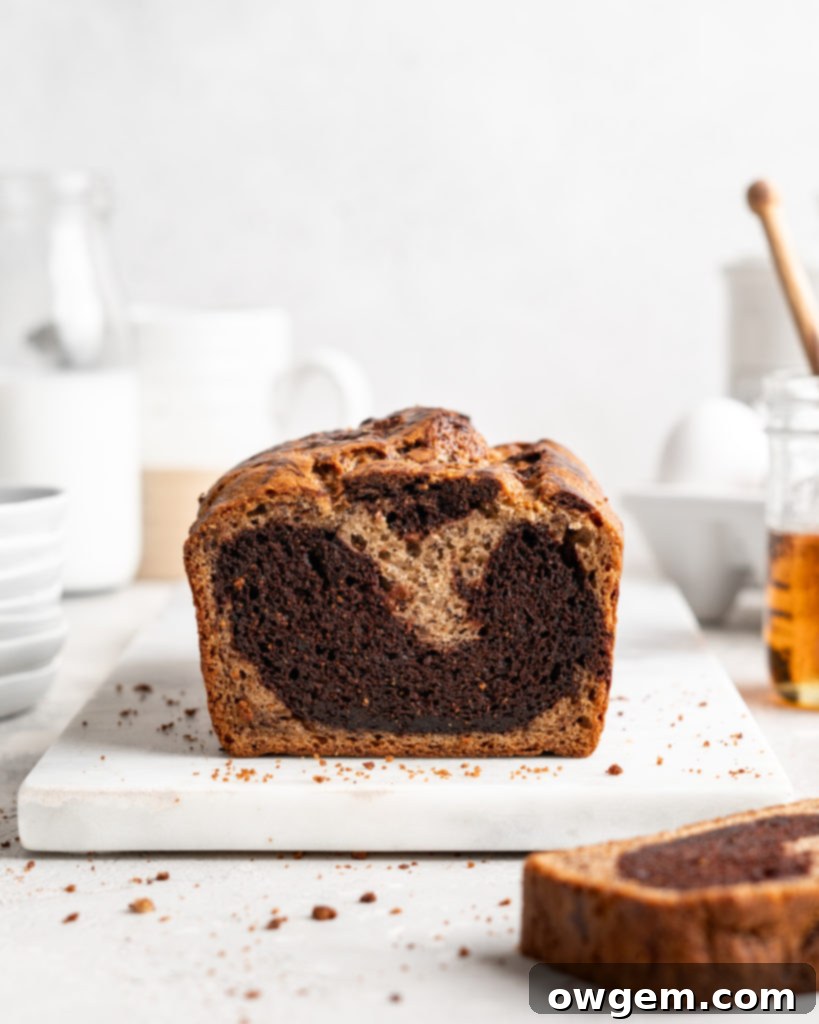
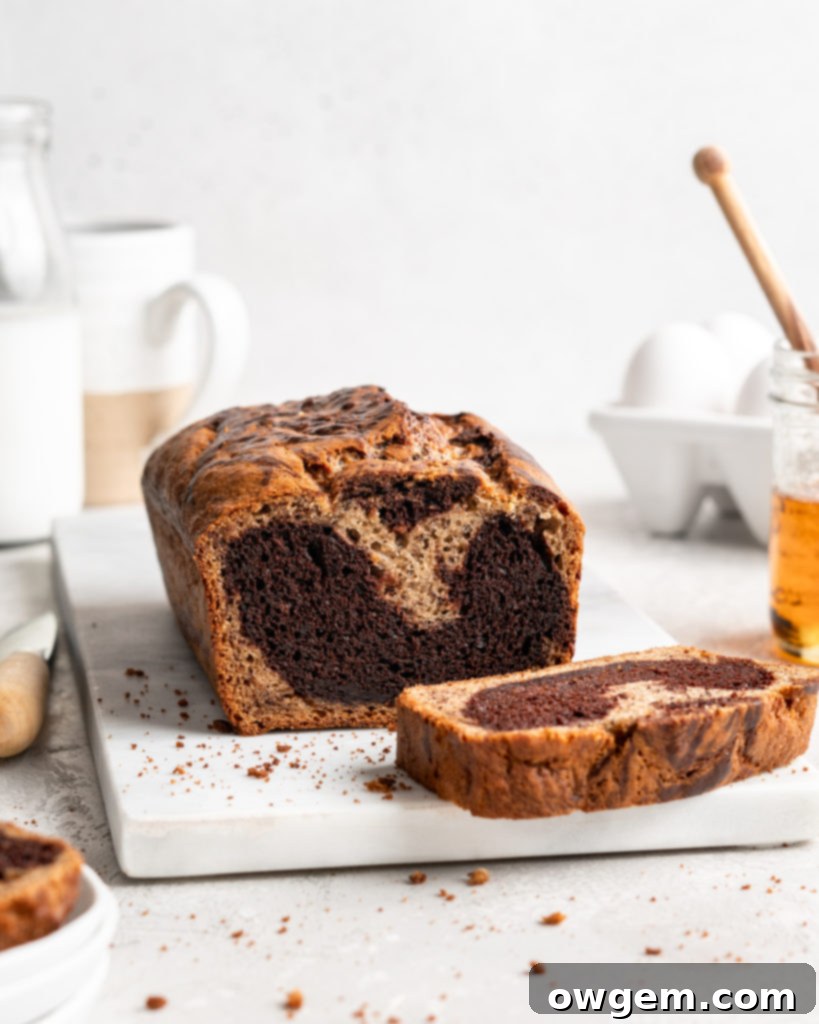
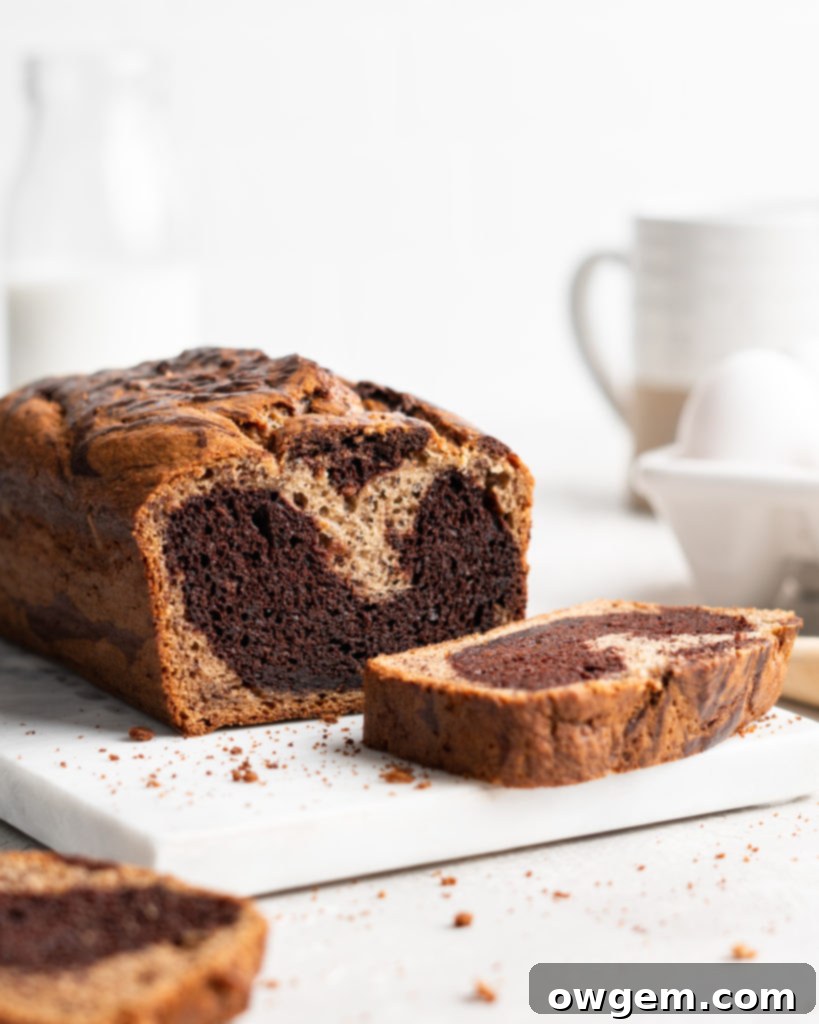
The mesmerizing marbling effect in this Marble Chocolate Banana Bread is surprisingly simple to achieve, yet it elevates the humble banana bread into a visually stunning creation. The secret lies in creating two distinct batters from one delicious base: a classic banana bread batter and a luscious chocolate-infused banana bread batter. Once these are ready, you’ll alternately scoop them into your prepared loaf pan, creating layers of contrasting colors. This methodical layering ensures that when you gently swirl the batters, you get those distinct, elegant veins of chocolate and banana running through your loaf, rather than a muddy blend. The beauty of this technique is that even if your swirls aren’t perfect, the end result will always be charming and unique. It’s a fantastic way to add a touch of gourmet flair to your home baking without needing advanced skills.
To get the best marble effect, remember not to overdo the swirling. A few gentle passes with a bamboo skewer or a knife are all it takes to create that beautiful pattern. Too much mixing will cause the colors to blend, losing the distinct marbled look. This visual appeal, combined with the incredible flavor, is what makes this Marble Chocolate Banana Bread an absolute must-try. It transforms a simple loaf into a work of edible art, perfect for sharing with friends and family or simply indulging yourself in a moment of delicious beauty.
Why This Marble Chocolate Banana Bread Will Become Your Go-To Recipe
There are countless reasons why this Marble Chocolate Banana Bread stands out as a truly exceptional baked good. Firstly, its unparalleled flavor profile is a harmonious blend of sweet, ripe banana and rich, indulgent chocolate. This combination is a classic for a reason, appealing to both banana bread purists and chocolate lovers alike. Beyond the taste, the texture of this bread is simply divine. It’s incredibly moist and tender, a result of using key ingredients like overripe bananas, sour cream, and a careful balance of wet and dry components. This ensures every bite melts in your mouth without being overly dense.
Visually, the marble swirl makes this banana bread much more exciting than its plain counterparts. It’s an artistic touch that makes it perfect for gifting, bringing to a potluck, or simply gracing your own breakfast table. Despite its elegant appearance, the recipe is straightforward and accessible for bakers of all skill levels, making it a rewarding project. It’s also incredibly versatile – you can easily adapt it with additional mix-ins like nuts or chocolate chips, further customizing it to your preferences. Whether you’re looking for a comforting treat on a rainy afternoon or a beautiful dessert to share, this Marble Chocolate Banana Bread delivers on all fronts, promising a truly satisfying baking and eating experience.
Top Tips for Baking the Best Banana Bread
Achieving a perfectly moist and flavorful banana bread, especially one as special as this marble chocolate version, comes down to a few key baking principles. First and foremost, resist the urge to overmix your batter. Once the wet and dry ingredients are combined, mix only until just incorporated. Overmixing develops the gluten in the flour too much, leading to a tough, dry loaf rather than the tender crumb we’re aiming for. Another crucial tip is to always measure your flour correctly. Using the “spoon and level” method (spooning flour into the measuring cup and leveling it off) prevents you from compacting too much flour into your cup, which can significantly alter the moisture content of your bread. For ultimate precision, weighing your flour is always recommended.
Beyond ingredients and mixing, oven temperature plays a vital role. Ensure your oven is preheated properly and consider using an oven thermometer to verify its accuracy, as many ovens can run hot or cold. This helps prevent uneven baking or burning. Lastly, patience is a virtue, especially when cooling. Allowing the banana bread to cool completely in the pan for a short while, then fully on a wire rack, is essential. This allows the internal structure to set, preventing the loaf from crumbling when sliced and ensuring the flavors fully develop. Following these simple tips will guarantee a consistently delicious and beautifully textured Marble Chocolate Banana Bread every time you bake.
Serving Your Swirled Delight & Creative Variations
This Marble Chocolate Banana Bread is incredibly versatile and can be enjoyed in a multitude of ways. For a comforting breakfast, a thick slice pairs perfectly with your morning coffee or tea. It also makes for an exquisite afternoon snack, offering a delightful pick-me-up. For a more decadent treat, serve it slightly warm with a dollop of whipped cream, a scoop of vanilla bean ice cream, or a drizzle of chocolate sauce, transforming it into an elegant dessert. Its beautiful appearance also makes it a wonderful addition to brunch spreads, holiday tables, or as a thoughtful homemade gift.
Feeling creative? This recipe is a fantastic base for playful variations. To enhance the chocolate experience, fold in a handful of semi-sweet chocolate chips into the chocolate batter before swirling. For a nutty crunch, chopped walnuts or pecans can be added to the plain banana batter, offering a delightful textural contrast. You could also experiment with a hint of espresso powder in the chocolate batter to deepen its flavor, or a touch of cinnamon or nutmeg in the plain batter for a warmer spice note. A cream cheese swirl could even be added for an extra layer of richness and tang. Don’t be afraid to experiment and personalize this recipe to make it truly your own! Whatever your preference, this Marble Chocolate Banana Bread is sure to be a crowd-pleaser.
Step-by-Step Guide to Making Marble Chocolate Banana Bread
-
Prepare Your Pan & Wet Ingredients: Begin by preheating your oven to 350°F (175°C) and preparing a 9×5-inch loaf pan, ensuring it’s well-greased and floured, or lined with parchment paper for easy release. In a large mixing bowl, combine the melted butter, vegetable oil, brown sugar, eggs, smoothly mashed overripe bananas, sour cream, and vanilla. Beat these ingredients until they are thoroughly smooth and beautifully integrated, creating the rich foundation for your bread.
-
Combine Dry Ingredients: In a separate, medium-sized bowl, whisk together 1 cup of all-purpose flour, baking soda, and salt. This step ensures that the leavening agents and seasoning are evenly distributed throughout the dry mixture. Once combined, gently add this dry mixture into the wet ingredients bowl. Mix just until combined; it’s crucial not to overmix at this stage, as it can lead to a tough texture in the final loaf.
-
Divide and Flavor Batters: Carefully divide the prepared banana bread batter evenly into two separate bowls. To the first bowl, add the sifted cocoa powder and mix gently until it’s fully incorporated and the batter achieves a consistent chocolate color and smooth texture. To the second bowl, add the remaining ¼ cup of all-purpose flour, mixing until just combined and smooth. This adjustment ensures both the chocolate and plain batters have a similar consistency, which is vital for achieving a clear, beautiful marble effect.
-
Create the Swirl: Now for the artistic part! Begin layering your batters into the prepared loaf pan. Start by adding a scoop of the chocolate batter, followed by a scoop of the plain banana batter, alternating them until all the batter has been used. Once both batters are in the pan, take a long bamboo skewer or a knife and gently swirl it through the batters about 2-3 times. The goal is to create beautiful swirls, not to fully combine the colors, so be mindful not to overmix.
-
Bake to Perfection: Carefully place your swirled loaf pan into the preheated oven. Bake for approximately 55 to 60 minutes. To test for doneness, insert a wooden skewer or toothpick into the center of the loaf; it should come out clean. If the top begins to brown too quickly, you can loosely tent it with aluminum foil. Once baked, remove the bread from the oven and let it cool in the pan for 10-15 minutes before carefully transferring it to a wire rack to cool completely. This cooling process is essential for the bread to set and prevents it from crumbling when sliced.
The Golden Rule: Why Overripe Bananas are Essential for Banana Bread
When it comes to baking any banana-based good, especially this delectable Marble Chocolate Banana Bread, the ripeness of your bananas is not just a preference; it’s a critical component for success. You want bananas that are beyond just ripe—they should be speckled with brown, or even better, verging on entirely black. This deep level of ripeness is crucial for two primary reasons: sweetness and texture.
Scientifically, as bananas ripen, the complex starch molecules within them break down and convert into simpler sugar molecules. This natural process leads to a significant increase in sweetness, infusing your banana bread with that rich, authentic banana flavor without needing excessive added sugar. Simultaneously, this enzymatic breakdown softens the banana’s fibrous structure, transforming it into a wonderfully mushy consistency. This mushy texture is vital for incorporating seamlessly into your batter, contributing to the incredible moistness and tender crumb that defines an outstanding banana bread. Using underripe bananas will result in a less flavorful, drier, and potentially tougher loaf with undesirable banana chunks.
If you find yourself with a craving for banana bread but only have unripe bananas, don’t despair entirely, but understand there’s no magic bullet for instant ripeness. The most effective method for accelerating ripening by a day or two is to place them in a brown paper bag. The bag traps the ethylene gas that bananas naturally release, which is the hormone responsible for ripening, while still allowing enough moisture to escape. Unfortunately, popular myths about quick-ripening methods like freezing or baking in the oven are largely ineffective for achieving the desired results. Freezing bananas halts the ripening process completely, while baking them until the peel turns black may give them a soft, mushy texture but will not convert the starches to sugars, leaving you with a loaf that lacks both sweetness and depth of flavor. For the best Marble Chocolate Banana Bread, patience truly is a virtue when waiting for those perfect, overripe bananas.
Achieving Silky Smoothness: The Art of Mashing Bananas
While the ripeness of your bananas is key, how you mash them also plays a significant role in the final texture of your Marble Chocolate Banana Bread. Personally, I advocate for mashing the bananas until they form a very smooth, almost paste-like consistency. This meticulous mashing ensures that the banana bread, particularly this marble version, will have a consistently smooth and uniform texture throughout. There’s nothing quite as satisfying as biting into a tender slice without encountering unexpected chunks of banana. A smooth mash guarantees that the banana flavor is perfectly integrated into every single bite, contributing to the overall luxurious and melt-in-your-mouth feel of the bread. You can achieve this with a fork, a potato masher, or even briefly in a stand mixer for ultimate smoothness, ensuring no unwanted lumps interrupt your perfect loaf.
Storing Your Marble Chocolate Banana Bread for Lasting Freshness
Once your incredible Marble Chocolate Banana Bread has cooled completely (which is crucial for its texture), proper storage will ensure it remains fresh and delicious for days. At room temperature, wrap the loaf tightly in plastic wrap or aluminum foil, or store it in an airtight container. It will stay fresh and moist for up to 3-4 days on your counter. If you live in a humid environment, or if you prefer to extend its shelf life, you can store it in the refrigerator for up to a week. Just be aware that refrigeration can sometimes alter the texture slightly, making it a little firmer.
For longer storage, this banana bread freezes beautifully! To freeze, ensure the loaf is completely cooled. You can freeze it whole, in halves, or sliced. Wrap individual slices or the entire loaf tightly in plastic wrap, then an additional layer of aluminum foil. Place the wrapped bread in a freezer-safe bag or container to prevent freezer burn. It will keep well in the freezer for up to 2-3 months. To enjoy from frozen, simply thaw at room temperature for a few hours, or warm individual slices briefly in the microwave or oven for a “just baked” taste and texture. This makes it perfect for meal prep or having a delicious treat ready whenever a craving strikes!
Frequently Asked Questions About Marble Chocolate Banana Bread
-
Q: Can I use fresh bananas that aren’t overripe?
A: While technically you *can* use less ripe bananas, it’s highly discouraged for optimal flavor and texture. Overripe bananas are sweeter and provide the necessary moisture and smooth texture for the best banana bread. Using unripe bananas will result in a less sweet, drier, and potentially chunky loaf. Patience is key for that perfect result!
-
Q: What kind of cocoa powder should I use for the chocolate swirl?
A: This recipe specifically calls for Dutch-processed cocoa powder. Dutch-processed cocoa has been treated to reduce its acidity, resulting in a darker color and a smoother, less bitter chocolate flavor. This pairs beautifully with the sweet banana. Regular unsweetened cocoa powder can be used in a pinch, but the flavor might be slightly sharper and the color less intense.
-
Q: Can I add nuts or chocolate chips to this recipe?
A: Absolutely! This recipe is wonderfully adaptable. For extra crunch, feel free to fold in about ½ cup of chopped walnuts or pecans into the plain banana batter. If you want more chocolate goodness, add ½ cup of mini chocolate chips to either the chocolate batter or the plain batter (or both!). Just be mindful not to overmix the batter once these additions are in.
-
Q: How do I know when my Marble Chocolate Banana Bread is perfectly baked?
A: The most reliable way is the toothpick test. Insert a wooden skewer or toothpick into the very center of the loaf. If it comes out clean or with only a few moist crumbs attached, your bread is done. If it’s wet with raw batter, continue baking for a few more minutes and test again. Also, the top should be golden brown and the edges should start to pull away slightly from the sides of the pan.
-
Q: My marble swirl didn’t look as defined as the pictures. What went wrong?
A: The most common reason for a less defined swirl is over-swirling the batter. It only takes a few gentle passes with a skewer to create the pattern. If you mix too much, the chocolate and plain batters will blend together, losing their distinct contrast. Ensure your batters are also of similar consistency before swirling, as specified in the instructions (adding extra flour to the plain batter).
Get the Recipe:
Divine Marble Chocolate Banana Bread
Pin
Rate
Ingredients
- 1/4 cup Unsalted Butter,, melted
- 1/4 cup Vegetable Oil,, such as walnut oil or canola
- 1 cup Light Brown Sugar
- 2 Large Eggs
- 3 Overripe Bananas,, mashed smooth
- 1/2 cup Full-Fat Sour Cream
- 1 tsp Pure Vanilla Extract
- 1 ¼ cups (150g) All-Purpose Flour,, divided, measured correctly †
- 1 tsp Baking Soda
- 1/2 tsp Fine Sea Salt
- 1/4 cup Dutch-Processed Cocoa Powder,, sifted for best results
Instructions
-
Prepare Your Pan & Wet Ingredients: Preheat your oven to 350°F (175°C). Lightly grease and flour a 9×5-inch loaf pan, or line it with parchment paper, leaving an overhang on the longer sides for easy removal. In a large mixing bowl, combine the melted unsalted butter, vegetable oil, light brown sugar, eggs, smoothly mashed overripe bananas, full-fat sour cream, and pure vanilla extract. Beat these ‘wet’ ingredients together with a hand mixer until the mixture is thoroughly smooth and well-incorporated.
-
Whisk Dry Ingredients: In a separate, medium-sized bowl, whisk together 1 cup (120g) of the all-purpose flour, baking soda, and fine sea salt until evenly combined. This ensures leavening agents are distributed. Gently add this dry mixture into the bowl with the wet ingredients. Beat on low speed until *just* combined, being careful not to overmix, as overmixing can lead to a tough banana bread texture.
-
Divide and Flavor Batters: Carefully divide the banana bread batter evenly into two separate bowls. To the first bowl, add the sifted Dutch-processed cocoa powder. Mix gently until the cocoa is just incorporated and the batter is uniformly chocolate-colored and smooth. To the second bowl (the plain banana batter), add the remaining ¼ cup of all-purpose flour. Mix this gently until the flour is just combined and the batter is smooth. This ensures both batters have a similar consistency for optimal marbling.
-
Assemble the Marble Effect: Begin creating the beautiful marble pattern by alternating spoonfuls of each batter into your prepared loaf pan. Start with a scoop of chocolate batter, then a scoop of plain batter, placing them side-by-side or on top of each other. Continue this process until both bowls of batter are empty and distributed throughout the pan. Once all the batter is in the pan, take a long bamboo skewer, a knife, or a butter knife and gently swirl it through the batters 2-3 times. Be careful not to over-swirl, as this can cause the colors to blend too much, losing the distinct marble effect.
-
Bake to Golden Perfection: Place the loaf pan into your preheated oven. Bake for approximately 55 to 60 minutes, or until a wooden skewer or toothpick inserted into the center of the loaf comes out clean. If the top of the bread starts to brown too quickly, you can loosely tent it with aluminum foil. Once baked, remove from the oven and allow it to cool in the pan for about 10-15 minutes before transferring it to a wire rack to cool completely. Slicing too early can cause the bread to crumble.
