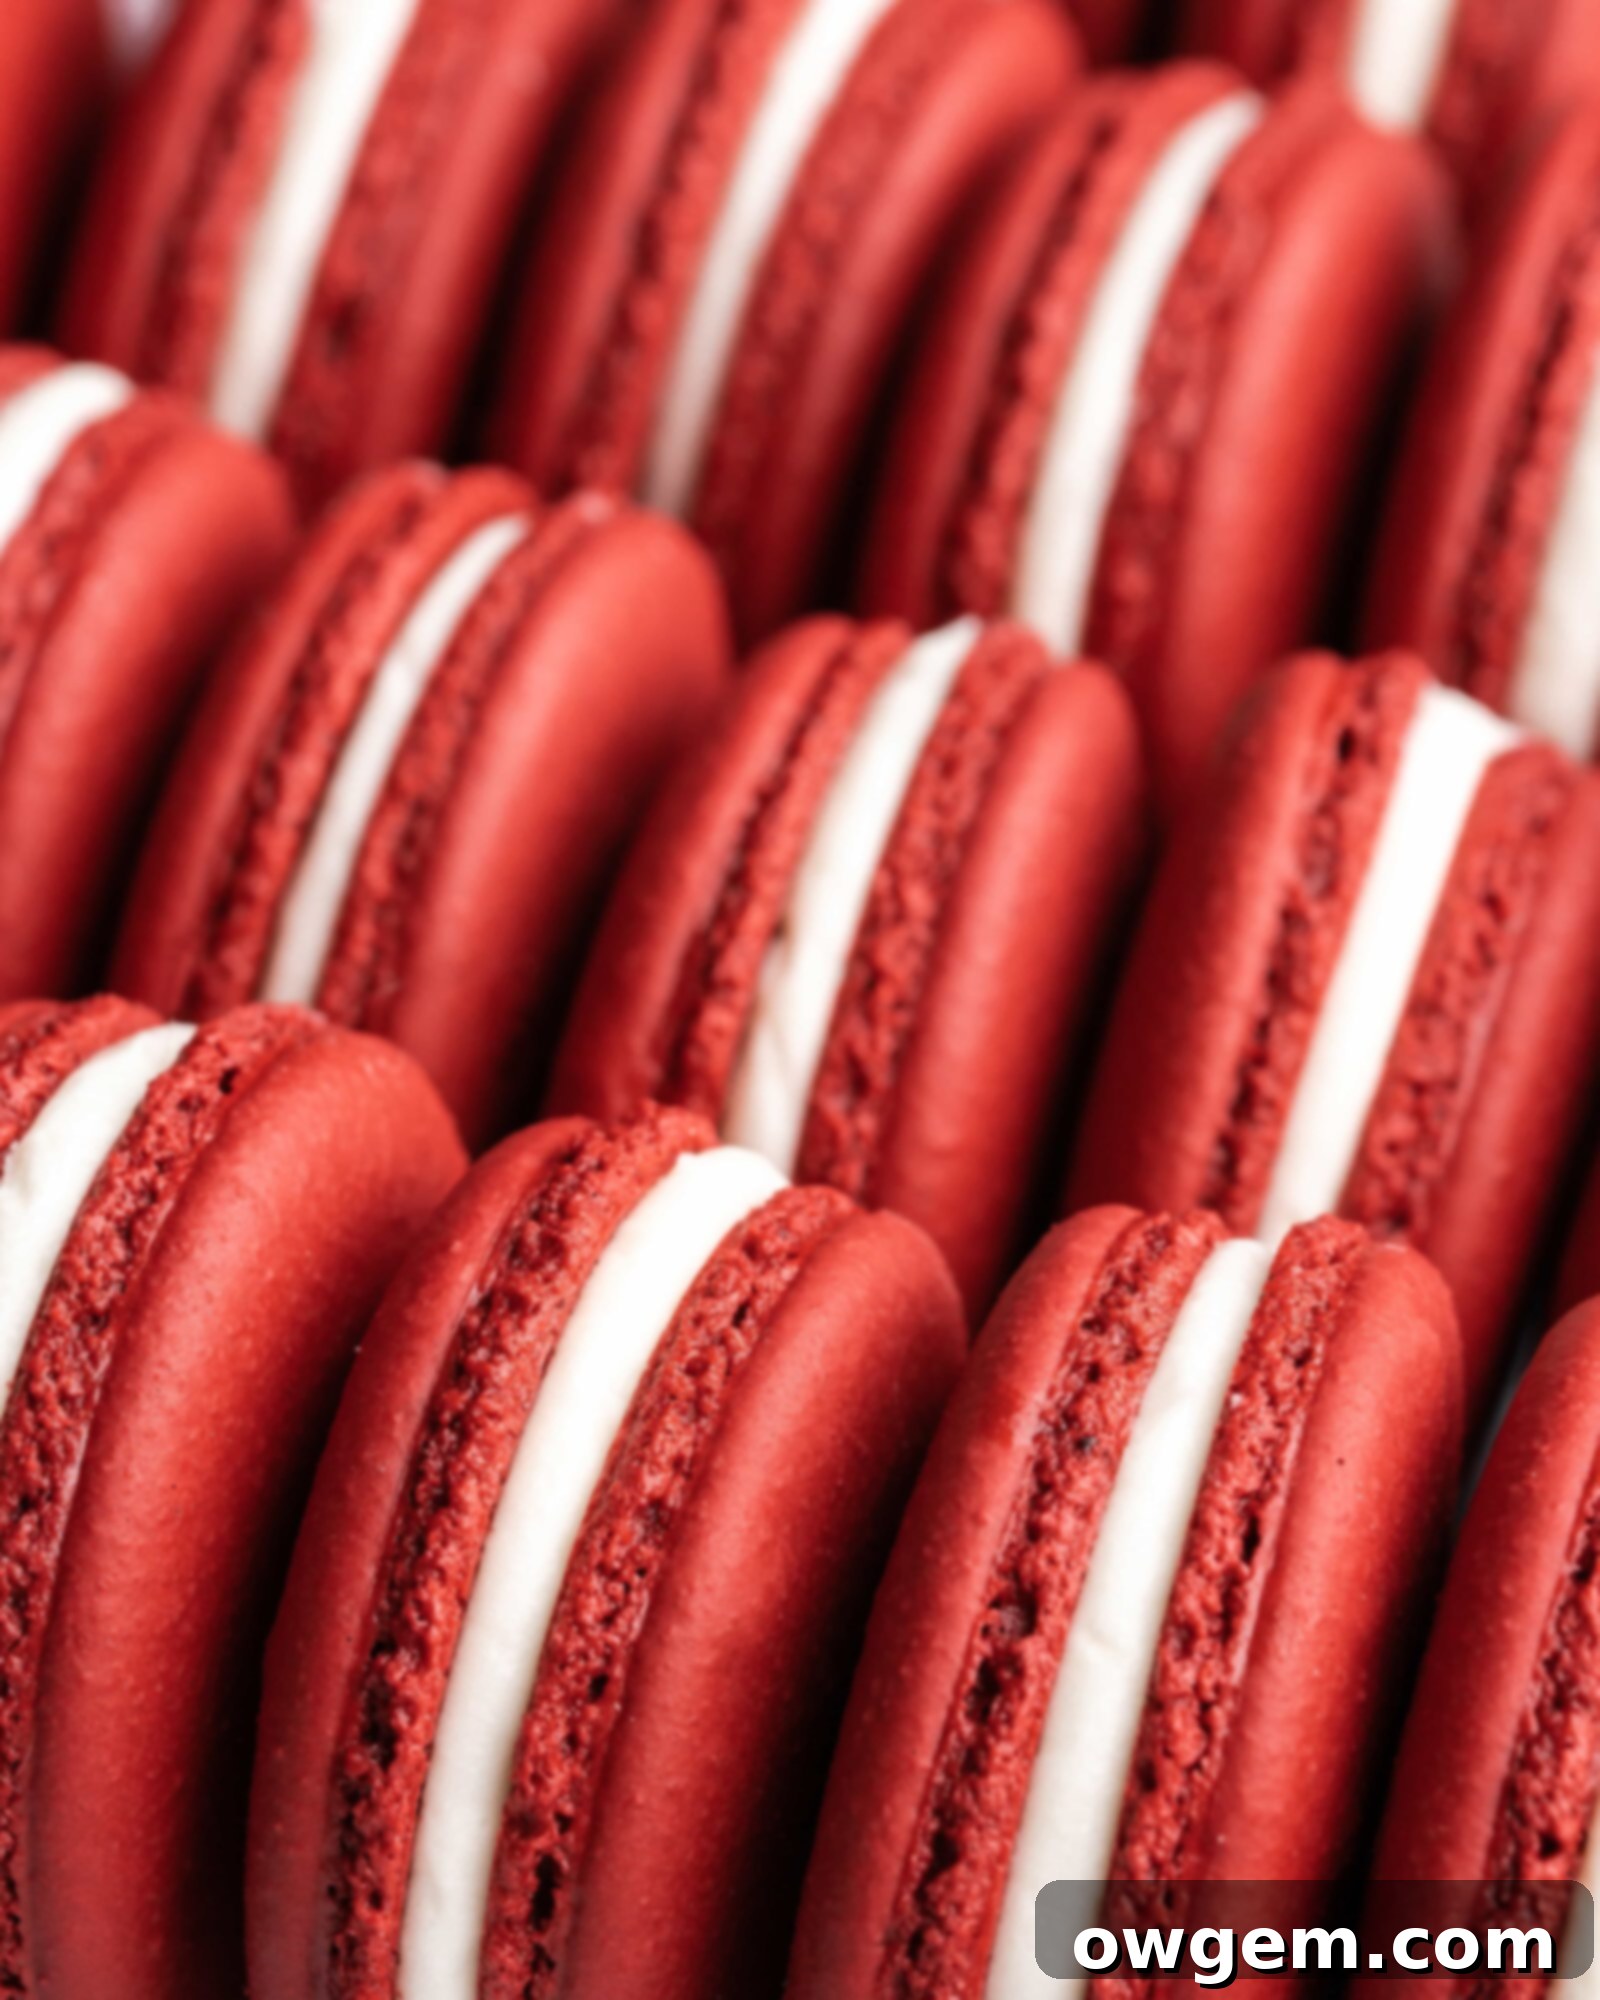
Irresistible Red Velvet Macarons: The Ultimate Valentine’s Day Treat with Tangy Cream Cheese Frosting
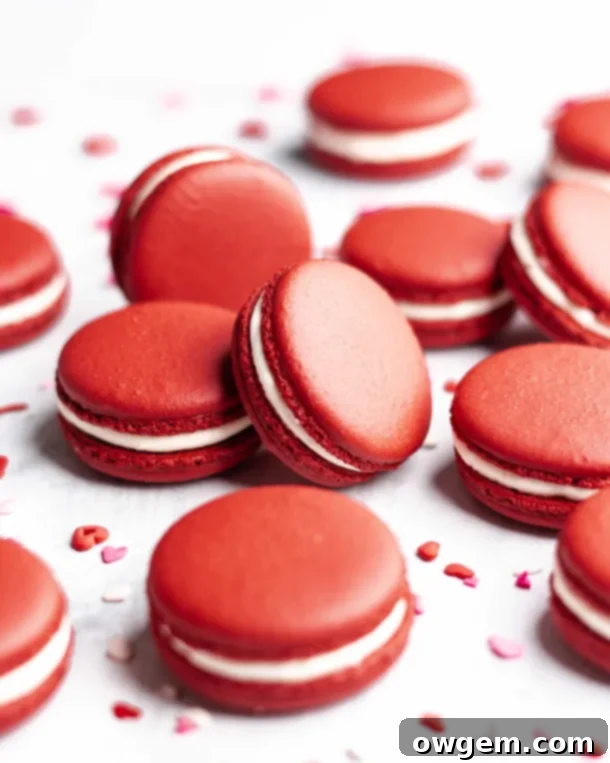
Prepare to fall in love with these vibrantly bright red velvet macarons, each one generously filled with a luscious, tangy cream cheese frosting. These exquisite French confections are more than just a dessert; they are a celebration of flavor and artistry, perfectly suited for Valentine’s Day festivities, romantic gestures, or any occasion that calls for a touch of elegance and indulgence. Don’t let their delicate size fool you; these red velvet macarons are packed with an incredible depth of flavor that beautifully balances the subtle cocoa notes of the shell with the rich, creamy texture of their signature filling.
The striking visual contrast between the boldly colored crimson shells and the bright white cream cheese filling makes them an absolute showstopper. Every bite offers a delightful crunch followed by a chewy center, culminating in the melt-in-your-mouth sensation of perfectly crafted homemade macarons. Whether you’re an experienced baker or new to the delicate art of macaron making, this guide will help you create flawless red velvet macarons from scratch. For those just embarking on their macaron journey, be sure to explore our comprehensive how-to guide for making macarons, which covers all the foundational techniques you’ll need to master this beloved pastry.
Note: This post contains affiliate links, which means we may earn a small commission if you make a purchase through them, at no extra cost to you.
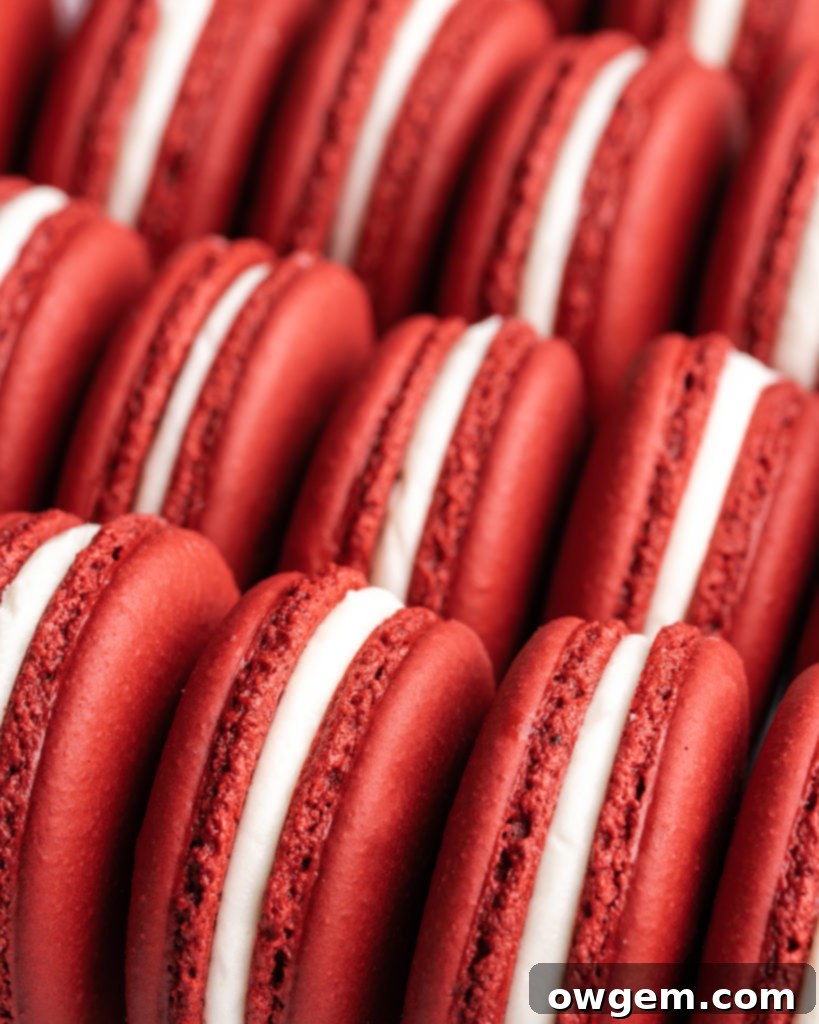
Why Red Velvet Macarons are the Perfect Sweet Indulgence
Is there a more fitting time of year than now to embrace the playful elegance of red velvet treats? As Valentine’s Day approaches and its spirit lingers in the air, red velvet reigns supreme. It’s that special season when the vibrant crimson hue, often achieved with a generous splash of food coloring, feels not just acceptable but absolutely essential. These red velvet macarons epitomize perfection. Their boldly bright color is matched only by their exquisitely balanced sweetness, complemented by a subtle whisper of cocoa that rounds out their sophisticated flavor profile.
Imagine presenting these delicate beauties to a cherished loved one, serving them as the star dessert at a festive gathering, or even distributing them as elegant favors at a special event. Their unique charm and unforgettable taste make them an ideal choice for creating lasting impressions. Beyond their undeniable aesthetic appeal, the textural interplay between the crisp outer shell and the soft, chewy interior makes each red velvet macaron a truly delightful experience. They aren’t just desserts; they are miniature works of edible art, bringing joy and a touch of luxury to any moment.
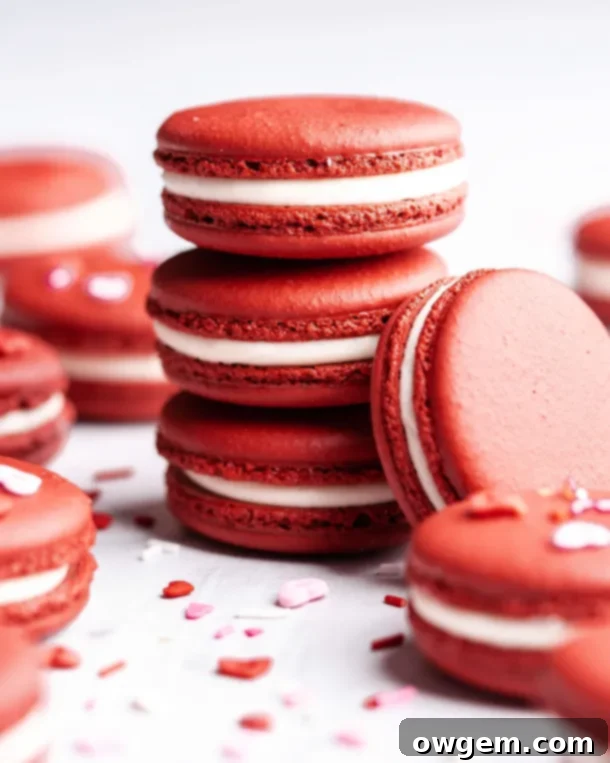
The Divine Cream Cheese Frosting Filling
Just like its cake counterpart, a red velvet dessert wouldn’t be complete without a superb cream cheese buttercream filling. For these macarons, I meticulously crafted a filling designed to be intensely creamy with a prominent cream cheese flavor that truly stands out. Macarons, by their very nature, are already quite sweet. To achieve this desired balance and allow the tangy notes of the cream cheese to shine through, I intentionally reduced the amount of confectioners’ sugar in the recipe.
The result is an ultra-creamy buttercream that is rich and luxurious without being overly saccharine. This careful adjustment ensures that the distinct, slightly tart flavor of the cream cheese takes center stage, complementing the subtle cocoa and sweetness of the red velvet shells beautifully. Furthermore, the brilliant white color of this exquisite filling provides the absolute perfect visual contrast to the bold, bright red hue of the macaron shells. It truly is a match made in heaven, both in taste and appearance, elevating these Valentine’s Day macarons to a new level of deliciousness. The smooth texture of the filling also plays a crucial role, melting delicately in your mouth alongside the chewy macaron shell for an unforgettable sensory experience.
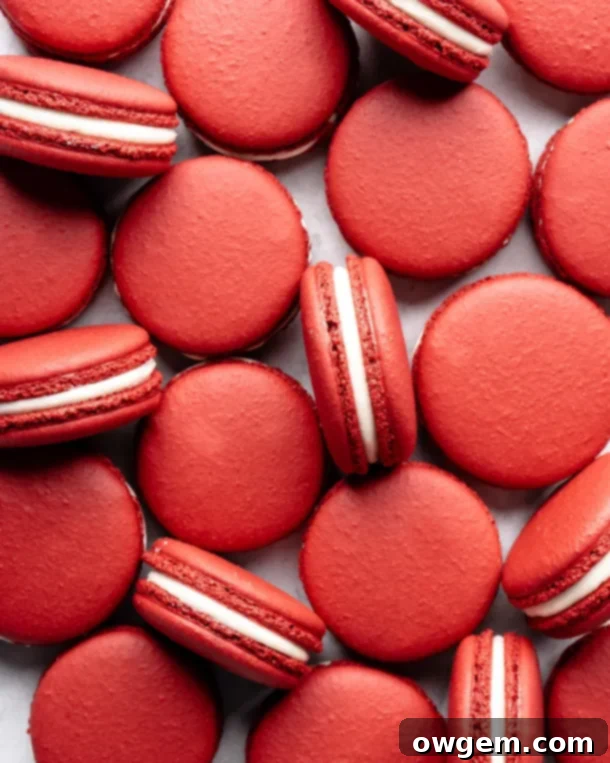
The Secret to Rich Color and Flavor: Dutch Process Cocoa
For this red velvet macaron recipe, I specifically call for Dutch process cocoa, and there’s a good reason why. In my experience, Dutch-press cocoa is far superior to regular, natural cocoa powder, both in terms of its rich flavor and its deep, desirable color. Dutch process cocoa is created by treating cocoa powder with an alkalizing agent, which reduces its acidity. This process leads to a significantly darker, richer color—a crucial element for achieving that classic red velvet aesthetic without relying solely on food coloring.
Beyond color, the alkalization process also results in a flavor that is less astringent and smoother than natural cocoa. This less acidic profile allows the true chocolate flavor to come through more prominently, making your macarons taste more chocolatey and less bitter. While regular cocoa powder *can* be used as a substitute in a pinch, I strongly recommend trying Dutch process cocoa for its superior contribution to both the visual appeal and the deep, nuanced taste of these red velvet treats. It truly makes a noticeable difference in the final product. You can find a link to my favorite brand of Dutch-press cocoa powder here. Investing in quality ingredients like this is key to achieving bakery-level results at home.
New to Macaron Baking? You Can Master It!
The idea of making macarons from scratch can seem daunting, especially for beginners. The rumors of their difficulty are often exaggerated, but it’s true that they require precision and a good understanding of the process. If you’ve never ventured into the world of macaron making before, or if past attempts haven’t yielded the perfect results you dreamed of, do not despair! Mastering red velvet macarons, or any macaron flavor, is absolutely achievable with the right guidance.
That’s why I’ve created a comprehensive, in-depth guide dedicated to transforming you into a confident macaron baker. My how to make macarons guide is a treasure trove of expert tips and tricks, breaking down the entire process into easy-to-follow, step-by-step instructions. From achieving the ideal meringue consistency to perfecting the macaronage technique and understanding how to bake those signature “feet,” this guide covers everything you need to know for consistently perfect macarons. It addresses common pitfalls and provides solutions, ensuring your journey to baking beautiful French macarons is as smooth as possible.
Don’t let perceived difficulty stand between you and these delicious red velvet treats. With patience and our detailed instructions, you’ll be piping and baking like a pro in no time. If you have any specific questions or concerns after reading through the guide or while working on this recipe, please feel free to comment below. I’m always happy to help you achieve macaron success! The link to the essential guide is right here.

Get the Recipe:
Red Velvet Macarons with Cream Cheese Frosting
Pin
Rate
Ingredients
Red Velvet Macarons
- 200 g Almond Flour
- 200 g Confectioners Sugar
- 20 g Dutch Process Cocoa
- 150 g Egg Whites,, divided
- 190 g Granulated Sugar
- 60 mL Water
- Red Gel Food Coloring
Cream Cheese Frosting Filling
- 1/2 cup Unsalted Butter,, softened to room temperature
- 1/2 cup Cream Cheese,, softened to room temperature
- 2 cups Confectioners Sugar
- 1 tsp Vanilla Extract
Instructions
Prepare Dry Ingredients
-
Combine almond flour, confectioners sugar, and Dutch process cocoa in a food processor. Pulse about 20 times to achieve a fine consistency. Sift this mixture into a large bowl, ensuring to discard any larger, un-processed pieces (do not force them through the sifter). Next, add 75g of egg whites to the bowl and mix thoroughly to form a cohesive paste. Feel free to mix vigorously at this stage. Once well combined, cover the bowl and set it aside.
Crafting the Italian Meringue
-
Pour the remaining 75g of egg whites into the bowl of a stand mixer, and set it aside for now. In a small saucepan, combine the granulated sugar and water, then heat over medium-high heat. Once the sugar mixture reaches 110°C (230°F), start beating the egg whites in the stand mixer on high speed until they reach soft peaks.
-
When the sugar syrup reaches 118°C (244°F) and the egg whites have formed stiff (but not dry) peaks, carefully and slowly drizzle the hot sugar syrup into the beating egg whites. Ensure the stream is thin and flows down the side of the bowl to avoid hitting the whisk. Continue beating the meringue until it cools down and reaches the “bird’s beak” stage – a glossy, firm meringue that holds its shape. If desired, add your red gel food coloring at this point and quickly mix it into the meringue without overmixing to achieve your desired vibrant red hue.
Macaronage: Folding the Batter
-
Add a large dollop of the prepared meringue (approximately one-third) into the almond flour paste mixture. Vigorously work this meringue portion into the paste to loosen it up and make it more pliable. Don’t worry about deflating the air at this point; this initial mixing helps achieve the correct consistency.
-
Gently add the remaining meringue into the bowl. Carefully fold it into the paste mixture using a spatula, employing the “macaronage” technique. Be gentle and careful not to overmix or over-deflate the meringue. The macaron batter is ready to be piped when it flows off your spatula in a continuous “ribbon” (often described as resembling molten lava). If it falls off in large V-shaped chunks, continue folding a bit further until the ribbon stage is reached, but stop as soon as it does.
Piping and Drying the Macaron Shells
-
Transfer the macaron batter into a piping bag fitted with a medium to large round tip. Pipe small, uniform circles of batter onto a baking sheet lined with a silicone baking mat or parchment paper. Hold the piping bag straight up, perpendicular to the baking sheet, for even circles. Using a macaron stencil or a pre-marked mat can greatly simplify this process and help ensure consistent sizes, aiming for macarons approximately 1½” in diameter.
-
Firmly tap the baking sheet against your counter several times. This action helps to release any trapped air bubbles from the macaron batter. If any stubborn air bubbles still remain visible on the surface, gently poke them with a toothpick.
-
Preheat your oven to 300°F (150°C), or 275°F (135°C) if using a convection mode.
-
While the oven is preheating, allow the piped macarons to sit undisturbed and form a “skin.” This crucial resting period ensures the macarons bake upwards and develop those characteristic ruffled “feet” rather than spreading outwards. The skin should form anywhere from 8 minutes to an hour, depending on your environment’s humidity. You’ll know the macarons are ready to bake when you can lightly touch their surface without any batter sticking to your finger. Continuously check them, as overly dried macarons can be as problematic as under-dried ones.
Baking the Macaron Shells
-
Bake the macarons for 15-20 minutes. The exact baking time will vary depending on the size of your macarons and your oven’s calibration. Begin checking them at the 15-minute mark. The macarons are perfectly baked when their tops are firm and do not shift or move at all from their bases when gently wiggled.
-
Once baked, allow the macaron shells to cool completely on the baking sheet before attempting to remove them from the silicone mats or parchment paper. Trying to remove them too soon will cause them to stick or break. When fully cooled, carefully peel them off and match them into “perfect pairs” of similar size and shape, setting them aside for filling.
Preparing and Filling with Cream Cheese Frosting
-
Place the softened unsalted butter into a stand mixer fitted with the whisk attachment. Whip the butter on a medium-high setting for 4-5 minutes, until it becomes visibly light in color and fluffy. Add the softened cream cheese and continue to whip for another 2 minutes, making sure to periodically scrape down the sides and bottom of the bowl to ensure all ingredients are well incorporated.
-
Gradually add the confectioners’ sugar in three batches, mixing on low speed until each addition is fully incorporated. Once all the sugar is added and the mixture is smooth, stir in the vanilla extract on low speed until combined. Increase the stand mixer speed to high and whip the frosting for an additional 3 minutes, until it’s perfectly creamy, light, and airy.
-
Transfer the cream cheese buttercream into a piping bag. Take your matched macaron halves and pipe a dollop of frosting onto the flat side of one half. The ideal amount of icing is roughly a 1:2 ratio (1 part buttercream to 2 parts macaron shells), or about the same size dollop as you piped for the macaron batter itself. Gently place the other macaron half on top, twisting slightly to secure. Arrange the filled macarons in an airtight container and refrigerate them to “mature” for 1-2 days. This maturation period allows the flavors to meld and the shells to soften to the perfect chewy consistency.
Advanced Tips for Macaron Success
While our detailed guide covers the essentials, here are a few more pro tips to ensure your red velvet macarons turn out exceptionally:
- Temperature Matters: Ensure your egg whites are at room temperature. This helps them whip up to their maximum volume, creating a stable meringue.
- Gel Food Coloring: Always use gel food coloring for macarons. Liquid food coloring can introduce too much moisture, potentially compromising your batter’s consistency and affecting the macaron feet. For a deep red, you might need a generous amount, but aim for quality gel colors that provide intense pigment with minimal liquid.
- Oven Calibration: Ovens can vary wildly. It’s highly recommended to use an oven thermometer to verify your oven’s true temperature. Even a slight deviation can impact baking success. Consistent heat is critical for even baking and feet development.
- Maturation is Key: Don’t skip the refrigeration step! While tempting to eat them right away, allowing your filled macarons to “mature” in the fridge for 1-2 days significantly improves their texture. The filling’s moisture slightly softens the shell, creating that signature chewy-on-the-inside, crisp-on-the-outside perfection.
Serving and Storing Your Red Velvet Macarons
Once your beautiful red velvet macarons have matured, they are ready to be enjoyed! For the best flavor and texture, allow them to come to room temperature for about 15-30 minutes before serving. This allows the cream cheese frosting to soften slightly, enhancing its creamy texture and flavor. They make a stunning presentation on a dessert platter and are perfect alongside coffee or tea.
To store any leftover macarons, place them in an airtight container in the refrigerator for up to 5-7 days. The cream cheese frosting requires refrigeration, so do not leave them at room temperature for extended periods. For longer storage, macarons freeze beautifully! Place them in a single layer in an airtight container, separated by parchment paper, and freeze for up to 1 month. Thaw them in the refrigerator overnight, then bring them to room temperature before serving for optimal enjoyment.
A Sweet Conclusion to Your Baking Journey
These red velvet macarons with tangy cream cheese frosting are more than just a treat; they’re an experience. They combine classic dessert flavors with the delicate artistry of French pastry, creating a truly memorable confection perfect for any celebration, especially for spreading love on Valentine’s Day. The vibrant color, rich cocoa notes, and the irresistible tang of the cream cheese filling make them utterly delightful. We hope you feel inspired to try this recipe and share these little luxuries with those you cherish. Happy baking, and enjoy every exquisite bite! Don’t forget to check out our master guide for making macarons if you need further assistance!
