Birthday Cake Macarons: Your Ultimate Guide to Perfect Swiss Meringue Shells and Nostalgic Flavor
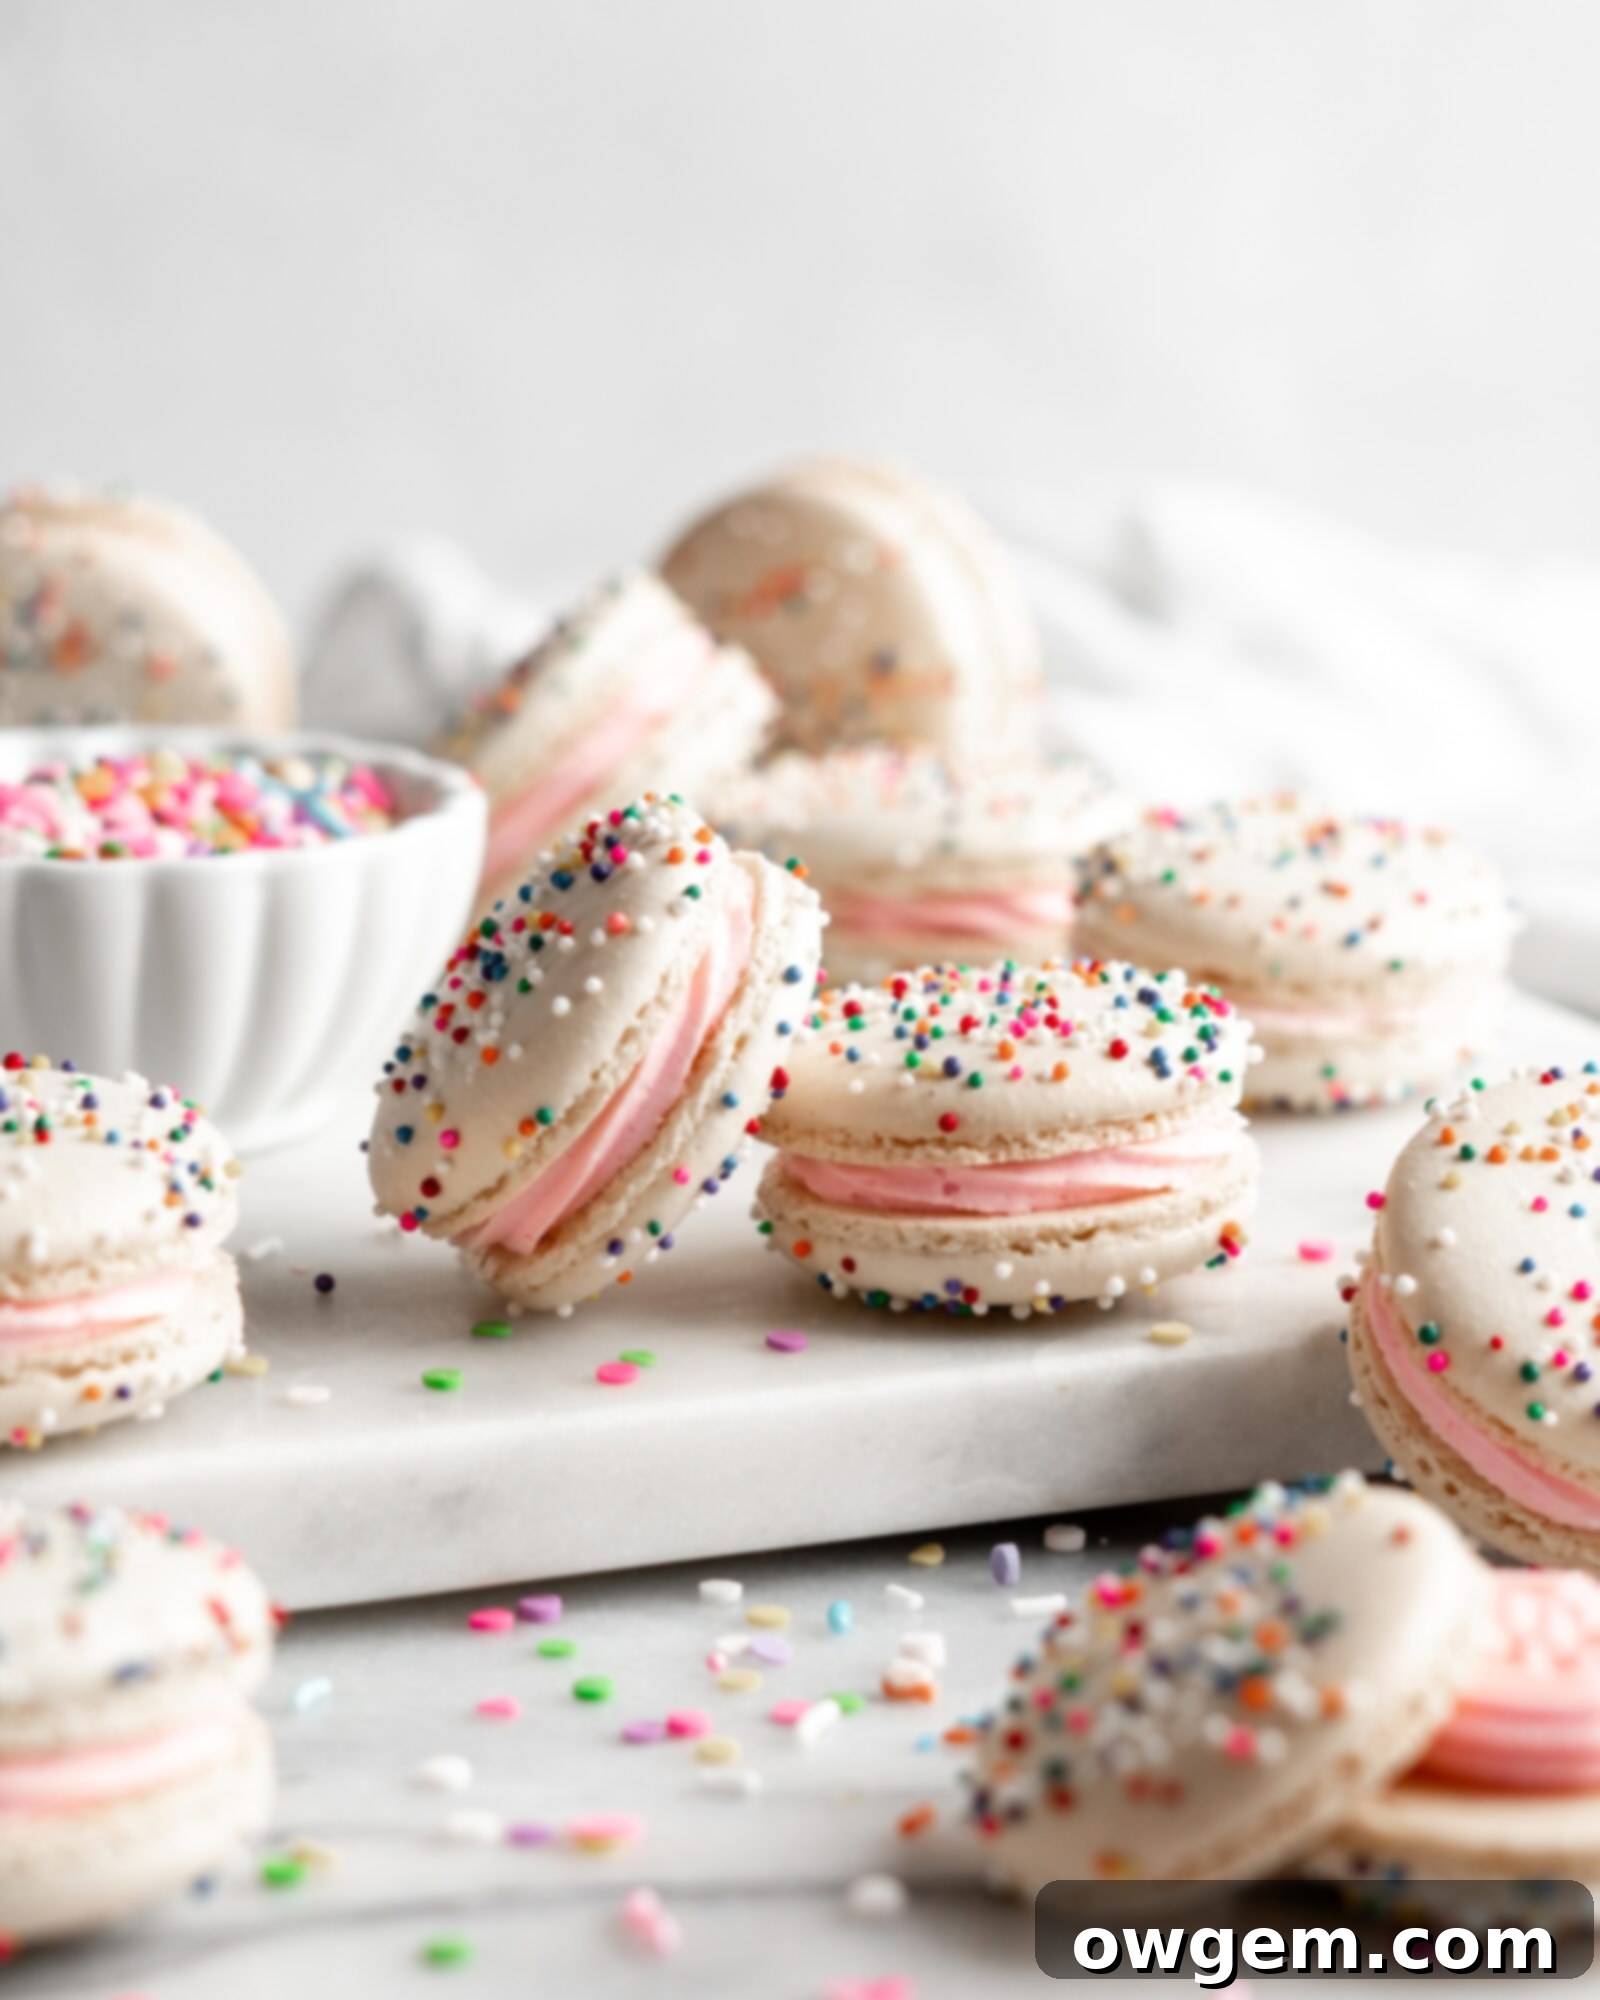
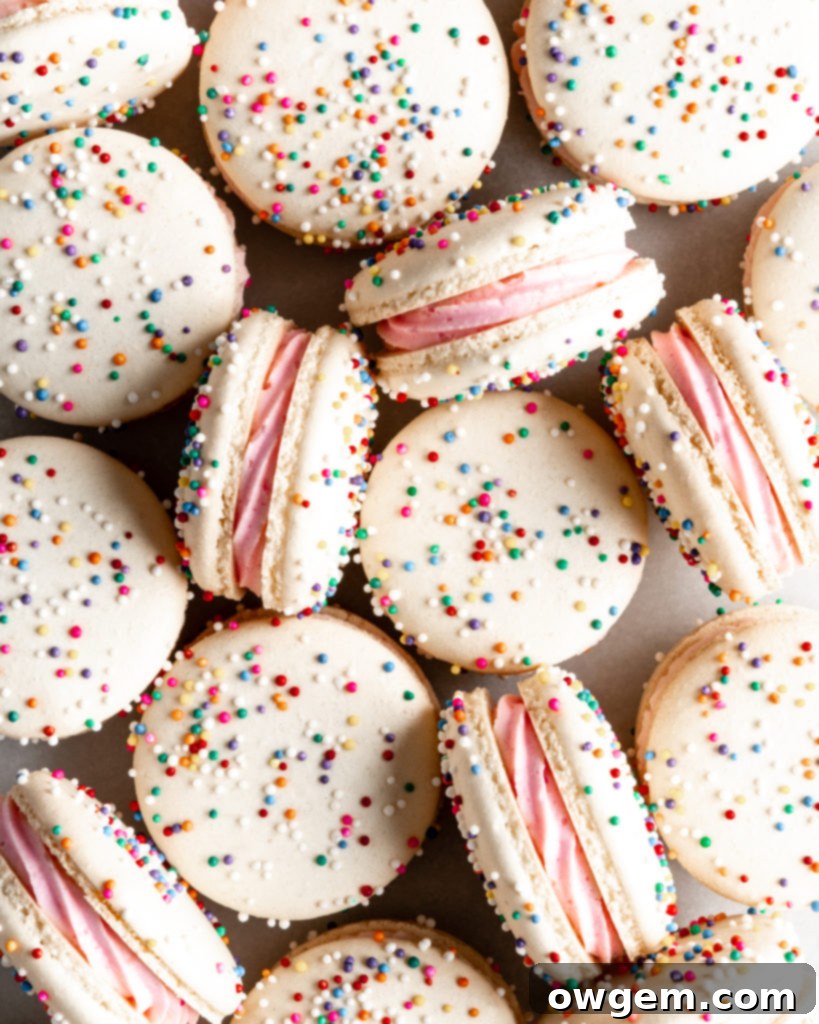
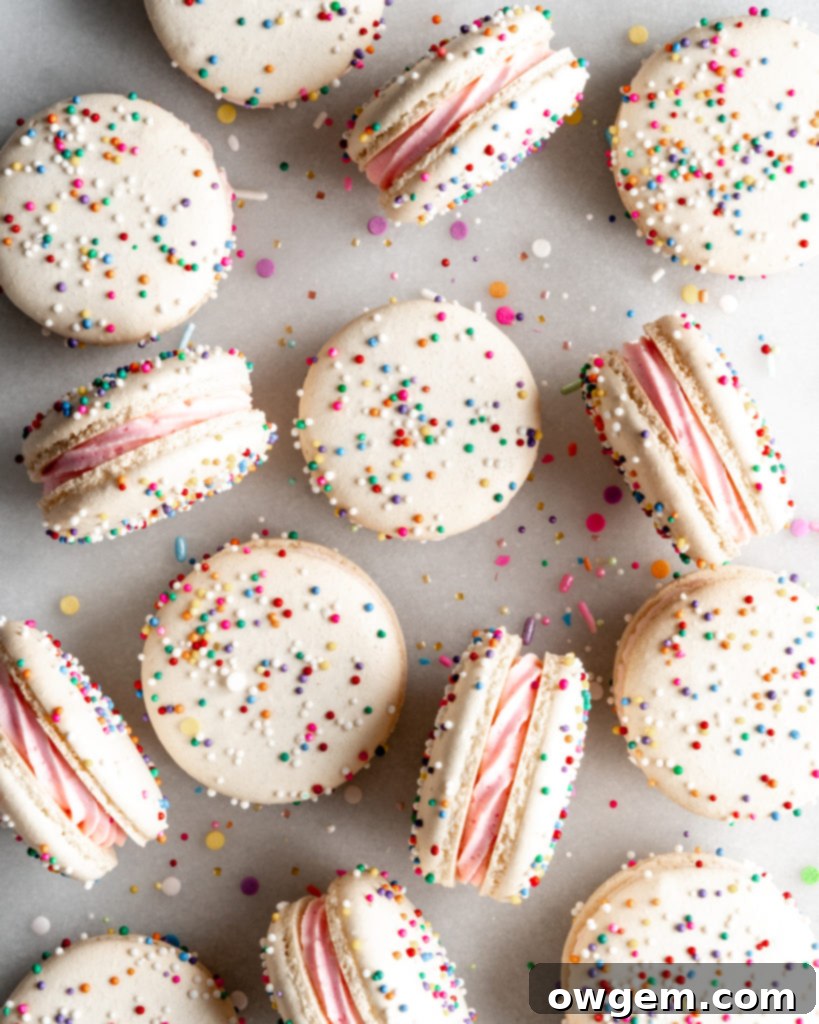
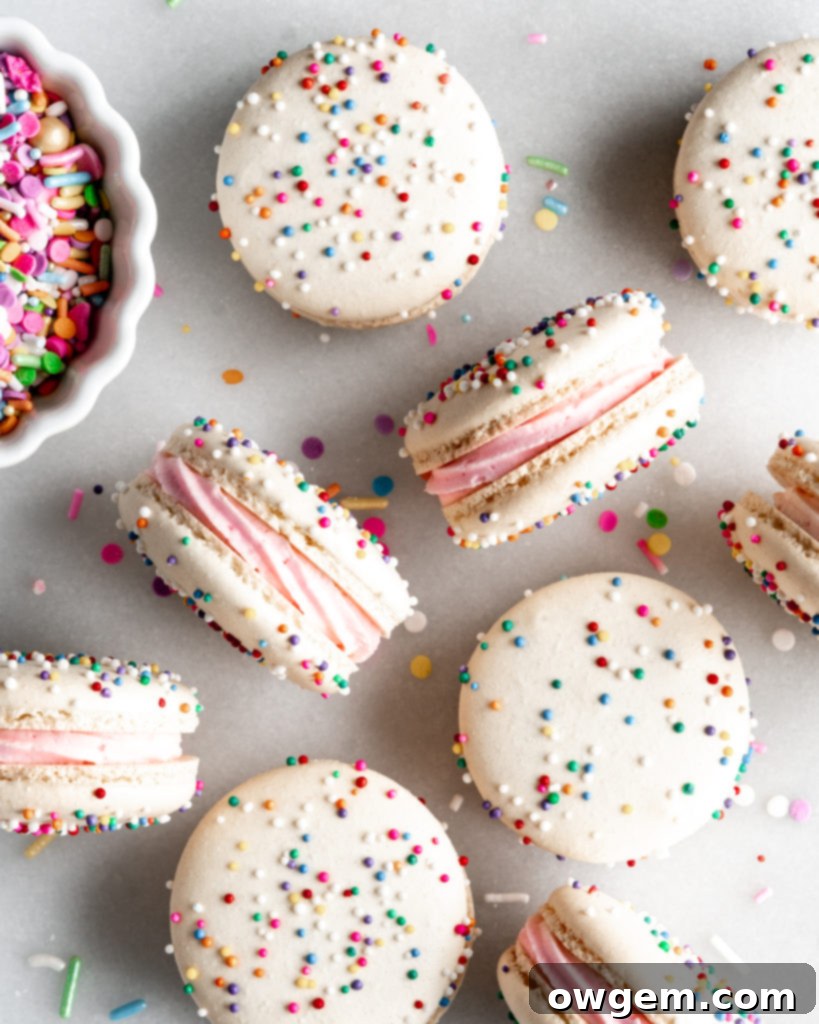
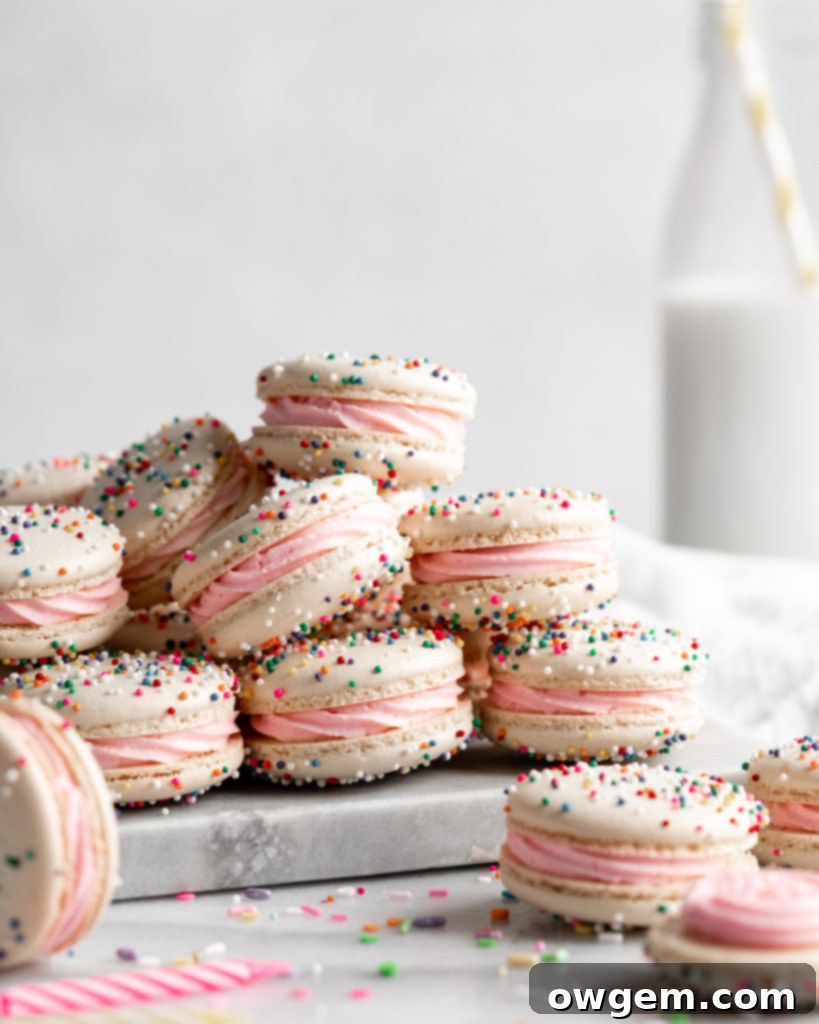
Step into a world of whimsical delights with these exquisitely crafted Birthday Cake Macarons! Bursting with classic vanilla birthday cake flavor, these brightly speckled treats are a celebration in every bite. Each delicate macaron shell is infused with a subtle vanilla essence, perfectly complemented by a luscious buttercream filling that has been lovingly enriched with heat-treated boxed birthday cake mix. The result? A fun, colorful, and utterly delicious experience that evokes cherished childhood memories and brings a joyful nostalgia to your palate. Whether you’re celebrating a special occasion or simply craving a taste of pure happiness, these birthday cake macarons are sure to be a show-stopping addition to any dessert spread.
Unlocking the Magic of Birthday Cake Macarons
There’s something undeniably enchanting about the humble macaron. These delicate French confections, with their crisp shell, chewy interior, and flavorful filling, have captivated dessert lovers worldwide. But when you combine the elegance of a macaron with the joyful, familiar taste of a birthday cake, you create something truly extraordinary: Birthday Cake Macarons. These aren’t just any macarons; they’re an ode to celebration, a bite-sized piece of pure happiness. The secret lies in a perfectly balanced vanilla macaron shell and a rich, creamy buttercream, subtly flavored with actual birthday cake mix. This guide will walk you through the precise steps to achieve macaron perfection using the Swiss Meringue method, ensuring every batch is a success.
Essential Ingredients for Your Birthday Cake Macarons
Crafting perfect macarons starts with understanding your ingredients. Each component plays a crucial role in achieving the desired texture and flavor. Here’s a closer look at what you’ll need and why each choice matters:
Almond Flour: The foundation of our macaron shells. For the smoothest, most professional-looking shells, always opt for superfine almond flour. Coarsely ground almond flour can lead to bumpy, uneven macaron tops. Sifting your almond flour meticulously is also a non-negotiable step to remove any larger bits that could disrupt the delicate structure of the shells.
Egg Whites: Fresh egg whites are absolutely critical for a stable meringue. Do not use egg whites from a carton; these often contain anti-foaming agents that prevent them from whipping up properly into the stiff peaks required for macarons. Freshly separated, aged egg whites (left at room temperature for a few hours or overnight) can sometimes yield even better results, though fresh ones directly from the egg usually work well with the Swiss method.
Granulated Sugar: This is your basic refined white sugar, essential for creating the meringue. It dissolves beautifully during the Swiss method heating process, contributing to a smooth, glossy, and stable meringue. While I’ve had success with maple sugar (not syrup!), be aware it will impart a distinct maple flavor to your macarons, which might not be ideal for the classic birthday cake profile.
Confectioners’ Sugar: Also known as powdered sugar or icing sugar, this finely milled sugar combines with the almond flour to form the “taptap” (tant pour tant) portion of your macaron batter. It also sweetens and thickens your buttercream filling, ensuring a silky-smooth texture.
White or Yellow Cake Mix: This is the secret ingredient that gives our buttercream its authentic birthday cake flavor! We’ll heat-treat it in the microwave to ensure food safety before incorporating it into the buttercream. This step is surprisingly simple but delivers a powerful nostalgic punch, making these macarons truly taste like a slice of birthday cake.
Unsalted Butter: The backbone of any good buttercream, unsalted butter at room temperature is essential for a light, fluffy, and spreadable filling. Ensure it’s not too soft or too hard; it should yield slightly when pressed but still hold its shape.
Artificial Vanilla Extract: For that truly classic, recognizable birthday cake flavor, artificial vanilla often performs better than pure vanilla extract. It delivers the bright, sweet, and slightly buttery notes that are characteristic of traditional birthday cakes. However, if you prefer, real vanilla extract can certainly be used.
Egg White Powder: (Optional, but highly recommended) This ingredient, also known as meringue powder, is a game-changer for many macaron bakers. Adding a small amount to your egg whites and sugar can significantly increase meringue stability and help prevent hollow macaron shells, a common challenge for beginners and seasoned bakers alike.
Nonpareils Rainbow Sprinkles: These vibrant sprinkles are not just for decoration; they are integral to the birthday cake aesthetic. Sprinkling them on top of the piped macaron shells before baking adds that quintessential festive look, making each macaron a tiny, edible celebration.
Heavy Cream: A small amount of heavy cream helps to achieve the perfect consistency in your buttercream, making it smooth, rich, and pipeable without being overly thick or greasy.
Pink Food Coloring: While optional, a touch of pink food coloring in the buttercream can enhance the festive birthday cake theme, adding a delightful pop of color to your finished macarons.
Swiss Meringue Macaron Method: The Stable and Speedy Approach
Many bakers are familiar with the Italian method for macarons, celebrated for its superior stability compared to the French method. However, for these delightful Birthday Cake Macarons, we’re embracing another fantastic technique: the Swiss Meringue Method. This method offers the best of both worlds – the stability of Italian meringue without the more involved process of making a hot sugar syrup.
The Swiss method for macarons shares all the great benefits of the Italian method, primarily that the meringue produced is incredibly stable and wonderfully easy to work with. This stability is key to achieving consistent, beautiful macaron shells with those coveted “feet.” What sets the Swiss method apart is its streamlined process, eliminating the need to carefully monitor a hot sugar syrup. That’s right, the Swiss method is often considered an easier and faster route to perfect macarons compared to its Italian counterpart!
The core of the Swiss meringue method involves gently heating egg whites and granulated sugar together over a bain-marie (a simmering pot of water) until the mixture reaches a specific temperature. This gentle heat dissolves the sugar, sanitizes the egg whites, and begins to stabilize them. Once the proper temperature is reached, the hot egg white and sugar mixture is removed from the heat and vigorously beaten in a stand mixer until it transforms into a glossy, stiff meringue. Finally, the pre-sifted mixture of confectioners’ sugar and almond flour is delicately folded into this stable meringue during the crucial macaronage process, creating a batter with the perfect consistency for piping.
Choosing the Swiss method for these Birthday Cake Macarons ensures a higher likelihood of success, even for those who might be new to macaron making. Its forgiving nature and robust meringue make it an excellent choice for achieving consistently beautiful and delicious results.
Mastering Swiss Meringue Macarons: Tips & Tricks for Success
Macarons, while rewarding, can be a bit finicky. To ensure your Birthday Cake Macarons turn out perfectly every time, heed these essential tips and tricks, a blend of timeless macaron wisdom and specific advice for the Swiss meringue method:
TIP 1) Embrace Precision: Use a Food Scale and Weigh Everything
This is perhaps the most critical rule for macaron making, regardless of the method. Macarons are highly sensitive to ingredient ratios, with very little tolerance for error. Volumetric measurements (cups and spoons) can introduce significant variances in ingredient amounts due to differences in packing, humidity, or even the shape of your measuring tools. For a delicate and precise confection like macarons, accuracy is paramount. Invest in a reliable digital food scale and measure all your ingredients, especially the almond flour, confectioners’ sugar, and egg whites, down to the exact gram. This precision will dramatically increase your chances of achieving consistent and flawless macaron shells.
TIP 2) Banish Grease: Wipe All Utensils and Bowls
Any trace of oil or grease can be the enemy of a perfectly whipped meringue. Fat prevents egg whites from achieving their full volume and stability, leading to a weak meringue and ultimately, failed macarons. Before you begin, thoroughly wipe down your stand mixer bowl, whisk attachment, spatulas, and any other utensils that will come into contact with the egg whites. Use a paper towel dampened with a bit of vodka or white vinegar. These liquids are excellent degreasers and evaporate quickly, leaving no residue behind. This simple step is a powerful safeguard against meringue collapse.
TIP 3) The Hollow-No-More Secret: Use Egg White Powder
If you frequently struggle with hollow macaron shells – those beautiful shells that look perfect on the outside but are empty inside – egg white powder is your secret weapon. Adding a small amount (typically 1 teaspoon per batch) to your egg whites and sugar before whipping significantly boosts the stability and strength of the meringue. This added protein helps create a more robust structure that resists collapsing during baking, leading to consistently full, chewy macaron interiors. It’s an optional but highly recommended ingredient for troubleshooting and achieving superior results.
TIP 4) Achieve Meringue Mastery: Beat to Stiff Peaks
The Swiss meringue method, like the Italian, absolutely requires the meringue to be beaten to stiff peaks. “Stiff peaks” means that when you lift the whisk attachment, the meringue stands up straight without drooping, forming a firm, glossy peak. It should also gather significantly inside the whisk attachment. Don’t be tempted to stop at soft or medium peaks; an under-beaten meringue lacks the structure needed to support the macaron batter, often resulting in flat shells without “feet.” The best way to achieve this stability is to gradually increase the mixer speed: start on medium-low until soft peaks form, then increase to medium for medium peaks, and finally crank it up to high speed until truly stiff, glossy peaks are achieved. This gradual approach allows for smaller air bubbles to form, resulting in a more stable and finely textured meringue.
TIP 5) The Art of Macaronage: Stop Folding When the Batter ‘Ribbons’
Macaronage is the crucial stage where you combine the dry ingredients with the meringue. This folding process is delicate and requires keen observation. The goal is to deflate the meringue just enough to achieve a “lava-like” consistency, where the batter flows smoothly and continuously off your spatula in wide, unbroken ribbons. If the batter falls off in distinct, chunky pieces, it’s under-mixed and needs more gentle folding. Conversely, if it runs off the spatula too quickly without forming ribbons, it’s over-mixed and the delicate air structure has been destroyed, leading to flat, oily shells. A good test is the “30-second ribbon”: once a ribbon of batter falls off the spatula onto the main mass of batter, it should slowly reabsorb and disappear within approximately 30 seconds. Another popular test is the “Figure 8” test: if you can lift some batter and draw several figure eights with a continuous stream without it breaking, it’s likely ready. Mastering macaronage takes practice, but paying close attention to this stage is key to perfect macaron feet and texture.
TIP 6) Release the Bubbles: Tap the Pan Repeatedly
After piping your macaron shells onto the baking sheet, a crucial step is to vigorously tap the pan against your counter. This serves two vital purposes: first, it forces any trapped air bubbles within the macaron batter to rise to the surface and pop. These bubbles, if left unchecked, can lead to uneven surfaces, cracks, or hollows in your finished shells. Secondly, tapping helps the piped batter settle and flatten out, eliminating any small humps or peaks left from the piping bag, ensuring perfectly round and smooth shells. Don’t be shy with this step! Smack the pan firmly against the counter, rotate it 90 degrees, and repeat several times until you see the bubbles surfacing. Alternatively, lift the pan a few inches and drop it flat onto the counter multiple times. Continue until you’re confident most air bubbles have been released and the batter has settled nicely.
TIP 7) Precision Popping: Use a Toothpick for Stubborn Bubbles
Even after vigorously tapping, some tiny air bubbles might remain on the surface of your piped macaron shells. Take a moment to inspect each shell closely. You’re looking for obvious bubbles, but also subtle irregularities or tiny bumps that indicate trapped air just beneath the surface. Using a clean toothpick, gently poke these remaining bubbles to release the air. Then, lightly swirl the toothpick over the popped area to smooth out the batter and fill the small hole. Skipping this seemingly minor step can sometimes result in unsightly surface imperfections or even lead to hollow macarons. This final touch ensures your macaron shells have that perfectly smooth, pristine top that is characteristic of professional-quality macarons.
TIP 8) The Crucial Rest: Allow Macarons to Form a “Skin”
This step is absolutely critical – I repeat, THIS IS CRUCIAL. Do not skip this under any circumstances! Allowing your piped macaron shells to rest at room temperature until a “skin” forms on their surface is what enables them to rise vertically in the oven, preventing them from spreading out horizontally. This vertical rise is what creates those desirable ruffled “feet” at the base of each macaron. The time required for skin formation varies significantly based on your environment’s humidity. In cold, dry climates (like the Prairies in Western Canada where I live), a skin can form in as little as 8-10 minutes. In contrast, hot, humid climates might require 30 minutes to an hour, or even longer. Humidity is a macaron baker’s nemesis; excessively humid conditions can make skin formation nearly impossible, often leading to cracked or footless macarons. Conversely, excessively dry climates can also pose challenges, as macarons can over-dry and stick to silicone mats, resulting in lopsided shells if left too long. You know the macarons are ready when you can very delicately touch the surface with your finger, and it feels dry to the touch without any batter sticking to your fingertip. Patience here is key, but so is observation – constantly check your macarons for that perfect skin.
TIP 9) Befriend Your Oven: Understand Its Quirks
This might seem like a vague tip, but it’s incredibly important. Every oven is unique, and getting to know yours intimately will be a game-changer for macaron baking. Does your oven run hot or cold? Does it have uneven heating zones? Is the fan in your convection oven overly powerful? All of these factors can significantly impact your macaron outcome, leading to anything from beautiful, perfectly baked shells to cracked, browned, or lopsided failures. It can be frustrating, but sometimes you’ll need to experiment with different temperatures, rack positions, and baking times to find the optimal settings for your specific oven. Consider using an oven thermometer to verify the actual temperature inside your oven, as built-in thermostats can often be inaccurate. Once you understand your oven’s personality, you’ll be well on your way to consistent macaron success.
TIP 10) The Art of Matching: Find ‘Perfect Pairs’ Before Filling
Let’s be honest, unless you’re a seasoned macaron master with years of practice, your macaron shells are likely to have slight variations in size. This is completely normal! To ensure a beautiful and stable finished macaron, it’s essential to match “perfect pairs” before you begin the filling process. Once your shells are completely cooled, lay them out and carefully find two shells that are approximately the same size and shape. There’s nothing more disheartening than reaching the end of your assembly only to be left with a collection of mismatched shells that don’t fit together properly. Taking this extra moment to pair them up will make the filling and sandwiching much smoother and result in more aesthetically pleasing macarons.
Safety First: Heat-Treating the Boxed Cake Mix
The secret to our delightful birthday cake buttercream lies in incorporating actual boxed cake mix. However, it’s crucial to acknowledge that boxed cake mixes contain raw flour and sometimes raw egg powder, which carry a potential risk for salmonella or E. coli contamination. But there’s no need to worry or skip this delicious step, as heat-treating the cake mix is incredibly simple and ensures your macarons are safe to eat!
To heat-treat the cake mix, simply measure out the required 1 cup of white or yellow cake mix and place it into a microwave-safe bowl. Microwave the mix for approximately 1 minute and 30 seconds. To ensure even heating and thorough sanitization, make sure to stop and stir the cake mix every 30 seconds during this process. The goal is for the cake mix to reach an internal temperature of 170°F (77°C), which is sufficient to kill any potential bacteria. You can use a food thermometer to verify this temperature. Once it reaches 170°F, remove the bowl from the microwave and allow the cake mix to cool completely for about 5 to 10 minutes before you proceed with making your birthday cake buttercream. This simple step guarantees a safe and incredibly flavorful filling for your macarons.
Recipe Acknowledgement
This specific recipe utilizes the versatile Swiss method for its macaron shells. The foundational Swiss meringue macaron recipe was expertly developed by Camila at Pie and Tacos. We extend our gratitude for her brilliant work and encourage you to explore her website for an incredible array of macaron recipes and inspiration!
Recommended Products & Equipment for Perfect Birthday Cake Macarons
Having the right tools can make a significant difference in your macaron baking journey. Here are some of my go-to products and equipment that I’ve found helpful for achieving consistently excellent Birthday Cake Macarons. (Note: these links are affiliate links with Amazon, meaning I may earn a small commission if you make a purchase through them, at no extra cost to you.)
My preferred baking sheet for macarons is this USA Pan Cookie Pan. Its robust construction makes it sturdy and warp-resistant, which is crucial for even baking. Furthermore, the corrugated design of these pans promotes better air circulation, significantly reducing the likelihood of lopsided macarons, a common challenge in macaron baking.
For perfectly shaped macarons every time, these are my favorite silicone mats. They feature ideal spacing and a guided circle size that helps create uniform macarons – neither too large nor too small – ensuring consistent baking and professional presentation.
The quality of your almond flour is paramount. I highly recommend this superfine almond flour. Its extra-fine grind is key to achieving exceptionally smooth macaron shells, free from gritty textures, which is especially important for the delicate appearance of your birthday cake macarons.
Get the Recipe:
Birthday Cake Macarons
Pin
Rate
Ingredients
Birthday Cake Macarons
- 105 g Sifted Super Fine Almond Flour
- 105 g Sifted Confectioners Sugar
- 100 g Egg Whites
- 100 g White Sugar
- 3 g (1 tsp) Egg White Powder,, otherwise known as meringue powder (optional but highly recommended)
- 1 tsp Artificial Vanilla
- Nonpareils Rainbow Sprinkles
Birthday Cake Buttercream
- 1 cup (130g) White or Yellow Boxed Cake Mix
- 1 cup (227g) Unsalted Butter,, at room temperature
- 3 cups (360g) Confectioners Sugar
- 2 tbsp (28g) Heavy Cream
- 1 tsp Artificial Vanilla
- Pink Food Colouring
Equipment
-
Stand mixer
Instructions
Dry Ingredients
-
Prepare a baking sheet with parchment or silicone mat (if you have enough, prepare 2 baking sheets).
-
Over a large mixing bowl on a scale, sift almond flour until you reach 105g. Discard any large pieces of almond flour. Repeat with the confectioners sugar. Whisk the almond flour and confectioners sugar until very well-combined. Set aside.
Making the Meringue
-
Add egg whites, white sugar, and egg white powder to the bowl of your stand mixer, and whisk together. Place the bowl over top of a simmering pot of water (bain-marie), ensuring a tight seal and ensuring that the bottom of the stand mixer bowl is not actually touching the water.
-
Continuously whisk the mixture while it heats up over the bain-marie, heat the mixture until it reaches 140°F (60°C). When temperature is achieved, remove the bowl from the simmering water pot and place onto your stand mixer, fitted with the whip attachment.
-
Beat the mixture, starting on low. Once soft peaks have been formed, increase the speed to medium. Once medium peaks are achieved, increase the speed to high. Beat on high until stiff peaks have formed. Add in the vanilla, and beat until just combined.
Macaronage
-
Remove the bowl from the stand mixer, and place a sieve over top. Pour the dry mixture into the sieve, then sift the dry ingredients into the meringue.
-
Fold the dry ingredients into the meringue. I like to scrape around the sides of the bowl in an entire circle, and then cut through the centre – similar to the Greek letter phi which looks like this: Φ
-
Be gentle and careful not to overmix or over-deflate the meringue. The mixture is ready to be piped when it ribbons off your spatula, meaning that the batter, when lifted with a spatula, should keep flowing off the spatula in ribbon shapes nonstop, without drizzling off too quickly. If it is coming off in large V shaped chunks it still needs to be folded further. Another test is the figure 8 test: If you can lift some batter up and use it to draw several figure 8’s without the stream breaking, it is ready!
Piping and Drying the Macarons
-
Add mixture into a piping bag with medium sized round tip. Pipe small circles of batter onto a cookie sheet fitted with a silicone baking mat or parchment paper. Ensure piping bag is held straight up and perpendicular to baking sheet. Using a stencil or a macaron mat makes this process much easier and fool proof, I try to make my macarons around 1½” in diameter.
-
Tap the baking sheet multiple times against counter to remove any air bubble from the macarons. If some air bubbles still remain, use a tooth pick to gently poke them out. Sprinkle the macarons with the rainbow sprinkles.
-
Preheat oven to 300°F, or 275°F for convection oven. While oven is preheating, allow the macarons to sit and form a skin. This skin will ensure the macarons bake up and not out, giving them those classic “feet”. This skin should form anywhere from 8 minutes to an hour. You know the macarons are ready to be baked when you can touch them lightly without having the batter stick to your finger. Keep checking them to see if they have formed a skin– overly dried macarons are just as much of a problem as under-dried macarons!
Baking
-
Bake for 15-20 minutes. Your bake time will depend on the size of your macarons. Check at 15 minutes, and if they are not ready then keep checking every minute. The macarons are ready when the tops are firm and do not move around their base at all.
-
Allow the macarons to cool completely before attempting to remove them from the sheets/mats/parchment. When cooled, find “perfect pairs” of macaron halves and set aside to be filled.
Birthday Cake Buttercream
-
Add the boxed cake mix to a microwave safe bowl. Microwave for about 1 minute and 30 seconds, stirring every 30 second interval, until the cake mix reaches 170°F. Set aside to cool for 10 minutes.
-
Add the butter to your stand mixer fitted with the whip attachment. Beat until light and fluffy – about 3 minutes. Add in the cooled cake mix and confectioners sugar in intervals, until very well combined and smooth.
-
Finish by adding the cream, vanilla, and food colouring, until well-combined. Add to a piping bag fitted with a star tip.
Assembling the Macarons
-
Pipe the birthday cake buttercream onto ½ of the macaron shells (bottoms of perfect pairs), then top each bottom with it’s corresponding top. Place into the fridge overnight to mature and meld together.
Recipe adapted from Pies and Tacos
