Decadent Black Forest Ice Cream Sandwiches: Your Ultimate Guide to a Fudgy, Cherry-Filled Summer Dessert
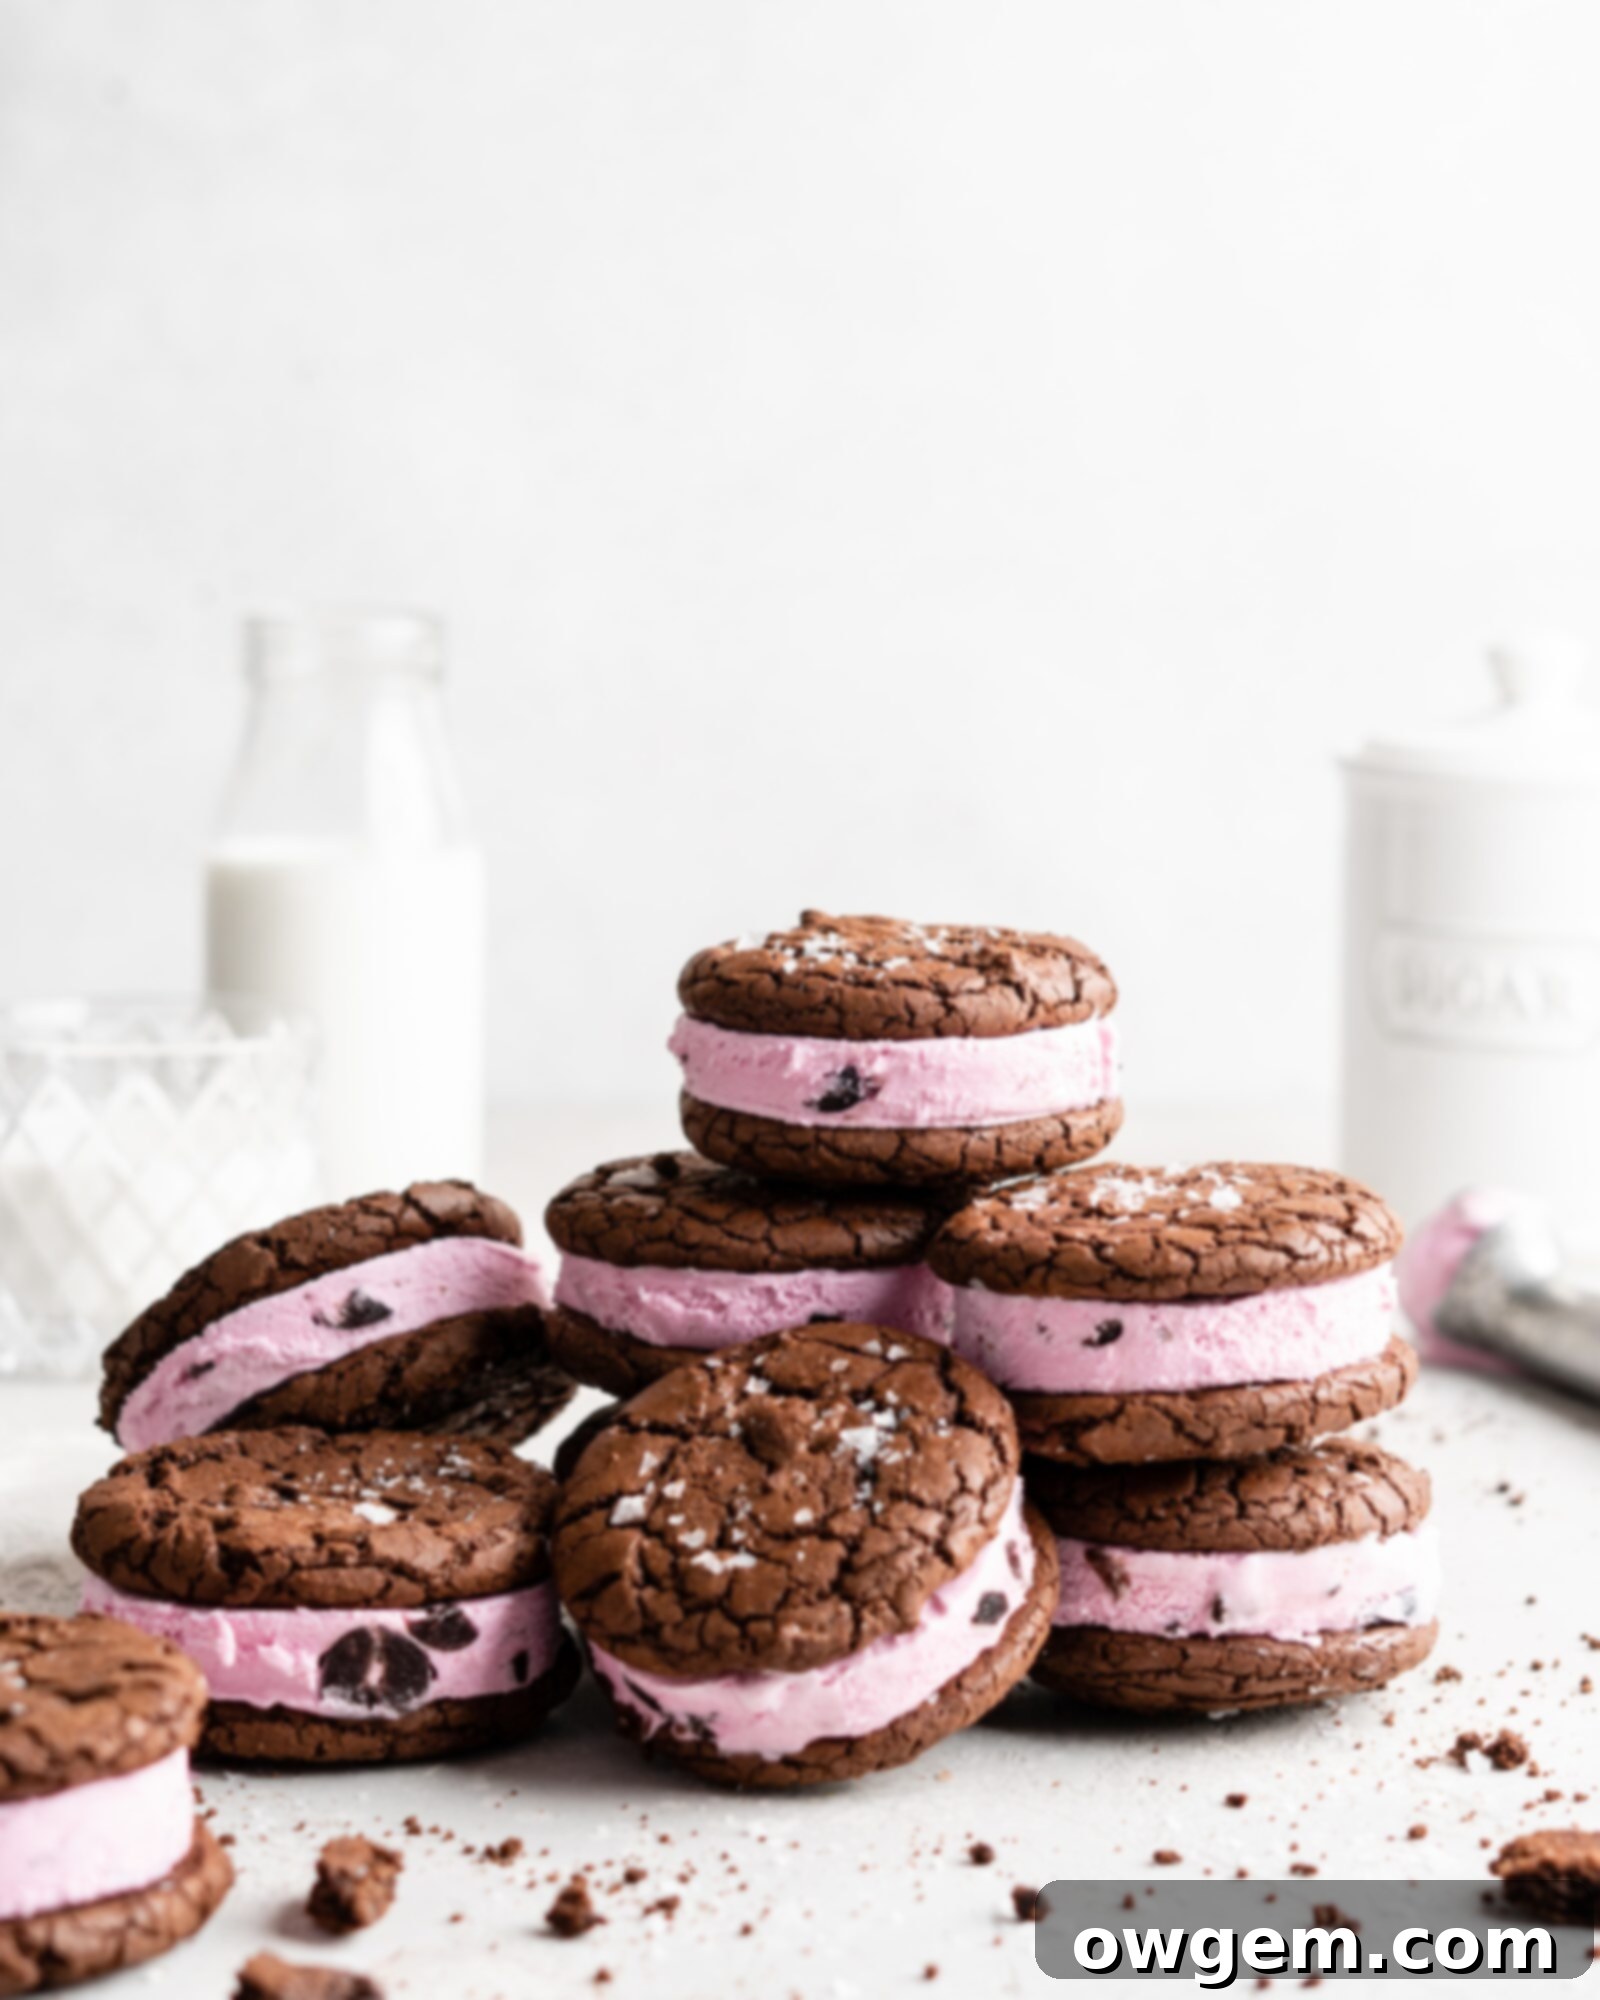
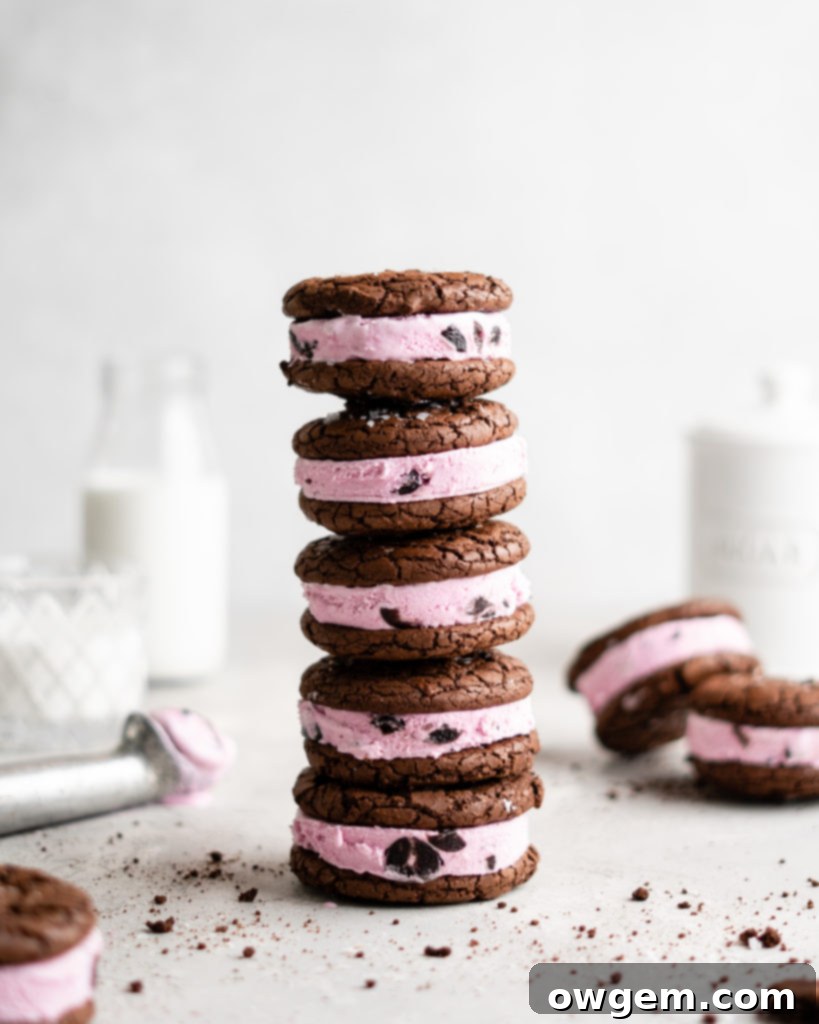
Prepare your taste buds, Black Forest cake enthusiasts! We’re elevating a classic dessert to new, exciting heights with these utterly irresistible Black Forest Ice Cream Sandwiches. Forget the ordinary; this recipe delivers the perfect fusion of rich, fudgy brownie cookies with a luxuriously soft and chewy center, expertly paired with luscious store-bought cherry ice cream. The result is a surprisingly simple yet profoundly satisfying summer treat that captures all the beloved flavors of Black Forest in a portable, delightful form. These sandwiches are designed for maximum indulgence, promising an ooey-gooey texture from the homemade cookies and a burst of refreshing fruitiness from the ice cream, making them an absolute must-try for any warm-weather gathering or a delightful personal indulgence.
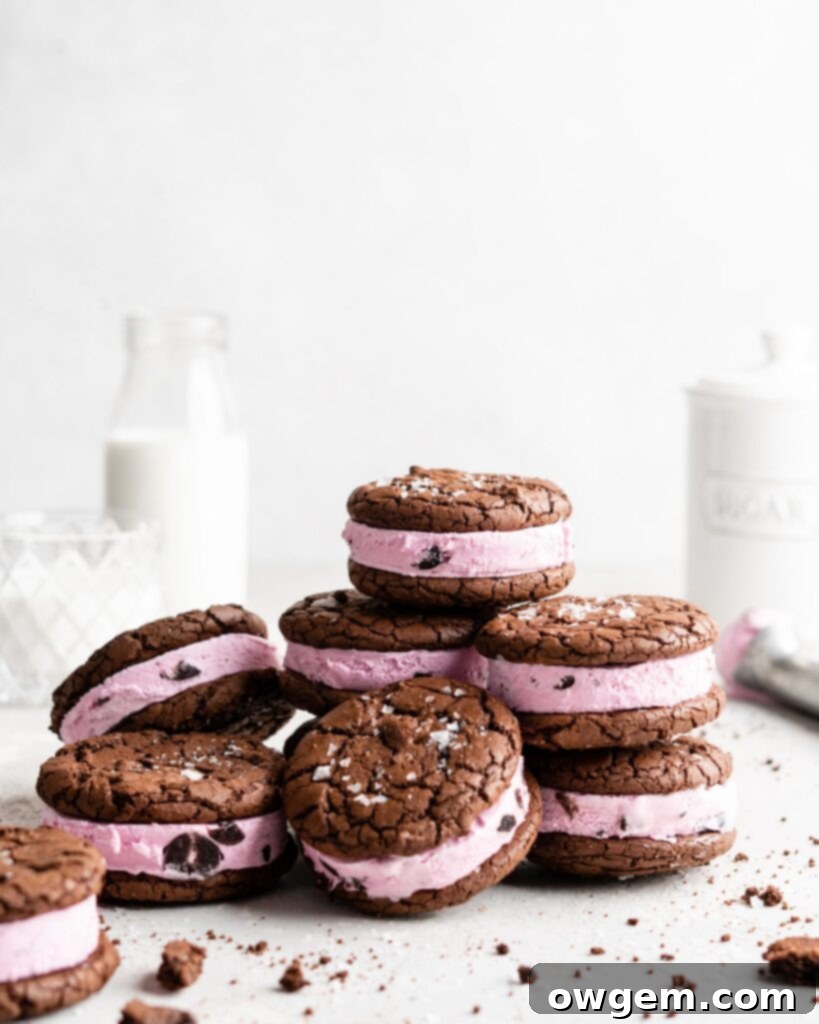
Understanding Cocoa: Dutch-Processed and Black Cocoa Powder
The secret to the deep, rich chocolate flavor and incredible fudgy texture of the cookies in this Black Forest Ice Cream Sandwich recipe lies in a special ingredient: a combination of Dutch-processed cocoa powder and black cocoa powder, sometimes referred to as ‘Double-Dutch processed cocoa.’ If you’re wondering what makes these cocoas distinct, let’s dive into the fascinating world of chocolate processing.
Regular cocoa powder is naturally acidic, with a pH typically around 5.3. This acidity contributes to a sharp, slightly bitter, and often astringent taste. Dutch-processed cocoa, on the other hand, undergoes an alkalization process. This means it’s treated with an alkaline solution, such as potassium carbonate, which neutralizes its acidity, raising its pH to a more neutral level, usually around 7. This transformation results in a cocoa powder that is milder in flavor, less bitter, and noticeably darker in color. By stripping away the astringent notes, the inherent chocolate flavor is allowed to shine through more prominently, giving the illusion of a more intense chocolate taste.
Now, what about ‘black’ cocoa powder? This is where the chocolate intensity truly deepens. Black cocoa powder is essentially *double*-alkalized. It undergoes an even more extensive Dutch-processing treatment, pushing its pH even higher, often resulting in an incredibly dark, almost black color, and an even smoother, less bitter, and exceptionally deep chocolate flavor. Think of the iconic dark color and distinct taste of Oreo cookies – that’s the magic of black cocoa powder at work! For this recipe, I personally recommend using the Double Dutch-Processed Cocoa Powder from King Arthur Flour for an unparalleled depth of color and flavor. However, if black cocoa powder isn’t readily available or you prefer not to purchase a specialized ingredient, you can certainly substitute it with additional regular Dutch-processed cocoa. The cookies will still be delicious and chocolatey, just a shade lighter in color and with a slightly less intense chocolate profile.
A crucial consideration when baking with different types of cocoa powder is their interaction with leavening agents. Recipes that use baking soda typically rely on an acidic ingredient to activate the baking soda and produce the necessary rise. In many traditional recipes, regular (acidic) cocoa powder serves this purpose. However, because Dutch-processed cocoa and black cocoa powder have a neutral pH due to the alkalization process, they won’t react with baking soda in the same way. Using them interchangeably without adjusting other ingredients can lead to flat baked goods. Fortunately, this particular Black Forest Ice Cream Sandwich recipe utilizes baking powder as its primary leavening agent. Baking powder contains both an acid and a base, meaning it doesn’t require an external acid to activate. This makes our brownie cookie recipe much more forgiving and allows us to fully enjoy the deep, rich flavor and color that Dutch-processed and black cocoa powders bring, without worrying about pH-related leavening issues. This flexibility ensures our cookies achieve that perfect fudgy chewiness every time.
Crafting the Perfect Fudgy Brownie Cookies for Your Ice Cream Sandwiches
1) Melt chocolate and butter: Begin by finely chopping your dark chocolate. The finer the chop, the more evenly and quickly it will melt. Combine the chopped chocolate and unsalted butter in a heat-proof bowl. Create a bain-marie by placing this bowl over a simmering pot of water, ensuring that the bottom of the bowl does not touch the water. This gentle heating method prevents the chocolate from scorching and helps it melt smoothly with the butter, creating a glossy, uniform mixture. Stir continuously until both the chocolate and butter are completely melted and well combined. Once smooth, remove the bowl from the heat and allow the mixture to cool slightly. It should still be warm and pourable, but not so hot that it might scramble the eggs in the next step. This cooling step is crucial for the texture of your cookies.
2) Beat eggs, sugar, and vanilla: In the bowl of a stand mixer fitted with a whisk attachment, add the large eggs, both granulated and dark brown sugar, and pure vanilla extract. Beat this mixture on high speed for approximately 3-4 minutes. You’re looking for a dramatic change here: the mixture should become light, fluffy, significantly paler in color, and almost triple in volume. This process incorporates a substantial amount of air, which is vital for achieving that signature chewy, fudgy texture in your brownie cookies. The air pockets created will contribute to a lighter crumb while maintaining a dense, rich interior.
3) Add melted chocolate/butter: Once your egg mixture is light and voluminous, slowly pour the slightly cooled melted chocolate and butter mixture into the stand mixer. Continue mixing on a low to medium speed until it is just well combined with the aerated egg and sugar mixture. Be careful not to overmix at this stage; you simply want to integrate the chocolate evenly throughout the batter, maintaining the airy structure you’ve built.
4) Combine dry ingredients: In a separate, medium-sized bowl, whisk together the all-purpose flour, baking powder, kosher salt, Dutch-processed cocoa powder, and black cocoa powder. Whisk thoroughly until all the dry ingredients are uniformly combined. This step ensures that the leavening agent (baking powder) and salt are evenly distributed throughout the batter, leading to consistent rising and seasoning in every cookie.
5) Add dry ingredients to batter: Gradually add the combined dry ingredients to the wet chocolate mixture in the stand mixer. Mix on medium-low speed until the dry ingredients are *just* incorporated and the batter appears smooth. The key here is to avoid overmixing, which can develop the gluten in the flour too much, resulting in tough or dry cookies instead of the desired fudgy and chewy texture. The batter will be thick and glossy, very similar in consistency to a classic brownie batter.
6) Scoop onto baking sheets: Line a baking sheet with parchment paper. Using a small cookie scoop (approximately 1.5 tablespoons), scoop mounds of the rich brownie batter onto the prepared baking sheet, leaving adequate space between each one as they will spread slightly. The batter will be quite soft. To help them bake evenly and create a more uniform base for your ice cream sandwiches, gently use the back of the cookie scoop or a spoon to slightly flatten each mound of batter. This ensures a consistent thickness and a more pleasing disc shape for sandwiching.
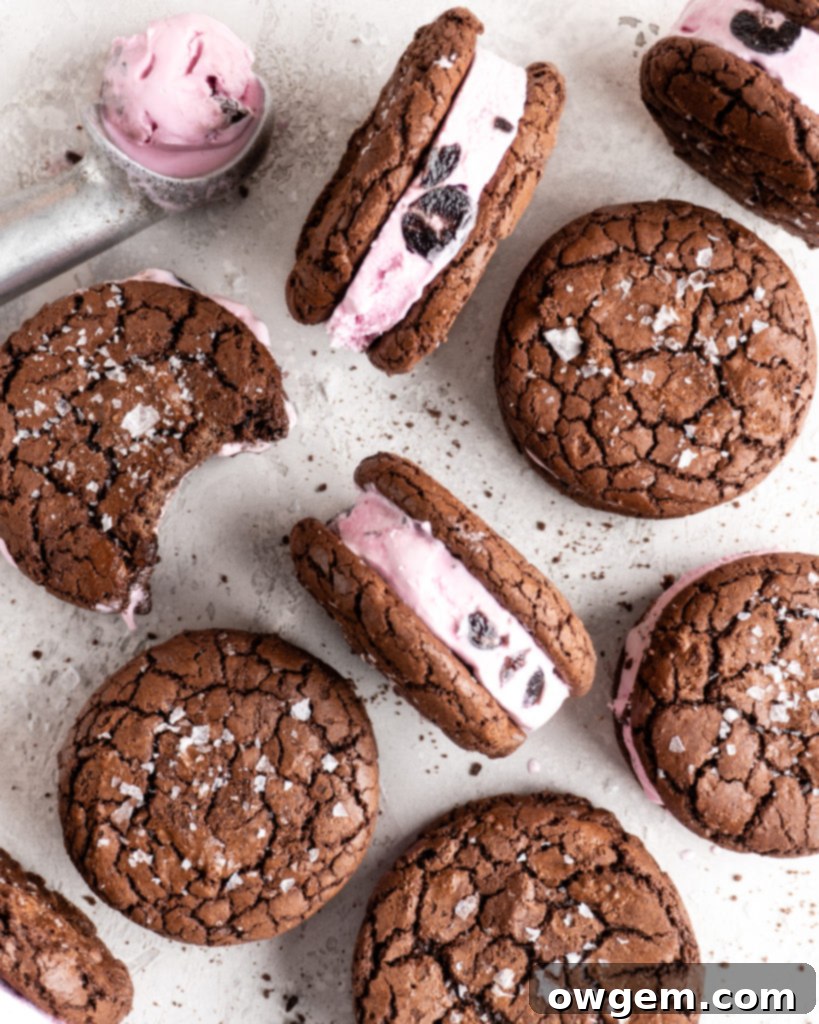
7) Bake: Before baking, for an added touch of gourmet flair and a subtle crunch that beautifully complements the sweet chocolate, sprinkle each cookie mound with a little bit of flaky sea salt. This enhances the chocolate flavor and provides a lovely contrast. Bake the cookies, one sheet at a time, in your preheated oven (refer to the full recipe card for exact temperature and time). Baking one sheet at a time helps maintain even oven temperature and ensures consistent baking results. Once baked, the cookies will be soft but set. It is absolutely crucial to allow the cookies to cool completely on the baking sheet or a wire rack before attempting to handle them or assemble the ice cream sandwiches. Warm cookies will crumble easily and melt your ice cream instantly. Patience is key for the perfect sandwich!
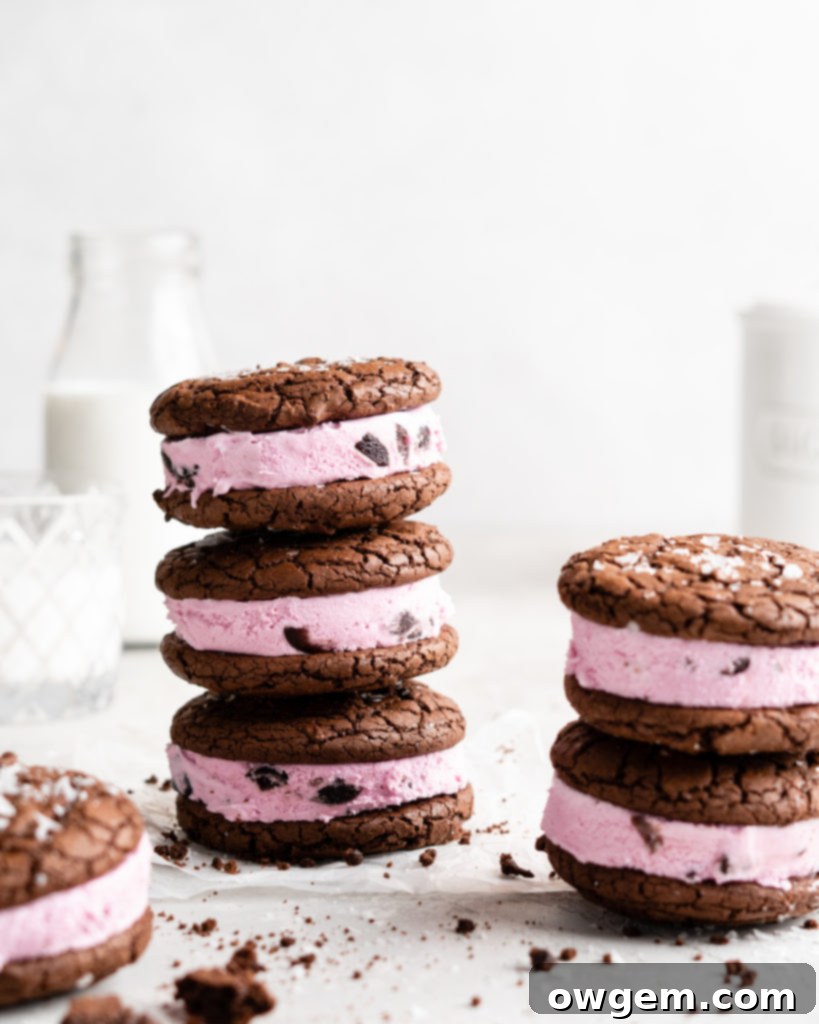
Assembling and Enjoying Your Black Forest Ice Cream Sandwiches
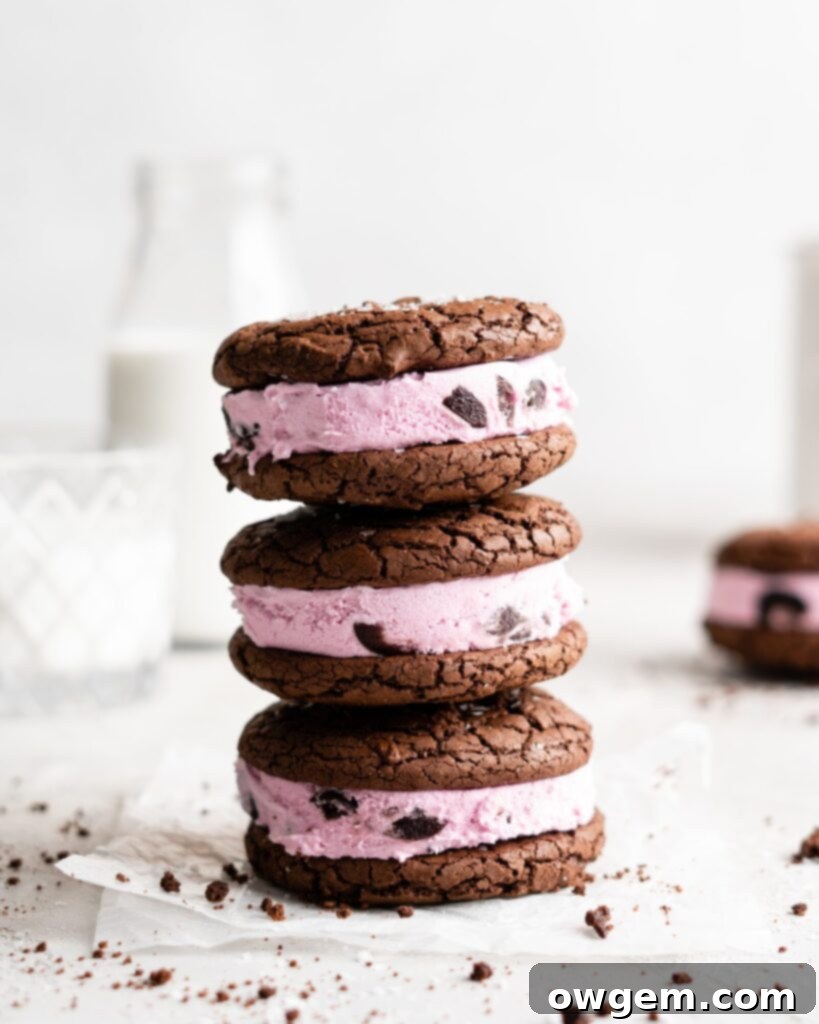
Once your glorious brownie cookies have completely cooled to room temperature – this step cannot be rushed for successful ice cream sandwiches – it’s time for the delicious assembly! Take your favorite store-bought cherry ice cream (or even a homemade version if you’re feeling ambitious!). For the easiest scooping, you might want to let the ice cream soften slightly on the counter for a few minutes, making it more pliable but not completely melted. Place a generous scoop of the cherry ice cream onto the flat side of half of your cooled cookies. Ensure the scoop is centered and doesn’t extend too far beyond the cookie’s edge. Then, gently place the other half of the cookies on top, pressing down lightly to create a neat sandwich. Be careful not to press too hard, or the ice cream will squish out the sides.
To ensure your Black Forest ice cream sandwiches hold their shape and are perfectly firm for enjoying, it’s essential to re-freeze them. Individually wrap each assembled sandwich tightly in plastic wrap or parchment paper. This not only keeps them fresh but also prevents freezer burn and helps them set beautifully. Place the wrapped sandwiches into the freezer for at least a few hours, or ideally overnight, until the ice cream is firm again and the sandwiches are completely set. This waiting period is crucial for achieving that delightful bite without a melting mess. When you’re ready to indulge, simply unwrap, take a bite, and savor the incredible combination of fudgy chocolate, bright cherry, and a hint of salt. These Black Forest Ice Cream Sandwiches are an absolute dream – the perfect blend of rich, chewy, and refreshingly cool, capturing the essence of the classic cake in a fun, handheld format!

Get the Recipe:
Black Forest Ice Cream Sandwiches
Pin
Rate
Ingredients
- 3.5 oz (100g) Dark Chocolate,, finely chopped, good quality for best flavor
- 6 tbsp Unsalted Butter,, at room temperature for smooth melting
- 9 tbsp Dark Brown Sugar, packed, for chewiness and depth of flavor
- 1 Large Egg, at room temperature for better emulsification
- 1 tsp Vanilla Extract, pure extract for best flavor
- 1/2 cup (65g) All Purpose Flour, , measured correctly† to avoid dry cookies
- 1/2 tsp Baking Powder, for leavening without acidity concerns
- 1/4 tsp Kosher Salt, balances sweetness and enhances flavor
- 1 tbsp Dutch Processed Cocoa Powder, for rich, non-bitter chocolate flavor
- 1/2 tbsp Black Cocoa Powder, (Double-Dutch) for intense dark color and deep chocolate taste
- Flaky Salt,, for garnish, adding a pleasant salty contrast
- 6 Scoops of Cherry Ice Cream, store-bought or homemade, slightly softened for easy scooping
Equipment
-
Stand mixer with whisk attachment
-
Heat-proof bowl and a small pot (for bain-marie)
-
Rubber spatula
-
Baking sheets
-
Parchment paper
-
Small cookie scoop (approx. 1.5 tbsp)
-
Wire rack for cooling
Instructions
-
Begin by preheating your oven to 350°F (175°C) and lining a baking sheet with parchment paper. This preparation ensures your cookies don’t stick and cook evenly. Next, finely chop the dark chocolate and combine it with the unsalted butter in a heat-proof bowl. Set this bowl over a simmering pot of water, creating a bain-marie. It’s important that the bottom of the bowl does not make contact with the simmering water, as direct heat can scorch the chocolate. Stir gently and continuously until both the chocolate and butter have completely melted into a smooth, glossy mixture. Once melted, remove the bowl from the heat and allow the mixture to cool slightly to a lukewarm temperature; it should still be pourable but not hot enough to cook the eggs.
-
In the bowl of a stand mixer, fitted with a whisk attachment, add the large eggs, dark brown sugar, and vanilla extract. Beat this mixture on high speed for about 3-4 minutes. During this time, the mixture will transform significantly: it will become noticeably lighter in color, much thicker, and almost triple in volume. This aeration process is key to achieving a delightfully chewy and fudgy texture in your finished cookies. After this, slowly add the slightly cooled melted chocolate and butter mixture into the stand mixer. Mix on a low to medium speed until all ingredients are just well combined, ensuring the chocolate is fully incorporated without deflating the airy egg mixture too much.
-
In a separate, clean bowl, combine all your dry ingredients: the all-purpose flour, baking powder, kosher salt, Dutch-processed cocoa powder, and black cocoa powder. Whisk them together thoroughly to ensure they are evenly distributed, preventing any pockets of leavening or salt in your cookies. Once whisked, gradually add these dry ingredients to the wet batter in the stand mixer. Mix on medium-low speed until they are *just* combined and the batter looks smooth and uniform. Be very careful not to overmix at this stage, as over-developing the gluten can lead to tough cookies. The resulting batter will have a rich, dark color and a thick, glossy consistency, much like a classic brownie batter.
-
Using a small cookie scoop (approximately 1.5 tablespoons), scoop generous mounds of the brownie batter onto your prepared baking sheet, leaving about 2 inches of space between each cookie to allow for spreading. The batter will be somewhat sticky and thick. To help create a more even surface for your ice cream sandwiches and promote uniform baking, gently use the back of the cookie scoop or a clean spoon to slightly flatten each mound of batter. This will also ensure a more attractive and consistent shape for your finished sandwiches.
-
For an extra layer of flavor and a beautiful visual appeal, sprinkle the tops of your flattened cookie mounds with a pinch of flaky sea salt. This subtle saltiness beautifully contrasts and enhances the deep chocolate flavor. Place the baking sheet into your preheated oven and bake the cookies for approximately 9 minutes. Baking one sheet at a time is recommended to maintain consistent oven temperature and optimal results. The cookies will look set around the edges but may still appear slightly soft in the center, which is perfect for a fudgy texture. Once baked, remove them from the oven and allow them to cool completely on the baking sheet. It is absolutely vital that the cookies are fully cooled and firm before moving on to the assembly stage, otherwise, they will be too fragile and your ice cream will melt.
-
Once the brownie cookies are entirely cool and firm, it’s time to assemble your delightful Black Forest Ice Cream Sandwiches! Take half of your cookies and place them flat side up. Scoop a generous portion (about 1 scoop) of slightly softened cherry ice cream onto the center of each of these cookies. The ice cream should be soft enough to scoop easily but not melting. Carefully place another cooled brownie cookie on top, gently pressing down to sandwich the ice cream between the two cookies. Work quickly to prevent the ice cream from melting too much. For best results and to ensure the sandwiches set up perfectly, individually wrap each completed ice cream sandwich tightly in plastic wrap or parchment paper. Place all wrapped sandwiches back into the freezer for at least 2-3 hours, or until they are completely firm and set. This crucial step ensures a stable, enjoyable dessert that won’t melt instantly in your hands. Serve chilled and enjoy the ultimate Black Forest experience!
Notes
Storage: Once assembled and fully frozen, these Black Forest Ice Cream Sandwiches can be stored in an airtight container or individually wrapped in the freezer for up to 2-3 weeks. Enjoy them whenever a craving strikes for a perfectly fudgy, cherry-chocolate delight!
Ice Cream Variations: While cherry ice cream is traditional for the Black Forest theme, feel free to experiment! Raspberry, vanilla bean, or even a dark chocolate ice cream would make delicious alternatives for these fudgy cookies.
