Irresistible Cinnamon Brioche Babka Knots: Your Guide to Beautifully Braided Buns
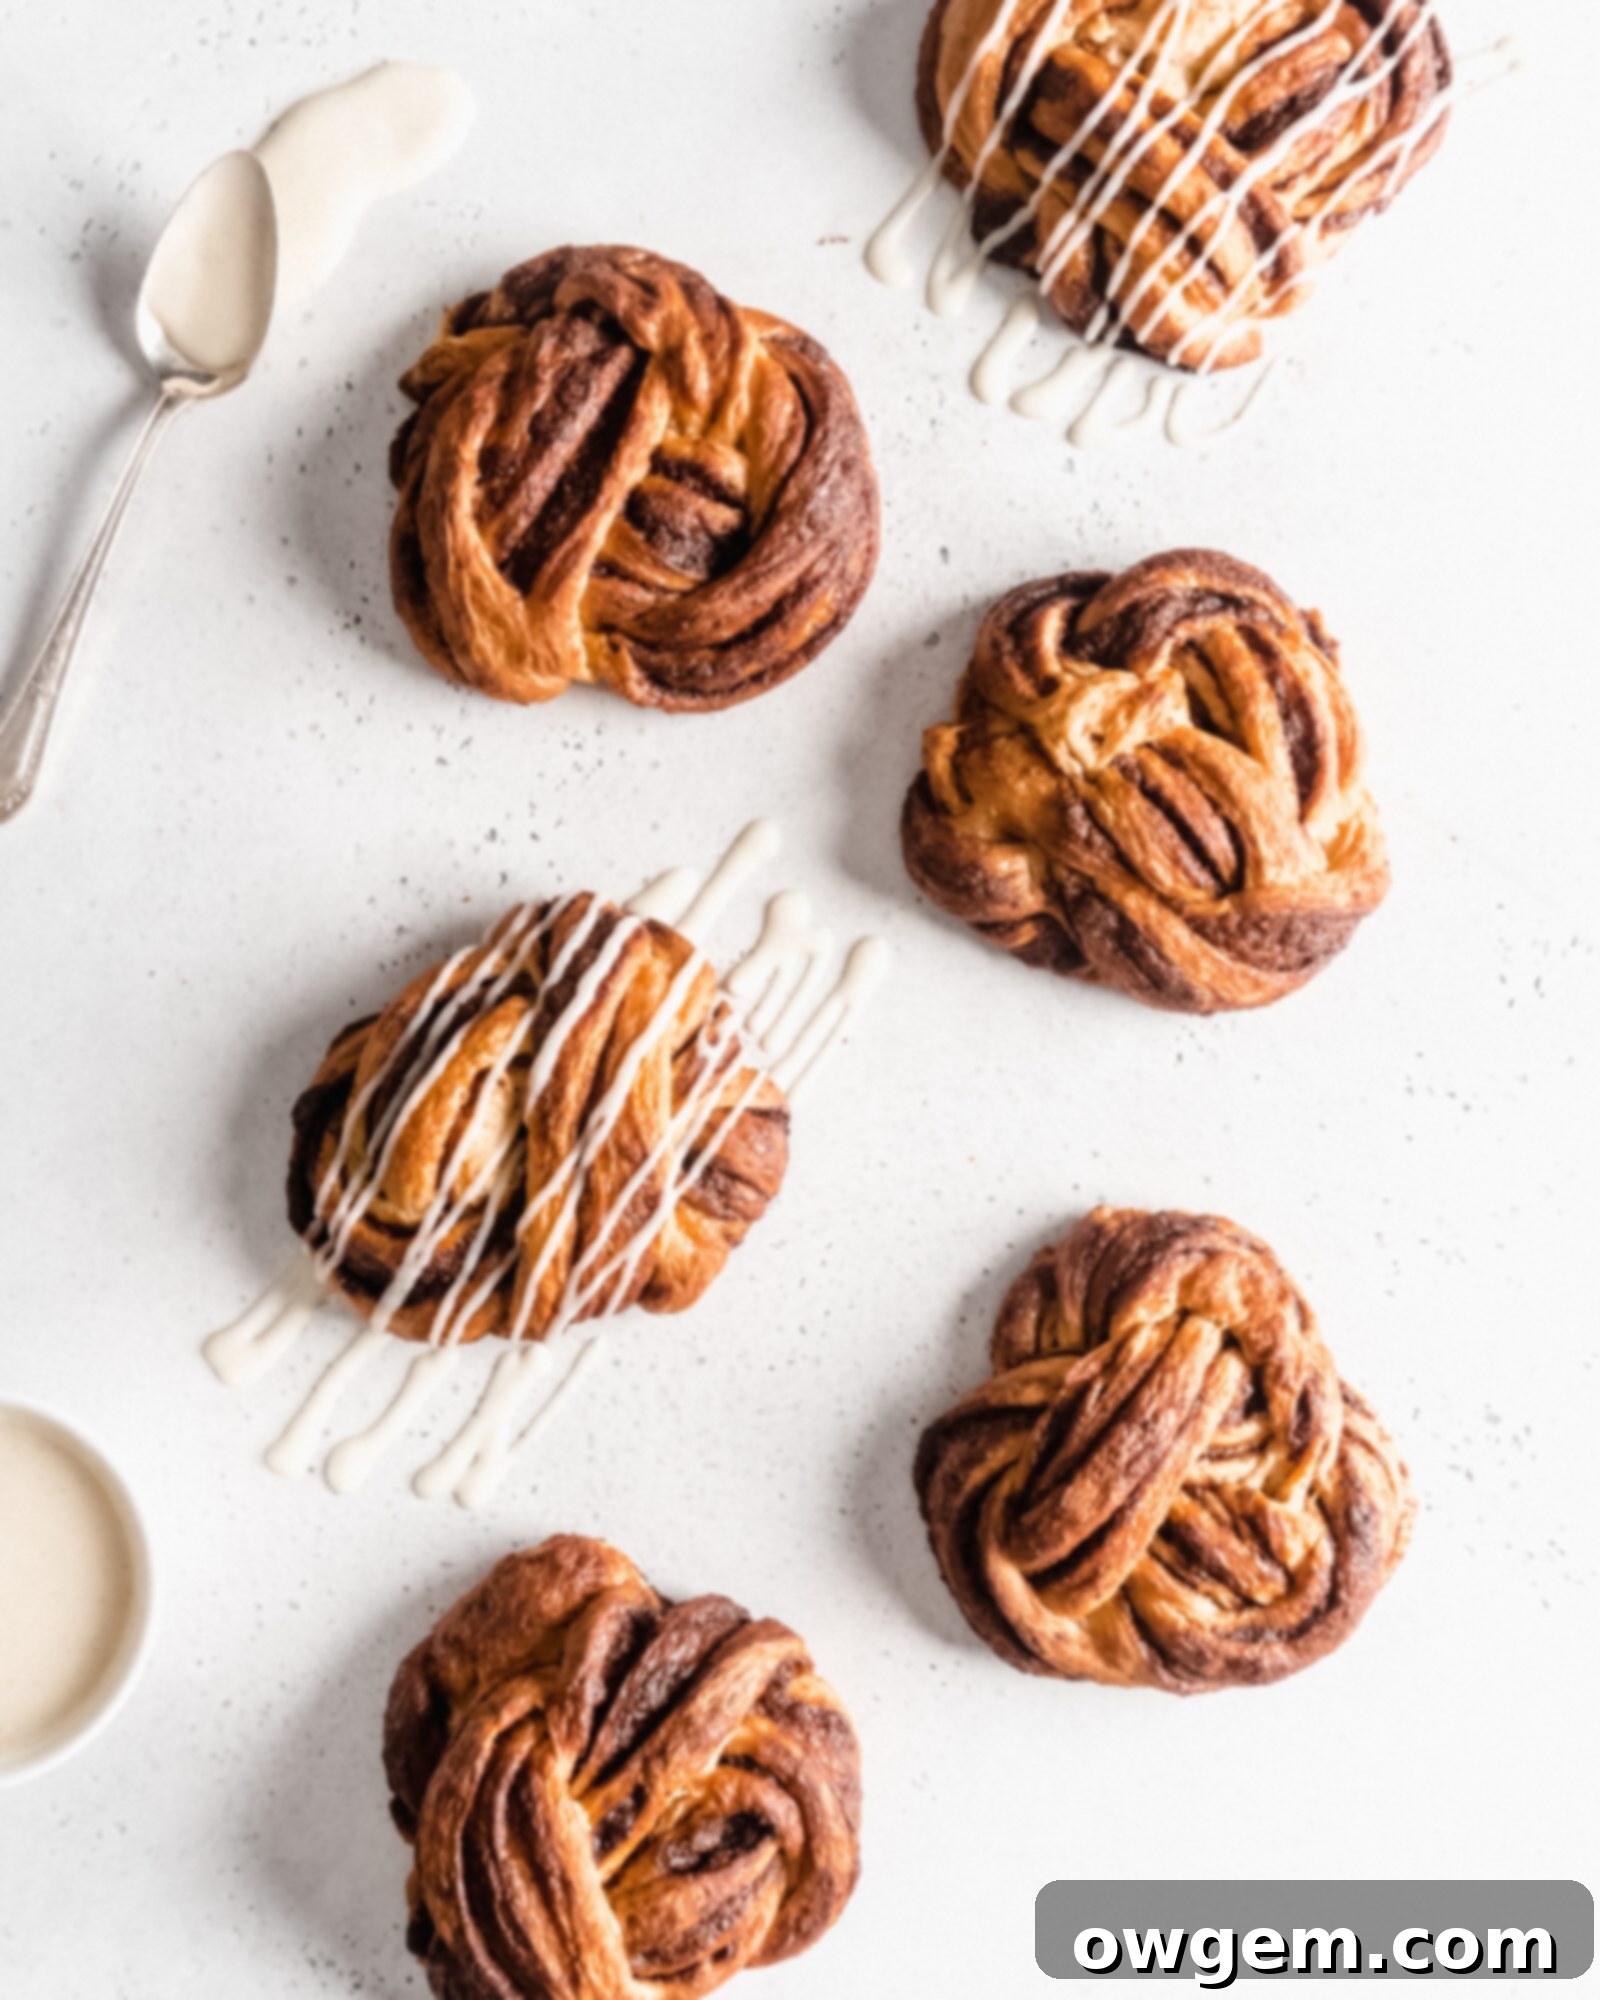
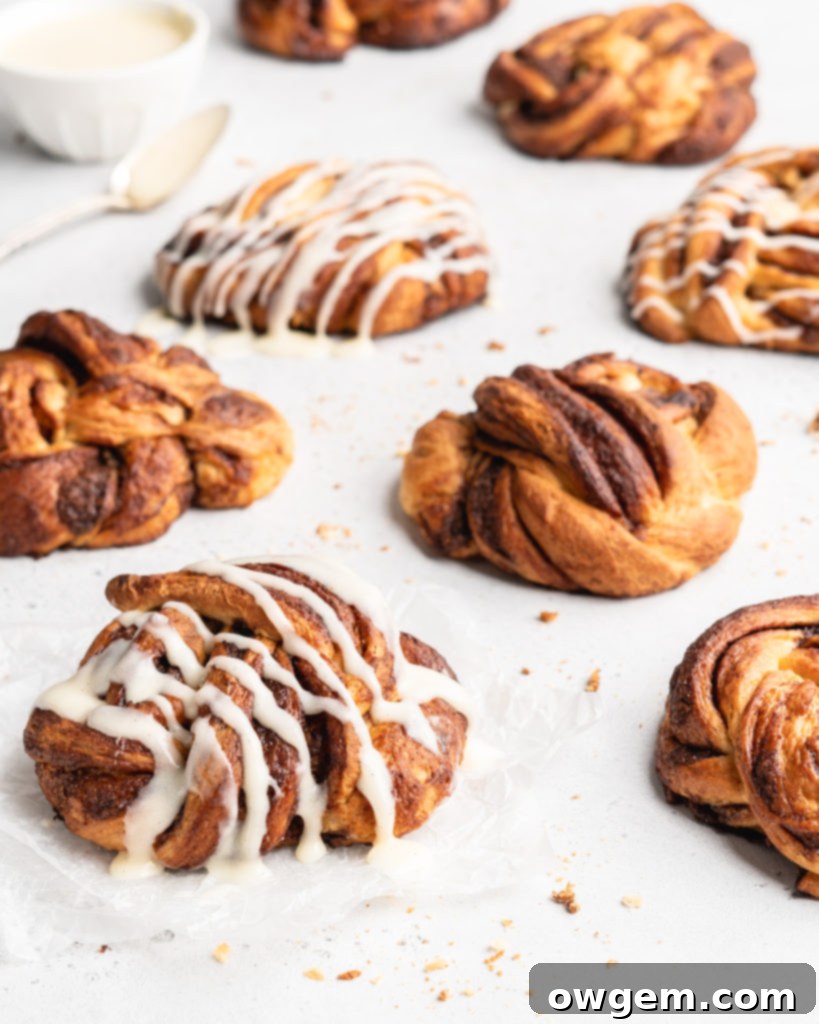
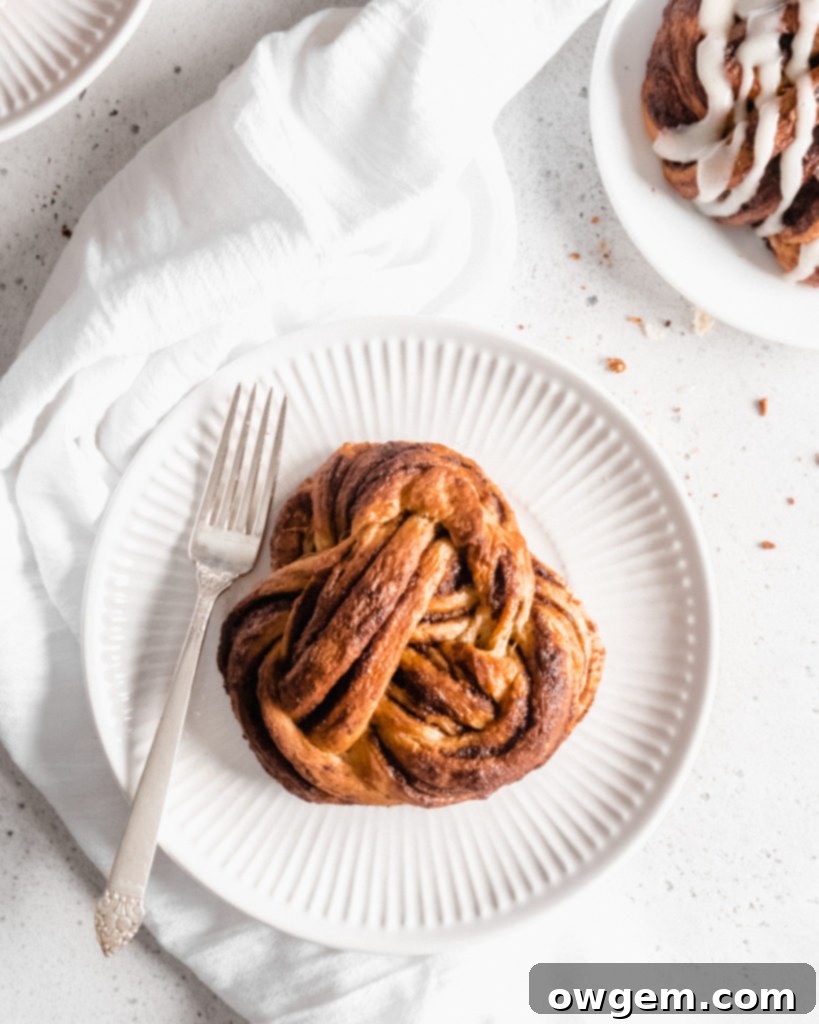
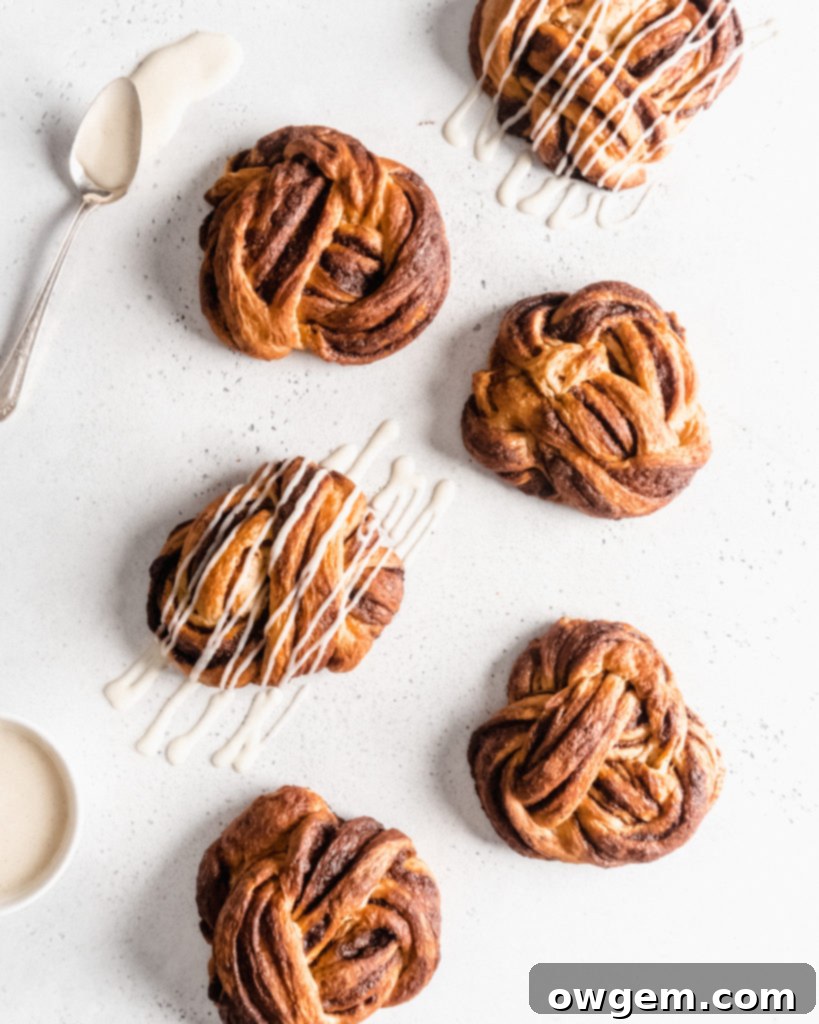
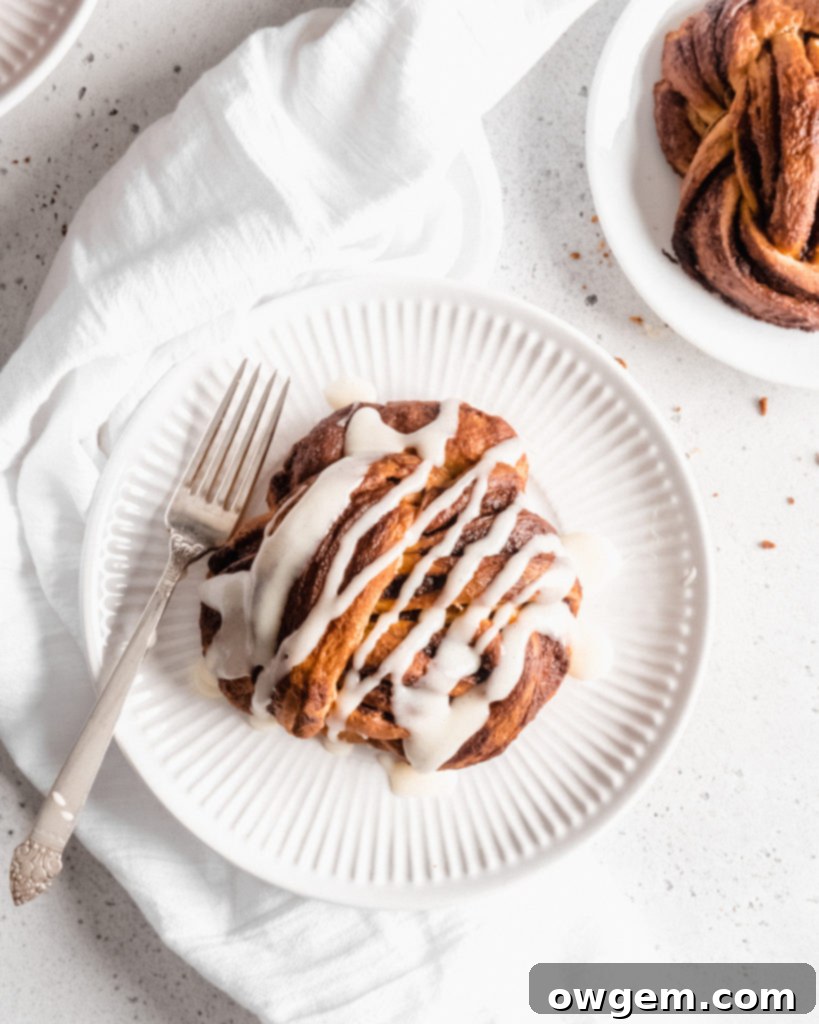
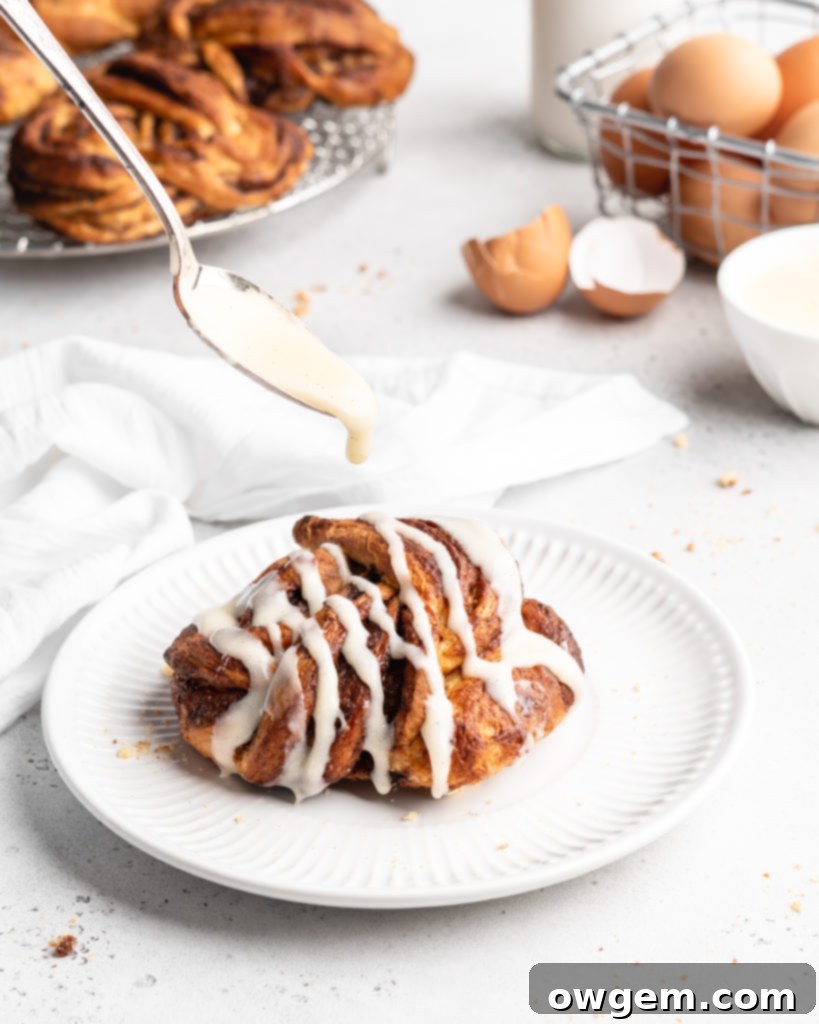
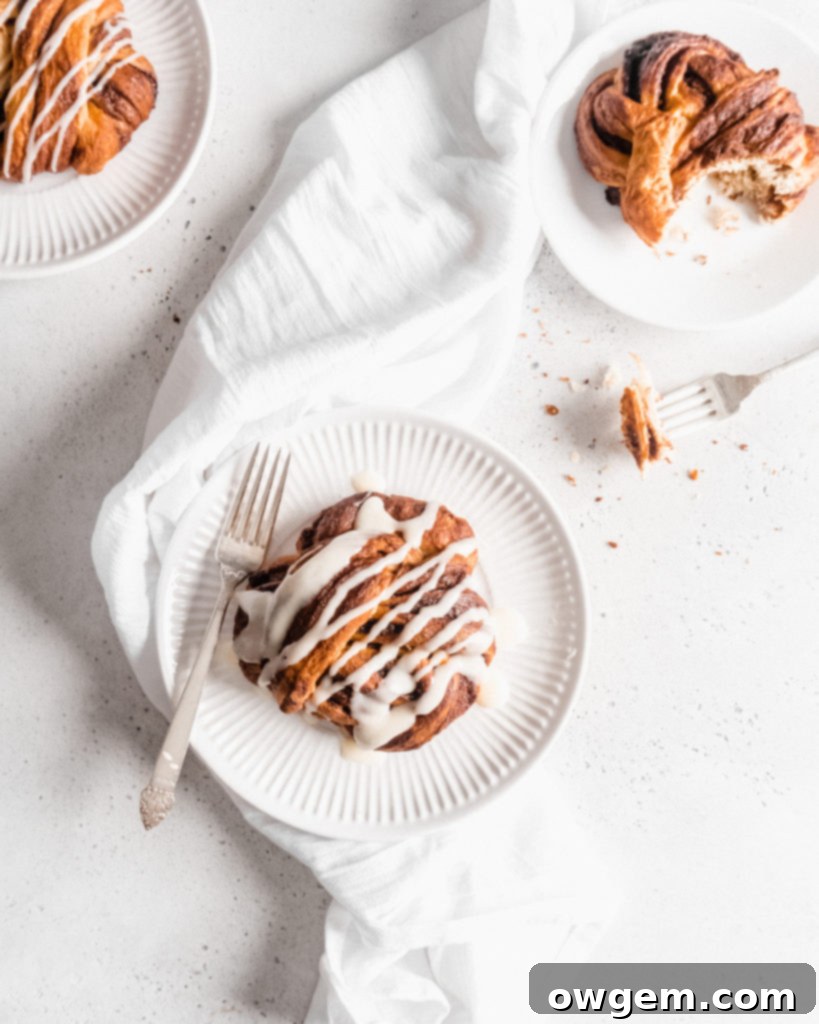
Prepare to elevate your baking experience! If you thought cinnamon buns couldn’t get any more captivating, allow us to introduce you to these extraordinary Cinnamon Brioche Babka Knots. These aren’t just pastries; they are edible works of art, combining the beloved sweet cinnamon filling with the incredibly rich, tender dough of brioche, all beautifully wrapped into an elegant knotted package. While they involve a few more distinct steps than your average cinnamon bun, the stunning visual appeal and superior taste make every moment spent in the kitchen utterly worthwhile. Perfect for breakfast, brunch, or a delightful treat any time of day, these Cinnamon Brioche Babka Knots are divine on their own. For an extra touch of indulgence, consider serving them with a generous drizzle of luscious, sweet, and tangy cream cheese frosting.
Cinnamon Babka Knots vs. Traditional Cinnamon Buns
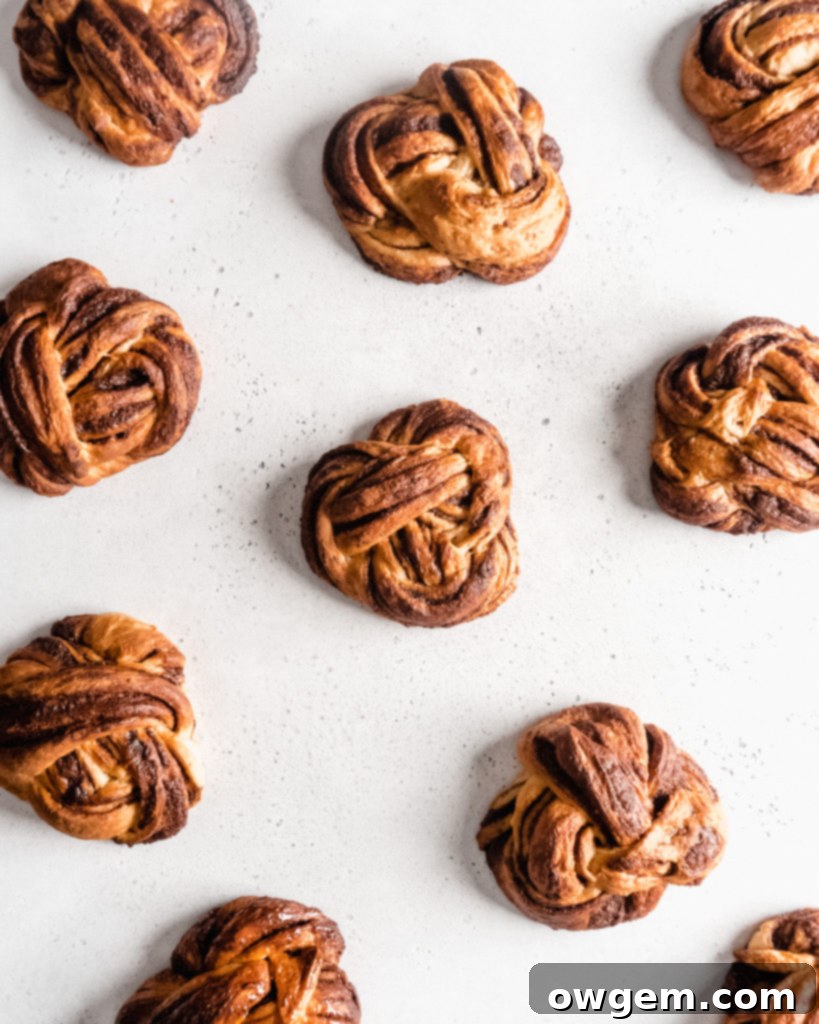
You might be wondering, “Why go through the extra effort for babka knots when a classic cinnamon bun is so comforting?” The answer lies in both aesthetics and unparalleled flavor. Firstly, these babka knots are undeniably more beautiful and intricate than typical cinnamon buns. Their unique braided and knotted structure makes them incredibly eye-catching and truly awe-inspiring. Seriously, every time these are served, guests invariably comment on how “pretty” or “cute” they are, often mistaking them for something bought from an artisan bakery! While everyone cherishes a good cinnamon bun, the babka knot offers a refreshing and elevated take on a familiar favorite, transforming a simple treat into a showstopper.
The second, and perhaps most compelling, reason to choose these over traditional cinnamon buns is the unparalleled richness and buttery texture of the brioche dough. This dough is essentially an enriched bread dough, akin to challah or classic brioche, meaning it contains a generous amount of fat – primarily in the form of butter and egg yolks. This makes the resulting bread exceptionally soft, incredibly fluffy, and wonderfully tender, with a subtle sweetness that perfectly complements the spicy cinnamon filling. Each bite is a luxurious experience, far surpassing the texture and richness of most standard cinnamon bun doughs. It’s truly a treat that delights all the senses.
What is Babka? A Sweet History
Babka is a fascinating yeasted bread with deep Jewish origins, particularly prevalent in Eastern European Jewish communities. It’s characteristically made from an enriched dough – similar to challah or brioche – that is lavishly filled. While the most globally popular filling today is often chocolate, babka can also feature cinnamon, fruit, or nut pastes. The traditional process involves spreading the sweet filling over the rolled-out dough, then rolling it into a log. This log is then typically sliced lengthwise and braided, creating a visually stunning loaf with beautiful swirls of dough and filling throughout. The intricate pattern isn’t just for show; it ensures a delightful distribution of flavor in every slice.
Interestingly, babka is believed to have originated from Jewish grandmothers who cleverly utilized leftover scraps from making challah bread, another beloved enriched Jewish bread. Rather than discarding these precious scraps, they would twist them together with nuts or seeds and bake them. This resourceful practice evolved over time into the filled and braided loaves we recognize today. Because of this heritage, the dough used for babka is quite similar to challah, boasting a rich, soft texture due to its high butter and egg content. Babka knots, as featured in this recipe, are a delightful variation on the traditional babka loaf. Instead of one large bread, this method creates individual, perfectly portioned buns. Each portion is topped, cut, braided, and then artfully wrapped into its own distinct knot, offering both convenience and an even more charming presentation. This technique ensures that each serving is a complete, beautiful package of swirled dough and cinnamon goodness.
How to Make Cinnamon Brioche Babka Knots: A Step-by-Step Guide
Crafting these cinnamon brioche babka knots is a rewarding baking project that, while requiring a few specific steps, is entirely manageable and yields spectacular results. My preferred method utilizes a stand mixer with a dough hook, which makes the kneading process significantly easier. Follow these detailed steps to achieve perfect, pillowy knots every time.
First Steps: Activating Yeast and Preparing Wet & Dry Ingredients
Begin by gently warming your milk to approximately 100°F (38°C). This temperature is crucial for activating the yeast without killing it. Pour the warm milk into a measuring cup or small bowl, then sprinkle the active dry yeast over the surface. Stir briefly to combine, then set it aside for about 5-10 minutes. You’ll know the yeast is alive and ready when the mixture becomes delightfully frothy and bubbly, indicating the yeast is actively fermenting. While the yeast is blooming, prepare your other components. In a separate medium-sized bowl, whisk together the eggs, granulated sugar, and vanilla extract until they are well combined and slightly pale. In yet another bowl, whisk together the all-purpose flour, a pinch of cinnamon (for the dough itself!), and kosher salt. Once your yeast-milk mixture is frothy, add it to the bowl of your stand mixer. Then, incorporate the egg mixture and the flour mixture into the stand mixer bowl. Using a sturdy wooden spoon, mix all the ingredients together until a very shaggy, somewhat sticky dough begins to form. This initial mixing ensures all components are roughly combined before the heavy-duty kneading begins.
Forming the Enriched Brioche Dough
Attach the dough hook to your stand mixer and start beating the shaggy dough on medium speed. At first, the dough will look quite rough and uneven, but as it kneads, it will gradually come together and appear more uniform. This phase is crucial for developing gluten, which gives the bread its structure. Once the dough has formed a cohesive ball and looks smooth on the surface, it’s time to incorporate the butter. This is a key step for brioche dough! Begin adding the very soft, room-temperature unsalted butter, one tablespoon at a time. It’s imperative to allow each addition of butter to be fully incorporated into the dough before adding the next. This slow incorporation creates a rich, emulsified dough. If you add the butter too quickly, the dough might become greasy and difficult to work with. After all the butter has been added, continue to beat the dough for another 5 to 8 minutes. The dough should transform into a smooth, elastic, and slightly tacky consistency. It should pull away cleanly from the sides of the bowl but still stick a little to the bottom, indicating it’s perfectly hydrated and well-kneaded. For troubleshooting, if the butter struggles to incorporate, try stopping the mixer and manually kneading the butter into the dough with your hands for a minute or two. The warmth from your hands can help. Alternatively, if the dough feels overly wet, you can add a tiny bit more flour, but do so very slowly – a tablespoon at a time – until the butter integrates smoothly and the dough reaches the desired texture. Avoid adding too much flour, as this can make your brioche tough.
Proofing the Dough: The First Rise for Flavor and Texture
By now, your brioche dough should be beautifully tacky, smooth, and highly elastic. It should have a slight stickiness, adhering gently to the bottom of the bowl but cleanly detaching from the sides. This texture is ideal for a rich, tender crumb. Carefully transfer the dough into a large bowl that has been lightly greased with oil or cooking spray. Cover the bowl tightly with plastic wrap to prevent the dough from drying out, and place it in a warm, draft-free spot. A slightly warm oven (turned off, with just the light on) or a sunny windowsill can work wonders. Allow the dough to rise for approximately one hour, or until it has visibly doubled in size. This first rise, also known as bulk fermentation, is crucial for developing the rich flavor and airy texture of the brioche. Once doubled, the dough is now ready for the exciting part: portioning, rolling, topping, slicing, braiding, and knotting! After these intricate steps and a second, shorter rise, your babka knots will look beautifully puffed up, light, and perfectly prepared for the oven, promising a truly delightful baked good.
How to Assemble, Cut, and Braid Your Babka Knots
Assembling and braiding these cinnamon brioche babka knots is the most artistic part of the process, transforming simple dough into beautiful pastries. While it requires a little patience and attention to detail, the steps are straightforward and incredibly rewarding.
Filling & Cutting the Dough Logs
First, prepare a large baking sheet by lining it with parchment paper; this will prevent sticking and make cleanup easier. Lightly flour your work surface to prevent the dough from sticking. Turn the proofed brioche dough out onto this surface and divide it into 6 equal portions. Precision here helps ensure uniform knots. Take one portion of dough and, using a rolling pin, roll it out into a rectangle approximately 4 inches wide by 12 inches long, ensuring the long side is facing you. This elongated shape is essential for creating the beautiful swirls. Next, evenly spread the prepared cinnamon filling over the entire surface of the rolled-out dough, leaving a small ½-inch strip bare at the very top (the edge furthest from you). This bare strip is critical for sealing the log. Lightly brush a bit of water onto this ½-inch bare strip; the water acts as an adhesive. Then, starting from the side closest to you, tightly roll the dough away from you into a long, even log shape, just as you would when making traditional cinnamon buns. Try to keep the thickness consistent throughout the log. Once rolled, use a sharp serrated knife to carefully slice the log in half lengthwise. This creates two long strips, exposing the gorgeous layers of cinnamon filling. Repeat this entire process for each of the remaining 5 dough portions.
Braiding for Beautiful Swirls
Now comes the braiding! Take the two sliced strips from one log. Place them side-by-side on your work surface with the cut, exposed edges facing upwards to showcase the cinnamon swirls. To begin braiding, form an ‘X’ shape with the two strips, overlapping them slightly in the center. Working from the center outwards, interweave the two strips by folding them over one another, alternating left over right, then right over left. It’s a simple, continuous motion that creates a beautiful, twisted effect. Continue this braiding pattern until you reach the end of the strips, then firmly pinch the ends together to seal them. Flip the braided piece and repeat the braiding process on the other half of the ‘X’ (the unbraided portion), again pinching the ends tightly to secure. This method results in a single, elegantly braided piece of dough, ready for knotting. The key is to keep the exposed cinnamon layers facing up as much as possible to maximize their visual impact.
Mastering the Knotting Technique
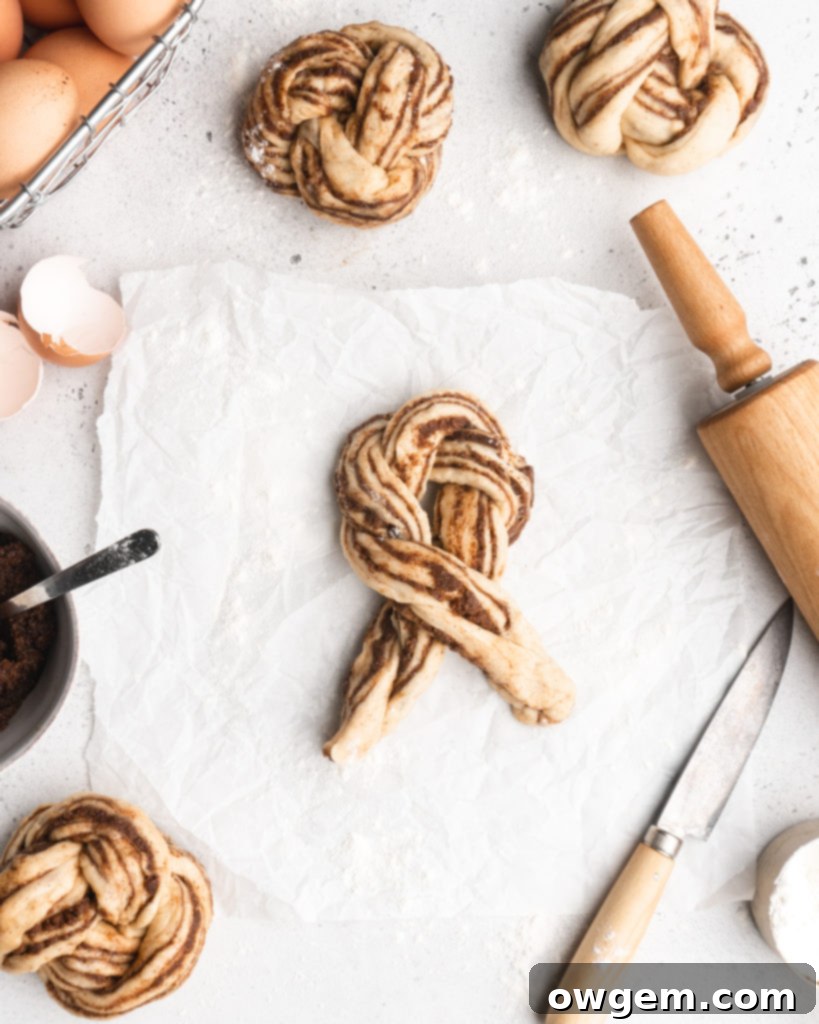
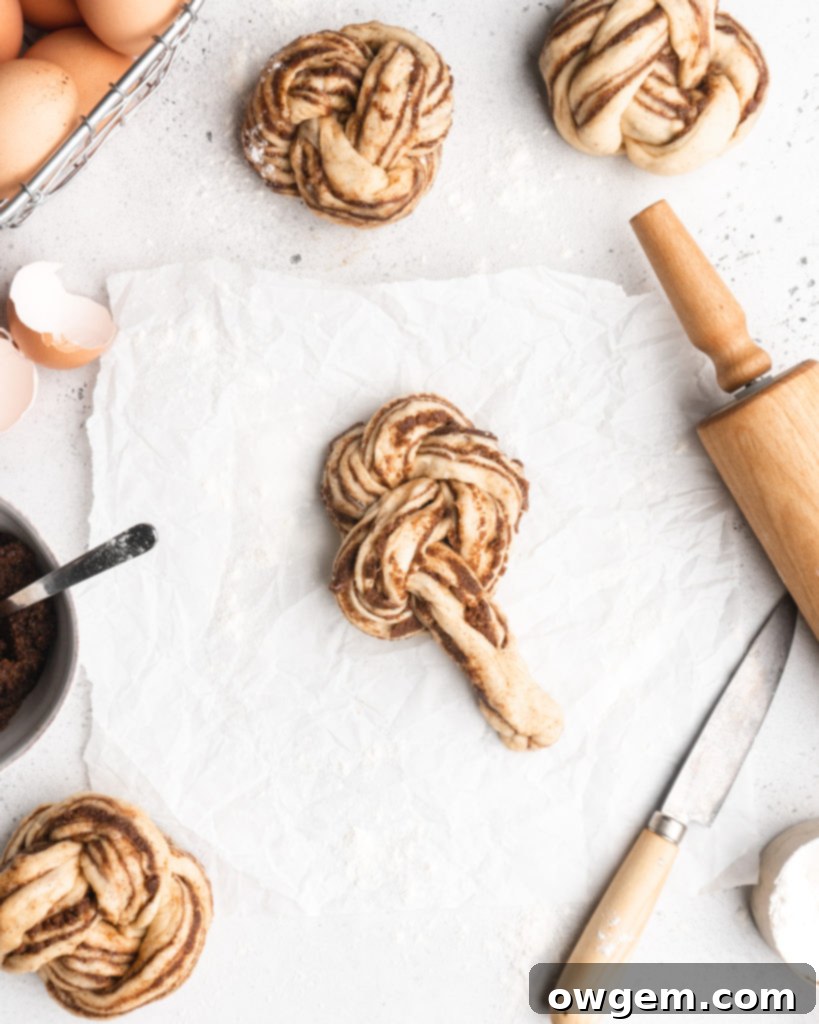
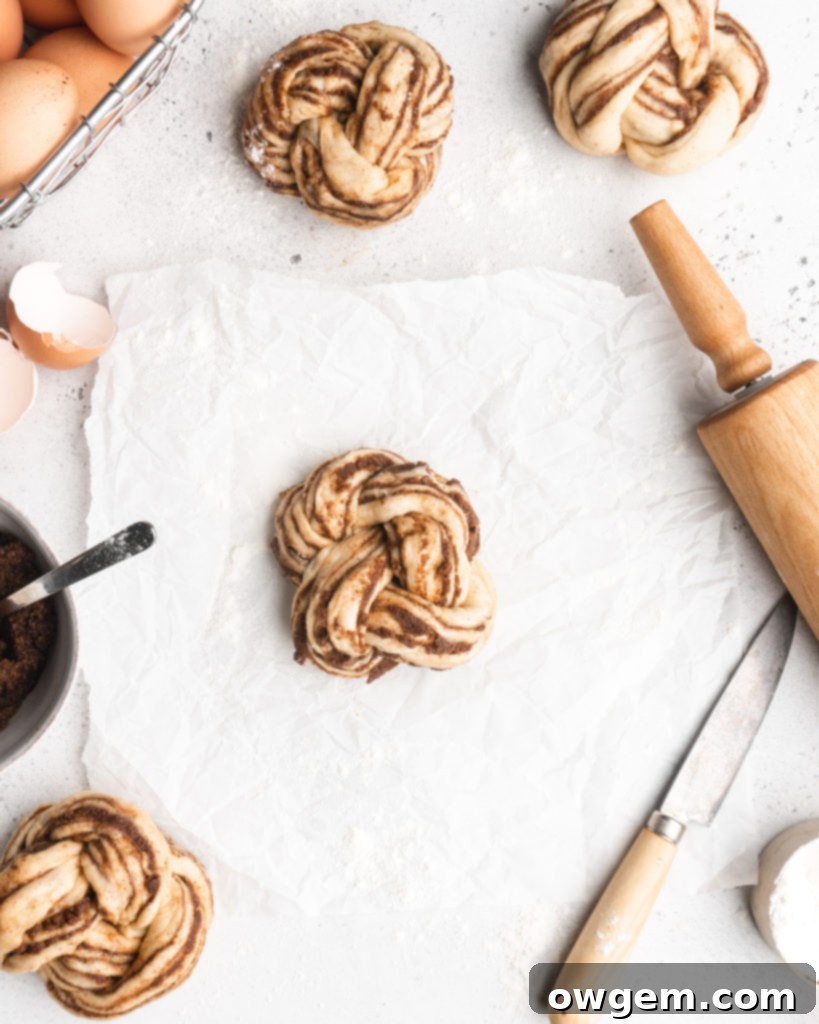
With your beautifully braided dough ready, it’s time for the final shaping: knotting. This step is surprisingly simple but adds a touch of artisanal charm. Take one end of the braided dough strip and form a circle, bringing the two ends together. Allow both ends to extend past the circle, with one end lying on top of the other. Next, take the bottom end of the dough and fold it over into the center of the circle you’ve just created. Then, take the top end and tuck it underneath the bottom end, pulling it gently through the center of the circle to form a secure knot. Pinch the very ends together firmly to ensure the knot holds its shape during baking. Once all the individual babka knots have been formed and placed on your prepared baking sheet, cover them lightly with plastic wrap and allow them to rise once more in a warm place for about 20-30 minutes. This second rise (proof) is essential for achieving light, airy, and beautifully puffed-up knots that are ready for the oven.
Here is a helpful video demonstrating the knotting technique.
Get the Recipe:
Cinnamon Brioche Babka Knots
Pin
Rate
Ingredients
Brioche Dough
- 1/2 cup Whole Milk,, warmed to 100°F (38°C)
- 2 ¼ tsp Active Dry Yeast
- 7 tbsp Unsalted Butter,, cut into small pieces, at slightly warmer than room temperature (should be very soft and pliable)
- 1/4 cup White Sugar
- 1 Large Egg
- 1 Egg Yolk
- 1 tsp Vanilla Extract
- 1/4 tsp Cinnamon
- 1/2 tsp Kosher Salt
- 3 cups All-Purpose Flour,, plus more if needed, measured correctly †
Cinnamon Filling
- 1 cup Dark Brown Sugar
- 3 tbsp Cinnamon
- 1/3 cup Very Soft Unsalted Butter
Instructions
Making the Cinnamon Filling
-
Add all filling ingredients (dark brown sugar, cinnamon, and very soft unsalted butter) to a medium bowl and mix thoroughly with a spoon or spatula until well combined and paste-like.
Making the Brioche Dough
-
In a measuring cup or small bowl, combine the warm milk (100°F or 38°C) and active dry yeast. Stir gently to ensure the yeast is moistened, then let it sit for about 10 minutes until the mixture becomes visibly foamy. This indicates the yeast is active. Meanwhile, in a separate medium mixing bowl, whisk together the large egg, egg yolk, vanilla extract, and white sugar until well combined and slightly lighter in color.
-
Pour the egg mixture, the foamy yeast-milk mixture, all-purpose flour, kosher salt, and 1/4 tsp cinnamon into the bowl of a stand mixer. Using a large wooden spoon or rubber spatula, mix all the ingredients together until a rough, shaggy dough forms and no dry streaks of flour remain. Attach the dough hook to the stand mixer and turn it to medium speed. Beat the dough until it comes together into a more cohesive ball and appears uniform, about 5-7 minutes.
-
While the dough hook is still kneading, begin adding the very soft butter, one tablespoon at a time. It’s crucial to wait until each tablespoon is fully incorporated into the dough before adding the next one. This process ensures the butter is emulsified into the dough, leading to a rich, tender texture. After all the butter has been added, continue to beat the dough for an additional 5-8 minutes, or until the dough becomes smooth, elastic, and slightly tacky. It should cling slightly to the bottom of the bowl but pull away cleanly from the sides.
-
Transfer the dough to a large, greased bowl, ensuring it has enough space to expand. Cover the bowl tightly with plastic wrap to prevent a skin from forming, then place it in a warm, draft-free area to rise. Allow it to proof for approximately one hour, or until the dough has impressively doubled in size.
Shaping and Braiding the Babka Knots
-
Prepare a large sheet pan by lining it with parchment paper; set aside. Gently turn the risen dough out onto a lightly floured work surface. Divide the dough into 6 equal pieces; a kitchen scale can help with accuracy for uniform knots. Take one piece of dough and roll it out into a rectangle measuring approximately 4 inches wide by 12 inches long, positioning the long side directly in front of you.
-
Evenly spread about one-sixth of the cinnamon filling over the entire surface of the rolled-out dough, making sure to leave an approximately 1/2-inch strip bare along the top edge (the edge furthest from you). If your filling is too firm, microwave it in 15-second intervals until it’s very soft and spreadable. Lightly brush the bare 1/2-inch strip with a bit of water. Starting from the bottom edge (closest to you), tightly roll the dough away from you into a neat log. Aim for consistent thickness throughout the log.
-
Using a sharp serrated knife, carefully slice the dough log in half lengthwise, exposing the beautiful layers of cinnamon filling. Place the two sliced halves side-by-side with the cut edges facing upwards. Now, form an ‘X’ shape with the two strips, overlapping them in the center. Working from the center outwards, interweave the two strips by gently folding one over the other in an alternating pattern (e.g., left over right, then right over left). Continue to the end and tightly pinch the ends together to seal. Flip the braided section and repeat the braiding process on the other half of the ‘X’, again pinching the ends securely.
-
To knot the braided dough: take the ends of one braided strip and bring them together to form a circle. Allow both ends to extend past the circle, with one end naturally resting on top of the other. Take the bottom end and fold it over, tucking it into the center of the circle. Then, take the top end and thread it underneath the bottom end, pulling it through the center to complete the knot. Gently pinch the ends together to secure the knot’s shape.
-
Carefully transfer each formed knot onto the prepared sheet pan, leaving some space between them. Lightly cover the pan with plastic wrap or a clean kitchen towel and place it in a warm spot for a second rise, allowing the knots to proof for another 20-30 minutes, or until they look visibly puffed up.
Baking the Babka Knots
-
Preheat your oven to 350°F (175°C). Once preheated, carefully place the sheet pan with the risen babka knots into the oven and bake for approximately 30 minutes. The knots should be golden brown and cooked through; an internal temperature of 200°F (93°C) ensures they are perfectly baked.
Notes
Source: Dough recipe adapted from Bon Appetit
More Delightful Sweet Treat Recipes
If you’ve enjoyed making these Cinnamon Brioche Babka Knots, you’ll love exploring other sweet treats that are perfect for sharing or savoring on your own. Each recipe offers a unique flavor profile and a delightful baking experience, from comforting scones to elegant macarons. Expand your baking repertoire with these irresistible options:
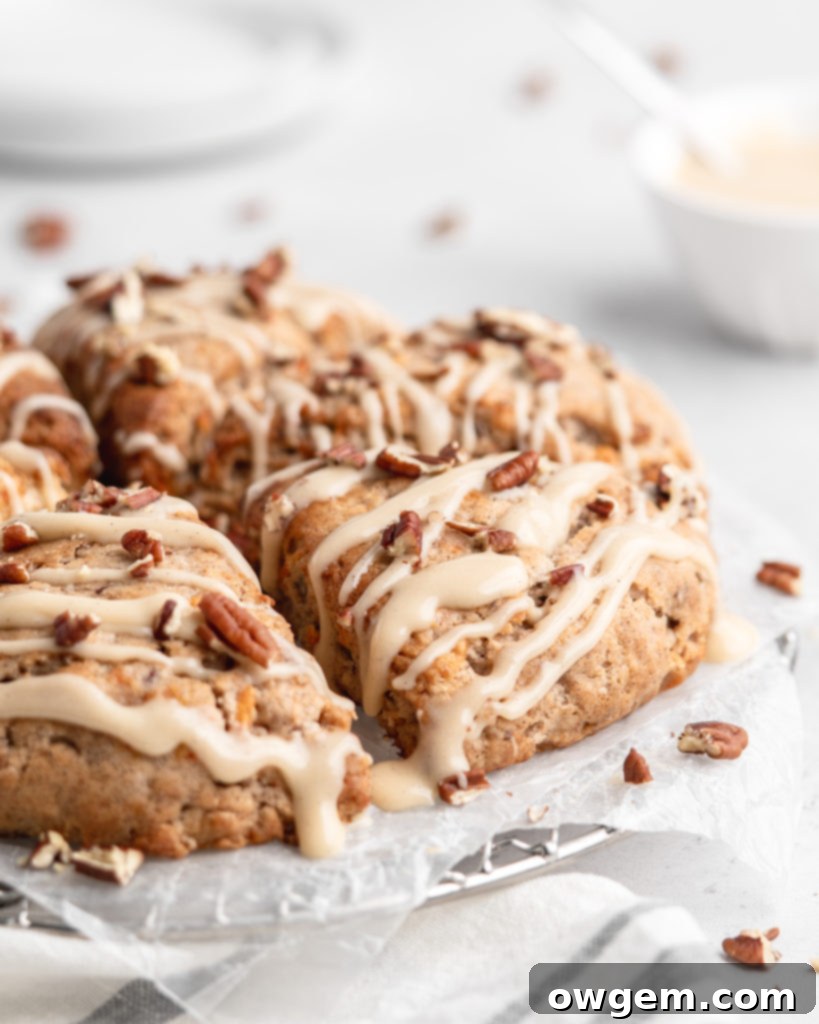
CARROT CAKE SCONES WITH MAPLE CREAM CHEESE GLAZE: These tender, flaky scones capture all the warm, spiced flavors we adore in a classic carrot cake. Elevated with a hint of walnuts and a generous drizzle of a sweet, creamy maple cream cheese glaze, they make for an exquisite breakfast or afternoon tea treat. They’re surprisingly simple to make and always a crowd-pleaser.
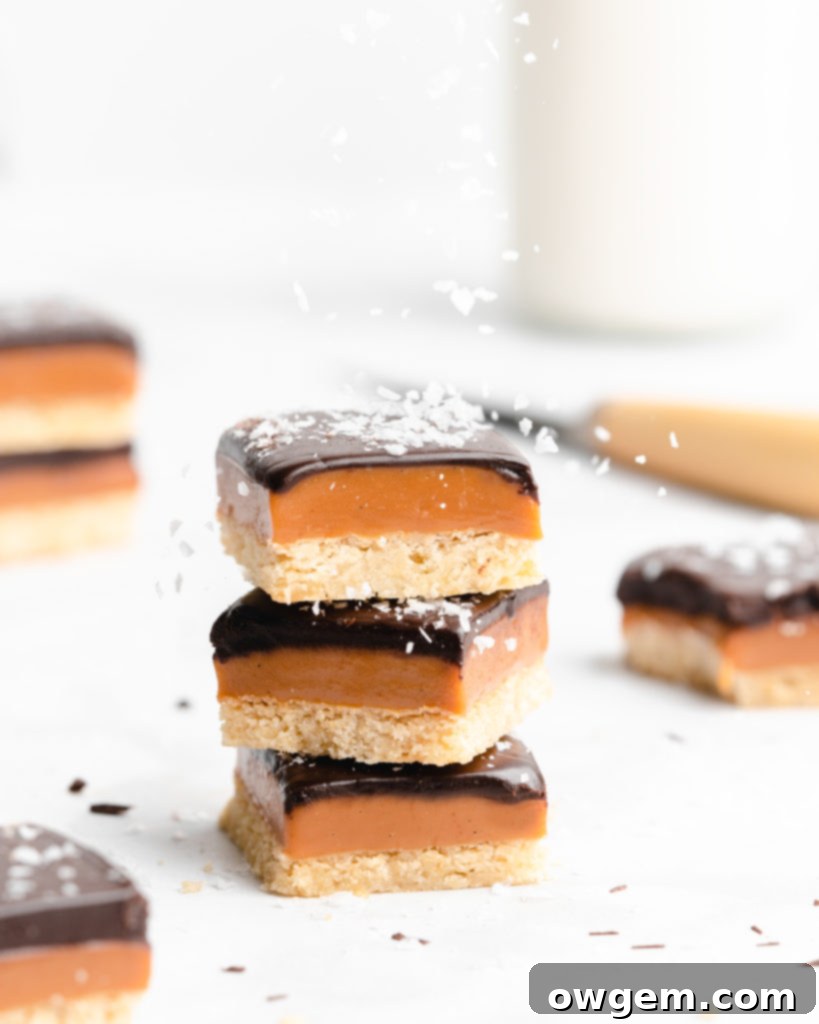
BOURBON SALTED CARAMEL SHORTBREAD BARS: Indulge in layers of pure decadence with these bars. A rich, buttery shortbread crust forms the base, topped with a thick, luscious layer of caramel infused with aromatic bourbon and fragrant vanilla bean. This sweet and boozy caramel is then crowned with a thin, snappy layer of dark chocolate and a sprinkle of flaky sea salt, creating a perfect balance of flavors and textures.
RED VELVET MACARONS: These adorable little French confections deliver all the much-loved flavors of a classic red velvet cake in an elegant, bite-sized form. Featuring delicate, crisp red velvet shells and a creamy, tangy cream cheese filling, these macarons are as beautiful to look at as they are delicious to eat. Perfect for gifting or a fancy dessert spread.

