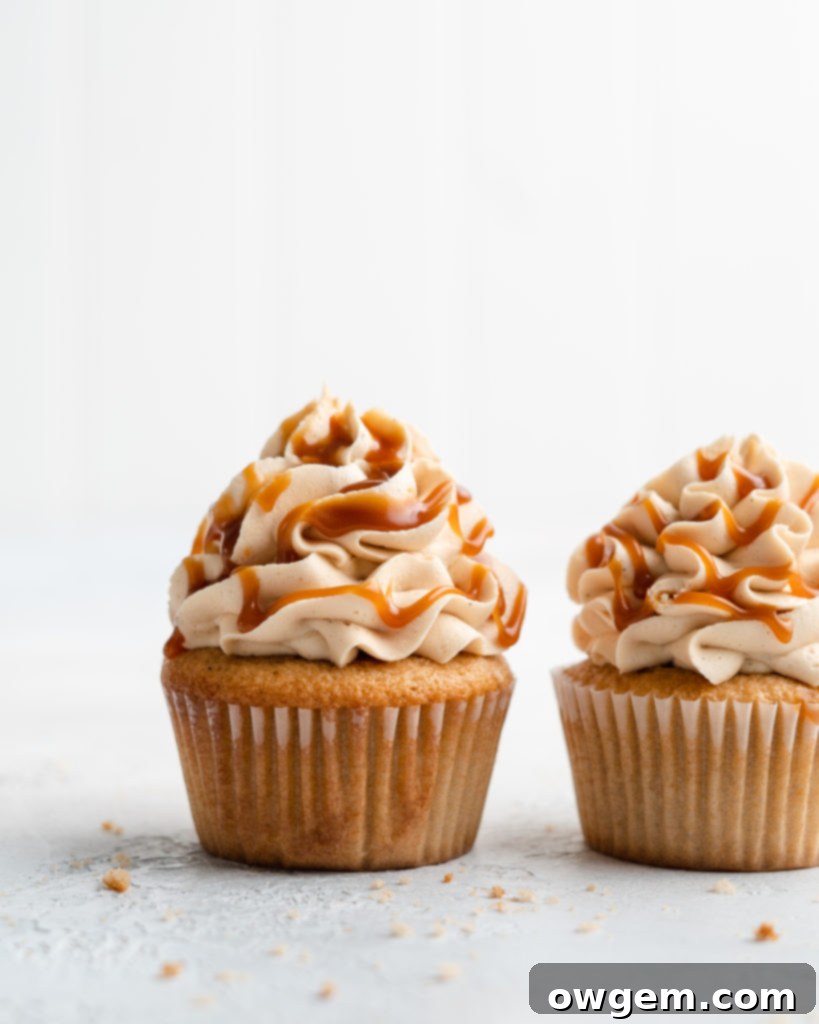
Delightful Earl Grey Cupcakes with Homemade Salted Caramel Buttercream: A Perfect Flavor Harmony
Embark on a delightful culinary journey with these exquisite Earl Grey Cupcakes, perfectly complemented by a rich, homemade Salted Caramel Buttercream. Each tender, moist cupcake is bursting with the distinctive, aromatic notes of Earl Grey tea, thanks to a carefully infused batter. This elegant tea flavor finds its ideal partner in a deeply sweet and incredibly creamy salted caramel frosting, crafted from scratch to achieve unparalleled depth and smoothness. The bright, citrusy essence of bergamot from the Earl Grey is beautifully balanced by the luscious, buttery sweetness and hint of salt in the caramel, creating a dessert experience that is both sophisticated and utterly comforting. These cupcakes are more than just a sweet treat; they’re a celebration of contrasting yet complementary flavors, designed to impress and satisfy even the most discerning palates.
The Essence of Earl Grey: Infusing the Milk for Unforgettable Flavor
The foundation of truly exceptional Earl Grey Cupcakes lies in the meticulous process of infusing the milk with the tea. This isn’t just a casual addition; it’s a critical step designed to extract the maximum flavor and aromatic compounds from the tea leaves, directly imbuing the cupcake batter with its unique character. To begin this fragrant journey, gently heat 1 cup of whole milk in a small, non-reactive saucepan over medium heat. Keep a close watch on the milk, as you want it to reach a bare simmer – look for tiny bubbles just beginning to form around the edges of the pan. The key is to avoid a rolling boil, which can negatively impact the milk’s texture and the delicate tea flavors.
Immediately remove the saucepan from the heat once simmering. Then, introduce 4 Earl Grey tea bags into the warm milk. If you prefer using loose-leaf tea, use 3-4 teaspoons contained within a tea infuser or a fine mesh tea ball. The quantity of tea might seem generous for the amount of milk, but this high concentration is essential. The distinct bergamot oil, which gives Earl Grey its signature bright and citrusy aroma, needs to be potent enough to permeate the entire cake batter and stand out amidst the other ingredients. Gently stir the tea bags into the milk to ensure they are fully submerged, allowing the warm liquid to begin extracting their essence.
A crucial next step for optimal infusion and to prevent an undesirable “skin” from forming on the milk is to cover the surface directly with a piece of plastic wrap. This creates a tight seal, trapping the aromatic steam and forcing the fragrant compounds back into the milk as it cools. With the plastic wrap in place, transfer the saucepan to the refrigerator. Allow the milk to cool down and steep for a minimum of 2 hours. For an even more intense and pronounced tea flavor, you have the option to let it infuse overnight, ensuring the milk is thoroughly chilled and has absorbed every nuance of the Earl Grey. This prolonged chilling period also ensures the infused milk won’t affect the temperature of your other cupcake ingredients when combined.
After the designated infusion time, carefully remove the tea bags from the chilled milk. Press each tea bag gently against the side of the saucepan using a spoon to release any residual tea-infused milk still held within the leaves before discarding them. This ensures you capture every precious drop of that flavorful Earl Grey essence. What you’ll be left with is a beautifully fragrant, subtly colored milk, rich with the complex notes of bergamot and black tea, ready to be incorporated into your cupcake batter. This concentrated tea milk is the cornerstone of these cupcakes, promising a delightful aromatic surprise and an authentic Earl Grey experience with every single bite.
Crafting the Perfect Earl Grey Cupcakes: Step-by-Step Excellence
Creating these tender, moist, and delightfully aromatic Earl Grey cupcakes is a rewarding baking endeavor. Each step is designed to contribute to the perfect texture and ensure the rich tea flavor shines through. Follow these detailed instructions to achieve cupcake perfection:
1. Infuse the Milk: The Flavor Foundation
As elaborated in the previous section, this initial step is paramount for achieving a robust Earl Grey flavor. In a small saucepan, gently heat 1 cup of whole milk until it just begins to simmer, then immediately remove it from the heat. Submerge 4 Earl Grey tea bags (or 4 teaspoons of loose-leaf tea in an infuser) into the warm milk and stir gently. Cover the surface of the milk directly with plastic wrap to prevent a skin from forming and to lock in the aromatics. Place the saucepan in the refrigerator and allow it to steep and cool completely for at least 2 hours, or preferably overnight for a deeper tea essence. Once fully infused and chilled, remove and discard the tea bags, pressing them softly to extract any remaining flavorful milk.
2. Aerate Eggs, Sugar, and Vanilla
In the bowl of your stand mixer, fitted with the paddle attachment, combine 3 large eggs, 1 teaspoon of pure vanilla extract, and 1 ½ cups of granulated white sugar. Beat these ingredients together on high speed for an impressive 3-4 minutes. During this time, the mixture will undergo a significant transformation: it will become noticeably pale in color, thick, light, and wonderfully fluffy, ideally tripling in volume. This crucial creaming process incorporates a substantial amount of air, which is fundamental for creating the light, airy, and tender crumb texture characteristic of excellent cupcakes. Remember to pause and scrape down the sides of the bowl midway through to ensure all ingredients are thoroughly combined and no sugar crystals remain untouched.
3. Gently Incorporate the Oil for Ultimate Moisture
After achieving a voluminous egg and sugar mixture, reduce the stand mixer speed to medium-low. Slowly and steadily drizzle ¾ cup of vegetable oil into the bowl while the mixer continues to run. The key here is patience; adding the oil gradually allows it to emulsify properly with the egg mixture, integrating smoothly without deflating the air you’ve just incorporated. Once all the oil has been added, continue beating the mixture for an additional 30 seconds to ensure complete integration. The vegetable oil is a secret weapon for moist cupcakes, contributing significantly to their soft and tender texture without adding a heavy flavor.
4. Prepare and Combine Dry Ingredients
In a separate, medium-sized mixing bowl, whisk together the dry components: 2 ¼ cups (which is approximately 270g) of all-purpose flour (measured correctly, ideally by spooning into a cup and leveling, or by weight), 1 ½ teaspoons of baking powder, ½ teaspoon of table salt, and ¼ teaspoon of ground cardamom. Whisking these dry ingredients together thoroughly ensures that the leavening agent (baking powder) and salt are evenly distributed throughout the flour, leading to uniform rising and seasoning in your cupcakes. The addition of cardamom, though subtle, introduces a warm, slightly spicy, and aromatic note that beautifully complements the citrusy bergamot of the Earl Grey, adding an extra layer of gourmet complexity to the flavor profile.
5. Alternate Wet and Dry for a Perfect Batter Consistency
With your stand mixer set to its lowest speed, begin incorporating the dry and wet mixtures alternately into the egg-oil base. Start by adding approximately one-third of the whisked dry ingredients. Beat only until just combined – overmixing flour at this stage can develop gluten excessively, resulting in tough, chewy cupcakes. Next, add half of your cooled, Earl Grey-steeped milk and beat until it’s just incorporated into the batter. Continue this pattern: add the next third of the dry ingredients, mix briefly, then add the remaining half of the steeped milk, mix briefly, and finally, finish with the last third of the dry ingredients. Mix only until the last streaks of flour have disappeared from the batter. It’s perfectly fine, and often desirable, to have a few small lumps rather than an overmixed, dense batter. This alternating method helps maintain the batter’s delicate structure and ensures tenderness.
6. Bake to Golden Perfection and Cool
Once your luscious Earl Grey cupcake batter is complete, distribute it evenly among prepared cupcake pans lined with paper liners. Fill each liner about two-thirds full to allow ample space for the cupcakes to rise beautifully without overflowing. Place the pans into a preheated oven set to 350°F (175°C) and bake for approximately 18-22 minutes. The exact baking time can vary slightly depending on your oven, so keep an eye on them. You’ll know they’re done when the tops are lightly golden and a wooden skewer or toothpick inserted into the center of a cupcake comes out clean, with no wet batter clinging to it. Once baked, remove the cupcakes from the oven and allow them to cool in their pans for a few minutes before carefully transferring them to a wire rack. It is absolutely crucial that the Earl Grey cupcakes cool completely to room temperature before you attempt to frost them; applying buttercream to warm cupcakes will result in a melted, runny mess.
Mastering the Art of Homemade Salted Caramel
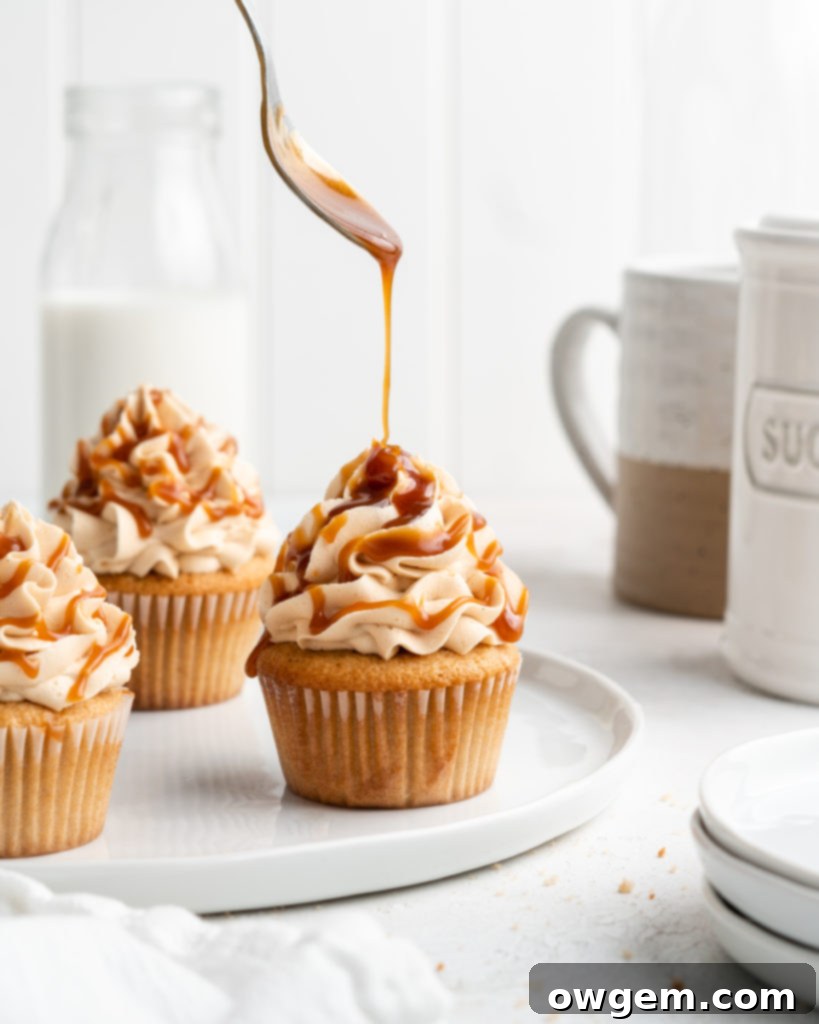
While the idea of making homemade salted caramel might initially seem daunting, often conjuring images of burnt sugar and sticky messes, it’s actually a surprisingly straightforward and incredibly rewarding process. With just a few simple ingredients and a watchful eye, you can create a luxurious, deeply flavored caramel in a mere 10 to 15 minutes of active cooking time. The unparalleled taste and texture of fresh, homemade caramel far surpass any store-bought alternative, and it’s absolutely worth the small effort for these special cupcakes. This rich, buttery, and perfectly balanced caramel will be the star of your buttercream, adding a depth of flavor that complements the bright Earl Grey perfectly.
Begin by combining 1 cup of white sugar and ¼ cup of water in a large, heavy-bottomed saucepan. The size of the saucepan is important, as the mixture will bubble up significantly in later steps. Place it over medium heat and gently stir occasionally until all the sugar crystals have completely dissolved in the water. This initial stirring is crucial to ensure a smooth caramel base by preventing crystals from forming prematurely. Once the sugar has dissolved and the mixture begins to boil, increase the heat to medium-high. From this point forward, and this is perhaps the most vital rule for perfect caramel, **DO NOT STIR THE MIXTURE!** Stirring during the caramelization process can introduce air and cause the sugar to recrystallize, resulting in a grainy, unsmooth sauce. Instead, simply let it boil undisturbed, allowing the sugar syrup to transform into a beautiful, amber-colored liquid. You can gently swirl the pan if you notice uneven heating, but avoid direct stirring with a spoon or whisk. Observe the color carefully; it will go from clear to light yellow, then gradually deepen to a rich, golden amber. This is where the magic happens and the distinct caramel flavor develops.
Once the sugar mixture has reached a rich amber color – typically around 360°F (182°C) if you’re using a candy thermometer – immediately remove the saucepan from the heat. This is the moment to add your 6 tablespoons of cubed unsalted butter, which should be at room temperature. Add the butter in small pieces, whisking vigorously as you do so. Be prepared for a dramatic bubbling and rising of the mixture, accompanied by a lot of steam; this is normal as the butter cools the hot sugar. Continue whisking energetically until the butter is fully incorporated and the caramel begins to smooth out. If the butter seems to separate or the mixture looks oily, don’t panic! Simply continue whisking vigorously off the heat for another minute or two until it emulsifies into a smooth, cohesive sauce. The vigorous whisking helps to bring the mixture together.
Finally, carefully add ½ cup of heavy cream (be aware, it will bubble and hiss rapidly again as it hits the hot caramel, so add slowly and stand back), 1 teaspoon of pure vanilla extract, and 1 teaspoon of kosher salt to the caramel. Whisk everything together until the mixture is completely smooth and well-combined. The salt is essential here, as it acts as a flavor enhancer, cutting through the sweetness and allowing the complex, buttery notes of the caramel to truly sing, creating its signature “salted” characteristic. Once smooth, remove the caramel from the heat, allow it to cool for about 5 minutes, then transfer it to an airtight container. Cover it tightly and allow it to cool completely to at least room temperature before using. As it cools, it will thicken to a luscious, pourable consistency, perfect for drizzling and mixing into buttercream. This homemade salted caramel is wonderfully versatile and can be stored in an airtight container in the refrigerator for up to 2 weeks, or even in the freezer for approximately 3 months, making it a fantastic component to prepare in advance for future baking projects.
Troubleshooting Homemade Caramel: Common Issues and Solutions
Even experienced bakers can encounter challenges when making caramel. Here are a few common issues and how to address them:
- Crystallization: If your caramel turns grainy or sandy, it’s likely due to sugar crystals clinging to the sides of the pan or stirring the mixture prematurely during the boiling phase. You can often salvage crystallized caramel by adding a tablespoon or two of hot water and gently reheating it over low heat without stirring, until the crystals dissolve again. Using a pastry brush dipped in water to “wash down” sugar crystals from the sides of the pan during the boiling process can also help prevent this.
- Split or Greasy Caramel: If your caramel appears separated or oily after adding the butter or cream, it means the fats and sugars haven’t emulsified properly. Don’t discard it! Remove it from the heat and whisk very vigorously for several minutes. If it’s still not coming together, you can gently warm it over very low heat while continuously whisking until it becomes smooth and cohesive. A slight separation is common initially, but vigorous whisking usually brings it back together.
- Burnt Caramel: Unfortunately, truly burnt caramel (dark brown with a bitter smell) is usually beyond saving. It’s better to start over than to try and use it, as it will impart an unpleasant flavor to your cupcakes. A heavy-bottomed pan and a watchful eye are your best defenses against burning.
The Grand Finale: Luscious Salted Caramel Buttercream
The perfect crowning glory for these aromatic Earl Grey cupcakes is a smooth, creamy, and irresistibly sweet Salted Caramel Buttercream. This frosting is not only visually appealing but also adds another layer of complex flavor, marrying beautifully with the tea-infused cake. Making it is simple, especially once you have your homemade salted caramel ready. This buttercream is rich, decadent, and provides the ideal textural and flavor contrast to the tender cupcakes.
Crafting Your Silky Buttercream
In the bowl of a stand mixer fitted with the whisk attachment, add 2 cups of unsalted butter that has been softened to ideal room temperature (it should yield slightly when pressed, but not be greasy). Beat the butter on high speed for about 5-7 minutes until it becomes incredibly light, fluffy, and visibly doubled in volume. This initial creaming process is absolutely crucial for achieving a smooth, airy buttercream, as it incorporates a significant amount of air and creates a pale, stable base for the frosting. Don’t rush this step!
Next, reduce the mixer speed to low and gradually add 7 cups of sifted confectioners’ sugar, one cup at a time. Sifting the sugar is a non-negotiable step for a truly silky-smooth frosting, as it removes any lumps and ensures a pristine texture. Once all the sugar is incorporated, the mixture will be quite thick. Increase the speed to medium-high and beat for another 2-3 minutes, scraping down the sides of the bowl as needed, until the frosting is light, fluffy, and looks like whipped clouds again. This second whipping incorporates even more air and makes the buttercream truly pipeable.
Finally, pour in ½ cup of your cooled homemade salted caramel and 1 teaspoon of vanilla extract. Beat on medium speed until the caramel and vanilla are fully incorporated and the buttercream is homogenous, smooth, and perfectly flavored. Take a moment to taste the frosting and adjust for sweetness or saltiness if desired; a tiny pinch more salt can sometimes enhance the caramel flavor. If the buttercream seems too stiff for piping, you can add a tablespoon of milk or heavy cream at a time until it reaches your desired consistency. If it’s too loose, you can gradually add a bit more sifted confectioners’ sugar until it firms up.
Piping and Elegant Presentation
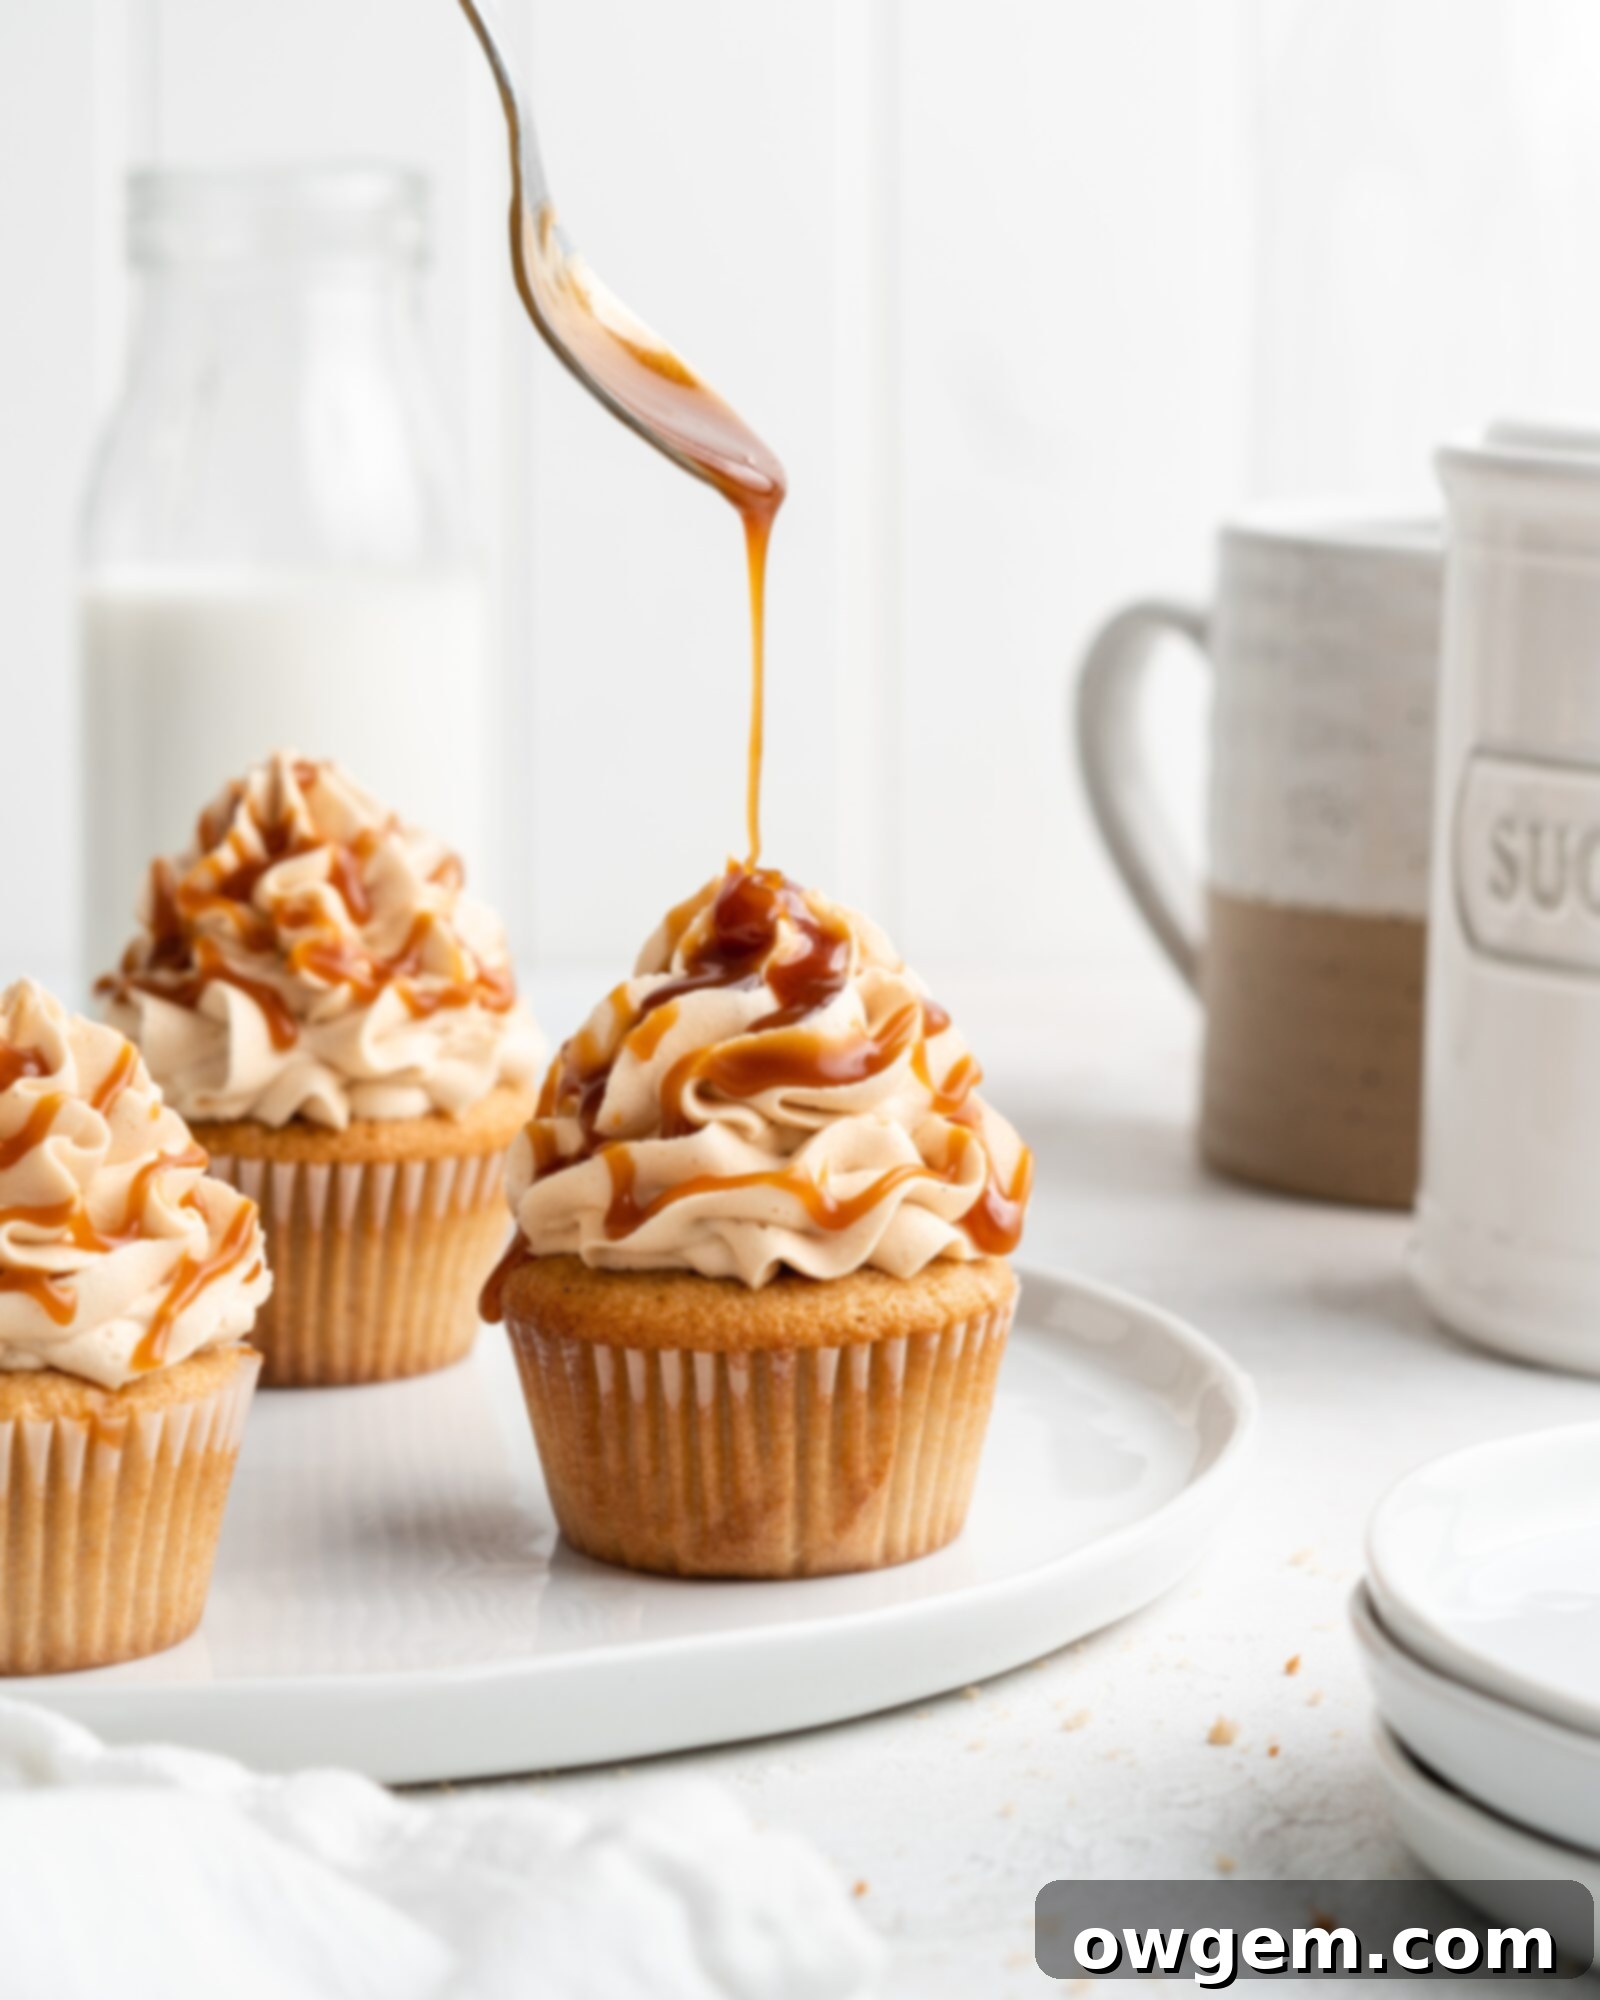
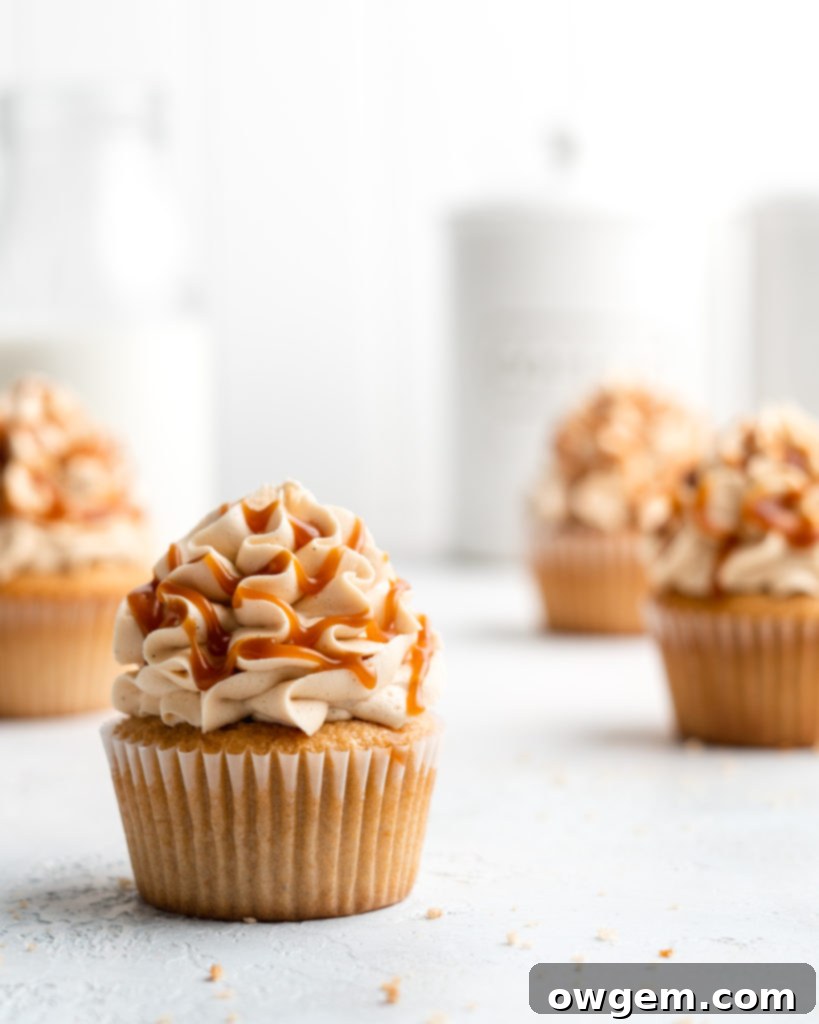
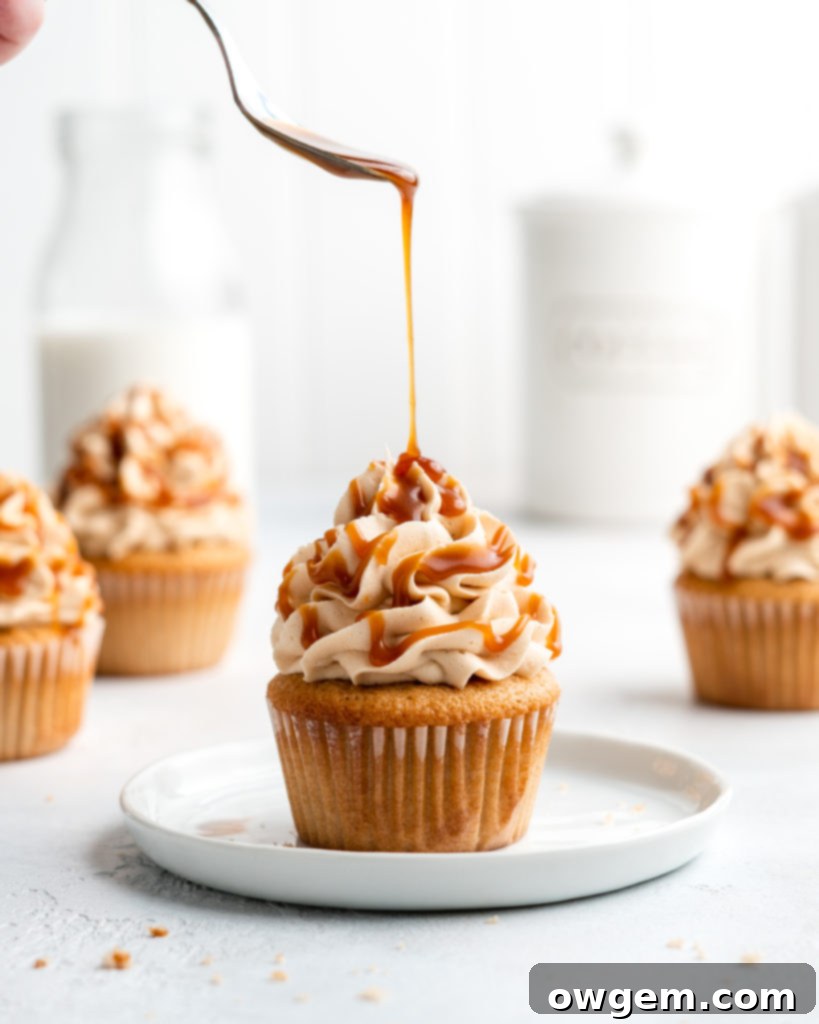
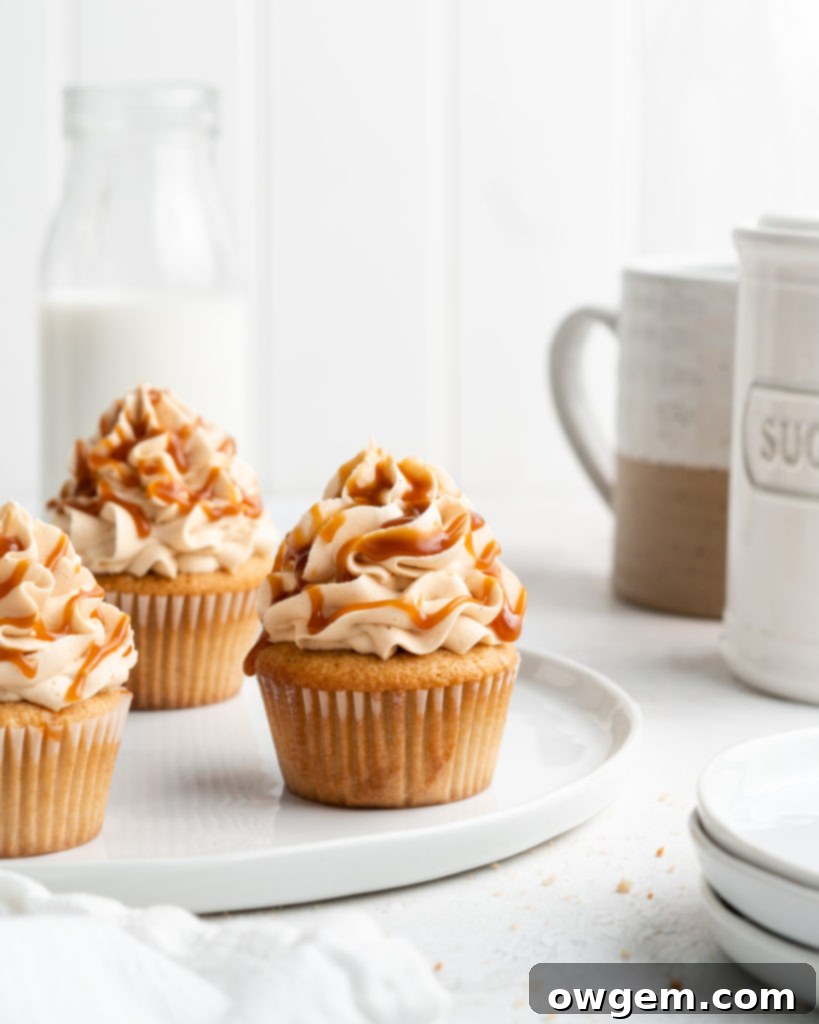
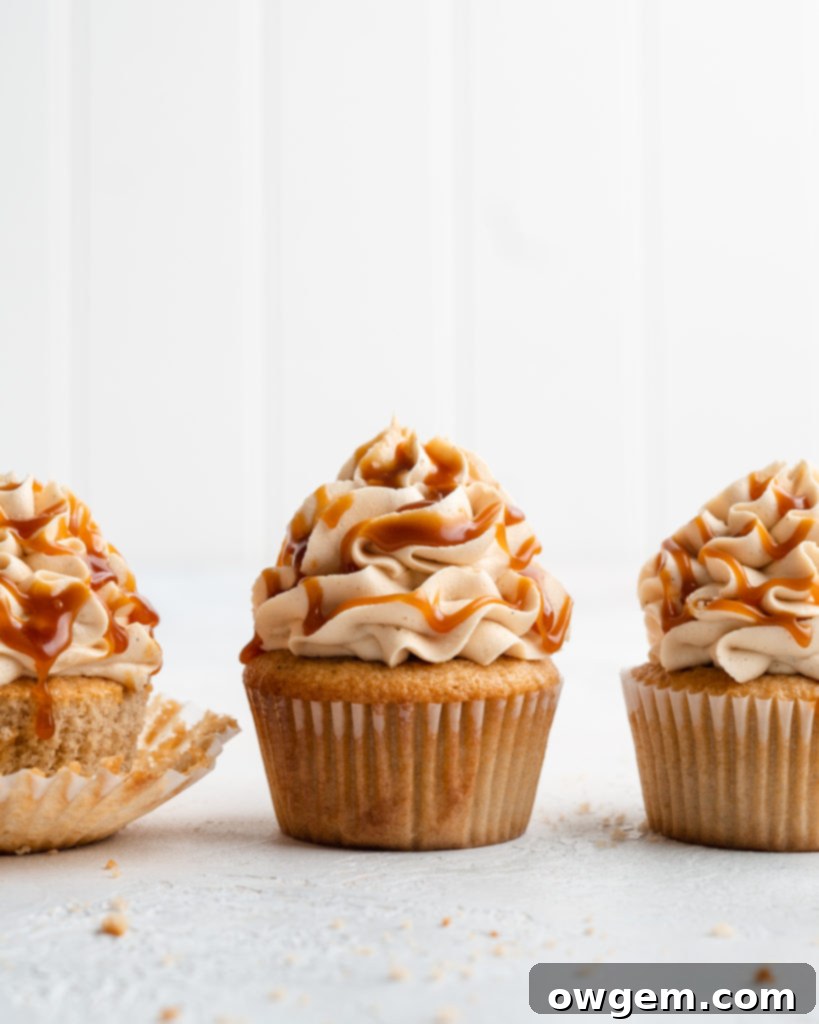
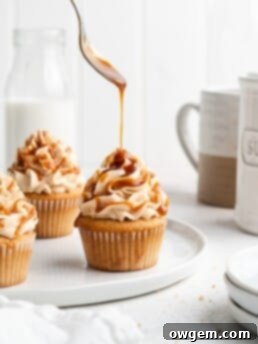
Once your luscious salted caramel buttercream is perfectly prepared, transfer it to a piping bag fitted with your favorite nozzle. A large star tip (like Wilton 1M) or a simple round tip creates beautiful swirls on cupcakes. Pipe generous swirls onto your completely cooled Earl Grey cupcakes, starting from the outside edge and working your way inward. For an extra touch of decadence and visual appeal, warm any remaining homemade salted caramel slightly (in the microwave for 10-15 seconds) to make it drizzly, then artfully drizzle it over the frosted cupcakes. A delicate sprinkle of flaky sea salt on top of the caramel drizzle can also enhance the “salted” aspect, add a beautiful sparkle, and provide a delightful textural contrast. These cupcakes are not just delicious; they are a feast for the eyes!
The Perfect Flavor Pairing: Earl Grey and Salted Caramel
The undeniable magic of these cupcakes truly lies in the harmonious and captivating interplay between the distinct flavors of Earl Grey tea and salted caramel. Earl Grey, renowned for its delicate black tea base infused with fragrant bergamot oil, offers bright, slightly citrusy, and subtly floral notes. This freshness, almost ethereal in its quality, provides a beautiful and intriguing contrast to the deep, rich, and intensely sweet profile of homemade salted caramel. The sweetness of the caramel is complex, with buttery undertones and a hint of toasty depth from the caramelized sugar. The salt in the caramel isn’t merely for a savory kick; it acts as a masterful flavor enhancer, skillfully cutting through the sweetness and allowing the myriad of other complex notes within the caramel to truly sing. When this dynamic duo is combined with the subtle, warm spiciness of cardamom incorporated into the cupcake batter, you achieve a sophisticated dessert that is incredibly well-balanced, wonderfully intriguing, and utterly addictive. Each bite offers a journey of flavors, from the initial floral-citrus burst to the lingering sweet and salty embrace, making these cupcakes a truly memorable treat.
Serving Suggestions and Creative Variations
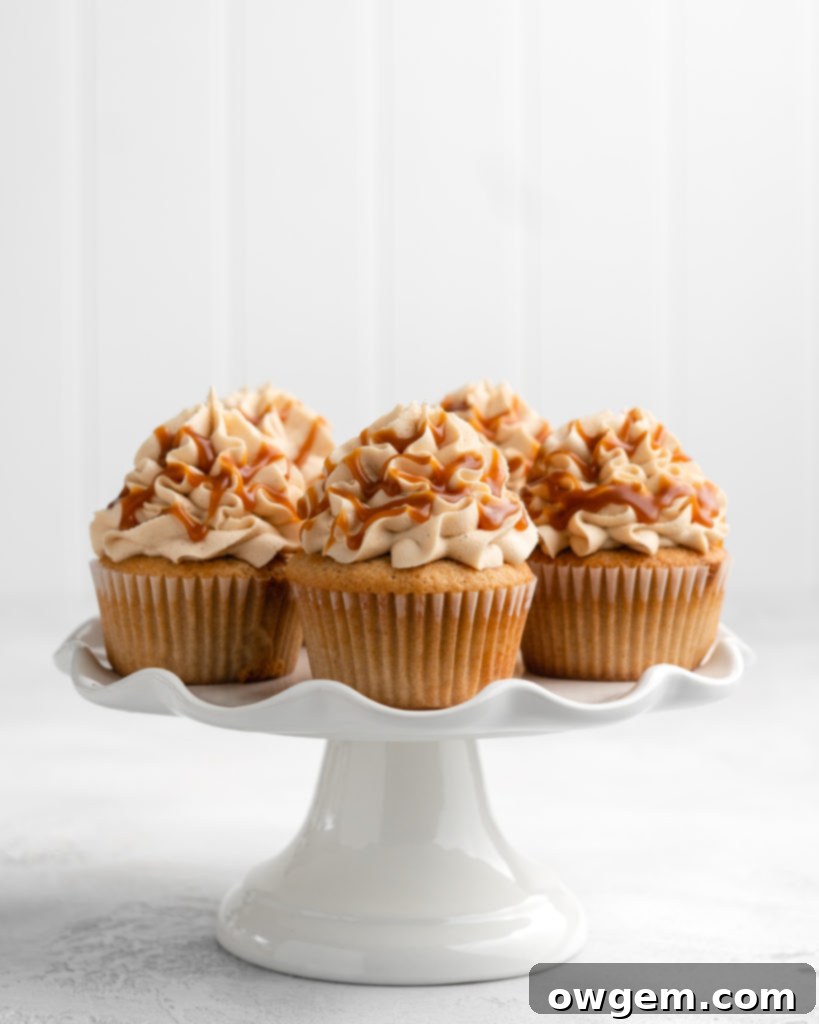
These Earl Grey Cupcakes with Salted Caramel Buttercream are a showstopper on their own, making them perfect for elegant tea parties, celebratory dessert tables, or simply as a luxurious treat to brighten any ordinary day. They pair wonderfully with a freshly brewed hot cup of black tea (perhaps even more Earl Grey to enhance the theme!), a robust artisanal coffee, or a refreshing glass of chilled milk. For an especially elegant presentation, arrange them on a tiered cake stand, allowing their beauty to shine. Consider serving them alongside a small bowl of extra salted caramel for guests who might want an additional drizzle.
For those feeling adventurous and eager to customize, consider these delightful variations to personalize your Earl Grey and Salted Caramel Cupcakes:
- Lemon Zest Boost: For an even brighter, more pronounced citrus note, add 1-2 teaspoons of finely grated lemon zest to the cupcake batter along with the wet ingredients. The lemon zest beautifully enhances the bergamot flavor present in the Earl Grey tea.
- Caramel Filled Surprise: Elevate the experience by coring the center of each cooled cupcake (using a small knife or a cupcake corer) and filling the cavity with a generous dollop of extra homemade salted caramel before piping on the buttercream. This creates a delightful hidden caramel center.
- Spiced Caramel: For a warmer, autumnal twist, infuse your heavy cream for the salted caramel with a cinnamon stick or a few whole cloves as it heats. Strain the spices out before adding the cream to the caramel.
- Alternative Tea Explorations: Don’t limit yourself to Earl Grey! Experiment with other strong, aromatic teas. Chai tea can create a wonderfully spicy cupcake, while a delicate lavender tea could offer a unique floral note. Adjust the quantity of tea based on its strength and your desired intensity.
- Nutty Crunch Topping: Add a delightful textural contrast by sprinkling a few crushed toasted pecans or walnuts on top of the caramel drizzle. The nutty crunch pairs wonderfully with the soft cupcake and creamy frosting.
- Chocolate Drizzle: For chocolate lovers, a fine drizzle of melted dark or milk chocolate over the salted caramel buttercream can add another layer of indulgence.
Whether you follow the recipe exactly or try a creative twist, these Earl Grey Cupcakes with Salted Caramel Buttercream are guaranteed to impress and satisfy any sweet tooth. They offer a refined yet comforting dessert that is perfect for any occasion. Enjoy the rewarding process of baking and the delicious rewards!
Get the Recipe:
Earl Grey Cupcakes with Salted Caramel Buttercream
Pin
Rate
Ingredients
Earl Grey Cupcakes
- 1 cup Whole Milk
- 4 Earl Grey Tea Bags
- 2 ¼ cups (270g) All Purpose Flour,, measured correctly †
- 1 ½ tsp Baking Powder
- 1/2 tsp Table Salt
- ¼ tsp Cardamom
- 1 ½ cups White Sugar
- 3 Large Eggs
- 1 tsp Vanilla Extract
- 3/4 cup Vegetable Oil
Salted Caramel
- 1 cup White Sugar
- 1/4 cup Water
- 6 tbsp Unsalted Butter,, at room temperature and cubed
- 1/2 cup Heavy Cream
- 1 tsp Vanilla
- 1 tsp Kosher Salt
Salted Caramel Buttercream
- 2 cups Unsalted Butter,, at room temperature
- 7 cups Confectioners Sugar,, sifted
- 1/2 cup Salted Caramel
- 1 tsp Vanilla
Equipment
-
Stand mixer
Instructions
Earl Grey Cupcakes
-
Add milk to a small saucepan over medium heat. Bring the milk to a simmer then immediately remove from heat. Place the tea bags into the milk and gently stir. Place a piece of plastic over the surface of the milk and place into the fridge to cool and steep for about 2 hours. After 2 hours, remove the tea bags, set aside.
-
Preheat oven to 350°F, and prepare 2 cupcake pans with liners. In a large sized mixing bowl, add the flour, baking powder, salt, and cardamom, then whisk together to combine.
-
In a stand mixer fitted with the paddle attachment, add eggs, sugar, and vanilla. Beat on high for around 5 minutes, the mixture should look thick, fluffy, and be tripled in volume. Scrape down the sides of the bowl and then slowly drizzle in the oil. After all the oil has been added, beat for an additional minute.
-
On low, add the dry mixture to the stand mixer, mixing until just combined. Add in the tea-infused milk and mix only until the batter becomes smooth. Add the batter evenly to the cupcake pans, then bake in the oven for around 18 minutes, or until a toothpick comes out clean. Allow to cool completely before frosting.
Salted Caramel
-
In a large saucepan over medium heat add sugar and water. Stir occasionally until the sugar has dissolved and the mixture begins to boil.
-
Once the mixture begins to boil turn the heat up to medium-high and allow the mixture to boil, ensuring not to stir it, until it turns amber in color (stirring the mixture will cause crystallization, so refrain from stirring).
-
Once the mixture has become amber in color (360°F on a candy thermometer), add the cubed butter and mix very vigorously to combine. (Be careful, however, because the mixture will bubble and rise up rapidly when you add the butter). If the butter seems to be separating from the caramel, remove it from the heat, then whisk vigorously until it comes together.
-
Next, carefully add in the heavy cream (it will bubble rapidly again), vanilla, and salt. Whisk until smooth and well-combined. Remove the caramel from the heat, allow to cool for 5 minutes, then cover tightly, and allow to cool to room temperature before using. (Makes 1 cup)
Salted Caramel Buttercream
-
Add butter to a stand mixer fitted with the whisk attachment. Beat on high until butter is doubled in volume, and looks light and fluffy.
-
Turn the stand mixer to low and slowly add the confectioners sugar. Beat until completely incorporated, then add in the salted caramel and vanilla. Beat until well-combined and fully incorporated.
-
Pipe onto cupcakes and drizzle remaining salted caramel over frosted cupcakes.
