Irresistible Nut-Free Indulgence: SunButter Milk Chocolate Cream Puffs with Craquelin
We’re thrilled to partner with SunButter® on this sponsored post! Rest assured, all opinions and creative ideas shared are genuinely our own.
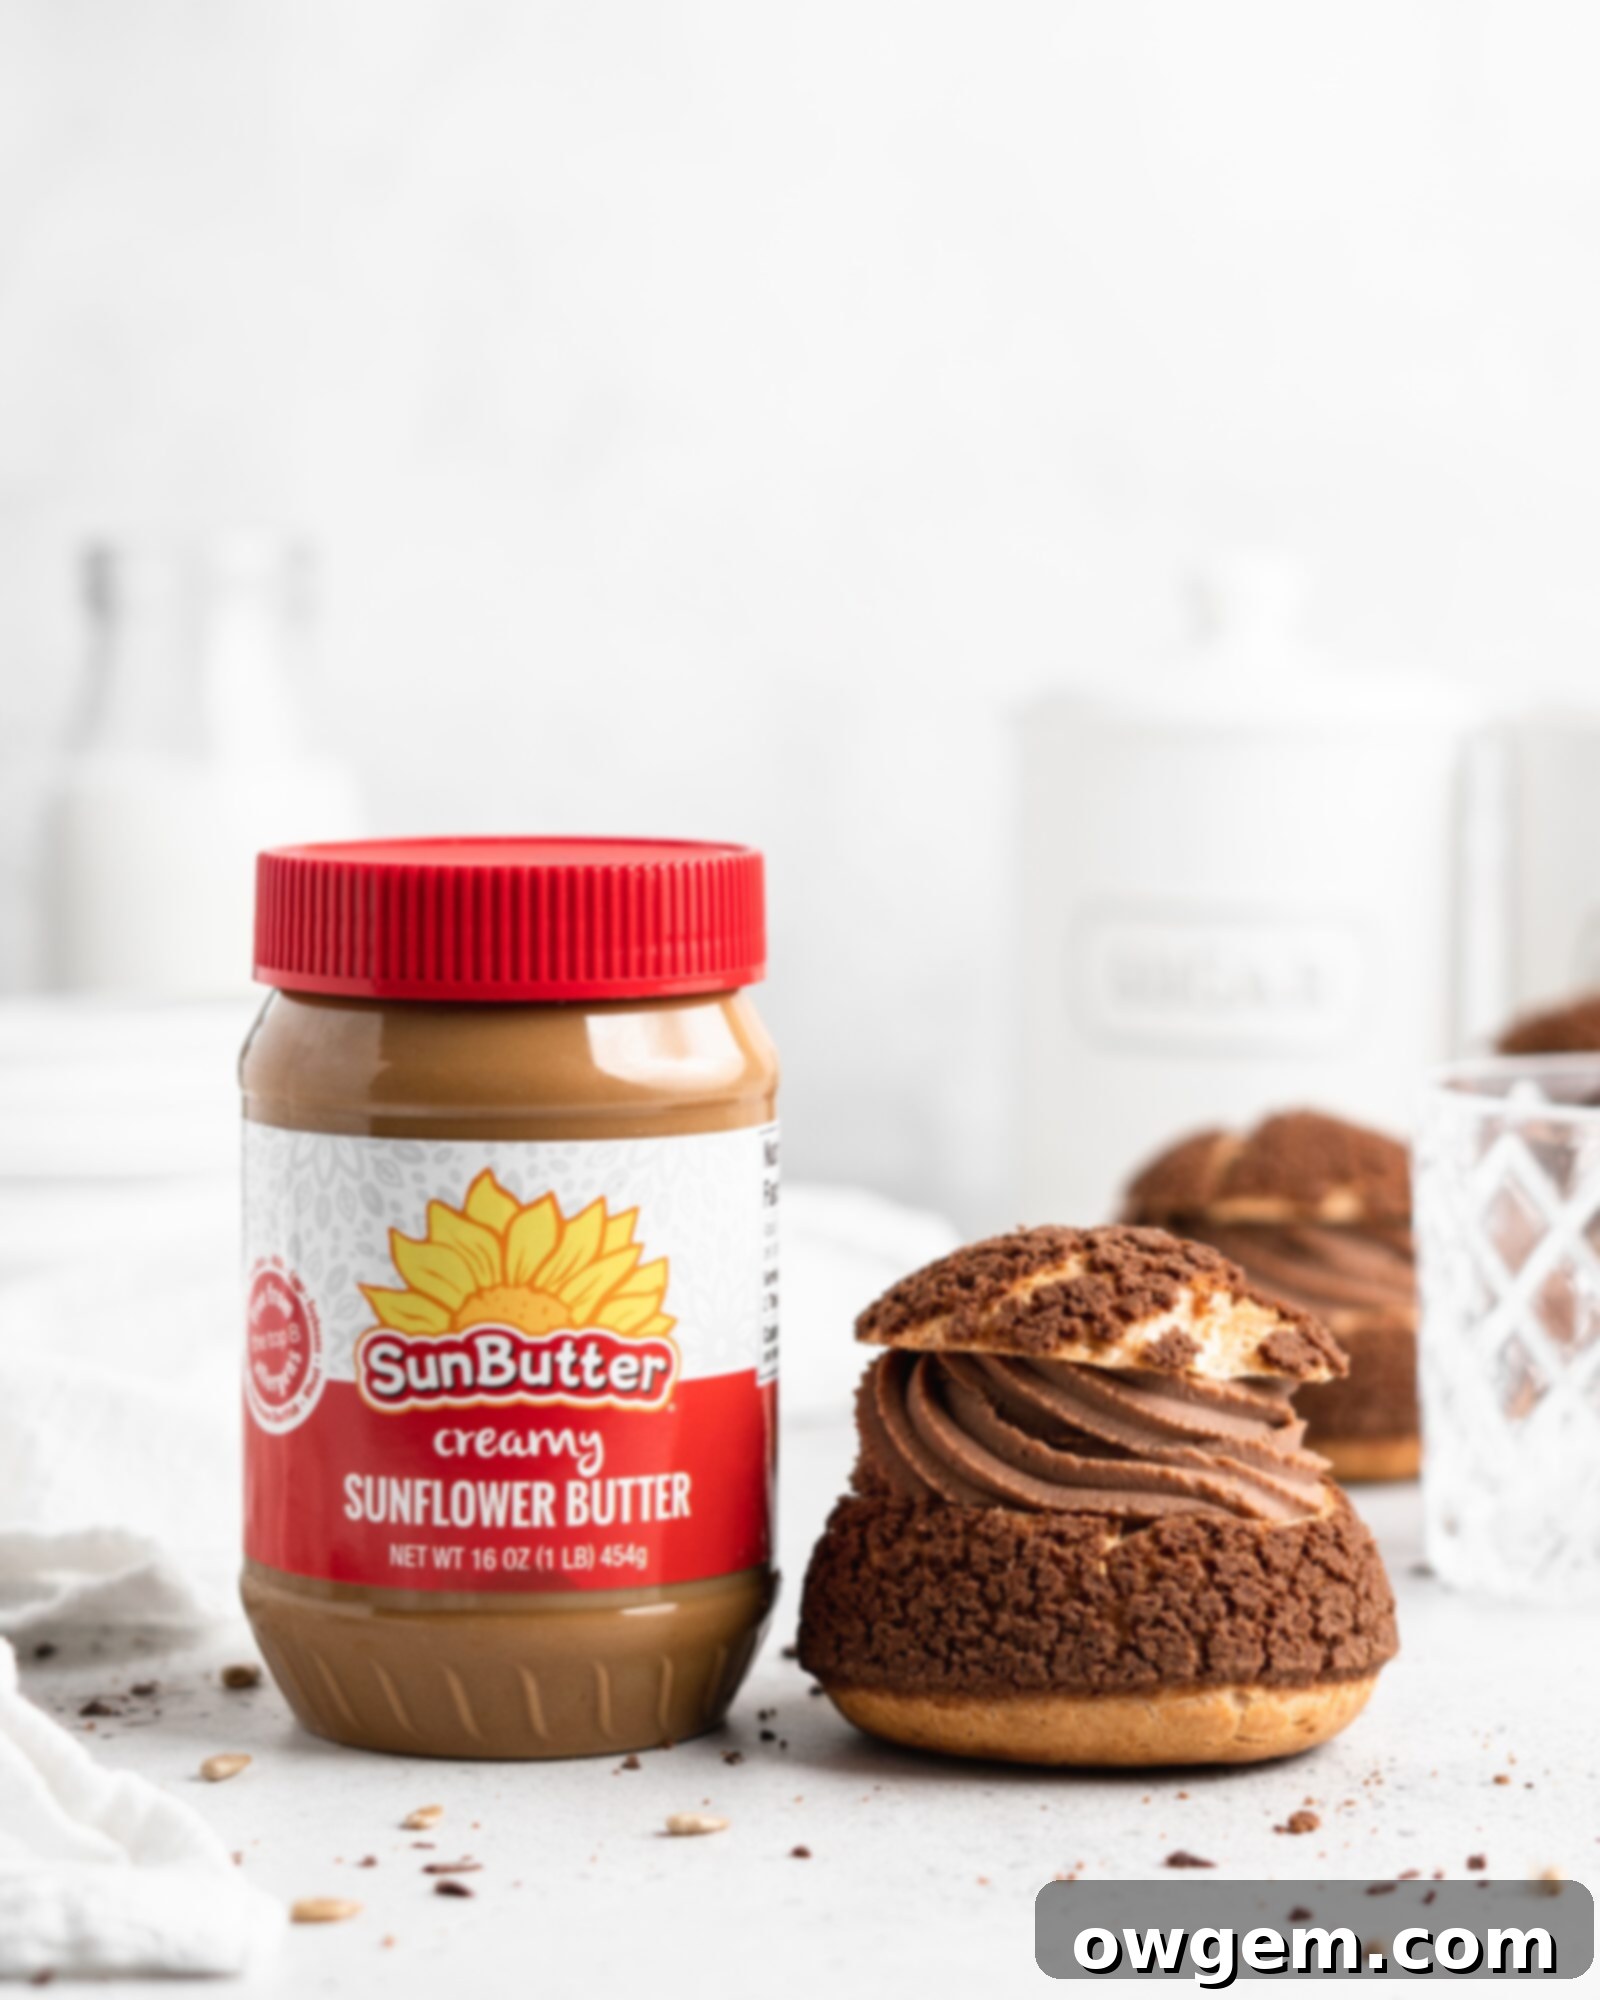
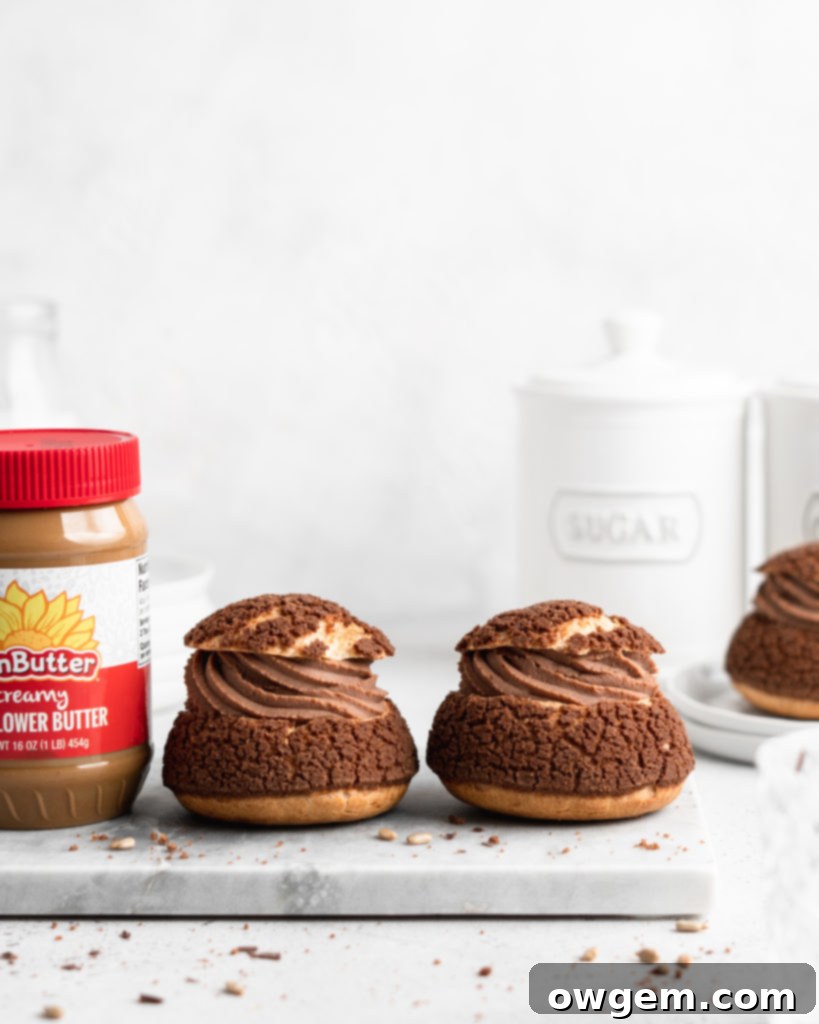
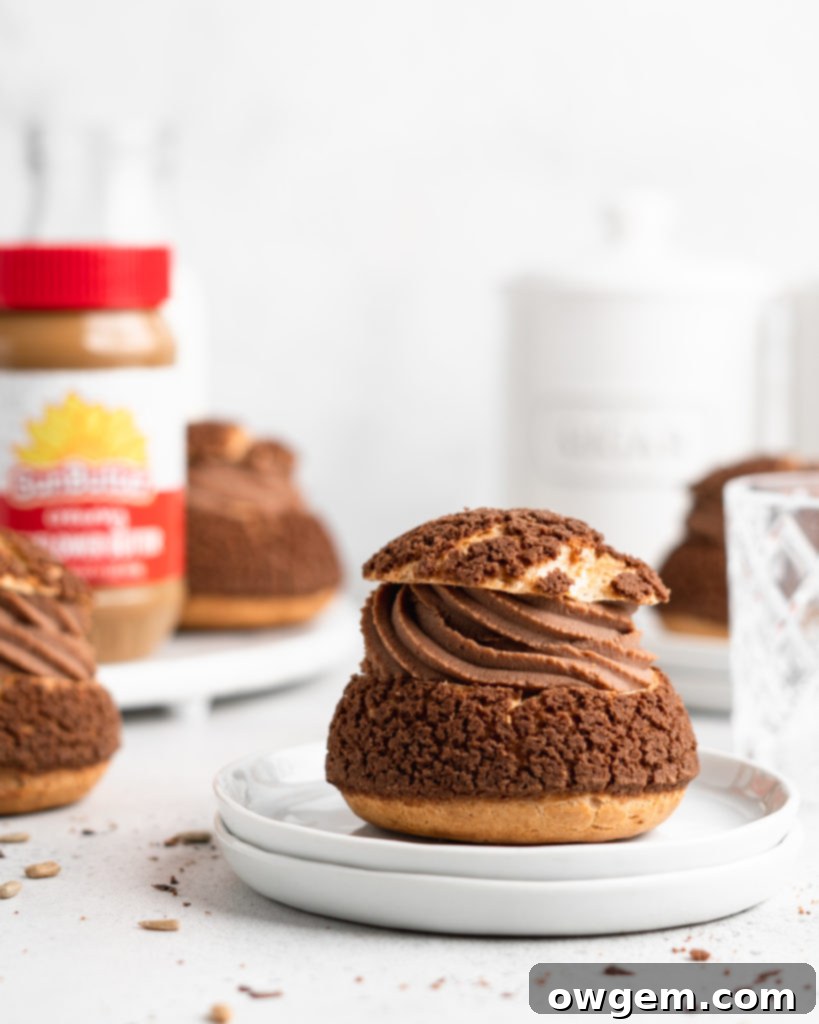
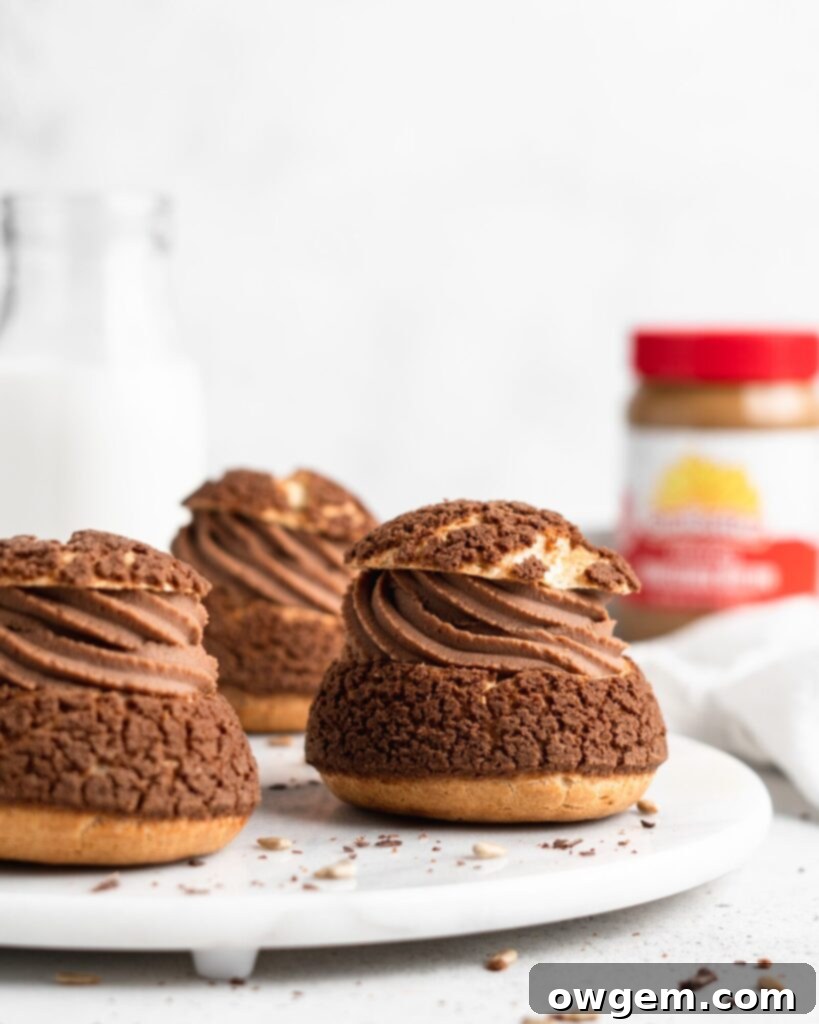
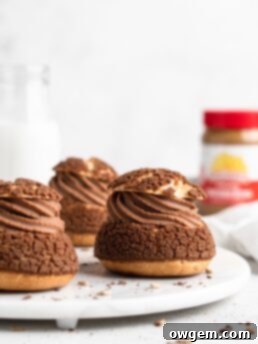
Prepare to be amazed, cream puff enthusiasts! These SunButter Milk Chocolate Cream Puffs are truly a showstopper. This exquisite recipe yields 18 perfectly golden, airy cream puffs, each crowned with a delicate, crunchy chocolate craquelin topping. But the real magic lies within: every delightful puff is generously piped full of one of the most incredible fillings you’ll ever taste – a luscious SunButter and Milk Chocolate whipped ganache! This ganache delivers a sweet, rich chocolate flavor beautifully complemented by the creamy, nutty essence of SunButter. The result? A filling that evokes the beloved taste of chocolate peanut butter, but without any of the common allergens, making it a safe and scrumptious treat for everyone.
Discovering SunButter: Your Allergen-Friendly Alternative
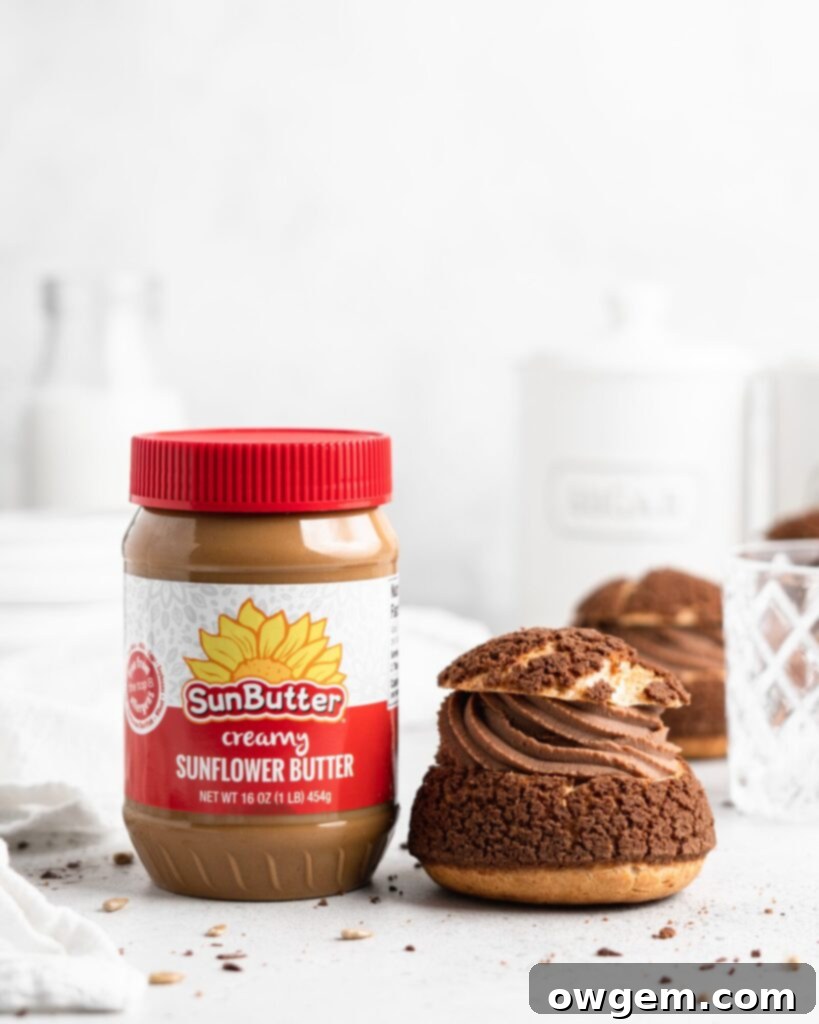
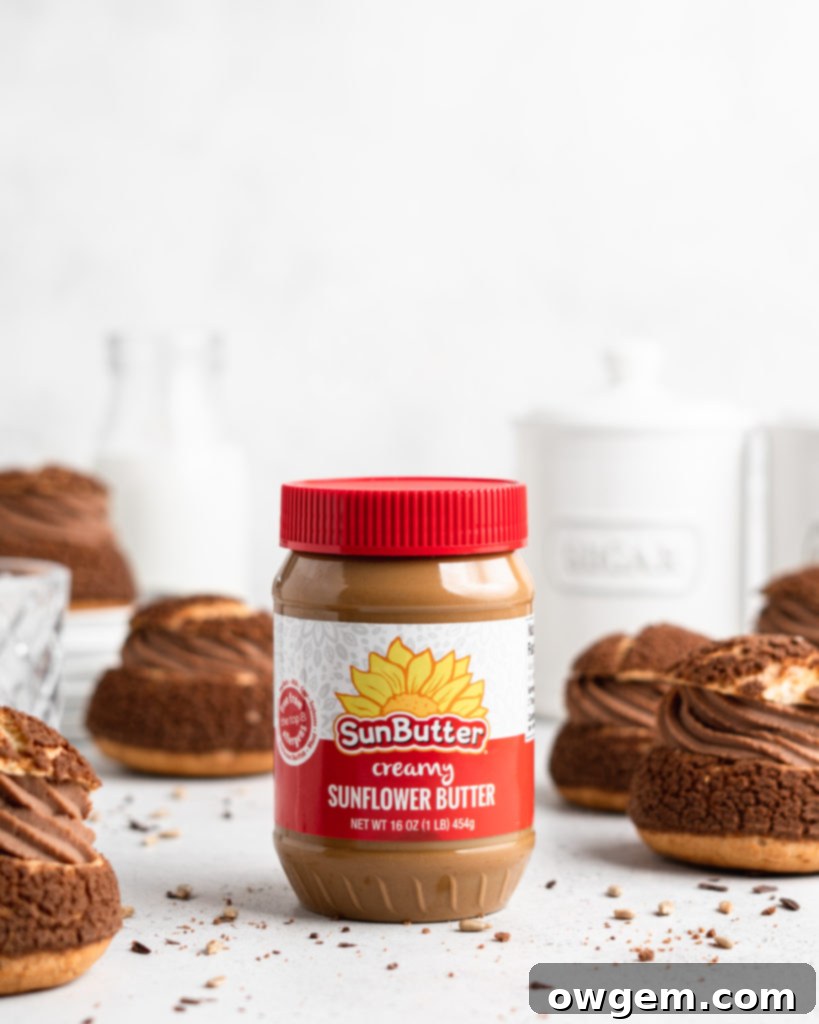
For those unfamiliar with this delightful spread, SunButter is a fantastic seed-butter made from roasted sunflower seeds. It stands out as an exceptional alternative to traditional nut-butters, perfect for individuals with nut allergies, sensitivities, or simply those seeking a delicious and wholesome spread. SunButter isn’t just tasty; it’s also incredibly nutritious! Each serving boasts 7g of protein, is packed with essential vitamins and minerals, contains absolutely no trans-fat, and surprisingly, has less saturated fat than many almond butters on the market. Trust us, this product is truly AMAZING!
As someone with family members who have severe nut allergies, I’ve been a devoted fan of SunButter for years. It has become my go-to substitute for peanut butter in countless recipes, from savory sauces to sweet baked goods. What’s truly remarkable is that most peanut butter lovers can barely, if at all, detect the difference when SunButter is used instead. When I developed this specific SunButter Milk Chocolate Cream Puffs recipe, I conducted a blind taste test with the whipped ganache filling. To my delight, every single person immediately exclaimed they tasted “chocolate peanut butter!” This confirms its incredible ability to mimic that classic flavor profile, offering a safe and delicious option for those who miss it.
Mastering Choux Pastry: Your Guide to Perfect Cream Puffs
Crafting perfect cream puffs, or choux pastry, can seem intimidating, but with a few key tips, you’ll be baking like a pro. This section will walk you through the most critical steps to ensure your SunButter Milk Chocolate Cream Puffs rise beautifully and achieve that ideal airy texture.
The Egg Dilemma: Achieving the Right Choux Consistency
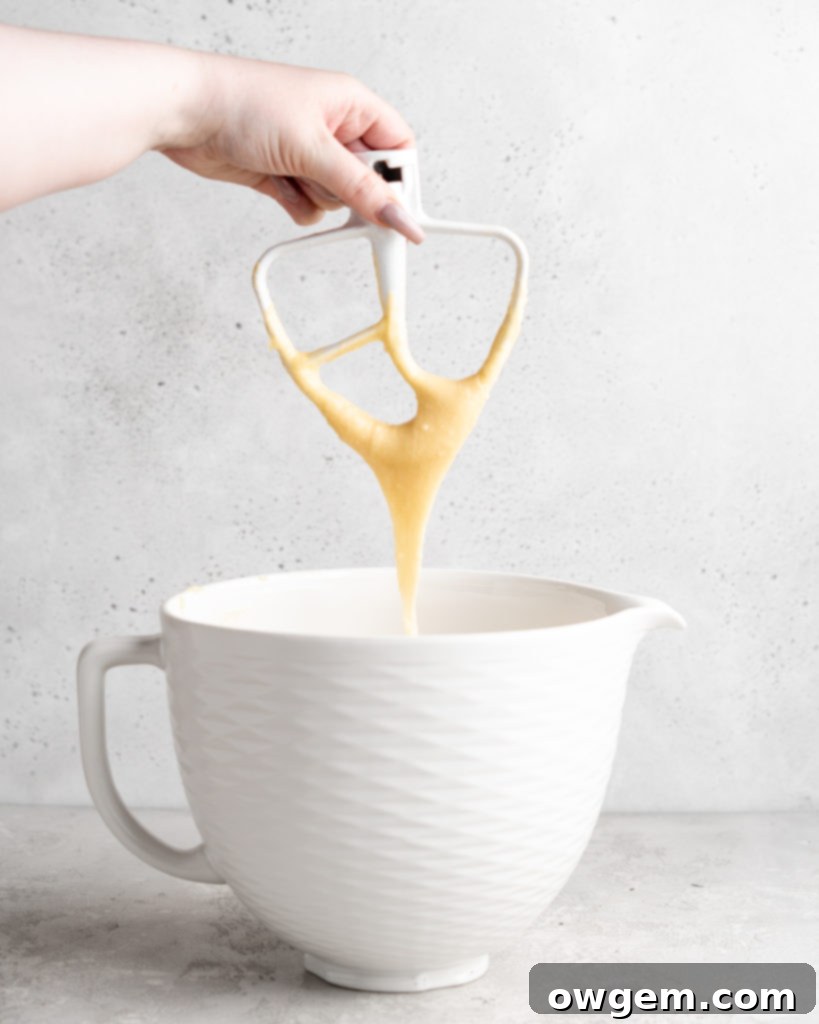
One of the most crucial and often finicky aspects of making these SunButter Milk Chocolate Cream Puffs is determining the precise amount of eggs. You’ll notice our recipe calls for 4-5 eggs, which might seem vague. So, how many do you actually add? The answer, surprisingly, is that it depends! The exact quantity of eggs needed is influenced by various environmental factors such as humidity, local weather conditions, and even the moisture content of the eggs themselves. Too much moisture in your choux batter can prevent your cream puffs from rising properly, leading to flat or dense results. This is precisely why you must add your eggs one at a time, beating thoroughly after each addition until fully incorporated. It’s imperative to pause and check your batter’s consistency after the 4th egg. For some bakers, especially in dry climates, four eggs will be sufficient. Others, particularly in more humid environments, may need a fifth egg to reach the ideal consistency. I personally live in the cold, very dry prairies and typically find myself using five eggs. However, regardless of where you live, always check your batter after the 4th egg—every single time. What you’re looking for is a batter that, when lifted with your paddle attachment, falls off in a distinct “V” shape. If the batter clings to the paddle but doesn’t form this elegant “V,” it indicates it needs a bit more moisture, and therefore, another egg.
The Science of Baking: Why Turn the Oven Off Mid-Baking?
The initial high temperature is absolutely essential for creating the perfect structure of your cream puffs. This intense heat rapidly generates steam within the choux pastry, causing it to puff up dramatically and form those characteristic hollow interiors. If we were to maintain this high temperature throughout the entire baking process, the delicate outside of the cream puffs would undoubtedly burn before the inside had a chance to fully cook and dry out. This two-stage baking method ensures a golden, crisp exterior and a beautifully airy, cooked interior. It is incredibly important to remember that under no circumstances should you open the oven door during the critical first 20 minutes of baking! Even the slightest rush of cold air into the oven can cause your fragile cream puffs to deflate, ruining their beautiful rise.
Achieving Perfection: Knowing When Your Cream Puffs Are Baked Through
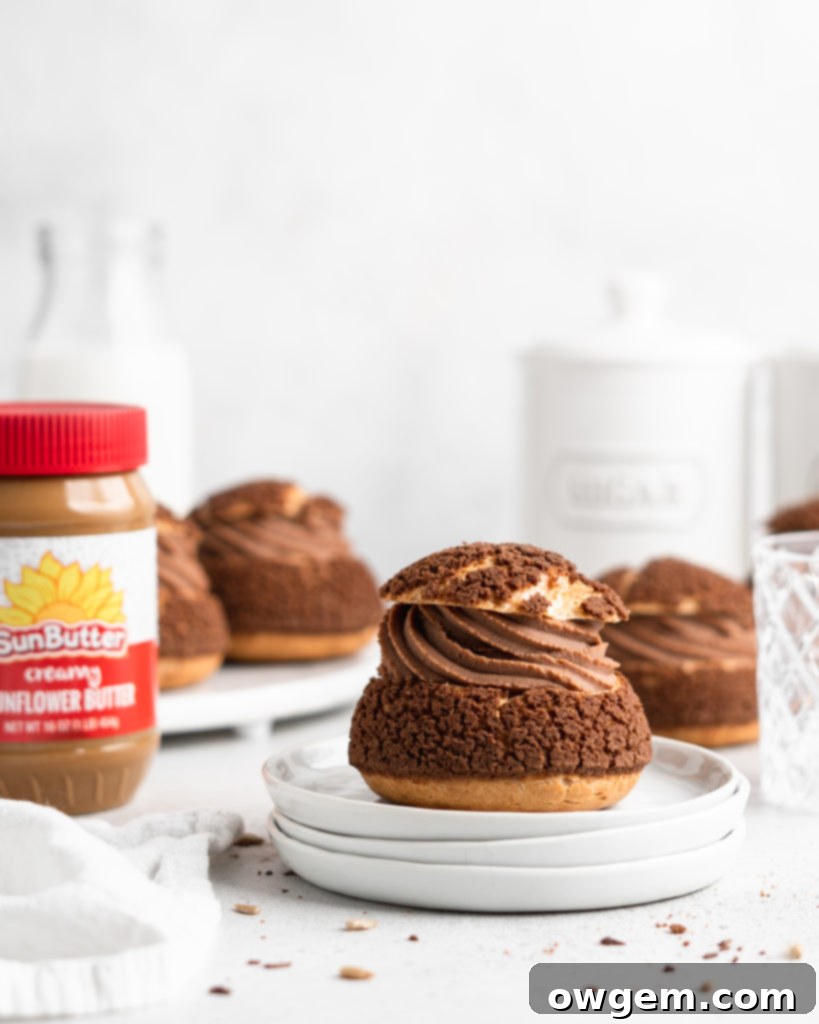
Determining when cream puffs are truly done can be tricky. While they should certainly appear golden and beautifully puffed on top, sometimes they can look perfectly baked on the outside while still being undercooked and moist on the inside. If you remove the cream puffs from the oven even a minute too early, they are highly likely to collapse and become soggy. The most reliable method I’ve discovered to test for doneness is to carefully remove just one of the cream puffs from the oven. Wait approximately 45 seconds and observe if that single puff deflates. If it visibly sags or collapses, the batch is not yet ready and needs more time in the oven. However, if the test puff holds its structure, remaining proudly puffed, then your entire batch is perfectly baked and ready for the next step!
Cooling Gracefully: Preventing Cream Puff Collapse
The practice of allowing the SunButter Milk Chocolate Cream Puffs to cool gradually within the cracked oven is a vital step to minimize the risk of them deflating. A sudden and drastic temperature drop from the hot oven to cooler room temperature can shock the delicate pastry, causing it to collapse. By cooling them slowly in a slightly open oven, you ensure a gentle transition, which helps them maintain their impressive structure. This method also provides an additional benefit: it allows the cream puffs to dry out a little more, contributing to a crisper exterior. Furthermore, once the cream puffs are completely removed from the oven, poking a small hole in each one (typically at the bottom or side) serves a similar purpose. This tiny vent allows any residual steam trapped inside to escape, further drying out the interior and ensuring a truly light, airy, and stable puff.
Crafting the Dreamy SunButter Whipped Chocolate Ganache
This luxurious SunButter whipped chocolate ganache is the heart of these cream puffs. Follow these steps for a perfectly smooth and fluffy filling:
1. Heat Heavy Cream: In a medium saucepan, gently heat the heavy cream over medium heat. Watch it closely and remove from heat just as it begins to come to a light, gentle boil around the edges.
2. Pour Cream Over Chocolate and SunButter: Place your finely chopped milk chocolate and the SunButter into a heatproof bowl. Immediately remove the hot cream from the stove and pour it directly over the chocolate and SunButter mixture. Allow this mixture to sit undisturbed for 1-2 minutes. This brief resting period allows the heat from the cream to begin melting the chocolate. After resting, whisk the mixture gently but consistently until the chocolate is completely melted, and the ganache becomes perfectly smooth and creamy. Ensure no lumps remain.
3. Cool Overnight for Optimal Whipping: To prevent a “skin” from forming on the surface, place a piece of plastic wrap directly onto the surface of the ganache, pressing it down to eliminate air bubbles. Transfer the bowl to the refrigerator and allow it to cool thoroughly for at least 8 hours, or ideally, overnight. This chilling process is essential for the ganache to firm up enough to be whipped properly.
4. Whip the Ganache: Once completely chilled, transfer the firm ganache to the bowl of your stand mixer fitted with the whisk attachment. Alternatively, a hand mixer can be used for this step. Whip the ganache on medium-high speed until it becomes light, airy, and forms stiff peaks. You’ll see a noticeable increase in volume and a beautiful, fluffy texture – congratulations, you now have irresistible SunButter whipped chocolate ganache!
Storage Tips for Your SunButter Milk Chocolate Cream Puffs
Proper storage is key to enjoying your delicious cream puffs at their best. As mentioned in the recipe details below, once filled, these SunButter Milk Chocolate Cream Puffs contain a significant amount of dairy in their ganache filling. Therefore, they should always be stored in an airtight container in the refrigerator. They will maintain their freshness and optimal taste for up to 2 days when stored this way. The unfilled cream puff shells, however, are quite versatile. You can bake them, allow them to cool completely, and then freeze them in an airtight container or freezer bag. When you’re ready to enjoy them, simply thaw and fill. It’s important to note that the whipped ganache filling does not freeze well; freezing can alter its creamy texture upon thawing. For this reason, it’s best to prepare the ganache only when you plan to fill and serve the cream puffs. The good news is that the ganache recipe is easy to downsize, so you can effortlessly make a smaller batch if you only need a few filled cream puffs at a time.
Get the Recipe:
SunButter Milk Chocolate Cream Puffs
Pin
Rate
Ingredients
SunButter Milk Chocolate Whipped Ganache
- 600 g Milk Chocolate,, finely chopped
- 3 cups Heavy Cream,, cold
- 3/4 cup Creamy SunButter®
Chocolate Craquelin Topping
- 1/2 cup Dark Brown Sugar
- 7 tbsp Unsalted Butter,, softened
- 14 tbsp (105g) All Purpose Flour
- 1 ½ tbsp (10g) Dutch Processed Cocoa Powder,, sifted (regular cocoa can be used as well)
Cream Puffs
- 1/2 cup Whole Milk
- 1/2 cup Water
- 1/2 cup Unsalted Butter,, cubed, at room temperature
- 1 tbsp White Sugar
- 1 tsp Salt
- 1 cup (120g) All Purpose Flour
- 4-5 Large Eggs
Equipment
-
Stand mixer
Instructions
SunButter Milk Chocolate Whipped Ganache
-
Place chopped milk chocolate and SunButter into a medium size mixing bowl, then set aside.
-
Place heavy cream into a medium pot over medium heat. Heat until the mixture just begins to come to a low boil. Remove from heat and pour over top of the chopped chocolate and SunButter. Allow the mixture to sit for 1 minute, then whisk together until all the chocolate has melted and the ganache is very smooth.
-
Place a piece of plastic wrap over top of the surface of the ganache and place into the fridge to cool for at least 8 hours, or preferably overnight.
-
While ganache is cooling, make and bake cream puff shells, then allow them to cool before whipping ganache and filling the cream puffs.
-
When cooled, place the ganache into your stand mixer fitted with the whisk attachment. Whip the ganache until stiff peaks have formed.
-
Using a serrate knife, cut off the top of each cream puff. Using a spoon or a piping bag fitted with a star tip, fill each cream puff with whipped chocolate ganache. Then place the top back on and enjoy immediately or keep in the fridge until ready to serve.
Chocolate Craquelin Topping
-
Add all ingredients into a medium sized bowl, then mash together with a spatula until an uniform looking dough forms.
-
Place the dough between 2 pieces of parchment paper, then roll the dough out to be about 1/8” thick and aim for a relatively even rectangle shape. Place into the freezer for at least 30 minutes, while you make the choux.
Cream Puffs: Making the Choux
-
Preheat oven to 475°F. Prepare 2 baking sheets by lining them with parchment paper. Also prepare a pastry bag by adding a plain ½” tip.
-
In a medium saucepan over medium heat, add milk, water, butter, 1 tbsp sugar, and salt, and bring to a boil, stirring occasionally. Add flour in the pot, all at once, and begin to stir very quickly. A ball of dough should form relatively quickly. Continue cooking, stirring vigorously, until a dry film begins to form on the bottom and sides of the saucepan. Remove from heat.
-
Place dough into a stand mixer, fitted with the paddle attachment, and beat for about 30 seconds to a minute, to cool the dough down. Add one egg and beat until completely incorportated (the dough should look dry again). Continue adding eggs one at a time, ensuring that each is completely incorporated before adding the next, scraping at the sides of the bowl occasionally. After the 4th egg, place remove paddle from mechanism and place deep into the batter, if the batter forms a nice “V” shape off the paddle, it is ready. If the batter still looks thick and does not form a nice “V” then add another egg. Dough should be thick and very sticky, but also shiny and smooth.
Cream Puffs: Piping & Baking
-
Add dough to the piping bag, and pipe directly onto parchment lined baking sheets. Pipe about nine 2” rounds per baking sheet (about 18 total).
-
Cut out 18 rounds out of the cold craquelin topping, about the same diameter as the piped cream puffs. Place each round onto a piped cream puff, lightly pressing it down to secure it.
-
Place into the 475°F oven, for exactly 1 minute then immediately turn the oven off. After 9 minutes, turn the oven back on to 350°F, and bake for an additional 10 minutes. Rotate pans and bake for another 10 minutes, or until the cream puffs are puffed (~ 30 minutes of total baking time). To ensure the cream puffs are finished, remove one of the oven and check if it deflates within 45 seconds – if it deflates they are not finished.
-
When done, turn the oven off, and crack the oven 1/3 way open. Allow cream puffs to cool for 30-45 minutes in the cracked oven. Then, remove from oven and allow to cool completely before filling.
