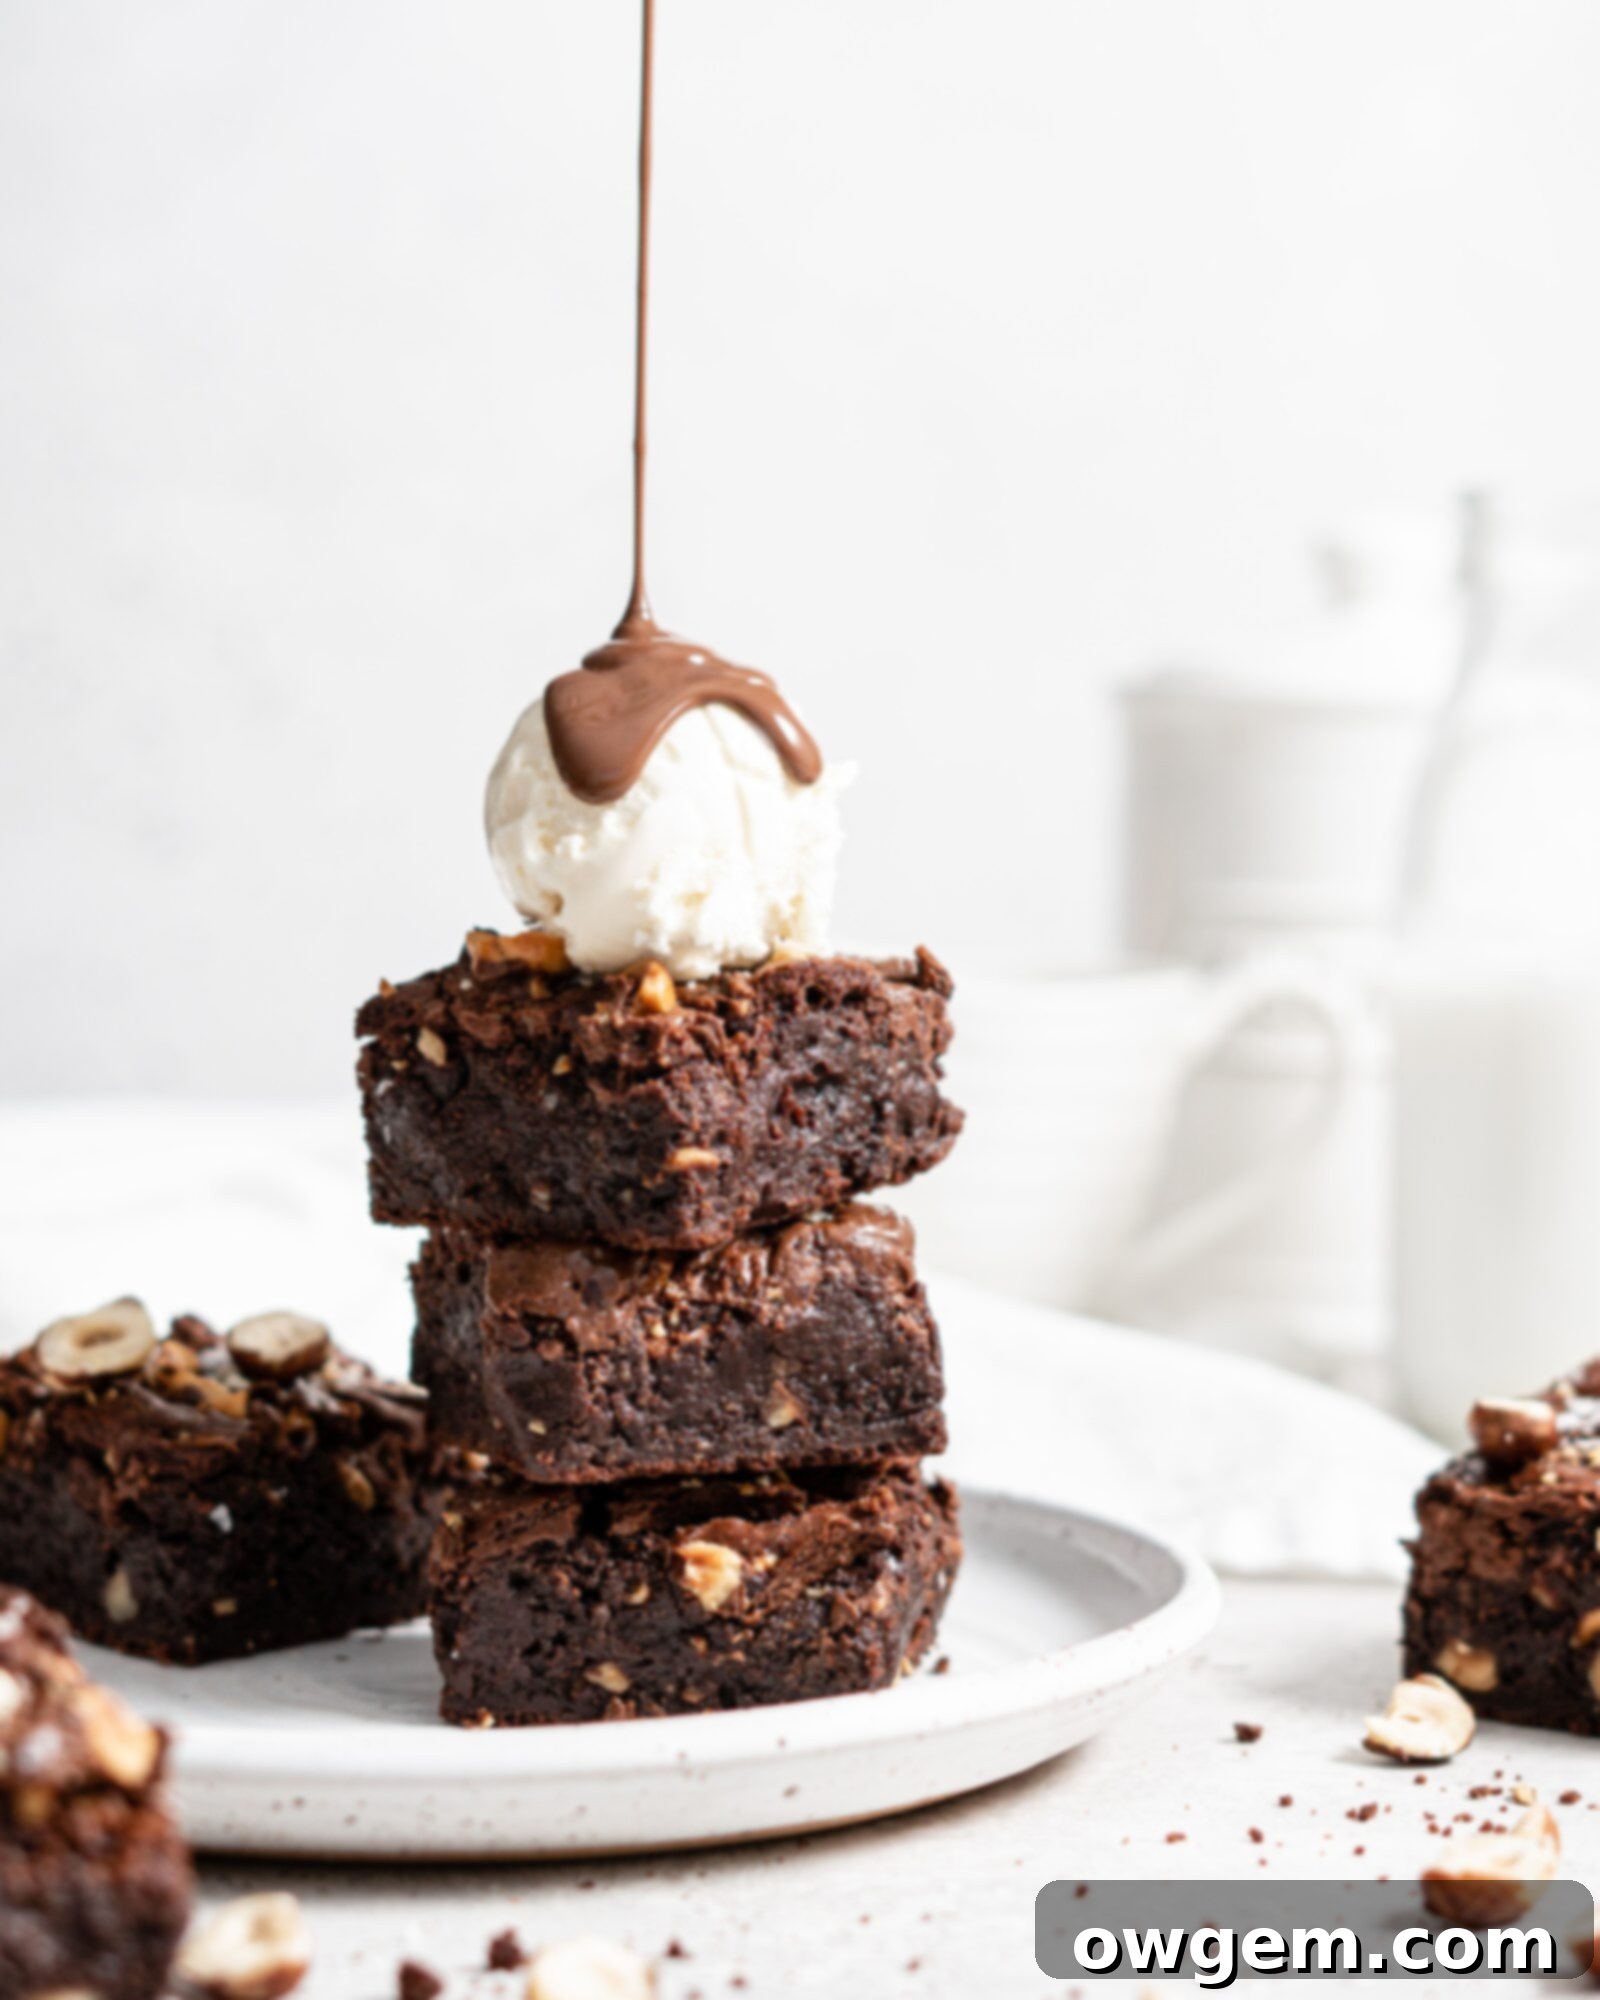
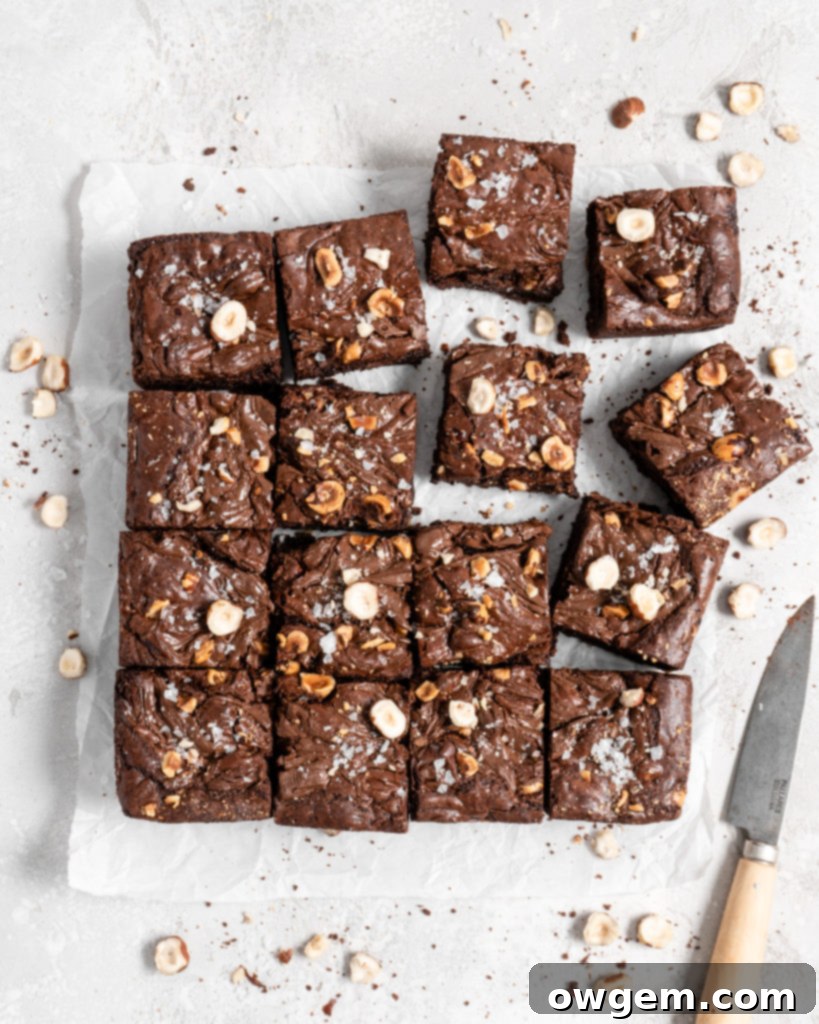
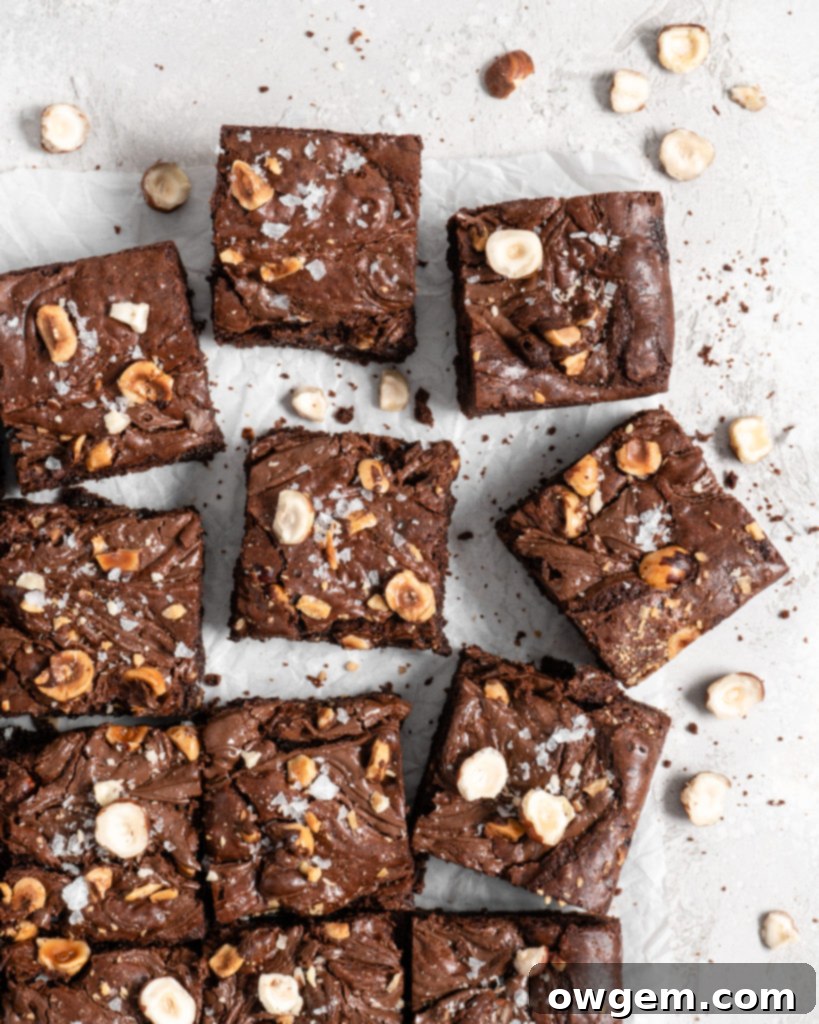
Decadent Toasted Hazelnut Nutella Brownies: The Ultimate Fudgy Recipe
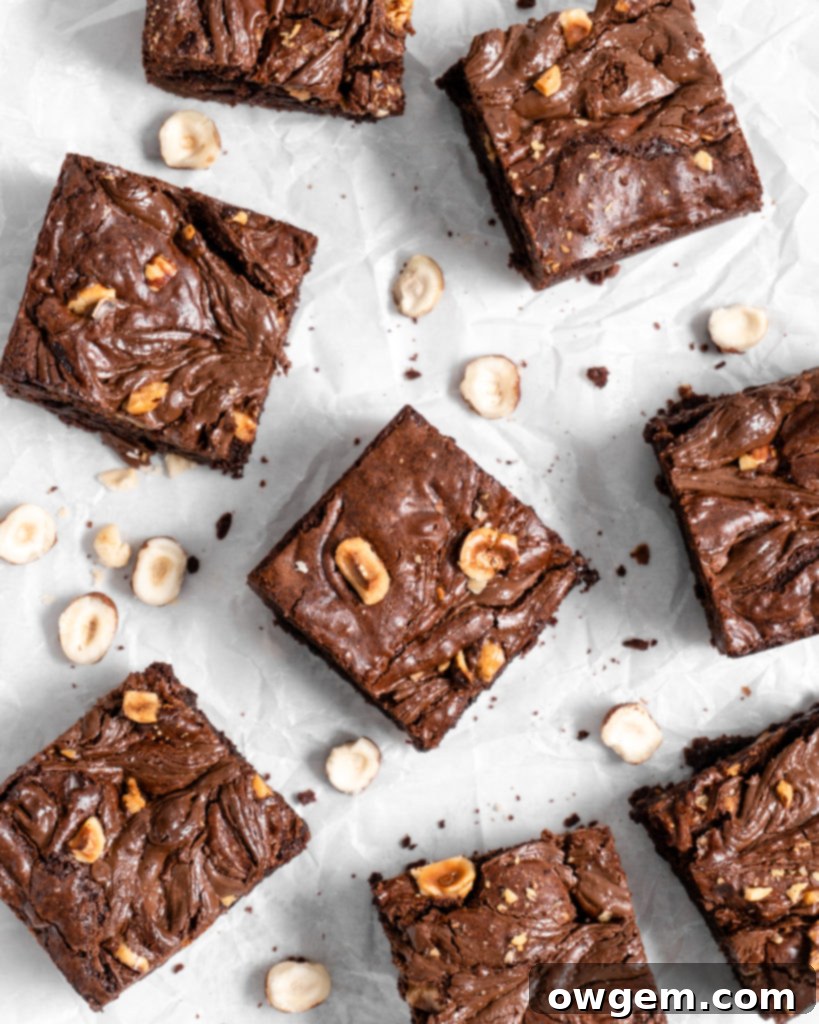
Prepare to fall in love with these truly exceptional brownies! This recipe delivers a batch of mega-fudgy, intensely tender, and incredibly rich chocolate brownies, elevated by the irresistible swirl of Nutella. But the magic doesn’t stop there – we’re also incorporating the deep, nutty flavor of toasted hazelnut flour and crunchy toasted hazelnut chunks directly into the batter. This luxurious hazelnut and chocolate combination makes these Toasted Hazelnut Nutella Brownies an absolutely perfect indulgence for any occasion, from festive holiday gatherings to a simple year-round treat. Get ready for a dessert experience that’s truly unforgettable!
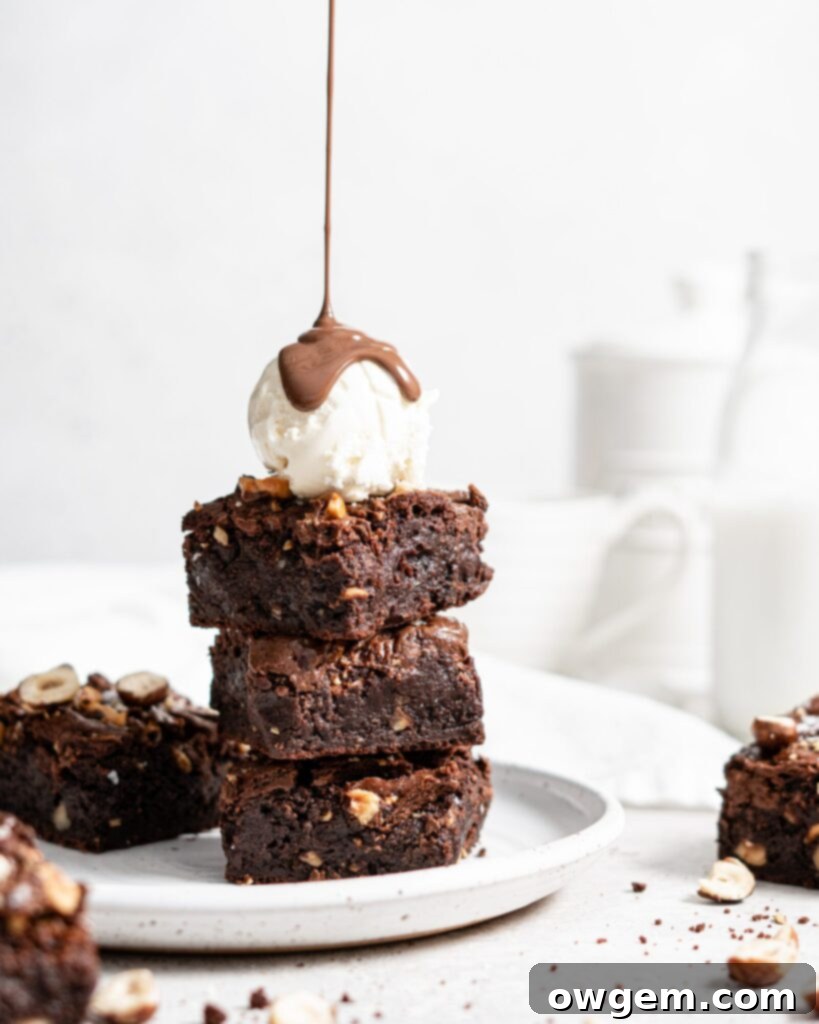
Crafting truly show-stopping homemade brownies involves a few crucial techniques, and this detailed guide will walk you through each step to ensure perfect results every single time. From expertly toasting hazelnuts to mastering the art of melting chocolate, we’ll cover all the essential tips for baking these glorious fudgy treats. These aren’t just any brownies; they are the ultimate fudgy Nutella brownies, enhanced by the deep, aromatic flavor of toasted hazelnuts. Let’s dive into the delicious details and discover how to make these Toasted Hazelnut Nutella Brownies a treasured staple in your baking repertoire.
The Secret to Enhanced Flavor: Toasting Hazelnuts
The very first and arguably most crucial step in crafting these extraordinary Toasted Hazelnut Nutella Brownies is toasting both the hazelnut flour (or hazelnut meal) and the whole hazelnuts. This simple yet transformative process dramatically amplifies their natural flavor, releasing a deep, aromatic nuttiness that perfectly complements the rich chocolate base of the brownies. Raw hazelnuts can sometimes carry a slightly bitter edge and a less pronounced flavor, but toasting brings out their inherent sweetness and intensifies their depth, making a significant difference in the final taste and aroma of your decadent brownies.
To begin, you’ll want to preheat your oven to 350°F (175°C). Prepare two separate baking sheets by lining them with parchment paper for easy cleanup and to prevent sticking. Evenly spread the hazelnut flour in a thin layer on one baking sheet, and distribute the whole hazelnuts on the other. It’s crucial to use separate sheets because these two forms of hazelnuts will likely toast at different rates due to their varying sizes and surface areas. Place both sheets into the preheated oven.
To ensure even toasting and prevent any parts from burning, you must remove the sheets from the oven every 5 minutes or so and gently mix the hazelnut flour and whole hazelnuts around with a spatula. This promotes uniform browning and ensures every piece of hazelnut achieves that coveted golden hue and releases its maximum flavor. Keep a very close eye on them, as nuts can quickly go from perfectly toasted to unfortunately burnt. You are looking for a distinctly fragrant aroma filling your kitchen, and a beautiful golden-brown color. In my experience, the hazelnut flour typically takes approximately 10 minutes to toast, while the whole hazelnuts require a bit longer, usually around 15 minutes. However, oven temperatures can vary, so visual cues and your sense of smell are your best guides. Once toasted to perfection, promptly remove them from the oven and transfer them to a wire rack to cool for about 30 minutes. Cooling is essential as it halts the cooking process and allows them to crisp up beautifully. This careful toasting process is what truly sets these Toasted Hazelnut Nutella Brownies apart, infusing them with an irresistible, rich depth of flavor that a plain hazelnut simply cannot provide.
Removing Hazelnut Skins for a Smoother Taste
Once your whole hazelnuts are beautifully toasted and wonderfully fragrant, the next crucial step in preparing them for your fudgy Nutella brownies is to remove their skins. While not strictly mandatory, the skin of hazelnuts contains compounds known as tannins, which can impart a slightly bitter and sometimes astringent flavor to your baked goods. For a truly smooth, sweet, and pure hazelnut flavor that shines through in your Toasted Hazelnut Nutella Brownies, it’s highly recommended to take this extra step and remove these skins.
The easiest and most effective method for hazelnut skin removal leverages the inherent heat and steam from the freshly toasted nuts. Immediately after you remove the whole hazelnuts from the oven – and this is key, do not let them cool down first for this specific step – transfer them directly into a clean, sturdy kitchen towel. Gather the corners of the towel to create a tight pouch, then allow the hazelnuts to ‘steam’ inside for about 1 to 2 minutes. This brief steaming period helps to loosen the skins considerably, making them much easier to rub off.
After the short steaming process, vigorously rub the hazelnuts against each other within the towel. You’ll observe the skins flaking off quite easily. Don’t be concerned if a few stubborn pieces of skin remain on some hazelnuts – a tiny amount won’t significantly impact the overall flavor or texture of your brownies. The primary goal is to remove the majority of the skins for the best possible taste profile. Once you’ve successfully rubbed off most of the skins, spread the cleaned hazelnuts on a clean surface and allow them to cool completely before you roughly chop them for incorporation into your rich brownie batter. This step ensures that every bite of your Toasted Hazelnut Nutella Brownie is a pure celebration of sweet, unadulterated hazelnut goodness without any unwanted bitterness, truly elevating the flavor experience.
Mastering the Art of Melting Chocolate
A core component contributing to the rich, intense flavor and unparalleled fudgy texture of these Hazelnut Nutella Brownies is the quality and proper handling of the melted chocolate in the batter. While melting chocolate might initially appear to be a straightforward kitchen task, it actually demands precision and careful attention to detail. Chocolate has a very low tolerance for any mistakes and can rapidly transform into a clumpy, seized, and unusable mess if not handled with care. Understanding the subtle nuances and common pitfalls of melting chocolate is absolutely key to achieving that perfectly smooth, glossy consistency that makes for truly exceptional brownies.
Firstly, it’s vital to remember that chocolate is incredibly sensitive to moisture. Even a tiny drop of water or a bit of steam introduced into melted chocolate can cause it to “seize.” Seizing is a dreaded phenomenon where the chocolate instantly changes from a luxurious, smooth liquid into a thick, grainy, and utterly unusable paste. This undesirable transformation can occur in several ways: steam escaping from your bain-marie and condensing directly into the chocolate, using a damp spoon or spatula, or even residual water from a freshly washed mixing bowl. To avoid this, always ensure all your equipment – bowls, spatulas, and spoons – are completely and thoroughly dry when you are working with chocolate.
Secondly, chocolate also strongly dislikes excessive or rapid heat. Overheating or attempting to melt chocolate too quickly can also lead to seizing, or it can result in a burnt and gritty texture, which will impart an unpleasant flavor to your brownies. This is precisely why the bain-marie (or double boiler) method is frequently preferred over direct heat sources. It provides a gentle, indirect heat that allows the chocolate to melt slowly and evenly, preventing it from burning or seizing due to a sudden or drastic temperature shock.
The proper way to melt chocolate using a bain-marie involves finely chopping your chosen chocolate (semi-sweet is ideal for these brownies) and placing it into a heat-proof metal or glass bowl. This bowl should then be carefully placed over a pot of *simmering* water. It’s absolutely crucial to ensure that the bottom of the bowl does not make contact with the water. The water should be simmering gently, not boiling vigorously, as excessive steam and intense heat can be detrimental. Additionally, the bowl should fit snugly over the pot to minimize any steam escaping and potentially coming into contact with the delicate chocolate. Continuously stir the chocolate with a dry rubber spatula as it melts. This entire process typically takes about 1 to 2 minutes, depending on the quantity and specific type of chocolate you are melting. The ultimate goal is a perfectly smooth, liquid consistency without any remaining lumps. Once melted, carefully remove the bowl from the heat and set it aside to cool slightly. It should remain warm and pourable before it’s incorporated into your wet ingredients, but not so hot that it would cook the eggs.
An alternative, and often quicker, method for melting chocolate is by using your microwave. While faster, this technique demands even greater vigilance to prevent overheating. Place your finely chopped chocolate into a microwave-safe bowl. Microwave it for 1 minute on medium power, then remove it and stir thoroughly. Return it to the microwave, heating in shorter 30-second intervals (or even 15-second intervals for smaller amounts), stirring exceptionally well after each interval, until the chocolate has completely melted and is perfectly smooth. Remember that the residual heat in the bowl and the chocolate itself will continue the melting process even after it’s removed from the microwave, so it’s often best to stop just before it’s entirely melted and let the stirring motion finish the job. Whichever method you choose for melting your chocolate, patience, a gentle hand, and careful observation are your most invaluable allies for achieving perfectly melted chocolate, which is fundamentally essential to the rich, fudgy texture and decadent flavor of these extraordinary Nutella brownies.
Baking Perfect Toasted Hazelnut Nutella Brownies: Step-by-Step
Now that you’ve mastered the foundational techniques of perfectly toasting hazelnuts and expertly melting chocolate, it’s time to bring all these delicious elements together to create these truly incredible Toasted Hazelnut Nutella Brownies. Follow these detailed steps meticulously for a batch of brownies that are guaranteed to be perfectly fudgy, deeply chocolatey, and delightfully bursting with nutty flavor. Each step is designed to contribute to the ultimate brownie experience.
- Prepare the Hazelnuts: As detailed in the previous sections, begin by toasting both the whole hazelnuts and the hazelnut flour until they achieve a beautiful golden color and release a wonderfully fragrant aroma. Ensure you carefully remove the skins from the whole hazelnuts immediately after toasting, then allow them to cool completely before roughly chopping them. Likewise, allow the toasted hazelnut flour to cool completely as well. These specially prepared hazelnuts are absolutely critical for imparting the signature nutty flavor and delightful texture to these brownies.
- Melt Chocolate: Finely chop your semi-sweet chocolate (the finer the chop, the faster and more evenly it will melt). Place the chopped chocolate into a clean, dry heat-proof bowl. Position this bowl over a pot of simmering water (your bain-marie setup), ensuring the bowl’s bottom does not touch the water. Stir gently and continuously with a dry rubber spatula until the chocolate is entirely melted and achieves a beautifully smooth, glossy consistency. Once melted, carefully remove the bowl from the heat and set it aside to cool slightly. It should still be warm and liquid enough to pour easily, but not hot enough to scramble the eggs in the subsequent step.
- Combine Sugars, Eggs, Butter, and Vanilla: In a large mixing bowl, combine both the granulated white sugar and the dark brown sugar. Crack in the four large eggs, then pour in the melted unsalted butter and the vanilla extract. Using a whisk, lightly combine these ingredients until they start to come together. Continue whisking by hand for approximately 1 minute; the mixture should visibly lighten in color, appearing smooth, creamy, and slightly aerated. This crucial step helps to dissolve the sugar crystals, contributing to a smoother texture, and incorporates a bit of air, which helps achieve the brownies’ wonderful chewiness.
- Incorporate Chocolate: Gently pour the slightly cooled, but still warm and liquid, melted chocolate into the sugar and egg mixture. Whisk everything together again until the chocolate is fully and evenly incorporated, and the entire mixture is uniformly smooth and glossy. Take care to ensure there are no visible streaks of unmixed chocolate remaining.
- Combine Dry Ingredients: In a separate, medium-sized bowl, whisk together the all-purpose flour, sifted Dutch-processed cocoa powder, the toasted hazelnut flour, and salt. Sifting the cocoa powder is particularly important here to prevent any lumps from forming in your batter and to ensure a perfectly smooth consistency. The toasted hazelnut flour adds another delightful layer of nutty aroma and flavor directly into the dry mix.
- Add Dry Ingredients to Wet: Carefully add the combined dry ingredients into the bowl containing your wet mixture. Grab a reliable rubber spatula and begin to gently fold the dry ingredients into the wet batter. Mix until just combined and smooth, being extremely careful not to overmix, as overmixing can develop the gluten in the flour, leading to tough, cakey brownies rather than the desired fudgy texture. Once the batter is mostly combined and looks homogenous, gently fold in the chopped toasted hazelnuts. Their delightful crunchy texture will be a wonderful contrast to the rich, fudgy brownie.
- Prepare to Bake: Pour the rich, thick Toasted Hazelnut Nutella Brownie batter into your prepared 9×9 inch baking pan. Ensure your pan has been lightly greased and thoroughly lined with parchment paper, leaving a generous overhang on the sides. This overhang will act as handles, making for effortless removal of the cooled brownies from the pan later. Smooth the batter evenly in the pan with your spatula. Now for the irresistible touch: dollop generous spoonfuls of Nutella randomly over the top of the brownie batter. Using a wooden skewer or a butter knife, gently swirl the Nutella into the batter, creating beautiful, enticing marbled patterns. Be mindful not to overmix the swirl; a few elegant strokes are all you need to achieve that perfect marbled effect.
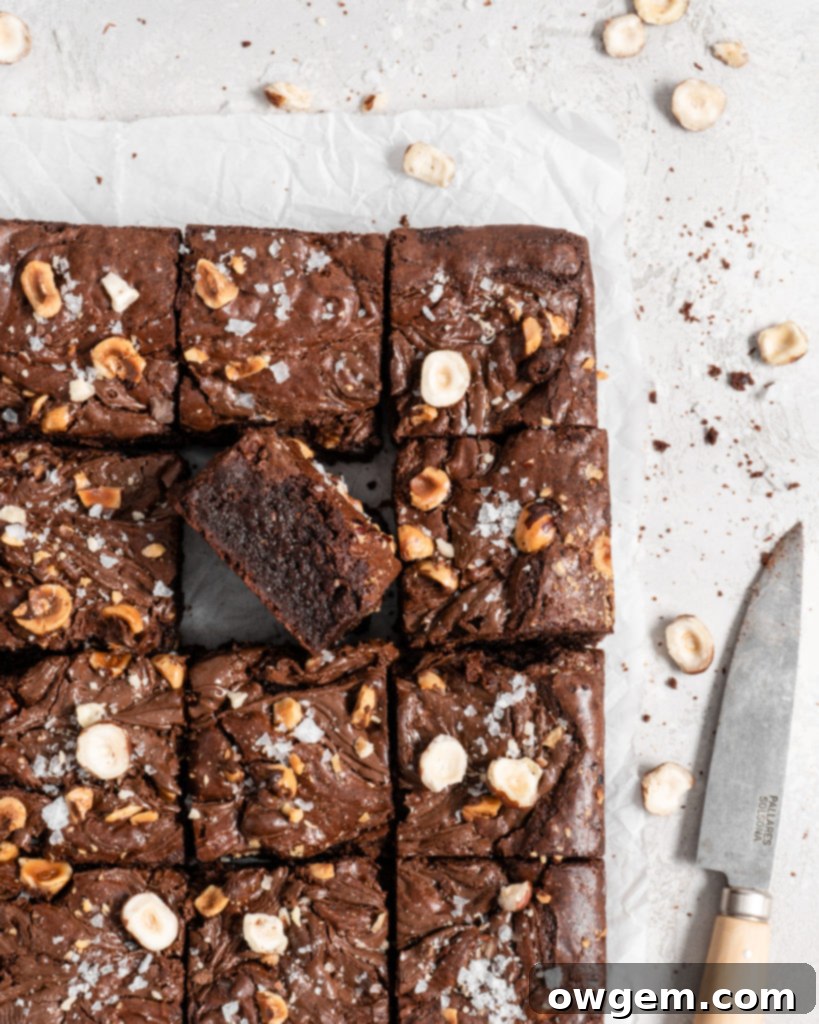
- Bake and Cool: Place the pan into your preheated oven and bake for approximately 40 to 45 minutes. Remember that baking times can vary slightly depending on your oven, so pay close attention. When these fudgy brownies are perfectly done, the center will still appear slightly under-baked and will have a gentle jiggle when the pan is lightly shaken. This is exactly what you want for a truly fudgy texture. Once baked, remove the pan from the oven and allow the Toasted Hazelnut Nutella Brownies to cool completely in the pan on a wire rack before attempting to slice them. Patience during this cooling period is absolutely key, as it allows the brownies to finish setting properly, resulting in perfectly dense, fudgy squares that hold their shape beautifully.
Knowing When Your Fudgy Brownies Are Perfectly Done
Baking truly fudgy brownies, like these exquisite Toasted Hazelnut Nutella Brownies, often presents a common dilemma for home bakers: how do you confidently determine when they’re perfectly done without the risk of overbaking them? The ultimate secret to achieving that coveted gooey, moist center that defines a superior fudgy brownie is a bit counter-intuitive for many: you actually want to take these delightful Nutella Brownies out of the oven *before* the centers appear to be fully set or completely “finished.”
Yes, that’s right! When these fudgy brownies are perfectly baked, the very center will still exhibit a slight jiggle to them when the pan is gently shaken. This is quite similar to the subtle movement you’d expect from a perfectly baked pumpkin pie or a creamy cheesecake. While this might visually suggest that they are undercooked, it is precisely the texture you are aiming for. The edges of the brownies should appear set and may even be pulling away slightly from the sides of the pan, but the immediate middle section should not be completely firm to the touch. A toothpick inserted into the center should come out with moist crumbs clinging to it, not wet batter, and most definitely not perfectly clean, which would indicate overbaking.
The scientific principle behind this “underbaked” appearance relies on what is known as residual heat or carryover cooking. Once you remove the brownies from the intense heat of the oven, they will continue to cook and set as they gradually cool down within the hot baking pan. This phenomenon is critical. This slow, gentle cooling and setting process is what transforms that slightly jiggly center into the incredibly dense, rich, and perfectly fudgy texture that we all adore in a premium brownie. If you were to wait until the center seems completely firm while still in the oven, by the time they have cooled completely, they would undoubtedly be overbaked, resulting in a drier, more cake-like brownie rather than the deeply fudgy masterpiece you intended to create.
So, trust the process and embrace the jiggle! Pull them out of the oven when they look just a little bit underdone in the center. Allow them to cool completely in the pan, placed on a wire rack, for at least 2-3 hours, or even longer if time permits. This extended cooling period is absolutely crucial. It provides ample time for the brownies to finish setting, allows their deep chocolate and hazelnut flavors to fully intensify and meld, and perhaps most importantly, makes for clean, neat slicing. Resisting the urge to cut into them too early is arguably the hardest part of this recipe, but it is unequivocally essential for achieving that ultimate fudgy glory in every single square of your magnificent Toasted Hazelnut Nutella Brownies.
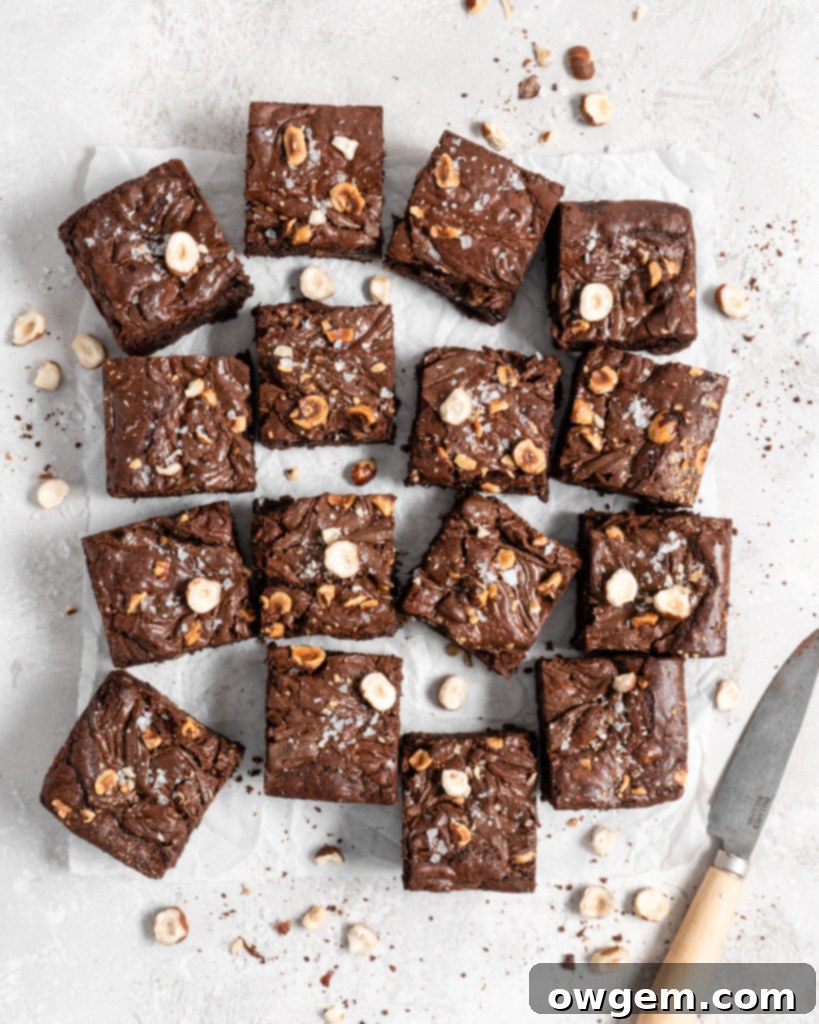
These Toasted Hazelnut Nutella Brownies are far more than just a simple dessert; they are a delightful culinary experience. The thoughtful and expert combination of intensely rich chocolate, fragrant toasted hazelnuts, and the luscious, creamy swirl of Nutella creates a symphony of flavors and textures that will undoubtedly delight anyone fortunate enough to try them. Each bite offers a harmonious balance of deep cocoa notes, sweet nuttiness, and that irresistible hint of chocolate-hazelnut spread. Whether you’re baking for a grand special occasion, seeking to impress guests, or simply craving a truly decadent and comforting treat for yourself, this recipe promises fudgy perfection and an unforgettable taste sensation. Enjoy the detailed process, savor the incredible aroma that fills your home, and indulge in every glorious, satisfying bite of these truly exceptional brownies!
Get the Recipe:
Toasted Hazelnut Nutella Brownies
Pin
Rate
Ingredients
- 1/4 cup (25g) Hazelnut Flour/ Meal
- 1/2 cup Whole Hazelnuts
- 10 oz (280g) Semi Sweet Chocolate,, finely chopped
- 2 cups Granulated Sugar
- 1 cup Dark Brown Sugar
- 4 Large Eggs
- 1 cup Unsalted Butter,, melted
- 1 ½ tsp Vanilla Extract
- 120 g All-Purpose Flour,, about 1 cup measured volumetrically
- 75 g Dutch Processed Cocoa Powder,, sifted (about 3/4 cup measured volumetrically)
- 1/2 tsp Salt
- 6 tbsp Nutella
Instructions
-
Preheat your oven to 350°F (175°C). Prepare two baking sheets by lining them with parchment paper. Evenly spread the hazelnut flour onto one baking sheet and the whole hazelnuts onto the other. Place both into the preheated oven to begin toasting.
-
Toast the hazelnut flour for approximately 10 minutes, making sure to stir it every 5 minutes to ensure even browning and prevent burning. Once lightly golden and fragrant, remove the toasted hazelnut flour from the oven and allow it to cool completely on a wire rack for about 30 minutes.
-
Continue toasting the whole hazelnuts for about 15 minutes. Immediately after removing them from the oven, transfer them into a clean kitchen towel and wrap them tightly. Allow the hazelnuts to ‘steam’ inside the towel for 1-2 minutes; this helps loosen the skins. Next, using the kitchen towel, roughly rub the hazelnuts together to remove their skins (it’s okay if a few stubborn pieces remain). Allow the cleaned hazelnuts to cool completely, then roughly chop them. Set aside.
-
Prepare a 9×9 inch baking pan by lightly greasing it with cooking spray, then lining it with parchment paper, allowing some overhang on the sides for easy removal of the brownies later.
-
Add your finely chopped semi-sweet chocolate to a heatproof bowl. Place this bowl over a pot of simmering water, ensuring the bowl fits tightly over the pot and its bottom does not touch the water. Stir continuously with a dry rubber spatula until all the chocolate has melted into a smooth, glossy liquid. Remove the bowl from the heat and set it aside to cool until it’s just warm to the touch but still very liquid.
-
In a large mixing bowl, combine the granulated white sugar, dark brown sugar, and large eggs. Whisk these ingredients together by hand for about 1 minute until the mixture looks creamy and well-combined. Then, pour in the melted unsalted butter, vanilla extract, and the slightly cooled melted chocolate. Whisk everything together thoroughly until it is completely smooth and evenly incorporated.
-
In a separate bowl, whisk together the all-purpose flour, sifted Dutch-processed cocoa powder, salt, and the toasted hazelnut flour until well combined. Gradually add these dry ingredients into the wet ingredients bowl. Using a rubber spatula, gently fold the dry into the wet ingredients until the batter is smooth, thick, and well-combined. Be careful not to overmix. Finally, fold in the chopped toasted hazelnuts, ensuring they are evenly distributed throughout the rich batter.
-
Pour the finished brownie batter into your prepared 9×9 inch pan and spread it out evenly with a spatula. Dollop spoonfuls of Nutella randomly across the top of the batter. Using a wooden skewer or a knife, gently swirl the Nutella into the brownie batter to create beautiful marbled patterns. Avoid over-swirling. Place the pan into the preheated oven and bake for 40-45 minutes. Remember, for truly fudgy brownies, the center will still appear slightly under-baked and have a gentle jiggle when removed from the oven. They will continue to set as they cool. Allow the brownies to cool completely in the pan on a wire rack before attempting to slice and serve for the best fudgy texture.
