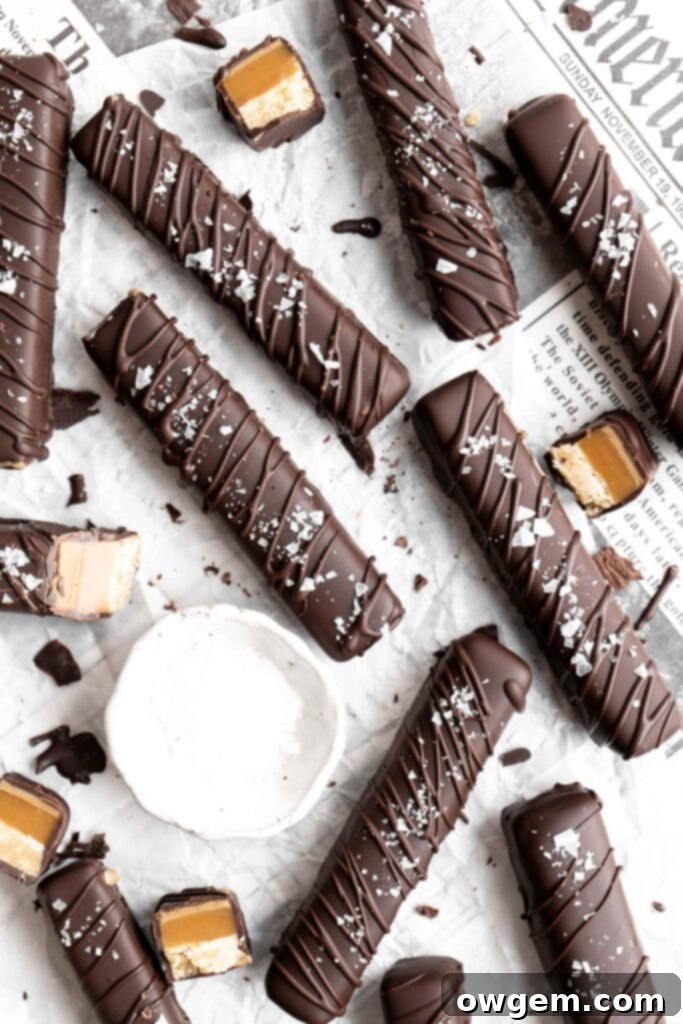
Irresistible Homemade SunButter Twix Bars: Your Ultimate Allergy-Friendly Dessert Recipe
We’re thrilled to share this incredible recipe for Homemade SunButter Twix Bars, brought to you with the generous support of SunButter®. Rest assured, all culinary opinions and creative ideas expressed here are entirely our own.
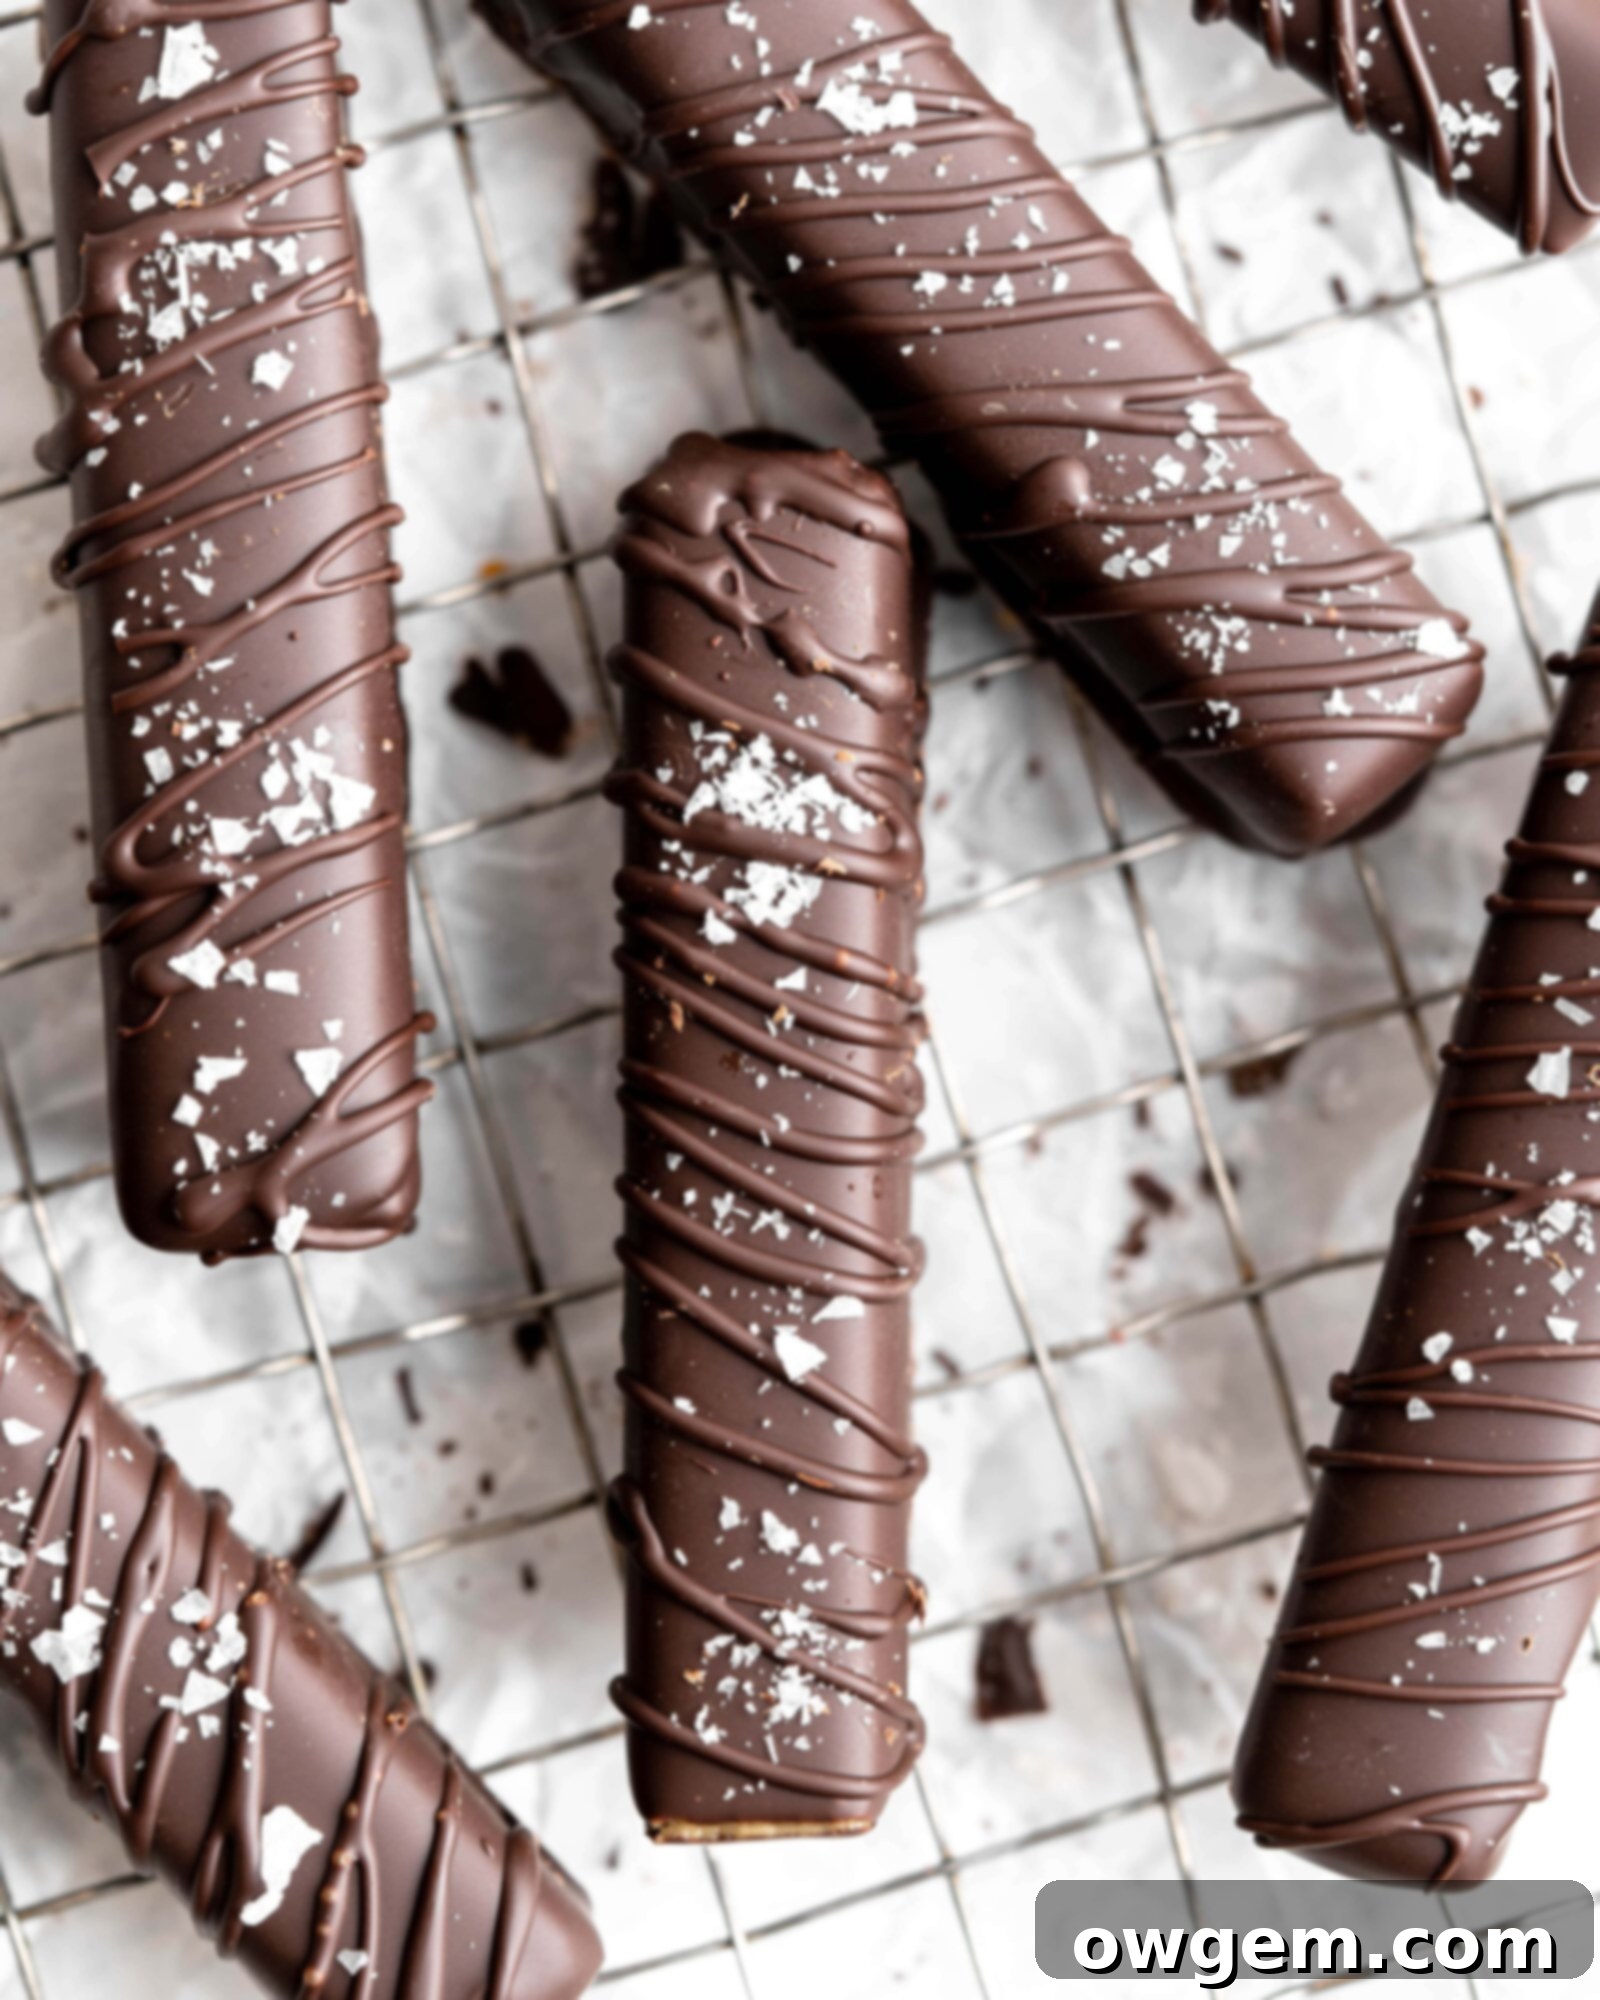
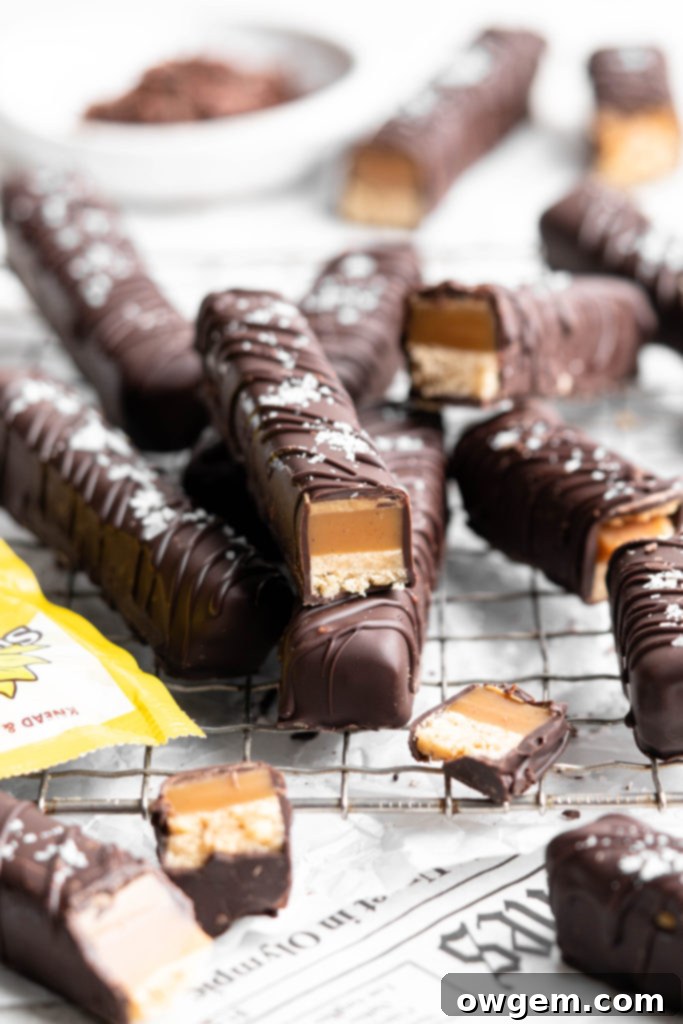
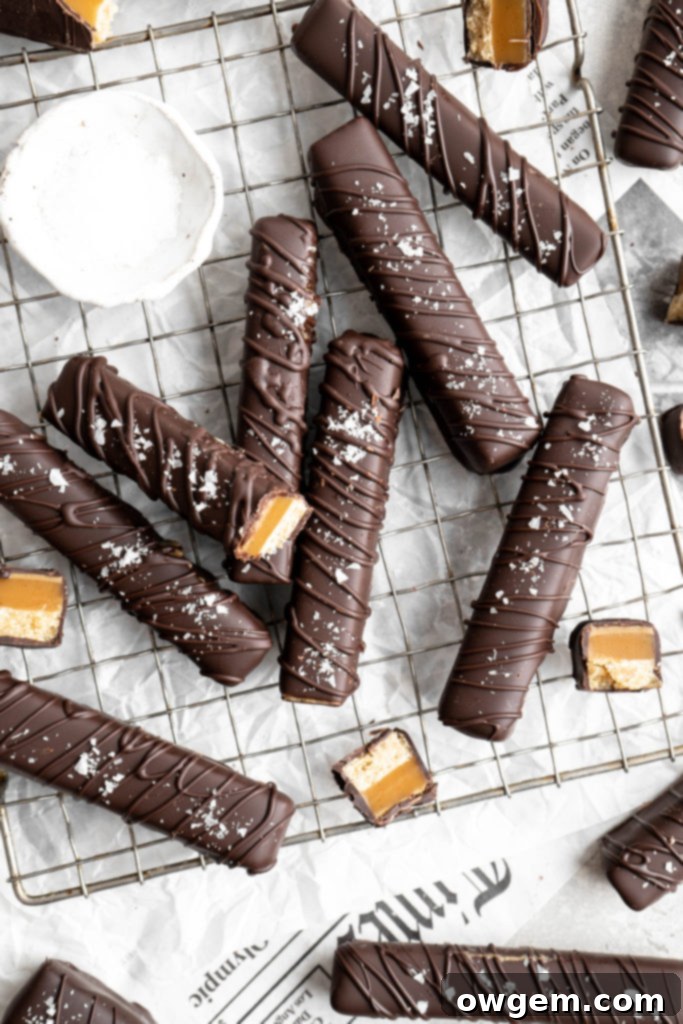
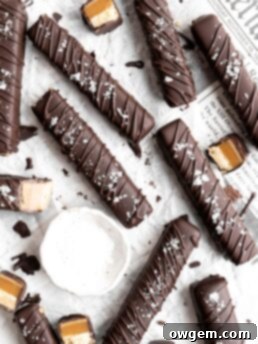
If you find yourself utterly captivated by the classic combination of shortbread, caramel, and chocolate, prepare to be amazed. These truly drool-worthy homemade SunButter Twix Bars take that beloved concept to an entirely new level, offering a delicious and often allergy-friendly alternative. Each bar is a masterpiece, featuring a perfectly buttery, crisp shortbread base, a luxuriously soft and chewy caramel center, and a creamy, rich SunButter layer that introduces a delightful nuttiness without the nuts. To complete this ultimate homemade chocolate bar experience, each layer is enrobed in a velvety, smooth chocolate coating that delivers the perfect snap and melt-in-your-mouth finish. Get ready to impress your taste buds and everyone you share them with!
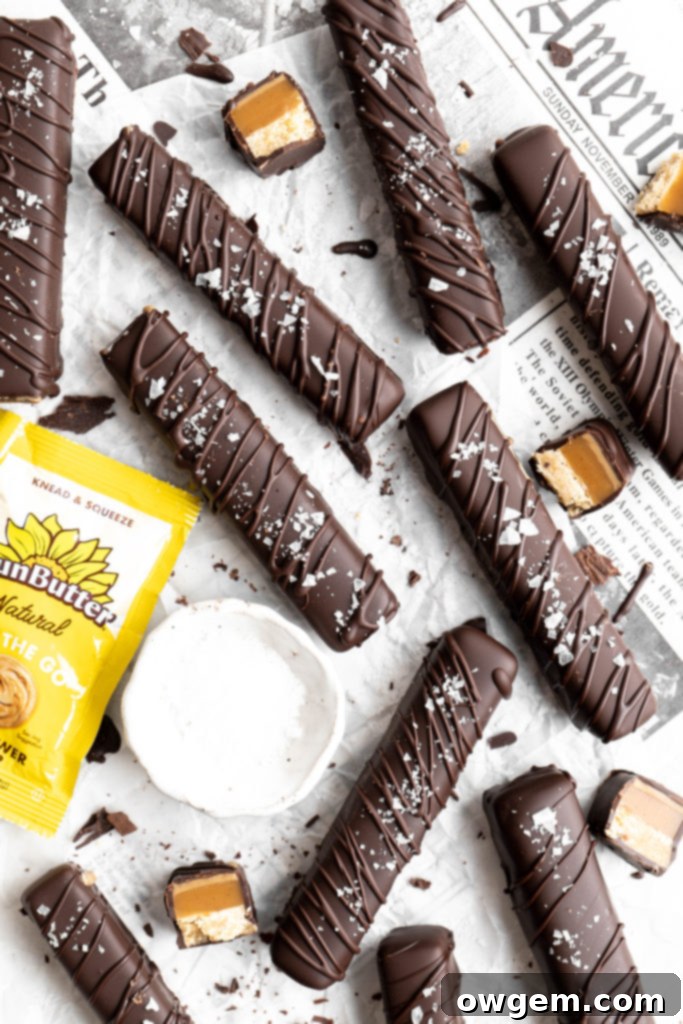
What is SunButter? Your Allergen-Friendly Alternative
For those who may be unfamiliar with this fantastic product or haven’t yet had the pleasure of tasting it, SunButter is an innovative seed-butter spread crafted from roasted sunflower seeds. It stands out as an excellent, wholesome alternative to traditional peanut butter and other nut-butters, making it a perfect choice for individuals with peanut or tree nut allergies, sensitivities, or anyone simply seeking to incorporate a delicious, yet healthier, spread into their diet. SunButter offers a rich, satisfying flavor profile that’s both comforting and versatile, resembling the creamy texture and savory notes of classic nut butters.
Beyond its allergy-friendly appeal, SunButter is also a nutritional powerhouse. Each serving boasts an impressive 7 grams of protein, making it a great addition to fuel your day. It’s also jam-packed with essential vitamins and minerals, contributing to a balanced diet. Furthermore, SunButter contains absolutely no trans-fats and surprisingly, less saturated fat than many typical almond butters on the market. This makes it a smart choice for those mindful of their fat intake without compromising on taste or texture. Its smooth consistency and distinctive flavor make it ideal for everything from sandwiches and smoothie bowls to, of course, a star ingredient in delectable baked goods like these Twix bars.
Eager to explore more delightful recipes using this versatile spread? Be sure to check out some of our other favorite SunButter creations: SunButter M&M Blondies, SunButter Chocolate Chip Toffee Cookies, & SunButter Triple Chocolate Brownie Skillet. Each recipe highlights SunButter’s unique ability to elevate classic treats with its creamy texture and robust, nutty (but nut-free!) flavor.
Crafting the Perfect Shortbread Cookie Base Layer
The foundation of these remarkable Twix bars is a simple yet supremely satisfying shortbread cookie base. This layer is wonderfully straightforward to prepare, requiring no specialized equipment or the use of a stand mixer. All you’ll need are a whisk and a bowl, making it accessible for even novice bakers. The key to a perfect shortbread lies in minimal handling and precise baking, resulting in a tender, crumbly, and buttery texture that perfectly complements the subsequent layers.
To begin, you’ll combine the wet and sugar ingredients. In a large mixing bowl, whisk together the melted butter, rich brown sugar, a pinch of salt, and fragrant vanilla extract. It’s important to whisk these ingredients together vigorously for about a minute. This ensures that the butter is thoroughly emulsified and evenly incorporated with the sugar and flavorings, preventing a greasy texture and promoting an even bake. This initial step creates a smooth, cohesive mixture ready for the dry ingredients.
Next, it’s time to introduce the flour. Gradually add the all-purpose flour to the wet mixture in three separate additions. After each addition, whisk gently until the flour is just combined and the mixture is smooth. For the final addition, you might find it easier to switch from a whisk to a sturdy spatula. Use a folding motion to incorporate the last bit of flour. Be careful not to overmix, as this can develop the gluten in the flour and lead to a tough, rather than tender, shortbread.
Once your shortbread cookie dough is ready, transfer it to a prepared baking pan. Make sure to press the dough out evenly to cover the entire bottom of the pan, extending right to the edges. A flat-bottomed glass or the palm of your hand can help achieve a uniform thickness, which is crucial for even baking. Finally, bake the shortbread until it achieves a delicate golden hue around the edges. This typically takes about 17-18 minutes in a preheated oven. After baking, allow this foundational layer to cool completely to room temperature before proceeding. Patience here is key, as a warm shortbread will melt the caramel layer!
Creating the Irresistible Soft Caramel Layer
Undoubtedly, one of the most anticipated and celebrated components of these homemade Twix bars is the glorious soft and chewy caramel layer. This caramel, while simple to make, does require a bit of attention and consistent stirring to achieve its perfect texture and consistency. But trust us, the effort is absolutely worth it for that rich, buttery, and utterly decadent experience.
To start, gather your caramel ingredients: corn syrup, dark brown sugar, butter, and sweetened condensed milk. Combine all of these in a medium-sized heavy-bottomed pot. Place the pot over medium heat, and as the ingredients gradually begin to melt, stir them together continuously. Constant stirring at this stage is crucial to ensure that all the components are well-integrated and that the sugar dissolves properly, preventing any crystal formation.
The next step involves cooking the caramel to its ideal temperature. Continue to cook the mixture over medium heat, stirring very frequently to prevent it from scorching at the bottom of the pot. This is where a candy thermometer becomes your best friend. You’ll need to cook the caramel until it reaches a precise temperature of 235°F (113°C) on your thermometer. You might notice the caramel seeming to “stagnate” around 220°F (104°C) for a while, but do not despair! With continued patience and stirring, it will eventually reach the target temperature. As it cooks, typically over 10 to 15 minutes, the caramel will visibly thicken and darken in color, signaling its readiness and perfect chewy consistency.
Once the caramel has reached 235°F, immediately remove it from the heat. Stir in the vanilla extract (or vanilla bean paste for an even richer flavor) and a pinch of kosher salt. The salt helps to balance the sweetness and deepen the caramel’s complexity. Stir until these additions are fully combined. Without delay, pour the hot, luscious caramel evenly over the completely cooled shortbread base you prepared earlier. The caramel will be quite thick, so work quickly to spread it. Once poured, place the pan into the refrigerator to allow the caramel to set firmly for at least 2 hours. This chilling step is essential for the layers to adhere and for the caramel to achieve its perfect chewy texture.
Assembling the Effortless SunButter Layer
The SunButter layer is arguably the simplest and quickest component to prepare in these Homemade Twix Bars, yet it contributes significantly to their unique flavor profile. This layer requires minimal effort and adds a delightful creaminess and a subtle, nutty richness without any actual nuts. It’s a game-changer for anyone seeking a safe and delicious treat.
To create this smooth and flavorful layer, simply combine all the ingredients – natural SunButter, pure maple syrup, and a touch of coconut oil – in a medium saucepan. Place the saucepan over medium heat, stirring consistently. Bring the mixture to a gentle boil, ensuring all ingredients are well incorporated and the coconut oil has melted completely. Once boiling, continue to simmer for just 2 minutes while stirring frequently. This brief simmering period allows the mixture to thicken ever so slightly, creating a perfect consistency that will hold its shape once cooled.
After 2 minutes of simmering, remove the saucepan from the heat. The SunButter mixture will be warm and pourable. Immediately and evenly pour this creamy SunButter layer over the firmly set caramel layer. The warmth of the SunButter layer will help it spread smoothly. Once poured, return the pan to the refrigerator for another 2 hours. This chilling time is crucial to allow the SunButter layer to set and firm up, ensuring clean, distinct layers when you slice the bars later. This simple step adds a wonderful depth of flavor and creamy texture that truly elevates these homemade treats.
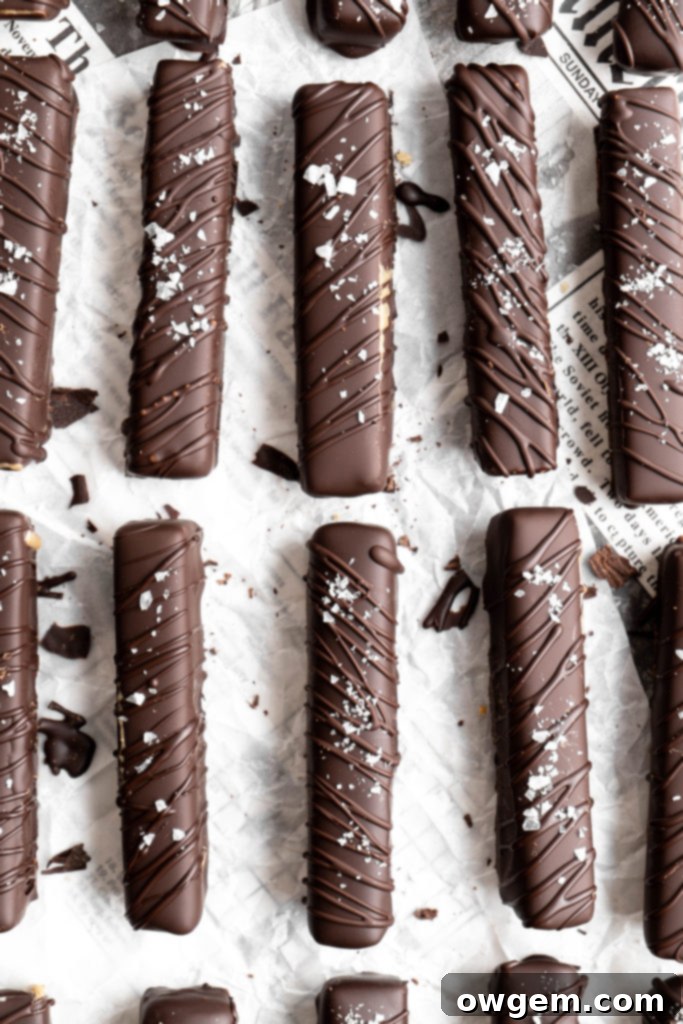
The Art of Tempered Chocolate for a Perfect Coating
Now, we arrive at what can be considered the most nuanced and, at times, challenging aspect of crafting these homemade Twix bars: the chocolate coating. To truly replicate the professional finish and delightful texture of a store-bought chocolate bar, tempering your chocolate is highly recommended. Tempering chocolate is a specific heating and cooling process that stabilizes the cocoa butter crystals. This results in a chocolate coating that is firm and non-sticky at room temperature, boasts a beautiful glossy shine, and delivers that satisfying “snap” when broken. It’s the secret to professional-looking and tasting chocolate confections.
However, it’s entirely understandable if the process of tempering chocolate seems a bit daunting or overly finicky. Achieving perfect temper can be tricky, requiring attention to temperature and technique. For home bakers, it’s completely acceptable if you choose to bypass the tempering process and simply melt your chocolate using a more conventional method. While the bars won’t have the same professional sheen or firm snap, they will still be incredibly delicious. If you opt for untempered chocolate, you’ll simply need to place the coated bars in the refrigerator for about 15 minutes after dipping to allow the chocolate to set and harden. The final result will be a delightful treat with a slightly softer, more yielding chocolate texture, which is still absolutely wonderful to enjoy.
Mastering Chocolate Tempering with the Microwave (Seeding) Method
Among the various methods for tempering chocolate, the microwave (or seeding) method is widely regarded as one of the most accessible and effective for home use, consistently yielding excellent results. This technique relies on introducing already tempered chocolate (the “seed”) to melted chocolate, guiding the crystals into the desired stable form. It’s less messy than a double boiler and offers precise control, making it a favorite for many.
To begin, place your high-quality dark or semi-sweet chocolate, preferably in small wafer form or finely chopped, into a microwave-safe bowl. Start by microwaving the chocolate for 45 seconds. After this initial burst, remove the bowl and stir the chocolate thoroughly. Even if it doesn’t look melted, stir vigorously to distribute the heat. Following this, continue microwaving in much shorter intervals, typically 15 seconds at a time. After each 15-second interval, remove and stir the chocolate. Repeat this process until approximately 75% of the chocolate has visibly melted. The goal is to melt most, but not all, of the chocolate using controlled, gentle heat.
Once 75% of the chocolate is melted, remove it from the microwave and continue to stir the chocolate diligently. The residual heat from the melted chocolate will gradually melt the remaining 25% of the solid pieces. This stirring process may take a few minutes, but it is crucial. Resist the urge to put it back in the microwave unless the chocolate truly refuses to melt and cool down (in which case, a very quick 5-10 second burst might be necessary). The goal here is to let the unmelted chocolate “seed” the melted chocolate, helping it form stable crystals as it cools.
The chocolate is properly tempered and ready for use when all the remaining solid chocolate pieces have completely melted, and the overall temperature of the chocolate is at or ideally just below 90°F (32°C). This temperature range ensures the cocoa butter crystals are in their stable form, ready to set beautifully. Once your chocolate achieves this state, you can confidently proceed to dip your prepared Twix bars into the smooth, glossy coating. Finish with a sprinkle of flaky sea salt for an extra touch of gourmet sophistication, and allow them to set on parchment paper.
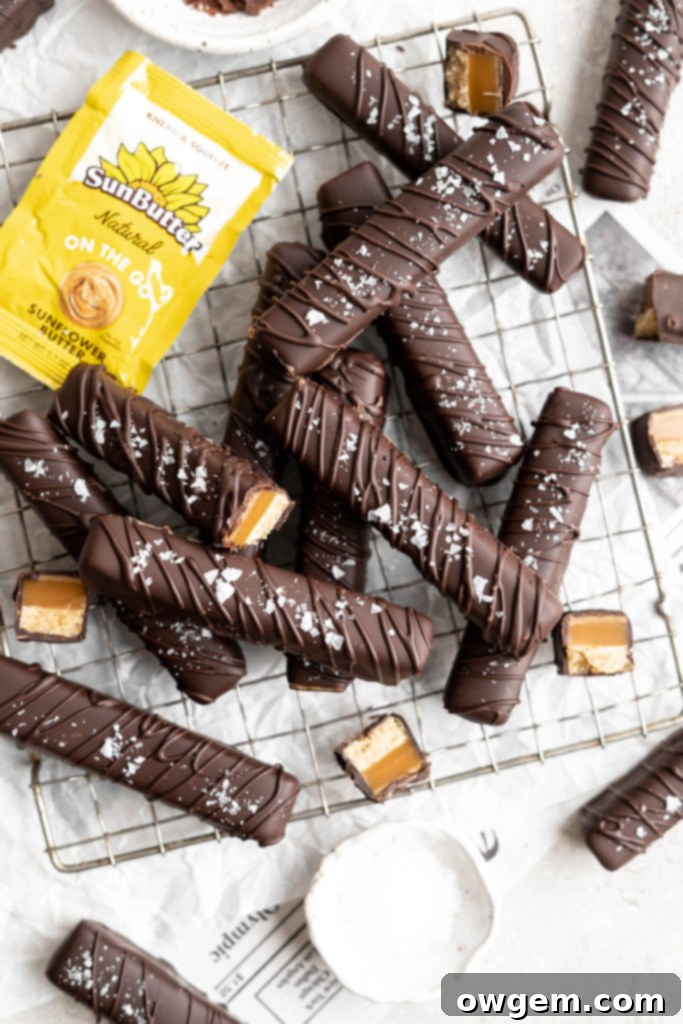
Essential Tools for Crafting Homemade Twix Bars
Having the right tools on hand can make all the difference in the success and enjoyment of your baking projects. For these Homemade SunButter Twix Bars, a few key pieces of equipment will ensure a smooth process and a perfectly finished product.
Candy Thermometer: This is a non-negotiable tool for achieving the perfect consistency for both your caramel and, if you choose to temper it, your chocolate. Precision in temperature is critical for chewy caramel and stable chocolate. A reliable candy thermometer eliminates guesswork and guarantees consistent results. Here is a highly recommended one (affiliate link).
9×13” Baking Pan: This specific pan size is essential for our recipe, as it ensures the correct thickness for all the layers, leading to well-proportioned bars. While you’ll be lining the pan with parchment paper for easy removal, a high-quality non-stick pan can still provide an extra layer of confidence. Here is my favorite non-stick pan (affiliate link).
Parchment Paper: For effortless removal of your bars from the pan, lining it thoroughly with parchment paper is a must. I recommend using two sheets, crosswise, ensuring that the parchment extends up and over all four sides of the pan. This creates “handles” that allow you to lift the entire block of bars out cleanly, preventing any sticking or breakage.
Sharp Knife: A truly sharp knife is absolutely critical when it comes to slicing through the multiple layers of these bars. A dull knife will not only make the task frustrating but will also likely crumble the delicate shortbread base and distort the caramel and SunButter layers. For the cleanest cuts, I actually prefer to use a large carving knife or a chef’s knife. Its length and sharpness make quick work of slicing. Here is my recommendation for a sharp carving knife (affiliate link).
Tips for Success & Storage
Making homemade candy bars can seem intricate, but with a few extra tips, you’ll master these SunButter Twix Bars in no time. Firstly, preparation is key. Read through the entire recipe before you start and measure out all your ingredients (mise en place). This will ensure you can move smoothly between steps, especially when dealing with temperature-sensitive layers like the caramel and chocolate.
When it comes to the shortbread, avoid overmixing. Overworking the dough can develop too much gluten, resulting in a tough rather than crumbly base. For the caramel, consistent stirring and careful temperature monitoring with a candy thermometer are paramount. Don’t rush the process, as uneven heating can lead to a grainy texture or burning. If you’re nervous about tempering chocolate, remember that simply melting it is a perfectly acceptable alternative, just be prepared for a slightly softer final texture.
**Storage:** To keep your homemade SunButter Twix Bars fresh and delicious, store them in an airtight container. If you used tempered chocolate for the coating, they can be kept at room temperature for up to one week. However, if you opted for untempered chocolate, it’s best to store the bars in the refrigerator to prevent the chocolate from becoming too soft. They will last up to two weeks in the fridge. For longer storage, you can freeze the bars in an airtight container for up to three months. Thaw them in the refrigerator or at room temperature before enjoying.
Variations & Customizations
While these SunButter Twix Bars are perfect as is, feel free to get creative with variations! For a different flavor profile, you could try using white chocolate for the coating, or even a blend of dark and milk chocolate. A sprinkle of sea salt on top of the chocolate coating enhances the flavors beautifully, offering a wonderful sweet and salty contrast. You could also experiment with adding a touch of espresso powder to the shortbread for a subtle coffee note, or a pinch of cinnamon to the SunButter layer for warmth.
If you’re not sensitive to nuts, you could theoretically substitute peanut butter or almond butter for the SunButter, though the unique flavor of sunflower seeds is what truly makes this recipe stand out. For an extra touch of texture, consider adding finely chopped toasted coconut or crushed pretzels to the top of the chocolate coating before it sets. The possibilities are endless for making these delicious bars uniquely yours!
Why You’ll Love These Homemade SunButter Twix Bars
These Homemade SunButter Twix Bars are more than just a dessert; they are a delightful experience that brings joy with every bite. The harmonious blend of textures—the crisp shortbread, the luscious chewy caramel, the smooth and creamy SunButter, and the satisfying snap of the chocolate shell—creates a symphony of sensations. What makes them truly special is their thoughtful design as an allergy-friendly treat, allowing those with nut sensitivities to indulge in a classic candy bar experience without worry.
Beyond their delicious taste and inclusive nature, there’s an immense satisfaction that comes from creating such an impressive confection from scratch. They are perfect for sharing at gatherings, gifting to friends, or simply enjoying as a decadent treat after a long day. Prepare to fall in love with these homemade wonders that redefine the classic Twix bar, making it even better with the unique touch of SunButter.
Get the Recipe:
Homemade SunButter Twix Bars
Pin
Rate
Ingredients
Shortbread Layer
- 1 cup (227g) Unsalted Butter,, melted
- 1/2 cup (110g) Brown Sugar
- 2 tsp Vanilla Extract
- 1 tsp Kosher Salt
- 2 ¼ cup (270g) All Purpose Flour
Caramel Layer
- 1 cup (328g) Light Corn Syrup
- 10 oz (300g) Sweetened Condensed Milk
- 3/4 cup (165g) Dark Brown Sugar
- 3/4 cup (170g) Unsalted Butter,, at room temperature
- 2 tsp Vanilla or Vanilla Bean Paste
- 1 tsp Kosher Salt
SunButter Layer
- 1/2 cup (120g) Natural SunButter
- 3 tbsp Maple Syrup
- 1 tbsp Coconut Oil
Chocolate Coating
- 16 oz (454g) High Quality Dark or Semi Sweet Chocolate,, chopped finely, melted and preferably tempered
Instructions
Shortbread Layer
-
Preheat your oven to 325°F (160°C). Prepare a 9×13” baking pan by lightly spraying it with cooking spray, then lining it with two sheets of parchment paper. Ensure that the parchment paper extends up and over all sides of the pan to create “handles” for easy removal later.
-
In a large mixing bowl, combine the melted unsalted butter, brown sugar, vanilla extract, and kosher salt. Whisk these ingredients together vigorously for at least 1 minute until they are thoroughly combined and the mixture is smooth and cohesive.
-
Add the all-purpose flour to the bowl in three separate additions. After each addition, whisk gently until the flour is just incorporated. For the final addition of flour, you may find it easier to switch to a spatula and fold the mixture until combined, being careful not to overmix the dough.
-
Transfer the shortbread cookie dough to the prepared pan. Press it evenly into the bottom of the pan, ensuring a uniform thickness across the entire surface. Place the pan into the preheated oven and bake for 17-18 minutes, or until the edges are lightly golden. Remove from the oven and allow this layer to cool completely to room temperature, which typically takes about 1 to 2 hours.
Caramel Layer
-
In a medium, heavy-bottomed saucepan, combine the corn syrup, sweetened condensed milk, dark brown sugar, and room temperature unsalted butter. Place the saucepan over medium heat. Heat the mixture, whisking constantly, until the caramel begins to bubble. Continue cooking the caramel, stirring very frequently to prevent scorching, until it reaches precisely 235°F (113°C) on a candy thermometer. The caramel should appear slightly thickened and will have deepened in color.
-
Once the caramel reaches the target temperature, immediately remove the saucepan from the heat. Stir in the kosher salt and vanilla extract (or vanilla bean paste) until fully combined. Promptly pour the hot caramel evenly over the cooled shortbread layer. Place the pan into the refrigerator to set for at least 2 hours, or until firm.
SunButter Layer
-
In another medium saucepan, combine the natural SunButter, maple syrup, and coconut oil. Place over medium heat. Bring the mixture to a gentle boil, then continue to cook for 2 minutes while stirring frequently to ensure it thickens slightly and all ingredients are well-blended. Remove from heat and pour this creamy layer evenly over the chilled and set caramel layer. Return the pan to the fridge to set for an additional 2 hours.
Chocolate Coating & Assembly
-
Once all layers are fully set and firm, remove the pan from the refrigerator. Carefully lift the entire block of Twix bars out of the pan by pulling up the parchment paper handles. Transfer the block to a cutting board and use a very sharp knife to slice it into 24 individual bars.
-
Prepare your chocolate coating. If you are tempering the chocolate, follow the microwave (seeding) method described in the section above until the chocolate is perfectly tempered (at or below 90°F / 32°C). Pour the tempered chocolate into a deep, narrow bowl suitable for dipping. Dip each bar into the tempered chocolate, allowing any excess to drip off, then place onto a parchment-lined baking sheet. Finish with a sprinkle of flaky sea salt, if desired, and allow to set completely at room temperature.
-
If you choose not to temper the chocolate, simply melt the chocolate as you normally would (e.g., in a microwave or double boiler) until smooth. Proceed with dipping the bars into the melted chocolate. After dipping, the bars will need to be placed in the refrigerator for approximately 15 minutes to allow the chocolate coating to harden. Serve and enjoy these irresistible homemade treats!
