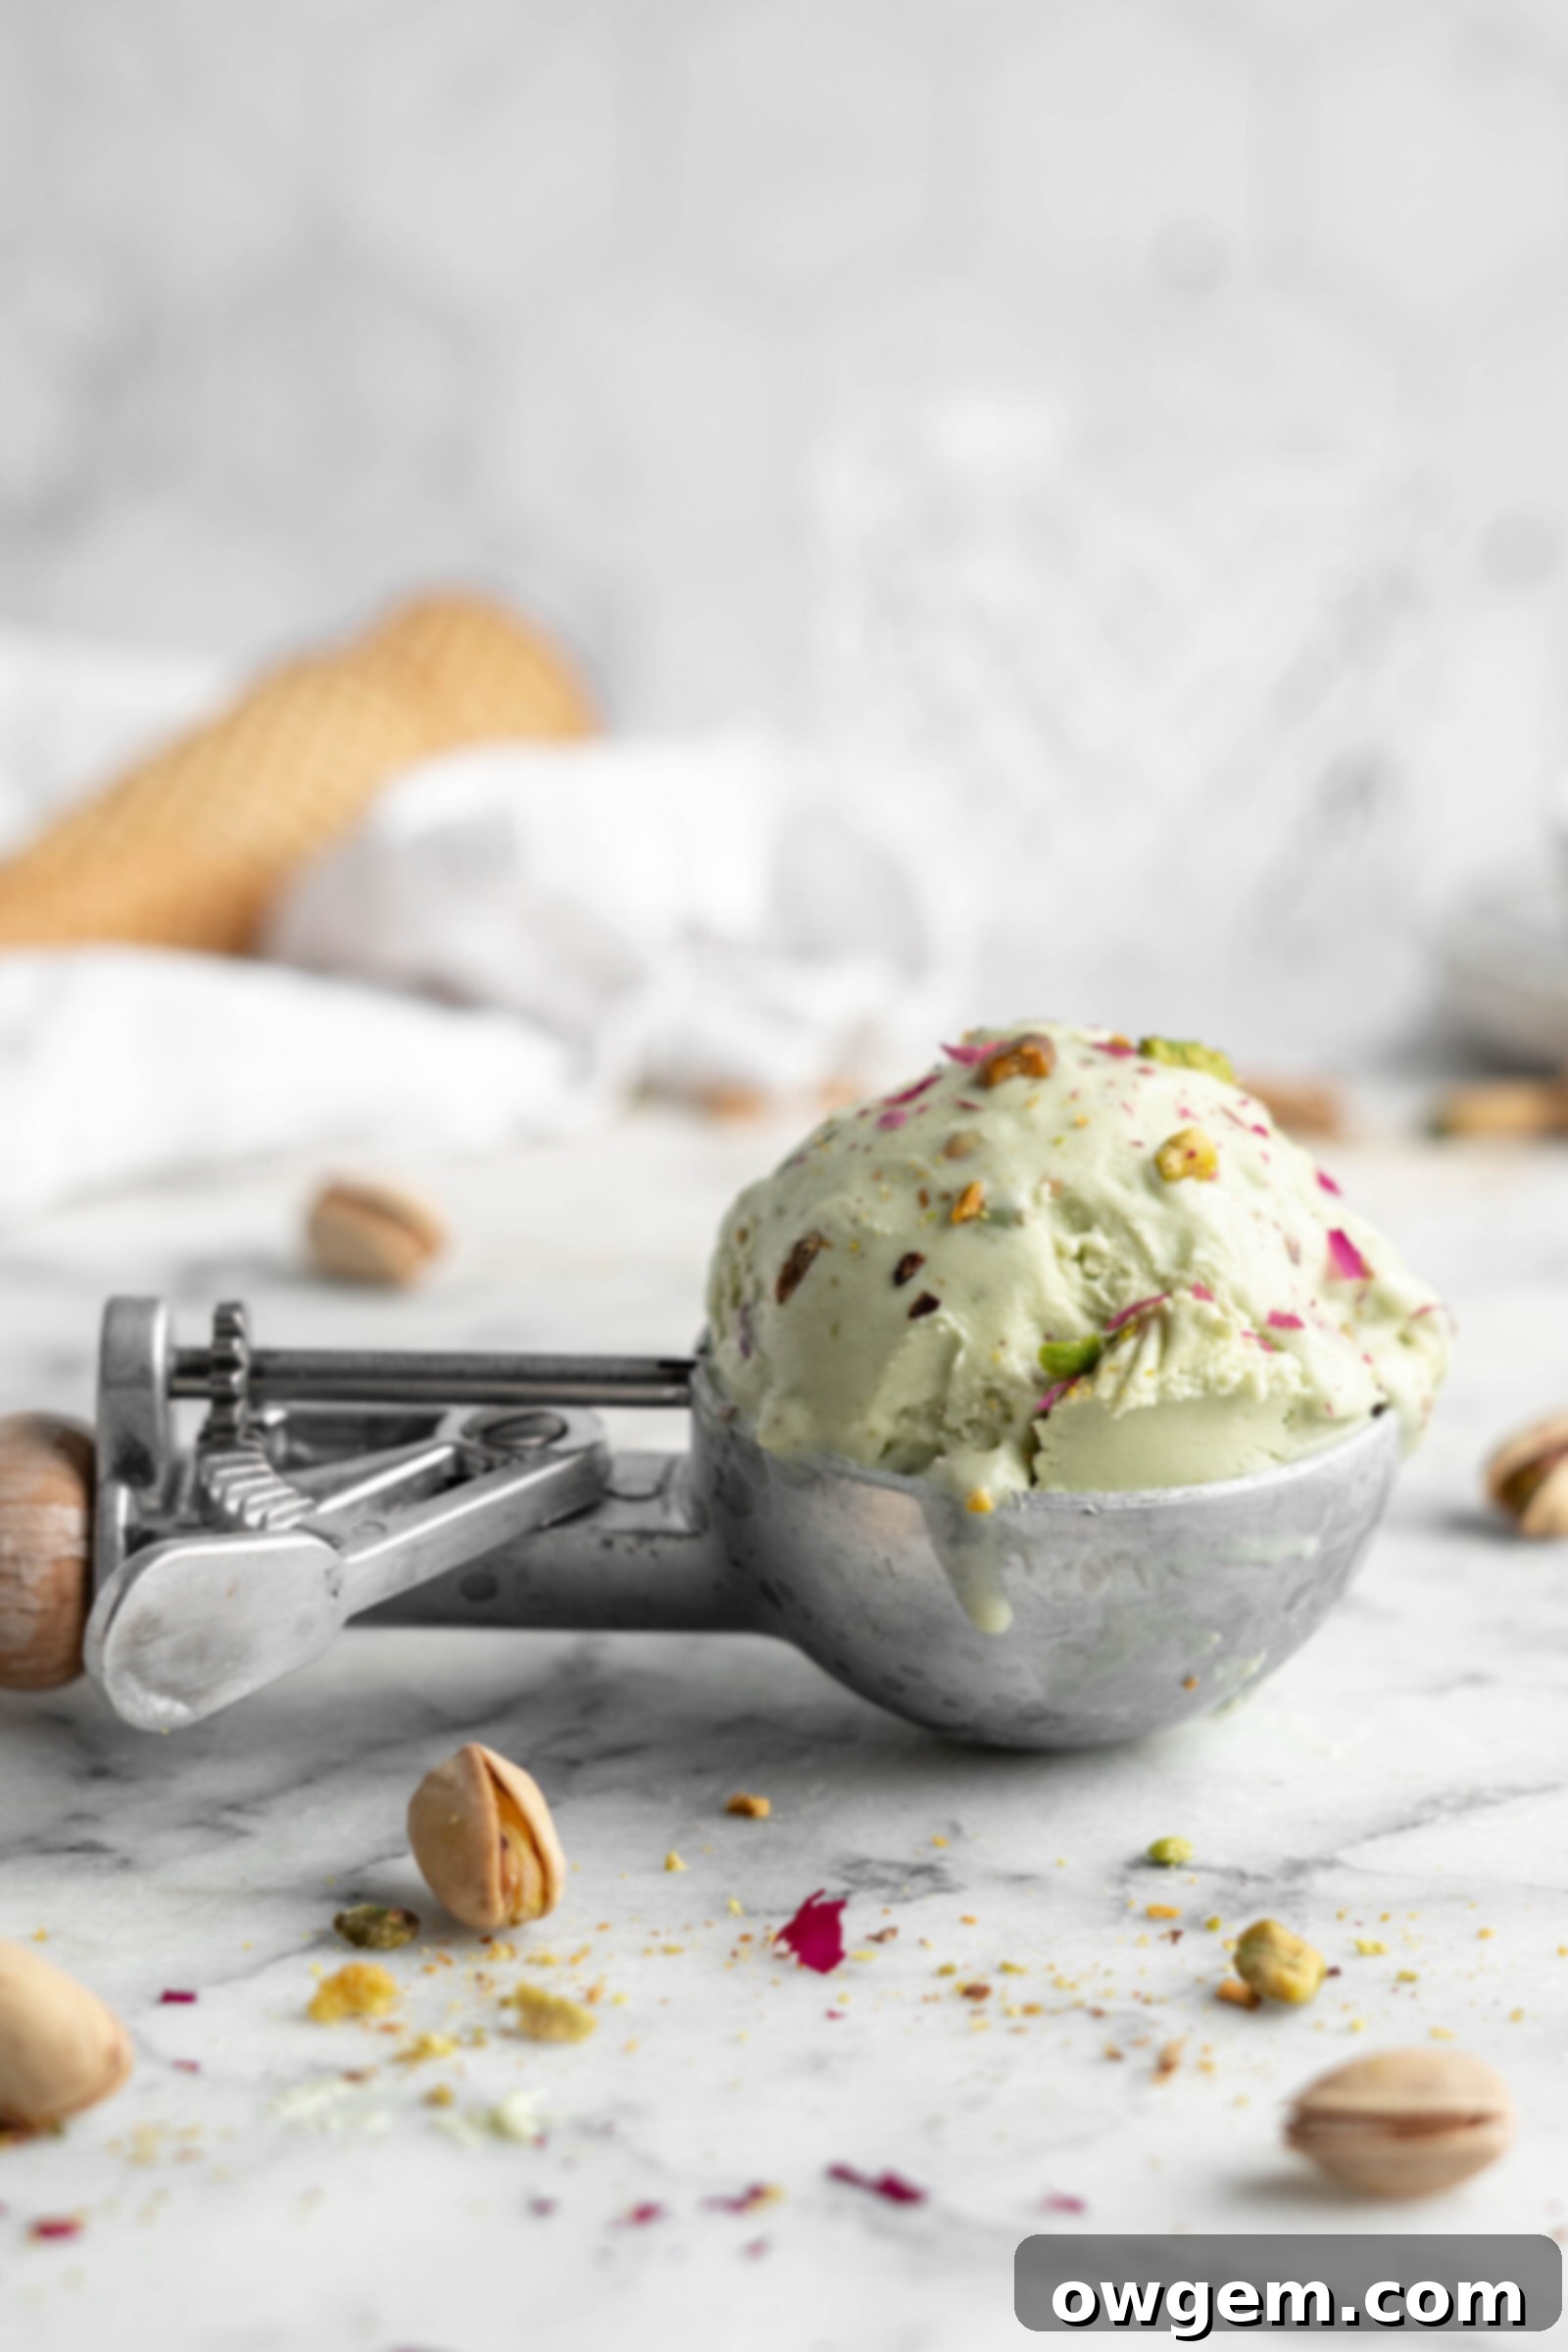
Ultimate Creamy Homemade Pistachio Ice Cream: Your Easy Guide to Perfection
Indulge in the luxurious taste of homemade pistachio ice cream with this incredibly simple and satisfying recipe. Leveraging the convenience of high-quality store-bought pistachio paste, this recipe ensures a robust and authentic pistachio flavor without the fuss of processing nuts from scratch. Designed for use with an ice cream maker, you’ll achieve an irresistibly creamy, rich, and velvety soft texture that far surpasses anything you can buy in stores. Get ready to elevate your dessert game and treat yourself to a truly exceptional frozen delight.
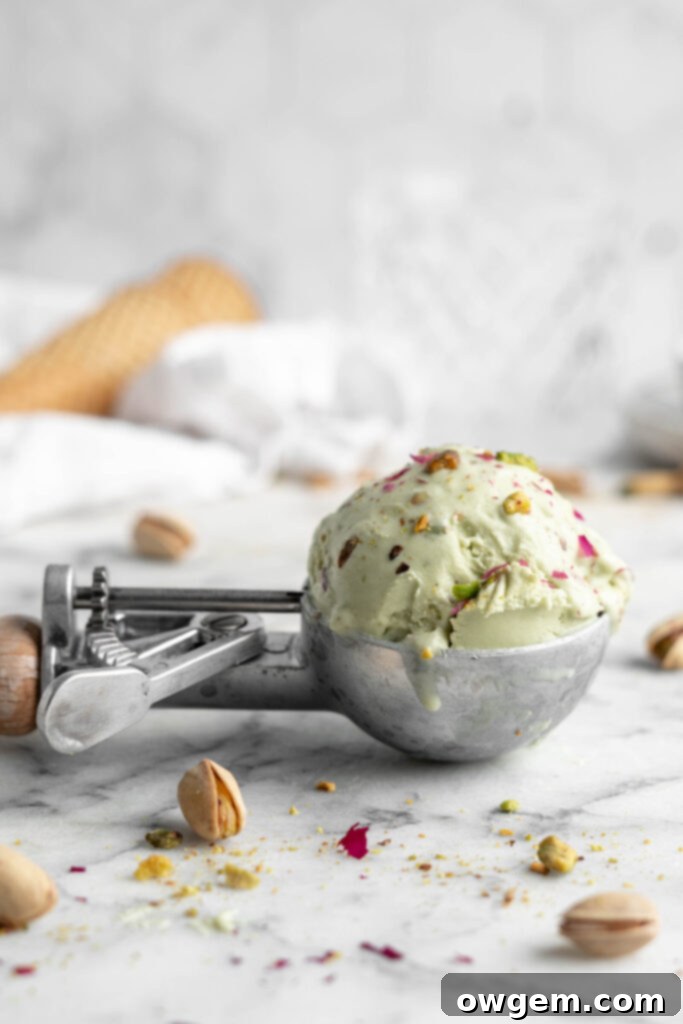
Table of Contents
- Why you’ll love this recipe
- Ingredient notes for perfect pistachio ice cream
- How to make creamy pistachio ice cream (step-by-step)
- Expert tips & tricks for homemade ice cream
- Essential equipment for ice cream making
- How to store homemade pistachio ice cream
- Frequently asked questions about pistachio ice cream
- Delicious variations for your pistachio ice cream
- Related dessert recipes
- Printable Recipe Card
Why You’ll Adore This Homemade Pistachio Ice Cream Recipe
This isn’t just another ice cream recipe; it’s an invitation to a world of creamy, nutty indulgence. Here’s why this easy homemade pistachio ice cream will become your new favorite:
Effortless Preparation with Store-Bought Pistachio Paste: We understand that making pistachio paste from scratch can be time-consuming. That’s why this recipe shines by utilizing high-quality store-bought pistachio paste, streamlining the process significantly. You get all the intense, authentic pistachio flavor without needing a food processor or extra steps, making this a truly accessible homemade ice cream experience for everyone.
Unparalleled Creaminess Thanks to Your Ice Cream Maker: If you own an ice cream maker, this recipe is designed to help you get the most out of it. Churning is key to achieving that signature smooth, thick, and velvety soft texture that defines gourmet ice cream. The machine incorporates air evenly and prevents large ice crystals from forming, resulting in a perfectly pliable and scoopable treat every time. You control the churn, ensuring the ice cream is exactly to your liking.
Intensely Strong Pistachio Flavor: For true pistachio aficionados, a weak pistachio flavor is a disappointment. This recipe is meticulously crafted to deliver a bold, unmistakable pistachio punch. We use a generous amount of quality pistachio paste, ensuring every spoonful is bursting with the distinctive, nutty essence that makes this flavor so beloved. It’s an authentic taste that will satisfy even the most discerning palate.
Luxuriously Rich and Decadent: The secret to its incredible richness lies in a classic French-style custard base. The combination of luscious egg yolks, high-fat heavy cream, and evaporated milk (which boasts a higher concentration of milk solids than regular milk) creates an unparalleled creamy texture. This trio of ingredients emulsifies beautifully, preventing iciness and providing a melt-in-your-mouth experience that is truly divine.
Superior to Store-Bought Options: Once you taste this homemade pistachio ice cream, you’ll find it difficult to go back to pre-packaged versions. You can genuinely taste the real pistachios and high-quality ingredients, free from artificial flavors or excessive stabilizers often found in commercial brands. Crafting it yourself allows you to control the sweetness, the intensity of the pistachio, and ensures a fresh, pure taste that store-bought simply cannot match. It’s an elevated dessert experience that speaks to quality and care.
Impressive Yet Simple for Entertaining: While tasting incredibly gourmet, the simplicity of using store-bought paste means this recipe is perfect for entertaining. Prepare the base ahead of time, churn it when convenient, and freeze. Your guests will be amazed by the depth of flavor and creamy texture, making you the star of any gathering without hours of kitchen work.
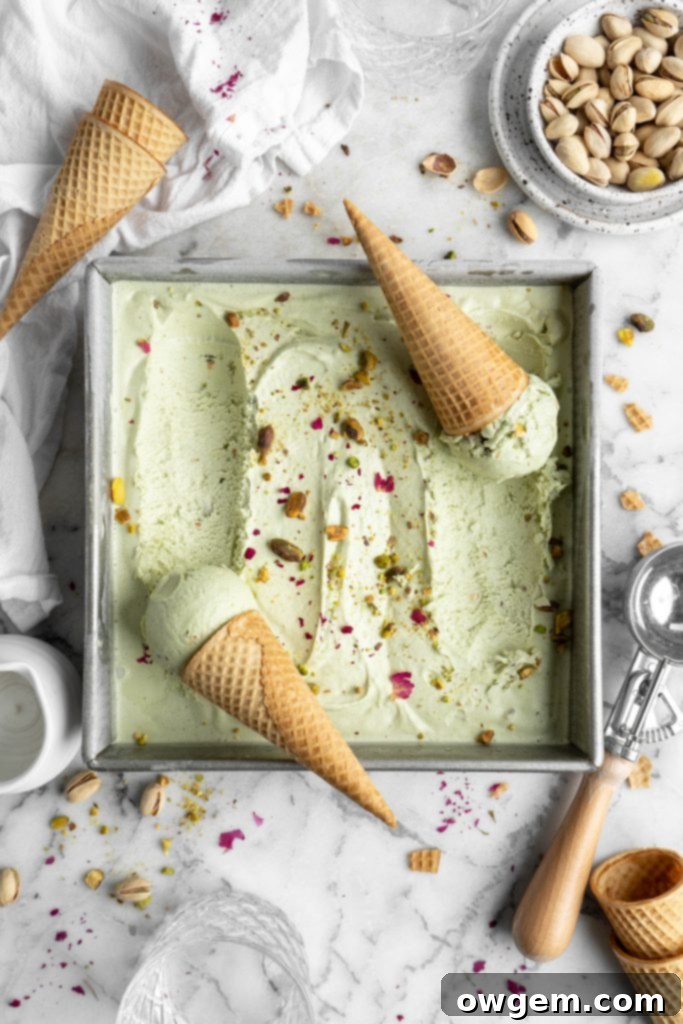
Ingredient Notes for Perfect Pistachio Ice Cream
Understanding the role of each ingredient is key to mastering this creamy pistachio ice cream. Here’s a detailed look at what you’ll need:
Pistachio Paste: This is the star of our show! For the most authentic and vibrant flavor, always opt for a high-quality store-bought pistachio paste. Look for brands that list “100% pistachios” or a very high percentage, with minimal other ingredients. Pure pistachio paste offers the truest flavor. If you’re feeling adventurous, you can certainly make your own paste by grinding raw, unsalted pistachios with a touch of sugar in a food processor until smooth. Just ensure it’s a fine, homogeneous paste to avoid a gritty texture in your ice cream.
Egg Yolks: Essential for a classic French-style (custard-based) ice cream, egg yolks are crucial for richness, creaminess, and body. They act as an emulsifier, binding the fat and water components of the base, which prevents the formation of large ice crystals and contributes to that smooth, silky mouthfeel. Using yolks instead of whole eggs concentrates this effect, leading to a truly luxurious ice cream.
Evaporated Milk: This isn’t just a substitute for regular milk; it’s a secret weapon for super creamy ice cream. Evaporated milk has significantly more milk solids and a slightly higher fat content than standard milk because about 60% of its water content has been removed. This concentrated milk contributes to a richer, more dense base, enhancing the creamy texture and reducing the likelihood of iciness. It elevates the overall decadence of the pistachio ice cream.
Heavy Cream: The cornerstone of any rich ice cream, heavy cream (or whipping cream) boasts a high-fat content (typically 36% or more). This fat is vital for producing a soft, smooth, and easily scoopable ice cream. Fat doesn’t freeze as hard as water, so a higher fat percentage helps keep your ice cream from becoming rock-solid in the freezer. It also carries flavor beautifully, making our pistachio taste even more pronounced.
White Sugar: Beyond sweetness, sugar plays a critical role in the texture of ice cream. It lowers the freezing point of the mixture, which helps prevent the formation of large, crunchy ice crystals. A balanced amount of sugar ensures your ice cream remains soft and scoopable. In this recipe, it’s divided to aid in whisking the egg yolks and sweetening the milk mixture evenly.
Corn Syrup: While optional for some, corn syrup is a game-changer for homemade ice cream. It’s a high-viscosity sweetener with a neutral flavor that acts as an excellent anti-crystallization agent. By disrupting the formation of large ice crystals, it keeps the ice cream exceptionally smooth, more resilient to melting, and incredibly easy to scoop directly from the freezer. If you’re averse to corn syrup, honey can be a substitute, but be aware it will impart its own distinct flavor. For more on the benefits of corn syrup in ice cream, you can refer to culinary science resources.
Pistachio or Almond Extract (or Emulsion): While the pistachio paste provides the primary flavor, a touch of extract can enhance and brighten it. Almond extract is often used in pistachio desserts because the flavors are complementary and almond extract is more readily available. However, for a truly intense pistachio experience, a good quality pistachio bakery emulsion (like this one) is ideal. Emulsions are water-based and don’t evaporate as quickly as alcohol-based extracts, offering a more robust and lasting flavor. Add these after the base has cooled to preserve their delicate compounds.
Salt: A pinch of salt is crucial for balancing the sweetness and intensifying the nutty pistachio flavor. It doesn’t make the ice cream taste salty but rather brings out the best in all the other ingredients, adding depth and complexity to each bite.
Vanilla Extract: Like salt, vanilla is a flavor enhancer. It complements the pistachio and creamy base, adding a subtle warmth and richness without overpowering the main flavor. Use pure vanilla extract for the best results.
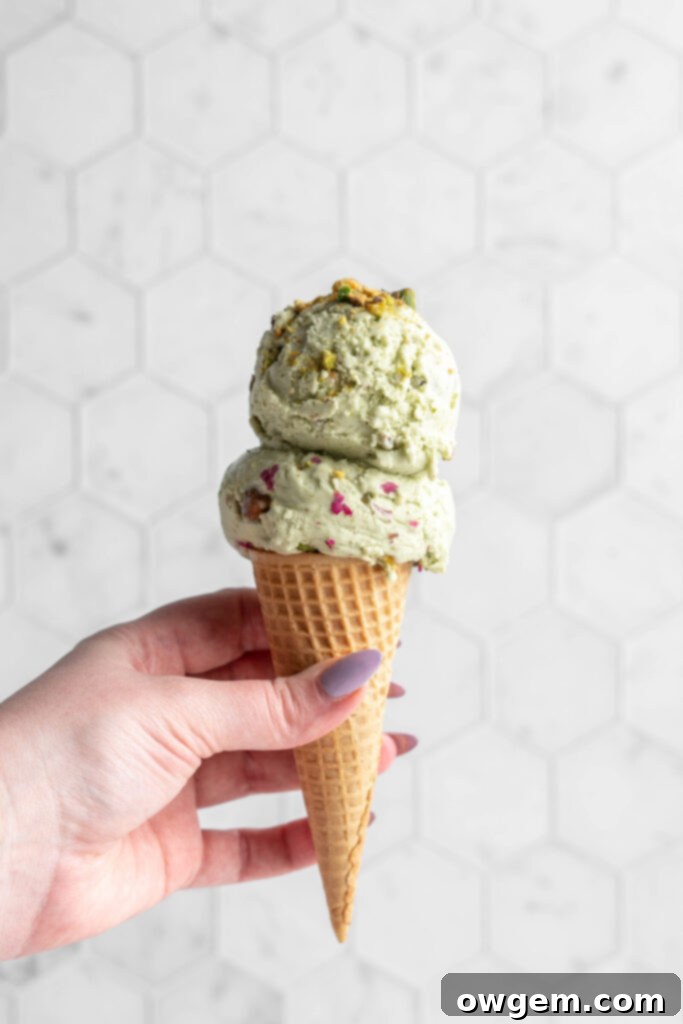
How to Make Creamy Pistachio Ice Cream (Step-by-Step)
Creating this luxurious pistachio ice cream is a rewarding process. Follow these detailed steps to ensure a perfect, creamy result:
1. Prepare the Egg Yolk Mixture: In a large, heat-proof bowl, combine the egg yolks with half of the white sugar. Whisk vigorously for about 1-2 minutes until the mixture becomes significantly paler in color, thick, and fluffy, forming what’s known as a “ribbon.” This aeration helps create a lighter, smoother custard base. Set this bowl aside.
2. Heat the Dairy Base: In a medium saucepan, combine the heavy cream, evaporated milk, corn syrup, and the remaining half of the white sugar. Place the saucepan over medium heat, stirring continuously with a whisk or heat-resistant spatula. Continue to heat until the mixture reaches 180°F (82°C). Using a reliable kitchen thermometer is crucial here to ensure proper heating without scorching. Once the temperature is reached, immediately remove the pan from the heat.
3. Temper the Egg Yolks: This is a critical step to prevent the egg yolks from curdling. Slowly ladle small amounts (about 1/4 to 1/2 cup at a time) of the hot dairy mixture into the whisked egg yolks, while continuously whisking the egg mixture. Gradually increasing the temperature of the eggs prevents them from cooking too quickly. Once about half of the hot liquid has been incorporated into the eggs, pour the entire egg-and-liquid mixture back into the saucepan with the remaining hot dairy. Return the saucepan to medium heat and continue to stir constantly until the custard thickens slightly and reaches 170°F (77°C). Do not boil the custard, as this can cause the eggs to curdle.
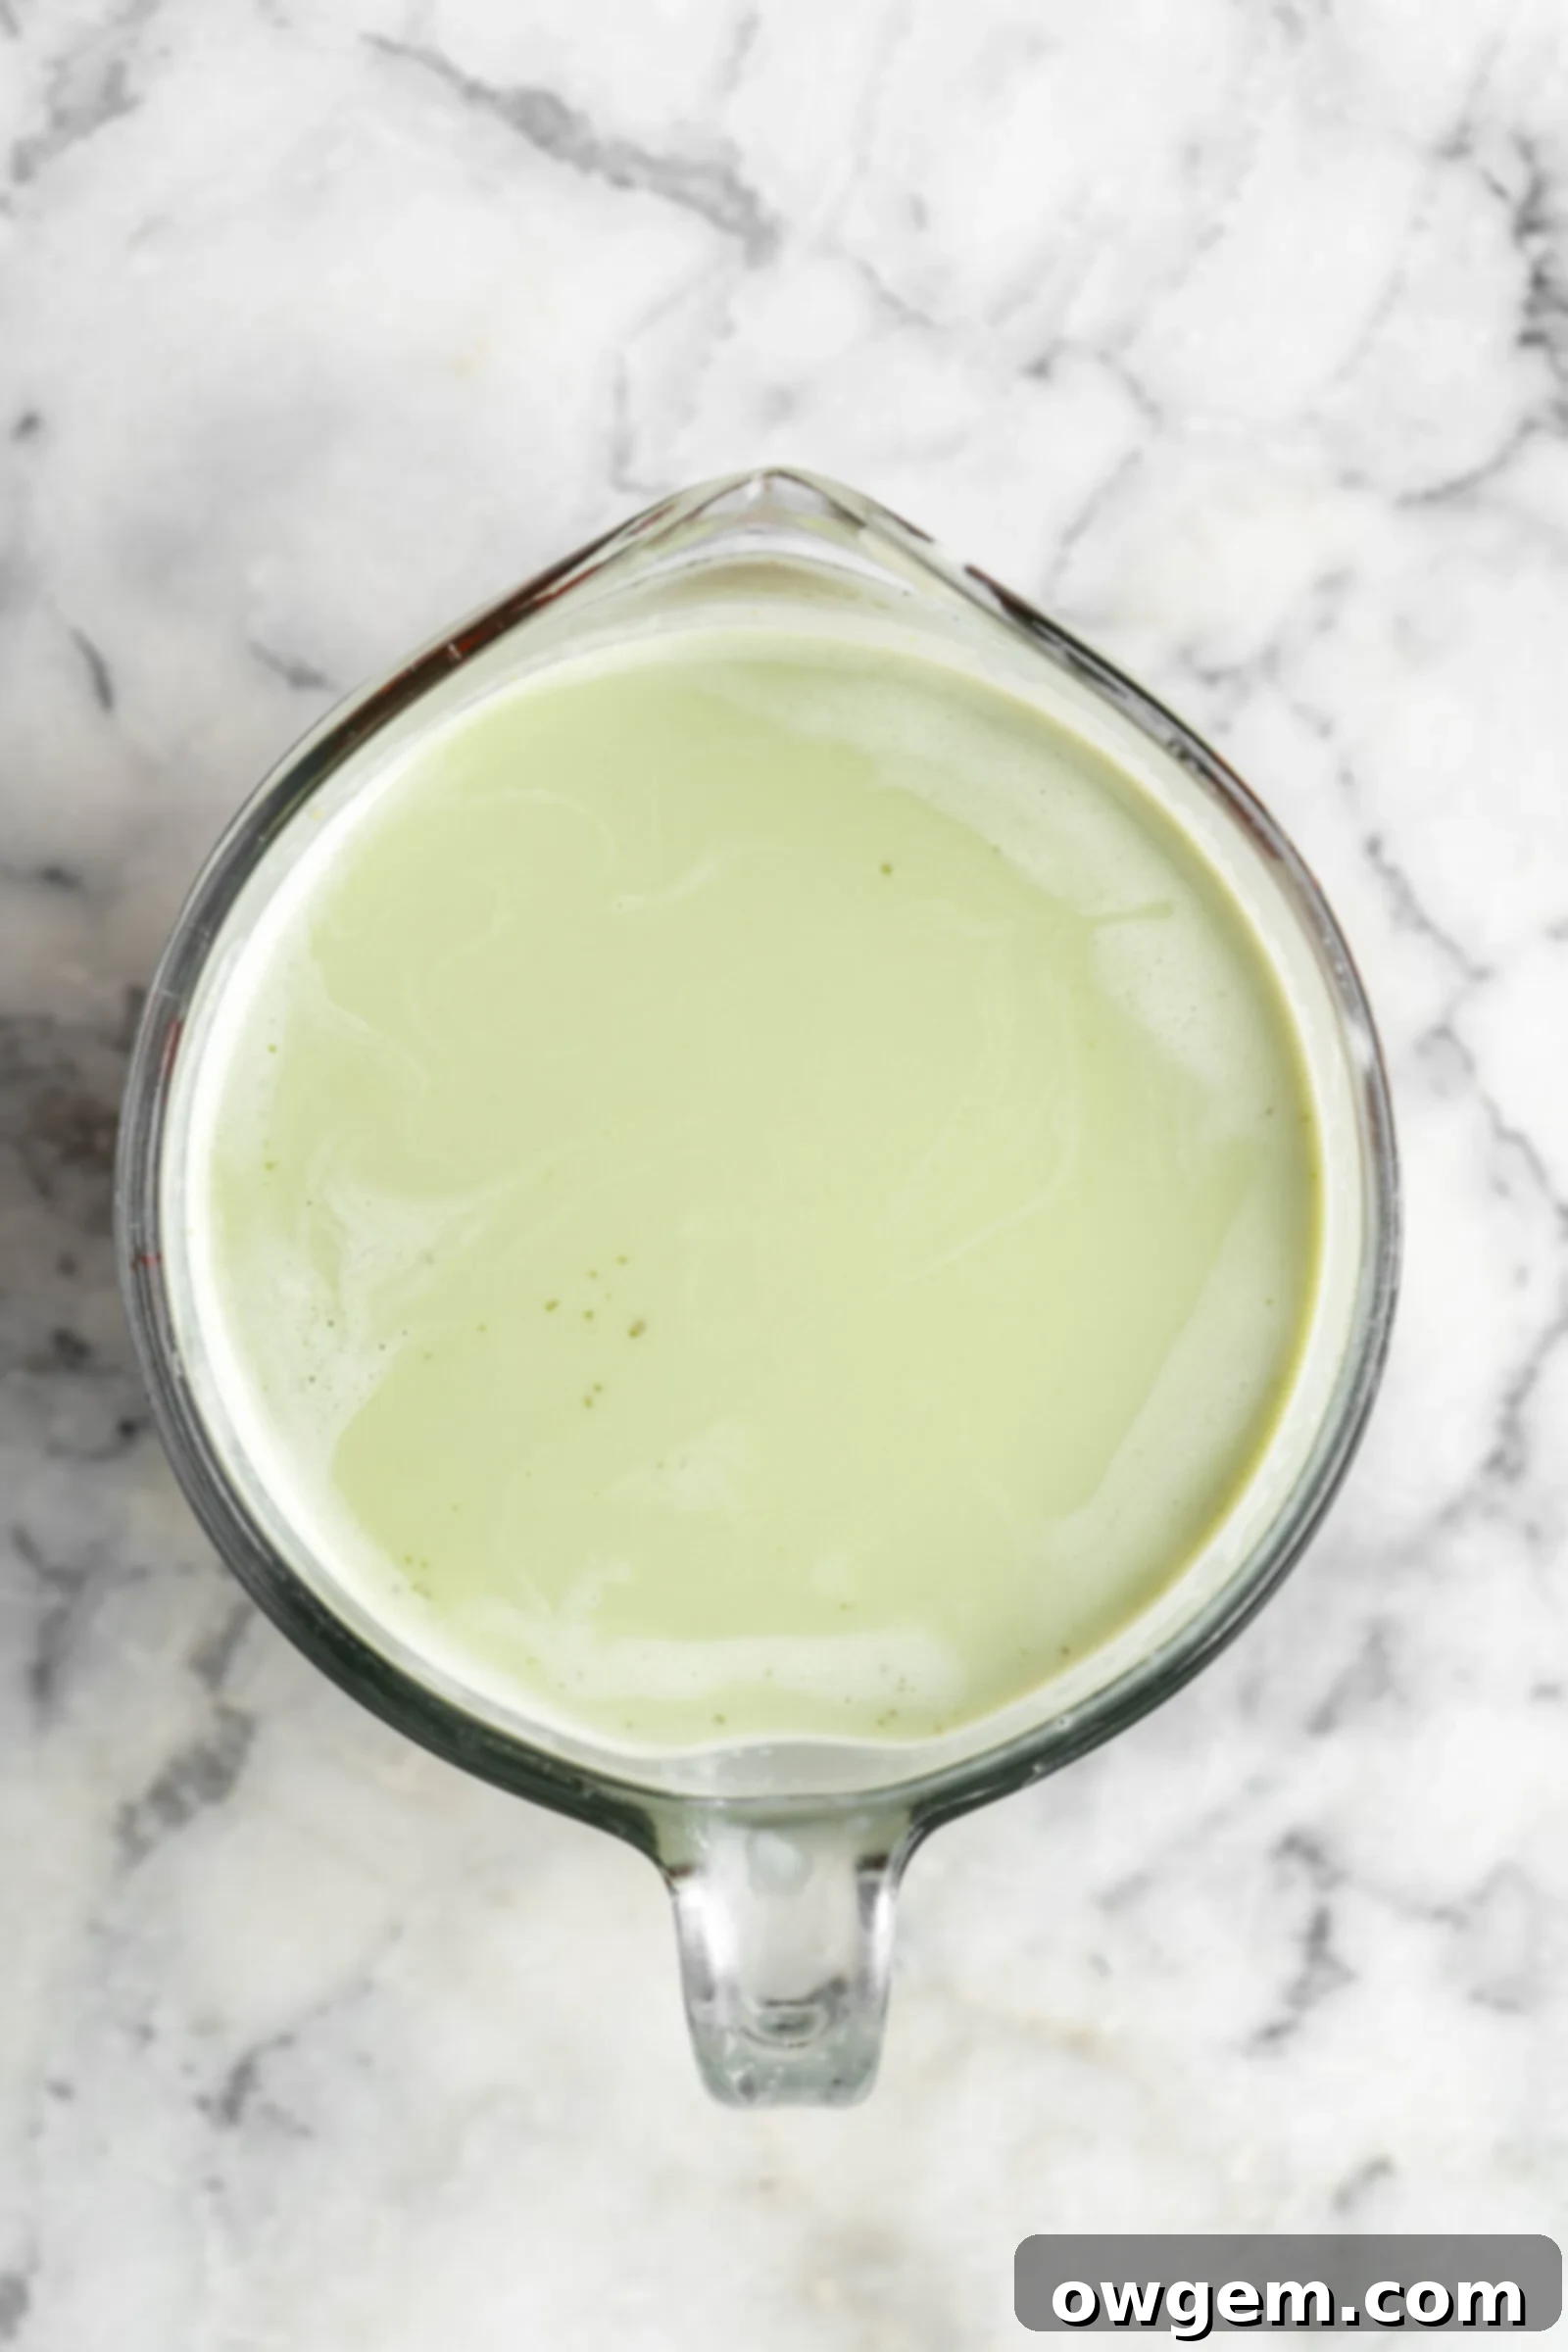
4. Incorporate Pistachio Flavor and Seasonings: As soon as the custard reaches 170°F, remove it from the heat. Immediately stir in the pistachio paste, salt, and vanilla extract until the paste is fully dissolved and the mixture is smooth and evenly colored. If using pistachio or almond extract/emulsion, add it now as well. For the best flavor, avoid adding extracts to boiling liquids, as heat can degrade their delicate aromatic compounds.
5. Chill the Custard Base: Pour the hot pistachio custard through a fine-mesh sieve into a clean, heat-proof container. This step removes any tiny bits of cooked egg or undissolved solids, ensuring a perfectly smooth ice cream. Cover the surface of the custard directly with plastic wrap to prevent a skin from forming. Place the container in the refrigerator and allow the custard to cool completely, ideally for at least 6-8 hours, or even better, overnight. A thoroughly chilled base is essential for successful churning.
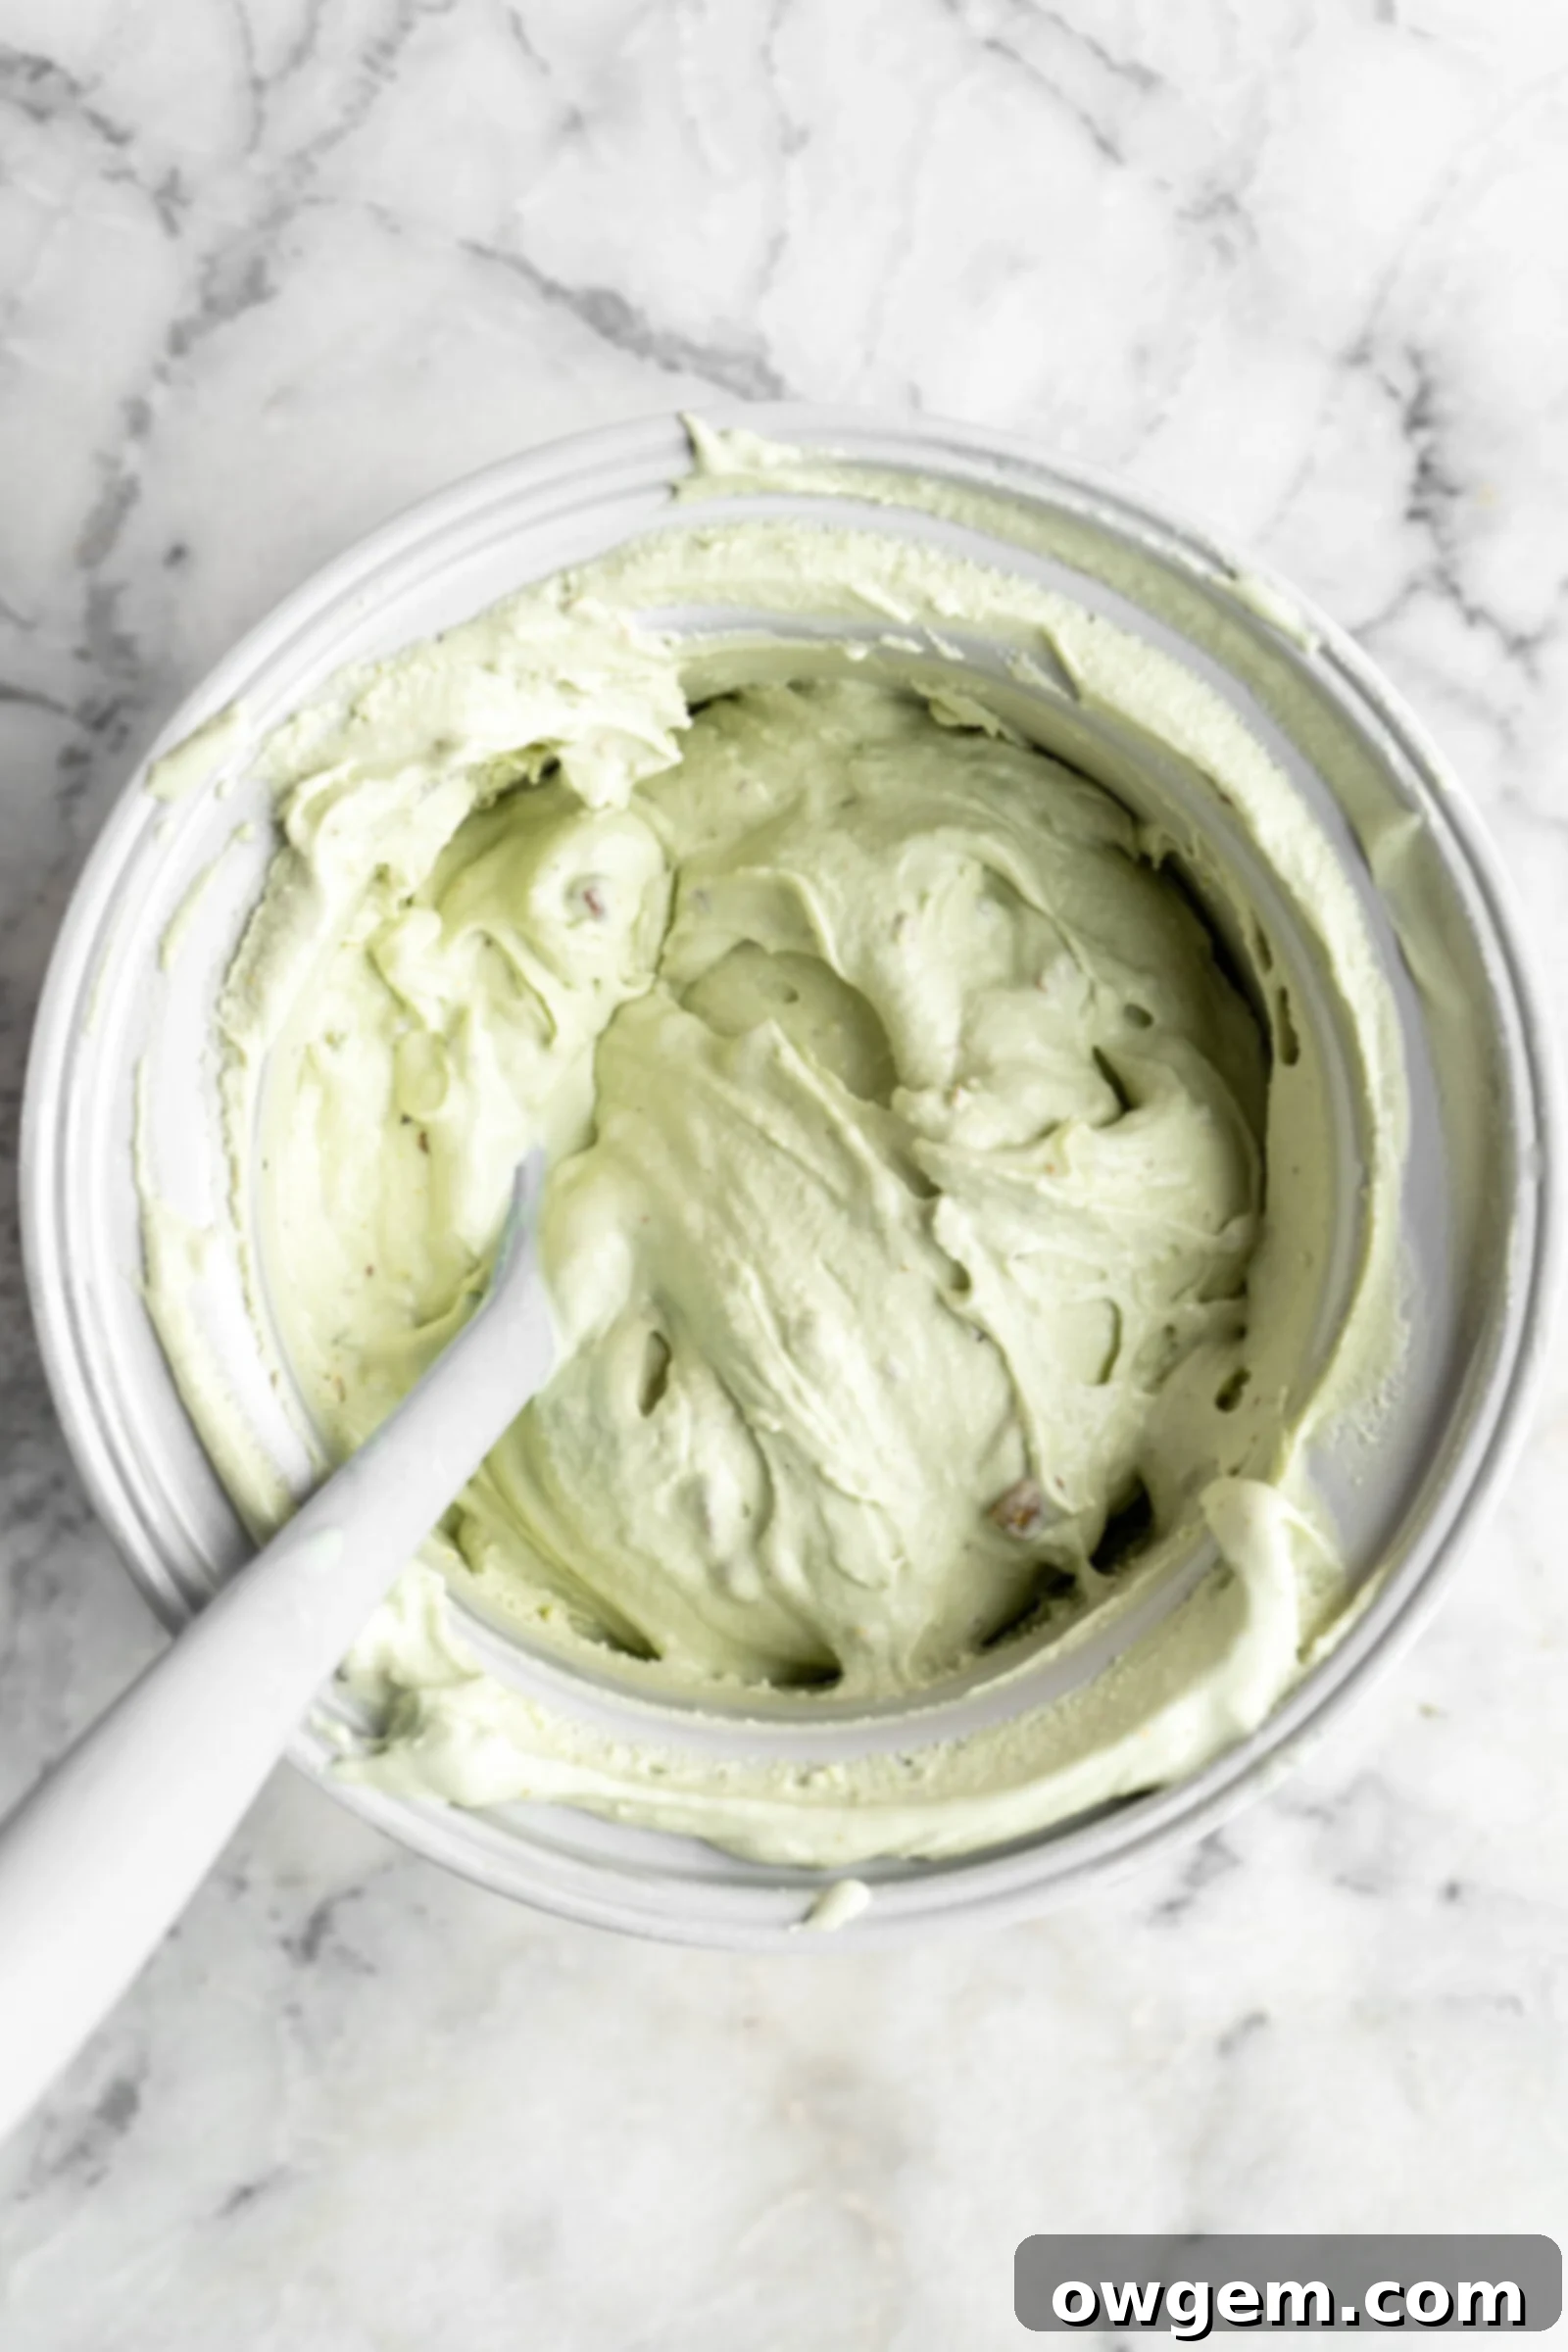
6. Churn the Ice Cream: Ensure your ice cream maker’s bowl has been frozen for the recommended 24-48 hours prior to churning. Turn on your ice cream maker, then slowly pour the fully chilled pistachio custard into the running machine. Churn according to your manufacturer’s directions, typically 20-30 minutes, until the mixture has thickened to the consistency of soft-serve ice cream. If you wish to add chopped pistachios or other mix-ins, do so during the final minute of churning.
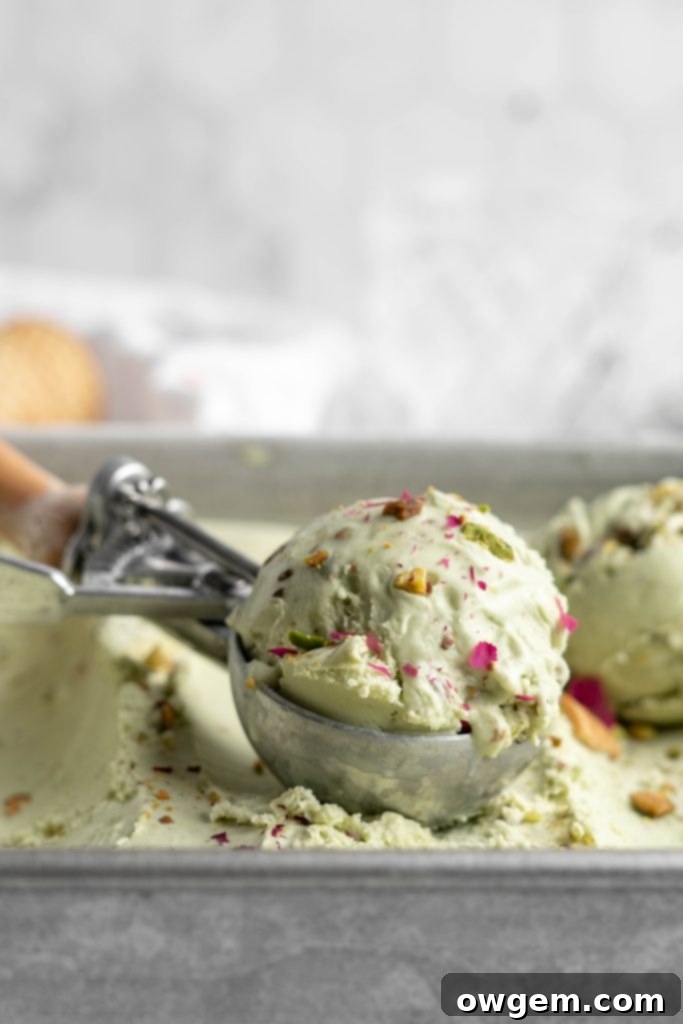
7. Freeze to Harden: Once churned, the ice cream will be soft. Transfer the soft pistachio ice cream into an airtight freezer-safe container or a loaf pan. Cover the container tightly to prevent freezer burn and ice crystal formation. Place it in the freezer for at least 6-8 hours, or overnight, to allow the ice cream to firm up to a scoopable, traditional ice cream consistency. This hardening process is often referred to as “ripening.”
Expert Tips & Tricks for Homemade Ice Cream Success
Crafting the perfect scoop of homemade pistachio ice cream involves a few key techniques. These tips and tricks will ensure your ice cream is consistently creamy, rich, and full of flavor:
Pre-Freeze Your Ice Cream Maker Bowl Thoroughly: This is arguably the most crucial step for ice cream makers with freezer bowls. An unfrozen or insufficiently frozen bowl will not chill the ice cream base quickly enough, leading to poor churning, a grainy texture, and unfrozen ice cream. Ensure your bowl is completely frozen solid for at least 24 hours, or ideally 48 hours, before you plan to churn. Store it in the coldest part of your freezer.
Master the Art of Tempering Egg Yolks: Tempering is vital to creating a smooth custard base without curdled eggs. The goal is to slowly raise the temperature of the egg yolks by gradually adding hot liquid, rather than shocking them with sudden heat. Whisk continuously as you add small amounts of the hot cream mixture to the yolks. If you add the hot liquid too quickly or don’t whisk enough, you risk “scrambled eggs” in your custard. A fine-mesh sieve is your backup plan if any small bits of cooked egg appear.
Chill the Pistachio Ice Cream Base Completely: Adding a warm or even slightly cool ice cream base to your super-cold ice cream maker bowl is a recipe for disaster. The warm base will immediately melt the crucial frozen layer of the bowl, rendering it ineffective. Ensure your custard base is thoroughly chilled to at least 40°F (4°C) or colder—ideally, overnight in the refrigerator—before churning. This allows the ice cream maker to do its job efficiently and produce a perfectly churned, creamy product.
Pour the Base into a Running Ice Cream Maker: Always turn your ice cream maker on and let the paddle start rotating *before* you pour in the chilled ice cream base. If you pour the base into a stationary, frozen bowl, it will likely freeze on contact to the bottom and sides, forming a hard layer that the paddle cannot properly churn. This can damage your machine and result in unevenly frozen ice cream.
Embrace the Post-Churn Freezing (Ripening): Straight out of the ice cream maker, your pistachio ice cream will have the consistency of soft-serve. While delicious, it needs time to firm up to a traditional scoopable texture. Transfer the churned ice cream to an airtight container and freeze it for an additional 6-8 hours. This “ripening” period allows the ice cream to harden and for flavors to fully develop, resulting in that classic dense, creamy consistency.
Add Extracts After Cooking and Cooling: Flavor extracts like vanilla, pistachio, or almond contain delicate aromatic compounds that can be degraded or “cooked off” by high heat. For the most vibrant and true-to-flavor results, always stir in these extracts after the custard base has been removed from the heat and ideally after it has fully cooled. This preserves their potency and ensures a flavorful ice cream.
Be Mindful of Mix-Ins: If you plan to add mix-ins such as white chocolate chips, chopped nuts, or fresh fruit (like raspberries), incorporate them during the last few minutes of churning. This helps distribute them evenly. However, be cautious not to add too many. More than about 1 cup of total mix-ins for this recipe size can make the ice cream very hard to scoop once fully frozen and can sometimes interfere with the churning process itself.
Utilize Corn Syrup for Superior Texture: Corn syrup is more than just a sweetener; it’s a critical component for texture in homemade ice cream. Its high viscosity and unique molecular structure help prevent the formation of large ice crystals, which are the enemy of creamy ice cream. By binding to liquid and slightly lowering the freezing point, corn syrup keeps the ice cream softer, smoother, and more resilient to melting. This means easier scooping and a more pleasant mouthfeel. While you *can* substitute honey if you truly dislike corn syrup, be aware that honey will impart its own distinct flavor. For a neutral flavor and optimal texture, corn syrup is highly recommended. Serious Eats offers a great explanation on how corn syrup benefits ice cream here.
Taste and Adjust: Don’t be afraid to taste your custard base after it’s cooked and cooled, before churning. This is your last chance to adjust for sweetness or flavor intensity. If you prefer a stronger pistachio note, you can carefully stir in a little more paste or extract.
Essential Equipment for Ice Cream Making
To achieve the best results for your homemade pistachio ice cream, having the right tools makes all the difference. Here’s what you’ll need:
Ice Cream Maker: This is a non-negotiable for achieving that perfectly creamy, airy texture. Whether you use a stand-alone unit like this one (which typically has a bowl that needs to be frozen ahead of time) or a KitchenAid Ice Cream Maker Attachment, ensure the freezing bowl is completely frozen solid for at least 24-48 hours before you plan to churn. A well-frozen bowl is critical for preventing icy, poorly churned ice cream. Compressor ice cream makers, which don’t require pre-freezing a bowl, are also an excellent option for convenience.
Kitchen Thermometer: Absolutely essential for safely and accurately making a custard-based ice cream. A reliable kitchen thermometer (instant-read or candy thermometer) allows you to monitor the temperature of your custard, ensuring the egg yolks are properly cooked to a safe temperature (170-180°F or 77-82°C) without overcooking and curdling. This precision guarantees both food safety and the perfect texture.
Large Bowls: You’ll need at least two large, heat-proof bowls – one for whisking egg yolks and tempering, and another for cooling the finished custard. Glass or stainless steel bowls work best.
Whisk: A good sturdy whisk is necessary for thoroughly combining ingredients, aerating the egg yolks, and continuous stirring during the cooking and tempering processes.
Medium Saucepan: For heating the dairy mixture and cooking the custard base. Choose a saucepan with a heavy bottom to prevent scorching.
Fine-Mesh Sieve: A fine-mesh sieve is highly recommended for straining the custard base after cooking. This ensures a perfectly smooth ice cream by catching any tiny bits of cooked egg or undissolved solids, contributing to that luxurious, velvety texture.
Airtight Freezer-Safe Container: Once churned, your soft ice cream needs to be transferred to an appropriate container for hardening. An airtight, shallow container is best for minimizing exposure to air and preventing freezer burn and ice crystal formation. Metal loaf pans can also work, but ensure they are covered tightly with plastic wrap before freezing.
Rubber Spatula: Useful for scraping down the sides of bowls and saucepans, ensuring no delicious custard goes to waste, and for transferring the ice cream.
How to Store Homemade Pistachio Ice Cream
Proper storage is essential to maintain the quality, texture, and flavor of your homemade pistachio ice cream. While homemade ice cream doesn’t contain the stabilizers found in commercial varieties, with the right techniques, you can enjoy it for several weeks.
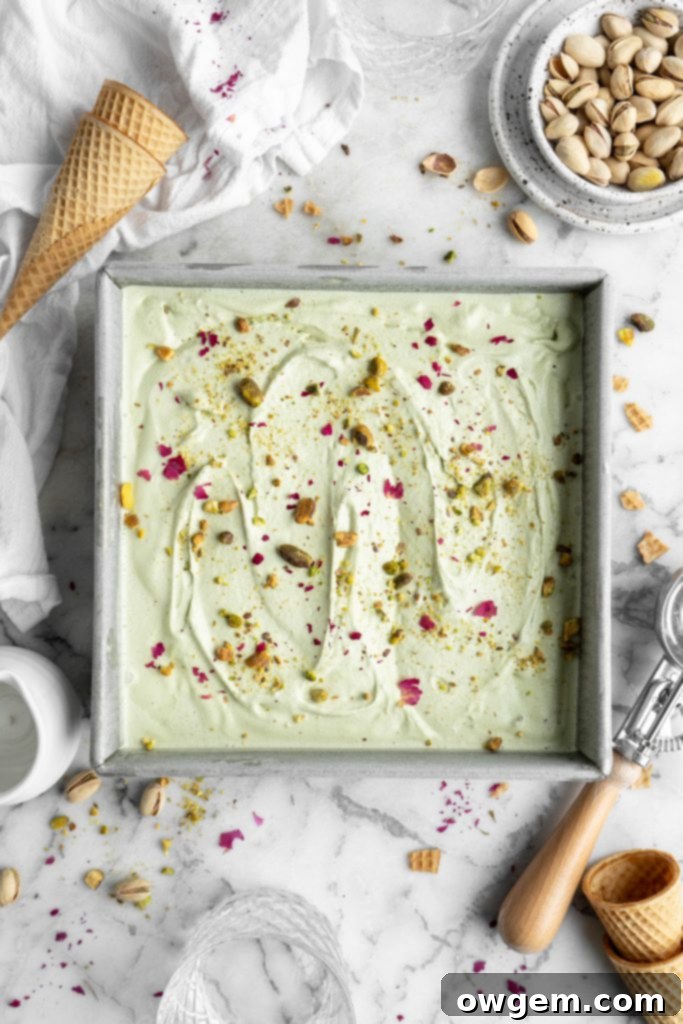
Freezer: Your homemade pistachio ice cream can be stored in the freezer, in a well-sealed, airtight container, for approximately 3-4 weeks. After this period, you may start to notice a decline in quality, primarily the formation of ice crystals and a less creamy texture. To maximize its lifespan and maintain optimal texture, follow these tips:
- Use an Airtight Container: Invest in high-quality freezer-safe containers designed for ice cream or other frozen desserts. These containers often have a specific shape that minimizes air pockets. If using a standard container, ensure it has a tight-fitting lid.
- Minimize Air Exposure: Air is the enemy of ice cream in the freezer. Before sealing the container, place a piece of plastic wrap or parchment paper directly onto the surface of the ice cream, pressing it down gently to remove any air between the ice cream and the lid. Then, secure the lid tightly.
- Store in the Back of the Freezer: The temperature in the front of your freezer fluctuates more due to the door opening and closing. Store your ice cream towards the back where the temperature remains more consistent and colder, which helps prevent thawing and refreezing, a major cause of ice crystal formation.
- Avoid Frequent Thawing: Try to remove the ice cream from the freezer only when you’re ready to serve, and put it back immediately. Repeated thawing and refreezing cycles will severely compromise the texture and lead to excessive iciness.
- Label and Date: Always label your container with the date you made the ice cream. This helps you keep track of its freshness and ensures you enjoy it at its best.
Following these storage guidelines will help preserve the luxurious creaminess and rich flavor of your homemade pistachio ice cream for as long as possible.

Frequently Asked Questions About Pistachio Ice Cream
Authentic pistachio ice cream offers a unique, subtly nutty flavor that is distinctly earthy and slightly sweet, complemented by the creamy richness of the ice cream base. It often has a delicate aroma that hints at almonds or marzipan, especially if almond extract is used to enhance the natural pistachio notes. Our recipe emphasizes a strong, pure pistachio flavor, making it a true delight for nut enthusiasts.
While evaporated milk significantly contributes to the extra creaminess due to its concentrated milk solids, you can substitute it with whole milk or 2% milk if absolutely necessary. Keep in mind that using regular milk will result in a slightly less rich and creamy texture, as it contains more water and fewer milk solids. If possible, evaporated milk is highly recommended for the optimal outcome.
Yes, you can make a version of this ice cream without an ice cream maker, though it won’t achieve the same airy, perfectly smooth texture as a churned batch. To do this, pour the fully cooled ice cream custard base into a cold, shallow metal loaf pan or freezer-safe container. Place it into the freezer, and every 30-45 minutes for the first 3 hours, remove it and vigorously stir or whisk the mixture to break up ice crystals and incorporate air. After this initial stirring period, allow the ice cream to freeze undisturbed overnight until fully hardened. It will be denser and potentially have more ice crystals than a churned ice cream, but still delicious!
Absolutely! Making your own pistachio paste is a great way to ensure freshness and control ingredients. To do so, you’ll need 1 cup of raw, unsalted shelled pistachios and about ¼ cup of white sugar (adjust to taste). Blanch the pistachios in boiling water for 30 seconds, then immediately transfer them to an ice bath to make peeling easier (optional, but yields a brighter green paste). Grind the peeled or unpeeled pistachios with the sugar in a high-speed food processor until a smooth, oily paste is formed. This can take 5-10 minutes, with pauses to scrape down the sides. For the best flavor, lightly toast the pistachios before grinding.
Doubling the recipe depends entirely on the capacity of your ice cream maker. This recipe yields approximately a 1.5-quart batch of ice cream. Before attempting to double it, check your specific ice cream maker’s maximum capacity. Overfilling the machine can lead to poor churning results and potential damage. If your machine’s capacity is large enough, you can certainly double the ingredients.
If you prefer not to use corn syrup, an equal amount of honey can be substituted. However, be aware that honey has a distinct flavor that will subtly alter the taste of your pistachio ice cream. While it also acts as an anti-crystallization agent, it might not be as neutral as corn syrup. Maple syrup could also work, but again, its flavor will be noticeable. For the purest pistachio flavor and optimal texture, corn syrup is the recommended choice.
Icy ice cream is typically caused by large ice crystal formation, often due to an insufficient amount of fat or sugar, not chilling the base thoroughly before churning, or slow freezing/improper storage. Ensure your freezer bowl is very cold, your base is fully chilled, and you use an airtight container directly covered with plastic wrap when hardening in the freezer. Corn syrup in the recipe also helps significantly reduce iciness.
Yes, you can use lightly roasted and unsalted pistachios for making homemade paste, or look for roasted pistachio paste. Roasting enhances the nutty depth and intensity of the pistachios, which can add an even more complex flavor profile to your ice cream. Just ensure they are not heavily salted or flavored, as this will alter the taste of the final product.
Delicious Variations for Your Pistachio Ice Cream
While classic pistachio ice cream is a delight on its own, it also serves as an excellent base for creative variations. Elevate your dessert with these exciting additions:
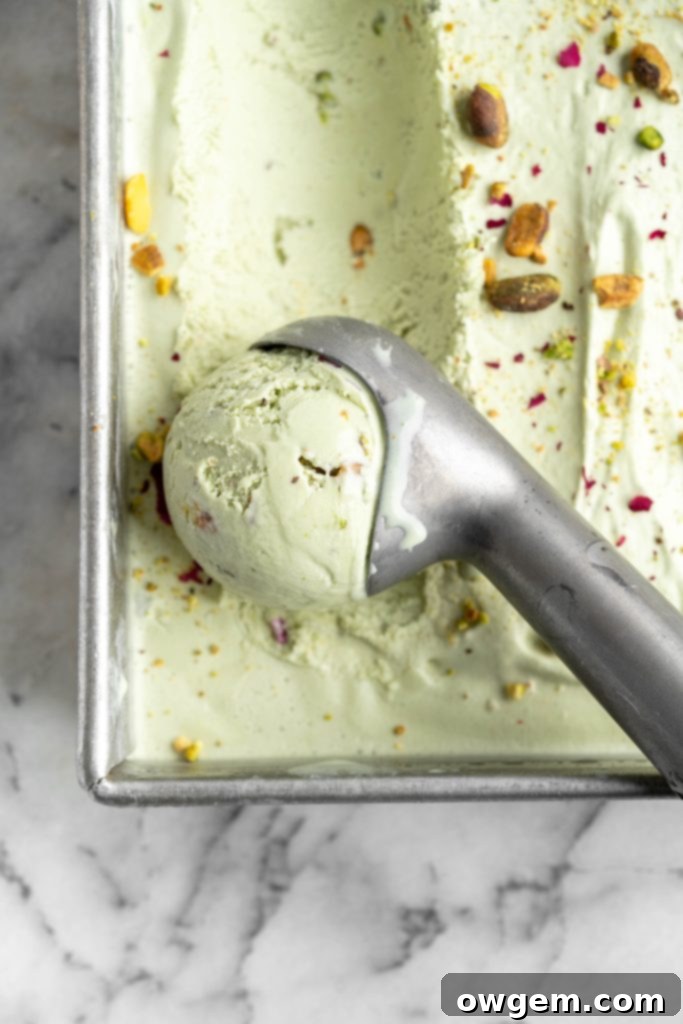
White Chocolate Swirl or Chips: The sweet, creamy notes of white chocolate pair beautifully with the nutty flavor of pistachios. For a simple addition, after the ice cream is fully churned and has a soft-serve consistency, gently fold in about ½ to 1 cup of good quality white chocolate chips or finely chopped white chocolate. For a swirl, melt white chocolate, let it cool slightly, then drizzle it into the container as you transfer the churned ice cream, swirling gently with a knife. The contrast in texture and complementary flavors creates a truly decadent treat.
Persian Rose Water Infusion: For a truly elegant and exotic twist, infuse your pistachio ice cream with the delicate fragrance of rose water. Rose and pistachio are a classic Middle Eastern flavor combination. To create a Persian-inspired pistachio rose ice cream, add about 1.5 to 2 teaspoons of high-quality food-grade rose water to the ice cream custard base after it has been fully cooked and chilled in the fridge. Adjust to your taste, as rose water can be potent. This variation offers a beautifully aromatic and floral dimension to the nutty base.
Fresh Fruit Fold-In: What fruit goes wonderfully with pistachio ice cream? Raspberries, of course! Their tartness provides a refreshing counterpoint to the rich, nutty ice cream. After the ice cream is fully churned, gently fold in about 1 cup of fresh or lightly thawed frozen raspberries. Blueberries or finely diced dried apricots can also be lovely additions, offering bursts of flavor and a soft texture. Be gentle to avoid crushing delicate fruits.
Dark Chocolate Chunks & Sea Salt: For a more sophisticated and slightly bitter contrast, stir in dark chocolate chunks or shavings during the last few minutes of churning. A pinch of flaky sea salt sprinkled over the top before freezing, or even folded into the base, will enhance both the chocolate and pistachio flavors, creating a gourmet experience.
Cardamom Spice: Cardamom, another popular spice in Middle Eastern desserts, harmonizes beautifully with pistachios. Add ½ teaspoon of ground cardamom to your dairy mixture along with the sugar and corn syrup during the heating stage. This will infuse the entire base with a warm, fragrant spice that complements the pistachio perfectly.
Toasted Pistachio Crunch: For an added textural element and intensified nuttiness, sprinkle a generous handful of finely chopped, lightly toasted pistachios over each serving just before eating. You can also fold them into the ice cream during the last minute of churning, but be aware they will become softer during freezing.
Related Dessert Recipes You’ll Love
If you enjoyed making and tasting this delightful pistachio ice cream, you might want to explore other delicious treats. Here are some related recipes that are sure to please your sweet tooth:
Pistachio Cake with Honey Buttercream
Pistachio Cream Puffs
No-Churn Strawberry Cheesecake Ice Cream
Lavender Earl Grey Ice Cream
Printable Recipe Card: Easy Homemade Pistachio Ice Cream

Get the Recipe:
Easy Homemade Pistachio Ice Cream
Pin
Rate
Ingredients
- 6 Large Egg Yolks
- 1/2 cup (50g) White Sugar,, divided
- 3 cups (700g) Heavy Cream,, divided
- 1 ½ cup (360g) Evaporated Milk
- 1/4 cup (85g) Corn Syrup
- 3/4 cup (135g) Pistachio Paste
- 1/4 tsp Salt
- 1/2 tbsp Vanilla Extract
- 1 tsp Pistachio or Almond Extract
- 1/3 cup (50g) Shelled Unsalted Pistachios,, chopped (Optional, for mix-in)
Equipment
-
Ice cream maker
-
Kitchen Thermometer
-
Large bowls
-
Whisk
-
Medium saucepan
-
Fine-mesh sieve
-
Airtight freezer-safe container
Instructions
-
In a large, heat-proof bowl, whisk together the egg yolks and half of the white sugar for 1-2 minutes, or until the mixture is very smooth, pale, and fluffy (forming a ribbon when lifted). Set aside.
-
In a medium saucepan, combine 2 cups of heavy cream, evaporated milk, corn syrup, and the remaining sugar. Heat over medium heat, stirring continuously, until the mixture reaches 180°F (82°C) on a kitchen thermometer. Remove from heat immediately.
-
To temper the eggs, slowly ladle small amounts (about ¼ to ½ cup at a time) of the hot liquid into the beaten egg mixture while continuously whisking the eggs. Once about half of the hot liquid has been incorporated, pour the entire egg-and-liquid mixture back into the saucepan. Return the saucepan to medium heat and continue to stir until the mixture thickens slightly and reaches 170°F (77°C). Do not boil.
-
Immediately remove the custard from the heat. Stir in the salt, pistachio paste, remaining 1 cup of heavy cream, vanilla extract, and pistachio or almond extract until smooth and well combined. Pour the custard through a fine-mesh sieve into a clean, heat-proof container or dish. Cover the surface directly with plastic wrap to prevent a skin from forming, then place it into the refrigerator to chill completely for 6-8 hours, or preferably overnight.
-
Once the mixture is fully chilled, ensure your ice cream maker bowl is frozen solid. Prepare the mixture in your ice cream maker according to the manufacturer’s instructions (typically 20-30 minutes). If adding chopped pistachios, fold them in during the final minute of churning.
-
Finally, transfer the churned ice cream from the ice cream maker into an airtight freezer-safe container or loaf pan. Cover tightly (with plastic wrap directly on the surface and then a lid) and place into the freezer to firm up for at least 6-8 hours, or until it reaches your desired scoopable consistency.
