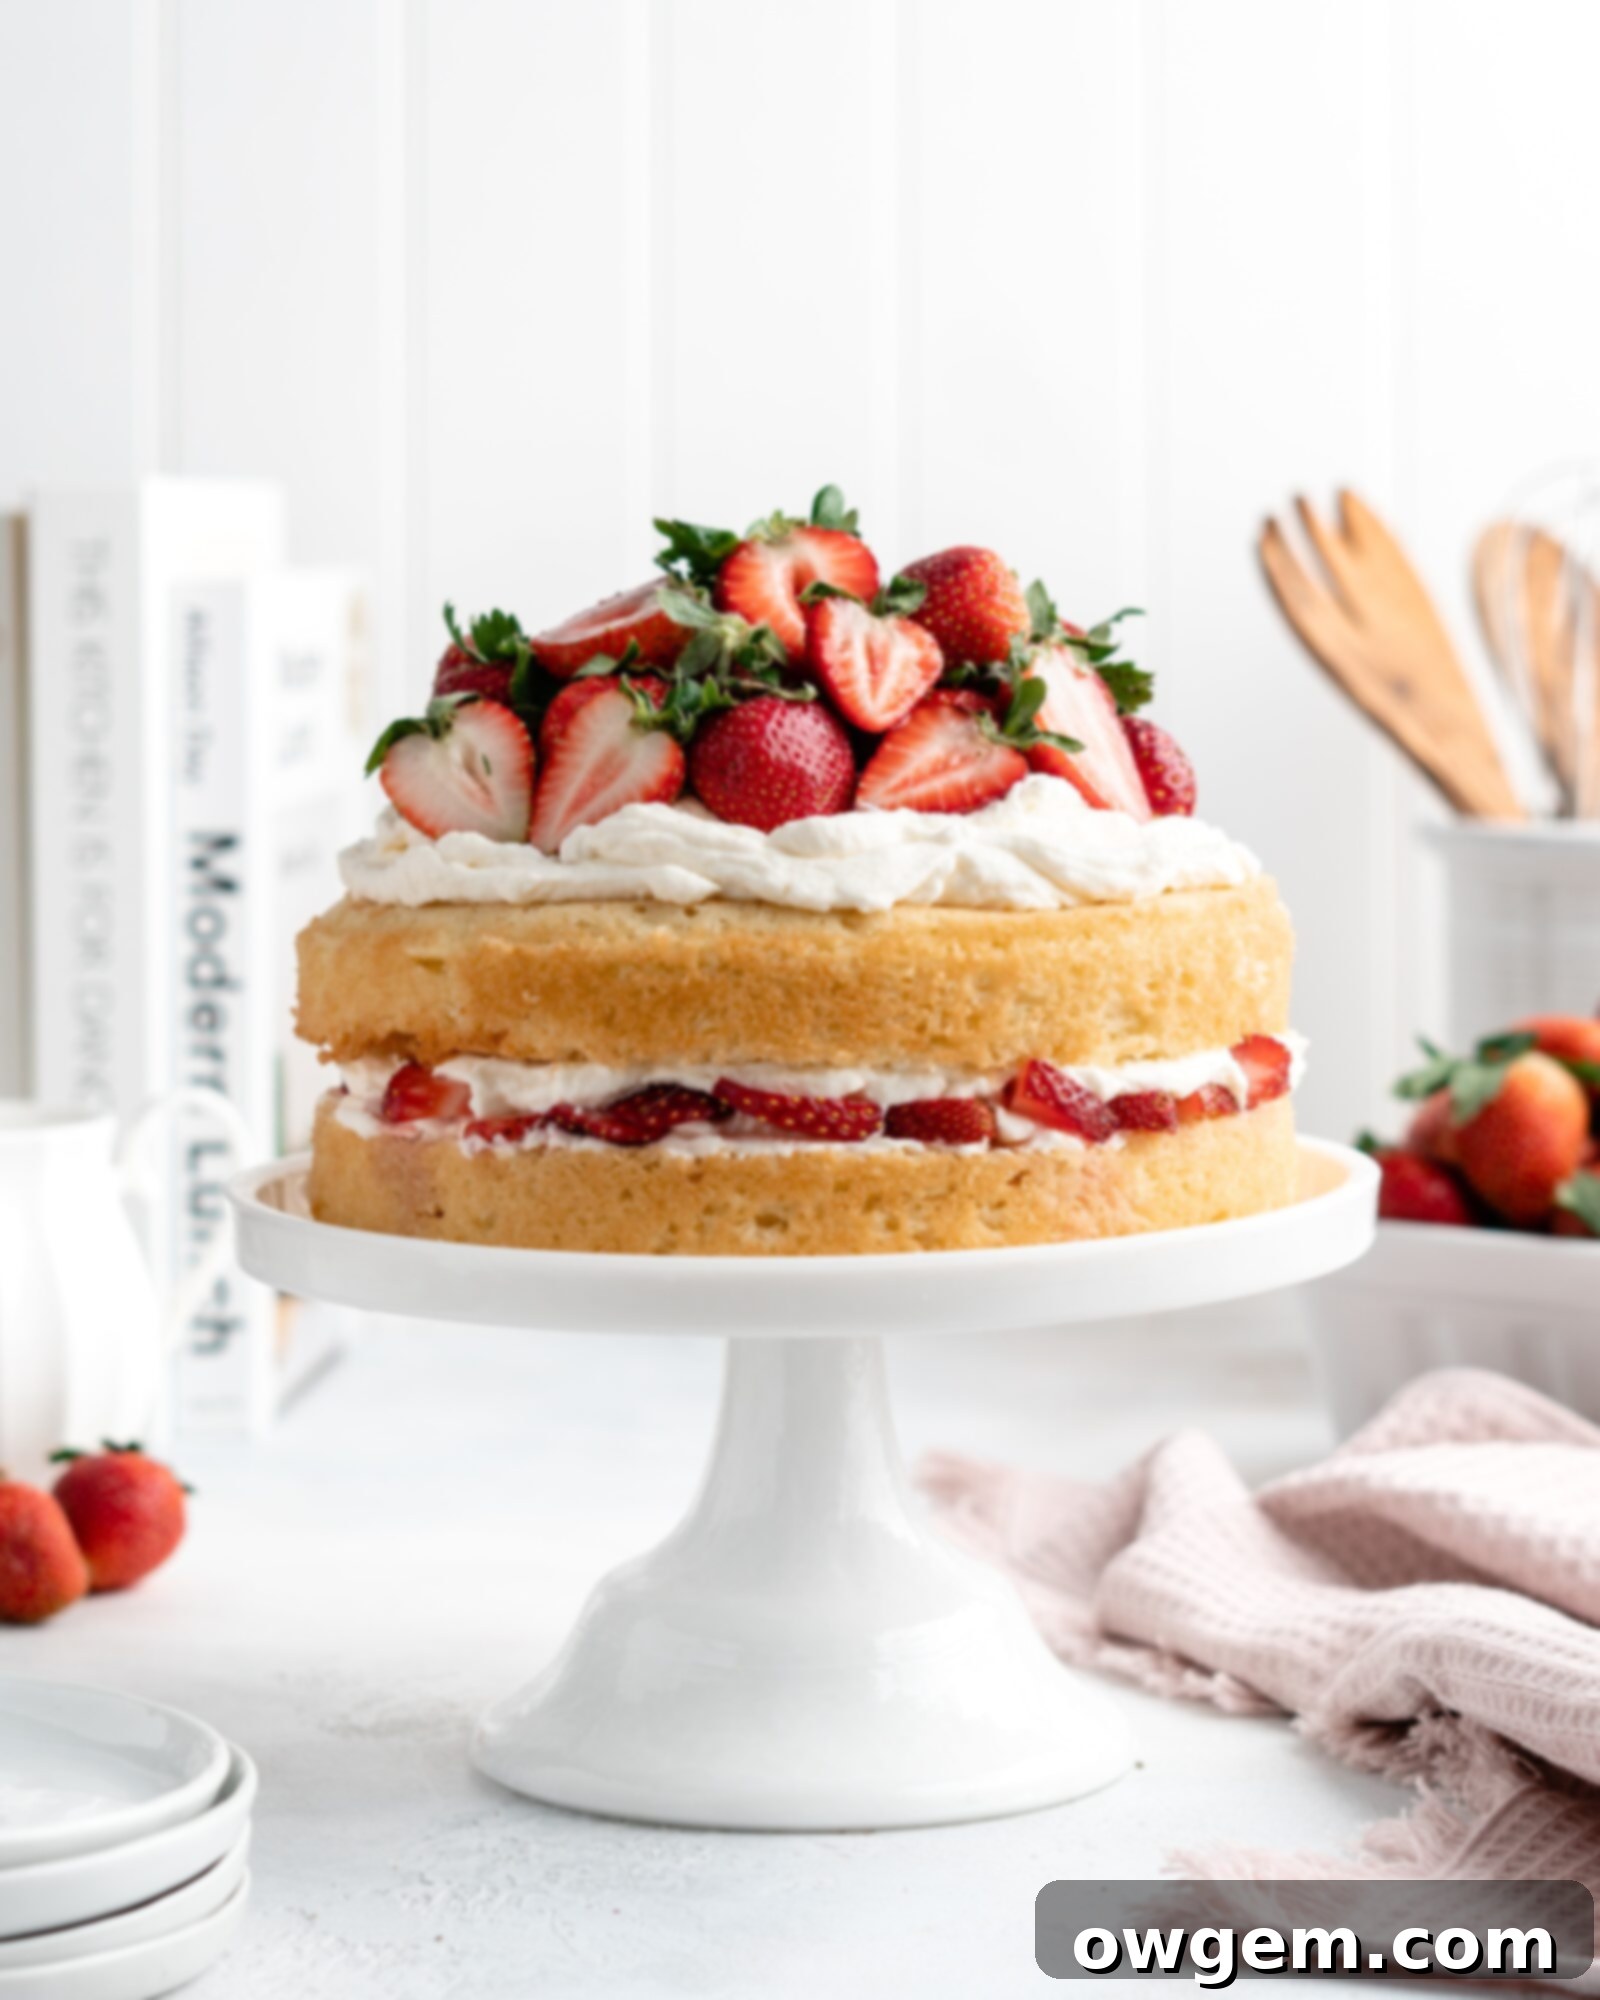
The Ultimate Strawberry Shortcake Layer Cake: A Decadent Delight with Buttery Victorian Sponge and Mascarpone Whipped Cream
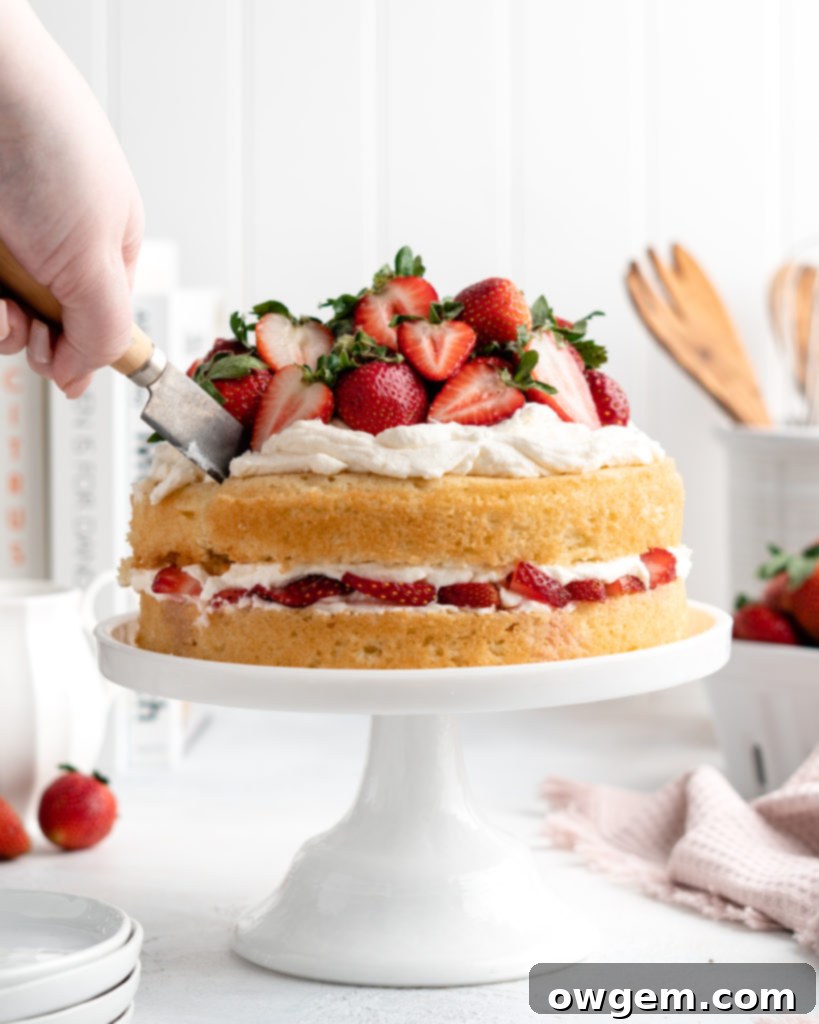
Indulge in a dessert that truly captures the essence of summer: the Strawberry Shortcake Layer Cake. This show-stopping creation elevates the classic Strawberry Shortcake to a new level of sophistication and deliciousness, presented in an impressive layer cake format. Featuring two exquisitely buttery and tender Victorian sponge cake layers, it’s generously filled with a thick, luscious layer of mascarpone whipped cream and an abundance of juicy, freshly macerated strawberries. The cake is then beautifully adorned with more mascarpone whipped cream and fresh strawberries, crafting a dessert that is not only incredibly delicious but also irresistibly gorgeous and perfect for any special occasion or a delightful everyday treat.
It’s important to understand that a Victorian Sponge Cake is distinctly different from a typical light and airy ‘sponge’ cake you might traditionally associate with the name. Its unique texture is buttery, rich, and remarkably tender, characterized by a fine, close crumb. Think of it as a lighter, more delicate version of a pound cake, providing a sturdy yet melt-in-your-mouth foundation for this spectacular strawberry dessert.
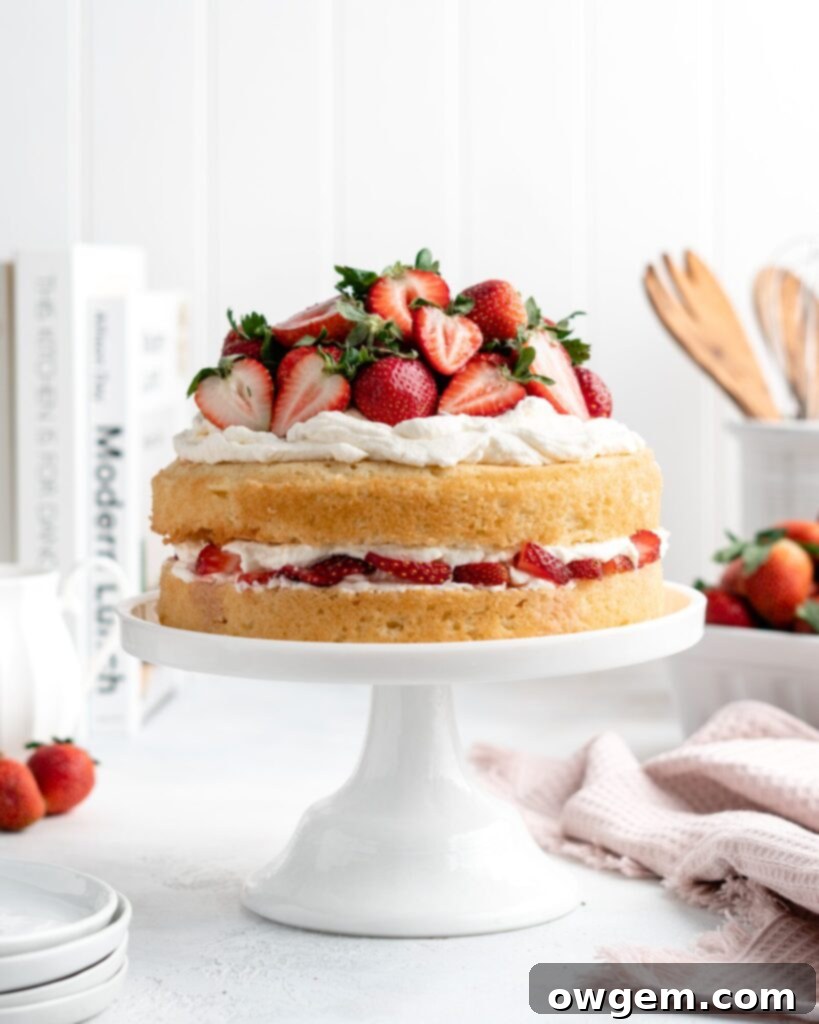
Crafting the Perfect Victorian Sponge Cake Layers
The heart of our Strawberry Shortcake Layer Cake lies in its exceptional Victorian sponge. Achieving the perfect texture is key, and it all starts with careful preparation and attention to detail. Follow these steps to bake wonderfully tender and flavorful cake layers.
Making the Sponge Cake
1. Combine butter and sugar: Begin by adding your softened, room-temperature unsalted butter and granulated sugar to a large mixing bowl. Using a stand mixer fitted with a paddle attachment, or a hand mixer, beat these ingredients together on medium speed. Continue mixing until the mixture becomes wonderfully smooth, light, and fluffy, a process that usually takes several minutes. This creaming method incorporates air, which is vital for the cake’s tender crumb.
2. Add eggs and vanilla: With the mixer still running on a lower speed, add the large eggs one at a time. It’s crucial to ensure that each egg is fully incorporated into the butter-sugar mixture before adding the next. This prevents the mixture from curdling and ensures a smooth, emulsified batter. Once all eggs are added, mix in the vanilla extract, beating until it’s fully integrated and fragrant.
3. Combine dry ingredients: In a separate, medium-sized bowl, whisk together the all-purpose flour, baking powder, and salt. Whisking ensures these dry ingredients are thoroughly combined and evenly distributed, which is essential for uniform leavening throughout the cake. This step also helps to aerate the flour slightly.
4. Add dry ingredients to wet: Gradually add the whisked dry ingredients to the bowl containing your wet mixture. Beat on low speed until the ingredients are just combined. It is incredibly important not to overmix at this stage, as overmixing can develop the gluten in the flour, resulting in a tough, dense cake rather than the tender Victorian sponge we desire.
5. Bake: Divide the prepared batter evenly between two prepped cake pans. Use a spatula to gently smooth out the tops of the batter, ensuring an even bake. Place the pans into your preheated oven. A quick tip: I highly recommend using light-colored baking pans. They help to distribute heat more gently and evenly, significantly reducing the likelihood of the outside of your sponge cake overbaking before the center is cooked through, ensuring a beautifully golden and tender crust.
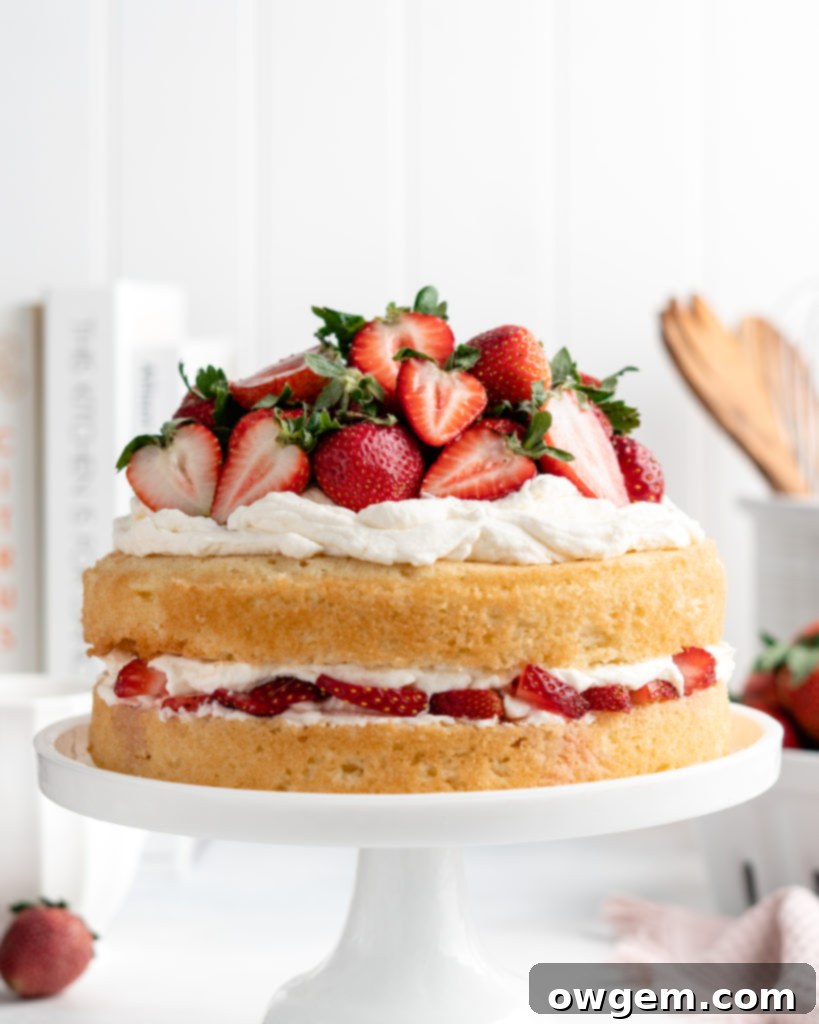
Understanding Mascarpone: The Secret to Stabilized Whipped Cream
What is mascarpone?
Mascarpone is an exquisite Italian cream cheese, renowned for its luxurious texture and rich flavor. Unlike the more common American cream cheese, mascarpone boasts a remarkably smooth, velvety consistency without the characteristic tang. Its secret lies in its incredibly high butterfat content, which imparts an unparalleled creamy, buttery flavor and a silky mouthfeel. I often describe mascarpone as a super-thick, incredibly rich cream. This unique profile makes it incredibly versatile in the kitchen, finding its way into both savory and sweet dishes.
From enriching pasta sauces with its creaminess and thickening power to starring as a delectable alternative or enhancement to whipped cream in desserts, mascarpone truly shines. In this particular Strawberry Shortcake Layer Cake recipe, mascarpone plays a pivotal role in transforming ordinary whipped cream into a stable, long-lasting filling. Traditional whipped cream, while delicious, is notoriously fragile; it tends to “weep” and lose its shape quite rapidly, often within just a few hours. This is where mascarpone becomes an indispensable ally. By incorporating mascarpone, it acts as a powerful stabilizer for the whipped cream, providing it with much-needed structure and rigidity. This ensures your beautiful cake holds its form, keeping the creamy layers perfectly intact and delectable for a much longer period, allowing you to enjoy your creation without worry of collapse.
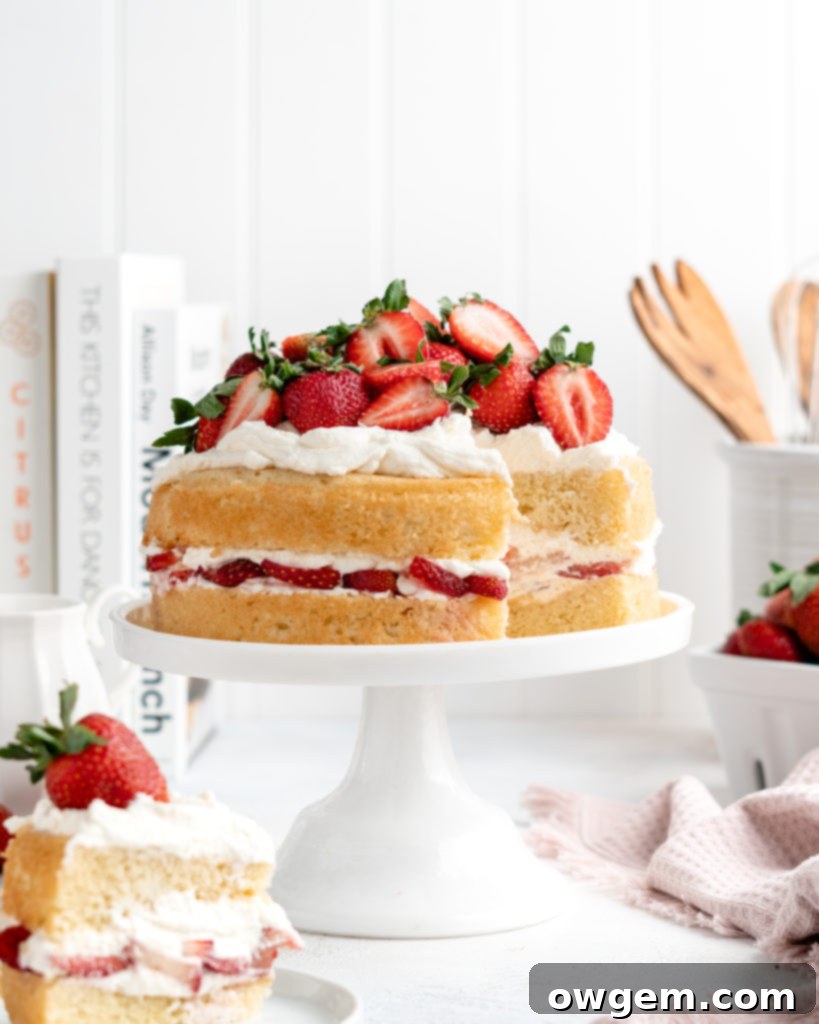
Whipping Up the Dreamy Mascarpone Whipped Cream
How to make the mascarpone whipped cream for the Strawberry Shortcake Cake
Creating the perfect mascarpone whipped cream topping for your Strawberry Shortcake Layer Cake is remarkably straightforward. Start by ensuring all your ingredients are thoroughly chilled – especially the heavy cream and the bowl you’ll be using, as cold temperatures are crucial for achieving stiff peaks. Add the cold heavy cream to a large mixing bowl or the bowl of your stand mixer. Next, carefully add the confectioners’ sugar and vanilla extract. Begin beating this mixture on medium-high speed. Continue to beat until the whipped cream starts to thicken significantly and forms beautiful, stiff peaks. This means when you lift the whisk, the cream holds its shape firmly.
Once stiff peaks are achieved, gently add the mascarpone cheese to the whipped cream. Reduce the mixer speed to low and continue to beat just until the mascarpone is thoroughly incorporated and the entire mixture is smooth and cohesive. Be extremely careful not to overbeat at this stage; overbeating can cause the mixture to become grainy or even curdle, ruining its silky texture. The goal is a light, airy, yet stable cream. It’s essential to remember that this Strawberry Shortcake Layer Cake, once assembled with the Mascarpone Whipped Cream, requires refrigeration. Whipped cream, even when stabilized by mascarpone, is highly sensitive to heat and will melt very quickly if exposed to warm temperatures.
Macerating Strawberries: Unlocking Sweetness and Juiciness
What is and how to macerate strawberries?
Macerating strawberries is a simple yet incredibly effective culinary technique used to enhance their flavor and texture. This process involves softening the strawberries slightly and encouraging them to release their natural juices, which then combine with added sugar to create a beautiful, flavorful syrup. While the term “macerating” might sound fancy or complex, the actual process is wonderfully straightforward. To macerate strawberries, you simply need to sprinkle sugar over your freshly cut strawberries and allow them to rest. A resting period of 15 to 30 minutes is usually sufficient.
During this short waiting period, a remarkable transformation occurs. The sugar draws out moisture from the strawberries through osmosis, concentrating their natural sweetness and softening their texture. The result is perfectly sweet, slightly tender strawberries bathed in their own delectable strawberry syrup! These macerated strawberries are then ready to be generously layered into your Strawberry Shortcake Layer Cake, and the accompanying fragrant syrup can be drizzled over them for an extra burst of concentrated strawberry goodness, adding depth of flavor and moisture to every bite.
The Crucial Role of Flour Measurement in Baking
How Much Flour?
In baking, precision is paramount, and nowhere is this more critical than with flour measurement, especially for a delicate recipe like this Victorian sponge cake. Since this cake batter does not contain any additional liquid to aid in hydration, the exact amount of flour used directly impacts the final texture. An excess of flour in the batter will inevitably lead to a cake that is disappointingly dry, hard, and struggles to rise properly, ultimately compromising the tender crumb we’re aiming for.
For this reason, I strongly advocate for measuring flour by weight in grams using a kitchen scale rather than relying on volumetric cup measurements. Volumetric measurement, while common, is notoriously inaccurate and can lead to significant variances depending on how the flour is scooped or packed. This variability introduces a substantial margin for error that can effectively ruin any baked good, turning a potential masterpiece into a dense failure. A kitchen scale eliminates this guesswork, providing consistent and precise results every single time.
However, if you do not own a kitchen scale, it’s vital to employ proper volumetric measuring practices to minimize error. To measure flour correctly, avoid scooping directly from the bag. Instead, use a spoon to gently fluff the flour, then spoon it into your measuring cup until it’s overflowing. Once filled, use a straight edge (like the back of a knife or a flat ruler) to level off the excess flour, ensuring it’s flush with the rim of the cup. Never pack the flour into the cup or tap the cup, as this will compress it and result in far too much flour being added to your recipe.
Assembling Your Stunning Strawberry Shortcake Layer Cake
With your buttery Victorian sponge layers baked, your rich mascarpone whipped cream prepared, and your strawberries macerated to perfection, it’s time for the grand assembly! This is where your cake truly comes to life. Start by ensuring your cake layers are completely cooled. If they have developed any slight domes during baking, use a serrated knife to carefully level them, creating a flat surface for stable stacking. This ensures a professional and even appearance for your finished cake.
Place your first cake layer onto your chosen serving plate or a sturdy cardboard cake circle. Spread a generous, even layer of the mascarpone whipped cream over the top – aim for about 1 to 1 ½ inches thick for a truly decadent experience. Next, carefully spoon all of your macerated strawberries, along with their delicious natural juices, over the whipped cream, spreading them out evenly. The syrup will slightly soak into the cake, adding incredible moisture and flavor. Finally, gently place the second cake layer on top, spread the remaining mascarpone whipped cream over the entire top, and decorate with an abundance of fresh, vibrant strawberries. The combination of textures and flavors will be irresistible!
Storage and Serving Tips for Peak Enjoyment
To ensure your Strawberry Shortcake Layer Cake remains as fresh and delicious as possible, proper storage is key. Since it contains mascarpone whipped cream, which is sensitive to heat, the cake must be kept refrigerated at all times when not being served. Loosely cover the cake with plastic wrap or a cake dome to prevent it from drying out or absorbing refrigerator odors. Stored correctly, the cake can be enjoyed for 2-3 days.
For the best taste and texture, allow the cake to sit at room temperature for about 15-20 minutes before serving. This slight warming helps to soften the cake layers and cream slightly, enhancing their delicate flavors and textures. Slice with a sharp, warm knife for clean cuts, and prepare for rave reviews!
Get the Recipe:
Strawberry ‘Shortcake’ Layer Cake
Pin
Rate
Ingredients
Victorian Sponge Cake
- 1 cup (227g) Unsalted Butter,, at room temperature
- 1 ¼ cups (250g) White Sugar
- 4 Large Eggs,, at room temperature
- 1 tsp Vanilla
- 2 cups (240g) All Purpose Flour,, measured correctly * (very important to measure correctly, or preferably to weigh it, as too much flour will lead to a dense cake)
- 1 tbsp Baking Powder
- 1 tsp Salt
- 1-2 cups Fresh Strawberries,, for decorating top of cake
Macerated Strawberries
- 1 ½ cups (250g) Hulled and Sliced Strawberries
- 1 tbsp (13g) White Sugar
- 1/2 tsp Vanilla
Mascarpone Whipped Cream
- 2 cups (480ml) Heavy Cream,, cold
- 6 oz (170g) Mascarpone
- 2/3 cup (80g) Confectioners Sugar
- 1/2 tsp Vanilla
Instructions
Victorian Sponge Cake
-
Preheat your oven to 350°F (175°C). Prepare two 8-inch springform cake pans by spraying them generously with cooking spray and lining the bottoms with parchment paper rounds. In a medium bowl, combine the flour, baking powder, and salt. Whisk these dry ingredients thoroughly until well combined, then set aside.
-
In a large mixing bowl, or the bowl of a stand mixer fitted with the paddle attachment, cream together the softened butter and granulated sugar. Beat on medium speed until the mixture is light, fluffy, and smooth, which should take about 3-5 minutes. Add the eggs one at a time, beating well after each addition until fully incorporated and the mixture is smooth. Finally, mix in the vanilla extract until just combined.
-
Gradually add the reserved flour mixture to the wet ingredients in the large bowl or stand mixer. Mix on low speed until the ingredients are just combined. It is crucial not to overmix the batter at this stage to maintain the cake’s tender texture.
-
Evenly divide the cake batter between the two prepared cake pans. Use a spatula to gently spread the batter out to the edges of each pan for a level surface. Place the pans into the preheated oven and bake for 20-25 minutes. If you are using dark-colored pans, check for doneness around the 20-minute mark to prevent overbaking. The cakes are done when the edges begin to pull away slightly from the sides of the pan and an inserted toothpick comes out clean. Allow the cake layers to cool completely on a wire rack before attempting to top or stack them.
Macerated Strawberries
-
In a mixing bowl, combine the hulled and sliced strawberries with the white sugar and vanilla extract. Toss gently to ensure the strawberries are evenly coated. Let the strawberries sit at room temperature for 15 to 30 minutes. During this time, the sugar will draw out the natural juices from the strawberries, creating a delicious syrup.
Mascarpone Whipped Cream
-
In a large, chilled bowl, combine the cold heavy cream, confectioners’ sugar, and vanilla. Using an electric mixer (handheld or stand mixer), beat the mixture on medium-high speed until stiff peaks have formed. This means the cream will hold its shape firmly when the whisk is lifted. Add the mascarpone cheese and continue to beat on low speed, just until the mascarpone is well incorporated and the mixture is smooth. Be very careful not to overbeat, as this can cause the cream to become grainy.
Topping, Layering & Stacking the Cake
-
Once the cake layers are completely cool, use a serrated knife to carefully level off any doming from the top of each cake layer, creating a flat surface for easy stacking.
-
Place one leveled cake layer onto your desired serving plate or a sturdy cardboard cake circle. Spread an even and generous layer of the mascarpone whipped cream over the top, aiming for approximately 1 to 1 ½ inches in thickness. Next, carefully spoon all of the macerated strawberries, along with their flavorful juices, evenly over the whipped cream layer.
-
Carefully place the second cake layer on top of the strawberry-filled first layer. Spread the remaining mascarpone whipped cream over the top of the second cake layer, smoothing it out for a beautiful finish. Finally, decorate the top of the cake artfully with your fresh strawberries, creating a visually stunning and delicious dessert.
