Ultimate Fudgy Peanut Butter Stuffed Brownies with a Decadent Swirl
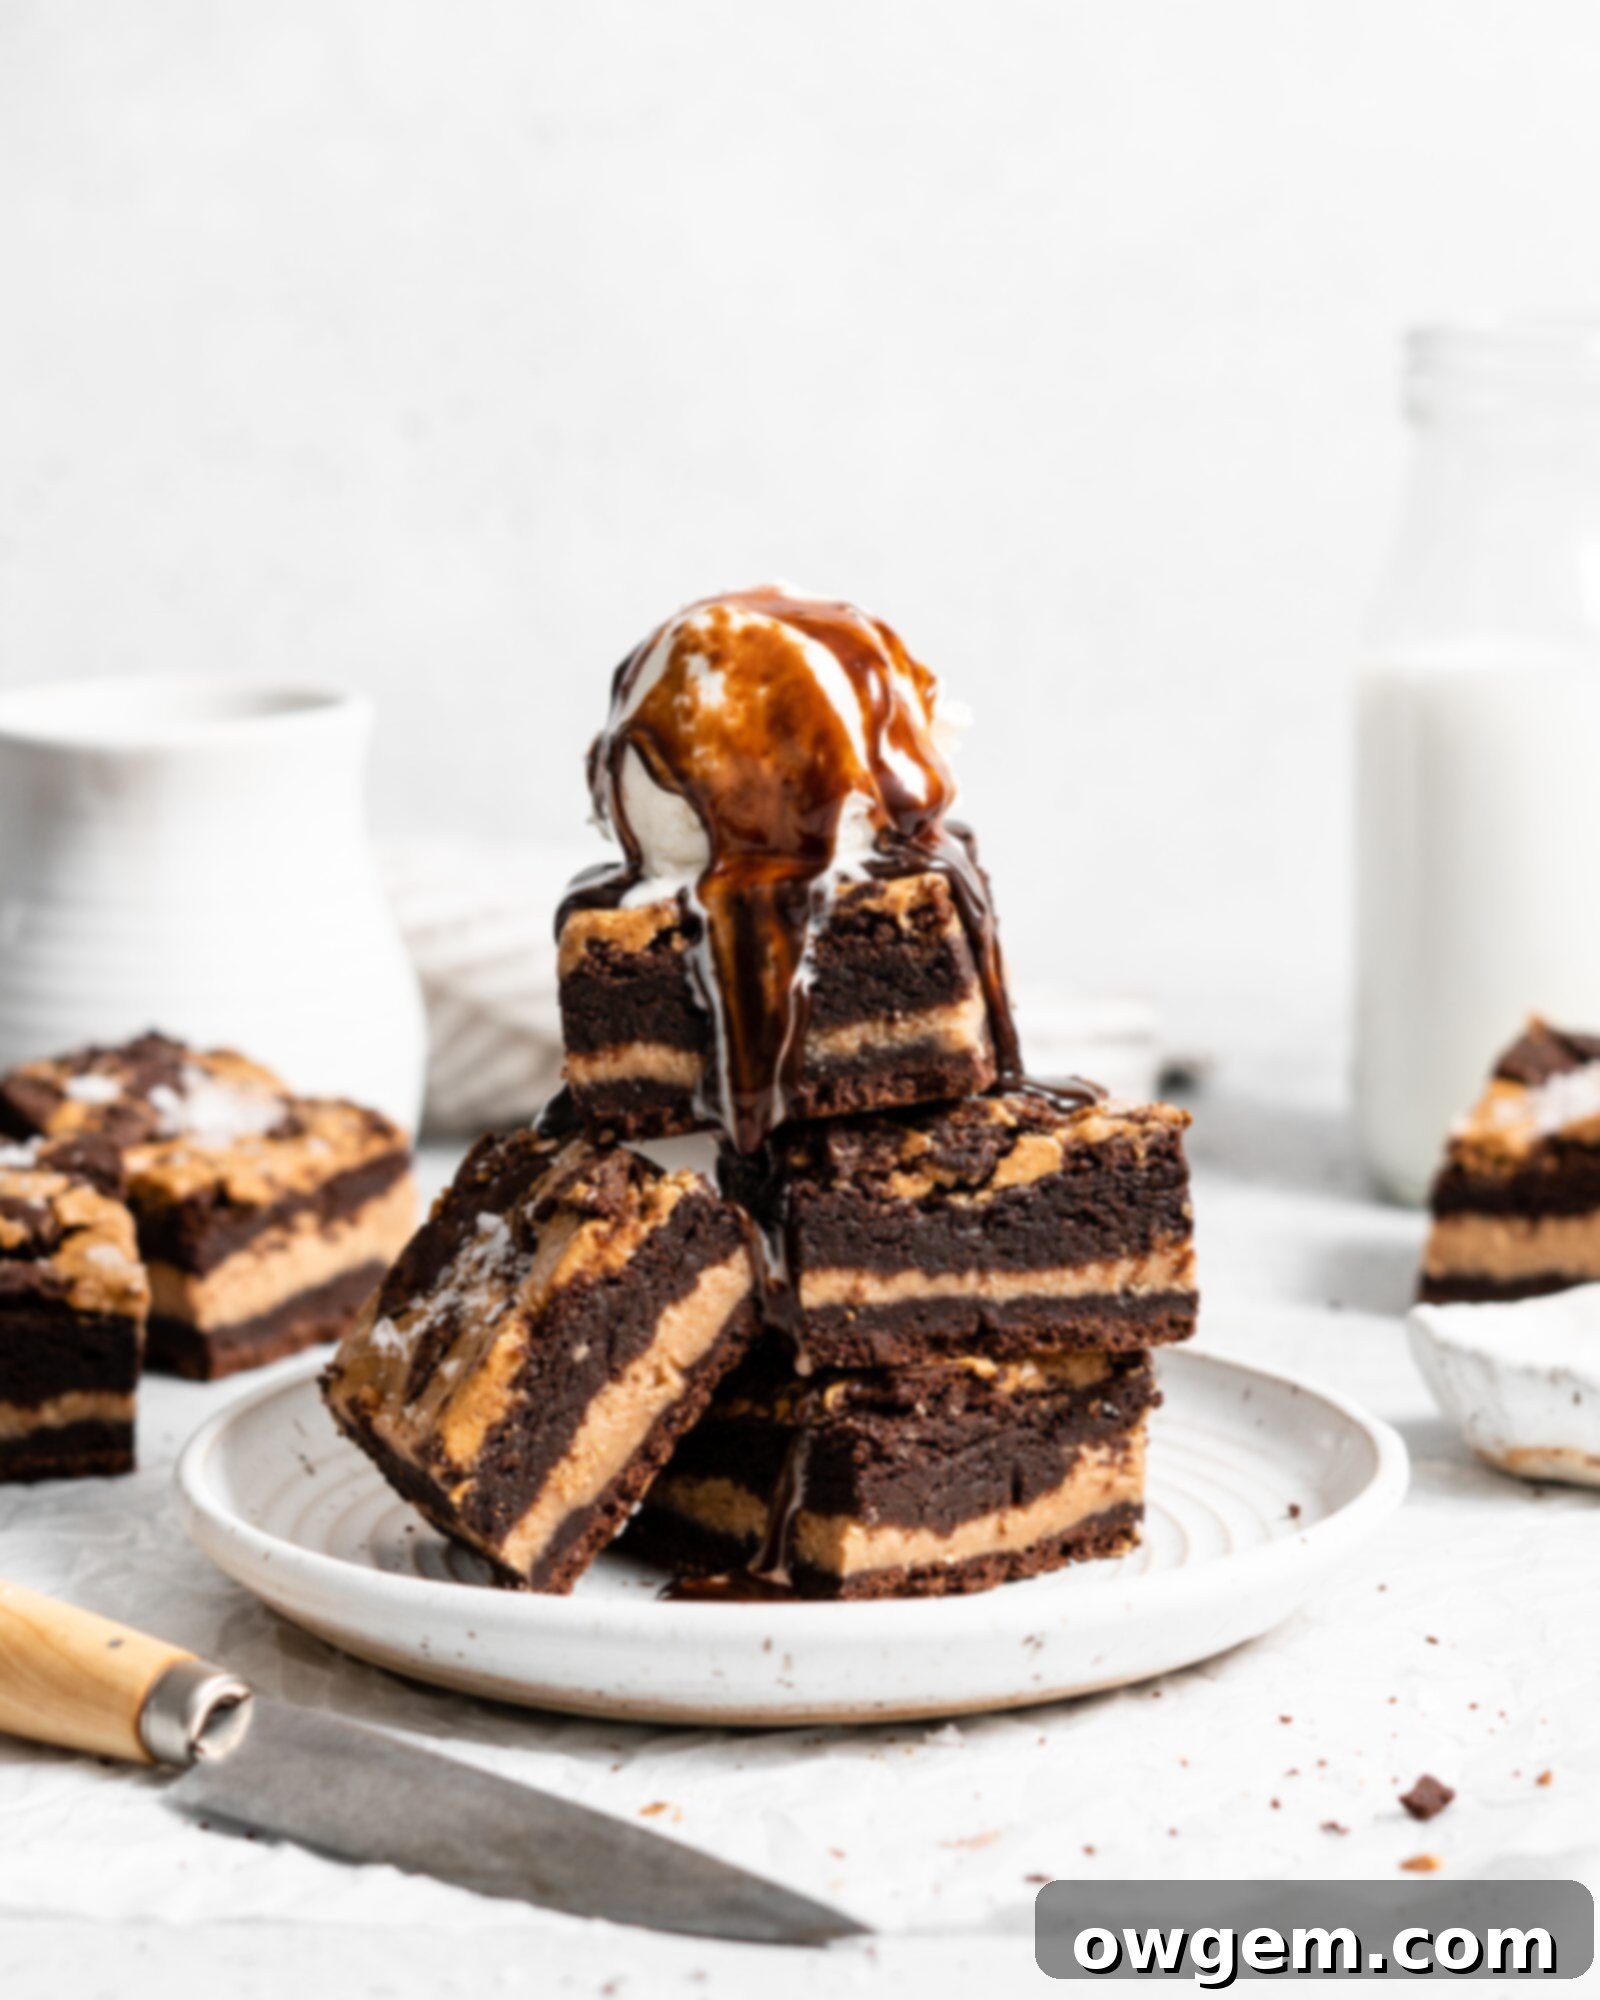
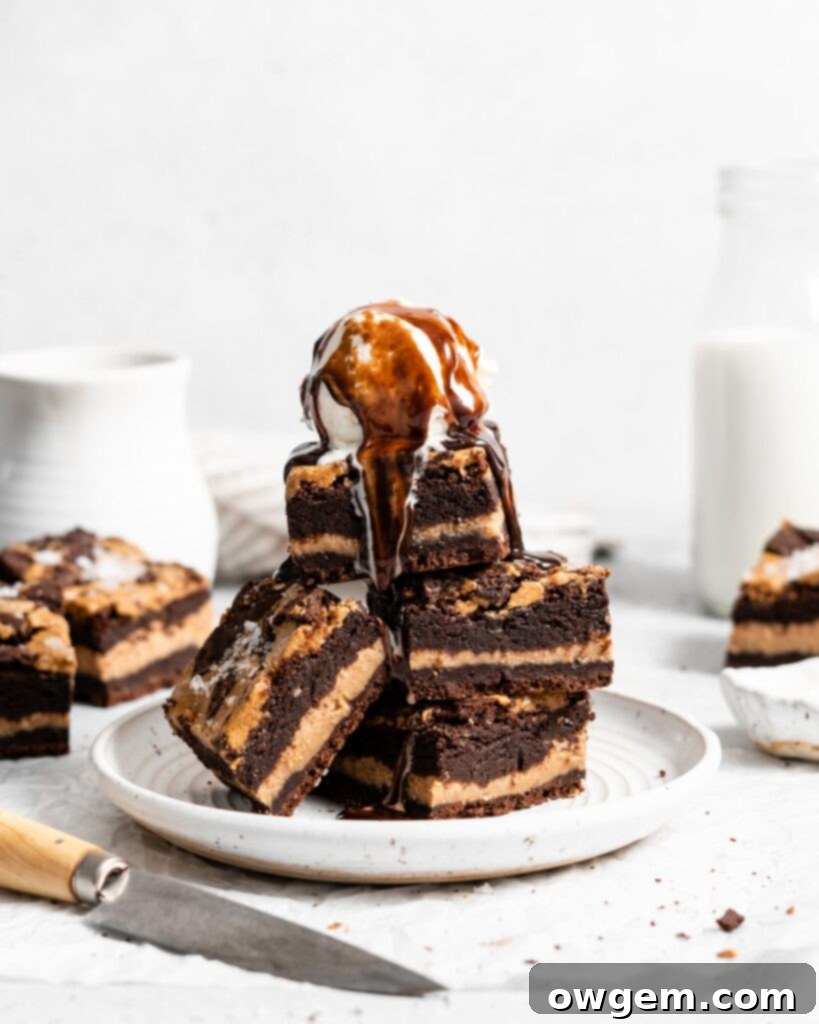
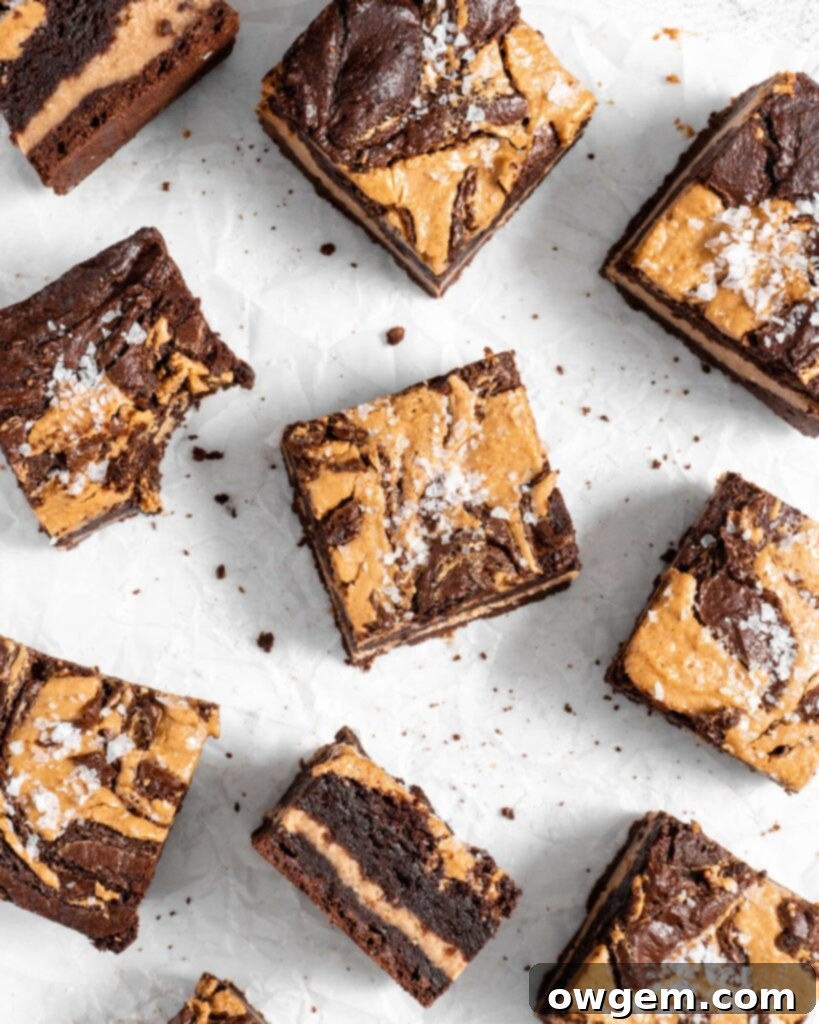
Prepare yourself for an extraordinary treat that perfectly blends two of the world’s most beloved flavors: rich, decadent chocolate and creamy, dreamy peanut butter. These aren’t just any brownies; these are the ultimate fudgy peanut butter stuffed brownies, featuring a luscious, sweet peanut butter center enveloped in a deep, dark chocolate brownie. To top it all off, a beautiful peanut butter swirl graces the surface, making every bite a true delight for the senses. If you’re a fan of the classic chocolate and peanut butter combination, this recipe is about to become your new obsession. Get ready to bake a batch of pure bliss that’s perfect for sharing, parties, or simply indulging your sweet tooth!
Crafting the Irresistible Peanut Butter Center
The secret to these show-stopping peanut butter stuffed brownies truly lies in their incredible filling. That ooey-gooey, sweet, and perfectly creamy peanut butter center is what elevates these brownies from good to absolutely legendary! And here’s the best part: it’s surprisingly simple to prepare. You don’t need any fancy techniques or obscure ingredients. All it takes is a quick mix of smooth peanut butter and confectioners’ sugar. The confectioners’ sugar not only sweetens the peanut butter but also helps to firm it up slightly, ensuring it holds its shape beautifully within the brownie while still remaining wonderfully soft and melt-in-your-mouth tender. Using a hand mixer ensures a super smooth, lump-free consistency that will make every bite of these brownies a creamy dream. This simple step is key to achieving that perfect burst of peanut butter flavor in the heart of every square.
Mastering the Fudgy Brownie Batter
Achieving the ideal fudgy brownie texture is an art, but one that is easily mastered with a few key steps. Our recipe focuses on creating a rich, dense, and supremely moist chocolate base that beautifully complements the creamy peanut butter. Here’s a detailed breakdown of how to prepare your brownie batter for optimal fudginess:
- Prepare the Peanut Butter Center: Before you dive into the chocolate, ensure your peanut butter center is ready. Follow the simple instructions mentioned above: combine smooth peanut butter and confectioners’ sugar with a hand mixer until it’s smooth and creamy. Once done, set it aside. This step is crucial for streamlining your layering process later.
- Melt the Chocolate (Bain-Marie Method): For the deepest chocolate flavor and a smooth texture, we’ll melt the semi-sweet chocolate using a double boiler. Place your finely chopped chocolate into a heat-proof bowl. Rest this bowl over a pot of simmering water, ensuring the bottom of the bowl does not touch the water. The steam from the simmering water will gently melt the chocolate. Stir constantly with a rubber spatula until the chocolate is completely smooth and glossy. Remove it from the heat and set it aside to cool slightly. It’s important not to overheat the chocolate, as this can make it seize.
- Cream Sugars and Eggs: In a large mixing bowl, combine both white sugar and dark brown sugar with the large eggs and vanilla extract. Whisk these ingredients together vigorously for about a minute. The mixture should become pale, creamy, and slightly thickened. This process helps to dissolve the sugar, which contributes to the fudgy texture and prevents a grainy mouthfeel. Adding melted butter at this stage also helps incorporate it evenly, ensuring a moist brownie.
- Incorporate the Melted Chocolate: Pour the slightly cooled melted chocolate into the sugar and egg mixture. Whisk again until everything is thoroughly combined and the batter has a uniform dark, rich color. Make sure there are no streaks of unmixed chocolate or egg mixture.
- Combine Dry Ingredients: In a separate medium bowl, whisk together the all-purpose flour, sifted Dutch-processed cocoa powder, and salt. Sifting the cocoa powder is vital to prevent lumps and ensures a smooth, even chocolate distribution throughout the batter. The salt balances the sweetness and enhances the chocolate flavor.
- Fold Dry into Wet: Gradually add the dry ingredients to the bowl containing your wet chocolate mixture. Using a rubber spatula, gently fold the dry ingredients into the wet. Mix just until no dry streaks remain. Be careful not to overmix the batter, as overmixing can develop the gluten in the flour, leading to a tougher, cake-like brownie rather than the desired fudgy texture. A few gentle folds are all it takes to bring it together into a thick, luxurious batter.
- Layer the Batter and Peanut Butter: Pour exactly half of your prepared brownie batter into a greased and parchment-lined 9×9 inch baking pan. Use your spatula to spread it evenly. Next, carefully spoon dollops of the peanut butter center mixture over the brownie layer. Gently spread the peanut butter layer, ensuring it covers the chocolate batter without disturbing it too much. Finally, pour the remaining brownie batter over the peanut butter layer. Gently spread this top layer of brownie batter evenly, ensuring the peanut butter center is fully encased.
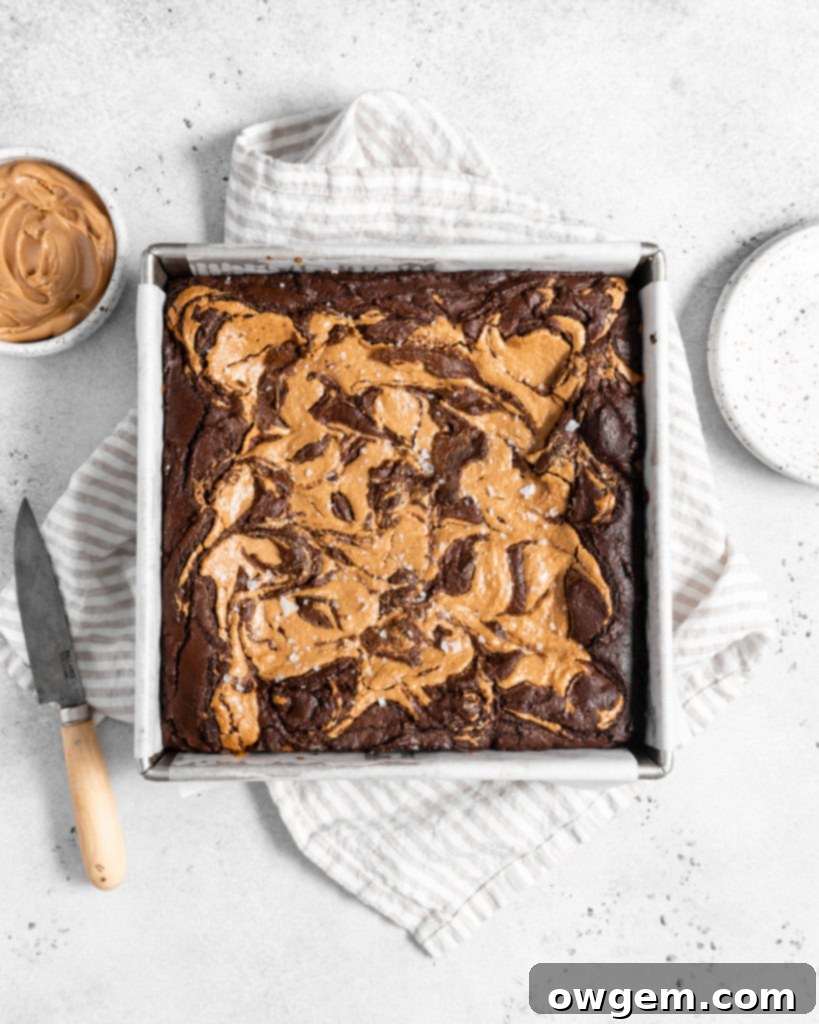
- Create the Peanut Butter Swirl: For an extra touch of peanut butter goodness and visual appeal, dot small dollops (about 1-2 teaspoon size) of natural peanut butter across the top surface of the brownie batter. Then, take a wooden skewer or a thin knife and gently swirl the peanut butter into the brownie batter. Create elegant patterns, being careful not to overmix, which could make the swirl muddy.
- Bake to Perfection: Place your pan into the preheated oven. Bake for approximately 40 to 50 minutes. The baking time can vary slightly depending on your oven, so keep a close eye on them. Remember, achieving that perfect fudgy texture means not overbaking!
The Aesthetic Allure of the Peanut Butter Swirled Top
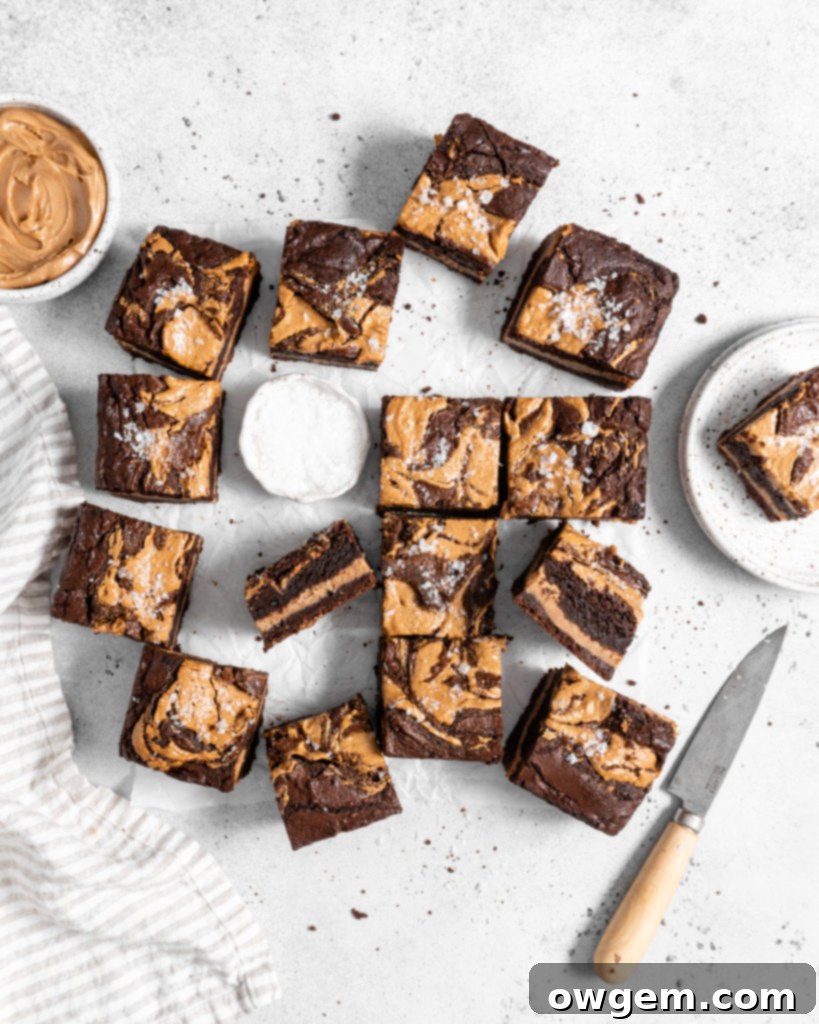
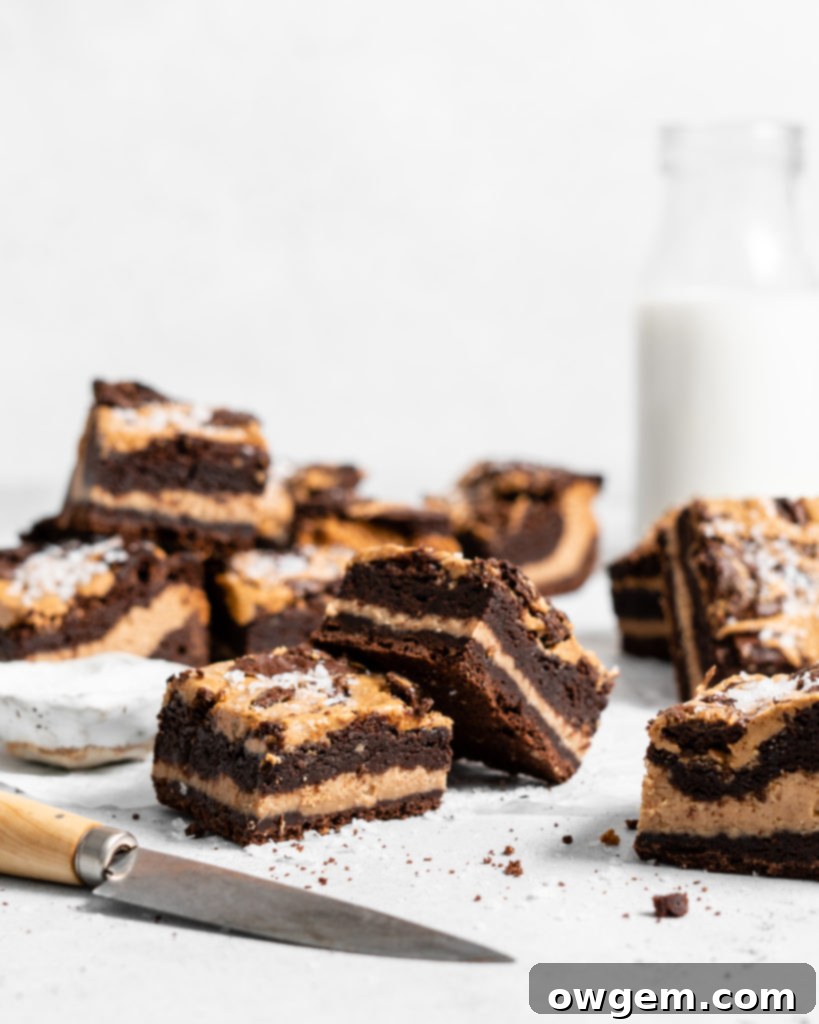
Beyond the glorious peanut butter filling, the top of these exquisite brownies also boasts a beautiful peanut butter swirl. This isn’t just for looks; it adds another layer of peanut butter flavor and texture, making these truly a peanut butter lover’s ultimate dream brownie! For this particular step, I highly recommend using *natural peanut butter*. Natural peanut butter, with its thicker consistency and less added oil, tends to hold its shape much better during baking. This results in sharper, more defined swirls that are incredibly aesthetically pleasing, creating a professional and inviting finish to your brownies.
While natural peanut butter offers superior visual results, you absolutely *can* use regular peanut butter (like the one you used for the creamy center) if that’s what you have on hand. Just be aware that regular peanut butter, being generally smoother and runnier, will spread more during baking and might not retain its distinct swirled shape as well. The flavor will still be fantastic, of course! Alternatively, if you prefer a simpler brownie or are short on time, you can certainly omit the peanut butter swirl on top altogether. The stuffed center itself provides more than enough peanut butter goodness to satisfy any craving. However, for that extra “wow” factor, the swirl is highly recommended.
Knowing When Your Peanut Butter Stuffed Brownies Are Perfectly Baked
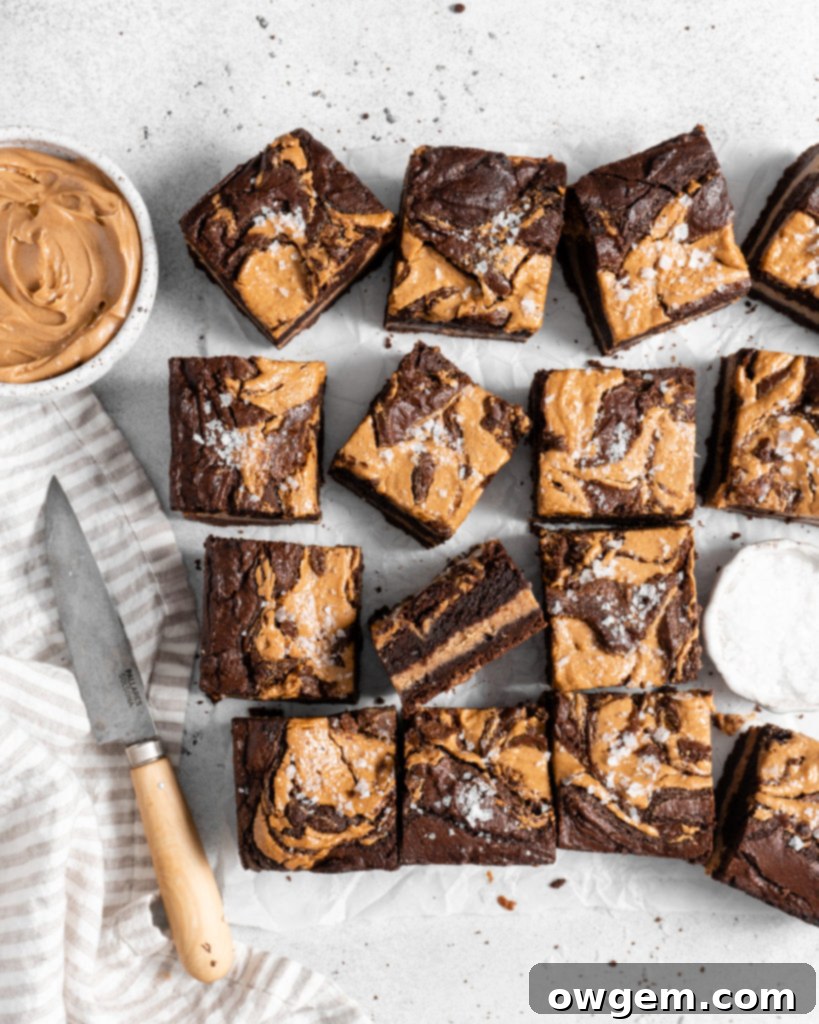
One of the most common mistakes when baking fudgy brownies, especially complex ones like these Peanut Butter Stuffed Brownies, is overcooking them. The key to achieving that supremely moist, dense, and melt-in-your-mouth fudgy texture is actually to take them out of the oven *before* the centers appear fully set. Yes, you read that right! When these brownies are done, the very center will still look a little undercooked and will have a slight, delicate jiggle when you gently shake the pan. This might seem counterintuitive, but trust the process.
This “underbaked” appearance is crucial because brownies, particularly rich, fudgy ones, continue to cook and solidify as they cool in the pan. This phenomenon is called “carry-over cooking.” If you wait until the center is firm in the oven, by the time they cool completely, your brownies will likely be dry and cake-like, losing that desired fudgy glory. Think of it like a perfectly baked pumpkin pie – it comes out with a slight wobble, but sets beautifully as it cools. For our brownies, this means the edges will be set, but the center will still be soft and slightly yielding. Resist the urge to keep baking them for “just a few more minutes.” Once they have that slight jiggle, remove them from the oven, and let them cool completely in the pan on a wire rack. As they cool, the residual heat will finish the cooking process, transforming that jiggly center into a perfectly fudgy, irresistible treat. Patience during the cooling stage is truly a virtue here, leading to brownies that are pure perfection.
Tips for Perfect Peanut Butter Stuffed Brownies
To ensure your brownies turn out perfectly every time, here are a few extra tips:
- Room Temperature Ingredients: Ensure your eggs and butter for the brownie batter are at room temperature. This helps them emulsify better with the sugar, leading to a smoother, more uniform batter and a superior texture in the final product.
- Don’t Overmix: As mentioned, overmixing the brownie batter develops gluten, making them tougher. Mix just until combined.
- Cool Completely: Resist the urge to cut into warm brownies! Warm brownies are more likely to crumble and appear undercooked, even if they’re perfectly baked. Letting them cool completely (preferably for several hours or even overnight) allows them to set properly, intensify in flavor, and makes for clean, beautiful slices.
- Clean Slices: For super neat squares, use a sharp knife and clean it with a hot, damp cloth after each cut. This prevents sticking and smudging.
- Storage: Store your peanut butter stuffed brownies in an airtight container at room temperature for up to 3-4 days, or in the refrigerator for up to a week. They also freeze beautifully for up to 2-3 months. Thaw at room temperature before serving.
Variations and Customizations
While these brownies are perfect as is, feel free to experiment with these delicious variations:
- Nut Butter Alternatives: If peanut butter isn’t your only love, try stuffing these brownies with almond butter, cashew butter, or even a swirl of hazelnut spread for a different flavor profile.
- Chocolate Chunks: Fold in an extra half cup of chocolate chips or chopped chocolate into the brownie batter for an even more intense chocolate experience. Dark, milk, or white chocolate chips would all be delightful.
- Sprinkle of Sea Salt: A sprinkle of flaky sea salt on top of the finished brownies (after they’ve cooled) can enhance both the chocolate and peanut butter flavors beautifully.
- Mini Brownies: For bite-sized treats, bake these in a mini muffin tin. Adjust baking time accordingly (likely around 15-20 minutes).
Get the Recipe:
Peanut Butter Stuffed Brownies
Pin
Rate
Ingredients
- 1 ¾ cup (420g) Smooth Peanut Butter,, such as Kraft or Jif, for the center
- 1 ⅓ cup (160g) Confectioners Sugar
- 8 oz (225g) Semi Sweet Chocolate,, finely chopped for melting into batter
- 1½ cups (300g) White Sugar
- 3/4 cup (165g) Dark Brown Sugar
- 3 Large Eggs,, at room temperature
- 3/4 cup (170g) Unsalted Butter,, melted and slightly cooled
- 1 tsp Vanilla Extract
- 3/4 cup (90g) All-Purpose Flour
- 2/3 cup (66g) Dutch Processed Cocoa Powder,, sifted
- 1/2 tsp Salt
- Optional: 6 tbsp (90g) Natural Peanut Butter, (for the swirl on top, natural peanut butter retains its shape better for nicer looking swirl)
Equipment
-
9×9 inch baking pan
-
Parchment paper
-
Heatproof bowl (for double boiler)
-
Large mixing bowls
-
Hand Mixer (or stand mixer with paddle attachment)
-
Rubber Spatula
-
Whisk
-
Wooden Skewer or thin knife
Instructions
-
Preheat your oven to 350°F (175°C). Prepare a 9 × 9-inch (23×23 cm) baking pan by lightly coating it with cooking spray, then lining it with two overlapping sheets of parchment paper, leaving an overhang on the sides. This will create “handles” to easily lift the brownies out once cooled.
-
**For the Peanut Butter Center:** In a medium mixing bowl, combine the 1 ¾ cup (420g) creamy peanut butter and 1 ⅓ cup (160g) confectioners’ sugar. Beat with a hand-mixer (or stand mixer with a paddle attachment) on medium speed until the mixture is thoroughly combined, smooth, and no sugar lumps remain. Set this mixture aside for later use.
-
**Melt the Chocolate:** Add the 8 oz (225g) of finely chopped semi-sweet chocolate to a heatproof bowl. Place this bowl over a pot of gently simmering water, ensuring that the bottom of the bowl does not touch the water. Stir the chocolate continuously with a rubber spatula until it is completely melted and smooth. Remove the bowl from the heat and set it aside to cool slightly while you prepare the remaining brownie batter components.
-
**Combine Wet Ingredients:** In a large mixing bowl, add the 1½ cups (300g) white sugar, ¾ cup (165g) dark brown sugar, and 3 large eggs. Whisk these ingredients together by hand for about 1 minute, or until the mixture appears light, creamy, and well combined. Next, pour in the ¾ cup (170g) melted butter (ensure it’s slightly cooled, not hot) and 1 tsp vanilla extract, followed by the slightly cooled melted chocolate. Whisk everything together until fully incorporated and smooth.
-
**Add Dry Ingredients:** In a separate medium bowl, whisk together the ¾ cup (90g) all-purpose flour, ⅔ cup (66g) sifted Dutch-processed cocoa powder, and ½ tsp salt. Sift these dry ingredients directly into the wet ingredients mixture to prevent lumps. Using a rubber spatula, gently fold the dry ingredients into the wet batter until just combined. Be careful not to overmix; a few streaks of flour are acceptable at this stage, as overmixing will result in a tougher brownie. The batter should be thick and glossy.
-
**Layer the Brownies:** Pour approximately half of the brownie batter into your prepared 9×9 inch pan, spreading it evenly with your spatula. Next, take the prepared peanut butter center mixture and drop spoonfuls evenly over the first layer of brownie batter. Carefully spread the peanut butter layer over the chocolate, ensuring it’s mostly covered. Finally, spoon the remaining brownie batter over the peanut butter layer, gently spreading it out to completely cover the peanut butter filling.
-
**Add the Swirl (Optional):** If using, dollop the optional 6 tbsp (90g) natural peanut butter in small (1-2 teaspoon) mounds across the top surface of the brownie batter. Using a wooden skewer or the tip of a thin knife, gently swirl the peanut butter into the brownie batter to create decorative patterns. Be careful not to swirl too much, or the patterns will become muddy. Place the pan into the preheated oven to bake for 40 to 50 minutes. The brownies are done when the edges are set and a toothpick inserted near the edge comes out with moist crumbs, but the very center still seems slightly jiggly. This slight jiggle is crucial for fudgy brownies, as they will continue to set as they cool.
-
**Cool and Serve:** Allow the brownies to cool completely in the pan on a wire rack. This is a critical step for fudgy brownies, as they continue to set and firm up during this time. Cooling completely ensures clean, easy slices and the perfect fudgy texture. Once fully cooled (ideally several hours or overnight), lift the brownies out of the pan using the parchment paper handles. For easier and smoother cutting, use a hot or wet knife, wiping it clean after each slice. Enjoy your decadent Peanut Butter Stuffed Brownies!
