Irresistible Maple Pecan Macarons: Your Guide to Perfect Swiss Meringue Delights
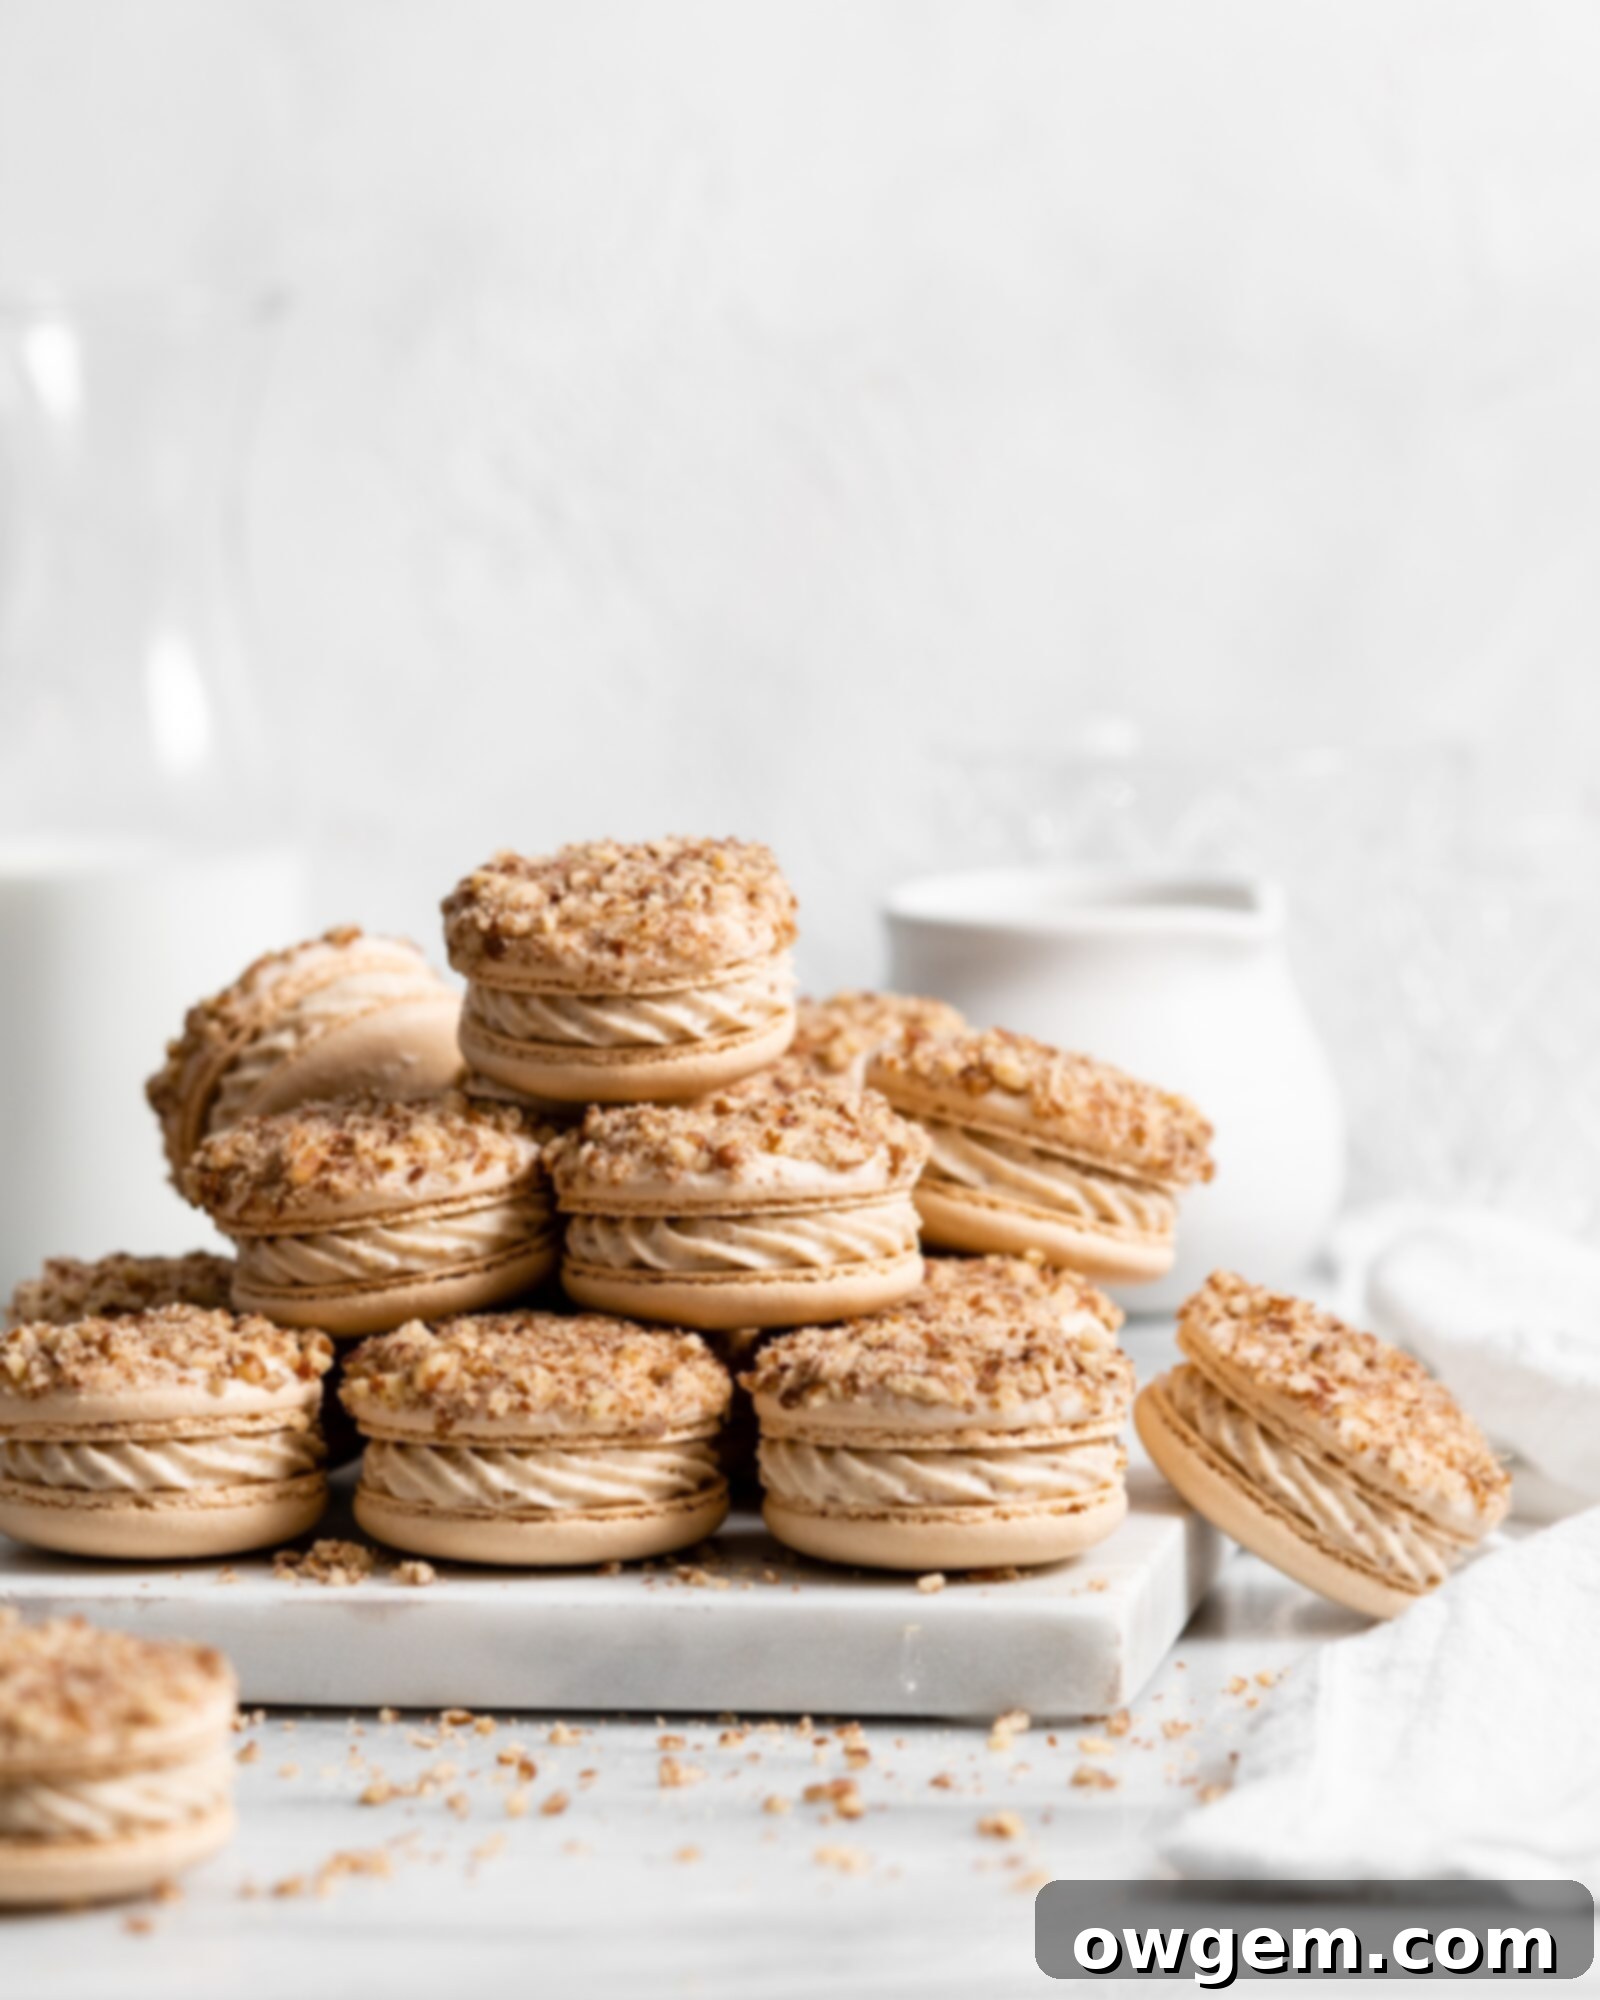
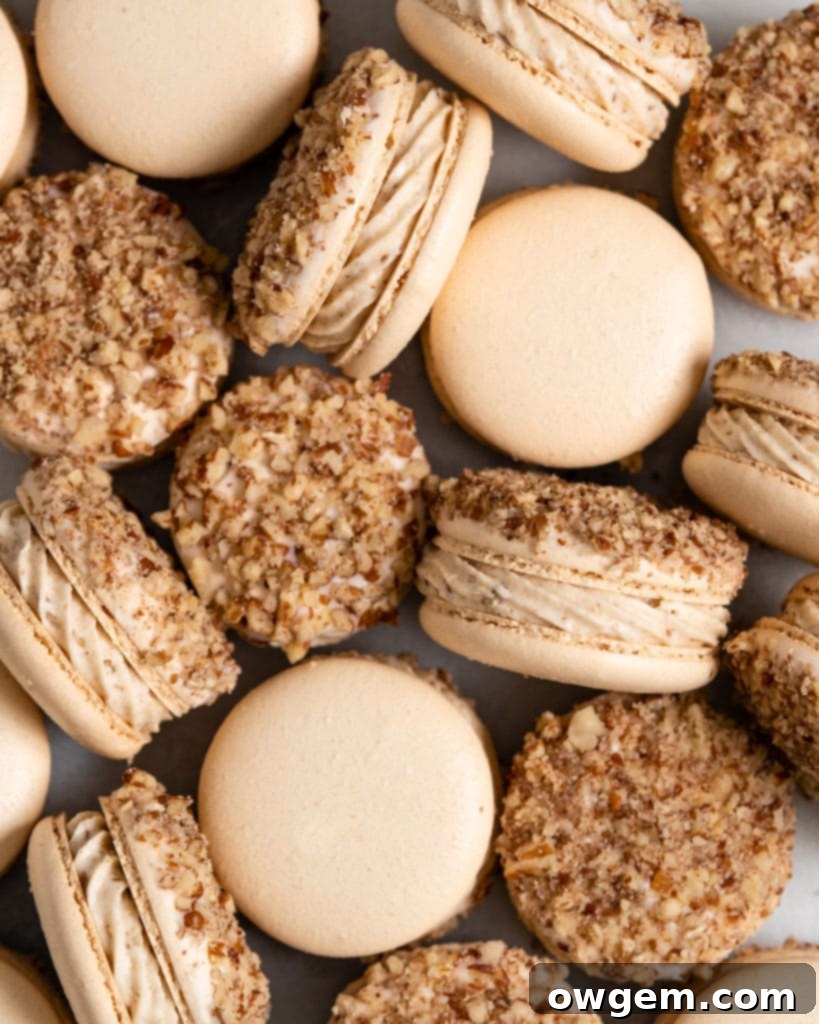
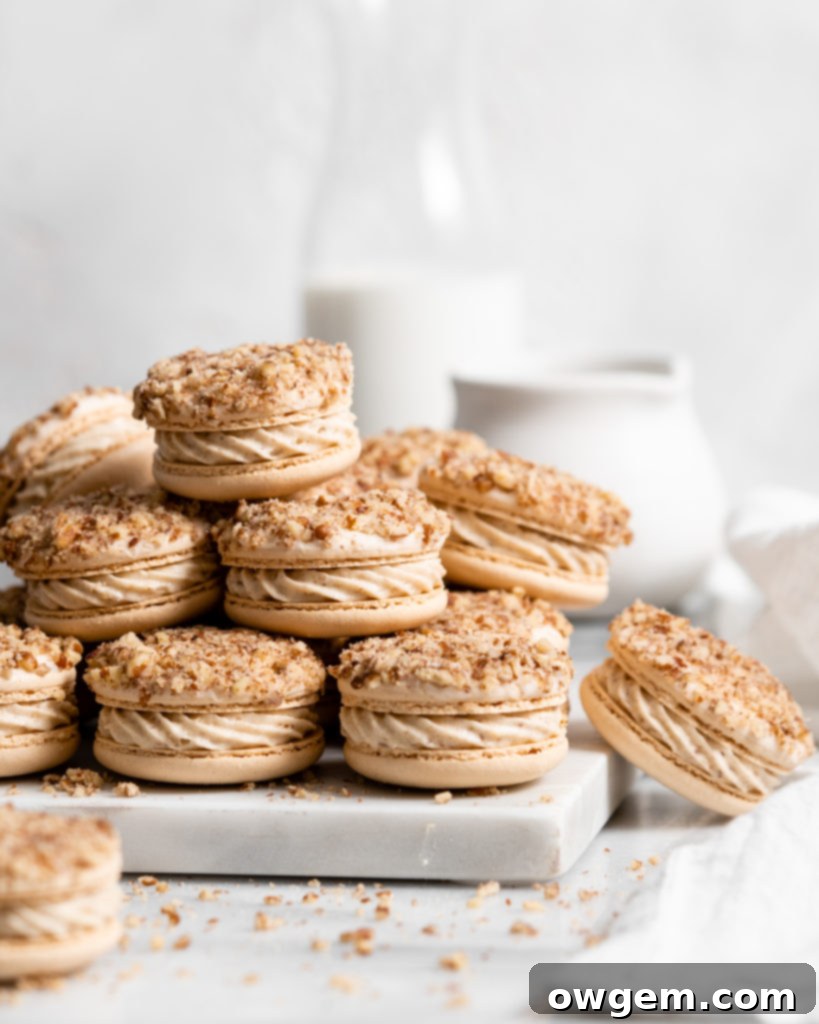
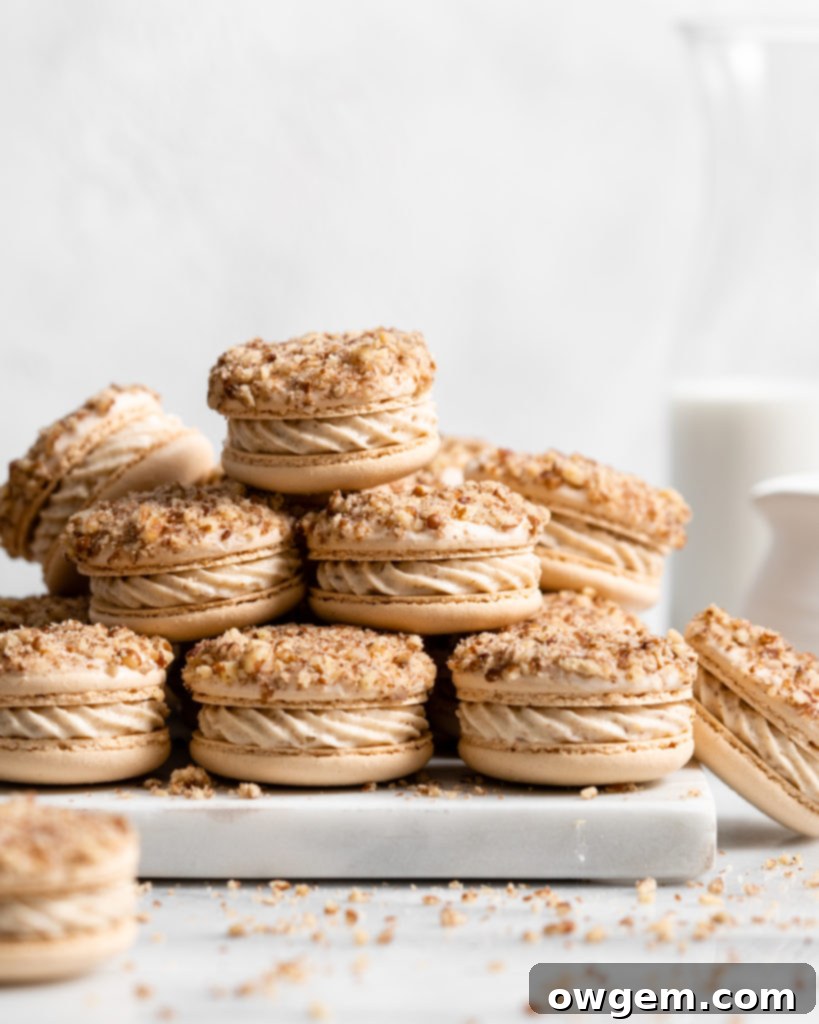
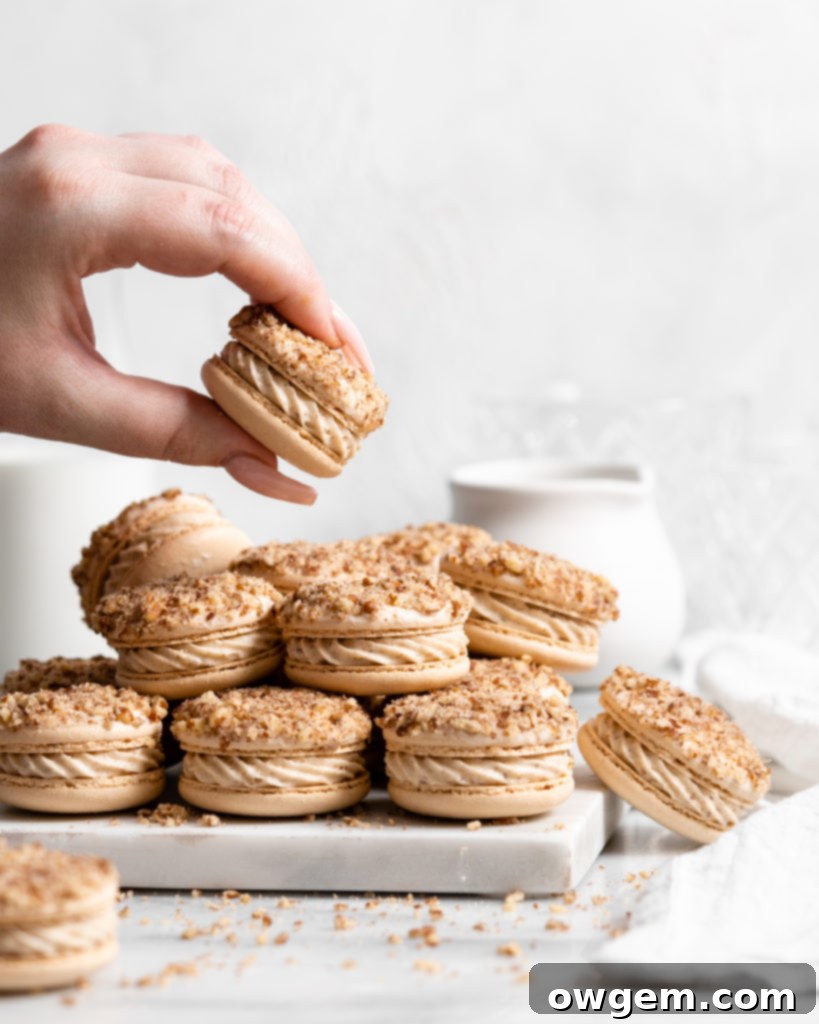
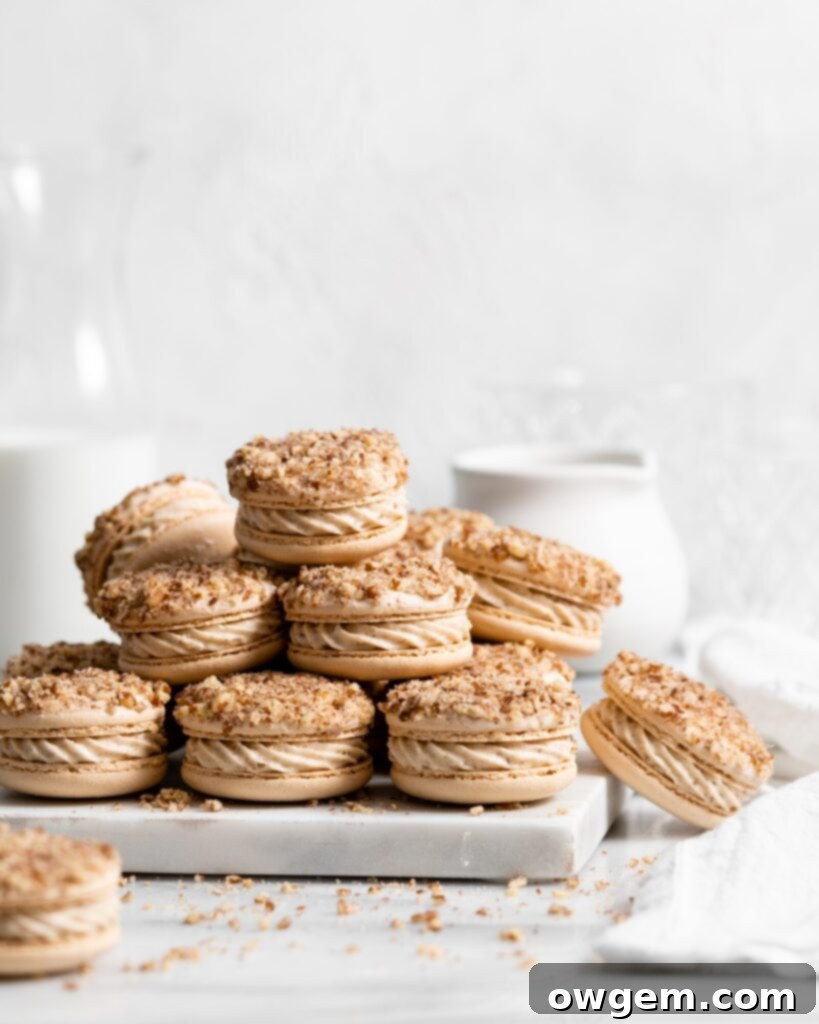
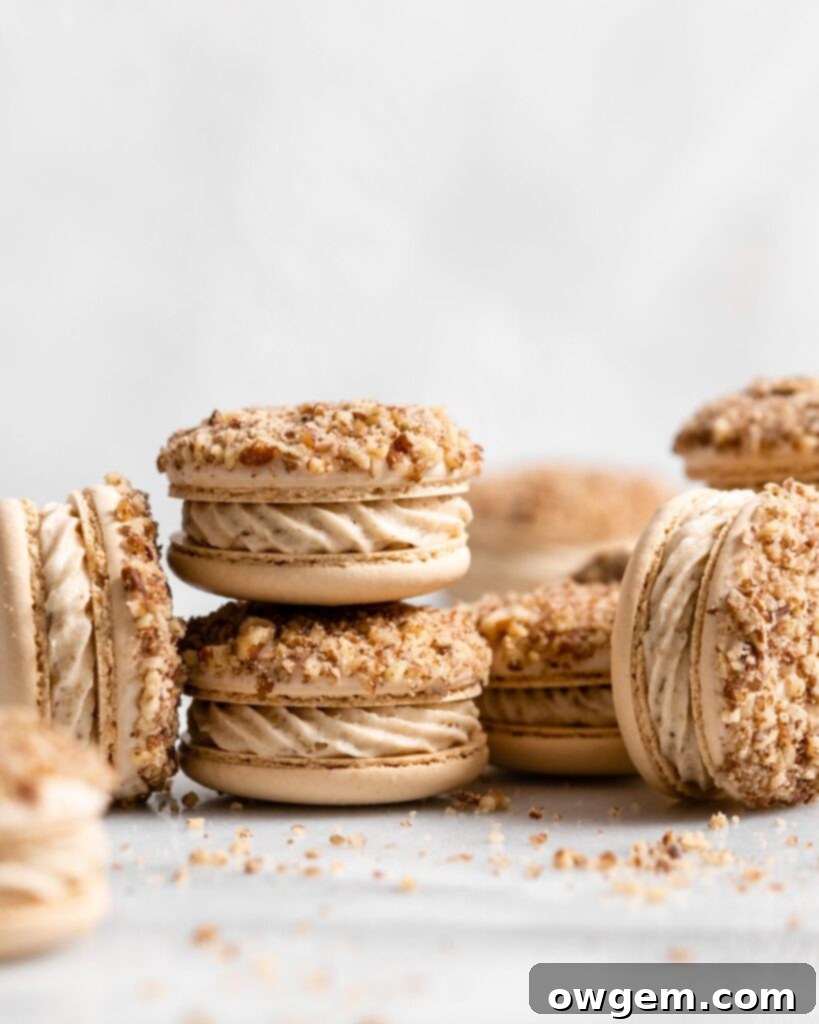
Step into autumn with these exquisite Maple Pecan Macarons, a delightful treat that perfectly captures the essence of fall. Each delicate macaron shell, crafted using the reliable Swiss meringue method, is infused with rich maple flavor. They are then generously filled with a creamy maple buttercream, speckled with crunchy pecan bits, and crowned with a beautiful pecan-crusted top for an extra touch of texture and autumnal charm. These macarons are not just a dessert; they are an experience, offering a harmonious blend of sweet, nutty, and subtly spiced notes in every bite. Whether you’re an experienced baker or new to the world of macarons, this detailed guide will help you create these stunning, flavourful confections.
Updated (photos, tips, links): November 2020
Mastering the Swiss Meringue Macaron Method
When it comes to baking macarons, the method you choose for your meringue can significantly impact your success. The Swiss meringue method stands out for its exceptional stability, making it a favorite among bakers, especially those who find the French method a bit more challenging. This stability translates into a more forgiving batter, which is crucial for achieving those coveted smooth shells and perfect “feet.”
The Swiss meringue macaron method begins by gently heating egg whites and granulated sugar over a bain-marie (a simmering pot of water) until they reach a specific temperature, typically around 140°F (60°C). This gentle heating process dissolves the sugar and partially cooks the egg whites, resulting in a remarkably stable meringue. Once the ideal temperature is reached, the warm egg white and sugar mixture is transferred to a stand mixer and beaten vigorously until it transforms into a glossy, stiff, and perfectly firm meringue. Finally, a meticulously measured combination of confectioners’ sugar and finely ground almond flour is carefully folded into this stable meringue during the crucial macaronage process, creating a smooth, flowing batter ready for piping. This systematic approach greatly reduces the chances of common macaron pitfalls like hollows or cracked shells, paving the way for beautifully consistent results.
Essential Tips & Tricks for Perfect Swiss Meringue Macarons
Achieving perfect macarons is a journey of precision and patience. To help you on your way, I’ve compiled some indispensable tips and tricks specifically tailored for the Swiss meringue macaron method. Following these guidelines will significantly increase your chances of baking flawless, delicious Maple Pecan Macarons.
Tip 1) Use a Food Scale and Weigh Everything Out
This cannot be stressed enough: precision is paramount in macaron baking. Measuring your ingredients by weight, down to the gram, is absolutely critical. Macarons are notoriously sensitive to ingredient ratios, and even slight variations can lead to disastrous results. Volumetric measurements (cups and spoons) are inherently inaccurate due to differences in packing density and individual measuring techniques, leading to huge variances. For a delicate and finicky bake like macarons, a digital food scale is your best friend. It ensures consistent results every single time, eliminating the guesswork and potential for error that comes with volume measurements.
Tip 2) Wipe All Utensils, Bowls, and Apparatus with Vodka or Vinegar
Before you even begin, meticulously clean every piece of equipment that will come into contact with your egg whites. This includes your mixing bowl, whisk attachment, spatulas, and even the piping bag and tip. Use a small amount of vodka or white vinegar on a paper towel to wipe them down thoroughly. The purpose of this step is to eliminate any residual grease or oil. Even the tiniest speck of fat can prevent egg whites from whipping up properly, resulting in a weak, unstable meringue that will fail to produce those beautiful macaron shells. This simple but vital step ensures a pristine environment for your meringue to achieve its full, fluffy potential.
Tip 3) Consider Using Egg White Powder
For those consistently struggling with hollow macaron shells – a common frustration for many bakers – incorporating egg white powder can be a game-changer. I’ve personally found that adding a small amount of egg white powder (also known as meringue powder) to the egg whites and sugar mixture before heating creates a more robust and stable meringue. This extra protein boost helps to strengthen the macaron structure during baking, leading to shells that are beautifully full and less prone to developing unsightly hollows. It’s an optional ingredient, but one I highly recommend for a more reliable and consistent macaron outcome, especially if you’re seeking to eliminate those pesky hollows.
Tip 4) Beat Meringue to Stiff Peaks
The consistency of your meringue is crucial for Swiss method macarons. You must beat the meringue to stiff peaks. This means that when you lift the whisk attachment from the bowl, the meringue should form a firm, upright peak that holds its shape completely without drooping or curling over. The meringue in the bowl itself should appear glossy, thick, and should gather securely within the whisk attachment. Under-beaten meringue will result in a runny batter that spreads too much, while slightly over-beaten meringue might be too dry and difficult to incorporate the dry ingredients, leading to stiff, bumpy shells. Striking that perfect stiff peak balance is key to creating a strong, aerated base for your macaron batter.
Tip 5) Stop Folding Once the Batter ‘Ribbons’
The macaronage process – the folding of dry ingredients into the meringue – is where many macaron batches are made or broken. The goal is to achieve the “ribbon stage” or “lava-like consistency.” When you lift your spatula, the batter should flow off in a slow, continuous stream, forming ribbons that gradually melt back into the main batter within approximately 20-30 seconds. If the batter falls off in distinct, chunky clumps, it is under-mixed and needs more gentle folding. Conversely, if it runs off the spatula too quickly and seamlessly, it is over-mixed, leading to a thin batter that will spread excessively and likely result in flat, fragile shells. Practice and careful observation are essential here; it’s better to slightly under-mix than to over-mix, as you can always fold a little more, but you can’t undo over-mixing.
Tip 6) Tap the Pan and Remove Air Bubbles
Once your macarons are piped onto the baking sheet, a critical step is to remove any trapped air bubbles. To do this, firmly tap the baking sheet against your counter several times. A good technique is to smack the pan, rotate it 90 degrees, smack again, and repeat until all sides have received a good tap. Alternatively, you can lift the pan a few inches and drop it flat onto the counter repeatedly. This serves two vital purposes: first, it forces any hidden air bubbles within the macaron batter to rise to the surface and pop, leading to smoother, more stable shells with fewer craters. Second, it helps the piped batter settle and flatten out any small humps or irregularities left from the piping process, ensuring consistently round and even macaron tops. Don’t be shy with this step; I often smack my trays more than four times, continuing until I observe most of the visible air bubbles have surfaced and the shells have visibly flattened.
Tip 7) Use a Toothpick to ‘Pop’ Any Remaining Air Bubbles
Even after tapping, some stubborn air bubbles might remain, especially if you’re aiming for truly perfect, blemish-free macaron shells. Take a moment to closely inspect your beautifully piped macarons. Look for any obvious bubbles, as well as subtle irregularities or tiny bumps on the surface that might indicate trapped air. Grab a clean toothpick and gently poke each visible bubble to release the air. Then, lightly swirl the toothpick over the small hole to smooth the batter and fill the void. Skipping this seemingly minor step can sometimes result in hollow or oddly shaped macarons, so it’s a small effort that yields significant improvements in the final appearance and structure of your shells.
Tip 8) Allow the Macarons to Form a “Skin”
This step is absolutely crucial – I repeat, THIS IS CRUCIAL! Do not, under any circumstances, skip allowing your piped macarons to dry and form a “skin” before baking. This thin, dry film on the surface of the macaron shell is what enables them to rise vertically in the oven rather than spreading outwards. This upward rise is what creates those desirable “feet” (pieds), the ruffled base characteristic of a perfect macaron. The time it takes for this skin to form varies significantly based on your environment’s humidity. In cold, dry climates (like the Prairies in Western Canada, where my skin forms in about 8-10 minutes), it will happen relatively quickly. Conversely, in hot, humid climates, this drying period could extend to 30 minutes, an hour, or even longer. You’ll know they’re ready when you can gently touch the top of a macaron with your finger, and no batter sticks to it. Macarons are incredibly finicky with humidity – high humidity can prevent the skin from forming, leading to cracked, footless, or failed macarons. But beware of excessively dry conditions too! Over-drying can cause macarons to stick to silicone mats or parchment, resulting in lopsided or damaged shells. It’s a delicate balance, so always check for that non-sticky surface before baking.
Tip 9) Know Your Oven
This might sound vague, but truly understanding your oven is a game-changer for macaron success. Every oven has its quirks: some run hotter or colder than their dial indicates, others have uneven heating zones, and convection fans can vary in strength. All these factors directly impact how your macarons bake, often being the difference between a tray of flawless shells and a batch of disappointments. It can be a bit annoying, but taking the time to observe and experiment with your oven’s specific characteristics will pay dividends. You might need to adjust baking temperatures, rotate trays mid-bake, or even position your baking sheets on different racks to achieve uniform results. Consider using an oven thermometer to verify the actual temperature inside. A little experimentation and knowing your oven’s personality will help you find the optimal baking method and temperature settings for consistently beautiful macarons.
Tip 10) Find ‘Perfect Pairs’ Before Filling
Let’s be realistic: not everyone is a master macaron baker right from the start, and it’s completely normal for your macaron shells to have slight variations in size. To ensure your finished macarons look polished and professional, it’s a great practice to “matchmake” them before you begin the filling process. Once your shells are completely cooled, lay them out and find “perfect pairs” – two macaron shells that are as close as possible in size and shape. This simple step prevents you from ending up with a collection of mismatched, aesthetically unappealing macarons. Taking a moment to pair them up ensures that each completed macaron sandwich looks neat, uniform, and ready for its close-up.
Decorating Your Maple Pecan Macarons
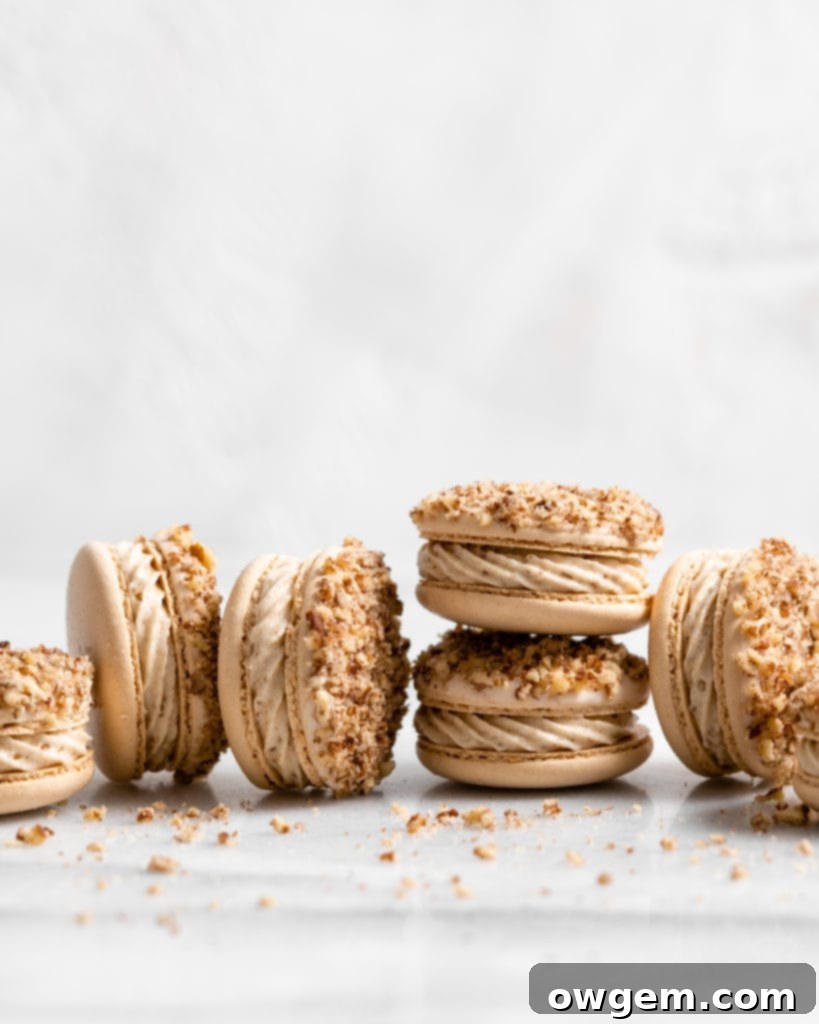
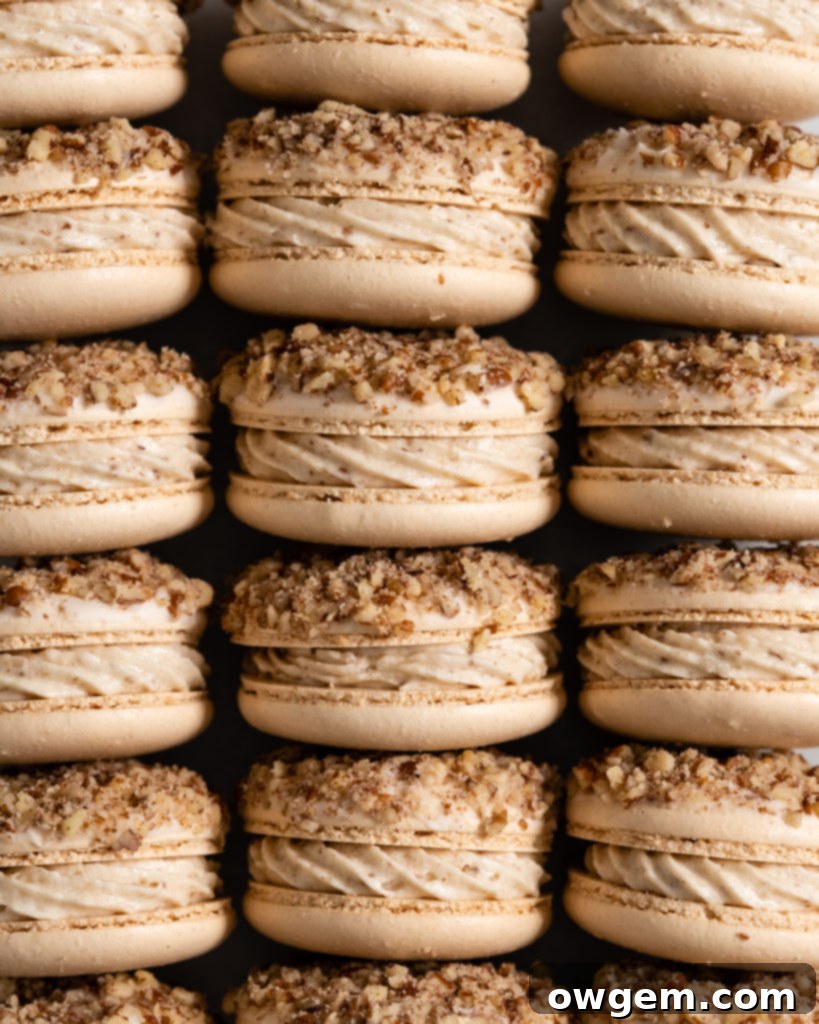
The decoration for these Maple Pecan Macarons adds another layer of sophistication and texture. For the luscious maple pecan buttercream filling, I opted for a small star piping tip, which creates an elegant, ridged swirl when piped onto the macaron bottoms. The tops of these autumnal treats are adorned with a charming pecan crust. To achieve this, I first prepared a simple glaze by whisking confectioners’ sugar and heavy cream until smooth. Then, I carefully dipped one half of the macaron shells into this delicate glaze, immediately transferring them to a bowl of finely crushed pecans. The pecans adhere beautifully to the wet glaze, creating a rustic yet refined finish. It’s important to allow this glaze and pecan topping to set completely, which usually takes about 1-2 hours, before proceeding with piping the buttercream and sandwiching your macarons. This ensures the topping is firm and doesn’t smudge during assembly, contributing to the overall exquisite presentation.
Recipe Acknowledgement
The foundational recipe for these delicious Swiss method macaron shells is graciously adapted from the expert work of Camila at Pie and Tacos. Her dedication to macaron perfection and detailed guidance have been an invaluable resource. I highly encourage you to explore her website for an extensive collection of macaron recipes, tips, and inspiration. You’ll find a wealth of knowledge to further your macaron baking journey!
Recommended Products & Equipment for Macaron Baking
Investing in the right tools can make a significant difference in your macaron baking experience. Here are some of my go-to products and equipment, which I’ve found to be particularly helpful for achieving consistently excellent results. Please note that these are affiliate links with Amazon, meaning I may earn a small commission if you make a purchase through them, at no extra cost to you.
My absolute favorite pan for baking macarons is this USA Pan Cookie Pan. Its robust construction ensures it’s sturdy and warp-resistant, which is crucial for even heat distribution. These pans are also designed to circulate air more effectively, significantly reducing the likelihood of encountering common macaron issues like lopsided shells or uneven baking.
For perfectly shaped macarons every time, these are my preferred silicone mats. They feature perfectly spaced guides that help you pipe consistently sized shells, ensuring your macarons are neither too large nor too small, and contributing to a professional finish.
To pipe the delectable maple pecan buttercream, I used this specific star piping tip. Its design creates beautiful, defined swirls, elevating the presentation of your filled macarons.
Finally, the quality of your almond flour is incredibly important. This is the almond flour I prefer to use. It is exceptionally finely ground, which is key to achieving those coveted smooth, delicate macaron shells without a gritty texture.
Get the Recipe:
Maple Pecan Macarons
Pin
Rate
Ingredients
Maple Pecan Macarons
- 105 g Sifted Super Fine Almond Flour
- 105 g Sifted Confectioners Sugar
- 100 g Egg Whites
- 100 g White Sugar
- 3 g (1 tsp) Egg White Powder,, otherwise known as meringue powder (optional but highly recommended for stability)
- 1 ½ tsp Maple Extract
Maple Pecan Buttercream Filling
- 1/2 cup Pecans,, finely ground for the buttercream
- 1/2 cup Unsalted Butter,, softened to room temperature
- 1 ¾ cups Confectioners Sugar,, sifted
- 2 tbsp Maple Syrup
- 1 ½ tbsp Heavy Cream
- 1 tsp Maple Extract
Pecan Topping
- 1 cup Confectioners Sugar,, for the glaze
- 3 tbsp Heavy Cream,, for the glaze
- 1/2 cup Crushed or finely chopped Pecans,, for sprinkling on top
Equipment
-
Stand mixer
-
Digital kitchen scale
-
Sieve
-
Piping bags with round and star tips
-
Baking sheets
-
Silicone baking mats or parchment paper
-
Food processor (for pecans)
Instructions
Prepare Dry Ingredients
-
Line your baking sheets with either parchment paper or high-quality silicone baking mats. If you have enough, prepare two baking sheets to save time.
-
Place a large mixing bowl on your digital food scale. Carefully sift the super fine almond flour into the bowl until you reach exactly 105g. Discard any larger bits of almond flour that remain in the sieve. Repeat this precise sifting process with the confectioners’ sugar. Once both are measured and sifted, whisk the almond flour and confectioners’ sugar together until they are very well combined and homogenous. Set this mixture aside for later.
Crafting the Swiss Meringue
-
In the bowl of your stand mixer, combine the egg whites, white sugar, and egg white powder (if using). Whisk these ingredients together gently to combine. Create a bain-marie by placing the bowl over a simmering pot of water, ensuring a tight seal and critically, that the bottom of the stand mixer bowl does not touch the simmering water.
-
Continuously whisk the mixture by hand as it heats over the bain-marie. Heat the mixture until it reaches a precise temperature of 140°F (60°C). This gentle heating dissolves the sugar and stabilizes the egg whites. Once the target temperature is achieved, promptly remove the bowl from the simmering water and attach it to your stand mixer, fitted with the whip attachment.
-
Begin beating the warm mixture on low speed. Once soft peaks start to form, increase the speed to medium. As the meringue progresses to medium peaks, increase the speed to high. Continue beating on high until very stiff, glossy peaks have formed. The meringue should be thick and hold its shape perfectly. Incorporate the maple extract by beating for an additional 10 seconds to ensure it’s fully combined.
The Macaronage Process
-
Carefully remove the bowl of stiff meringue from the stand mixer. Position a sieve over the meringue. Pour the pre-sifted dry mixture (almond flour and confectioners’ sugar) from earlier into the sieve, then gently sift it directly over the meringue.
-
Using a sturdy rubber spatula, begin to gently fold the dry ingredients into the meringue. A common technique is to scrape around the sides of the bowl in a complete circle, then cut through the center of the batter – a motion similar to drawing the Greek letter phi (Φ).
-
Exercise caution and gentleness throughout this process to avoid overmixing or deflating the delicate meringue. The batter is ready to be piped when it reaches the “ribbon stage”: when lifted with your spatula, the batter should flow off continuously in smooth, thick ribbons that slowly and seamlessly reincorporate into the rest of the batter within 20-30 seconds. If the batter is falling off in large, V-shaped chunks, it requires more gentle folding. A helpful “figure 8” test involves lifting a portion of batter and attempting to draw several figure 8s without the stream breaking; if you can do so, it’s likely ready!
Piping and Drying the Macarons
-
Transfer the macaron batter into a piping bag fitted with a medium to large sized round piping tip. Pipe uniform small circles of batter onto your prepared cookie sheet, which should be lined with a silicone baking mat or parchment paper. Ensure your piping bag is held perfectly straight up and perpendicular to the baking sheet for even circles. Using a macaron mat or a pre-printed stencil underneath your parchment paper can make this process significantly easier and more consistent. Aim for macarons approximately 1½” (3.8 cm) in diameter.
-
Firmly tap the baking sheet against your counter multiple times to dislodge any trapped air bubbles from within the piped macarons. Rotate the sheet and tap from different angles. If any visible air bubbles still remain on the surface, use a clean toothpick to gently poke them and then lightly swirl to smooth the surface.
-
Preheat your oven to 300°F (150°C), or 275°F (135°C) if you are using a convection oven. While the oven preheats, allow the piped macarons to sit undisturbed at room temperature to form a “skin.” This crucial drying period ensures that during baking, the macarons will rise vertically, developing their characteristic ruffled “feet,” rather than spreading horizontally. The time required for skin formation can vary significantly based on your kitchen’s humidity, ranging from as little as 8 minutes to over an hour. You’ll know the macarons are ready for baking when you can gently touch the top of a shell with your finger, and no batter adheres to it. Be diligent about checking; both under-dried and over-dried macarons can lead to issues during baking.
Baking the Macarons
-
Bake the macarons for approximately 15-20 minutes. The exact bake time will depend on the specific characteristics of your oven and the size of your macarons. Begin checking for doneness around the 15-minute mark. The macarons are properly baked when their tops feel firm and do not move or wobble at all when gently nudged from their base. If they still feel loose, continue baking, checking every minute or so.
-
Once baked, allow the macarons to cool completely on the baking sheets before attempting to remove them from the silicone mats or parchment paper. Attempting to remove them while warm will likely cause them to break or stick. Once fully cooled, take the time to find “perfect pairs” of macaron shells that are similar in size and shape, setting them aside in preparation for filling and topping.
Prepare Maple Pecan Buttercream
-
Place the pecans designated for the buttercream into a food processor. Pulse until the pecans are very finely ground, almost to the consistency of a coarse powder, just before they start to form a paste. Set these ground pecans aside.
-
In the bowl of a stand mixer fitted with the whisk attachment, add the softened unsalted butter. Beat on high speed for several minutes until the butter has doubled in volume and appears light, fluffy, and pale in color.
-
Reduce the stand mixer speed to low and gradually add the sifted confectioners’ sugar, incorporating it slowly to avoid a sugar cloud. Beat until the sugar is fully incorporated and the mixture is smooth. Then, add the maple syrup, heavy cream, maple extract, and the finely ground pecans. Beat on medium speed until all ingredients are well-combined and the buttercream is homogenous and fluffy. Transfer this delicious maple pecan buttercream to a piping bag fitted with a star tip.
Topping & Assembling the Macarons
-
In a small mixing bowl, combine the confectioners’ sugar and heavy cream listed under the ‘Pecan Topping’ ingredients. Whisk them together until you have a smooth, pourable glaze. Dip one half of each macaron shell (these will be the decorative “tops” of your perfect pairs) into the glaze, then immediately dip the glazed side into a bowl of the crushed pecans, ensuring a generous coating. Carefully set these topped shells aside on a clean surface to harden and set completely for about 1-2 hours.
-
Once the pecan topping has fully set and hardened, retrieve your remaining macaron shells (the “bottoms” of your perfect pairs). Pipe a generous amount of the prepared maple buttercream onto the flat side of each bottom shell. Then, carefully place the corresponding pecan-topped shell on top, gently twisting to create a neat sandwich. Arrange the assembled macarons in an airtight container and place them in the refrigerator overnight. This maturation period, often called “maturing,” allows the flavors of the shells and filling to meld beautifully, softening the shells slightly and enhancing the overall taste and texture.
Macaron shell recipe adapted from Pies and Tacos
We hope this comprehensive guide inspires you to create your own batch of perfect Maple Pecan Macarons. With the stable Swiss meringue method and these detailed tips, you’re well on your way to baking beautiful, flavorful, and truly irresistible fall treats. Happy baking!
