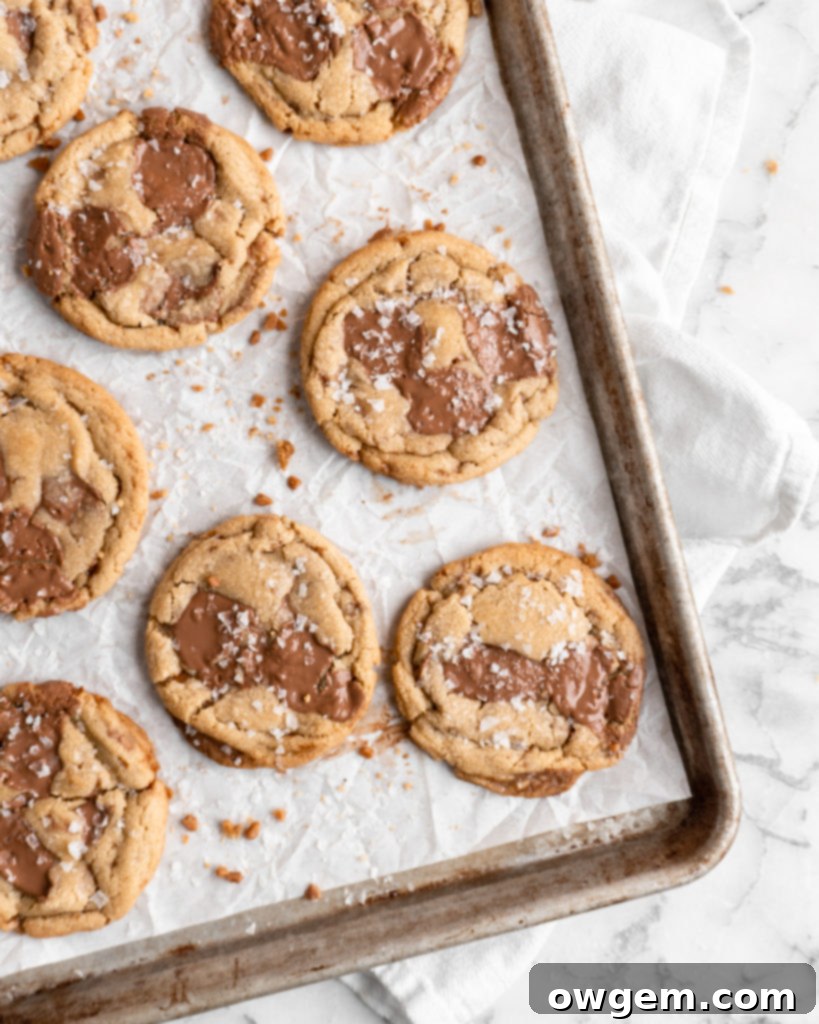
Irresistible Chewy Toffee Milk Chocolate Chip Cookies: The Ultimate Homemade Recipe
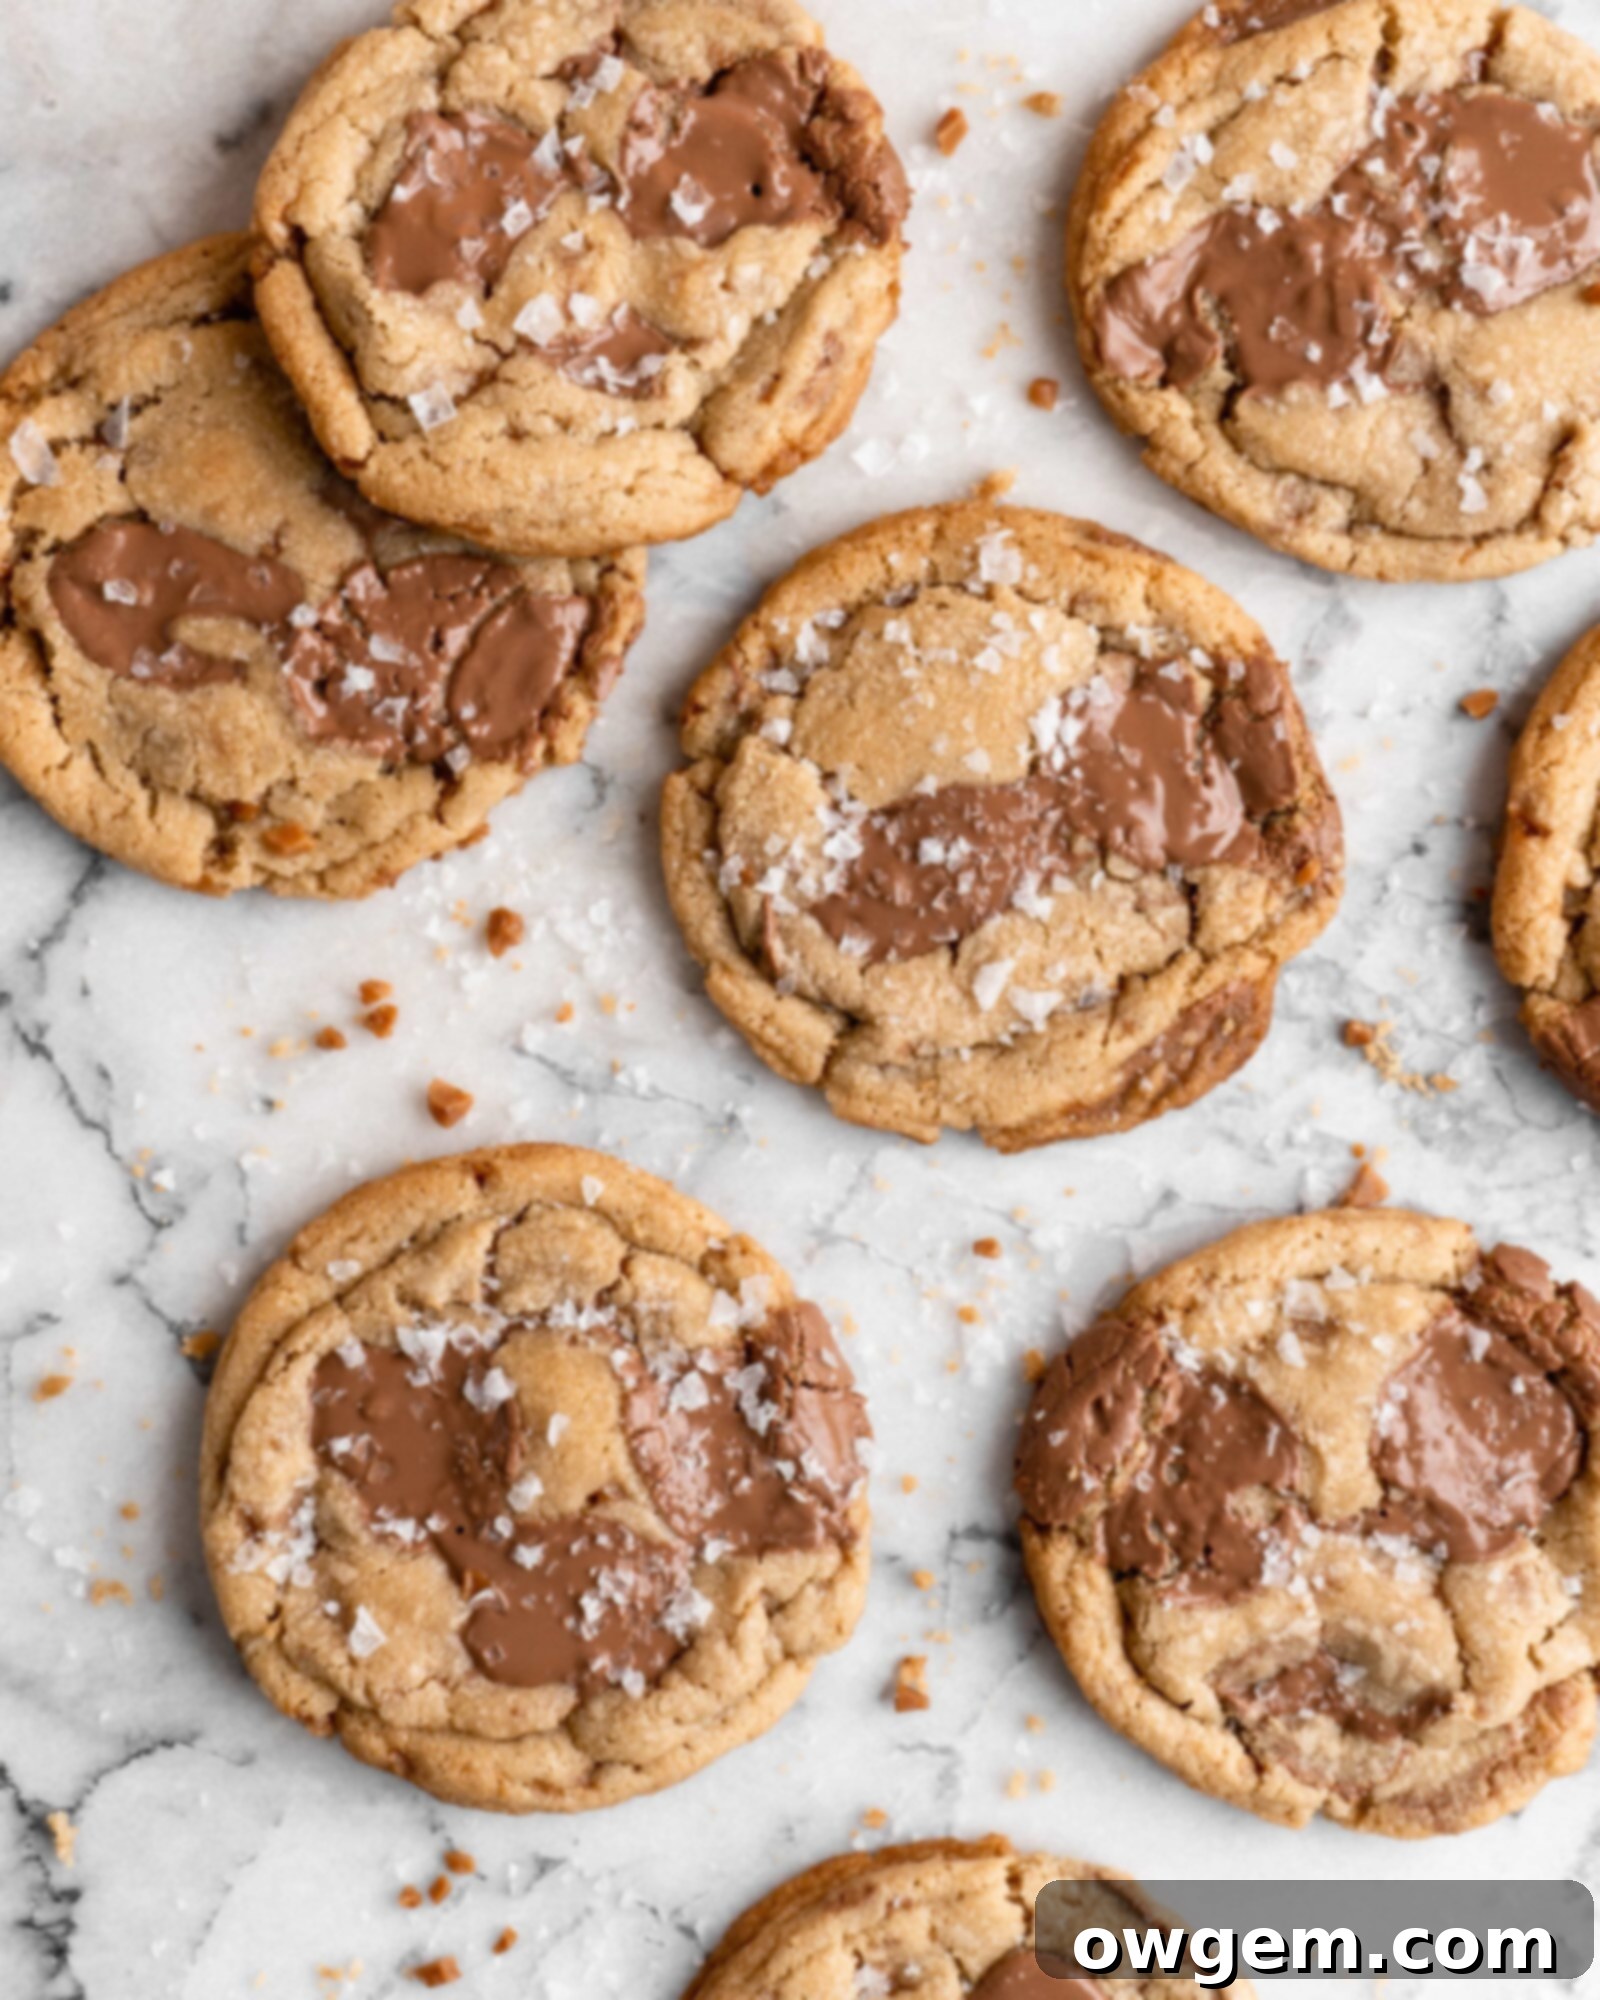
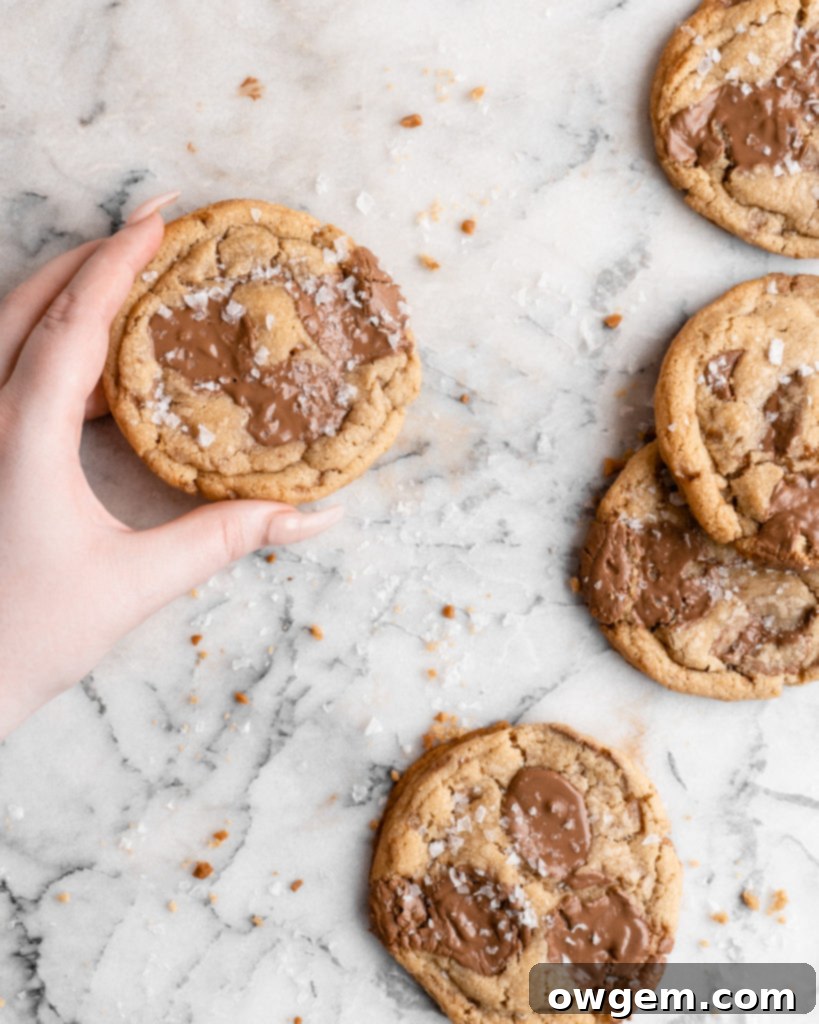
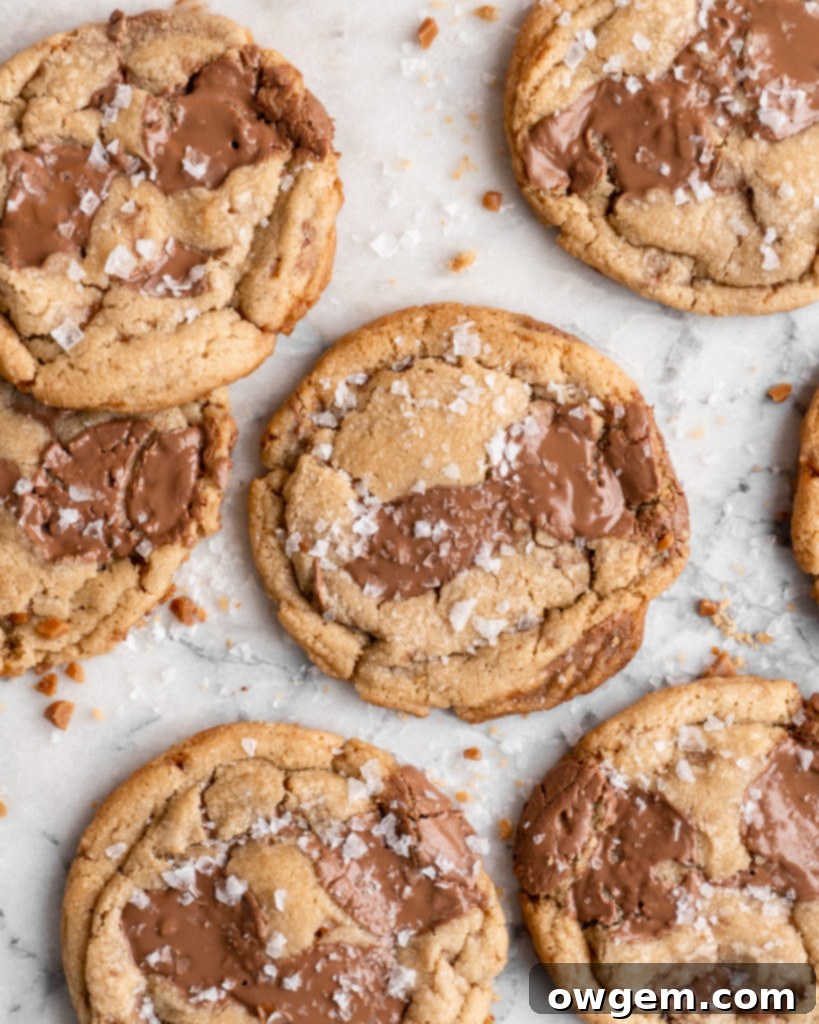
Calling all dessert lovers with an insatiable sweet tooth! Prepare to be enchanted by these Toffee Milk Chocolate Chip Cookies. Each bite offers a symphony of textures and flavors, starting with an irresistibly chewy center that gives way to a perfectly golden-brown exterior, boasting a delightful, subtle crispness around the edges. What truly sets these cookies apart is the generous scattering of toffee pieces throughout, infusing every morsel with a rich, deep caramel note that’s simply divine. The luscious milk chocolate chips melt into creamy pockets of sweetness, creating a harmonious balance with the buttery toffee. These cookies are a celebration of classic flavors, elevated to perfection, making them an absolute favorite for children and anyone who adores a truly indulgent sweet treat.
Whether you’re baking for a special occasion, a cozy family evening, or simply to satisfy a craving, these cookies promise pure joy. They’re more than just a dessert; they’re an experience, a delightful combination of homey comfort and gourmet decadence. Get ready to fill your kitchen with the enticing aroma of baking toffee and chocolate, and prepare for rave reviews from everyone who tastes these extraordinary cookies!
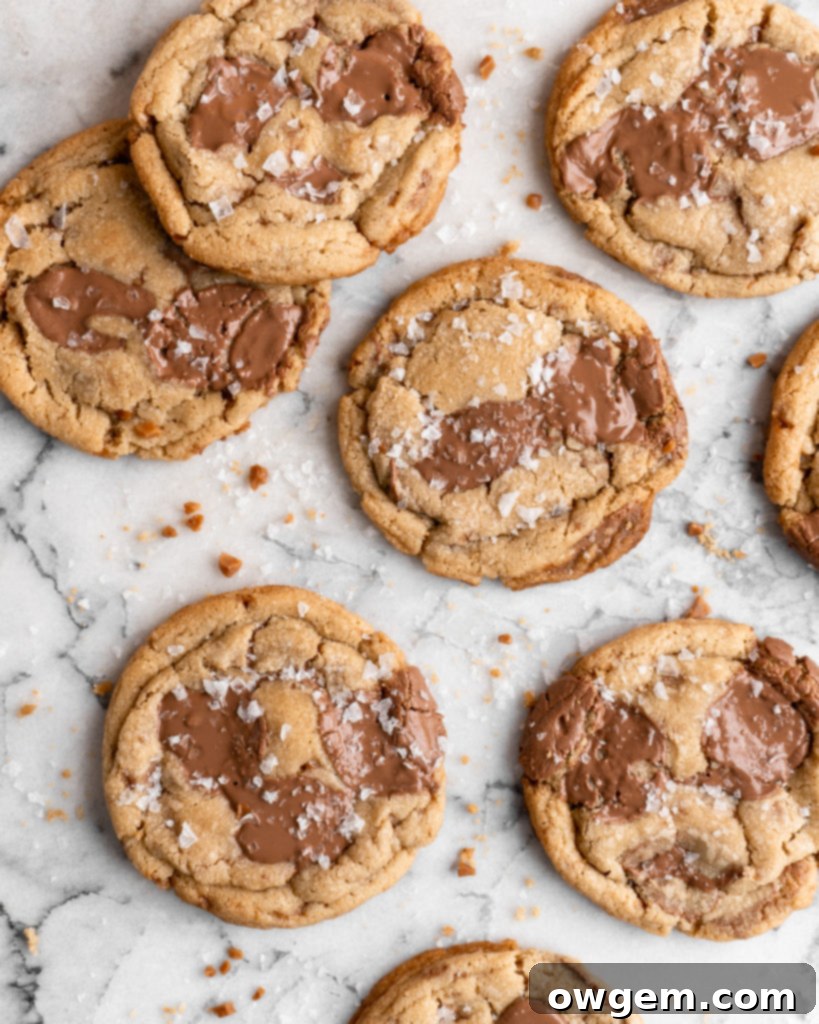
Understanding Skor Bits: The Secret to Irresistible Toffee Flavor
For those unfamiliar, Skor is a popular brand of chocolate bar, essentially a delectable slab of buttery toffee generously coated in a rich milk chocolate. Therefore, Skor bits, or Skor pieces, are simply smaller, convenient morsels of that same delicious toffee, often without the chocolate coating, making them ideal for baking. These little nuggets are game-changers in cookie recipes, delivering an intense, buttery caramel flavor and a delightful textural contrast.
Finding Skor bits for your baking adventures is usually quite easy. I personally found mine at a bulk food store, often labeled as “toffee bits” or “chocolate-covered toffee bits” if they contain a chocolate coating. Reputable brands like Chipits also offer their own versions of toffee bits specifically designed for baking. For those who prefer the convenience of online shopping, you can often find various brands of toffee bits readily available on platforms like Amazon. If Skor bits are unavailable, you can also consider chopping up a plain toffee bar or even making your own homemade toffee and crushing it, though the convenience of pre-made bits is undeniable. The key is to get that pure, deep caramel essence to truly make these cookies shine.
Crafting Your Perfect Toffee Milk Chocolate Chip Cookies: A Step-by-Step Guide
Creating these utterly delicious toffee milk chocolate chip cookies is a straightforward process, designed for both novice and experienced bakers alike. The magic lies in a few key steps that ensure a perfectly chewy texture and an explosion of flavor. Below, we’ll walk through the essential stages of bringing these treats to life, offering insights into why each step is crucial for achieving cookie perfection. For precise measurements and detailed instructions, be sure to consult the comprehensive recipe card further down this page.
1. Beat Sugars and Butter: This initial step is fundamental for the cookie’s texture. By creaming together both brown and white sugars with softened butter in a stand mixer, you’re incorporating air into the mixture. This process, known as creaming, creates tiny air pockets that will expand during baking, resulting in a lighter, fluffier, and ultimately chewier cookie. Beat until the mixture is visibly lightened in color and significantly fluffy, typically taking about 3-5 minutes to achieve this ideal consistency.
2. Add Eggs, Yolk, and Vanilla: Eggs contribute moisture, structure, and richness to the dough. The addition of an extra egg yolk is a secret weapon for chewiness, as the yolk’s fat and emulsifiers enrich the dough without adding too much liquid that could lead to a cakey texture. Vanilla extract, of course, enhances all the other flavors, adding a warm, aromatic depth. Beat these wet ingredients into the creamed butter and sugar until everything is thoroughly combined, ensuring a homogenous base for your cookies.
3. Add Dry Ingredients: In a separate bowl, whisk together your all-purpose flour, baking soda, and salt. Whisking ensures that the leavening agent (baking soda) and salt are evenly distributed throughout the flour, preventing pockets of unmixed ingredients and promoting uniform rising. Once combined, gradually add this dry mixture to your wet ingredients in the stand mixer. Mix on low speed *just until combined*. Overmixing at this stage develops the gluten in the flour, which can lead to tough, dense cookies. A light hand here is key to maintaining that tender, chewy texture.
4. Incorporate Chocolate & Skor Pieces: This is where the stars of the show come in! Gently fold the milk chocolate chips and Skor toffee bits into your cookie dough using a spatula. Folding, rather than beating, ensures the mix-ins are evenly distributed without overworking the dough. The milk chocolate will provide pockets of creamy sweetness, while the Skor bits will deliver those delightful bursts of rich, buttery caramel that define these cookies.
5. Scoop, Freeze, then Bake: Once your dough is ready, scoop uniform portions onto a prepared baking sheet. The critical step here is to place the scooped dough into the freezer for at least 30 minutes. This chilling period is non-negotiable for achieving the perfect cookie texture (and we’ll delve deeper into why below!). After chilling, arrange the cookies on baking sheets, ensuring adequate space for spreading, then transfer them to a preheated oven to bake until golden and just set at the edges, leaving the centers wonderfully soft and chewy.
The Science of Chilling: Why Resting Your Cookie Dough is Essential
I understand the overwhelming temptation to immediately bake these delightful toffee milk chocolate chip cookies once the dough is mixed – after all, who wants to wait for warm, fresh cookies? However, it is truly crucial to grant the cookie dough a short, yet impactful, 30-minute resting period in the freezer. This chilling step, far from being optional, offers a multitude of advantages that profoundly impact the final texture, flavor, and appearance of your cookies. Skipping this step often results in flat, overly spread cookies, robbing them of their intended chewiness and rich taste.
Firstly, chilling allows the fats in the dough (specifically the butter) to solidify and cool down. When cold dough enters a hot oven, the butter takes longer to melt and spread. This delayed melting means the cookies retain their shape much better and spread out significantly less, contributing to that desirable thick, chewy texture. Without chilling, the butter would melt too quickly, causing the cookies to spread into thin, crispy discs.
Furthermore, resting the dough provides an opportunity for the flour and sugar to fully absorb any free-floating liquid within the mixture. This absorption process leads to a more uniform and cohesive dough structure, which in turn helps to control spread and ensures a consistent cookie every time. Think of it this way: more free-floating liquid equals a runnier dough, which inevitably leads to more spreading in the oven. Chilling also subtly dehydrates the surface of the dough, concentrating the flavors within the cookie. This means a richer, more profound taste profile, as the toffee and chocolate notes become even more pronounced. So, while waiting might be hard, the payoff in perfectly textured, incredibly flavorful cookies is absolutely worth every minute!
Choosing Your Chocolate: Milk, Semi-Sweet, and Beyond
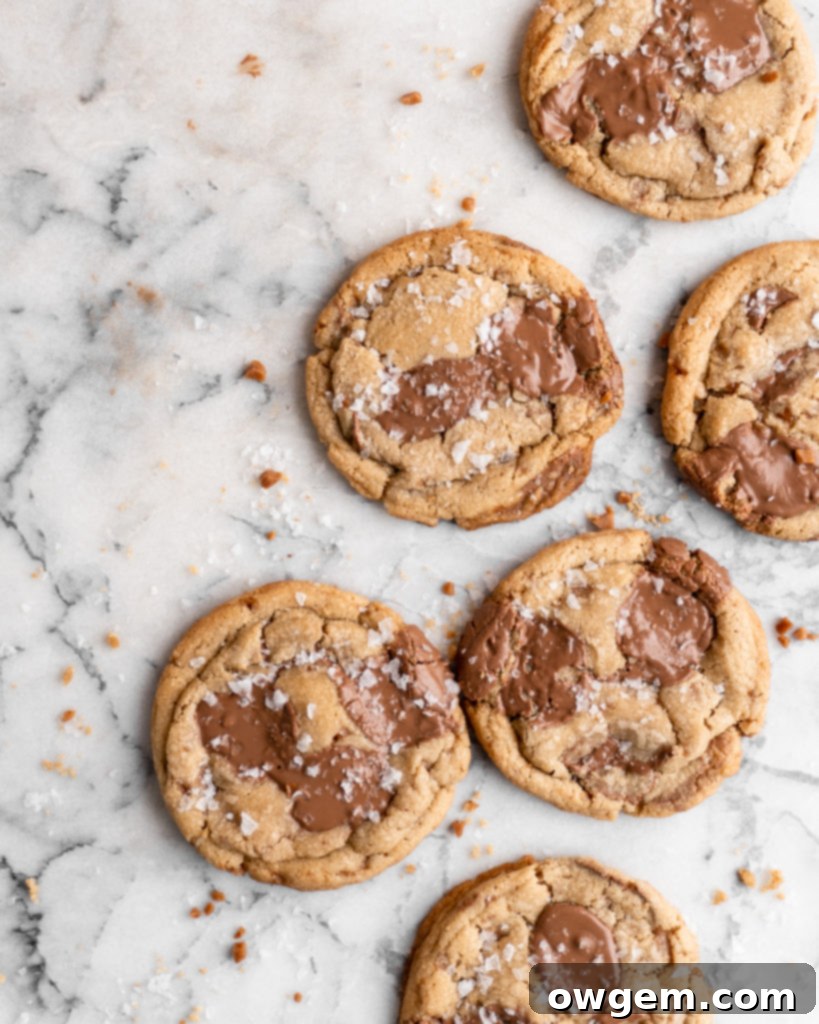
When developing this toffee chocolate chip cookie recipe, milk chocolate was my ingredient of choice, and for good reason! Its creamy texture and sweeter profile beautifully complement the deep, buttery notes of the toffee, creating a truly harmonious flavor combination that appeals to a wide range of palates. The mild sweetness of milk chocolate prevents the cookies from being overly bitter and contributes to that comforting, classic taste profile we all love.
However, baking is all about personal preference, and you should always feel empowered to customize your cookies! If you lean towards a less sweet or more robust chocolate flavor, feel free to substitute regular chocolate chips or even semi-sweet chocolate chips. For an elevated experience and those coveted “chocolate puddles” – pools of melted chocolate that add a luxurious touch – consider using a high-quality chocolate bar and roughly chopping it yourself. Whether it’s milk, semi-sweet, or even a blend of both, chopped chocolate melts more unevenly and beautifully, creating incredible pockets of gooey richness throughout and on top of your cookies. Experiment with your favorites to discover your perfect toffee chocolate chip cookie! Dark chocolate can also be used for a more sophisticated, less sweet cookie, providing a delightful contrast to the intense sweetness of the toffee.
Tips for Baking Flawless Toffee Milk Chocolate Chip Cookies
Achieving cookie perfection often comes down to a few key techniques and understanding your ingredients. Here are some essential tips to ensure your Toffee Milk Chocolate Chip Cookies turn out flawlessly every single time:
- Proper Flour Measurement: This is arguably the most common mistake in baking. Too much flour results in dry, crumbly cookies. Always use the “spoon and level” method: gently spoon flour into your measuring cup until it overflows, then level it off with a straight edge (like the back of a knife). Do not scoop directly from the bag or pack it down, as this compacts the flour and adds significantly more than intended. For ultimate accuracy, weighing your flour is always recommended (1 cup of all-purpose flour typically equals 120-125 grams).
- Room Temperature Ingredients: Ensure your butter and eggs are at true room temperature. Softened butter creams smoothly with sugar, incorporating air for a lighter texture. Cold butter won’t cream properly, and cold eggs can cause the butter mixture to seize, leading to a lumpy dough and affecting the final texture. Plan ahead and take them out of the fridge at least 30-60 minutes before baking.
- Don’t Overmix the Dough: Once you add the dry ingredients to the wet, mix only until just combined. Overmixing develops gluten, which leads to tough, dense cookies. A few streaks of flour are perfectly fine and will disappear during baking.
- Even Scooping: Use a cookie scoop (about 2 tablespoons) to ensure all your cookies are roughly the same size. This promotes even baking, so you don’t end up with some burnt and some undercooked.
- Know Your Oven: Ovens can vary significantly in temperature. An oven thermometer is an inexpensive tool that can save your baking. If your oven runs hot or cold, adjust the temperature accordingly. Hot spots can also exist, so rotating your baking sheets halfway through the baking time can ensure uniform browning.
Storage and Serving Suggestions
Once your incredible Toffee Milk Chocolate Chip Cookies are baked and cooled, you’ll want to ensure they stay fresh and delicious for as long as possible. Properly stored, these cookies can be enjoyed for days!
- Storing Baked Cookies: Store cooled cookies in an airtight container at room temperature for up to 3-4 days. To keep them extra soft, you can add half a slice of bread to the container; the cookies will absorb moisture from the bread.
- Freezing Baked Cookies: For longer storage, baked cookies can be frozen for up to 3 months. Once completely cooled, arrange them in a single layer on a baking sheet to freeze solid, then transfer them to a freezer-safe bag or container, separating layers with parchment paper. Thaw at room temperature when ready to enjoy.
- Freezing Cookie Dough: You can also freeze portions of unbaked cookie dough! Scoop the dough as directed, then freeze the individual dough balls on a baking sheet until solid. Transfer to a freezer-safe bag and store for up to 3 months. When ready to bake, you can bake directly from frozen, adding a couple of extra minutes to the baking time. This is perfect for fresh, warm cookies on demand!
- Serving Suggestions: These cookies are absolutely divine on their own, perhaps with a glass of cold milk or a hot cup of coffee. For an extra indulgent treat, serve them warm with a scoop of vanilla bean ice cream, allowing the melting ice cream to mingle with the soft, chewy cookie. They also make a fantastic addition to any dessert platter or as a thoughtful homemade gift.
Why These Toffee Milk Chocolate Chip Cookies Stand Out
In a world full of cookie recipes, these Toffee Milk Chocolate Chip Cookies carve out a special place due to their exceptional balance of flavors and textures. They’re not just another cookie; they’re a carefully crafted treat that delivers on every front. The golden, slightly crisp edges give way to an incredibly soft, chewy interior, a texture often sought after but rarely perfected. The generous inclusion of real toffee pieces provides bursts of rich, buttery caramel goodness that perfectly complements the creamy, sweet indulgence of milk chocolate chips. Every ingredient plays a crucial role, from the blend of sugars to the essential chilling period, all contributing to a cookie that’s profoundly satisfying and utterly unforgettable. If you’re looking for a dessert that combines classic comfort with a touch of gourmet flair, look no further – these cookies are destined to become a staple in your recipe repertoire.

Get the Recipe:
Toffee Milk Chocolate Chip Cookies
Pin
Rate
Ingredients
- 2 ½ cups (300 g) All Purpose Flour,, measured correctly †
- 1 tsp Baking Soda
- 1 tsp Salt
- 1 cup Unsalted Butter,, at room temperature
- 1 cup Dark Brown Sugar
- ½ cup White Sugar
- 2 Large Eggs
- 1 Egg Yolk
- 2 tsp Vanilla
- 1 cup Milk Chocolate Chips or Roughly Chopped Milk Chocolate
- 3/4 cup Skor Bits
Equipment
-
Stand mixer
Instructions
-
In a medium to large sized bowl, add in flour, baking soda, and salt. Whisk well to combine, then set aside.
-
In a stand mixer (fitted with the paddle attachment), add the butter, brown sugar, and white sugar, and beat for 3 minutes, it should look light and fluffy, and doubled in volume
-
In a separate bowl, whisk together the eggs, yolk and vanilla, then add to the batter and beat on high for another 2 minutes, scraping at the edges periodically. Add in the flour mixture and mix on low until combined, scraping at the edges. Ensure it is well combined, but do not overmix. Add in the milk chocolate and Skor bits, and fold with a spatula until well dispersed.
-
Prepare a baking sheet with parchment paper. Using your hands or a scoop, arrange cookies to be about 2 tbsp each. Place all the cookies onto the baking sheet (do not worry about arrangement yet), and place into the freezer for 30 minutes to rest (don’t skip, see above!)
-
Preheat oven to 350°F.
-
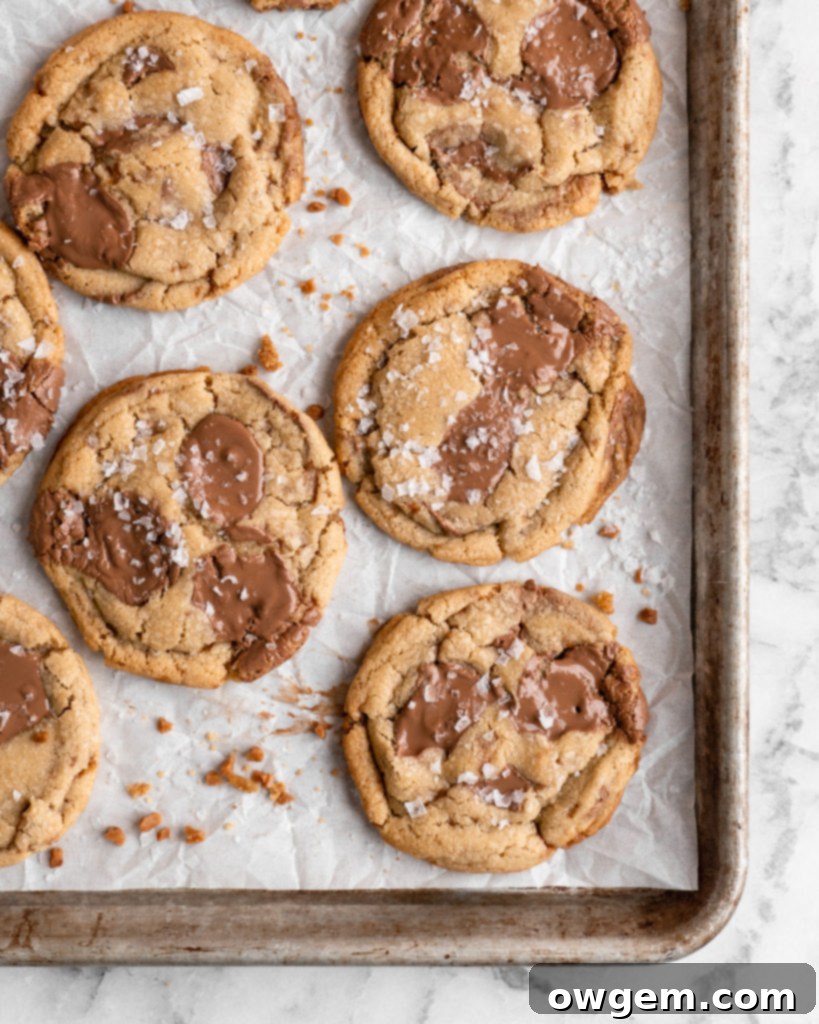
Remove baking sheet from the freezer, and arrange cookies evenly onto 3 baking sheets fitted with parchment paper (I do 6-8 per sheet). Place into the oven and bake for 11-13 minutes.
-
Note: If baking in batches, keep cookies cold before baking by keeping them in the fridge.
