Irresistible S’mores Hand Pies: Your Guide to Flaky Pastry, Rich Chocolate, and Toasted Marshmallow Bliss
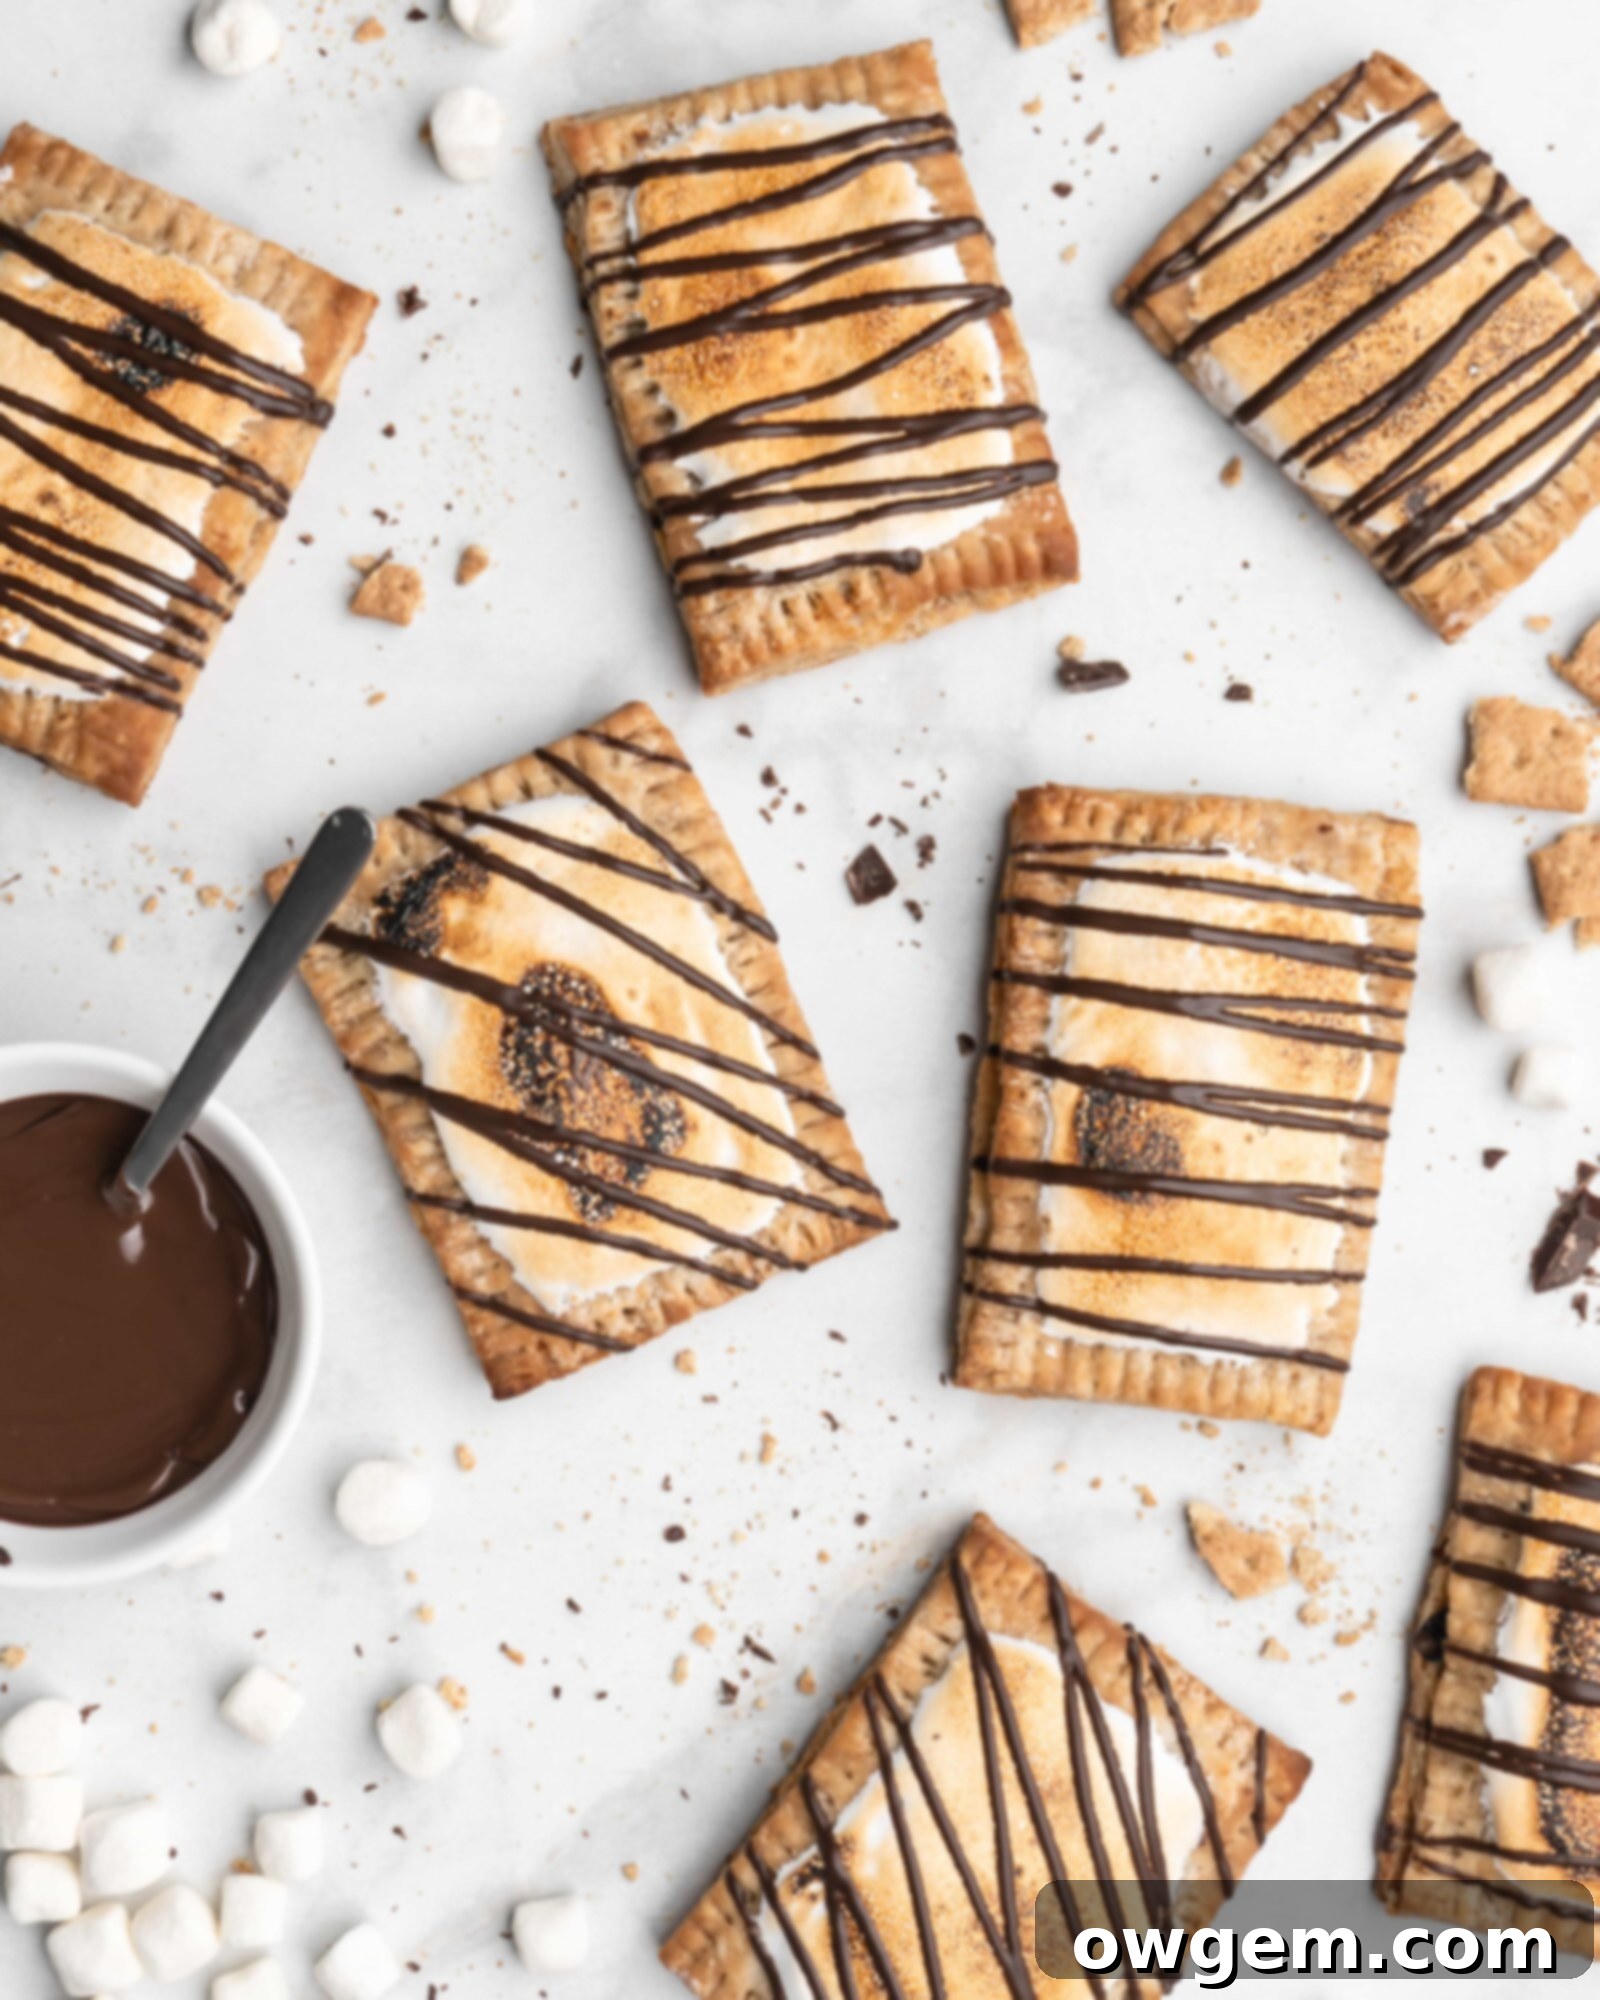
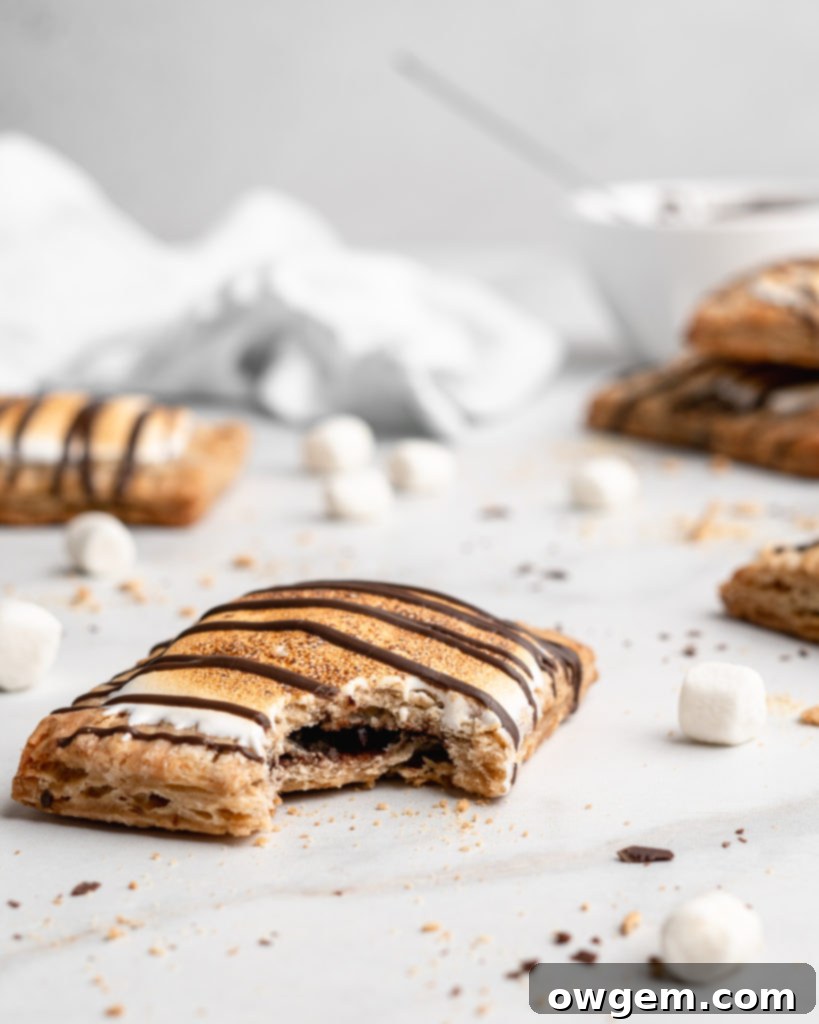
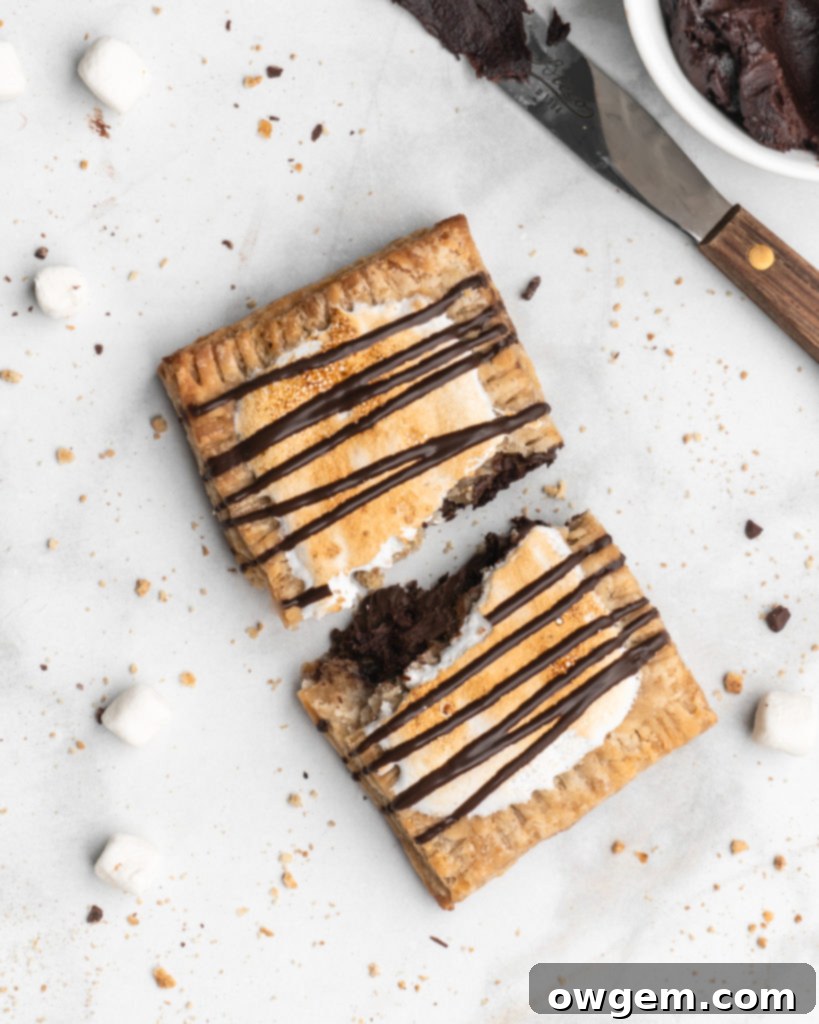
Step into a world where nostalgic campfire flavors meet gourmet pastry artistry with these incredible S’mores Hand Pies. For many of us, the iconic S’mores Pop-Tart was a cherished childhood treat, a convenient square of chocolatey, marshmallowy goodness. But what if you could elevate that experience, transforming it into a sophisticated, homemade delight that truly captures the essence of a freshly toasted s’more? That’s precisely what these S’mores Hand Pies achieve. Imagine a golden-brown, exquisitely flaky pastry that crumbles delicately with every bite, infused with the subtle, sweet molasses notes of graham crackers. Nestled within this delightful crust is a luscious, velvety milk chocolate fudge filling, reminiscent of molten chocolate squares. And crowning it all? A cloud of marshmallow fluff, perfectly torched to a golden, caramelized perfection, bringing that quintessential campfire aroma and taste right to your kitchen. These aren’t just hand pies; they are a celebration of flavor and texture, a grown-up rendition of a beloved classic that promises to enchant your taste buds and impress any guest.
Crafting the Perfect Graham Cracker Pie Dough
The foundation of any exceptional hand pie is its crust. For our S’mores Hand Pies, we’re aiming for nothing less than perfection: a crust that’s incredibly flaky, wonderfully tender, rich with buttery flavor, and subtly sweet. Achieving this requires not only the right ingredients but also a precise technique that respects the delicate nature of pastry. This graham cracker infused dough will be the perfect complement to our rich chocolate filling and airy marshmallow topping, creating a truly harmonious dessert experience.
Essential Ingredients for a Flaky Crust
Two non-negotiable elements for a truly flaky pie dough are **cold butter** and **cold water**. Just like when you’re making light and airy scones or tender biscuits, the secret to those coveted layers lies in the butter’s temperature. When cold butter hits the hot oven, the tiny pockets of water locked within it rapidly convert into steam. This steam then pushes against the layers of dough, creating those distinctive, airy pockets and a beautifully flaky texture. If your butter is too warm, it melts into the flour too quickly, resulting in a dense, tough crust. Similarly, cold liquid is crucial because it prevents the butter from warming up prematurely during the mixing process, preserving its integrity and ensuring optimal flakiness. We also incorporate finely sifted graham cracker crumbs directly into the dough, which imparts that characteristic s’mores flavor and a delightful, slightly sandy texture, making the crust uniquely tailored to this dessert.
Now, for a slightly unconventional, yet incredibly effective ingredient: **vodka**. Yes, you read that correctly – vodka! The brilliance of using vodka in pie dough lies in its ability to inhibit gluten formation. Gluten, while essential for structure, can lead to a tough and chewy crust if overdeveloped. Water is the primary activator of gluten in flour. By substituting a portion of the water with vodka, we significantly reduce the overall water content (vodka typically contains 40% ethanol and 60% water). The alcohol quickly evaporates during baking, leaving behind an incredibly tender crust without imparting any noticeable flavor. However, balance is key; too much vodka can affect the dough’s consistency and handling. Therefore, a 50% water and 50% vodka mixture is my preferred ratio, offering the perfect balance of tenderness and workability.
Mastering Pie Dough Technique
Beyond ingredients, the secret to an exquisite pie dough lies in mindful technique, particularly minimal handling. Overworking the dough is the enemy of flakiness and tenderness. Excessive handling can cause the cold butter to melt prematurely into the flour, which will result in a dense, tough crust rather than one that’s light and ethereal. Similarly, kneading the dough too much encourages the development of gluten, leading to a chewy, less desirable texture. The goal is to work the dough just enough for it to come together into what bakers call a “shaggy dough” – a cohesive but still somewhat crumbly mass. Once this stage is reached, resist the urge to knead further. Gently press the shaggy dough into a flat disk shape, wrap it tightly in plastic wrap, and then chill it in the refrigerator for at least an hour. This chilling period is crucial; it allows the butter to firm up again, the gluten to relax, and the dough to become much easier to roll out. After chilling, remove the dough from the fridge and let it sit on the counter for a mere 3-4 minutes to soften ever so slightly, making it pliable enough to roll without cracking, but still cold enough to maintain its flaky potential.
Preparing the Irresistible Milk Chocolate Filling
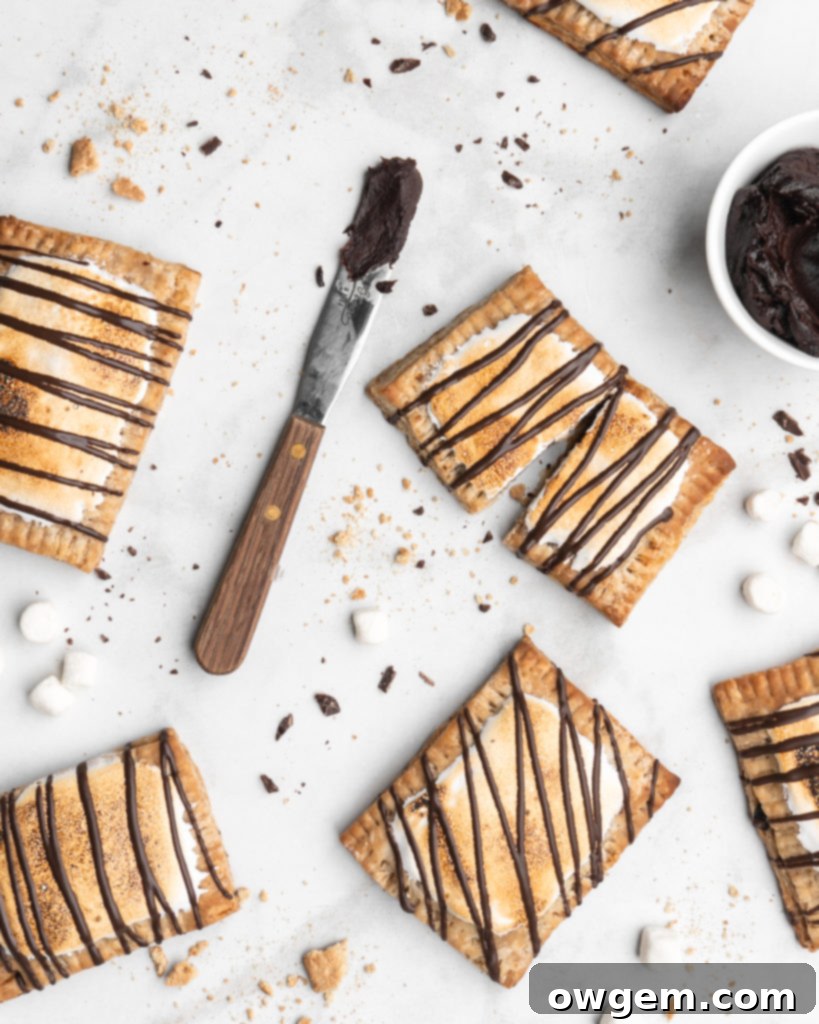
No S’mores Hand Pie would be complete without a rich, decadent chocolate core. Our milk chocolate filling is designed to be gooey and intensely chocolatey, perfectly complementing the graham cracker pastry and toasted marshmallow. To prepare this delightful fudge-like filling, begin by combining whole milk, granulated sugar, and sifted cocoa powder in a small saucepan. Whisk these ingredients together thoroughly over medium heat until the mixture is smooth and just begins to simmer around the edges. This gentle heating helps to dissolve the sugar and bloom the cocoa powder, enhancing its flavor. Once simmering, immediately remove the saucepan from the heat. Now, stir in your finely chopped milk chocolate and melted unsalted butter. Give it a light stir and then set it aside, allowing the residual heat from the milk mixture to slowly melt the chocolate. After about 5 minutes, return to the mixture and whisk it vigorously until it is completely smooth, glossy, and beautifully combined. The mixture will be quite fluid at this stage, but don’t worry. Set it aside to cool completely to room temperature. As it cools, it will thicken to a perfect spreadable consistency, ideal for filling our hand pies without making the pastry soggy. This ensures a rich, fudgy bite that ties all the S’mores elements together.
Assembling Your S’mores Hand Pies: Step-by-Step
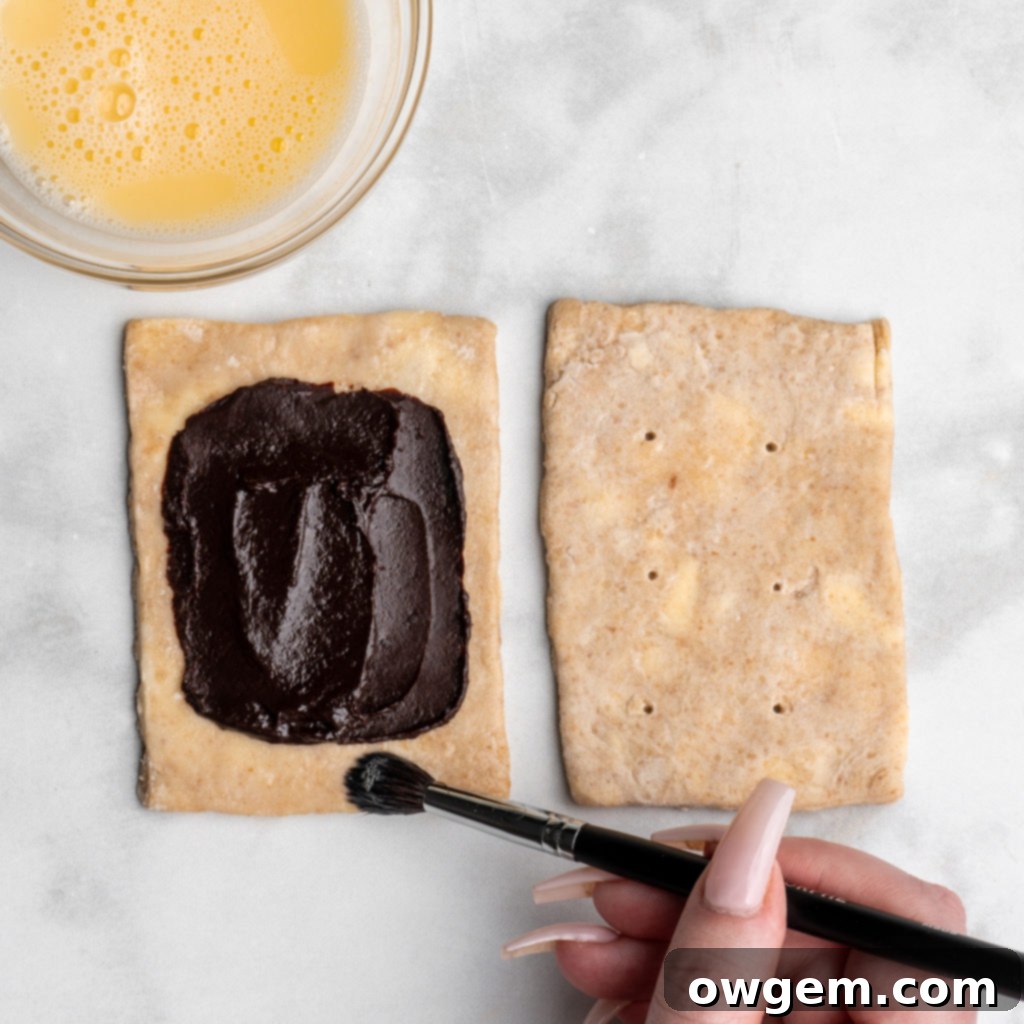
With our flaky graham cracker dough chilled and our velvety chocolate filling cooled, it’s time for the exciting assembly phase! This is where your individual hand pies truly come to life. First, on a lightly floured surface, roll out your chilled pie dough to an even thickness, aiming for approximately 1/8” to 1/16″. The goal is to create as perfect a rectangle as possible to minimize waste. Using a sharp knife or a pastry wheel, carefully cut the dough into 16 equal-sized rectangles, roughly 3” by 4” each. Consistency in size will ensure even baking. Now, divide your rectangles into two groups: eight “tops” and eight “bottoms.” On each of the ‘top’ rectangles, use a fork or skewer to poke several small holes across the surface. These perforations are crucial as they act as vents, allowing steam to escape during baking and preventing the pies from puffing up excessively or bursting. Along the borders of these ‘top’ rectangles, brush a thin layer of egg wash (a whisked egg with a splash of water or milk) – this will help create a strong seal.
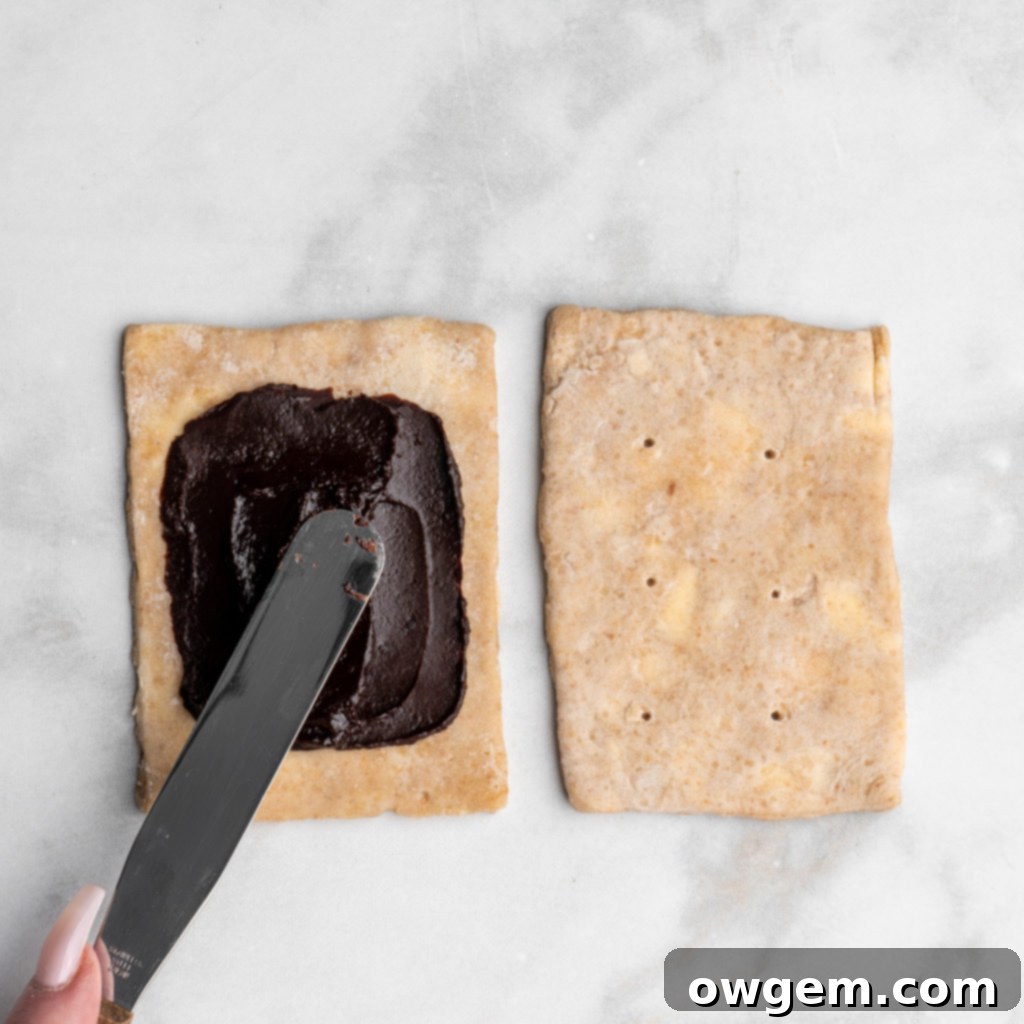
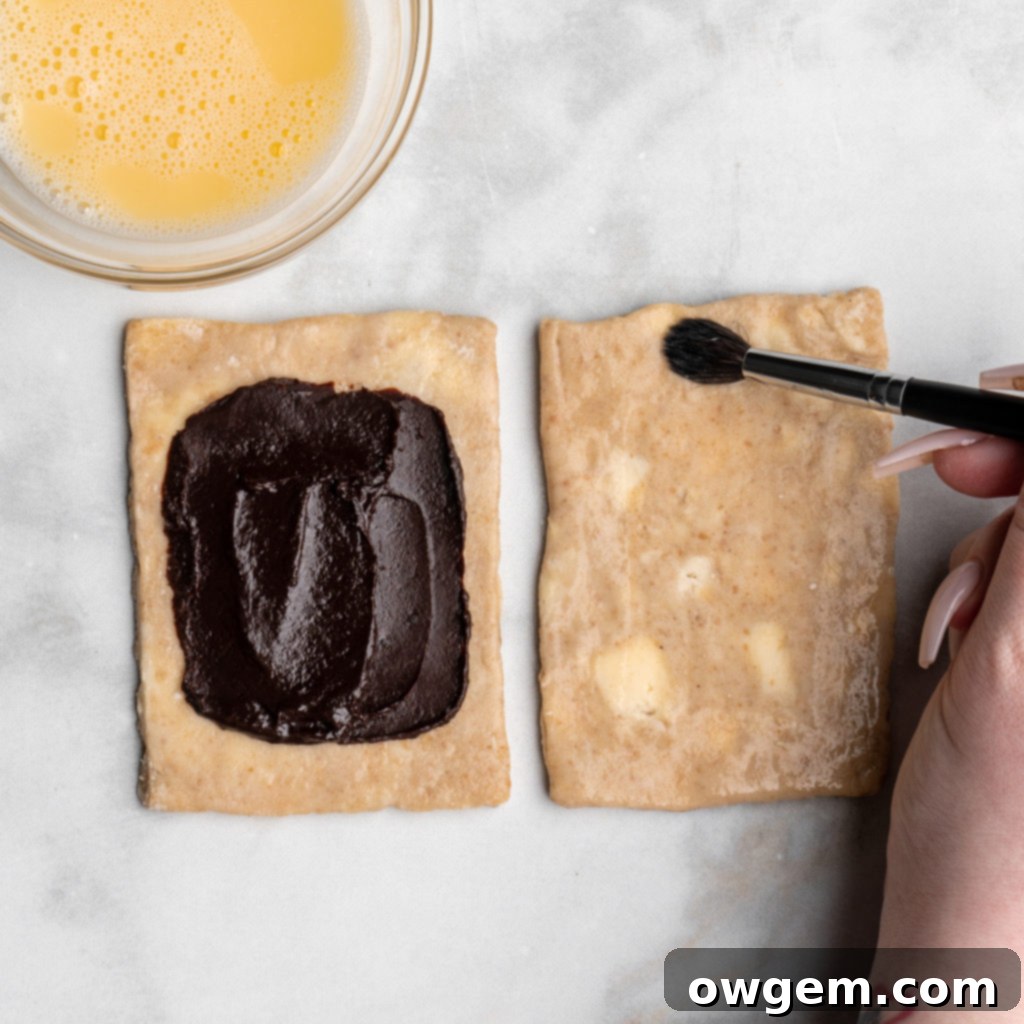
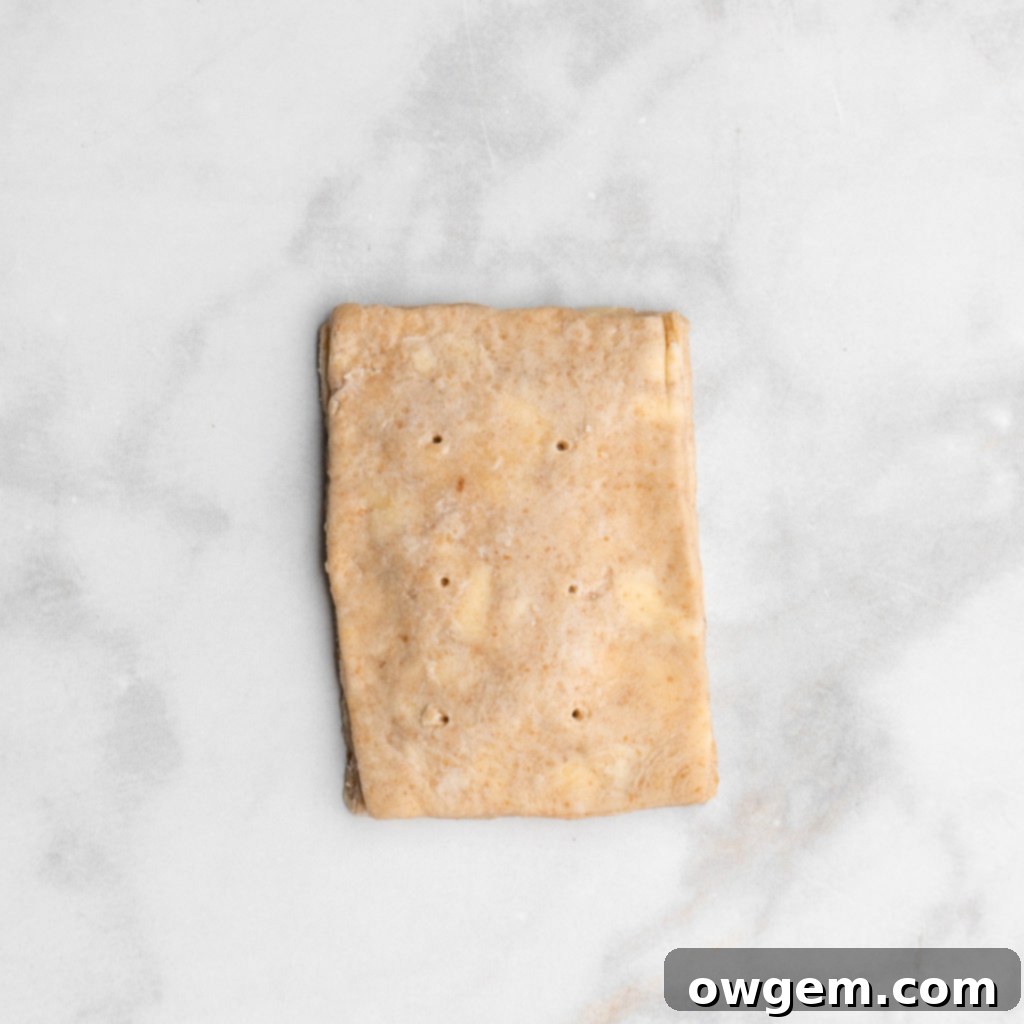
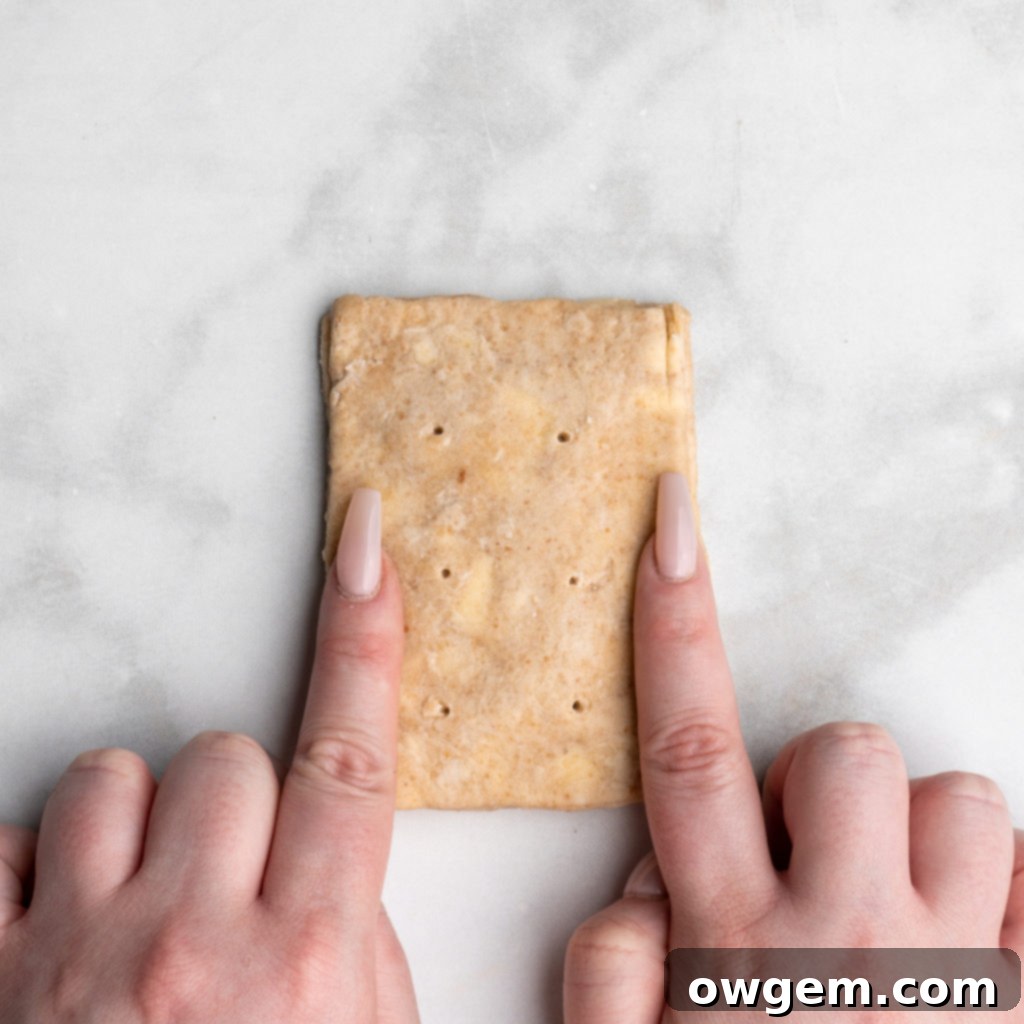
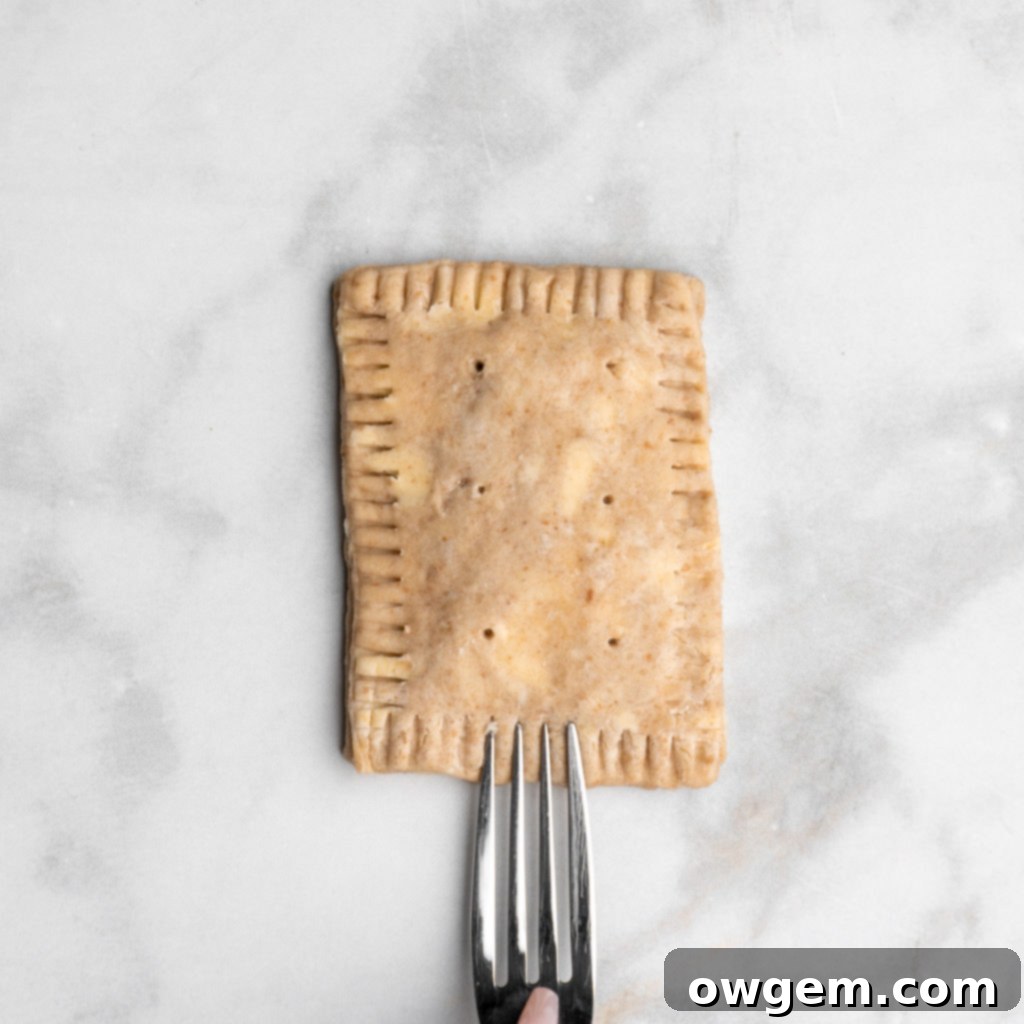
Next, turn your attention to the ‘bottom’ rectangles. Spoon a generous tablespoon of the cooled chocolate filling onto the center of each ‘bottom’ piece. Gently spread the filling out, being careful to leave a clear 3/4″ border all around the edges. This border is essential for a proper seal. Brush egg wash around this chocolate-free border on each ‘bottom’ rectangle. Now, carefully place a prepared ‘top’ rectangle onto each ‘bottom’ rectangle, aligning the edges. Using your fingers, firmly press down along all the edges to seal the two pieces of dough together. Once the initial seal is made, grab a fork and crimp the edges all the way around. This not only creates a decorative finish but, more importantly, reinforces the seal, preventing any delicious chocolate filling from escaping during baking. This meticulous sealing ensures a perfectly contained and beautiful S’mores Hand Pie.
-

Spread chocolate filling, leaving 3/4″ border -

Add egg wash around border of ‘bottom’ -

Add egg wash around the border of the ‘top’. -

Place ‘top’ onto ‘bottom’. -

Seal edges by pressing them down with fingers. -

Crimp edges with fork.
A little extra step that makes a significant difference: after assembling, I highly recommend placing your S’mores Hand Pies into the freezer to chill for an additional hour. This vital step further enhances the flakiness of the pastry. The butter solidifies even more, ensuring it holds its structure beautifully in the hot oven and creates those desirable layers. Moreover, chilling helps the hand pies maintain their perfect rectangular shape during baking, preventing any spreading or warping. Don’t skip this!
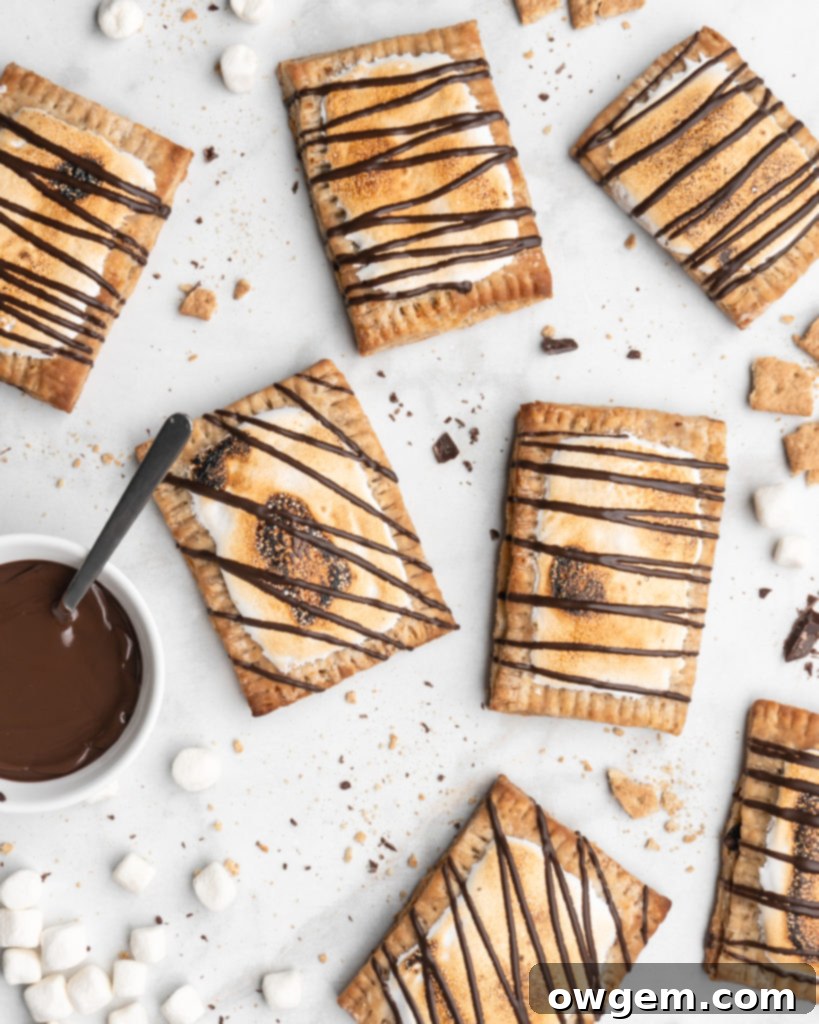
Once your hand pies are perfectly chilled, it’s time for the grand finale: baking and topping! Preheat your oven to 400°F (200°C). Arrange the cold hand pies on a parchment-lined baking sheet and bake for approximately 20 minutes, or until their crusts are beautifully golden brown and the filling is bubbly. As soon as they emerge from the oven, while still piping hot, generously spread a layer of marshmallow fluff on top of each hand pie. The warmth of the pastry will slightly melt the fluff, making it easy to spread. For that authentic s’mores experience, brulee the marshmallow fluff to a perfect golden-brown with a kitchen torch. The caramelization adds a delightful depth of flavor and texture. If you don’t have a kitchen torch, you can achieve a similar effect by placing the hand pies under the broiler in your oven. Just be sure to watch them *constantly* – marshmallows can go from golden to burnt in a matter of seconds! Keep a vigilant eye to prevent any unfortunate burning, ensuring your S’mores Hand Pies are toasted to perfection.
Get the Recipe:
S’mores Hand Pies
Pin
Rate
Ingredients
Graham Cracker Pastry Dough
- 2 cups Cold Unsalted Butter, cubed
- 2 ½ cups (320g) All-Purpose Flour
- 3/4 cup (160g) Sifted Graham Cracker Crumbs
- 1/4 cup White Sugar
- Pinch of Salt
- 4 tbsp Vodka,, well chilled
- 4-6 tbsp Ice Water
Milk Chocolate Filling
- 1/4 cup Whole Milk
- 1/4 cup White Sugar
- 1/4 cup Cocoa Powder,, sifted
- 100 g Milk Chocolate,, finely chopped
- 3 tbsp Unsalted Butter,, melted
Topping & Decoration
- 1 cup Marshmallow Fluff
- 1/4-1/2 cup Chocolate Candy Melts,, melted
Instructions
Making the Graham Cracker Pie Dough
-
In a small measuring cup, combine the chilled vodka and ice water, then set this liquid aside. In a large mixing bowl, thoroughly whisk together the all-purpose flour, sifted graham cracker crumbs, white sugar, and a pinch of salt to ensure all dry ingredients are evenly distributed. Add the cold, cubed unsalted butter to the flour mixture. Using your hands or a pastry cutter, quickly work the butter into the flour until the mixture resembles coarse crumbs with some pea-sized pieces of butter still visible. The key here is speed to keep the butter as cold as possible.
-
Gradually drizzle in the vodka-water mixture while simultaneously tossing the dough with a fork. Continue adding liquid until the dough just begins to come together. Once all the liquid has been added, gently knead the dough a few times directly inside the bowl until a shaggy, cohesive mass forms. If the dough still seems too dry and crumbly to hold together, add a tiny bit more ice water, one teaspoon at a time, until it just barely forms a shaggy dough. Remember, minimal handling is crucial for tenderness.
-
Gently gather the shaggy dough and form it into a flattened disk shape. Wrap the disk tightly in plastic wrap, then place it into a freezer bag for an extra layer of protection, and chill it in the refrigerator for at least one hour. This allows the butter to firm up and the gluten to relax, making the dough much easier to roll.
-
After chilling, remove the dough from the fridge and let it rest on the counter for about 5 minutes to slightly warm up and become more pliable. Unwrap the dough and place it onto a generously floured work surface. Ensure your surface is well-dusted to prevent sticking.
-
Using a rolling pin, roll the dough out evenly to an approximate thickness of 1/8” to 1/16”. Aim to create a large rectangle as precisely shaped as possible to maximize your yield of hand pies. With a bench scraper or a pizza cutter, carefully cut the rolled-out dough into individual 3×4-inch rectangles. You should get about 16 pieces from this dough.
Making the Milk Chocolate Filling
-
In a small saucepan, combine the whole milk, white sugar, and sifted cocoa powder. Place the saucepan over medium heat. Whisk the ingredients continuously until they are fully combined and smooth, then bring the mixture to a gentle simmer. Immediately remove the saucepan from the heat once it starts simmering. Add the finely chopped milk chocolate and the melted unsalted butter to the hot mixture. Stir lightly with a spatula to just combine, then let it sit undisturbed for 5 minutes. This allows the residual heat to gently melt the chocolate.
-
After the 5-minute resting period, return to the chocolate mixture and whisk it thoroughly until it is completely smooth, glossy, and beautifully emulsified. Set the filling aside and allow it to cool completely to room temperature before you use it. It will thicken considerably as it cools, reaching the perfect fudgy consistency for filling your hand pies.
Filling & Baking
-
Take half of your cut-out dough rectangles, which will serve as the ‘bottoms’ of your hand pies. Scoop a generous heaping tablespoon of the cooled chocolate filling onto the center of each ‘bottom’ piece. Carefully spread the filling out, ensuring you leave a clear 3/4-inch border of dough along all the edges. This border is critical for sealing. Brush this border area with a small amount of water or egg wash to help the top pastry adhere firmly.
-
For the remaining half of your rectangles (the ‘tops’), use a fork or skewer to poke several small holes evenly across the surface of each piece. These holes will act as steam vents during baking. Brush the borders of these ‘top’ rectangles with water or egg wash. Carefully place each ‘top’ pastry piece directly onto a ‘bottom’ piece that has the chocolate filling. Align the edges precisely, then firmly press the two pieces together along their borders with your fingers to create an initial seal. To further secure and decorate, use a fork to crimp the edges all around each hand pie. This crimping creates a robust seal, preventing any filling from leaking out during baking.
-
Preheat your oven to 400°F (200°C). Once all your hand pies are assembled and sealed, place them onto a parchment-lined baking sheet. For optimal flakiness and to ensure they hold their shape perfectly, transfer the entire baking sheet with the hand pies into the freezer for an additional 30 minutes to an hour. This re-chilling step is highly recommended.
-
Remove the well-chilled hand pies directly from the freezer and place the baking sheet into the preheated oven. Bake for approximately 20 minutes, or until the pastry is beautifully golden brown and looks perfectly crisp. Keep an eye on them towards the end of the baking time to prevent over-browning.
Topping & Decoration
-
Immediately after removing the hot hand pies from the oven, generously spread a layer (about 1-2 tablespoons worth) of marshmallow fluff evenly over the top of each hand pie. The warmth will help it soften and spread smoothly. Using a kitchen torch, carefully toast the marshmallow fluff until it achieves a beautiful, golden-brown, caramelized finish, mimicking a perfectly roasted s’more. If you don’t have a torch, you can briefly place the hand pies under the broiler, but watch them *very closely* to prevent burning. Allow the toasted marshmallow to set for about 5 minutes. For an extra touch of indulgence and visual appeal, drizzle the set marshmallow topping with melted chocolate candy melts before serving.
Source: Filling adapted from The Loopy Whisk
