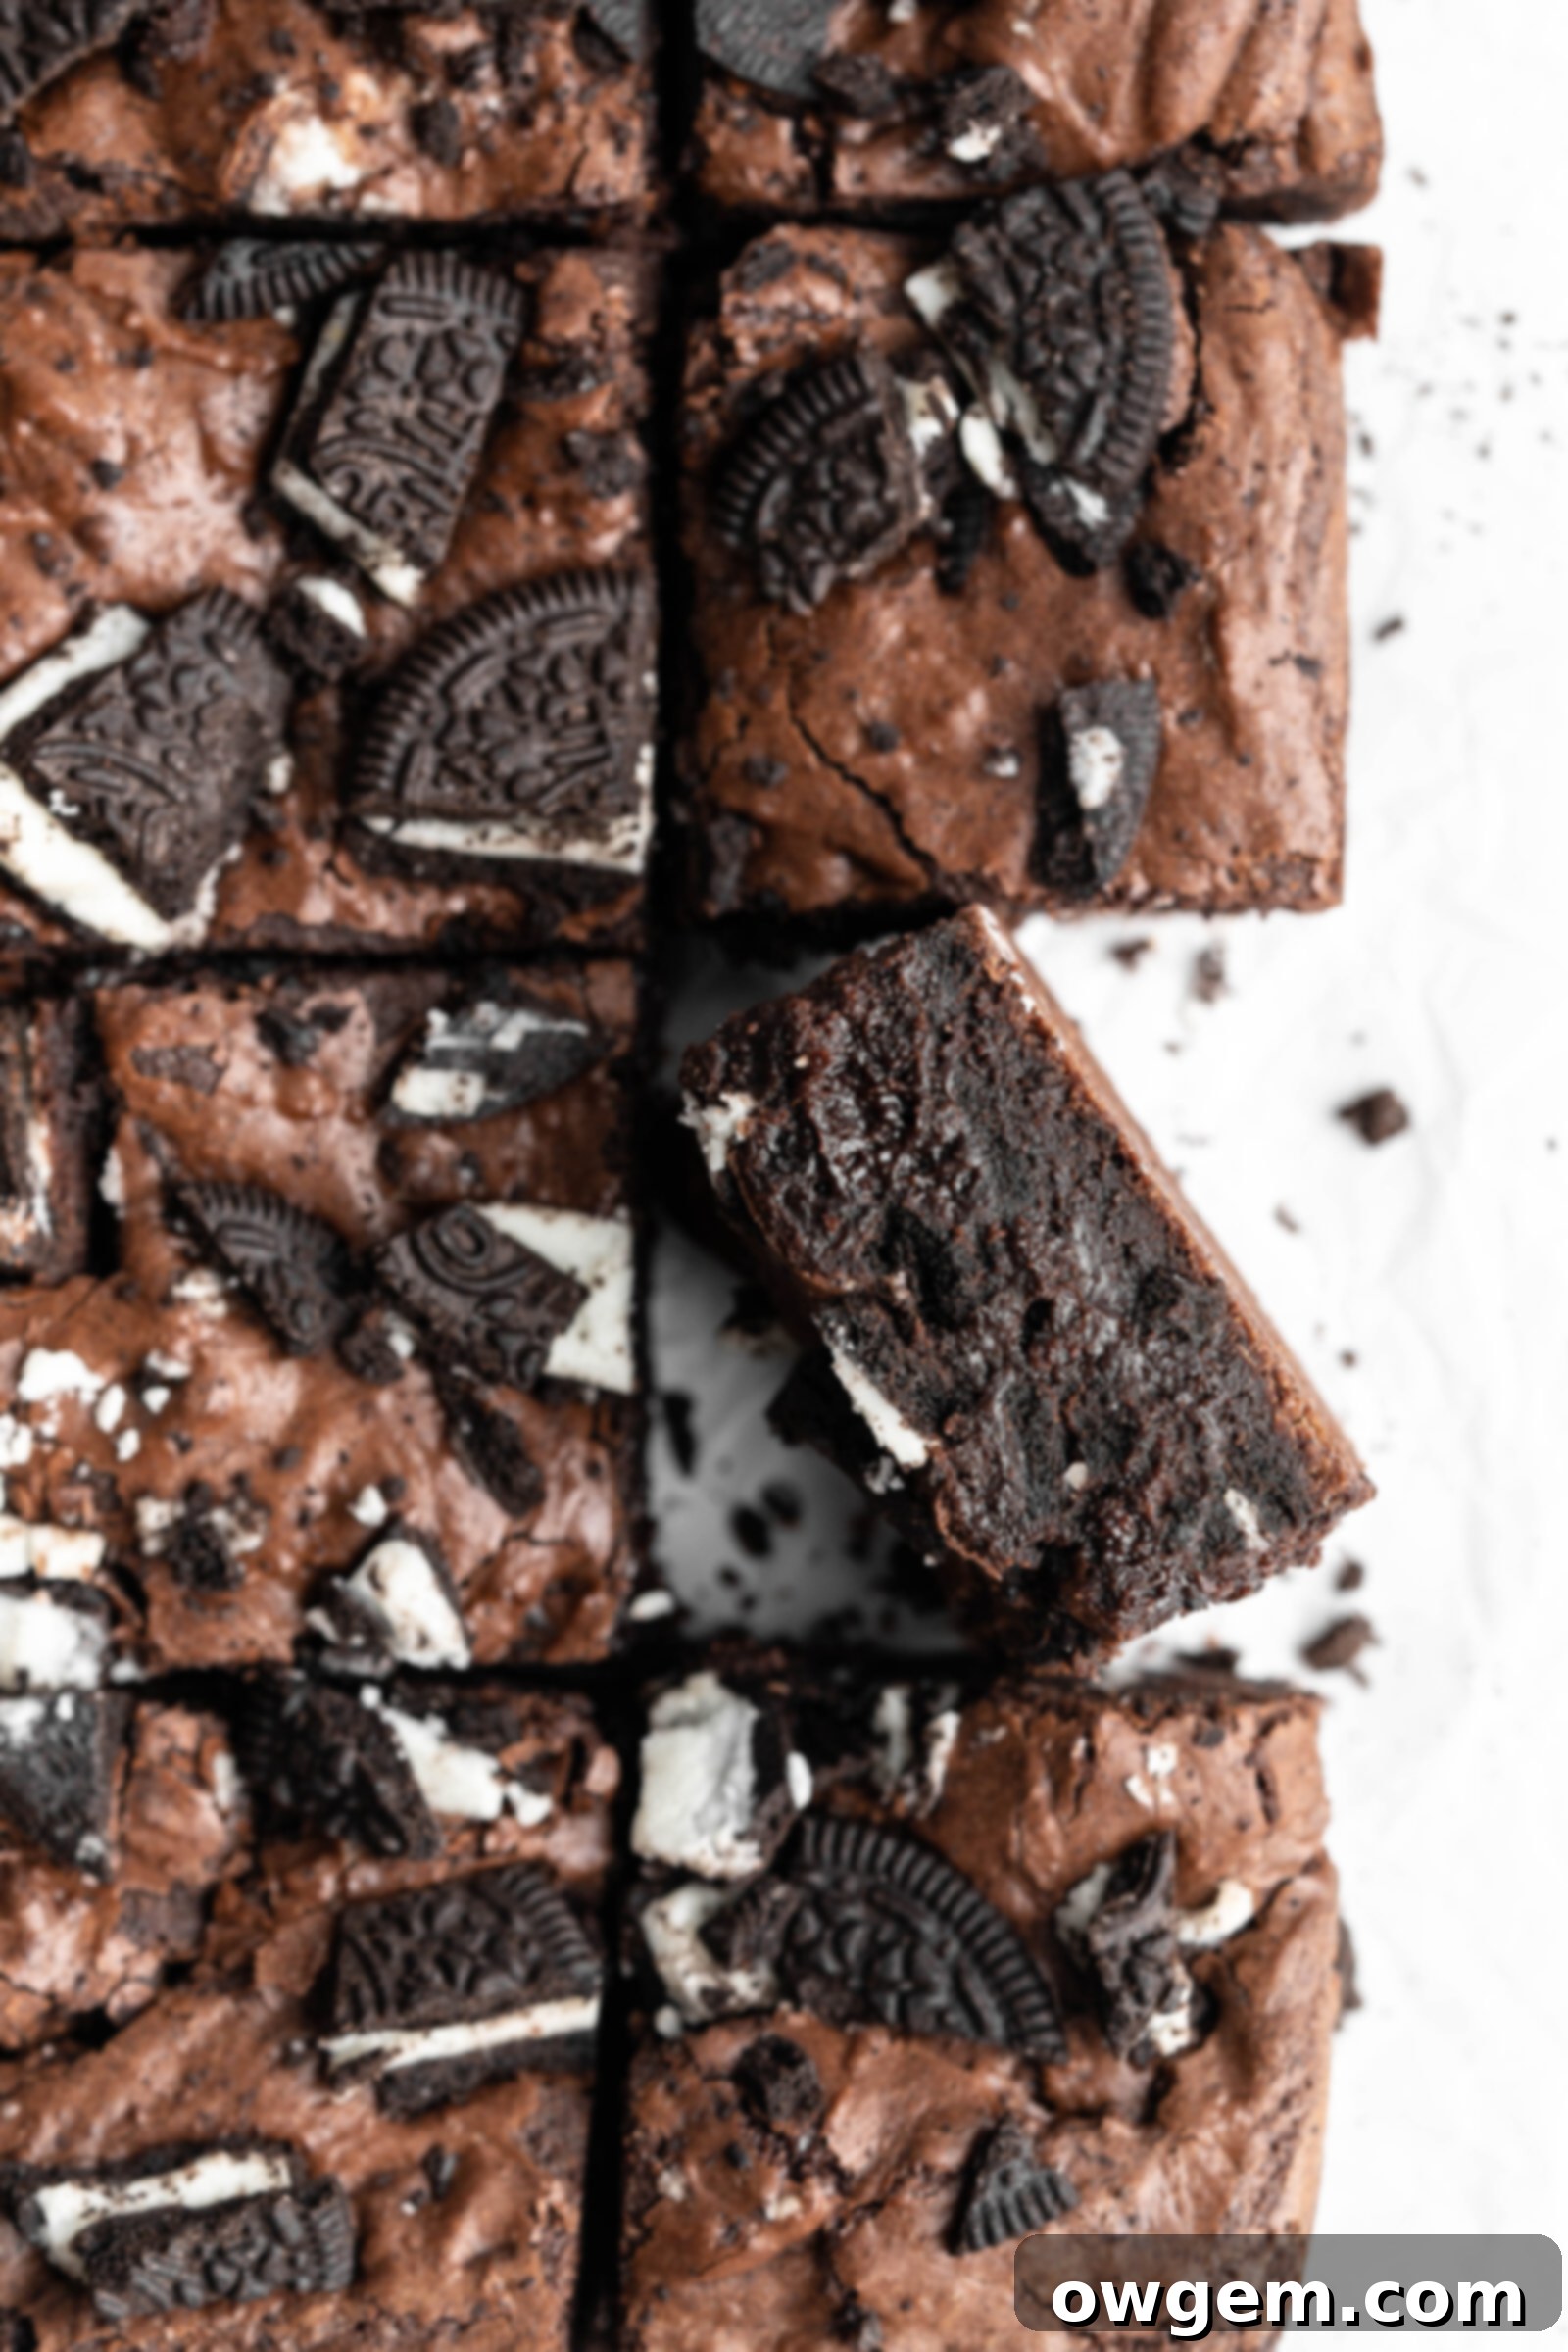
Ultimate Fudgy Oreo SunButter Brownies: The Best Nut-Free Chocolate Dessert
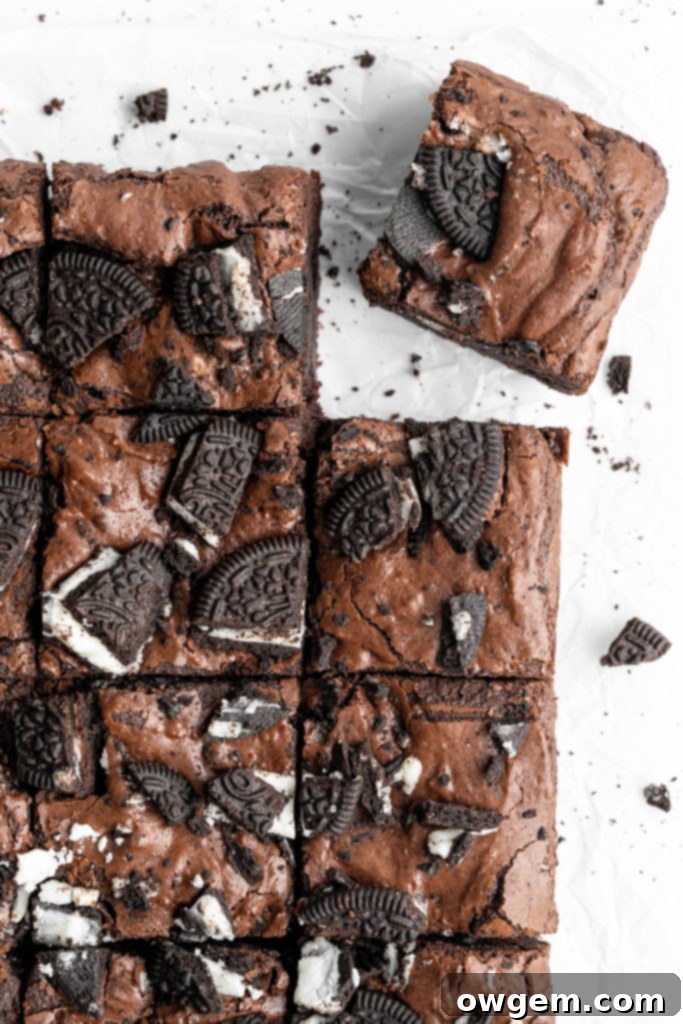
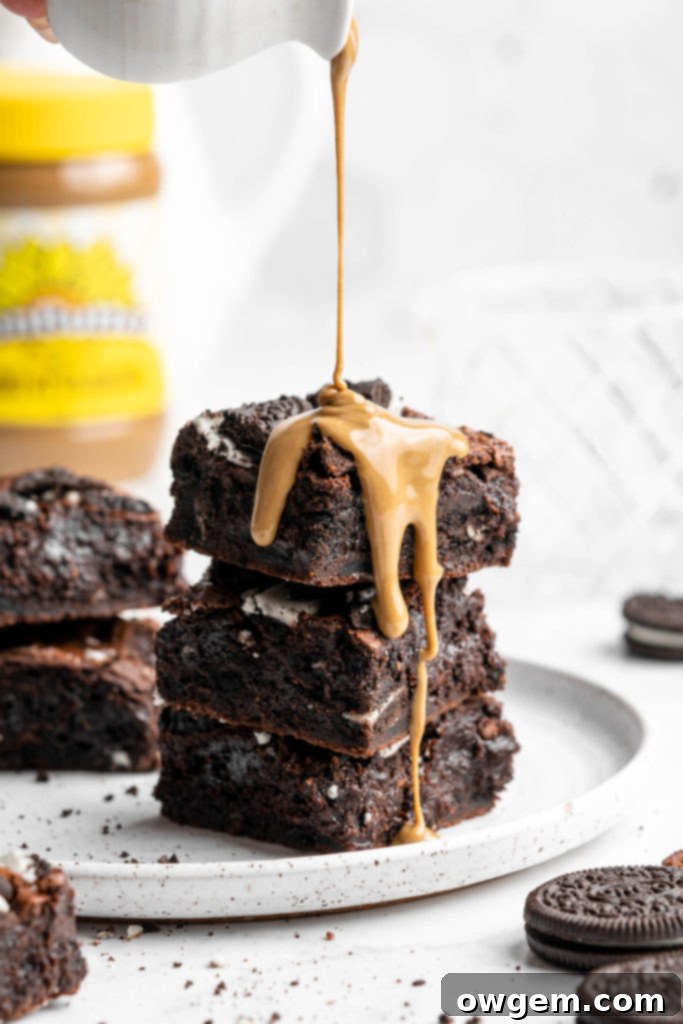
Prepare to be amazed by the most irresistibly fudgy, crinkly-topped, and intensely rich Oreo SunButter Brownies you’ll ever bake! This exceptional recipe takes the beloved concept of classic peanut butter Oreo brownies and elevates it by using SunButter, creating a delightful nut-free dessert that still delivers that incredible, satisfying nutty flavor. Each bite of these melt-in-your-mouth brownies is a symphony of textures and tastes, generously studded with chunks of America’s favorite cookie. If you’re searching for an extraordinary brownie experience that caters to nut allergies without compromising on indulgence, look no further – these are truly the best brownies ever!
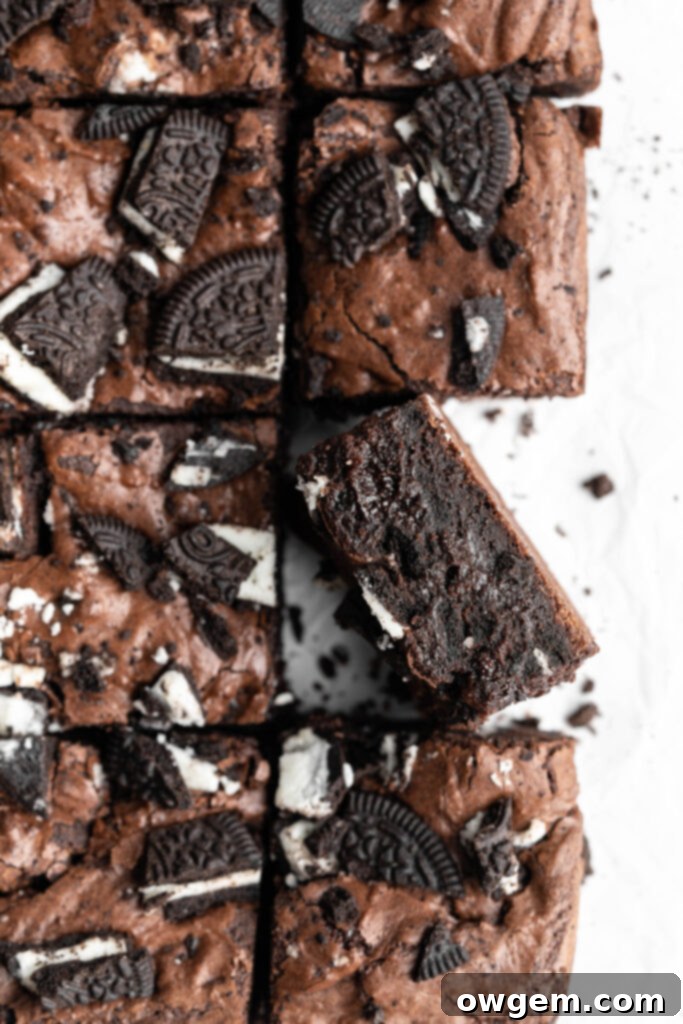
Table of Contents
- Why You’ll Fall in Love with These Brownies
- Ingredient Essentials for Perfect Brownies
- Step-by-Step Guide to Making Irresistible Brownies
- Baking Secrets and Pro Tips for Success
- Essential Kitchen Tools You’ll Need
- Storing Your Delicious Oreo SunButter Brownies
- Frequently Asked Questions (FAQ)
- Creative Variations to Try
- More Irresistible Dessert Recipes
- Full Recipe Card
Why You’ll Fall in Love with These Fudgy Oreo SunButter Brownies
These aren’t just any brownies; they’re a true masterpiece of texture and flavor, designed to satisfy even the most intense chocolate cravings. Here’s why these Oreo SunButter Brownies will become your new favorite dessert:
-
Unmatched Fudgy & Chewy Texture: Prepare for a brownie experience that defines decadence. These brownies boast an incredibly dense, melt-in-your-mouth fudge-like texture that’s both supremely rich and delightfully chewy. This superior fudginess is carefully crafted by a precise balance of ingredients – a higher fat content combined with a lower proportion of flour, which prevents dryness and promotes that coveted moist, dense consistency.
-
Intense Real Chocolate Flavor: Unlike recipes that rely solely on cocoa powder, our brownies utilize real semi-sweet chocolate. This crucial ingredient is the secret to their extraordinary flavor depth and unparalleled fudgy character. Real chocolate contributes cocoa butter, which enhances both the richness and the tender texture of the brownie, making every bite deeply satisfying and truly chocolatey.
-
Nut-Free & Allergy-Friendly: One of the standout features of this recipe is the clever use of SunButter. For those with peanut or tree nut allergies, finding a delicious, safe alternative can be a challenge. SunButter provides all the creamy, nutty flavor you crave without any of the common allergens, making these brownies a fantastic option for school bake sales, parties, or simply enjoying at home without worry.
-
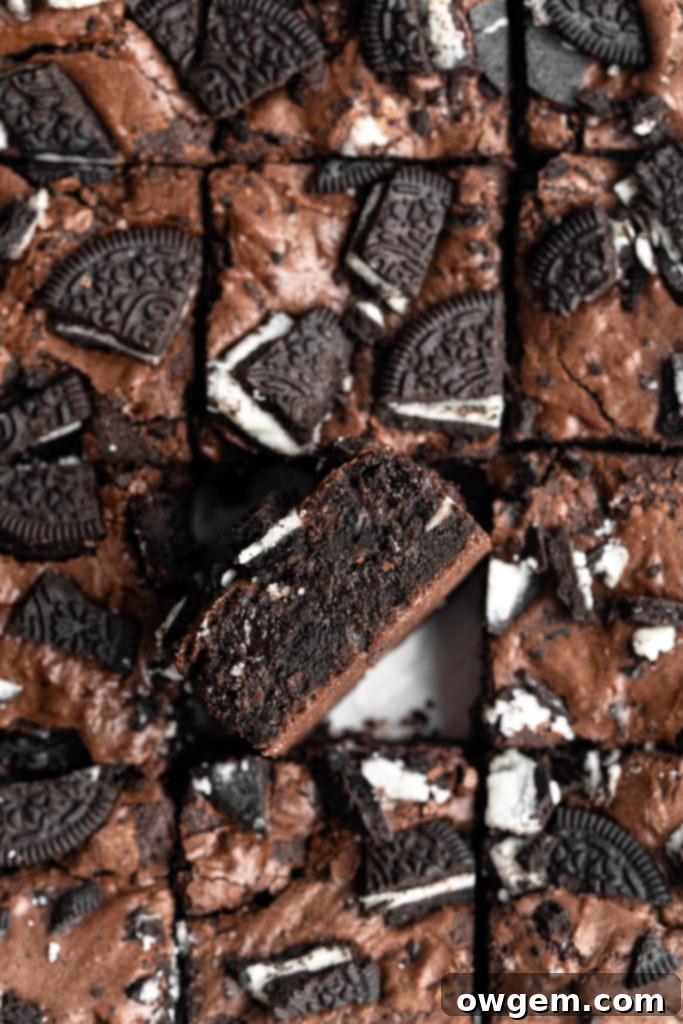
Packed with Oreo Goodness: Who doesn’t love Oreos? These brownies are generously loaded with chopped Oreo pieces, adding a fantastic textural contrast with their signature chocolatey crunch. The creamy filling from the Oreos also melts slightly into the brownie batter, contributing another layer of flavor and moisture. They’re everyone’s favorite cookie, elevated!
-
That Perfect Crinkly Top: Achieve that bakery-quality, shiny, crackly crust that signals a perfectly baked brownie. Our recipe includes essential tips to help you get that gorgeous, sought-after crinkly top every single time.
-
Surprisingly Simple to Make: Despite their gourmet taste and appearance, these brownies are remarkably straightforward to prepare. With clear, step-by-step instructions, even novice bakers can achieve spectacular results.
Ingredient Essentials for Perfect Fudgy SunButter Brownies
The quality of your ingredients directly impacts the final taste and texture of your brownies. Here’s a closer look at the key components that make these SunButter Oreo Brownies truly exceptional:
-
Natural SunButter: This is the star ingredient for our nut-free twist! SunButter, made from roasted sunflower seeds, offers a wonderfully creamy texture and a distinct, delicious nutty flavor profile that perfectly complements chocolate. It’s an excellent, safe alternative to peanut butter or other nut butters, making these brownies accessible to those with allergies. Beyond its great taste, SunButter is also a nutritional powerhouse, packed with a ton of vitamins, minerals, and protein, adding a healthy boost to your indulgent treat. Opt for ‘natural’ varieties to avoid added sugars and oils that can alter the brownie’s texture.
-
Dutch Process Cocoa Powder: For an incredibly deep, dark chocolate color and a less acidic, smoother chocolate flavor, Dutch-processed cocoa powder is highly recommended. Traditional cocoa powder (natural cocoa) is acidic and reacts with baking soda to create lift, whereas Dutch-processed cocoa is neutral and offers a richer, milder chocolate taste. While you can use traditional cocoa, Dutch cocoa will give you that signature intense brownie flavor. This is my favorite brand for its consistent quality.
-
Semi-Sweet Chocolate (Baking Chocolate): Using high-quality semi-sweet chocolate in addition to cocoa powder is paramount for achieving that rich, deep chocolate flavor and ultra-fudgy texture. The cocoa butter in real chocolate contributes to the brownie’s moistness and luxurious mouthfeel. I recommend using good quality baking chocolate bars (around 60-70% cacao) which melt smoothly and provide a superior taste compared to chocolate chips, which often contain stabilizers. Chop it finely for quick and even melting.
-
Unsalted Butter: Good quality unsalted butter adds richness and contributes significantly to the brownie’s fudgy texture. Melting it with the chocolate and SunButter ensures a smooth, homogeneous mixture.
-
Granulated Sugar & Eggs: The combination of sugar and eggs is crucial not only for sweetness and binding but also for creating that desirable shiny, crackly top. Whipping them vigorously incorporates air and dissolves the sugar, leading to the perfect brownie crust.
-
All-Purpose Flour: A minimal amount of all-purpose flour provides just enough structure without making the brownies cakey. Measuring it accurately, preferably by weight, is key to maintaining the fudgy texture.
-
Vanilla Extract: A touch of pure vanilla extract enhances the chocolate flavor and adds a warm, aromatic depth to the brownies.
-
Salt: Don’t underestimate the power of salt in baking! It balances the sweetness and brings out the complex chocolate notes, making the brownies taste even better.
-
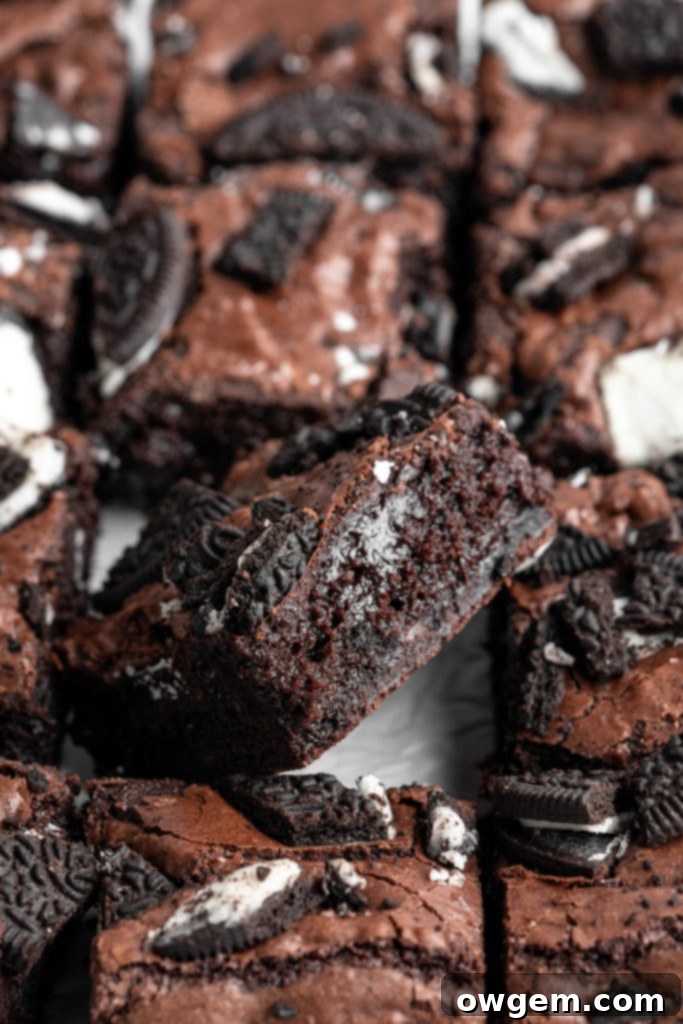
Oreos: These iconic chocolate sandwich cookies provide a delightful crunch and an extra layer of chocolatey, creamy flavor. Chopping them ensures they are well-distributed throughout the brownies, with some extra for sprinkling on top for a visually appealing finish.
Step-by-Step Guide to Making Irresistible Oreo SunButter Brownies
Follow these detailed steps to create perfectly fudgy, crinkly-topped brownies every time. Precision is key in baking, so take your time and enjoy the process!
-
Prepare Your Pan and Oven: Begin by preheating your oven to 350°F (175°C). This ensures the oven is at the correct temperature when your batter is ready, promoting even baking. Lightly spray a 9×9 inch (23×23 cm) square baking pan with cooking spray. Then, line all sides of the pan with two pieces of parchment paper, creating a sling. This simple step will make removing the cooled brownies incredibly easy and mess-free.
-
Melt Chocolate, Butter, and SunButter: In a medium heatproof bowl, combine the finely chopped semi-sweet chocolate and the natural SunButter. In a separate microwave-safe bowl or small saucepan, melt the unsalted butter until it is hot and fully liquid. Pour the hot melted butter directly over the chocolate and SunButter mixture. Allow it to sit for a minute or two to let the residual heat melt the chocolate, then whisk vigorously until the mixture is completely smooth and glossy. Set this aside to cool slightly while you prepare the next ingredients.
-
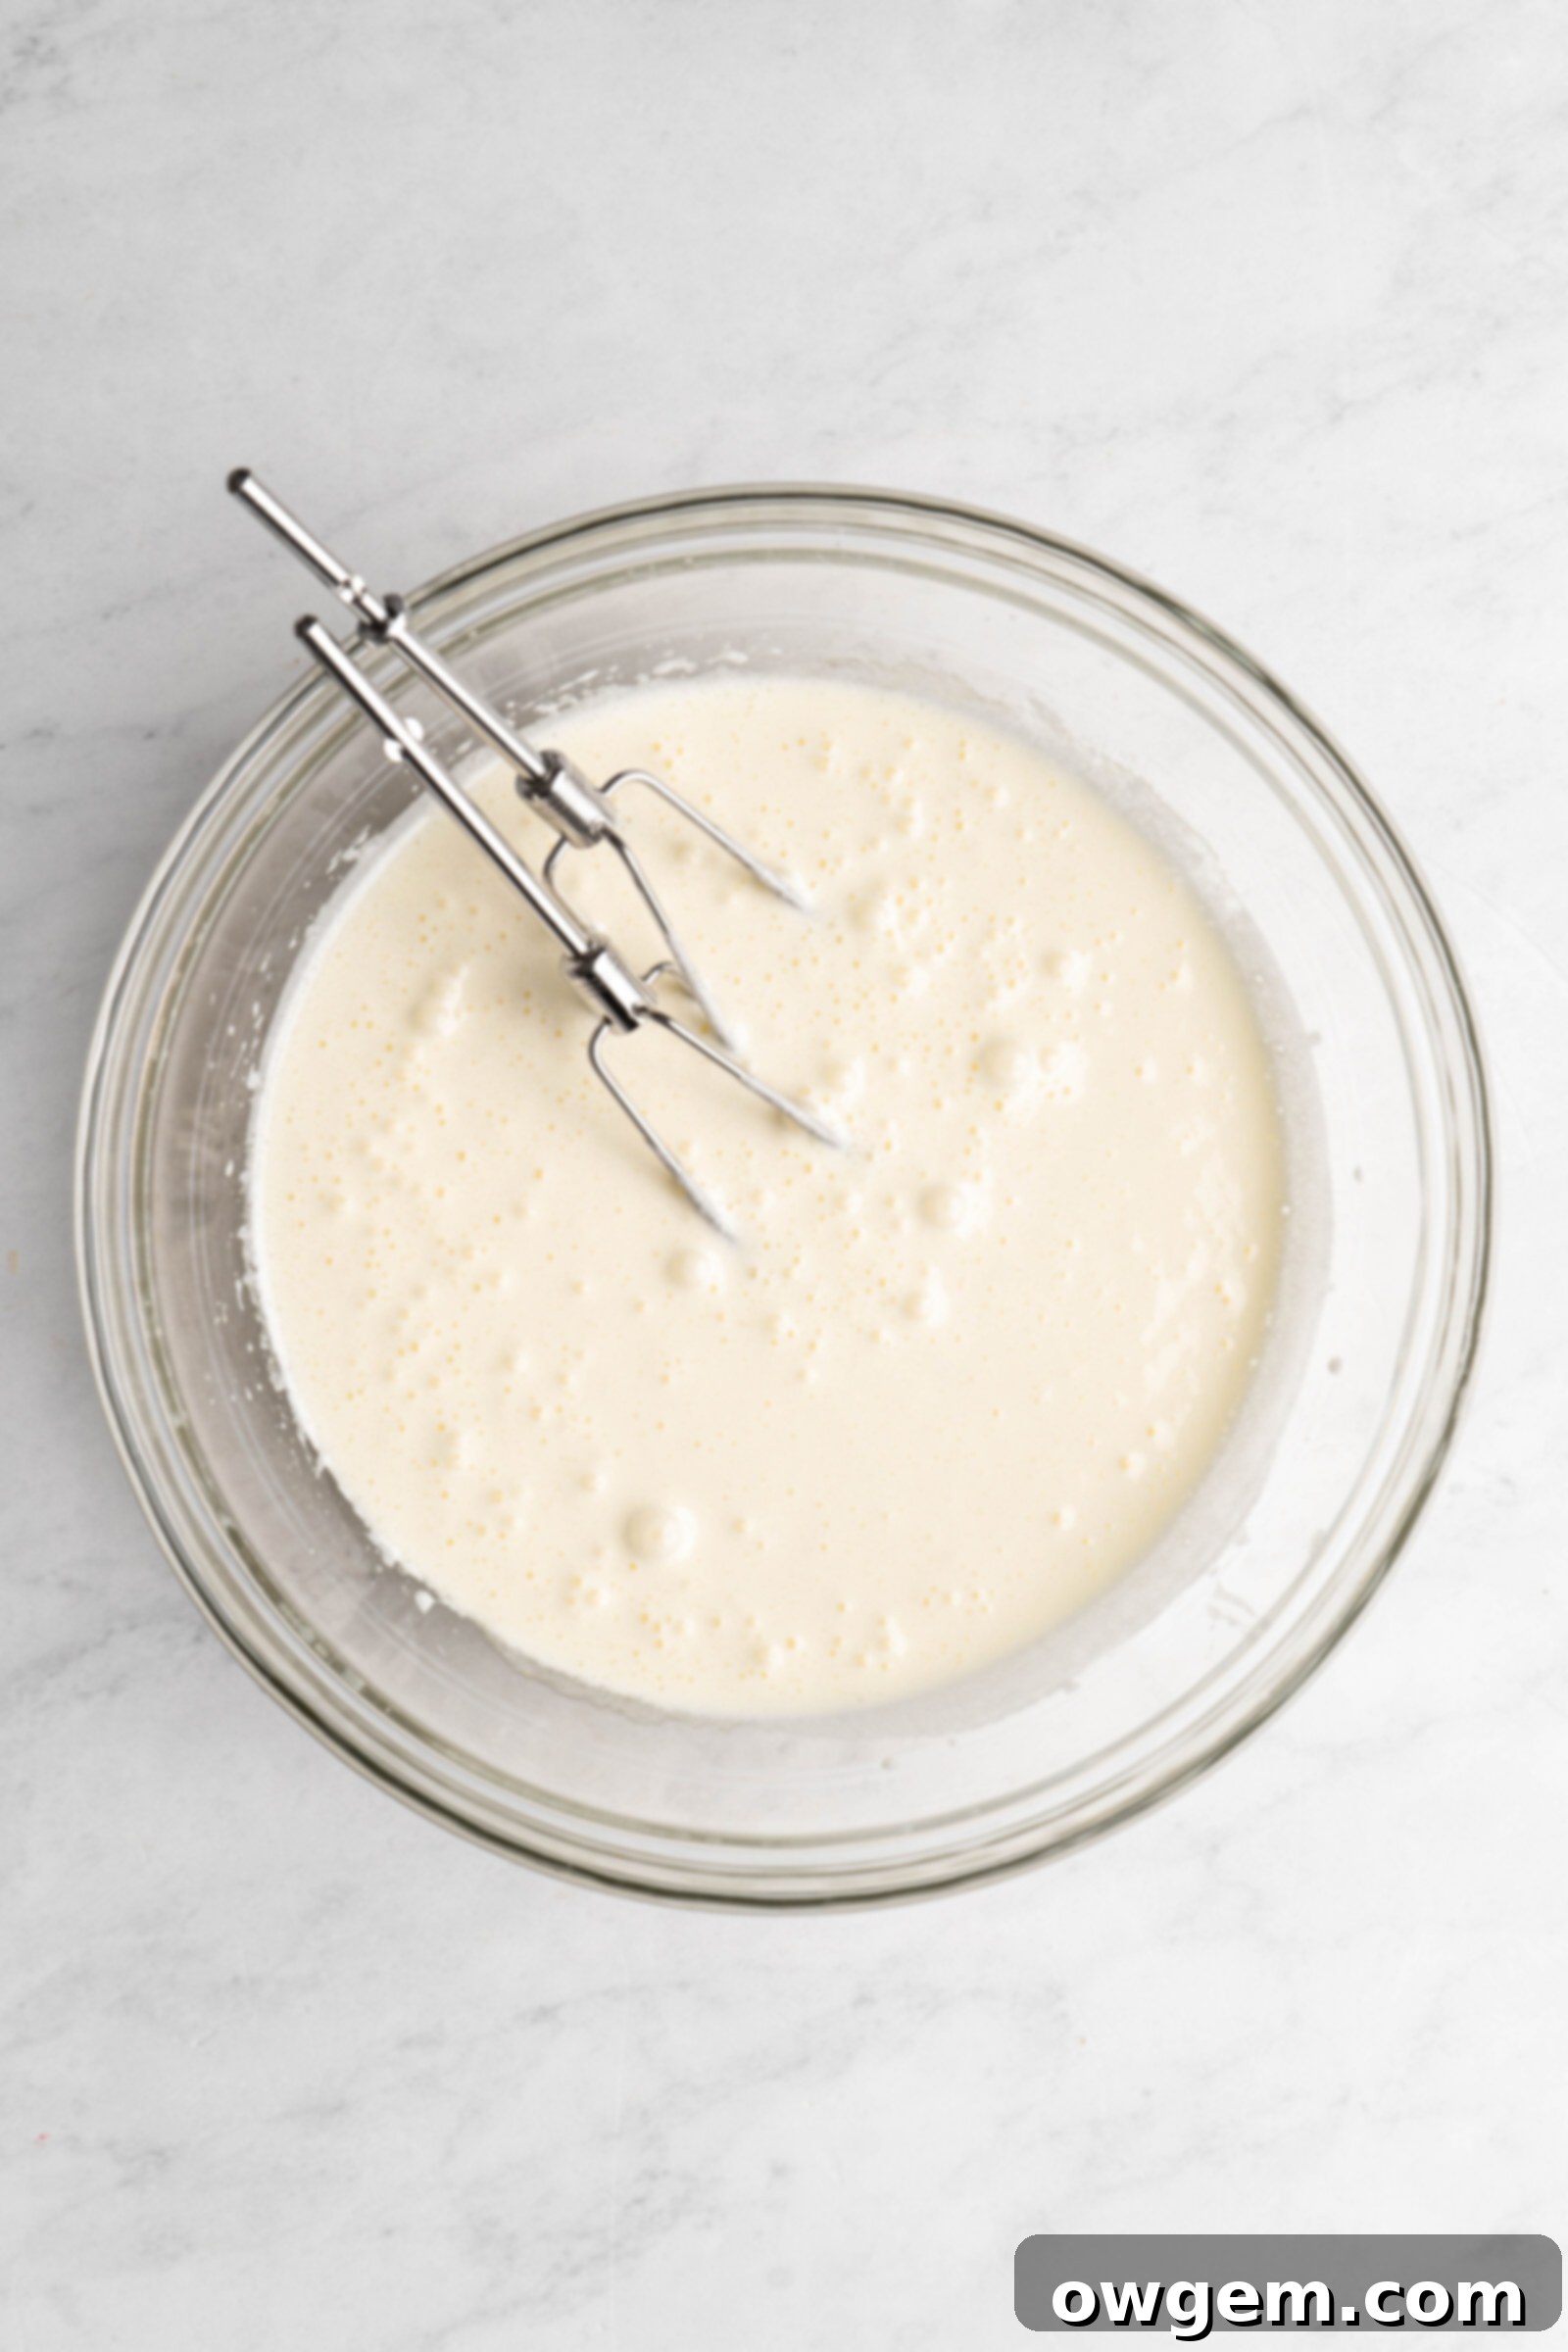
Whip Sugars and Eggs for that Crinkly Top: In a large mixing bowl, combine both the white granulated sugar, large eggs, and vanilla extract. This step is crucial for achieving that coveted shiny, crinkly crust! Using either a hand mixer or a stand mixer with the whisk attachment, beat these ingredients vigorously for about 3 to 5 minutes. You’re looking for the mixture to become noticeably pale in color, thick, and significantly increased in volume. It should look light and airy. Once achieved, pour in your slightly cooled melted chocolate and SunButter mixture. Whisk again until the chocolate is fully incorporated and the mixture is smooth and cohesive. Be careful not to overmix at this stage, just combine until uniform.
-
Combine Dry Ingredients: In a separate, medium-sized bowl, whisk together the all-purpose flour, sifted Dutch-processed cocoa powder, and salt. Sifting the cocoa powder is important to remove any lumps, ensuring a smooth brownie batter without pockets of dry cocoa. Make sure these dry ingredients are thoroughly combined.
-
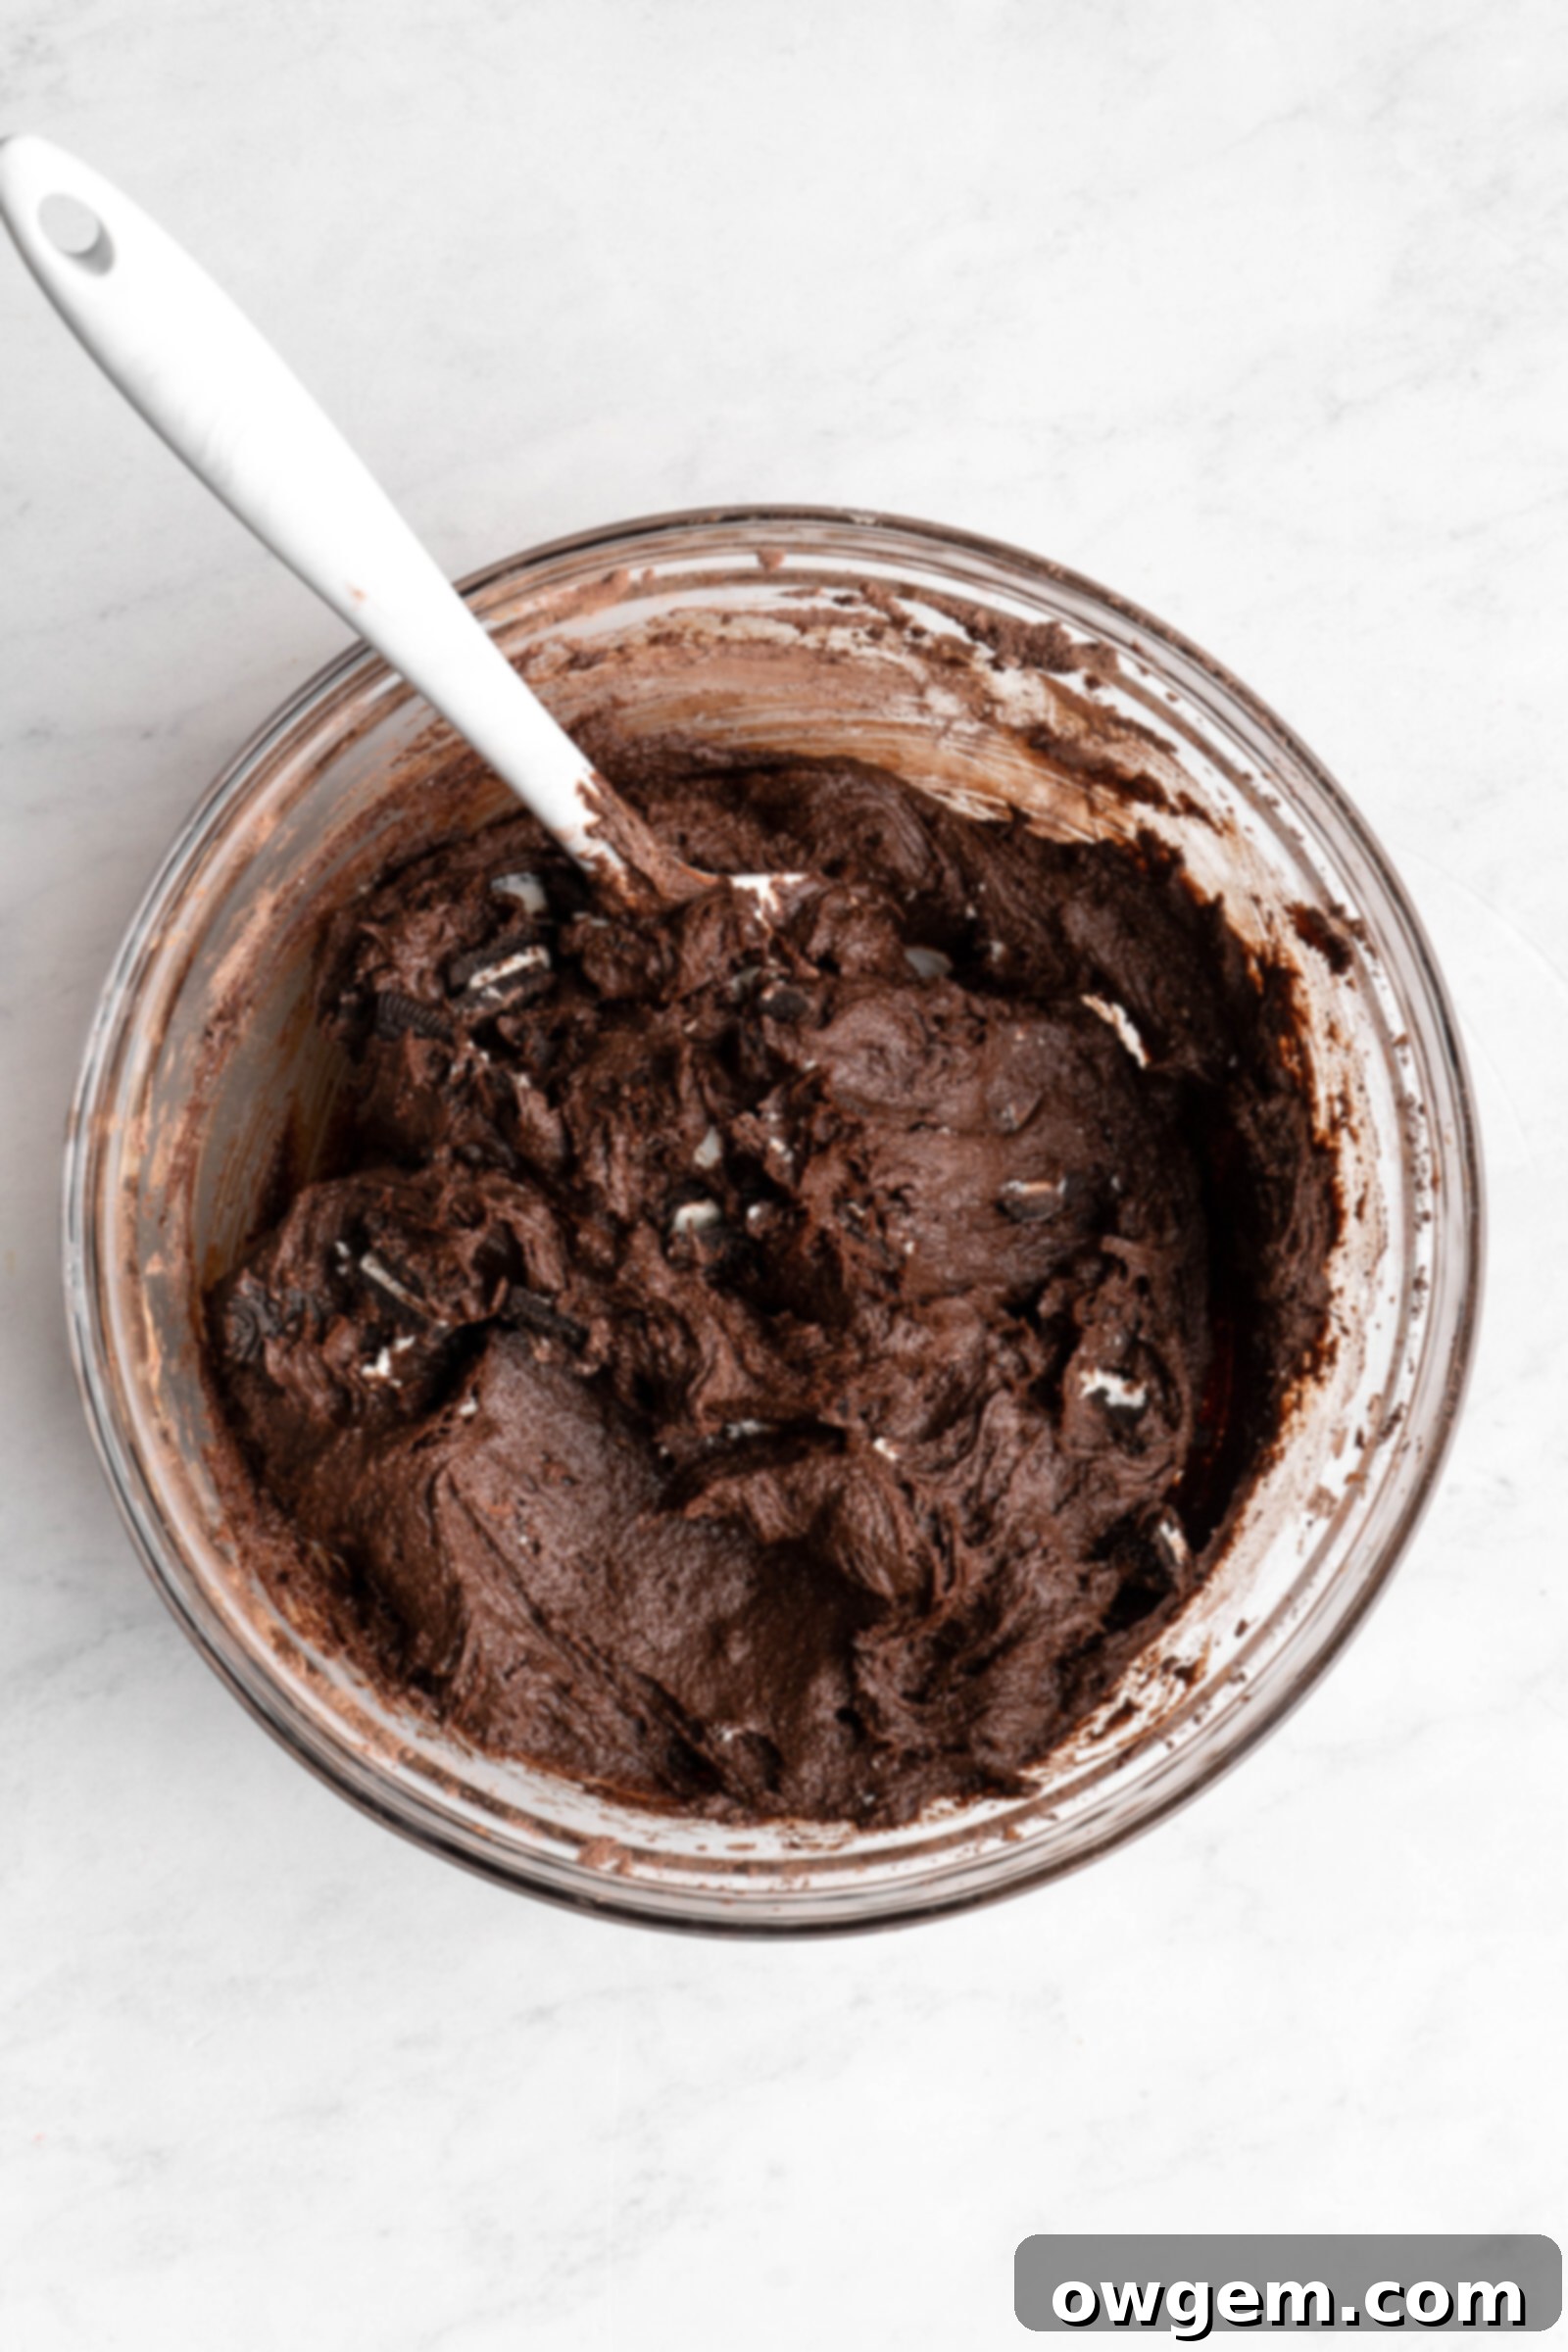
Gently Fold Wet and Dry, Add Oreos: Add the combined dry ingredients to the bowl containing the wet ingredients. Grab a rubber spatula and gently fold the dry ingredients into the batter until *just* combined. Overmixing at this stage can develop the gluten in the flour, leading to tough, cakey brownies rather than fudgy ones. Stop mixing as soon as no streaks of flour are visible. Then, gently fold in half of the chopped Oreo cookies. Distribute them evenly throughout the batter.
-
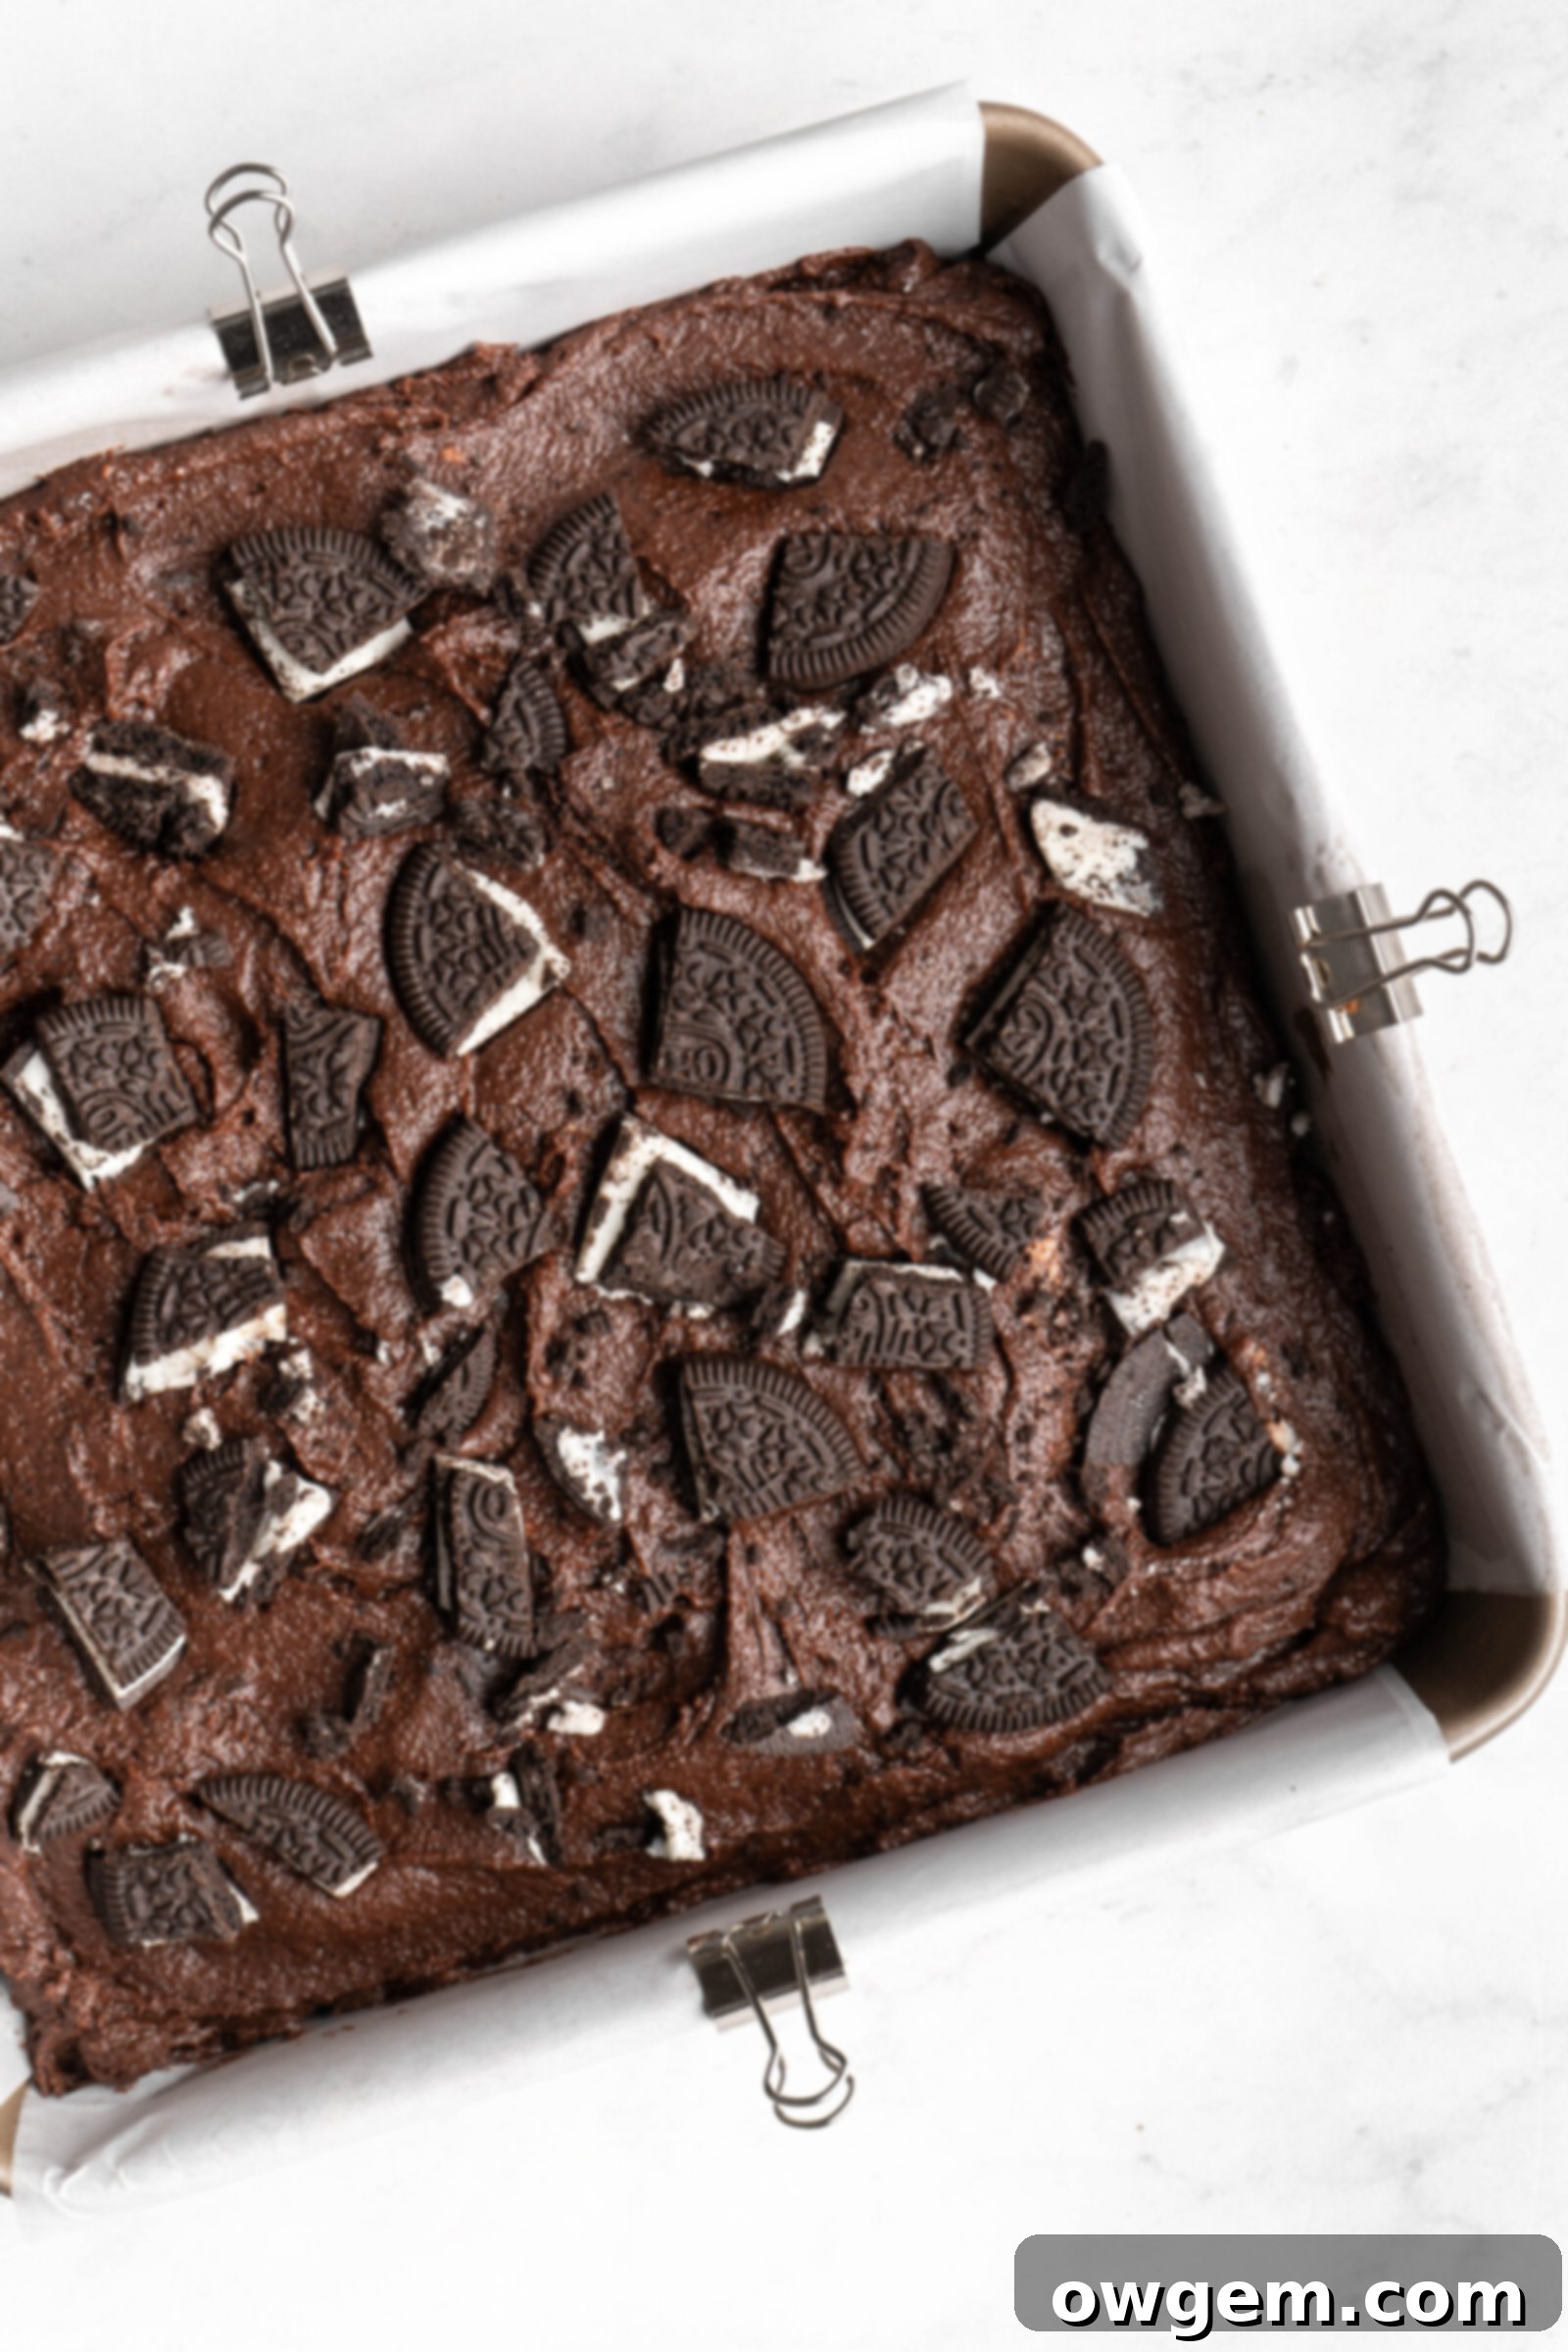
Bake to Perfection: Pour the rich brownie batter into your prepared 9×9 inch baking pan, spreading it evenly with your spatula. Sprinkle the remaining chopped Oreos on top of the batter. Place the pan into your preheated oven and bake for approximately 35 to 45 minutes. The key here is not to overbake! You’ll want to remove the brownies from the oven when the edges are set and a toothpick inserted into the center comes out with moist crumbs, but the center still has a slight jiggle. This slight jiggle is the secret to ultimate fudginess. Allow the brownies to cool completely in the pan on a wire rack before attempting to slice them. Cooling completely allows the brownies to set and become perfectly dense and fudgy.
Baking Secrets and Pro Tips for Perfect SunButter Brownies
Achieving bakery-quality brownies at home is entirely possible with a few insider tricks. Incorporate these tips for the most successful and delicious batch of Oreo SunButter Brownies:
-
Remove from Oven While Still Slightly Jiggly: This is arguably the most crucial tip for fudgy brownies. A fully set brownie will inevitably be hard and dry once cooled. You’ll want to take these brownies out of the oven when the edges are set but the very center still has an ever-so-slight, almost imperceptible jiggle. The brownies will continue to cook slightly from residual heat as they cool, leading to that perfect dense, moist interior.
-
Whip the Eggs and Sugar Vigorously: The secret to that perfect, coveted shiny, crackly brownie top isn’t magic – it’s science! Vigorously beating the eggs and sugar together until they are pale in color and significantly increased in volume (about 3-5 minutes) incorporates air and fully dissolves the sugar crystals. This creates a stable emulsion that, when baked, forms that beautiful, delicate crust.
-
Weigh Your Ingredients for Accuracy: Baking is a precise science, and volumetric measurements (cups) can be notoriously inaccurate due to variations in how ingredients are packed or leveled. Weighing your ingredients using a digital kitchen scale will yield the most consistent and best results every single time, ensuring your brownies have the ideal texture and moisture level.
-
Sift the Cocoa Powder: Cocoa powder loves to clump up, and those clumps can be difficult to fully incorporate into the batter, leading to pockets of dry, bitter powder in your brownies. Be sure to sift your Dutch-processed cocoa powder before adding it to the dry ingredients to remove any lumps and ensure a smooth, uniform batter.
-
Utilize a Mixer for Efficiency: While it’s possible to whisk the eggs and sugar by hand, using a hand mixer or stand mixer will make the process much easier, quicker, and more effective in achieving the desired pale, voluminous mixture for that shiny crust. If you don’t have one, a strong arm and a sturdy whisk will still get the job done!
-
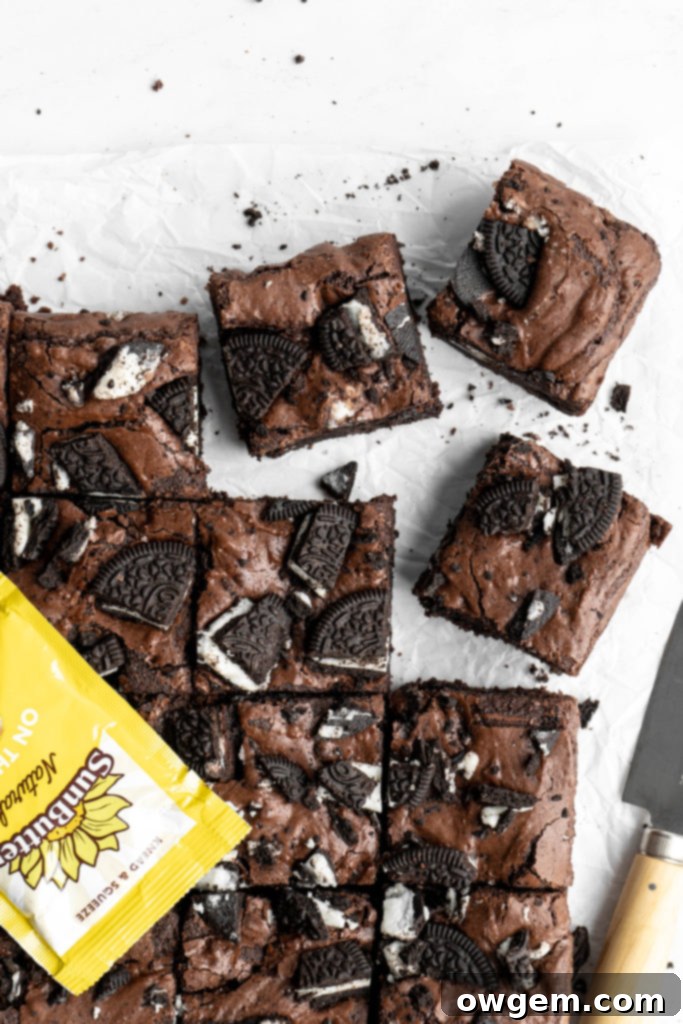
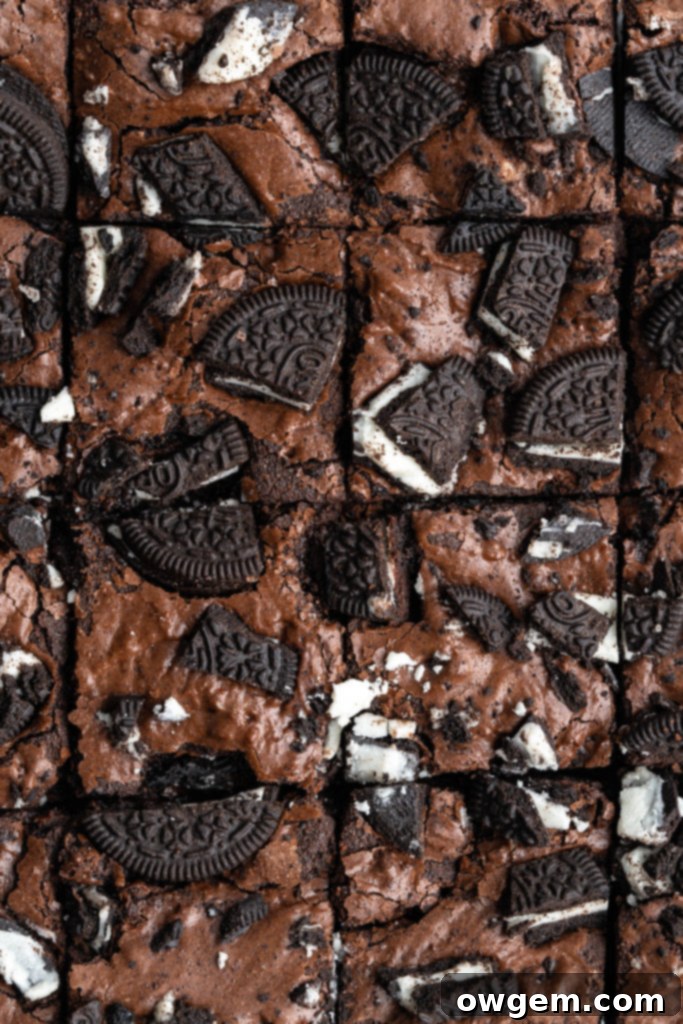
Use a Hot, Clean Knife for Perfect Slices: Want those professional-looking, perfectly clean brownie slices? Here’s how: between each cut, wipe your knife clean with a damp cloth, then run it under hot water for a few seconds. Dry it quickly, and then make your next slice. The warm, clean blade glides through the dense brownie without tearing or sticking, creating beautiful, crisp edges.
-
Do Not Overmix the Batter: After adding the dry ingredients to the wet, fold them together gently with a rubber spatula until *just* combined. Overmixing develops gluten in the flour, which will result in tough, cakey brownies rather than the desired fudgy texture.
-
Allow Complete Cooling: Patience is a virtue, especially with brownies. Resisting the urge to cut into warm brownies is tough, but essential. Brownies continue to set and firm up as they cool, developing their signature dense, fudgy texture. Cutting them while warm can lead to crumbly, messy slices.
Essential Kitchen Tools You’ll Need
Having the right equipment can make your baking experience smoother and more enjoyable. For these fudgy brownies, you’ll need a few basic kitchen essentials:
-
9×9 inch Nonstick Baking Pan: A good quality nonstick pan is crucial for even baking and easy release. This standard size ensures your brownies will have the correct thickness and bake time as specified in the recipe. Here’s a link to my favorite one!
-
Parchment Paper: Don’t skip this! Lining all sides of your pan with parchment paper is a game-changer. It acts as a sling, making it incredibly easy to lift the entire slab of cooled brownies out of the pan for clean, effortless slicing. Trust me, it’ll make removing them SO MUCH easier and prevent sticking.
-
Large Mixing Bowls (2-3): You’ll need one for the wet ingredients (eggs and sugar), another for the melted chocolate mixture, and a separate one for whisking the dry ingredients. This allows for proper separation and combination of components.
-
Whisk or Electric Mixer: Essential for vigorously beating the eggs and sugar to achieve that desirable crinkly top. A stand mixer or a good hand mixer will make this process significantly easier.
-
Rubber Spatula: Ideal for gently folding the dry ingredients into the wet, ensuring you don’t overmix the batter. It’s also great for scraping down the sides of the bowl.
-
Digital Kitchen Scale (Optional but Recommended): For the most accurate measurements, especially for flour and cocoa powder, a kitchen scale is a fantastic investment that will elevate your baking consistency.
-
Sharp Knife: Once cooled, a sharp knife is necessary for cutting clean, precise brownie squares. Refer to the ‘Tips & Tricks’ section for how to get the cleanest cuts.
Storing Your Delicious Oreo SunButter Brownies
Proper storage is key to maintaining the incredible fudgy texture and freshness of your brownies. Here’s how to keep them delicious for days:
-
At Room Temperature: For optimal freshness, these brownies can be stored in an airtight container at room temperature. If the brownies are already cut into individual squares, they will stay fresh for about 3 days. If you store the entire uncut slab of brownies, they will retain their moisture and quality for an impressive 6-7 days. Keeping them uncut longer helps prevent them from drying out. Ensure the container is truly airtight to prevent them from becoming stale.
-
In the Freezer: Brownies are excellent for freezing, making them perfect for meal prepping desserts or saving for a later craving. Once the brownies have completely cooled and been sliced into individual servings, place them in an airtight freezer bag or a freezer-safe container, separating layers with parchment paper to prevent sticking. They can be frozen for up to 3 months. When you’re ready to enjoy, simply thaw them at room temperature for an hour or two, or gently warm them in the microwave for a few seconds. The uncooked brownie batter can also be frozen in an airtight container for up to 3 months. Thaw completely in the refrigerator before baking as directed.
Frequently Asked Questions (FAQ) about Fudgy Brownies
The secret to that beautiful, shiny, crinkly crust on top of your brownies lies in the vigorous whipping of the sugar and eggs. You need to beat them together until they become pale in color, thick, and significantly increased in volume. This process incorporates air and completely dissolves the sugar crystals, creating the perfect foundation for that signature top. Aim for about 3-5 minutes of beating with an electric mixer.
Dry brownies are almost always caused by overbaking. Brownies continue to cook slightly from residual heat after being removed from the oven. To achieve maximum fudginess, it’s crucial to remove the brownies from the oven when they still have a slight jiggle in the very center, and a toothpick inserted comes out with moist crumbs, not completely clean. The edges should be set, but the middle should still look a bit underdone.
Tough brownies are typically a result of overmixing the batter, especially after the flour has been added. Overmixing develops the gluten in the flour, which leads to a dense, chewy, and sometimes rubbery texture, rather than the desired fudgy and tender crumb. Always fold in your dry ingredients until just combined – stop as soon as you no longer see streaks of flour.
Absolutely! These brownies freeze beautifully. Once they are completely cooled, slice them into individual portions and place them in an airtight freezer bag or container, using parchment paper between layers if stacking. They can be frozen for up to 3 months. The uncooked brownie batter can also be frozen in an airtight container for the same duration; simply thaw it in the refrigerator before baking.
Yes, you can prepare the brownie batter in advance. Once mixed, cover the bowl tightly with plastic wrap and store it in the refrigerator for up to 2 days. When ready to bake, let the batter come closer to room temperature for about 30 minutes before pouring into the pan and baking as directed. Note that the texture might be slightly thicker when cold.
Dry or overcooked edges can be a common brownie dilemma. Try baking the brownies on the top shelf of your oven, as the bottom and middle racks tend to be warmer and can cause the edges to bake faster. If the problem persists, your oven might be running hot; consider using an oven thermometer to verify its accuracy and try reducing the temperature by 25°F (about 15°C) for your next bake.
Yes, while this recipe highlights SunButter for its nut-free properties, you can certainly substitute it with an equal amount of natural peanut butter or any other nut butter you prefer. The nutty flavor will still be fantastic and complement the chocolate wonderfully.
Creative Variations to Elevate Your SunButter Brownies
While these Oreo SunButter Brownies are perfect as they are, there’s always room for a little creativity in the kitchen! Here are some fun variations you can try to customize your batch:
-
Peanut Butter or Other Nut Butters: If nut allergies aren’t a concern, feel free to substitute the SunButter with your favorite peanut butter for a classic peanut butter and chocolate combination. Almond butter or cashew butter would also work beautifully, offering slightly different nutty notes. Just ensure you use natural, creamy varieties for the best texture.
-
Add Chocolate Chips: For an even more intense chocolate experience, fold in ½ cup of chocolate chips (semi-sweet, milk chocolate, or dark chocolate) along with the chopped Oreos. They’ll create gooey pockets of melted chocolate throughout the brownies.
-
Golden Oreos for a Vanilla Twist: Swap out the classic chocolate Oreos for Golden Oreos! This variation will bring a lovely vanilla flavor and a contrasting color to the brownies, creating a delightful surprise.
-
Marshmallow Swirl: For a s’mores-inspired brownie, dollop spoonfuls of marshmallow fluff or miniature marshmallows over the warm brownies during the last 5-10 minutes of baking. Return to the oven until lightly toasted.
-
Espresso Powder Boost: Add 1-2 teaspoons of instant espresso powder to the dry ingredients. Espresso doesn’t make the brownies taste like coffee, but it significantly enhances and deepens the chocolate flavor, making it even richer.
-
Sea Salt Sprinkle: A light sprinkle of flaky sea salt over the top of the brownies just before baking can beautifully contrast and enhance the sweet and rich chocolate flavors.
More Irresistible Dessert Recipes
If you loved these fudgy brownies, be sure to explore more of our decadent dessert creations:
-
Peanut Butter Stuffed Brownies
-
Hazelnut Nutella Brownies
-
One Bowl Peppermint Brownies
-
Chocolate SunButter Brownie Skillet
Full Recipe Card
Get the Recipe:
Fudgy Oreo SunButter Brownies
15 minutes
40 minutes
16
servings
Pin
Rate
Ingredients
- 1/2 cup (114g) Unsalted Butter,, melted and hot
- 1/4 cup (60g) Natural SunButter
- 6 oz (170 g) Semisweet Chocolate,, finely chopped, good quality baking chocolate recommended
- 2 cups (400 g) White Granulated Sugar
- 3 Large Eggs
- 1 ½ tsp Pure Vanilla Extract
- 1 cup (125g) All Purpose Flour
- 3/4 cup (75g) Dutch Process Cocoa Powder,, sifted for best results
- 1/2 tsp Salt
- 14 Oreo Cookies , roughly chopped, divided
Instructions
-
Preheat your oven to 350°F (175°C). Prepare a 9×9” (23×23 cm) square baking pan by lightly greasing it with cooking spray, then lining all sides with 2 pieces of parchment paper to create a sling. This will make removal effortless.
-
Place the finely chopped semi-sweet chocolate and natural SunButter in a medium heatproof bowl. In a separate bowl or saucepan, melt the unsalted butter until hot. Pour the hot butter over the chocolate and SunButter. Let sit for a minute, then whisk until completely smooth and glossy. Set aside to cool slightly.
-
In a large mixing bowl, combine the white granulated sugar, large eggs, and pure vanilla extract. Vigorously whisk by hand or using an electric mixer for 3-5 minutes, until the mixture is pale in color, thick, and significantly increased in volume. Next, pour in the slightly cooled melted chocolate and SunButter mixture, and whisk until fully combined and smooth.
-
In a separate bowl, whisk together the all-purpose flour, sifted Dutch-processed cocoa powder, and salt until well combined. Add these dry ingredients to the bowl with the wet ingredients. Using a rubber spatula, gently fold the dry ingredients into the batter until just combined and no streaks of flour remain. Be careful not to overmix. Gently fold in half of the chopped Oreos.
-
Pour the brownie batter into the prepared 9×9” pan and smooth the top evenly with your spatula. Sprinkle the remaining chopped Oreos generously over the top of the batter. Place into the preheated oven and bake for 35-45 minutes, or until the edges are set and the center is just slightly jiggly (this ensures maximum fudginess). Allow the brownies to cool completely in the pan on a wire rack before slicing and serving for the best texture.
American
Dessert, Baking
Tried this recipe?We’d love to hear your feedback! Rate the recipe and leave a comment below!
