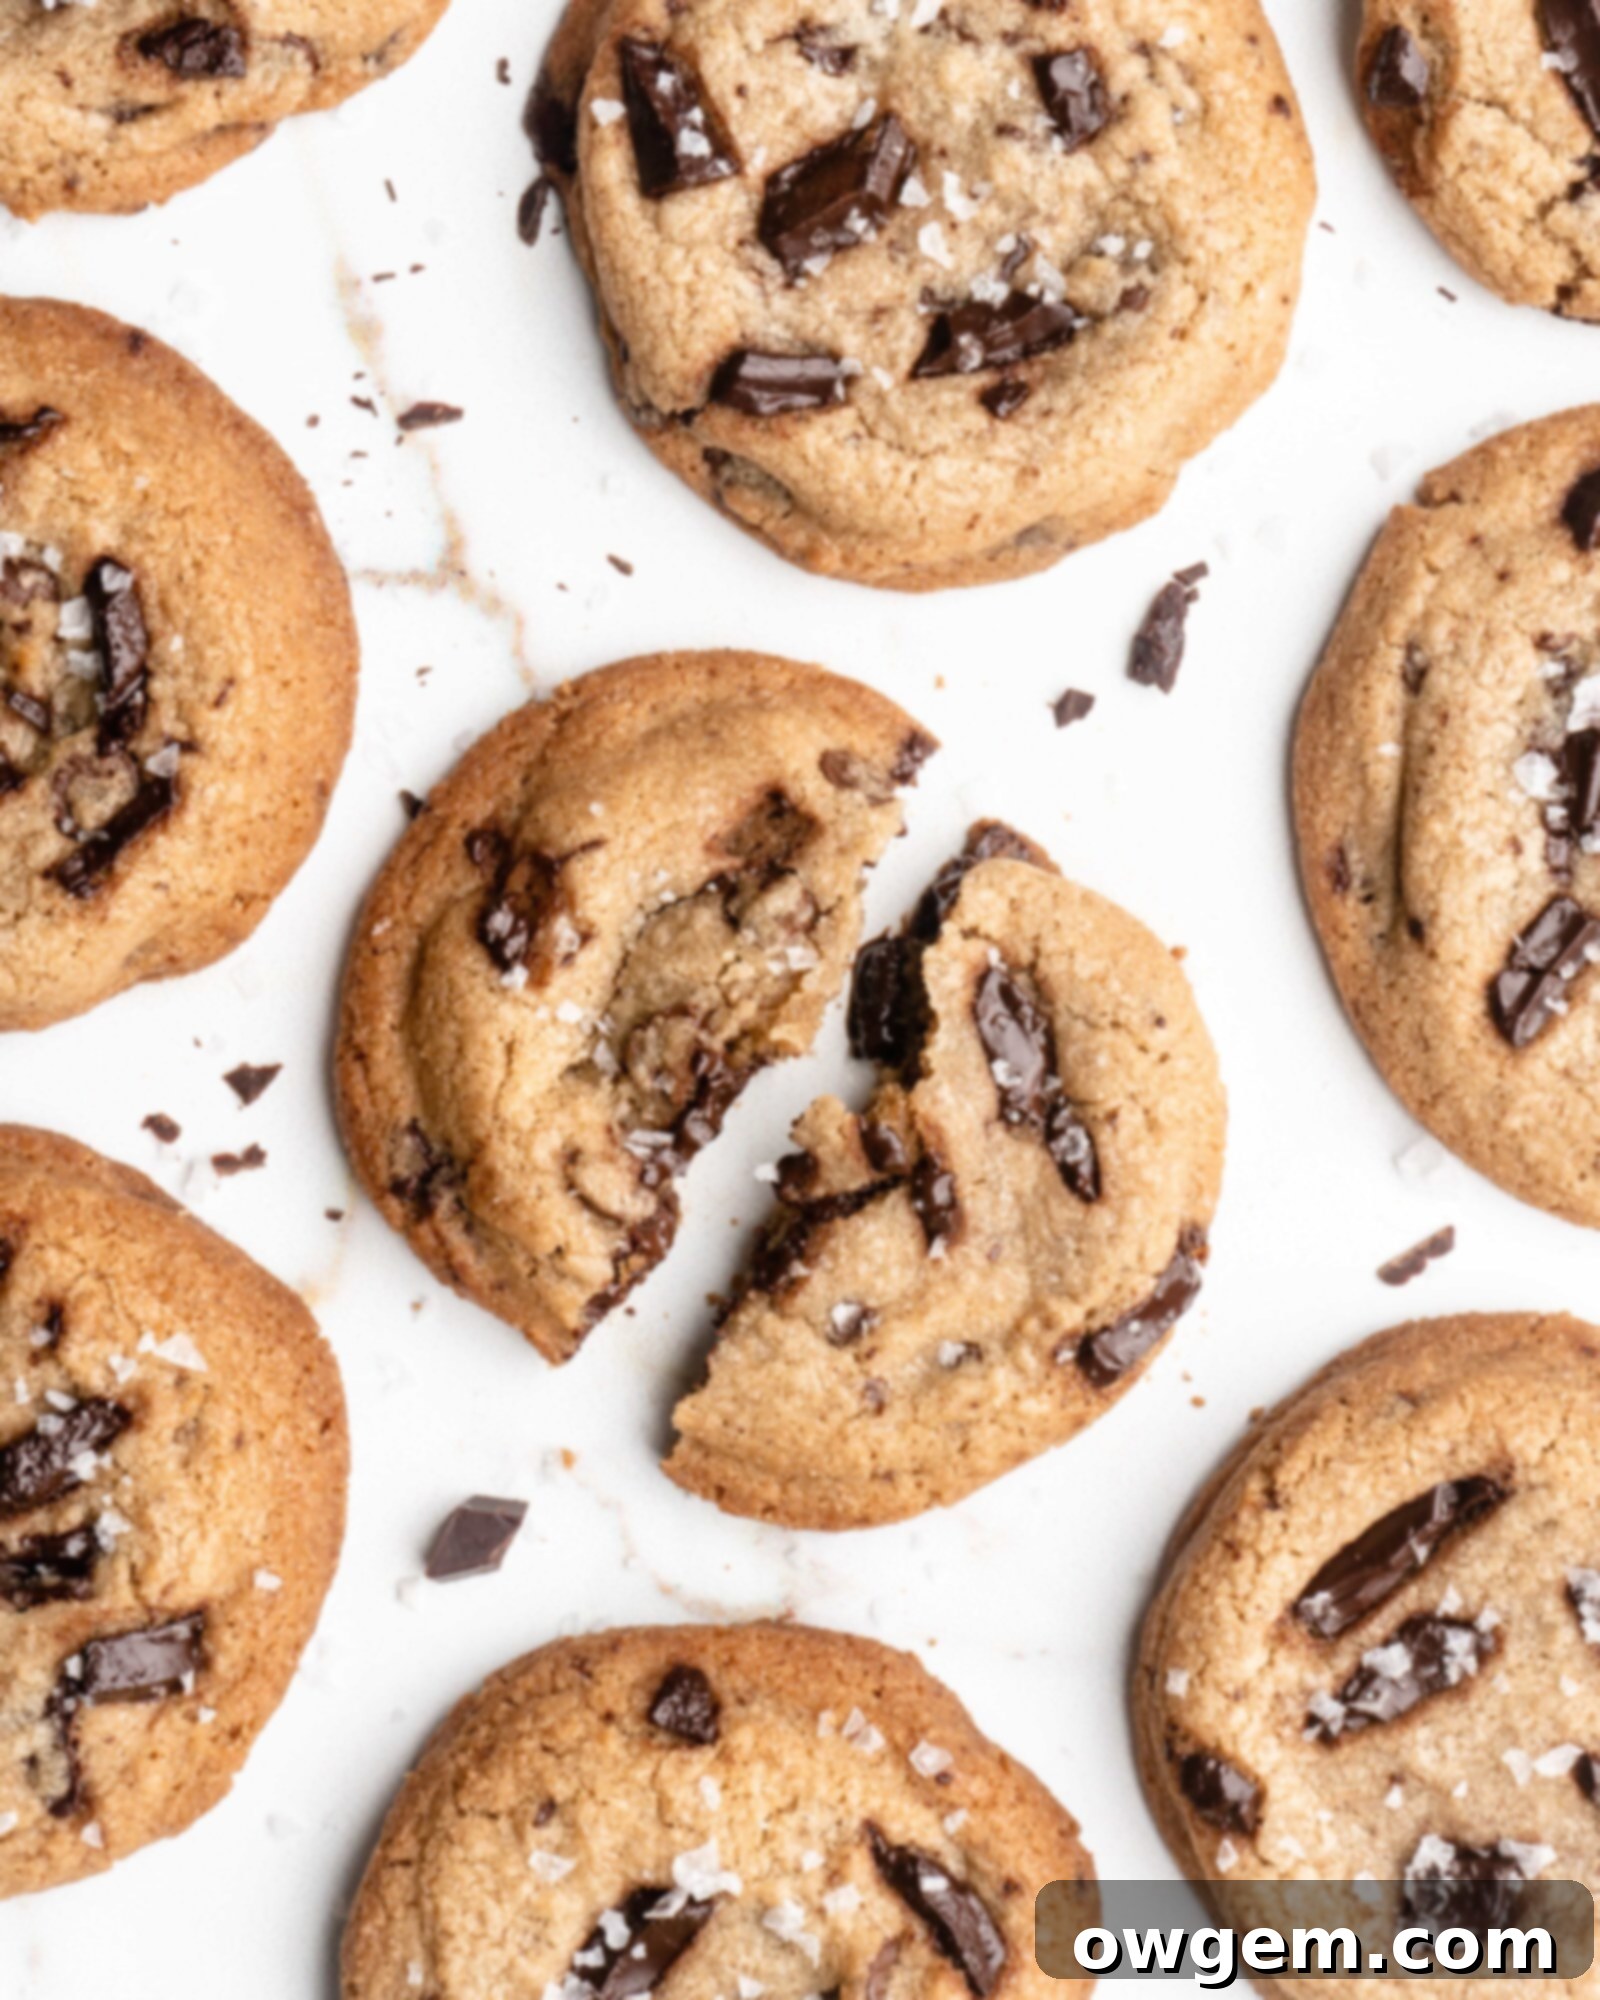
Achieve Bakery-Style Perfection: The Ultimate Chewy Browned Butter Chocolate Chip Cookies
There’s a universally acknowledged truth in the world of baking: nothing quite compares to the perfect chocolate chip cookie. It’s a treat that evokes warmth, comfort, and pure joy. But what truly defines perfection in a chocolate chip cookie? For many, it’s that magical combination of a crispy, caramelized exterior giving way to a luxuriously soft and intensely chewy center. These aren’t just any cookies; these are the Chewy Browned Butter Chocolate Chip Cookies you’ve been dreaming of, meticulously crafted to stay tender for days while delivering an unforgettable burst of flavor.
Our journey to the ultimate cookie involves a deep dive into the fascinating world of baking science. We’ll explore how specific ingredients and techniques work in harmony to create a cookie that hits every note: deeply flavorful, wonderfully tender, irresistibly chewy, and adorned with those coveted slightly caramelized, crispy edges. Forget the days of flat, dry, or overly cakey cookies. Through extensive trial and error, and a keen understanding of how each component contributes to the final masterpiece, we’ve developed a recipe that consistently delivers on all fronts, transforming a simple dessert into an extraordinary experience.
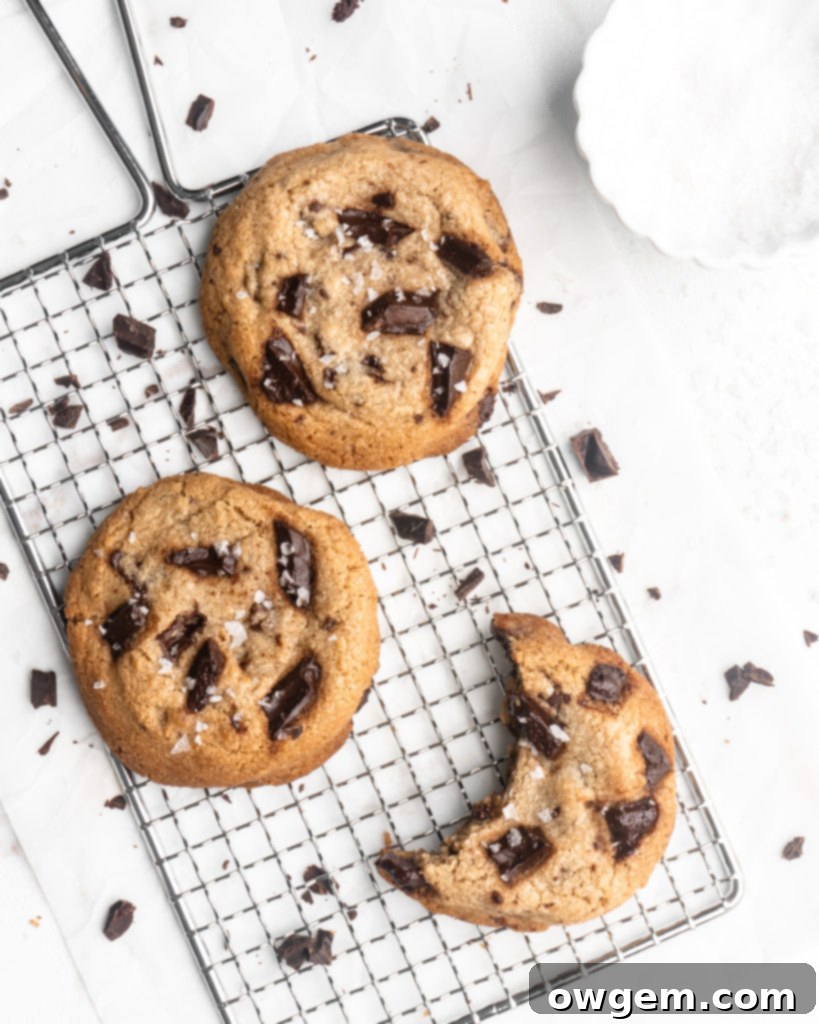
The Science Behind the Perfect Chewy Chocolate Chip Cookie
Creating an exceptional chocolate chip cookie isn’t just about following a recipe; it’s about understanding the “why” behind each ingredient and step. The texture and flavor profile we crave—soft, chewy, with those delightful crispy edges—are the result of careful balancing acts. We’ll demystify the roles of different sugars, types of flour, the magic of browned butter, the contribution of eggs, and even the often-overlooked power of resting your dough. Each element plays a crucial part in achieving that bakery-style perfection, ensuring your homemade cookies are truly the stuff of dreams.
The Role of Fats: Browned Butter & Shortening for Superior Flavor and Texture
When it comes to the fat in your cookies, many bakers are fiercely loyal to butter. And for good reason! Butter imparts an incredible depth of flavor that a neutral fat like shortening simply cannot. However, for the perfect chewy chocolate chip cookie, we’ve found that a thoughtful combination of both butter and shortening unlocks a superior result. Why compromise when you can have the best of both worlds?
Let’s start with shortening. Its primary advantage lies in its higher melting point compared to butter. This characteristic is crucial because it means the shortening takes longer to melt in the oven. During this extended period, the flour and eggs have more time to set, which significantly reduces cookie spread. The result? Cookies that maintain a thicker, chewier texture and a more defined shape. While shortening excels in texture, it lacks the rich, dairy flavor we associate with butter. This is where the magic of browned butter comes in.
Butter’s exquisite flavor comes largely from the caramelization of its milk solids. In standard baking, these milk solids often don’t reach their full flavor potential. Browning butter transforms these solids, creating a complex, nutty, and deeply caramelized flavor profile that elevates any baked good. By browning our butter, we intensify its flavor, compensating for the portion of butter replaced by shortening. This technique infuses the cookie dough with an unparalleled richness and a delicious, toasty aroma that makes these browned butter chocolate chip cookies truly exceptional.
A critical step when using browned butter is allowing it to cool completely before incorporating it into your dough. This isn’t merely a suggestion; it’s essential for two key reasons. Firstly, cold butter prevents premature cooking of the eggs and melting of the shortening, which would compromise the dough’s consistency. Secondly, and perhaps most importantly, allowing the browned butter to resolidify is vital for the creaming process. Creaming—beating the fats and sugars together—is how air is incorporated into the dough. This air acts as a leavening agent, contributing to the cookie’s rise and, ultimately, its delightful chewiness. Skipping this cooling step would result in a denser, less airy cookie.
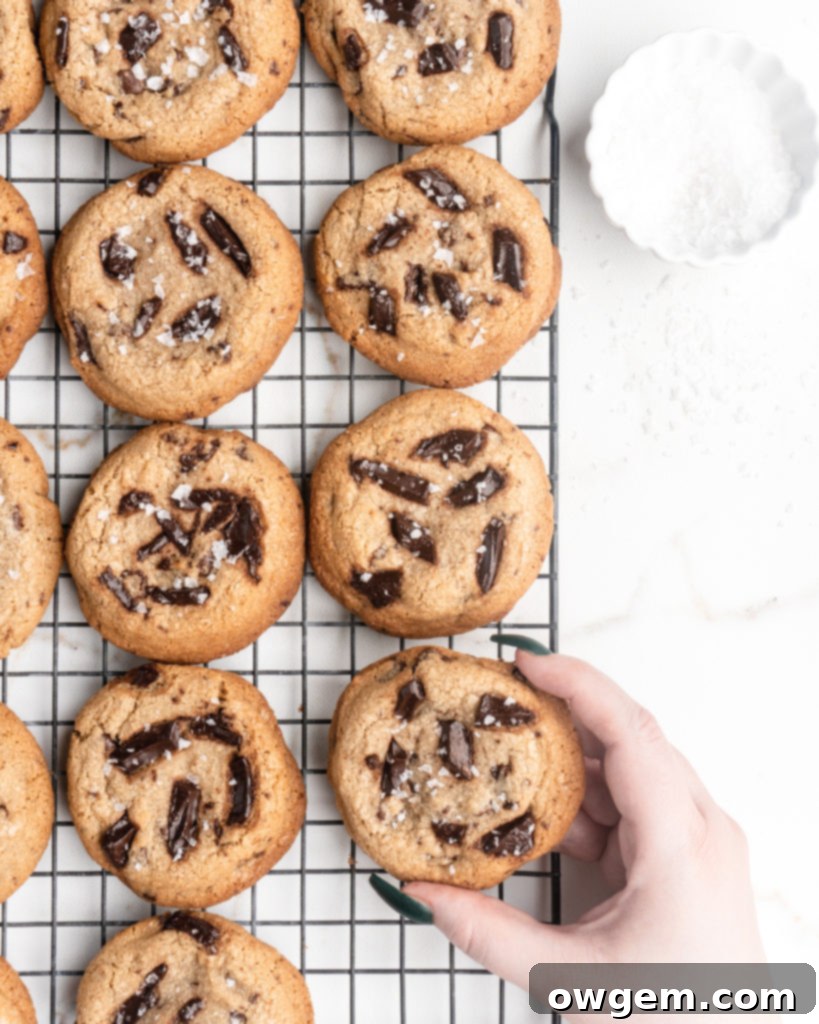
Flour Power: Bread Flour vs. All-Purpose Flour for Optimal Chewiness
The type of flour you choose can drastically alter your cookie’s final texture. While all-purpose (AP) flour is a kitchen staple, and often the default for many baked goods, certain recipes truly benefit from a more specialized approach. Our quest for the chewiest chocolate chip cookies is one such instance where bread flour shines.
Bread flour distinguishes itself with a significantly higher protein content compared to AP flour. These proteins, primarily gluten-forming, are what give bread its characteristic structure and elasticity. In cookies, this higher gluten content translates directly into more chewiness. When mixed with liquid, gluten develops, creating a network that gives structure and a pleasing resilience to the baked good. For a cookie that stretches and pulls just right, bread flour is an invaluable asset.
However, there’s a fine line to walk. While gluten is desirable for chewiness, too much gluten development can lead to a tough, rubbery cookie. This is why careful mixing is paramount. We want to combine the ingredients just enough to ensure they are well-incorporated, but avoid overmixing, which would overdevelop the gluten and detract from the desired tender chewiness. The strategic use of bread flour, combined with mindful mixing, allows us to achieve that perfect chewy texture without sacrificing tenderness.
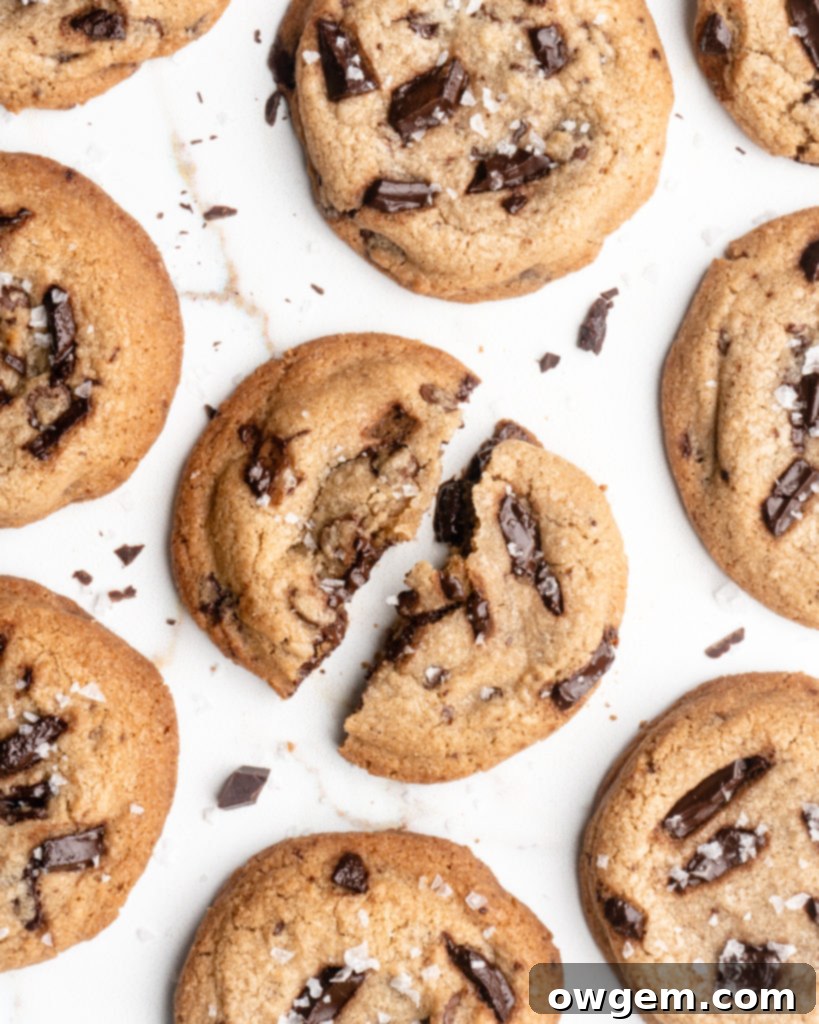
Sweet Decisions: The Dynamic Duo of Brown Sugar and White Sugar
The type and proportion of sugars used in a cookie recipe are fundamental to both its flavor and texture. For our ultimate chewy chocolate chip cookies with crispy edges, we rely on the synergistic power of both brown and white sugar.
Brown sugar brings a multitude of benefits. Its inherent moisture content, derived from molasses, is key to creating a softer, chewier cookie that remains tender for longer. The molasses itself also contributes a distinct, caramelized flavor that adds depth and complexity to the cookie. Furthermore, brown sugar is slightly acidic. This acidity interacts with baking soda (a base) and can also subtly speed up gluten production, helping the dough set more quickly and resulting in a thicker, chewier cookie that doesn’t spread excessively.
On the other hand, white granulated sugar plays an equally vital, yet different, role. White sugar, being free of molasses, interferes with gluten production, which allows the cookie to spread more during baking. This spread is essential for achieving those desirable thin, crispy edges that perfectly complement the chewy center. Crucially, white sugar caramelizes at a lower temperature and more readily than brown sugar, contributing significantly to the cookie’s golden-brown appearance and creating that delectable crispy crust. Its role is not just textural; it enhances the overall flavor profile by adding another layer of sweet caramelization.
By using a balanced combination of brown and white sugar, we leverage the best attributes of both: brown sugar for chewiness, moisture, and molasses flavor, and white sugar for spread, crispiness, and deep caramelization. This thoughtful balance ensures a cookie that is rich in flavor and boasts a complex texture, satisfying every craving.
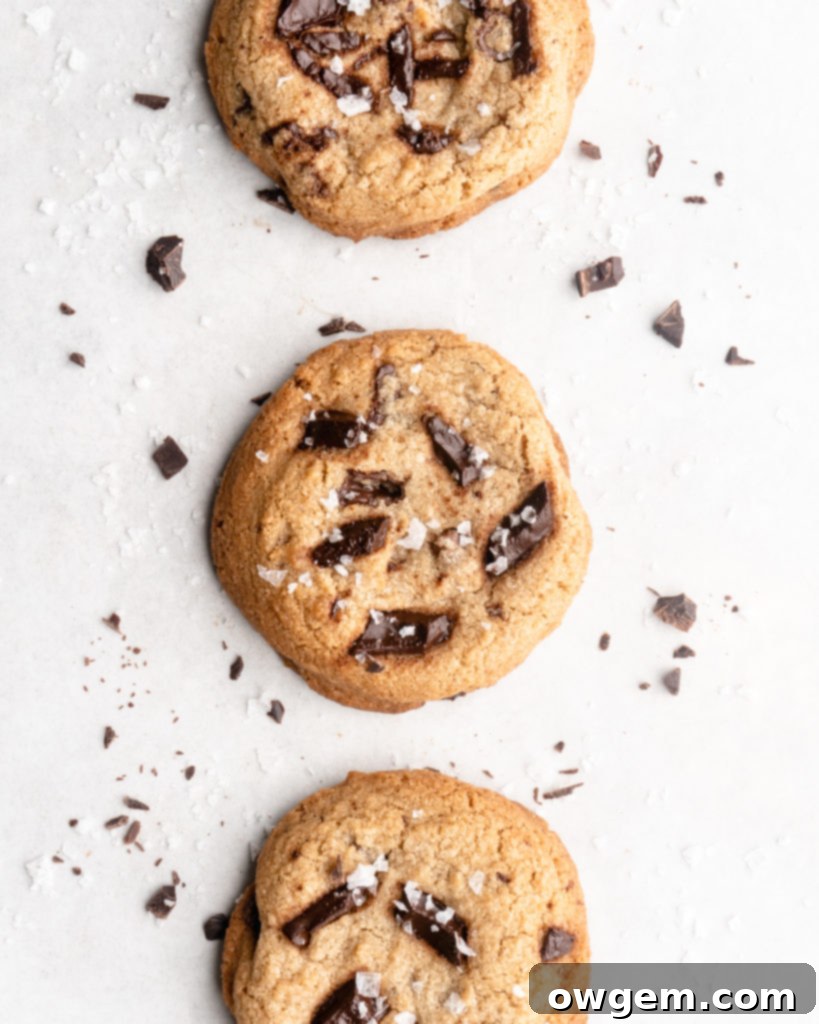
Egg-cellent Choices: Whole Eggs vs. Egg Yolks for Richness and Structure
Eggs are unsung heroes in baking, serving multiple crucial functions that influence the final outcome of your cookies. In our recipe, we don’t just use a whole egg; we strategically incorporate extra egg yolks to enhance richness, tenderness, and chewiness, while also contributing to that beautiful golden-brown finish.
A whole egg provides a comprehensive suite of baking benefits. The egg white contributes water, which is essential for gluten development in the flour, and protein, which helps provide structure to the cookie. The yolk, rich in lecithin, acts as a natural emulsifier, binding ingredients together smoothly and preventing separation. Together, the whole egg contributes to the cookie’s overall structure, tenderness, and some leavening.
However, the addition of extra egg yolks is where we truly amplify the cookie’s characteristics. Egg yolks are primarily fat, and this additional fat does wonders for the cookie’s texture and flavor. It leads to a significantly richer and more flavorful dough, while also increasing tenderness and, crucially, chewiness. The extra fat content in the yolks also plays a pivotal role in the Maillard reaction—the chemical process responsible for the browning and development of complex flavors in baked goods. This reaction, aided by the proteins and sugars in the yolks, ensures that your cookies develop a beautiful golden hue and those sought-after crispy, caramelized edges, all while maintaining a tender and moist interior.
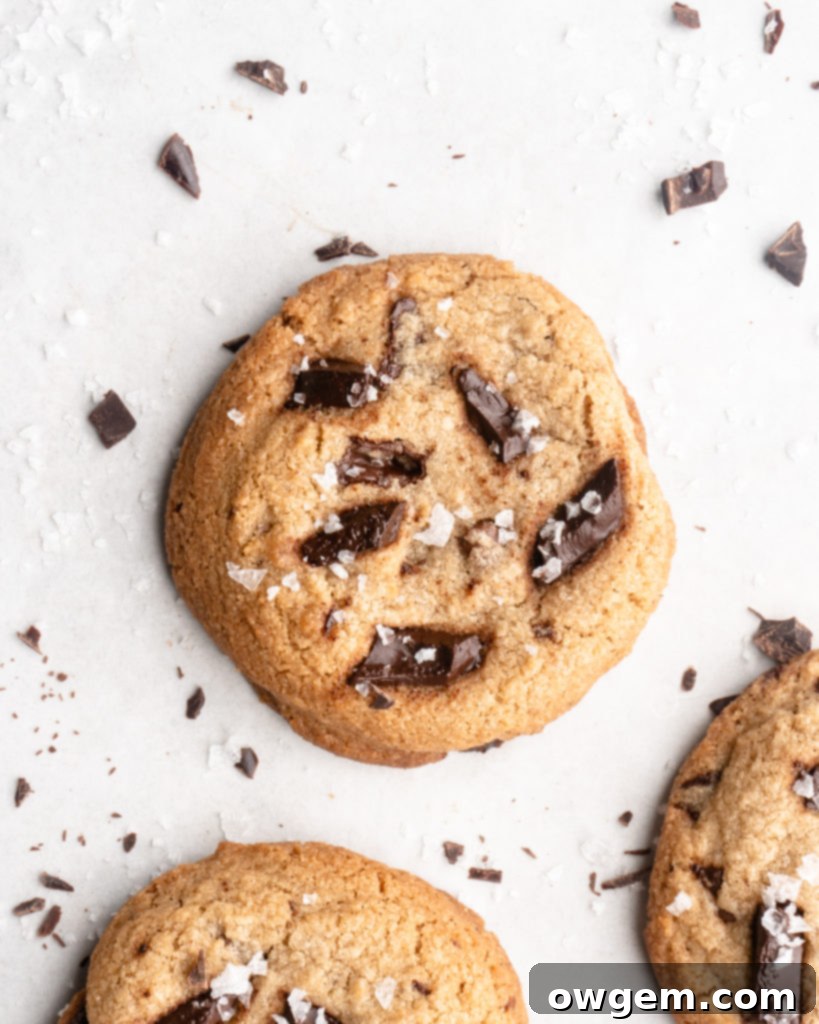
The Waiting Game: Why Resting Dough is Essential for Superior Cookies
We understand the irresistible urge to pop freshly mixed cookie dough straight into the oven. The aroma of baking cookies is a powerful motivator! However, for these Chewy Browned Butter Chocolate Chip Cookies, a short, patient rest period of just 30 minutes in the freezer is not merely a suggestion; it’s a critical step that elevates good cookies to extraordinary ones. This resting period is the culmination of all the baking science we’ve discussed, ensuring a superior texture and enhanced flavor profile.
Resting the cookie dough offers several significant advantages. Firstly, it allows the fats within the dough, particularly the browned butter and shortening, to solidify and cool. When these fats are chilled, they melt more slowly in the hot oven. This slower melting rate means the cookie dough spreads out significantly less, helping the cookies retain their desired thickness and chewy texture rather than becoming thin and crispy all the way through.
Secondly, chilling the dough provides time for the flour and sugars to fully absorb any free-floating liquid present in the mixture. This hydration process is crucial. As the flour absorbs moisture, it further develops the gluten network, contributing to that desirable chewiness. The sugar’s absorption of liquid also leads to a more uniform dough consistency, which in turn results in a more evenly baked cookie and helps control excessive spreading. A dough with less free liquid is a thicker dough, which bakes into a thicker, more substantial cookie.
Finally, and perhaps most delightfully, resting the dough slightly dehydrates it. This subtle dehydration concentrates the flavors within the cookie dough. Just like a good stew or sauce tastes better the next day, allowing cookie dough to rest gives the ingredients a chance to meld and deepen in flavor. The nutty notes from the browned butter, the rich caramel of the brown sugar, and the vanilla all become more pronounced and harmonious, resulting in a cookie with a more complex and satisfying taste. While a longer rest can be beneficial, even 30 minutes can make a noticeable difference in achieving that perfectly chewy, flavorful cookie.
Get the Recipe:
Chewy Browned Butter Chocolate Chip Cookies
Pin
Rate
Ingredients
- 1 3/4 cups Bread Flour, measured correctly†
- 1 tsp Baking Soda
- 1 tsp Salt
- 1/2 cup Unsalted Butter, cubed and at room temperature
- 1/2 cup Shortening
- 1 cup Brown Sugar
- 1/2 cup White Sugar
- 1 Egg
- 2 Egg Yolks
- 2 tsp Vanilla
- 1 cup Semi Sweet Chocolate Chips or Chopped Dark Chocolate
- (Optional) Flaky Sea Salt
Instructions
-
In a small sauce over medium heat, add butter and bring to a boil. Continue heating over medium heat, constantly stirring until the butter has turned a nutty brown color. It may be hard to see the color if your butter is foaming a lot, so periodically take it off the heat to check the color. Remove from heat, place into a heat proof glass and then into the freezer to cool off for 1 hour.
-
In a medium to large sized bowl, add in flour, baking soda, and salt. Whisk well to combine, then set aside.
-
In a stand mixer, fitted with the paddle attachment, add shortening and cooled browned butter. Beat on medium-high until well combined. Add in both sugars and beat for 3 minutes, it should look light and fluffy, and expanded in size.
-
In a separate bowl, whisk together the egg, yolks and vanilla until smooth, then add to the batter and beat for another 1 minute, scraping at the edges periodically. Add in the flour mixture and mix on low until combined, scraping at the edges. Ensure it is well combined, but do not overmix. Add in the chocolate chips, and fold with a spatula until well dispersed.
-
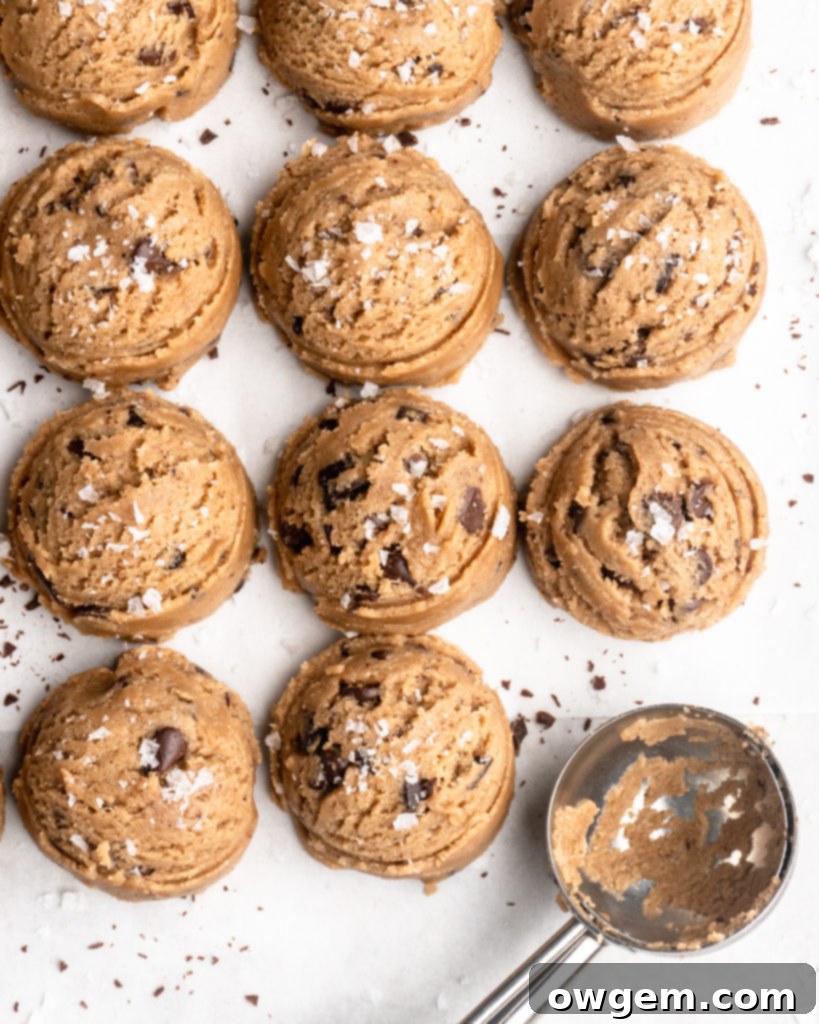
Preheat oven to 375°F. Meanwhile, prepare a baking sheet with parchment paper. Using your hands or a scoop, arrange cookies to be about 2 tbsp each. Place all the cookies onto the baking sheet (do not worry about arrangement yet), sprinkle with sea salt if using, and place into the freezer for 30 minutes to rest (don’t skip, see above!)
-
Remove baking sheet from the freezer, and arrange cookies evenly onto 3 baking sheets fitted with parchment paper (I do 8-9 per sheet). Place into the oven and bake for 9-11 minutes.
-
Note: If baking in batches, keep cookies cold before baking by keeping them in the fridge.
