Indulge in Autumn: The Ultimate Brown Butter Pumpkin Cake with Silky Dulce de Leche Russian Buttercream
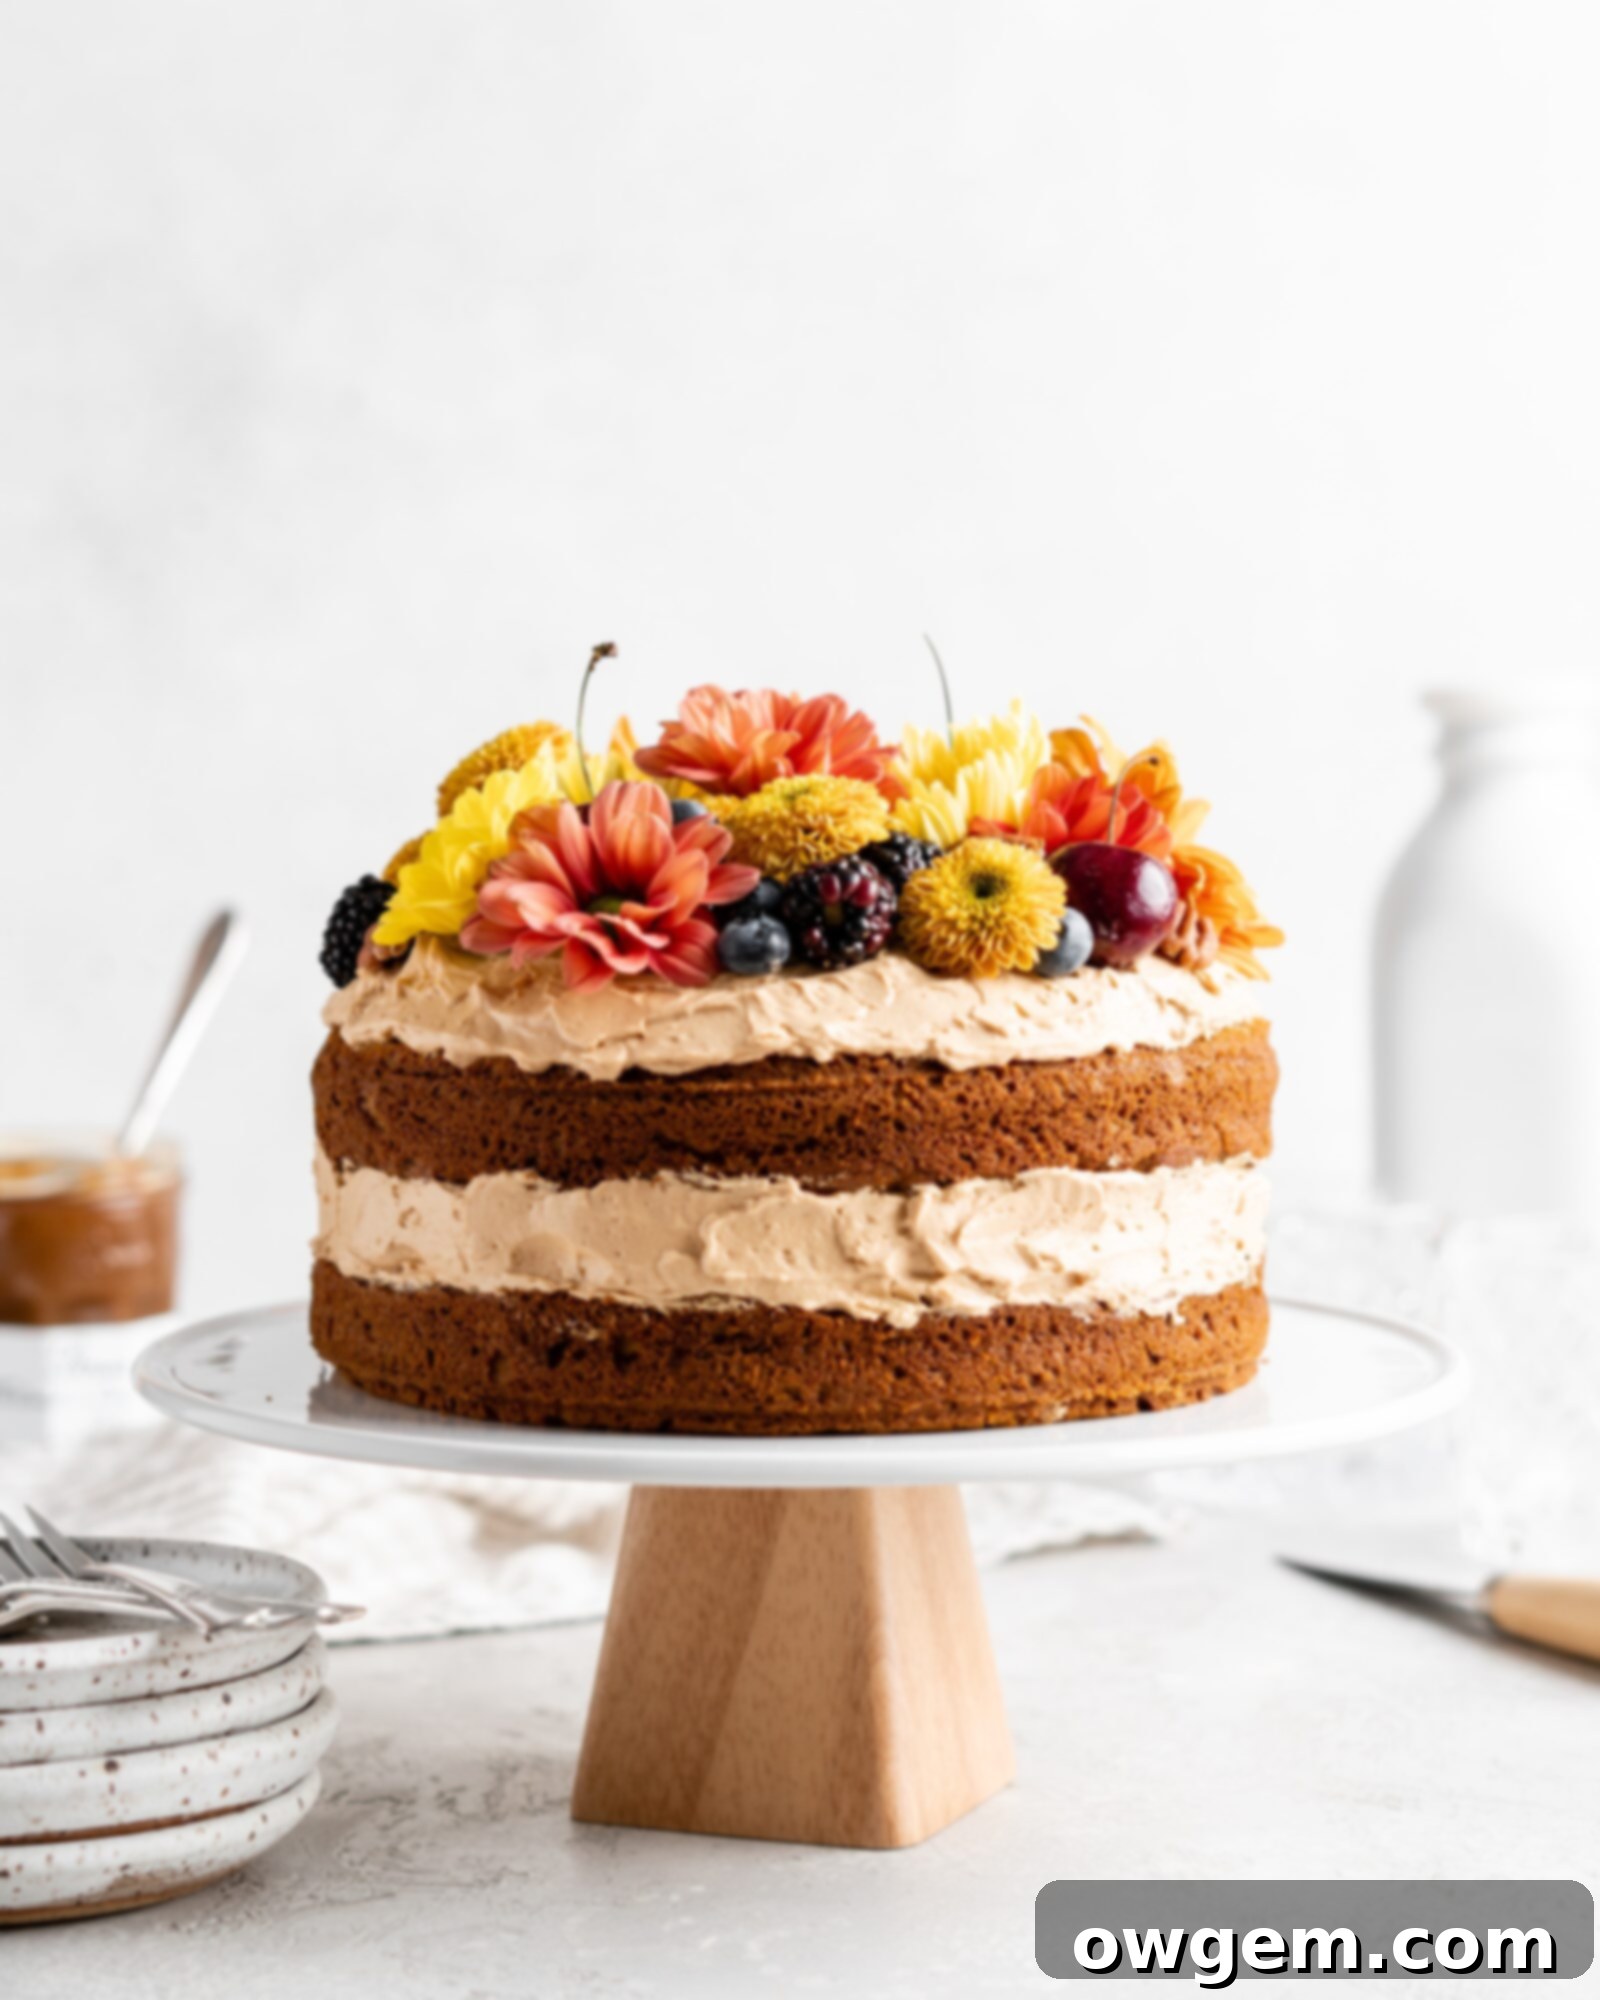
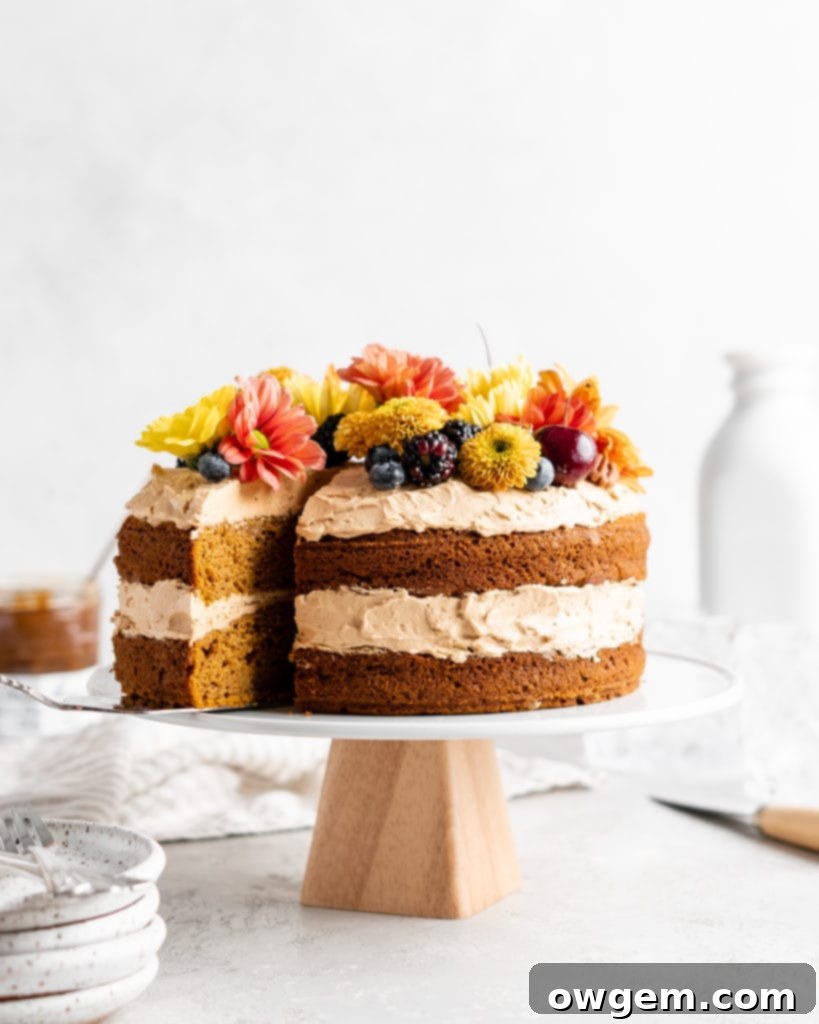
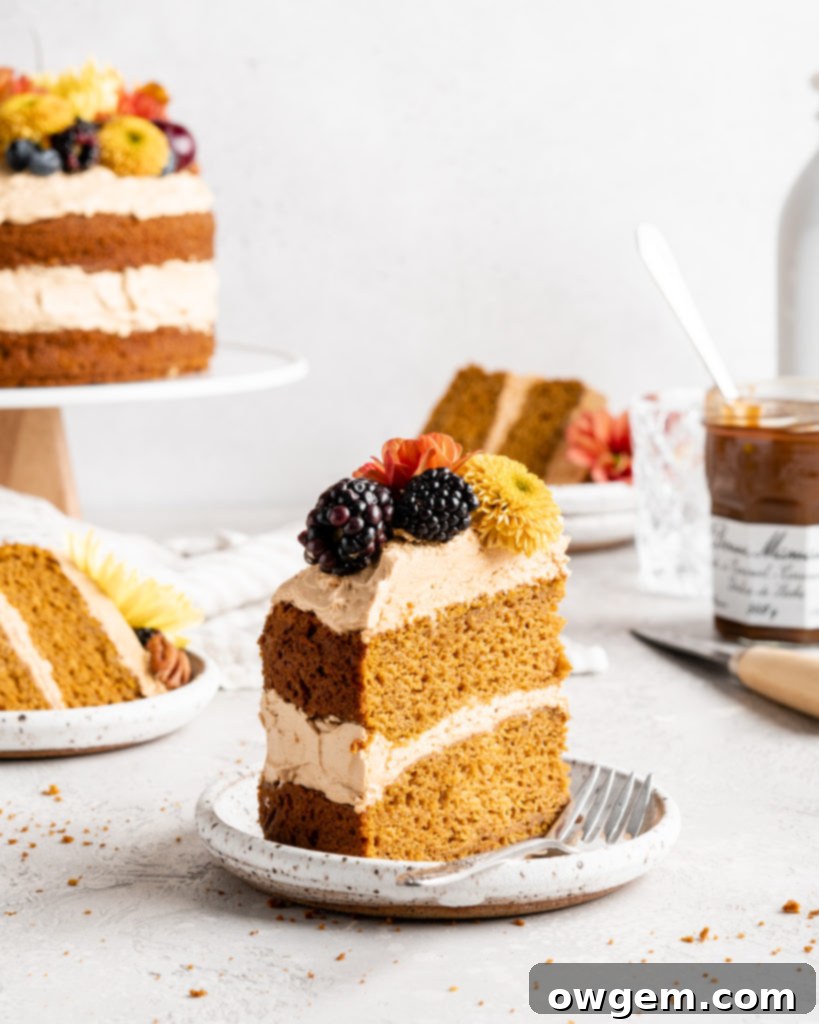
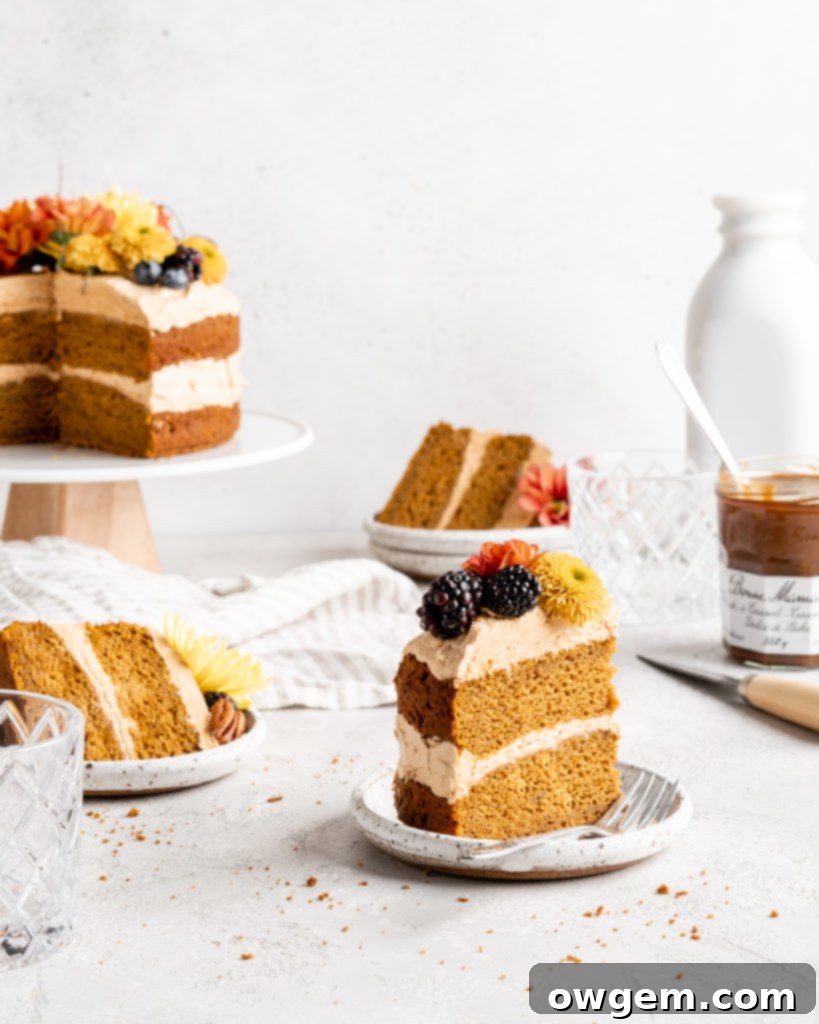
Embrace the quintessential flavors of autumn with this extraordinary Brown Butter Pumpkin Cake. This recipe masterfully combines the classic warmth of pumpkin and aromatic spices with the rich, nutty depth of brown butter, creating a dessert that is both comforting and sophisticated. Imagine moist, tender pumpkin cake layers infused with cinnamon and allspice, each bite offering a delicate hint of toasted caramel from the browned butter. But the indulgence doesn’t stop there. These delightful cake layers are generously filled and frosted with a luscious, silky smooth Dulce de Leche Russian Buttercream, adding a layer of creamy, caramel-like sweetness that perfectly complements the spiced pumpkin. Despite its gourmet appeal, this cake is surprisingly simple to create, making it the perfect showstopper for any fall gathering or a cozy treat on a crisp evening. Prepare to impress your taste buds and your guests with this unforgettable autumnal delight.
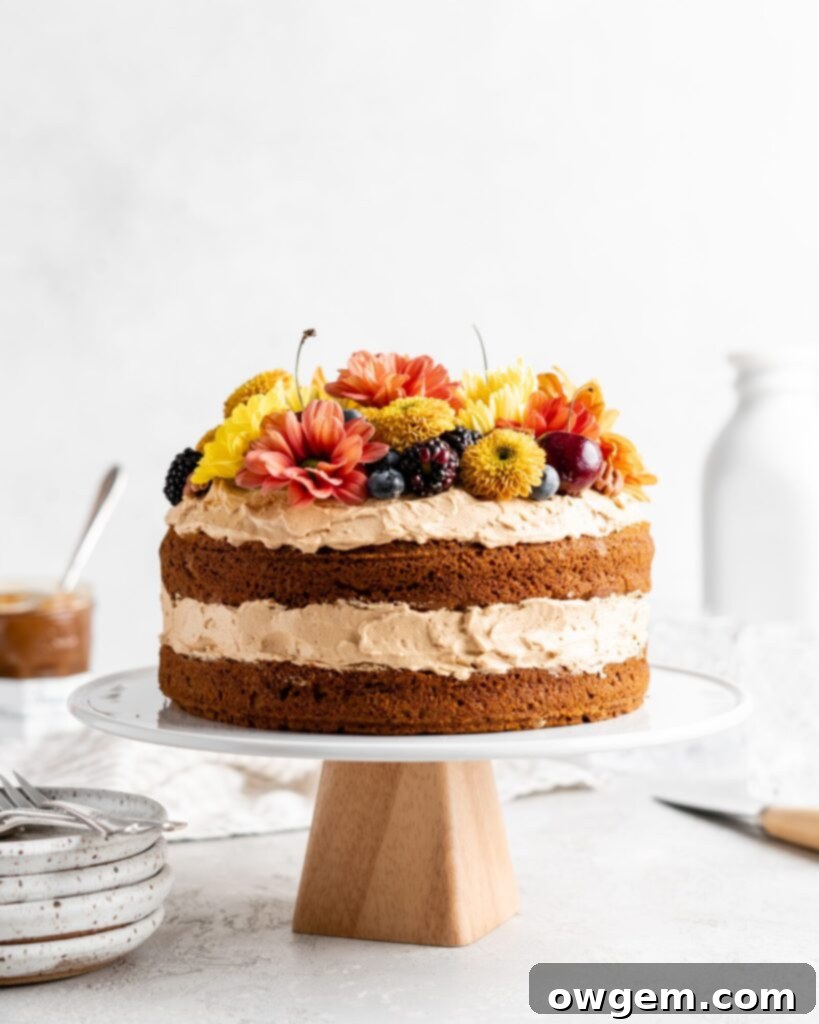
What is Brown Butter and Why It’s a Game-Changer for Your Pumpkin Cake?
Brown butter, also known as beurre noisette, is a culinary marvel that transforms ordinary butter into something truly extraordinary. This simple yet profound technique involves gently cooking butter until its milk solids caramelize, unlocking a depth of flavor that is nutty, toasted, and wonderfully aromatic. The magic happens through the Maillard reaction, a chemical process responsible for the delicious browning of many foods. As the butter melts and simmers, the water evaporates, allowing the milk solids to separate and descend to the bottom of the pan. Under controlled heat, these solids begin to toast and caramelize, turning a beautiful golden-brown color and releasing an intoxicating aroma reminiscent of toasted hazelnuts or caramel. This rich, complex flavor profile is precisely what elevates our Brown Butter Pumpkin Cake from merely delicious to absolutely unforgettable, perfectly complementing the warm spices and earthy pumpkin notes.
Don’t let the elegant name intimidate you; browning butter is surprisingly straightforward and an essential skill for any home baker looking to add a gourmet touch. To begin, you’ll want to use unsalted butter, cut into cubes, and ideally at room temperature, as this promotes more even melting. Place the butter in a light-colored saucepan over medium heat. A light-colored pan is crucial because it allows you to easily monitor the color changes, preventing the butter from burning. As the butter melts, it will begin to foam. Continue to cook, stirring constantly with a whisk or spatula. Constant stirring ensures the milk solids cook evenly and don’t stick to the bottom and burn. The butter will transition from yellow to a light golden hue, then deepen into an amber, nutty brown, emitting a rich, toasty fragrance. Watch closely for those tiny brown flecks at the bottom of the pan – those are the caramelized milk solids, signaling perfection. Once it reaches a beautiful nutty brown color and is incredibly fragrant, immediately remove it from the heat to prevent overcooking.
One crucial step often overlooked is allowing the browned butter to cool sufficiently before incorporating it into your cake batter. Adding hot butter directly to eggs in your wet ingredients will cause the eggs to scramble or coagulate, leading to a lumpy batter and a ruined cake texture. To avoid this common pitfall, simply pour your freshly browned butter into a heat-proof measuring cup or bowl. For quick cooling, you can place it in the refrigerator or freezer for approximately 20-30 minutes, or until it’s just slightly warm to the touch, resembling a thick, soft liquid. The goal is for it to be cool enough that it won’t cook the eggs, but still liquid enough to easily mix into the other ingredients. This patient waiting period is key to achieving a perfectly smooth, velvety pumpkin cake batter.
Crafting Your Delicious Brown Butter Pumpkin Cake Layers
Creating the base for this magnificent fall dessert involves a few simple steps. Paying attention to detail in each stage will ensure your pumpkin cake layers are perfectly moist, flavorful, and ready for that incredible dulce de leche buttercream.
1. Brown the Butter: Begin by executing the brown butter process as detailed in the previous section. This critical first step infuses the cake with its signature nutty flavor. Once browned to perfection, immediately transfer the hot butter into a separate heat-proof bowl or measuring cup. Place it in the refrigerator or freezer for at least 30 minutes. The goal is for the butter to cool down significantly, becoming slightly warm to the touch but no longer hot. This prevents the eggs from scrambling when combined later, ensuring a smooth, emulsified batter.
2. Prepare Dry Ingredients: While your brown butter cools, preheat your oven to 350°F (175°C) and prepare two 8-inch round cake pans. Grease and flour them thoroughly, or line the bottoms with parchment paper for easy release – a vital step to prevent sticking. In a large mixing bowl, combine all your dry ingredients: all-purpose flour, dark brown sugar, white granulated sugar, baking soda, baking powder, salt, ground cinnamon, and allspice. Whisk these ingredients together vigorously for about 1-2 minutes until they are thoroughly combined and there are no visible lumps of sugar or spices. This ensures the leavening agents and spices are evenly distributed throughout the batter, leading to a consistent rise and flavor in every slice.
3. Combine Wet Ingredients: In a separate, even larger bowl, introduce your wet ingredients. Crack in the large eggs (ensure they are at room temperature for better emulsion), add the cooled brown butter, the rich pumpkin puree (make sure it’s 100% pumpkin, not pumpkin pie filling), and a touch of vanilla extract. Whisk this mixture thoroughly until it is completely smooth and cohesive. The goal is a uniform liquid base that will integrate beautifully with the dry ingredients. Room temperature eggs are particularly important here as they emulsify much better with the other liquids, creating a smoother batter.
4. Integrate Dry into Wet: Now, it’s time to bring everything together. Gradually add the whisked dry ingredients into the bowl containing the wet ingredients. Start by adding about half, mix gently until just combined, then add the remaining dry ingredients. Continue to whisk until a smooth, uniform batter has formed. Be careful not to overmix the batter at this stage. Overmixing can develop the gluten in the flour too much, leading to a tough and dense cake. Mix only until the streaks of flour disappear, ensuring a tender and moist crumb.
5. Bake to Perfection: Divide the pumpkin cake batter evenly between your two prepared 8-inch cake pans. Use a kitchen scale for precision if you have one, to ensure both layers bake uniformly. Place the pans into the preheated oven and bake for approximately 30-35 minutes, or until a wooden skewer or toothpick inserted into the center of the cakes comes out clean. The cakes should be golden brown and spring back lightly when gently pressed. Once baked, remove them from the oven and allow them to cool in their pans on a wire rack for about 10-15 minutes before inverting them directly onto the wire rack to cool completely. Cooling completely is crucial before leveling and frosting; warm cake will melt your buttercream, creating a messy situation. Once fully cooled, use a serrated knife or a cake leveler to carefully trim any domed tops, creating flat surfaces ideal for neat stacking.
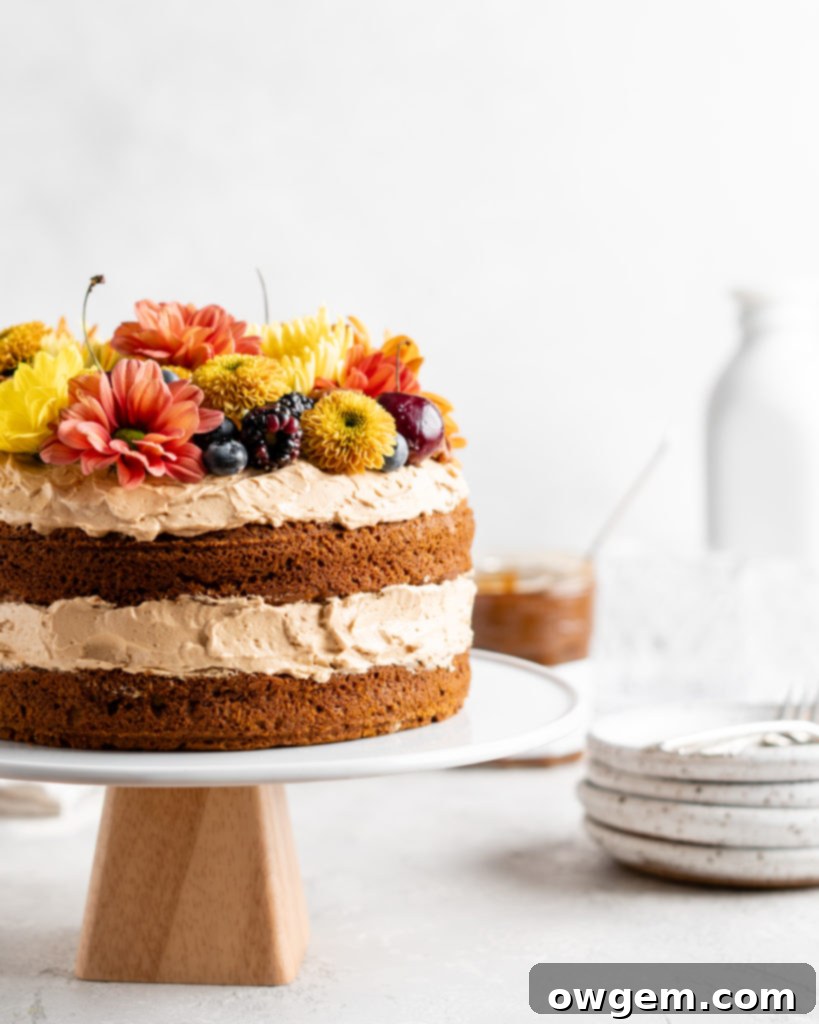
Understanding Russian Buttercream: The Silky, Sweet Dream
Our Brown Butter Pumpkin Cake is elevated with a frosting that is truly in a league of its own: a Dulce de Leche Russian Buttercream. If you’re unfamiliar with this delightful creation, prepare to be amazed by its simplicity and luxurious texture. Unlike many other buttercreams that rely on powdered sugar or egg whites, Russian buttercream is elegantly minimalist, requiring just two primary ingredients: softened butter and sweetened condensed milk (or in our case, the richer, caramel-infused dulce de leche). The magic lies in how these two components are combined to yield a frosting that is exceptionally silky, incredibly creamy, and perfectly sweet without being cloyingly so. Its mouthfeel often draws comparisons to the refined lightness of Swiss Meringue Buttercream, while its sweetness profile hits a perfect balance, sitting comfortably between the less sweet meringue-based varieties and the intensely sweet American buttercream. This makes it an ideal complement to the robust flavors of our pumpkin cake.
The secret to a flawless Russian buttercream, and indeed to avoiding a soupy or broken frosting, hinges entirely on one critical factor: the temperature of your butter. Achieving the optimal butter temperature of approximately 65°F (around 18°C) is paramount. If you don’t have a kitchen thermometer, you can gauge this by touch: the butter should feel slightly cool, not cold and hard from the fridge, but firm enough that your finger leaves a slight indent without sinking deep into it. It should be pliable but not greasy or melty. Butter that is too warm will result in a runny, unstable buttercream that won’t hold its shape, while butter that is too cold will resist whipping into the necessary light and fluffy consistency, resulting in a lumpy mixture.
Once your butter is at the ideal temperature, the process begins in your stand mixer. Fit your mixer with the whisk attachment and add the softened butter. Beat the butter on high speed for a full 5 minutes. During this vigorous whipping, you’ll observe the butter transforming: it will become significantly lighter in color, almost white, increase in volume, and take on a wonderfully fluffy, aerated texture. This aeration is key to creating a light buttercream. Next, with the mixer still running on high, gradually add the dulce de leche. It is crucial to incorporate the dulce de leche in four separate additions, allowing each portion to be fully absorbed and emulsified into the butter before adding the next. This slow incorporation prevents the buttercream from breaking or becoming soupy by giving the butter time to absorb the added liquid. Once all the dulce de leche has been added and thoroughly combined, you will have a perfectly smooth, stable, and beautifully fluffy Russian buttercream, ready to crown your pumpkin cake.
Troubleshooting: How to Rescue Soupy Russian Buttercream
Even experienced bakers can encounter a soupy buttercream from time to time – it’s a common issue and thankfully, an easy one to fix! If your Russian buttercream appears runny, thin, or won’t hold its shape, the culprit is almost always butter that was too warm, or perhaps the room temperature dulce de leche slightly raised the overall temperature of your butter during mixing. The good news is, there’s no need to panic or discard your batch. The solution is straightforward and effective.
Simply place the entire mixing bowl containing your soupy buttercream into the refrigerator for 15 to 20 minutes. This chilling period will allow the butter to firm up slightly, bringing it back to the optimal temperature for whipping. After the designated cooling time, remove the bowl from the fridge. The buttercream might look slightly firmer or even a bit lumpy at this point – that’s perfectly normal. Return the bowl to your stand mixer and whip the buttercream on high speed again for a few minutes. As the mixer works its magic, you’ll witness a remarkable transformation: the buttercream will come together beautifully, whipping up into the desired silky, fluffy, and stable frosting. It will be ready to spread and decorate your Brown Butter Pumpkin Cake with confidence!
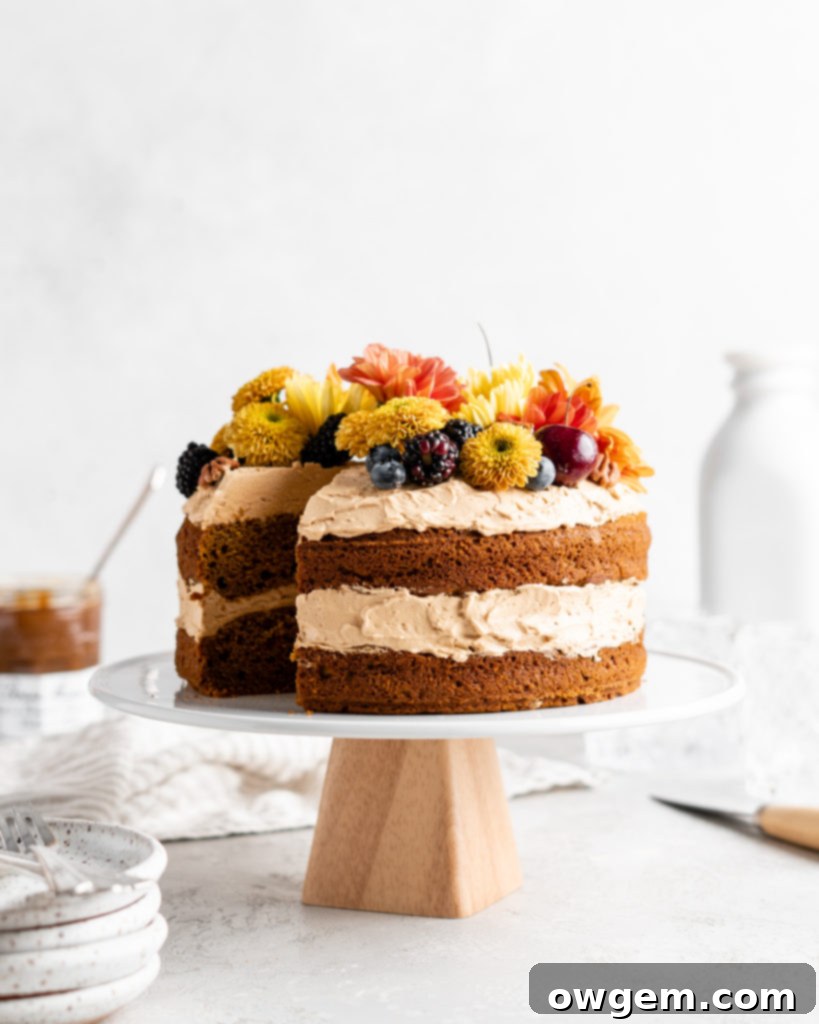
With your perfectly baked Brown Butter Pumpkin Cake layers and a silky, stable Dulce de Leche Russian Buttercream, you are now ready to assemble a masterpiece. This cake is more than just a dessert; it’s an experience, bringing together the comforting spices of fall with the sophisticated nutty notes of brown butter and the luxurious sweetness of dulce de leche. Serve it as the centerpiece of your holiday table, a cozy treat for family and friends, or simply as a well-deserved indulgence. Each slice promises a symphony of flavors and textures that will make this Brown Butter Pumpkin Cake an instant classic in your fall baking repertoire. Enjoy the process, and savor every exquisite bite!
Get the Recipe:
Brown Butter Pumpkin Cake
Pin
Rate
Ingredients
Brown Butter Pumpkin Cake
- 1 cup Unsalted Butter,, at room temperature and cubed
- 240 g (8.5oz) All Purpose Flour,, about 2 cups measured volumetrically
- 1 cup Dark Brown Sugar
- 1/2 cup White Sugar
- 2 tsp Baking Powder
- 1 tsp Baking Soda
- 1/2 tsp Salt
- 2 tsp Cinnamon
- 1 tsp Allspice
- 3 Large Eggs,, at room temperature
- 15 oz Can Pumpkin Puree, (about 2 cups)
- 1 tsp Vanilla
Dulce De Leche Russian Buttercream
- 1 cup Unsalted Butter,, at room temperature 65°F
- 10 oz Dulce De Leche
Equipment
-
Stand mixer
Instructions
Brown Butter Pumpkin Cake
-
In a small saucepan over medium heat, add butter and bring to a boil. Continue heating over medium heat, constantly stirring until the butter has turned a nutty brown color. It may be hard to see the color if your butter is foaming a lot, so periodically take it off the heat to check the color. Remove from heat, place into a heat-proof glass and then into the fridge to cool off for 30 minutes.
-
Preheat oven to 350°F (175°C). Prepare two 8” springform cake pans with cooking spray and parchment. Add flour, brown sugar, white sugar, baking powder, baking soda, salt, cinnamon, and allspice to a medium bowl. Whisk until well-combined. Set aside.
-
In a separate large mixing bowl, add the cooled brown butter, eggs, pumpkin puree, and vanilla. Whisk until well-combined and smooth.
-
Add the dry ingredients to the large bowl with the wet ingredients, then whisk until a smooth batter comes together.
-
Divide the batter evenly between the two prepared pans, then place into the oven to bake for about 30 minutes, or until an inserted toothpick comes out clean. Allow cakes to cool completely.
Dulce De Leche Russian Buttercream
-
Add butter to stand mixer fitted with the whip attachment. Whip the butter on high for 5 minutes. When done, the butter should look fluffy and white.
-
Add the dulce de leche, in 4 additions, allowing the dulce de leche to completely incorporate before adding the next addition. When ready, the buttercream should look nice and fluffy.
Stacking & Decorating the Pumpkin Cake
-
Level off each of the cake layers to remove any doming from the cakes.
-
Place one cake layer onto your serving plate or onto a cardboard cake circle. Spread an even layer of buttercream, about 1″ to 1 ½” thick, across the top of the layer.
-
Add the second layer on top, then repeat step 2. Decorate the top with anything you’d like!
