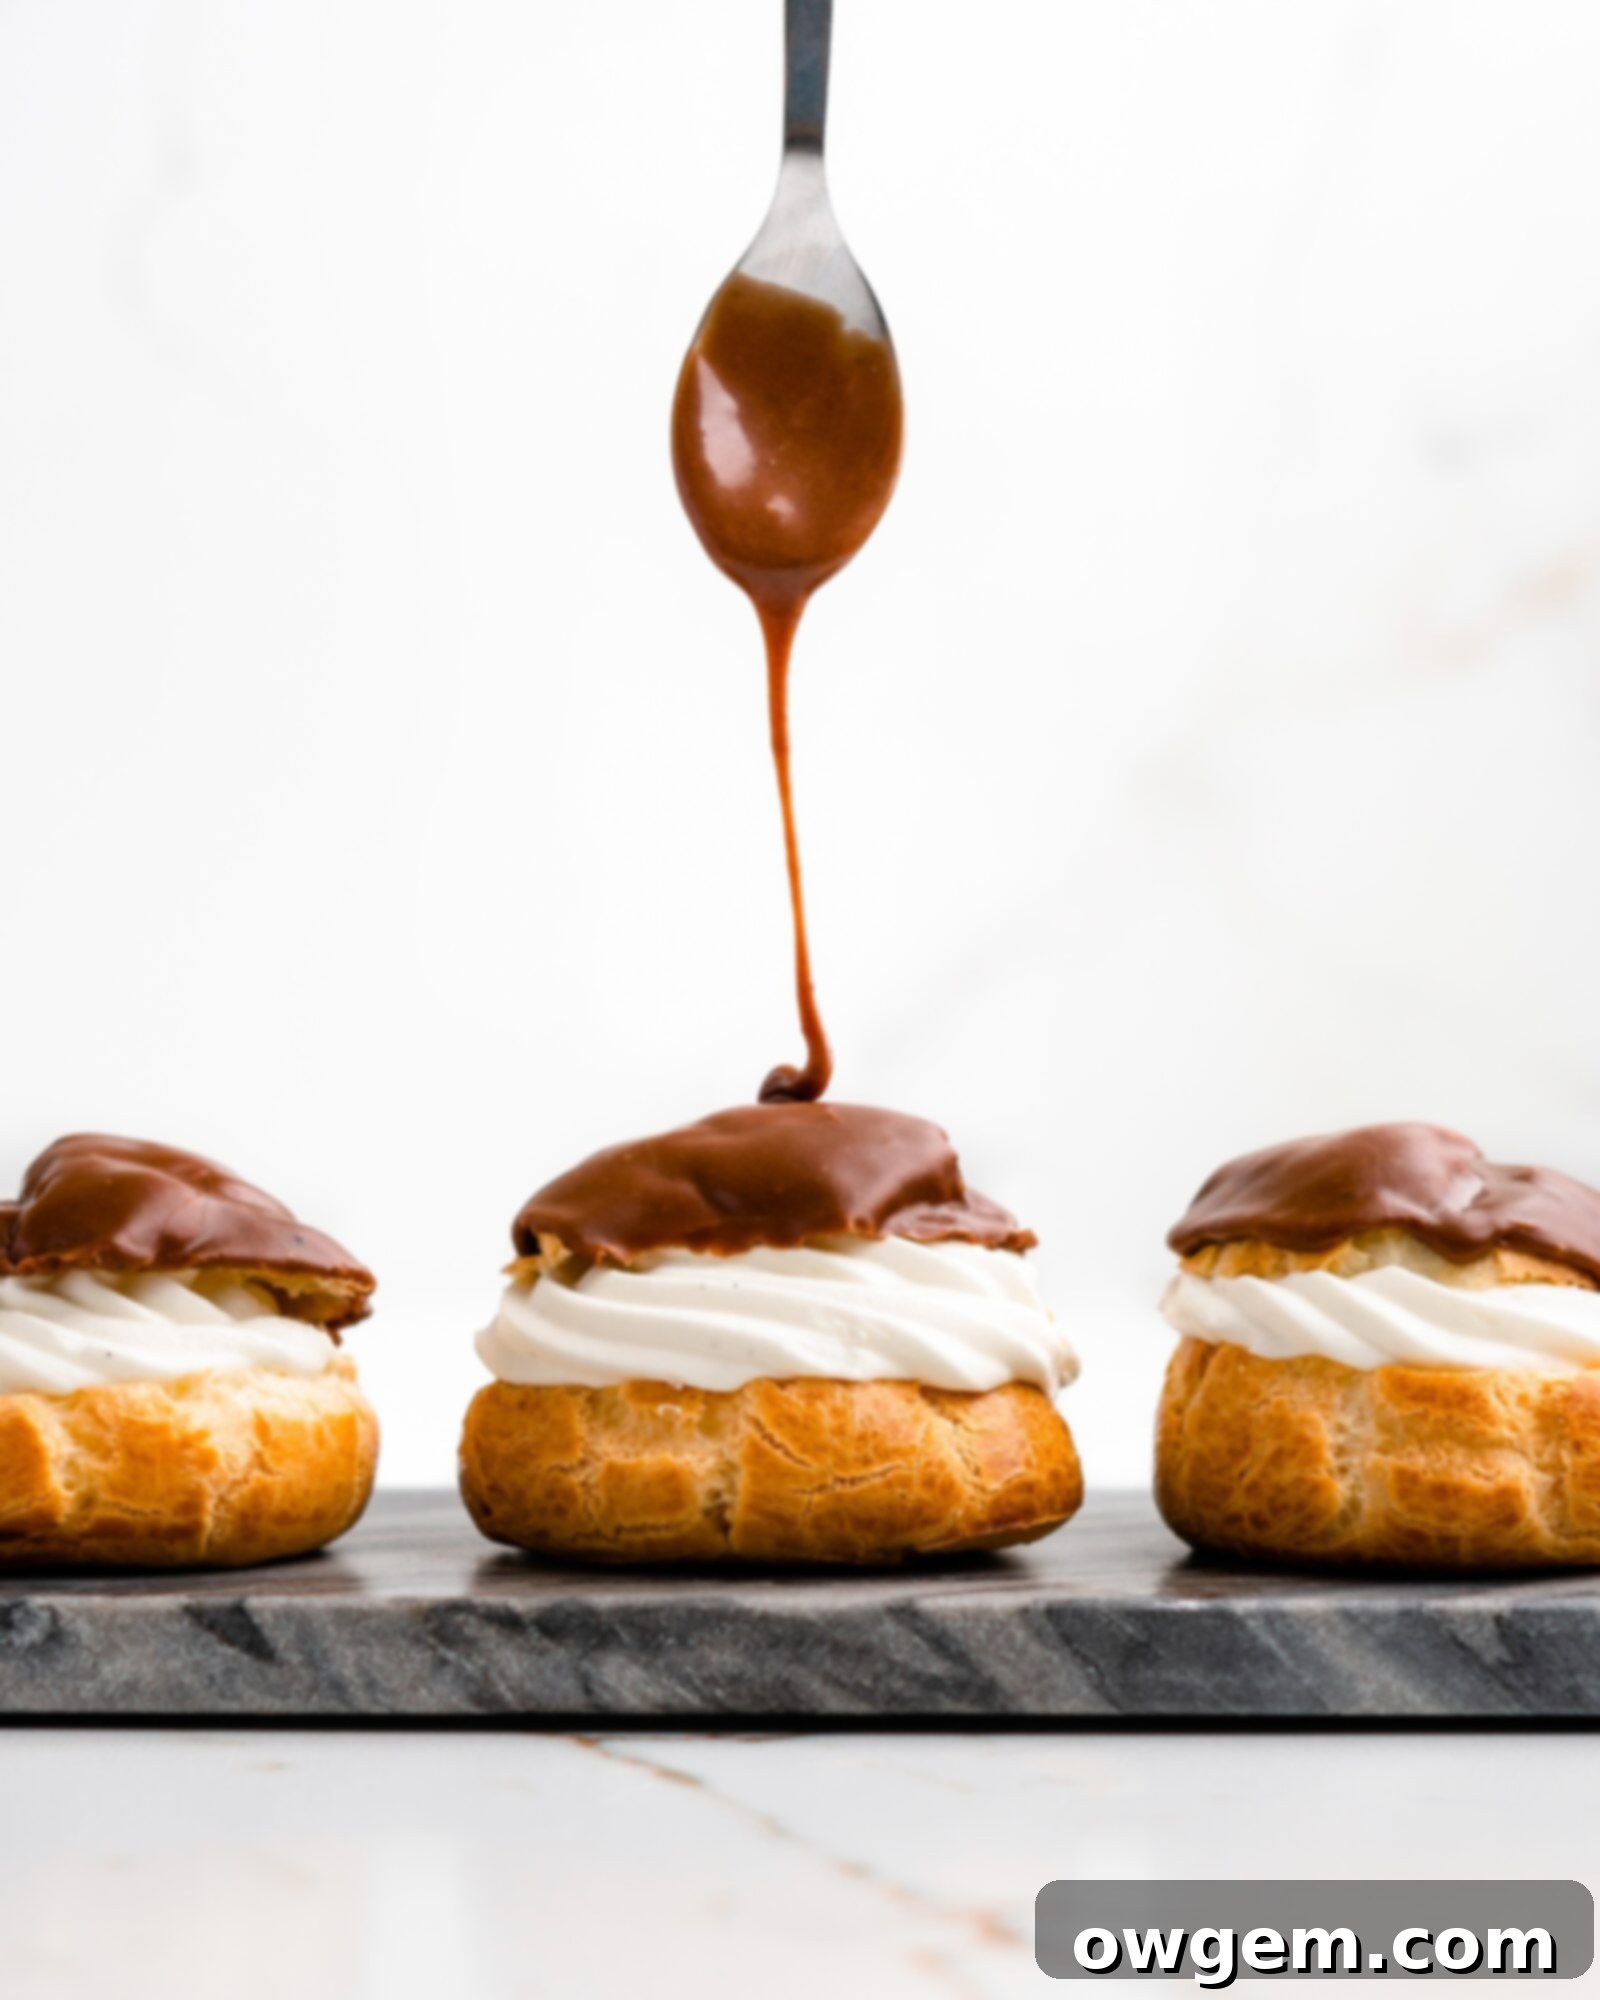
Mastering Classic Cream Puffs: A Step-by-Step Guide to Light Choux Pastry with Vanilla Bean Crème Diplomat and Chocolate Glaze
Embark on a delightful baking adventure to create these exquisite classic cream puffs, a slight adaptation inspired by the renowned Pierre Hermé’s celebrated recipe. This comprehensive guide provides everything you need, from detailed, step-by-step instructions for crafting perfect choux pastry shells to an indulgent recipe for Vanilla Bean Crème Diplomat. This luxurious filling offers a lighter, more ethereal texture than traditional pastry cream, achieved by gently folding in freshly whipped cream – a truly irresistible combination of richness and airiness. Finally, these beautiful little masterpieces are crowned with a simple yet utterly decadent chocolate glaze, completing a dessert that promises to impress and delight. Get ready to uncover the secrets to producing flawlessly puffed pastries that are as beautiful to behold as they are delicious to eat.
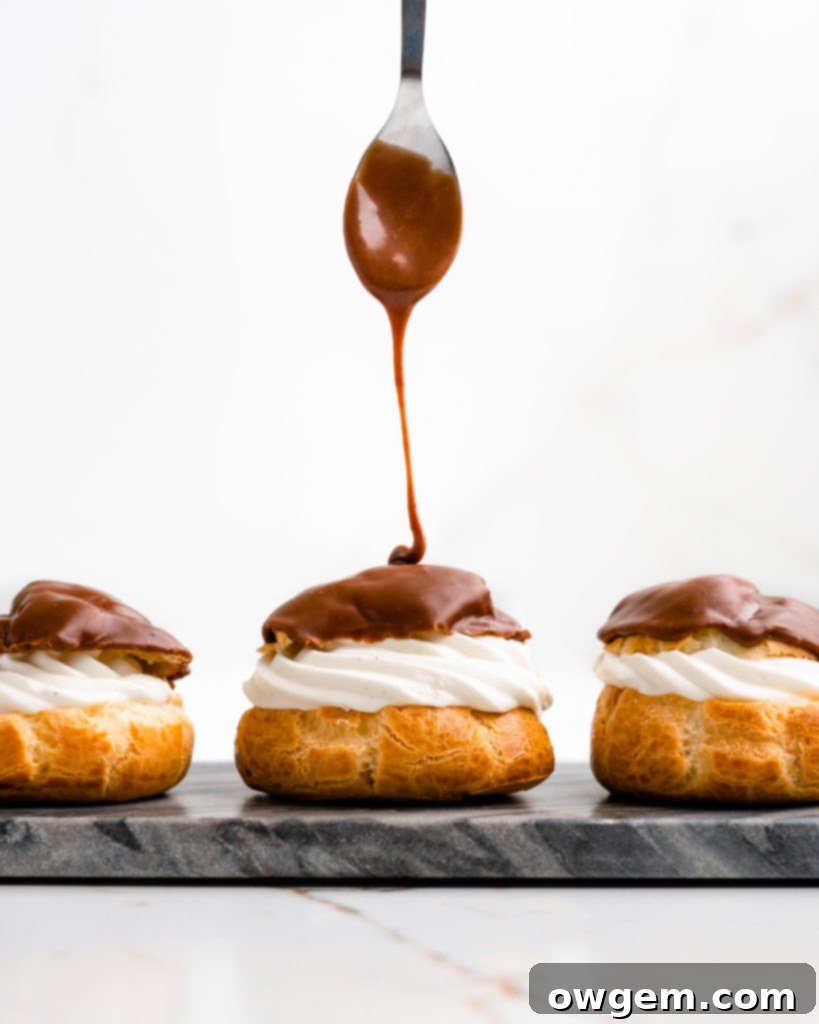
What Exactly Are Cream Puffs (Profiteroles)? The Magic of Choux Pastry
Cream puffs, known elegantly in French as profiteroles, are delightful hollow pastries made from a unique dough called choux pastry (or pâte à choux). Unlike other doughs that rely on yeast or chemical leaveners like baking powder, choux pastry gets its remarkable rise and airy interior from steam. This simple yet magical dough requires only a few basic ingredients: water, milk, butter, flour, and eggs. While the ingredient list might seem straightforward, the process itself demands attention to detail, transforming humble components into light, golden, and wonderfully crisp shells. The beauty of choux pastry lies in its versatility; it serves as the foundation for not only cream puffs but also éclairs, churros, and gougères. Mastering this dough is a fundamental skill for any aspiring baker, opening up a world of classic French patisserie.
The Science Behind the Perfect Puff: Unlocking Choux Pastry’s Secrets
The distinctive hollow center and impressive puff of choux pastry are not accidental; they are the result of a fascinating scientific process. When the choux dough, which has a high moisture content from the milk, water, and eggs, is exposed to high heat in the oven, the moisture rapidly converts into steam. This steam becomes trapped within the dough, exerting pressure from the inside out. As the steam pushes against the dough, it causes the pastry to inflate dramatically. Simultaneously, the high oven temperature quickly gelatinizes the starch in the flour and sets the protein in the eggs, creating a stable, sturdy crust that holds the puffed shape. This is why proper baking temperature and avoiding premature opening of the oven door are absolutely crucial – a sudden drop in temperature can cause the delicate structure to collapse before it has fully set, leading to sad, deflated pastries. Understanding this interplay of heat, steam, and structure is key to achieving consistent, beautifully puffed cream puffs every time.
Mastering Choux Pastry: Key Considerations for Success
While cream puffs may appear deceptively simple, achieving that perfect golden exterior and airy interior can be a delicate dance. Often described as “finicky,” choux pastry requires precision and an understanding of a few critical steps. But fear not! With the right techniques and a watchful eye, you can overcome these common challenges and consistently produce impressive, restaurant-quality cream puffs right in your own kitchen. Let’s delve into the nuances that make all the difference, transforming potentially intimidating moments into triumphs of baking.
The Critical Egg Count: A Delicate Balance
Perhaps the most crucial and often debated aspect of making choux pastry is determining the exact number of eggs. Our recipe calls for 4-5 large eggs, which might seem vague, but this variability is by design. The precise amount of egg needed is highly dependent on environmental factors, primarily the humidity in your kitchen. A humid environment means more moisture is present in the air, which the flour can absorb, leading to a dough that might require fewer eggs. Conversely, a very dry climate, like the prairies where I live, often means you’ll need that fifth egg to achieve the correct consistency. Too much moisture in your batter will result in cream puffs that stubbornly refuse to puff up, leading to dense, sad shells.
This is precisely why eggs must be added one at a time, allowing each to be fully incorporated before the next is introduced. After adding the fourth egg, it’s absolutely essential to perform the “V” test (or ribbon test) to assess your batter’s consistency. To do this, remove the paddle attachment from your stand mixer and dip it deep into the dough. Lift the paddle out, and observe how the dough falls off. You’re looking for a smooth, shiny batter that slowly detaches from the paddle in a distinct “V” shape or a thick ribbon that holds its shape for a moment before slowly falling. If the batter is too thick, clinging to the paddle without forming this characteristic shape, it needs more egg. If it drips off too quickly and loosely, it’s too wet. I typically find myself using five eggs due to the dry climate here, but I never skip that crucial check after the fourth egg—**every single time**. This careful adjustment ensures your choux dough has the perfect elasticity and moisture balance for optimal puffing.
The Dynamic Duo of Baking Temperatures: Why Turn the Oven Off Mid-Baking?
The baking process for cream puffs employs a two-stage temperature approach that is fundamental to their structure. The initial high temperature of 475°F (245°C) serves a critical purpose: it rapidly generates a burst of steam within the dough, causing the puffs to inflate quickly, and sets the outer crust, creating a strong framework. This intense heat is what gives the choux pastry its signature hollow interior and crisp exterior.
However, maintaining such a high temperature for the entire baking duration would lead to burnt exteriors while the interiors remain raw and moist. This is why we turn the oven off after the initial high-heat blast. This period of residual heat allows the internal structure to continue drying out and cooking through gently, without the risk of scorching the outside. Once the oven is turned back on to a lower temperature of 350°F (175°C), the pastries can finish baking and achieve a beautiful golden-brown color and a thoroughly dried interior.
It is paramount to follow one golden rule during this crucial initial baking phase: under no circumstance should you peek into the oven during the first 20 minutes of baking! Even the slightest breeze of cold air introduced by opening the oven door can cause the delicate, steam-filled cream puffs to deflate dramatically, turning your efforts into flat, dense discs. Patience is truly a virtue here; trust the process, and your patience will be rewarded with perfectly puffed results.
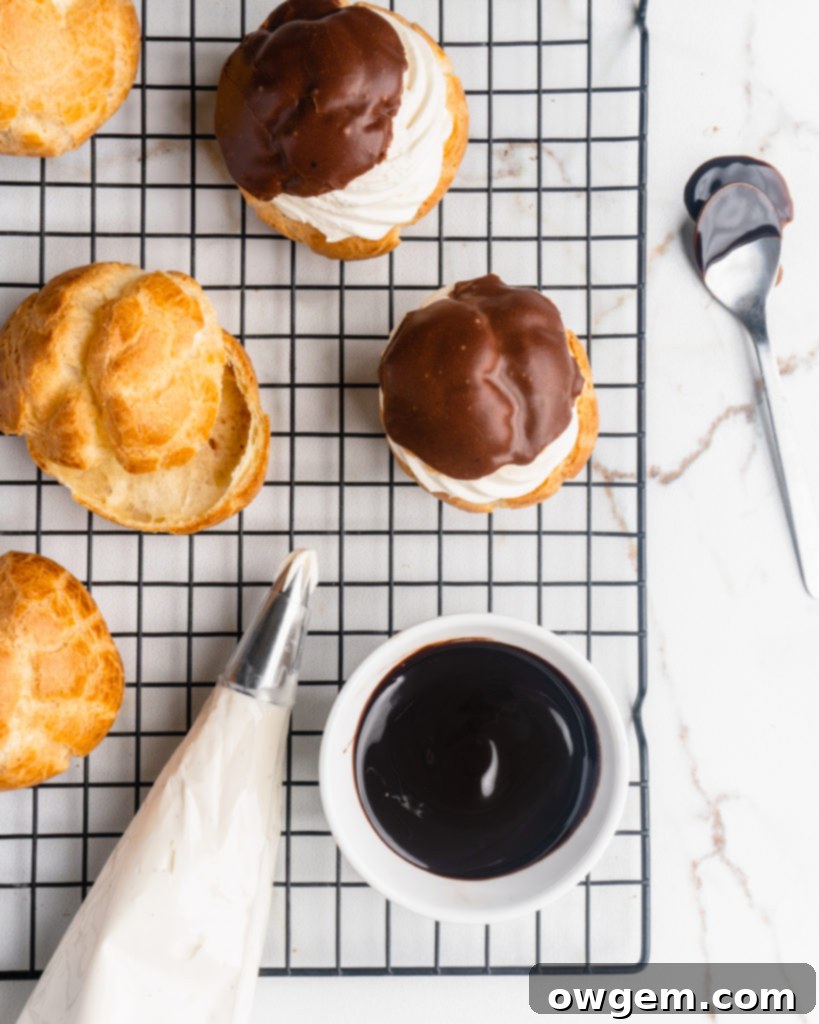
Confirming Doneness: The Ultimate Deflation Test
Determining when cream puffs are truly done can be tricky. While a golden-brown exterior and visibly puffed shape are good indicators, these visual cues alone don’t guarantee that the inside is fully cooked and dried out. If cream puffs are removed from the oven even a minute too early, their internal structure may not be fully set, leading them to collapse as they cool. The goal is a light, airy, and dry interior that can hold its shape.
The most reliable method I’ve discovered to test for doneness is surprisingly simple: **remove just one** of the cream puffs from the oven, close the door immediately, and wait approximately 45 seconds. If the removed puff begins to deflate or wrinkle significantly within this short period, it’s a clear signal that the batch needs more baking time. However, if the puff holds its shape beautifully and remains firm, then your cream puffs are ready to be moved to the next cooling stage. This small sacrifice of a single puff ensures the integrity of the entire batch, guaranteeing that all your hard work yields perfectly structured, crispy shells.
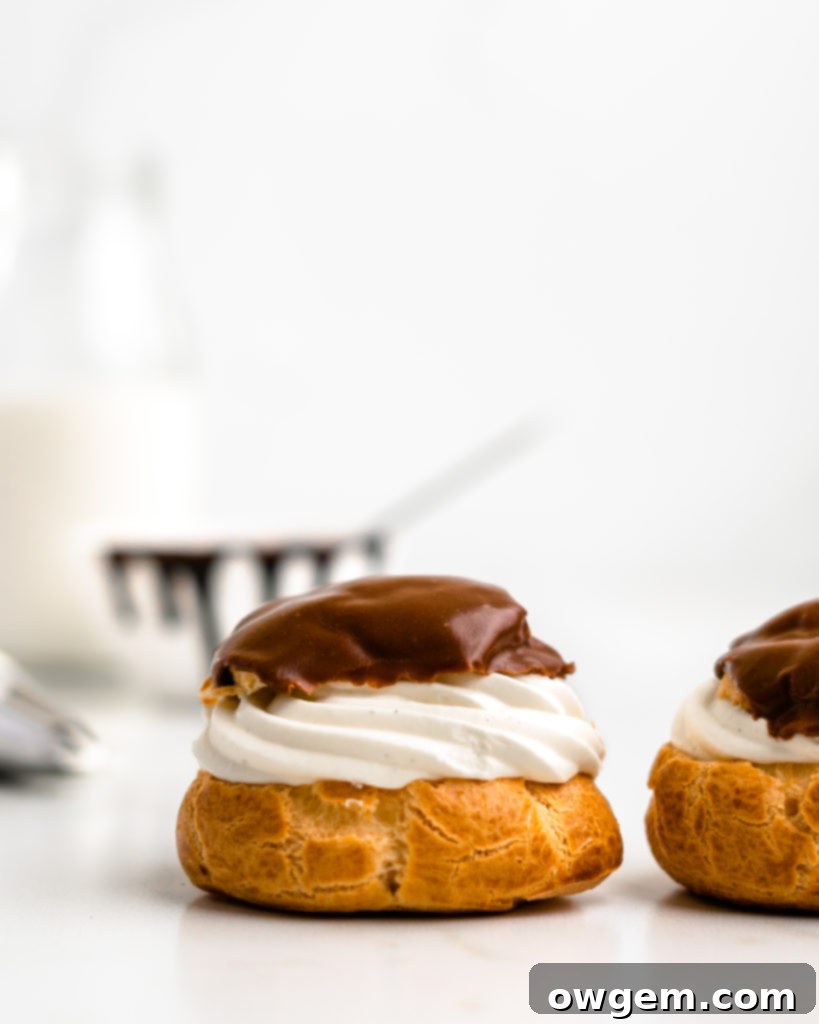
The Gentle Cool-Down: Preventing Collapse and Ensuring Crispness
Once your cream puffs are perfectly baked and pass the deflation test, the cooling process is equally important to maintain their integrity. The primary reason for allowing the puffs to cool gradually in a cracked oven is to prevent a sudden temperature shock. A drastic drop in temperature from the hot oven to room temperature can cause the delicate, set structure of the choux pastry to collapse, leading to sunken or wrinkled shells. By cooling them slowly in a slightly open oven, you allow the internal temperature to equalize more gently, helping them retain their proud, puffed shape.
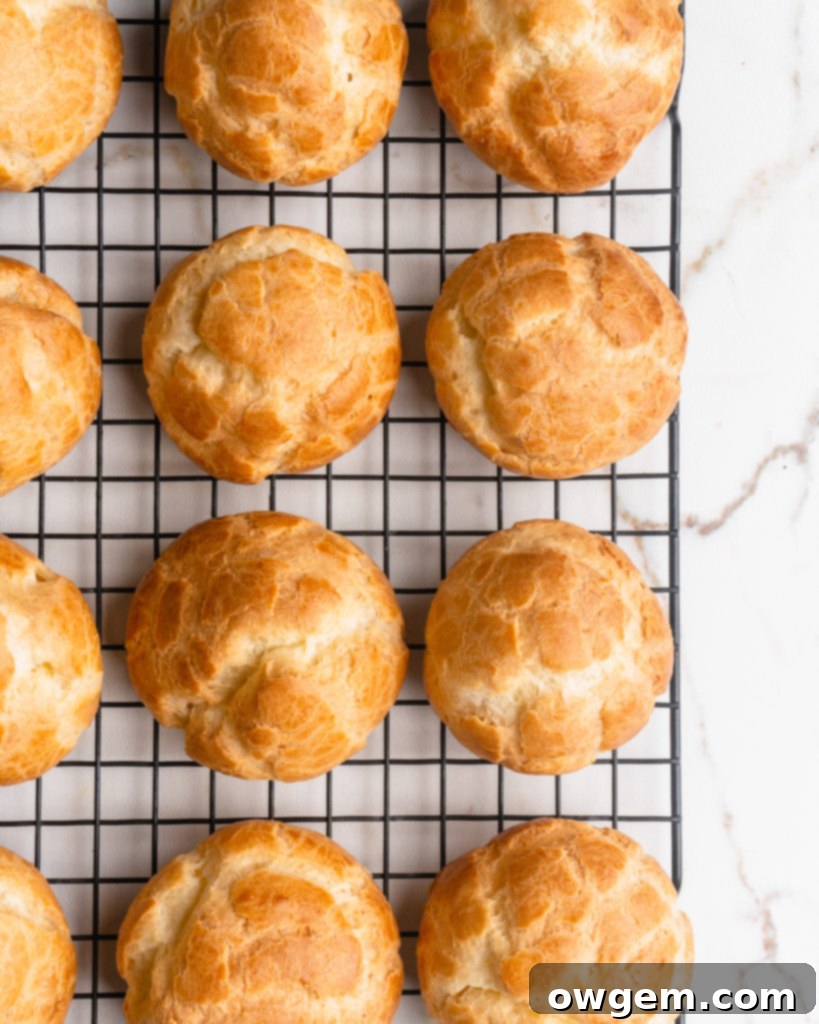
Furthermore, this method aids in drying out the interior of the shells even more, contributing to a crispier texture. After the cream puffs have been removed from the oven for good, consider poking a small hole in the side or bottom of each puff. This simple step allows any residual steam trapped inside to escape. Releasing this steam further prevents the interior from becoming soggy, ensuring your choux shells remain beautifully crisp and ready to be filled with your luscious Vanilla Bean Crème Diplomat. Proper cooling and drying are crucial for the best possible texture and longevity of your homemade cream puffs.
Elevating the Filling: Vanilla Bean Crème Diplomat
While classic pastry cream (crème pâtissière) is a delicious filling on its own, for cream puffs, we often seek something lighter, more elegant, and utterly melt-in-your-mouth. Enter **Vanilla Bean Crème Diplomat**. This exquisite filling takes traditional pastry cream to new heights by folding in an equal part of stiffly whipped heavy cream. The result is a filling that boasts all the rich flavor and smooth texture of pastry cream, but with an incredible lightness and airiness that prevents it from feeling too heavy or dense. It truly offers the best of both worlds: the stability and depth of pastry cream combined with the delicate cloud-like quality of whipped cream.
The addition of real vanilla bean paste elevates the flavor profile, infusing the crème diplomat with those unmistakable aromatic speckles and a profound vanilla essence. When making your pastry cream, pay close attention to tempering the eggs correctly and stirring constantly over medium-low heat to prevent lumps and scorching. Once the pastry cream is cooked and cooled completely (this is crucial for stability), gently fold in the whipped cream until just combined, ensuring you don’t overmix and deflate the airy texture. This velvety, vanilla-scented filling is the perfect complement to the crisp choux pastry, creating a harmonious balance of textures and flavors in every bite.
The Finishing Touch: A Simple yet Elegant Chocolate Glaze
No classic cream puff is complete without a shimmering, rich chocolate glaze. Our simple chocolate glaze recipe is designed for ease and provides a beautiful, glossy finish that adds another layer of decadence without overpowering the delicate flavors of the crème diplomat. Using semi-sweet chocolate offers a balanced sweetness, while butter contributes to the glaze’s smooth texture and sheen. A touch of light corn syrup is the secret ingredient for that professional-looking gloss and helps prevent the glaze from becoming too brittle once set. Ensure your chocolate is finely chopped for even melting, whether you choose the microwave method or a double boiler. Once melted and combined with the butter and corn syrup, the glaze should be smooth and pourable. Dipping the tops of your filled cream puffs into this luscious chocolate coating transforms them into truly irresistible treats, ready to be devoured after a brief setting time.
Get the Recipe:
Cream Puffs w/ Vanilla Bean Crème Diplomat
Pin
Rate
Ingredients
Cream Puffs
- 1/2 cup Whole Milk
- 1/2 cup Water
- 1/2 cup Unsalted Butter,, at room temperature
- 1 tbsp Sugar
- 1 tsp Salt
- 1 cup (120g) Flour
- 4-5 Large Eggs
- 1 Large Egg, for egg wash
- 1-2 tsp Water, for egg wash
Vanilla Bean Crème Diplomat
- 2 cups Milk, preferably Whole Milk
- ¼ cup Sugar
- 1 Whole Large Egg
- 2 Egg Yolks
- ¼ cup Cornstarch
- 1/3 cup Sugar
- 2 tbsp Unsalted Butter
- 1 tsp Vanilla Bean Paste (or Vanilla Extract)
- Pinch of Salt
- 2 cups Heavy Cream
Chocolate Glaze
- 135 g Semi-Sweet Chocolate,, finely chopped
- 3 tbsp Unsalted Butter,, at room temperature
- 3 tsp Light Corn Syrup
Instructions
Cream Puffs
-
Preheat oven to 475°F (245°C). Prepare 2 baking sheets by lining them with parchment paper. Also prepare a pastry bag by adding a plain ½” tip.
-
In a medium saucepan over medium heat, add milk, water, butter, 1 tbsp sugar, and salt, and bring to a boil, stirring occasionally. Add flour in the pot, all at once, and begin to stir very quickly. A ball of dough should form relatively quickly. Continue cooking, stirring vigorously, until a dry film begins to form on the bottom and sides of the saucepan. Remove from heat.
-
Place dough into a stand mixer, fitted with the paddle attachment, and beat for about 30 seconds to a minute, to cool the dough down. Add one egg and beat until completely incorporated (the dough should look dry again). Continue adding eggs one at a time, ensuring that each is completely incorporated before adding the next, scraping at the sides of the bowl occasionally. After the 4th egg, remove paddle from mechanism and place deep into the batter. If the batter forms a nice “V” shape off the paddle and slowly falls, it is ready. If the batter still looks thick and does not form a nice “V” or ribbon, then add another egg. Dough should be thick and sticky, but also shiny and smooth.
-
Add dough to the piping bag, and pipe directly onto parchment lined baking sheets. Pipe about nine 2” rounds per baking sheet (about 18 total). If your piped rounds have peaks, dip your finger into water and gently press down to flatten the peaks.
-
(Optional) For cream puffs that are more “perfect” in shape, freeze the piped choux pastry for 1 hour before baking.
-
Add an egg and water to a bowl and whisk together to form an egg wash. Using a pastry brush, brush evenly over the piped rounds. Place into the 475°F (245°C) oven, for exactly 1 minute. Immediately turn the oven off after this minute. After 9 minutes (without opening the oven door), turn the oven back on to 350°F (175°C), and bake for an additional 10 minutes. Rotate pans (if using two) and bake for another 10 minutes, or until the cream puffs are beautifully puffed, golden, and feel light when lifted (~ 30 minutes total baking time after the initial minute). To ensure the cream puffs are finished and won’t deflate, remove one from the oven and check if it collapses within 45 seconds – if it deflates, return the entire batch to the oven for a few more minutes.
-
When done, turn the oven off, and crack the oven door about 1/3 way open. Allow cream puffs to cool for 30-45 minutes in the cracked oven. Then, remove from oven and allow to cool completely on a wire rack before filling. For extra crispness, poke a small hole in the side or bottom of each puff to release any trapped steam.
Vanilla Bean Crème Diplomat
-
In a large sized heatproof bowl, whisk together the whole egg and egg yolks. Add in the 1/3 cup sugar and the cornstarch, and whisk vigorously until smooth and well combined. Set aside.
-
In a medium saucepan over medium heat, bring milk and ¼ cup sugar to a gentle boil, stirring occasionally to prevent scorching. Once it begins to boil, remove it from the heat. Very slowly drizzle about half of the hot milk mixture into the egg mixture, whisking vigorously the entire time to temper the eggs (this prevents them from scrambling). Once tempered, pour the entire egg-milk mixture back into the saucepan with the remaining milk and place back onto medium-low heat.
-
Cook the mixture, stirring constantly with a whisk, until the mixture has significantly thickened and resembles the consistency of a thick pudding or mayonnaise. Remove from heat, then add in the butter, vanilla bean paste (or extract), and a pinch of salt. Stir until the butter is completely melted and incorporated. Pour the pastry cream into a clean heatproof bowl. Place a piece of plastic wrap directly onto the surface of the custard to prevent a skin from forming as it cools, and place into the fridge to cool completely (at least 2-3 hours, or overnight).
-
In a stand mixer, fitted with the whisk attachment, add the heavy cream. On medium-high speed, beat the cream until stiff peaks have formed. Once the pastry cream is thoroughly chilled and firm, whisk it briefly to loosen it. Then, add the whipped cream to the cooled custard, and gently fold together using a spatula until completely incorporated and no streaks of whipped cream remain. Be careful not to deflate the whipped cream.
-
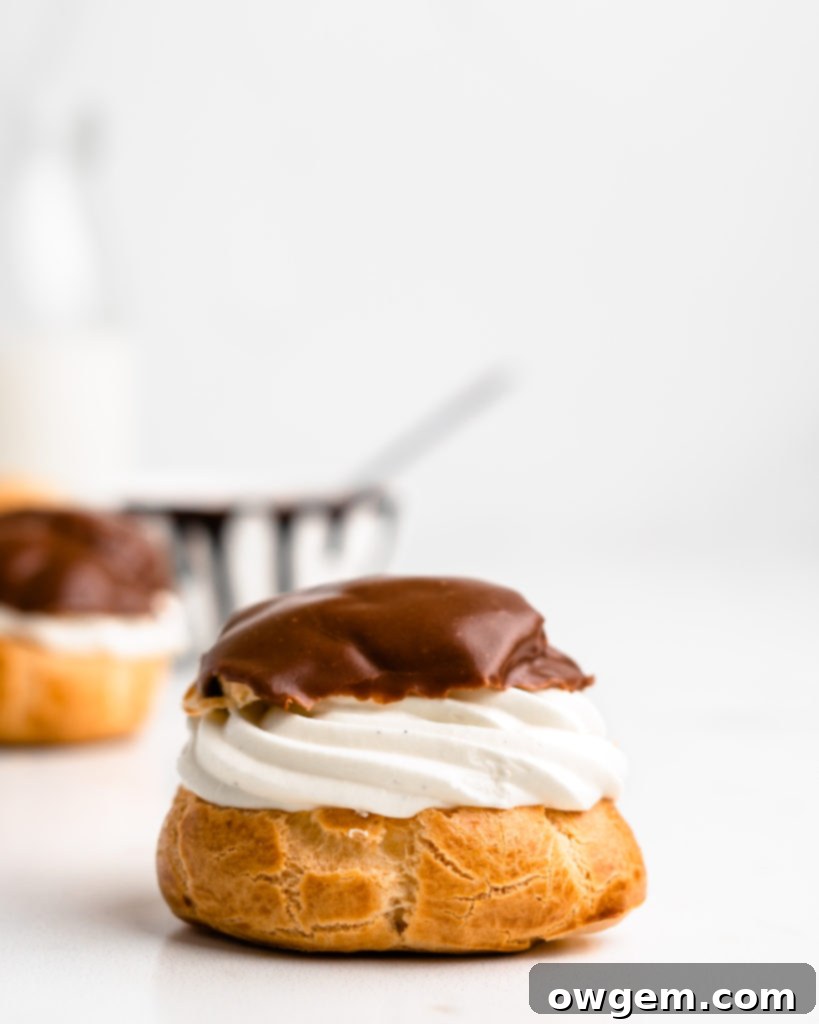
Using a serrated knife, carefully cut off the top of each cooled cream puff (or pipe the filling into the hole you poked earlier). Using a spoon or a piping bag fitted with a star tip, generously fill each cream puff with the luscious crème diplomat.
Chocolate Glaze
-
Add finely chopped semi-sweet chocolate to a microwave-safe bowl. Microwave on high for 1 minute, then stir well. Continue microwaving in 15-30 second intervals, stirring after each, until the chocolate is completely melted and smooth. Alternatively, melt over a double boiler.
-
Once the chocolate has completely melted, add the softened unsalted butter and light corn syrup. Stir together until the butter has melted into the chocolate and everything is well combined and glossy.
-
Carefully dip the tops of each filled cream puff into the warm chocolate glaze, allowing any excess to drip off. Place the glazed tops back onto the filled cream puffs. Allow the glaze to set for 10-15 minutes at room temperature (or briefly in the fridge) before serving and enjoying.
Source: Cream Puffs adapted from Pierre Hermé
Creme Diplomat adapted from All Recipes
