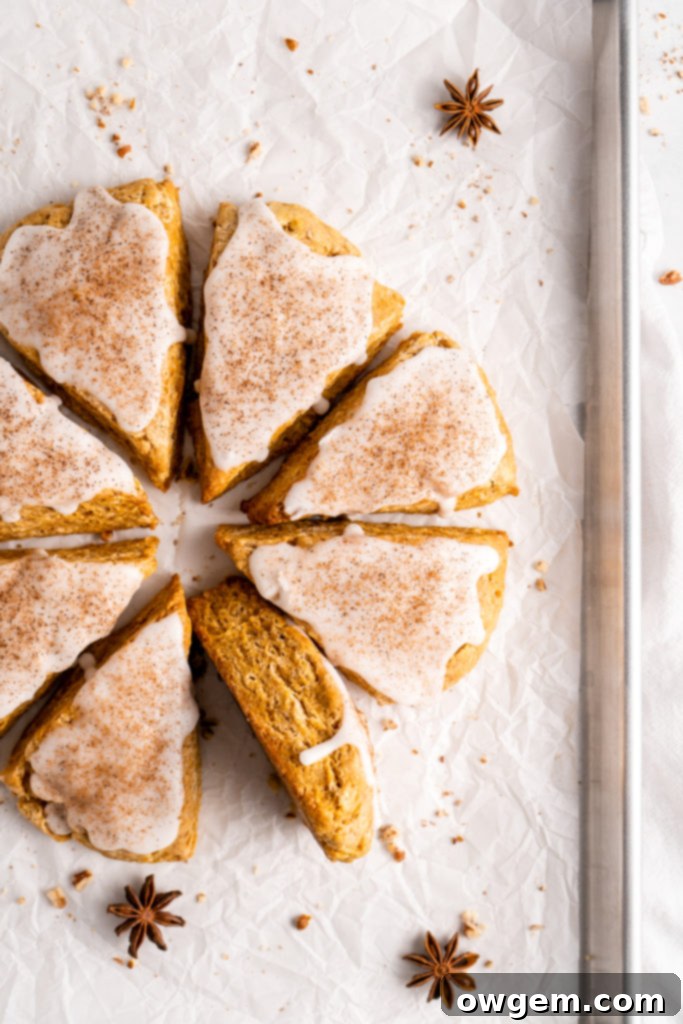
Irresistible Chai Spiced Pumpkin Scones: A Guide to Flaky, Moist, and Flavorful Autumn Baking
Embrace the cozy flavors of autumn with these truly incredible chai-spiced pumpkin scones. Each bite delivers a harmonious blend of warm, aromatic spices and a perfectly flaky, yet moist, texture that will transport you to a crisp fall afternoon. Infused with a thoughtful array of comforting chai spices, including fragrant cinnamon, earthy cloves, spicy ginger, warm cardamom, and a hint of nutmeg, these scones are a delightful treat. Prepare to discover layers of buttery goodness that are surprisingly tender, making them an ideal companion for your morning coffee or afternoon tea.
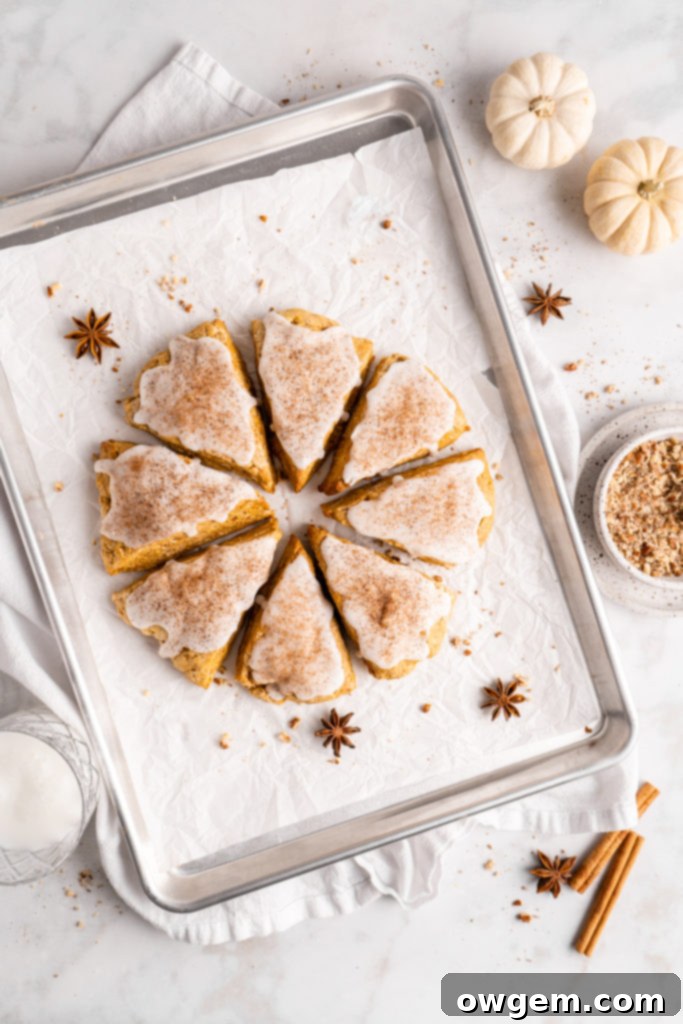
Mastering the Perfect Chai Pumpkin Scone: The Role of Key Ingredients
Achieving the quintessential scone texture—light, flaky, and tender—hinges significantly on the quality and preparation of your ingredients. Understanding how each component contributes to the final outcome is crucial for baking success. Let’s delve into the science and art behind selecting and using the right flour, butter, and pumpkin puree for these chai pumpkin scones.
Flour: The Foundation of Flakiness and Structure
The journey to perfect Chai Pumpkin Scones begins with a strategic choice of flour. For this recipe, we utilize a blend of both pastry flour and all-purpose flour. This combination is key to achieving that desirable flaky and tender final product. Pastry flour, with its lower protein content (typically 8-9% gluten), minimizes gluten development. Less gluten results in a softer, more delicate crumb, which is essential for tender pastries and scones.
However, relying solely on pastry flour can lead to a scone that lacks the structural integrity to hold its shape. This is where all-purpose flour comes into play. With its slightly higher gluten content, all-purpose flour provides just enough of the necessary gluten networks to give the scone structure without making it tough. By carefully mixing these two flours, your Chai Pumpkin Scones will strike the perfect balance: wonderfully tender and flaky, yet robust enough to hold together beautifully, ensuring they don’t crumble apart as you enjoy them.
A Note on Measuring Flour: Correctly measuring flour is paramount in baking, especially for delicate recipes like scones. The most accurate method is to weigh your flour using a digital kitchen scale. If you don’t have a scale, use the “spoon and level” method: gently spoon flour into your measuring cup until it overflows, then level it off with the back of a knife or a straight edge. Avoid scooping directly from the bag or packing the flour down, as this can add significantly more flour than intended, leading to dense, dry scones.
Butter: The Secret to Those Irresistible Flaky Layers
Let me emphasize this point: the butter must be cold. I cannot stress this enough – using very cold butter is absolutely crucial for creating the signature flaky layers in these Chai Pumpkin Scones. Personally, I often use butter straight from the freezer, as it helps maintain its cold temperature even as I work with it by hand. This attention to temperature is fundamental to the scone’s structure and texture.
The magic of cold butter lies in its physical composition. Butter is primarily composed of milk fat (around 80-82%) and water (about 16-17%). When tiny, cold chunks of butter are incorporated into the dough, they remain distinct. As the dough, layered with these cold butter pieces, enters a hot oven, the water within the butter rapidly heats up and turns into steam. This steam then pushes apart the layers of dough, creating tiny air pockets and, consequently, those coveted flaky, airy layers that are the hallmark of a perfect scone. If the butter is too warm, it will melt and “cream” into the flour mixture before baking, dispersing evenly throughout the dough instead of creating separate pockets. This results in a dense, solid pastry lacking the delicate flakiness we desire.
The Pumpkin Puree: For Moisture and Flavor
Just like the butter and heavy cream, your pumpkin puree should be cold. This simple step helps maintain the overall low temperature of the dough, further ensuring that the butter remains solid and contributes to flaky, moist chai pumpkin scones. When selecting pumpkin puree, any trusted brand will suffice, but it’s essential to confirm that you are using pure pumpkin puree and NOT pumpkin pie filling. Pumpkin pie filling is already sweetened and spiced, which would throw off the balance of flavors in our carefully crafted chai spice blend and add unwanted sugar. Pure pumpkin puree provides natural sweetness, beautiful color, and vital moisture without compromising the distinct chai profile.
The Aromatic Heart: Chai Spices
The soul of these scones lies in their warm, complex chai spice blend. Chai, meaning “tea” in many languages, refers to a spiced tea beverage, and its characteristic spices translate beautifully into baked goods. Our blend typically includes cinnamon, which offers a sweet and woody warmth; ground ginger, providing a subtle heat and pungent aroma; cloves, adding a deep, sweet, and slightly peppery note; cardamom, often considered the “queen of spices” for its intensely aromatic, floral, and slightly citrusy profile; and a touch of nutmeg for its comforting, woody sweetness. These spices are not just for flavor; they evoke a sense of warmth and coziness, perfectly complementing the pumpkin and making these scones an ideal treat for the cooler months. The careful balance ensures a rich, inviting aroma and a taste that is both familiar and exotic, setting these pumpkin scones apart from typical fall pastries.
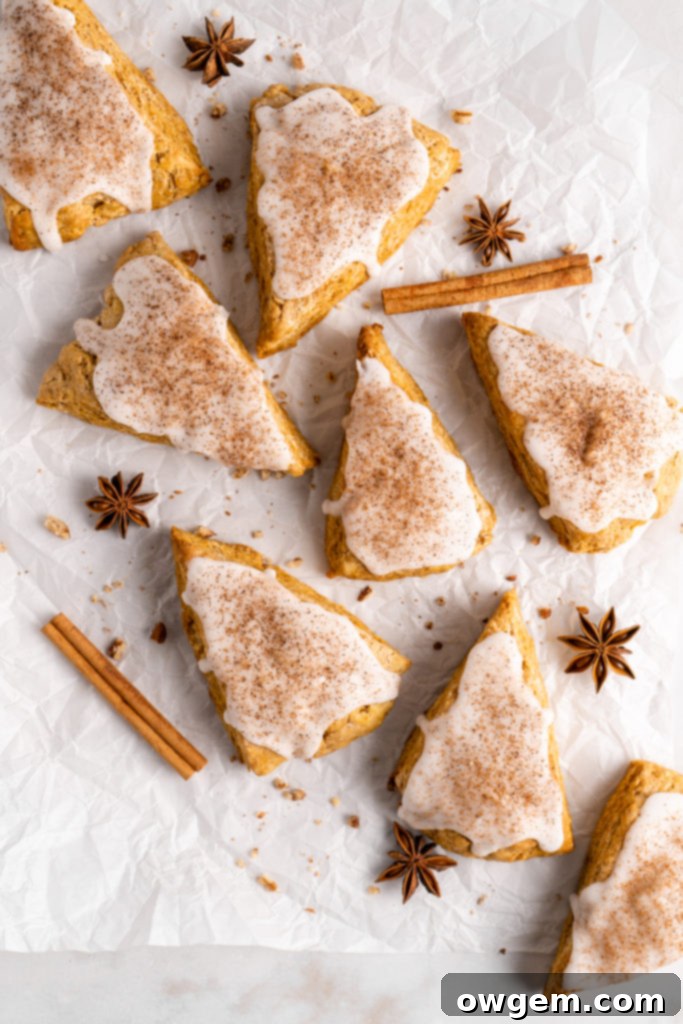
Crafting Your Chai Pumpkin Scones: A Step-by-Step Guide
Baking these chai pumpkin scones is a rewarding process that, while requiring a bit of hands-on effort, is surprisingly straightforward. Follow these steps carefully to ensure a perfect batch every time.
First Steps: Combining Dry Ingredients and Cutting in the Butter
Begin by adding both your measured pastry flour and all-purpose flour, light brown sugar, baking powder, salt, and all your aromatic chai spices (cinnamon, ground ginger, ground cloves, cardamom, nutmeg) to a large mixing bowl. Whisk these dry ingredients thoroughly to ensure everything is evenly distributed. This step is crucial for consistent flavor and proper leavening throughout your scones.
Next, introduce the cubed cold butter. This is where the “messy” but crucial work begins. Using either your hands or a pastry cutter, work the butter into the flour mixture. The goal is to break down the butter pieces until they are roughly the size of small peas. It’s perfectly fine if a few slightly larger pieces remain; in fact, these contribute to extra flakiness. The key is to avoid making them too small, which would cause them to melt too quickly. When using your hands, gently pinch the butter pieces between your fingers to break them apart. I find starting with my hands is effective for breaking larger chunks, and then I often switch to a pastry cutter to achieve a more uniform, pea-sized consistency.
Shaping and Cutting the Scones: The Delicate Touch
Once your butter is perfectly incorporated, it’s time to add the wet ingredients. Combine the cold heavy cream and cold pumpkin puree, then gently stir them into the flour-butter mixture. I prefer starting with a fork for initial mixing, which helps disperse the liquids evenly without overworking the dough. As the dough just begins to come together, switch to using your hands. This allows you to feel the dough’s consistency and gently bring it together within the bowl.
Continue forming the dough in the bowl with your hands. The dough will appear quite “shaggy” and somewhat loose, but it should ultimately come together into a cohesive mass. If you notice a lot of dry crumbs at the bottom of the bowl and the dough isn’t quite binding, slowly add a very small amount of additional cold heavy cream, a teaspoon at a time, until the dough comes together better. Remember, less is more; too much liquid can activate the gluten excessively, leading to tougher scones. Once the dough forms a shaggy, yet cohesive, mass, turn it out onto a lightly floured work surface.
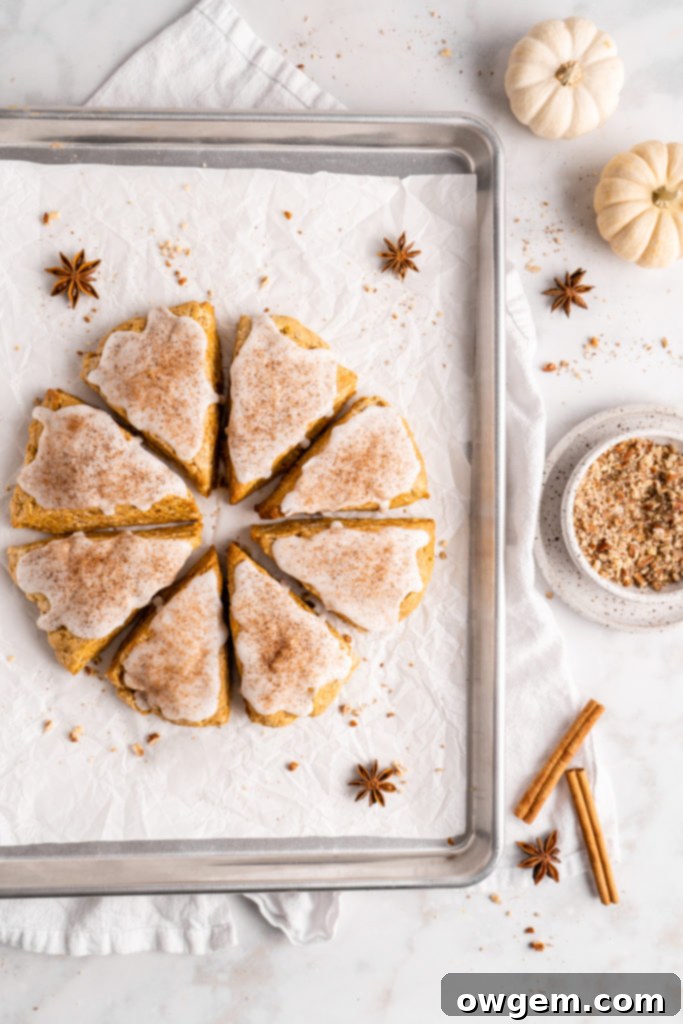
Gently pat the dough into a round disk shape. Resist the urge to knead or overwork the dough at this stage, as this will develop the gluten and compromise the tender texture we’re aiming for. Aim for a disk approximately 6-7 inches in diameter and about 1 inch thick. Once shaped, use a sharp knife or a bench scraper to cut the disk into 6-8 equal wedges, much like slicing a pie. Ensure your cuts are clean for well-formed scones.
The Essential 30-Minute Resting Period for Ultimate Texture
Once shaped and cut, carefully transfer your scone wedges onto a plate or baking sheet lined with parchment paper, ensuring they are spaced apart. Place this into the refrigerator for a minimum 30-minute resting period. This step, though often overlooked, is incredibly important for achieving the best possible scone texture and is multi-faceted in its benefits:
- Gluten Relaxation: The brief handling of the dough can activate some gluten. Resting allows these gluten strands to relax, which directly contributes to a more tender scone and prevents a tough, chewy texture.
- Flour Hydration: This resting period gives the flour ample time to fully hydrate with the liquids in the dough. Proper hydration leads to a more uniform crumb structure and a significantly better mouthfeel in the finished product.
- Butter Resolidification: Crucially, chilling the dough again ensures that the cold butter pieces resolidify. As previously discussed, maintaining the butter’s cold state is paramount for the creation of those distinct air pockets and the ultimate flaky texture during baking. A solid butter helps create steam, which lifts the scone layers.
While the scones are resting, it’s an excellent time to preheat your oven to 400°F (200°C), preparing it for optimal baking conditions.
Baking the Chai Pumpkin Scones to Golden Perfection
After the 30-minute resting period is complete, remove the scones from the fridge. Arrange them evenly onto a parchment-lined baking sheet, ensuring there’s enough space between each scone for even baking and expansion. For a beautiful golden-brown top and a slightly crispier crust, lightly brush the tops of each scone with a little extra heavy cream. This adds a touch of richness and helps with browning.
Place the baking sheet into your preheated 400°F (200°C) oven and bake for approximately 20-22 minutes. Baking times can vary slightly depending on your oven, so keep an eye on them. The scones are ready when their tops are beautifully golden brown and they feel firm to the touch. Once baked, carefully transfer the Chai Pumpkin Scones onto a wire cooling rack and allow them to cool completely. This cooling period is important before glazing, as applying glaze to warm scones would cause it to melt and run off, rather than set into a lovely, smooth coating.
Vanilla Glaze and Serving Suggestions
Once your delightful chai pumpkin scones have cooled completely, it’s time to add the finishing touch: a luscious vanilla glaze. This sweet and creamy topping provides a perfect contrast to the rich, spiced scones.
Making the Vanilla Glaze
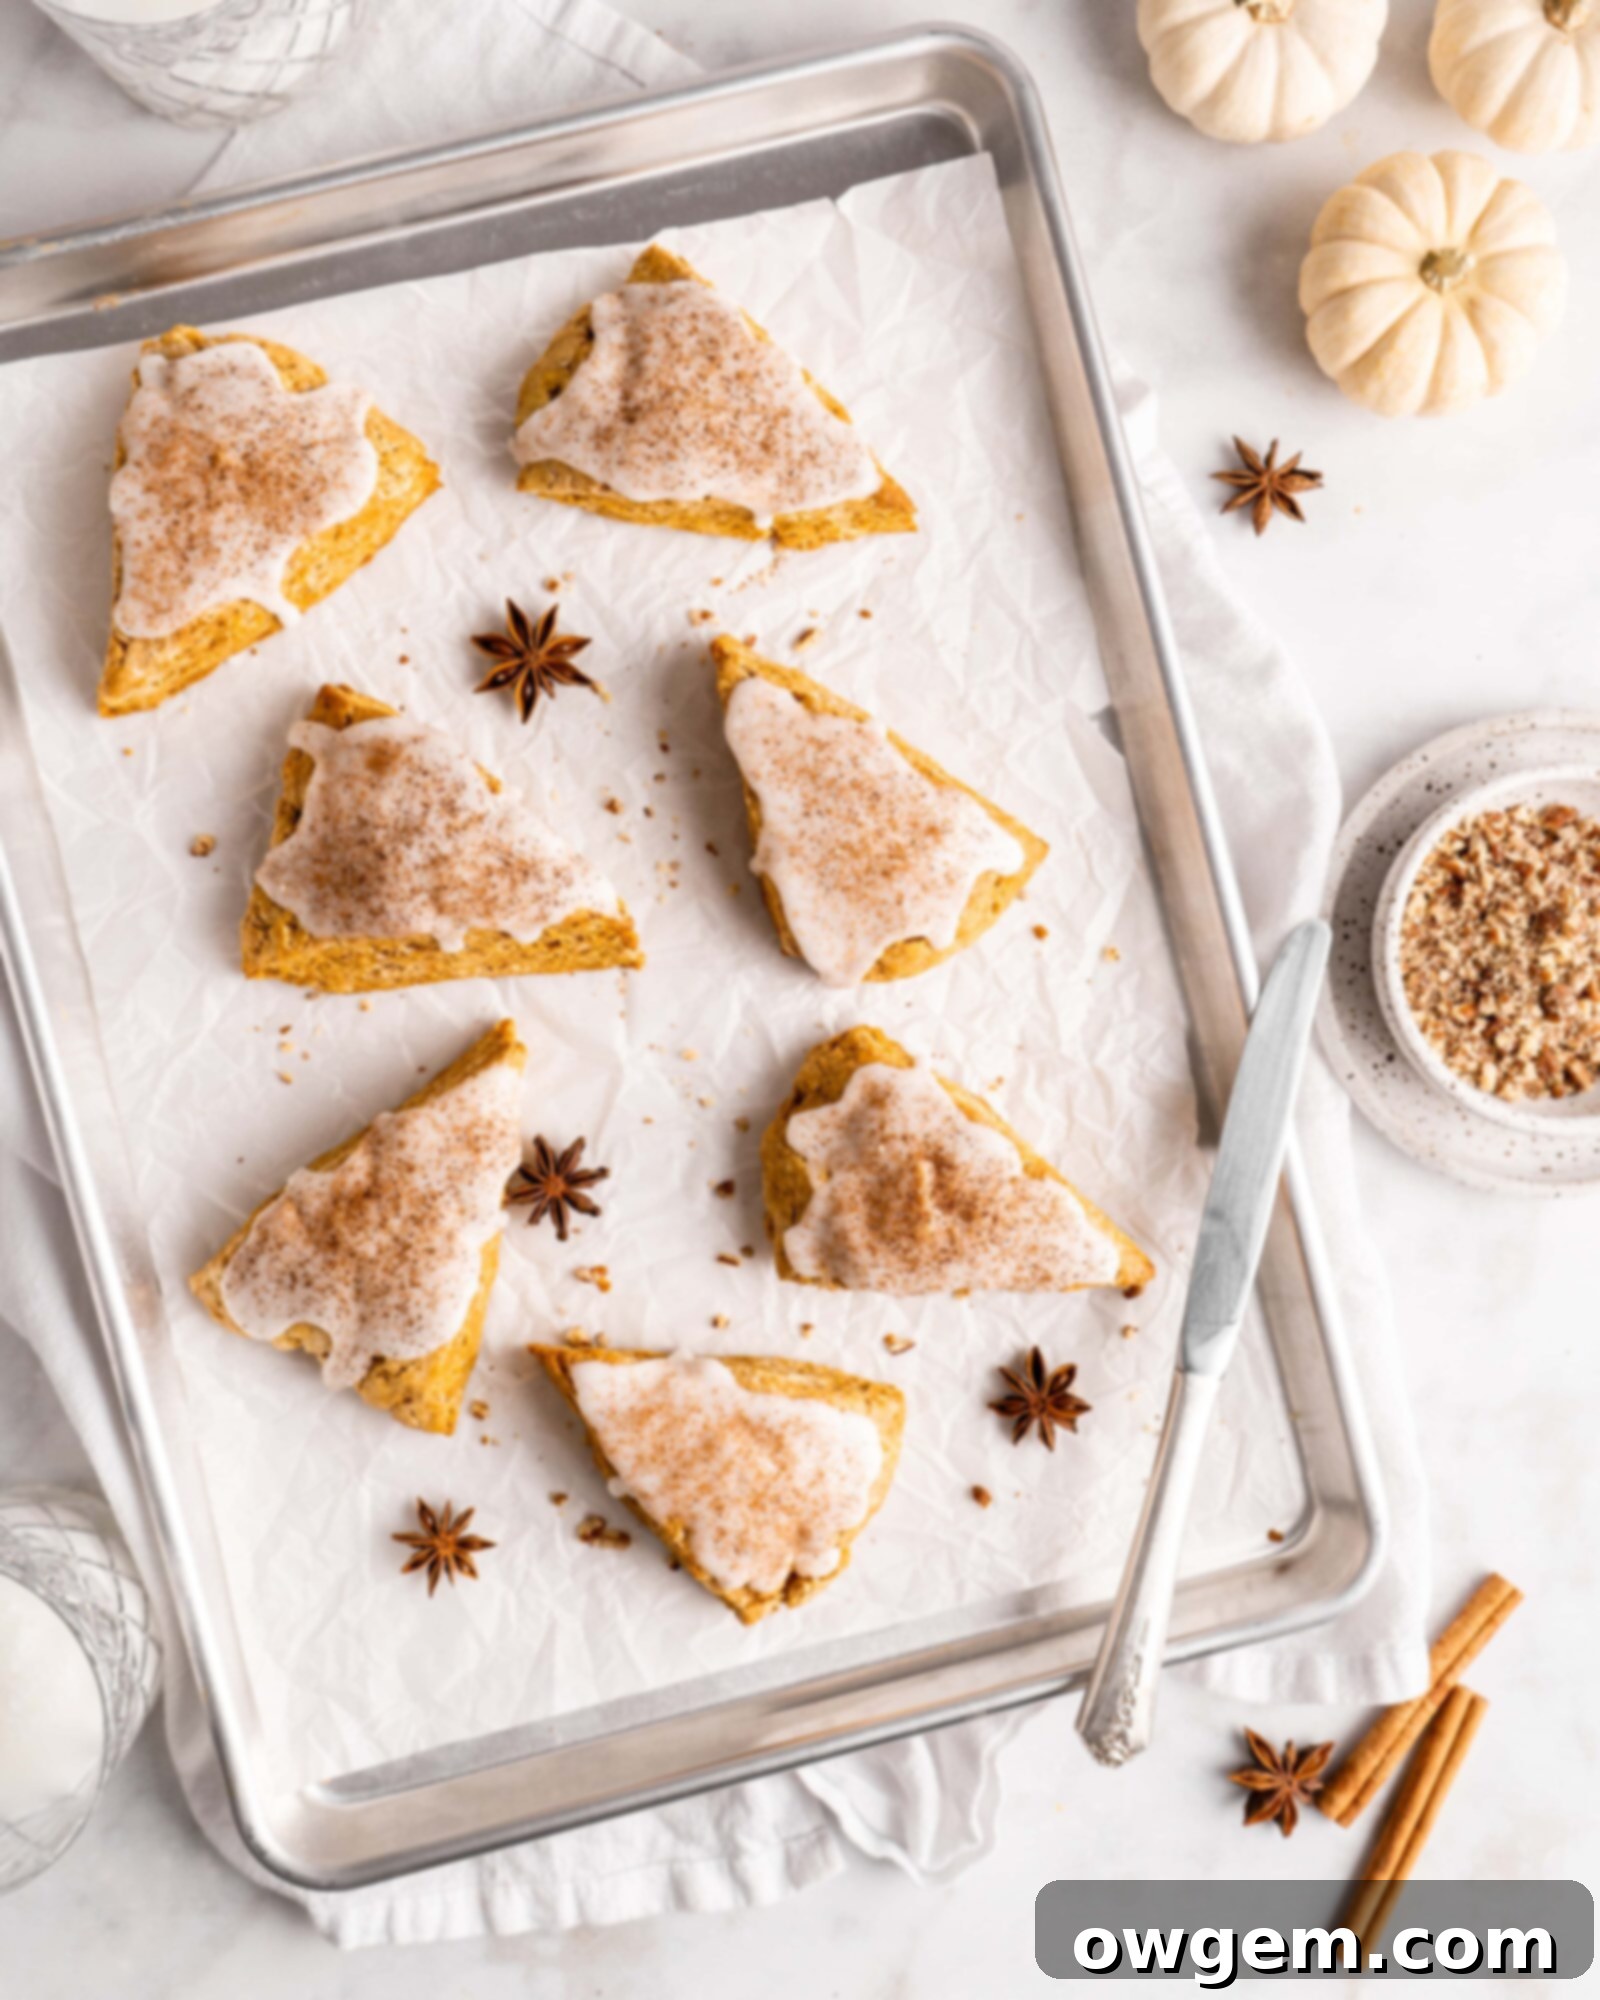
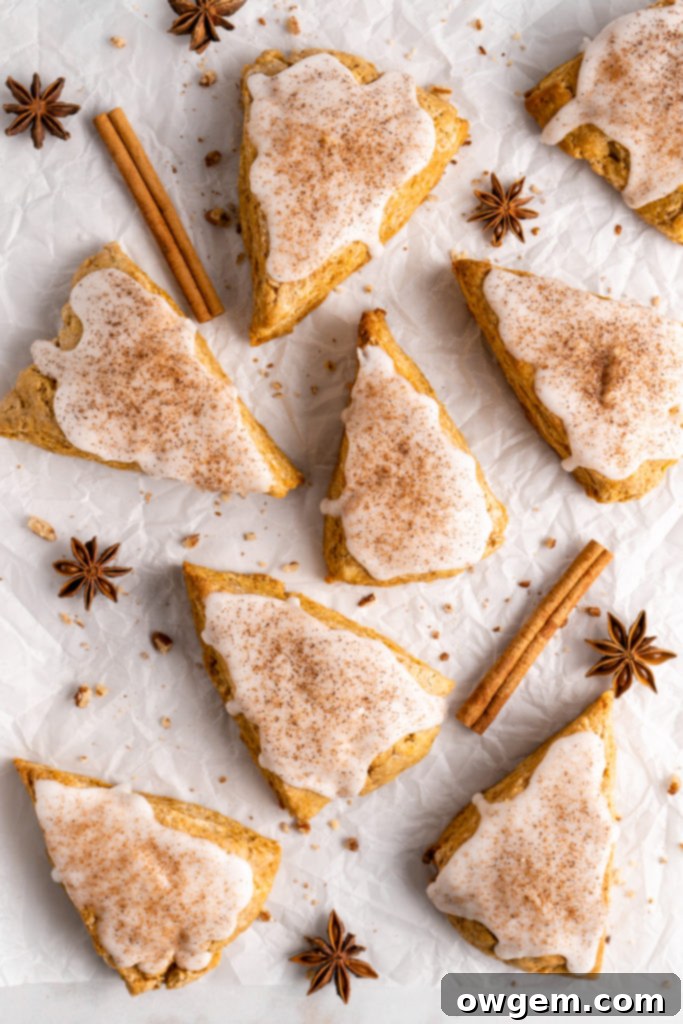
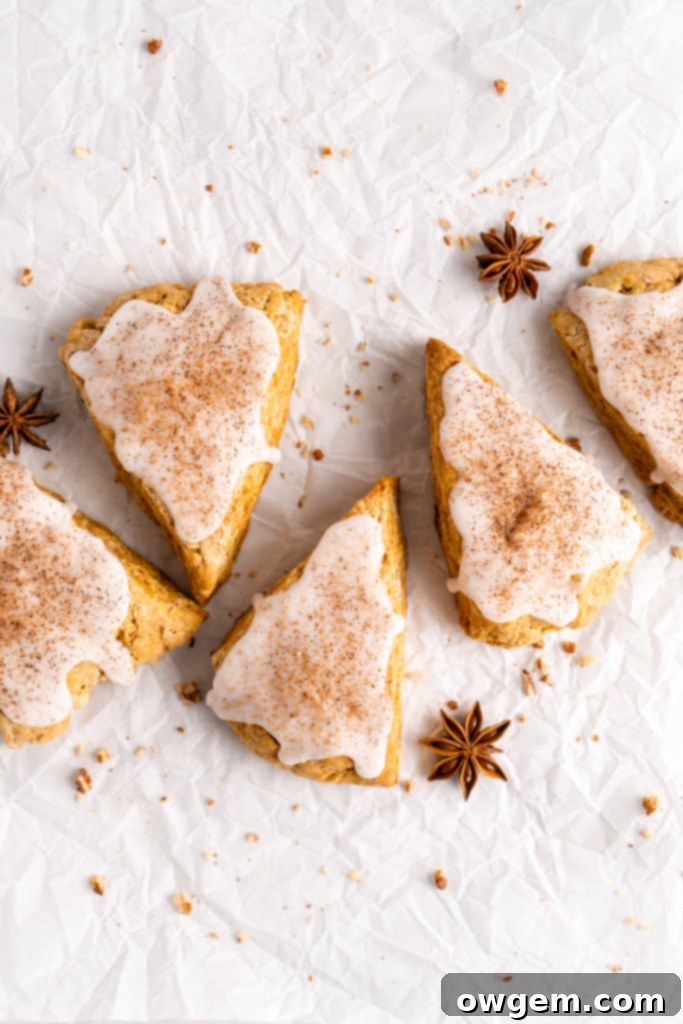
In a medium mixing bowl, combine the confectioners’ sugar, heavy cream, and vanilla extract. Whisk vigorously until the mixture is completely smooth and free of lumps. The consistency should be thick enough to coat the back of a spoon but still pourable. If it’s too thick, add a tiny splash more heavy cream; if it’s too thin, sift in a little more confectioners’ sugar. Once smooth, spoon the glaze generously over the cooled scones, allowing it to drip slightly down the sides. For an extra touch of chai flavor and visual appeal, sprinkle a pinch of cinnamon and ground cloves over the wet glaze. Let the glaze set for a few minutes before serving.
Tips for Chai Pumpkin Scone Success and Variations
Troubleshooting and Baking Best Practices
- Keep Everything Cold: This is arguably the most important rule for flaky scones. Ensure your butter, pumpkin puree, and heavy cream are all thoroughly chilled. You can even chill your mixing bowl and pastry cutter.
- Don’t Overmix: Overmixing develops gluten, which leads to tough scones. Mix the dry ingredients just until combined, and when adding liquids, mix only until a shaggy dough forms.
- Measure Flour Accurately: As mentioned, too much flour will result in dry, dense scones. Use a kitchen scale for best results or the spoon-and-level method.
- Resist the Urge to Knead: Scones are not bread. Patting and gently shaping is sufficient. Excessive kneading will develop too much gluten.
- Preheat Oven Fully: A hot oven is crucial for the butter to steam and create those flaky layers. Give your oven plenty of time to reach the desired temperature.
Delicious Variations
- Nutty Addition: Fold in ½ cup of finely chopped pecans or walnuts with the dry ingredients for added texture and a complementary flavor.
- White Chocolate Chai: Add ½ cup of white chocolate chips to the dough for a sweeter, creamier scone.
- Maple Glaze: Replace some of the heavy cream in the glaze with maple syrup for a rich, autumnal twist.
- Spicier Chai: For those who love a stronger kick, increase the ground ginger and cloves by ¼ teaspoon each.
Storage and Reheating
These chai pumpkin scones are best enjoyed fresh on the day they are baked. However, you can store them in an airtight container at room temperature for up to 2-3 days. For longer storage, freeze unglazed scones in a single layer on a baking sheet until solid, then transfer to a freezer-safe bag or container for up to 1 month. Thaw at room temperature before glazing and serving.
To reheat, place fresh or thawed scones in a preheated oven at 300°F (150°C) for about 5-10 minutes, or until warmed through. This helps to restore some of their fresh-baked tenderness and flakiness.
Get the Recipe:
Chai Pumpkin Scones
Pin
Rate
Ingredients
Chai Pumpkin Scones
- 1 ½ cups (180g) All-Purpose Flour,, measured correctly†
- 1 cup (120g) Pastry Flour,, measured correctly†
- 1/2 cup (110g) Light Brown Sugar
- 2 tsp Baking Powder
- 1/2 tsp Salt
- 1 tsp Cinnamon
- 3/4 tsp Ground Ginger
- 1/4 tsp Ground Cloves
- 1/4 tsp Cardamom
- 1/4 tsp Nutmeg
- 7 tbsp (100g) Cold Unsalted Butter,, cut into small cubes
- 2/3 cup (150g) Cold Pumpkin Puree
- 1/3 cup (76g) Cold Heavy Cream,, plus more if needed
- 1 ½ tsp Vanilla
- 1 tbsp Heavy Cream,, for brushing
Vanilla Glaze
- 1 cup (120g) Confectioners Sugar
- 3-4 tbsp Heavy Cream
- 1/2 tsp Vanilla
- Cinnamon and ground cloves, for sprinkling
Instructions
Carrot Cake Scones
Making the Dough
-
Prepare a large baking sheet with parchment, a silicone baking mat, or simply a light coating of cooking spray. Then, In a large mixing bowl, add both flours, brown sugar, baking powder, salt and spices. Whisk well to combine. Add in cold butter cubes, and work the butter into flour with your hands or a pastry cutter. Work the butter until it is crumbly and about the size of peas (it is okay if some larger ones remain, just don’t go too small).
-
Add pumpkin puree and vanilla to the heavy cream and stir to combine.
-
Add pumpkin-cream mixture to bowl and stir until combined into a shaggy dough. After the liquids have been added and mixed, try to form all of the dough together. If the dough does not all come together, and there are crumbs at the bottom of the bowl, then keep adding heavy cream in small increments until the crumbs comes together with the rest of the dough (the dough should still be shaggy looking – too much liquid will activate the gluten, so we don’t want that). When the dough all comes together into shaggy dough it is ready to be turned out onto a well-flour work surface.
Shaping, Cutting, and Resting
-
Pat the dough to get it to form a smooth 6-7” disk, that is about 1” thick (Make sure every once in a while that you are ensuring that the dough isn’t sticking to your work surface). Using a bench scraper or a knife, cut the dough into 6-8 equal pieces. Then, transfer the wedges, spaced apart, onto the prepared baking sheet, and place into the refrigerator for at least 30 minutes. Preheat the oven to 400°F.
Baking the Scones
-
Remove scones from the fridge, brush the tops with more heavy cream, and place into the preheated oven, and bake for about 20-22 minutes, or until turning golden brown. Transfer to a cooling rack and allow to cool completely before glazing.
Vanilla Glaze
-
Add all of the ingredients to a medium mixing bowl, then whisk until smooth and combined. Spoon glaze over cooled scones, then sprinkle with some cinnamon and ground cloves.
