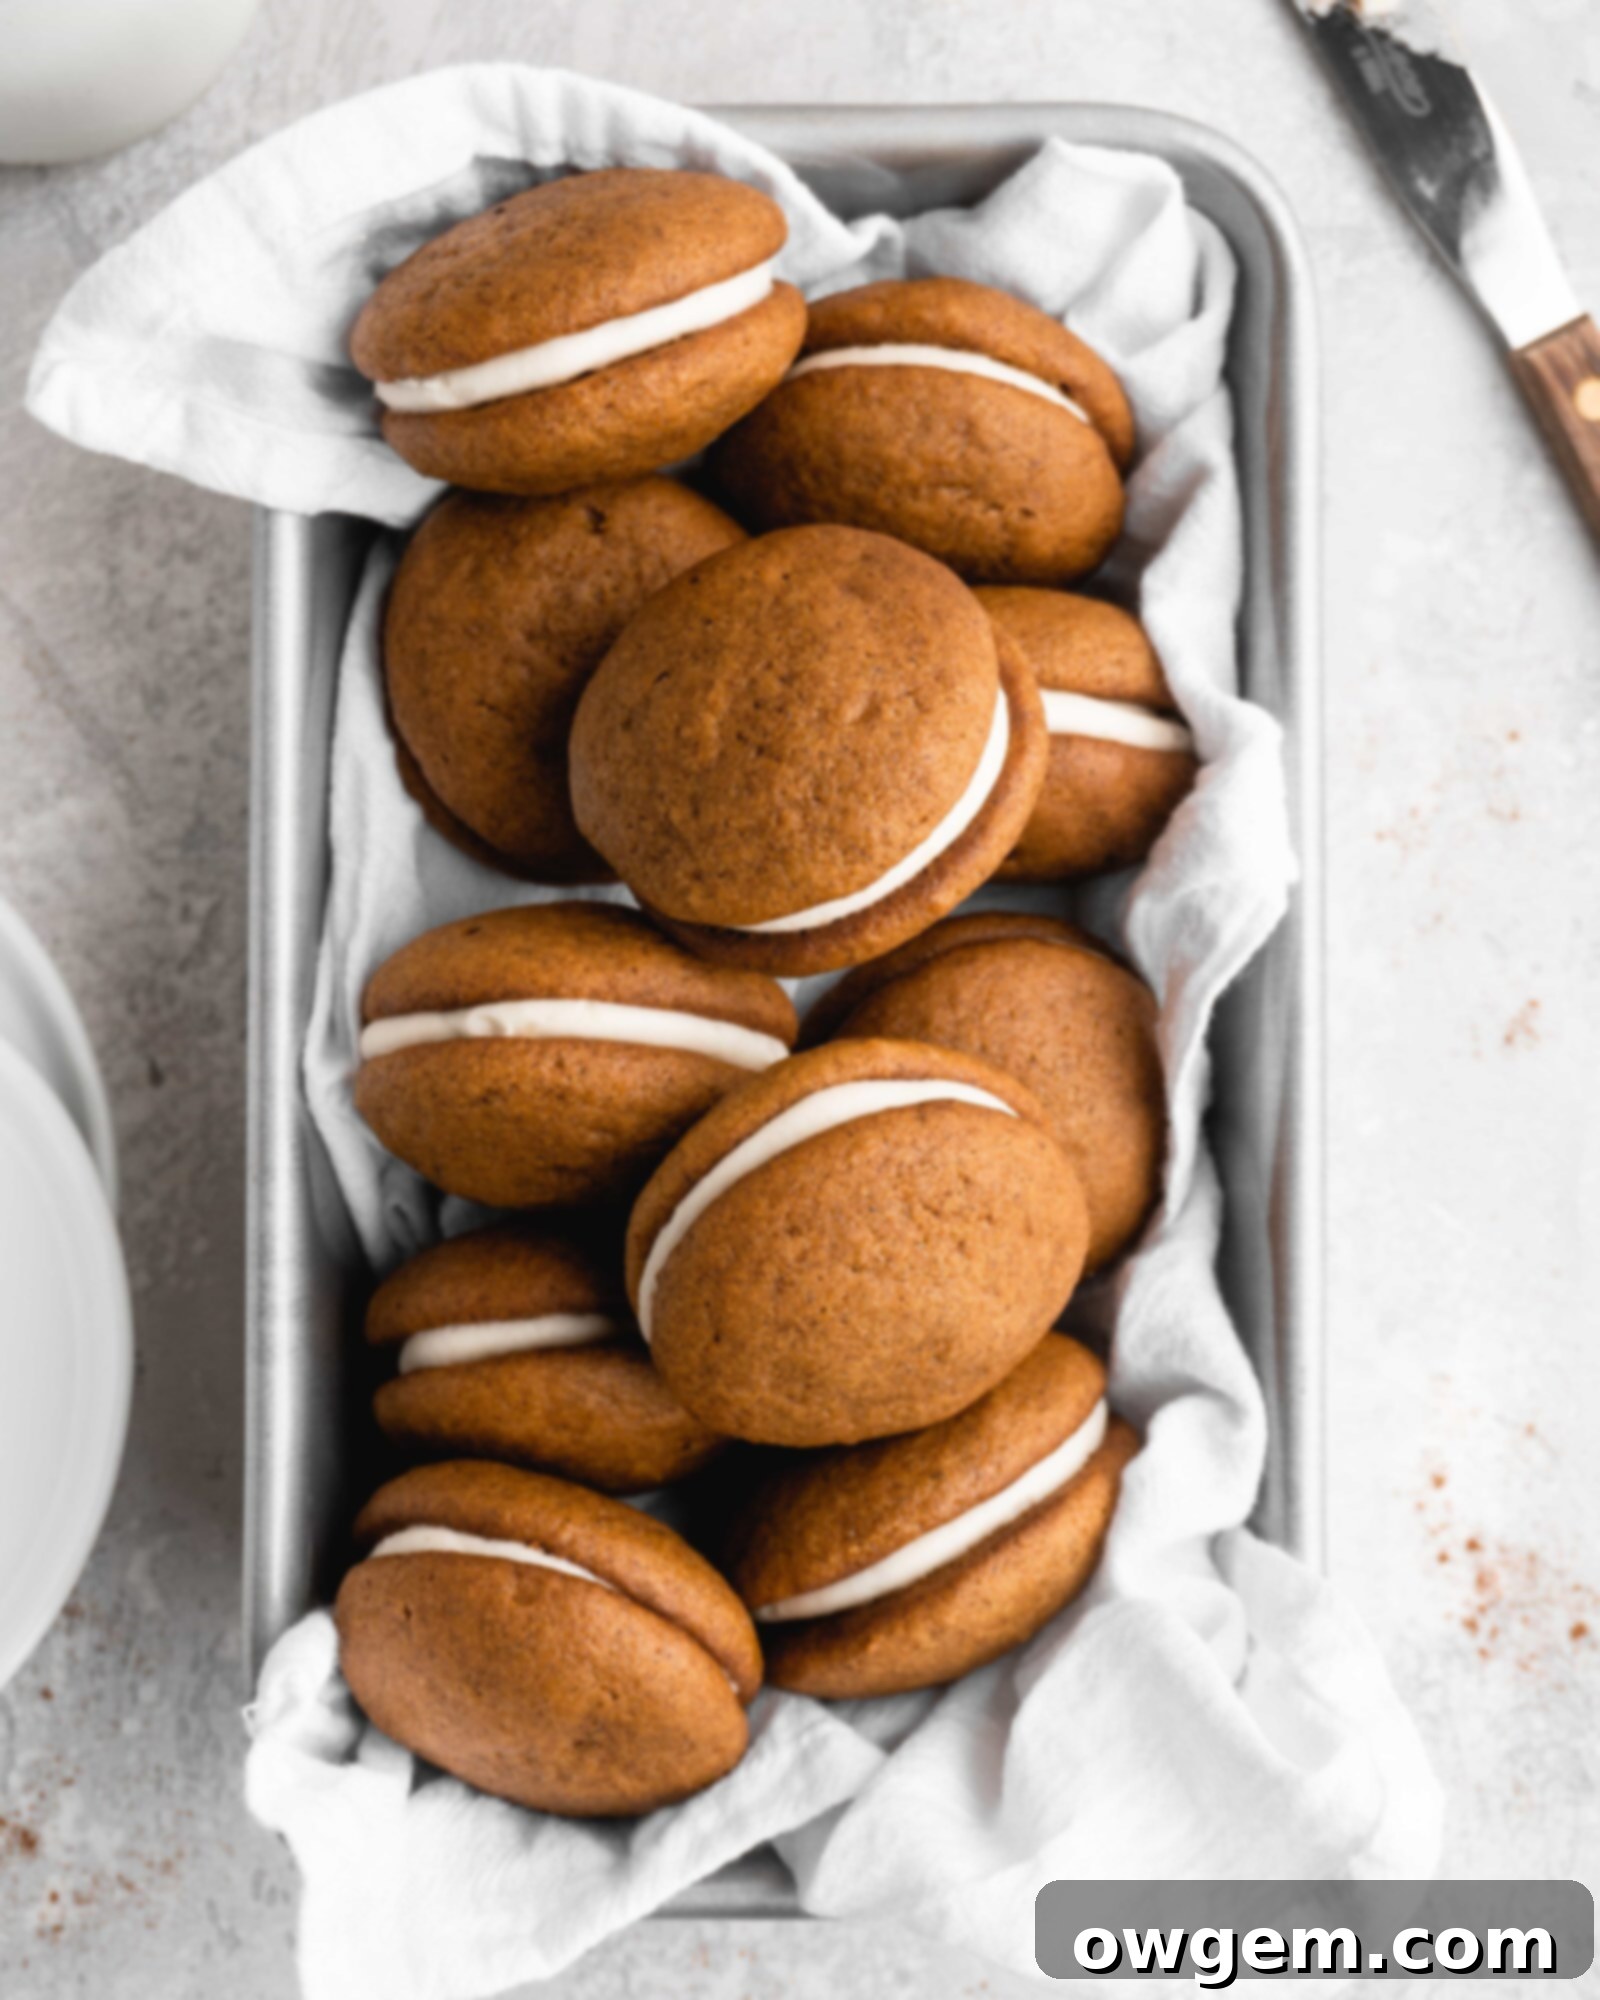
Irresistible Pumpkin Whoopie Pies with Brown Butter Cream Cheese Filling: Your Ultimate Fall Dessert
As the crisp autumn air begins to settle in and leaves transform into a vibrant tapestry of reds and golds, there’s one flavor that reigns supreme and truly signals the start of the cozy season: pumpkin! We’re celebrating the arrival of fall in the most delicious way possible – with these incredible **Pumpkin Whoopie Pies**. Forget plain pumpkin pie; these delightful treats elevate the classic autumn flavor to new heights. Imagine two wonderfully soft-baked pumpkin cookies, perfectly spiced with a harmonious blend of warm autumn essences, hugging a generous layer of luscious, nutty Brown Butter Cream Cheese Filling. If you thought pumpkin desserts couldn’t get any better, prepare to be absolutely amazed. These whoopie pies are every bit as sensational as they sound, promising a rich, comforting taste of fall in every single, delightful bite.
What Exactly is a Whoopie Pie? A Beloved American Classic
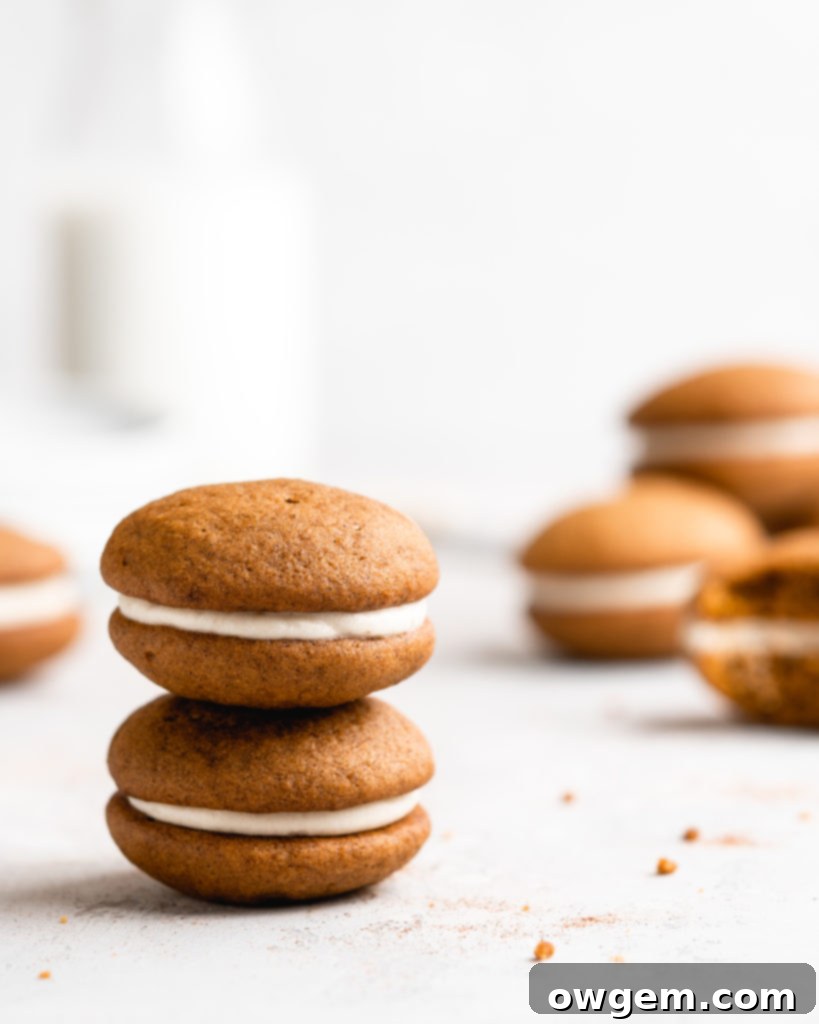
While the undeniable deliciousness of these **Pumpkin Whoopie Pies** is evident from the first glance, if you’ve never had the distinct pleasure of tasting a whoopie pie before, then you are in for an absolute culinary revelation! Often affectionately referred to as “Mallomars” or “Moon Pies” in various regions, the whoopie pie is a quintessential American baked good. It occupies a unique space in the dessert world, not quite a crisp cookie and not quite a fluffy cupcake, but rather a delightful hybrid: two soft, cake-like mounds that are gently sandwiched together with a rich, creamy filling.
These indulgent treats boast a fascinating history, with origins commonly attributed to the northeastern United States, particularly popular in New England and among the Pennsylvania Dutch communities, where they quickly became a cherished regional specialty. Traditionally, whoopie pies feature dark chocolate cake-like cookies filled with a sweet marshmallow or vanilla cream. However, their versatility is truly boundless! The “cake mounds” can vary greatly in flavor, extending beyond the classic chocolate to vibrant red velvet, playful funfetti, and, of course, our autumnal star: spiced pumpkin. The filling, too, is just as adaptable, ranging from simple vanilla buttercream to more elaborate cream cheese frostings. The hallmark of a truly perfect whoopie pie is its pillowy-soft, tender texture and a wonderfully smooth, creamy filling that creates a harmonious and satisfying contrast with the tender cakes. Given our deep love for classic whoopie pies and our unwavering enthusiasm for all things pumpkin-flavored, crafting this detailed **Pumpkin Whoopie Pie recipe** was an absolute no-brainer. It brings together the very best of both dessert worlds into one utterly irresistible treat, perfectly suited for celebrating the magic of the fall season.
Why These Pumpkin Whoopie Pies Will Become Your Favorite Fall Treat
What makes *these* particular **Pumpkin Whoopie Pies** truly exceptional and a guaranteed favorite for autumn? It’s the impeccable balance of flavors and textures, meticulously crafted to create a truly unforgettable dessert experience. Each component of this recipe is thoughtfully designed to complement the others, resulting in a cohesive and utterly delightful treat that captures the essence of the season:
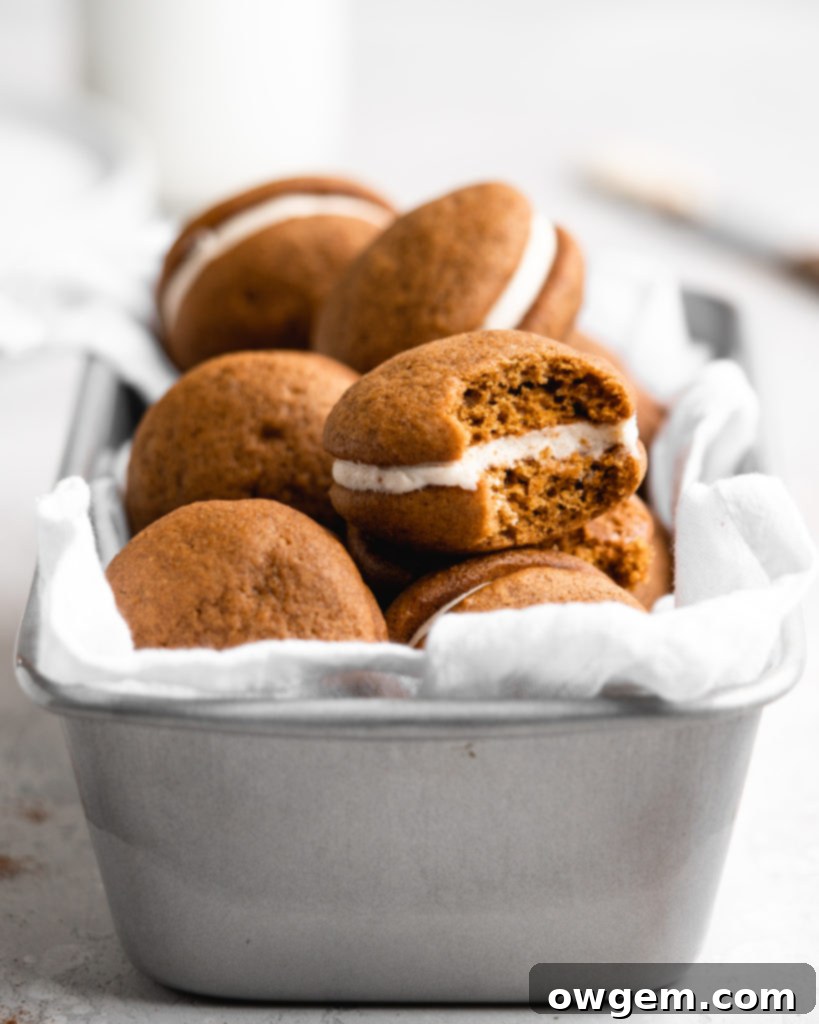
- **Fluffy, Perfectly Spiced Pumpkin Cookies:** Unlike a crisp cookie or a dense cake, the pumpkin cake portions of these whoopie pies are wonderfully tender, incredibly moist, and possess a delightful, bouncy texture. They are generously infused with a classic and comforting blend of warm autumn spices – cinnamon, nutmeg, cloves, allspice, and ginger – creating an aromatic experience and a taste that perfectly encapsulates the cozy essence of fall.
- **Rich, Nutty Brown Butter Cream Cheese Filling:** This isn’t just any cream cheese frosting! The secret ingredient that transforms this filling is the brown butter. The process of browning butter imparts an irresistible nutty, toasted, and slightly caramel-like depth to the already creamy and tangy cream cheese base. It’s a game-changer that elevates the entire whoopie pie, providing a sophisticated and complex counterpoint to the sweet, spiced pumpkin cakes.
- **The Ultimate Fall Flavor Profile:** The harmonious combination of naturally sweet pumpkin, intensely aromatic fall spices, and the rich, subtly tangy filling encapsulates everything wonderful about the autumn season in one exquisite package. These aren’t just desserts; they’re a true celebration of fall, perfect for sharing with loved ones.
- **Perfectly Portioned Indulgence:** Whoopie pies offer a satisfyingly substantial bite, making them ideal for a cozy afternoon treat with a cup of tea or an impressive, individually portioned dessert for a holiday gathering. Their self-contained nature makes them easy to serve, eliminating the need for extra plates and forks.
Crafting Your Own Homemade Pumpkin Whoopie Pies: A Detailed Step-by-Step Guide
Making these delectable **Pumpkin Whoopie Pies** is a genuinely fun and rewarding baking project that’s accessible to bakers of all skill levels. While the initial steps might feel similar to preparing traditional cookies, there’s a crucial, short refrigeration period for the dough that plays a vital role in achieving that perfect cake-like texture and preventing the cookies from spreading too much during baking. Aside from this minor waiting period, you’ll find that these pumpkin whoopie pies are a surprisingly quick and straightforward dessert to prepare, consistently yielding impressive and delicious results with minimal fuss. Let’s break down each step to ensure your success.
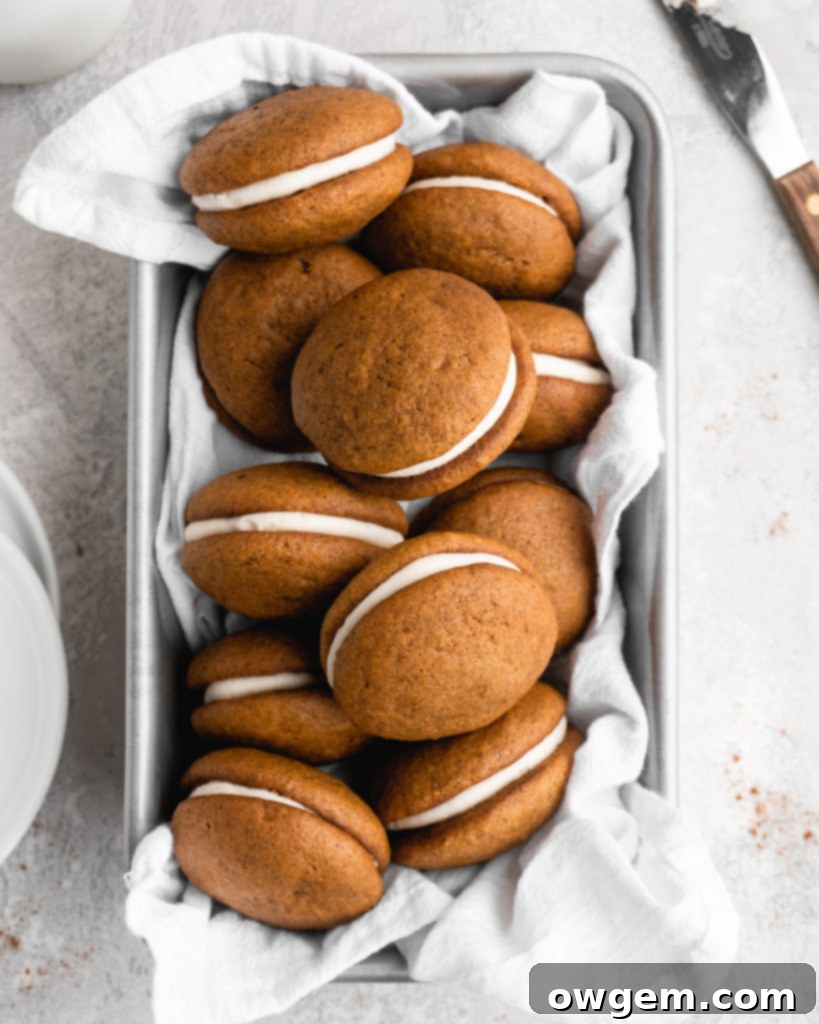
Steps for the Pumpkin Whoopie Pie Cookies:
- Prepare Your Wet Ingredients: In a generously sized mixing bowl, combine the vegetable oil and dark brown sugar. Using a hand-mixer or stand mixer fitted with the paddle attachment, beat these two ingredients on medium-high speed until they are thoroughly combined, lightened in color, and take on a wonderfully smooth consistency. This initial creaming step is essential for creating the foundational tender texture of your whoopie pie cookies.
- Infuse with Pumpkin and Vanilla: Next, add all of the pumpkin puree (ensure it’s chilled as specified in the recipe for optimal results, as this can affect dough consistency) along with the vanilla extract into the mixing bowl. Continue beating on medium-low speed until the mixture is perfectly smooth and uniformly combined, infusing that signature pumpkin flavor throughout your batter.
- Add Eggs Incrementally for Smoothness: Introduce the large eggs one at a time. This methodical approach is incredibly vital; allow each egg to fully incorporate into the batter and disappear before adding the next. This prevents any unmixed egg chunks or a separated batter, ensuring a homogenous, smooth consistency that contributes directly to the even and tender texture of your finished cookies. Beat until the entire mixture appears seamlessly smooth and slightly emulsified.
- Whisk Dry Ingredients Separately: In a separate, medium-sized bowl, accurately measure out your all-purpose flour, baking powder, baking soda, salt, and all your wonderful pumpkin pie spices: cinnamon, allspice, ground ginger, and nutmeg. Whisk these dry ingredients together thoroughly until they are uniformly combined. This crucial step ensures that the leavening agents and flavor-packed spices are evenly distributed throughout the dough, guaranteeing consistent rise and flavor in every cookie.
- Gently Combine Wet and Dry Ingredients: Carefully sift or gradually pour the whisked dry ingredients into the mixing bowl containing your wet pumpkin mixture. With your hand-mixer or stand mixer set to low speed, beat *just* until the ingredients are combined and a smooth, cohesive dough forms. It is absolutely crucial not to over-beat the mixture at this stage, as overmixing can develop too much gluten, leading to whoopie pies that are tough and chewy rather than delightfully tender and pillowy.
- Chill the Dough: Cover the bowl securely with plastic wrap and refrigerate the pumpkin whoopie pie dough for at least 30 minutes, or up to an hour. This chilling period is not optional; it helps the dough firm up considerably, making it much easier to scoop and handle. More importantly, it prevents excessive spreading during baking, which is key for achieving those perfect, uniform, pillowy whoopie pie domes that are characteristic of these treats.
- Form and Shape the Cookies: Once the dough is adequately chilled, use a small cookie scoop (a 1-ounce scoop is ideal for ensuring uniform size and even baking) to portion mounds of batter onto prepared parchment-lined baking sheets, ensuring there is about 2 inches of space between each mound to allow for slight spreading. For perfectly flat tops (which make for much easier and more aesthetically pleasing sandwiching), a little trick is to dip your finger in a small bowl of water and gently press down any slight ridges, bumps, or peaks on the cookie dough mounds. This small, optional step guarantees professional-looking, even tops for your finished whoopie pies.
- Bake to Perfection: Place the baking sheets into a preheated oven (refer to the recipe card for the exact temperature) and bake for approximately 11-15 minutes, or until the edges are just set, and the tops of the cookies are springy to the touch – much like a perfectly baked cake. A toothpick inserted into the center should come out clean, indicating they are fully cooked.
- Cool the Pumpkin Cookies Completely: This is a critically important step for whoopie pie success! Before you even *think* about adding your delicious filling, ensure the pumpkin cookies are fully and completely cooled on a wire rack. Attempting to fill warm cookies will inevitably result in a melty, messy situation, as the creamy filling will soften and run, compromising the structure and presentation of your whoopie pies. Patience here truly leads to perfection.
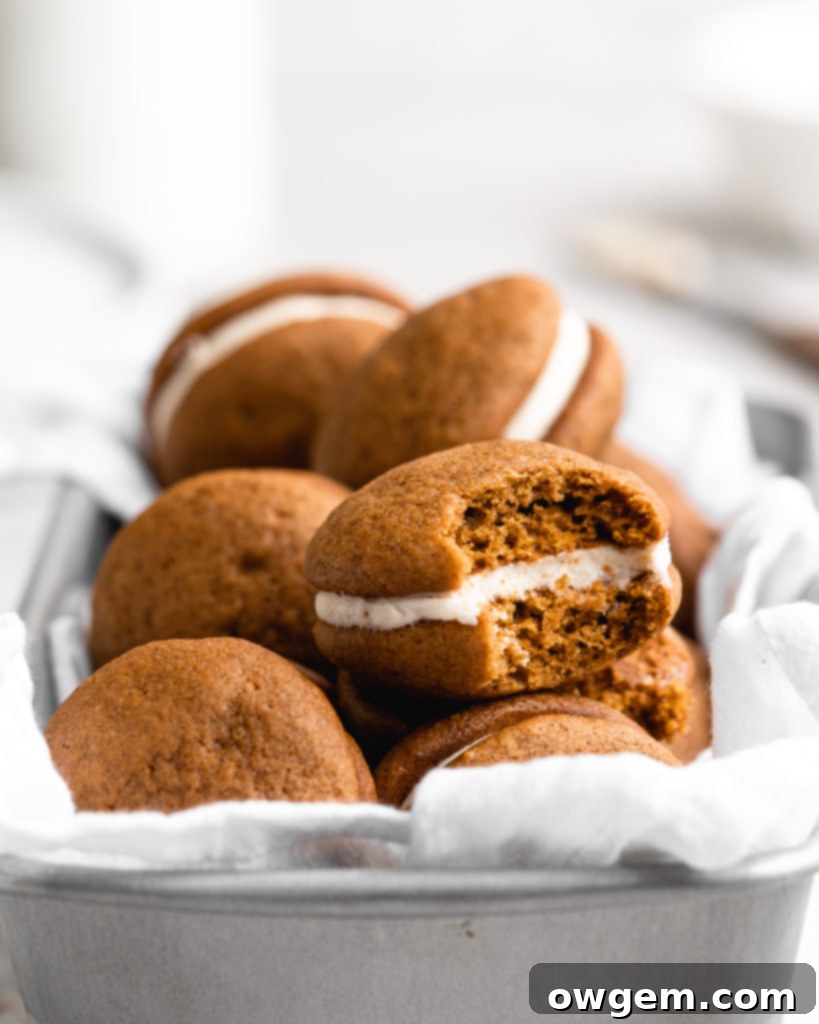
- Fill and Assemble Your Masterpieces: Once the pumpkin cookies have completely cooled and your luscious brown butter cream cheese filling has been expertly prepared, transfer the filling to a piping bag (you can use a decorative tip or simply snip off the corner). Pipe a generous, even amount of filling onto the flat side of one cookie. Then, gently take another cookie of similar size and place it on top, pressing down just enough to create a delightful, perfectly filled cookie sandwich. For the absolute best “melding” of flavors and textures, refrigerate the assembled whoopie pies for at least 2 hours before enjoying. This allows the filling to set and the cookies to absorb some moisture, becoming even more tender.
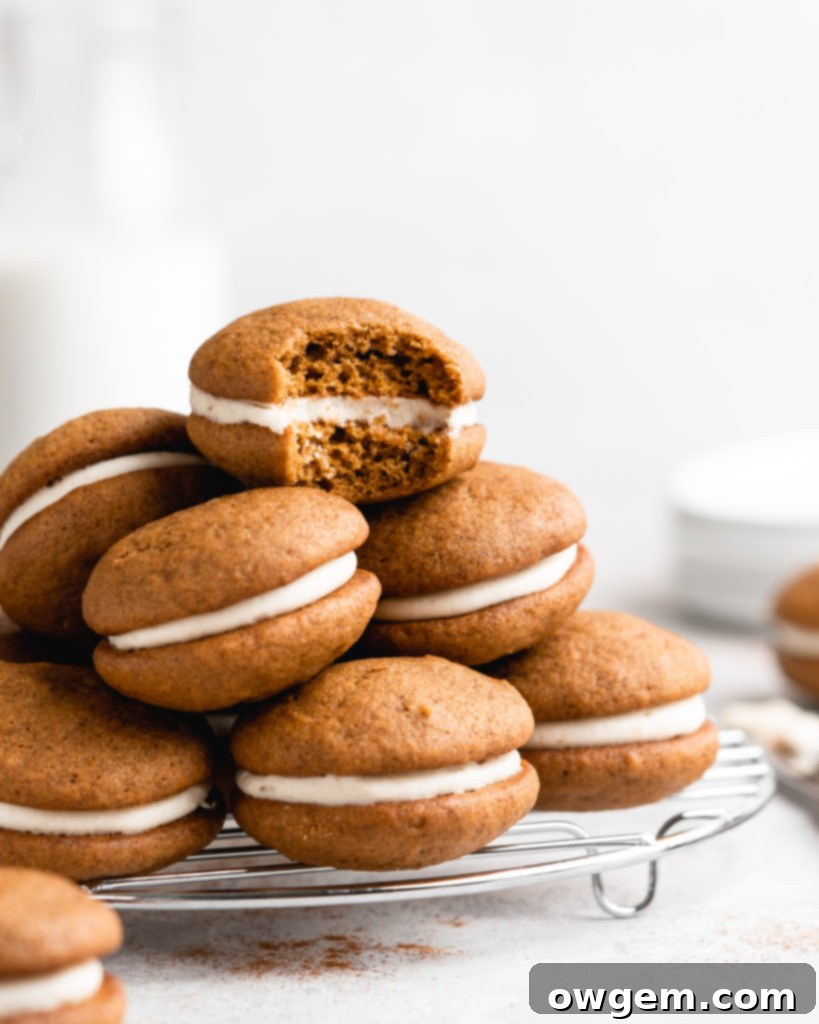
Mastering the Brown Butter Cream Cheese Filling: A Culinary Game Changer
The truly exceptional element that elevates these **Pumpkin Whoopie Pies** from merely great to absolutely unforgettable is the incredible **Brown Butter Cream Cheese Filling**. This filling starts with a foundational technique that every home baker should master and cherish: browning butter, which adds an unparalleled depth of flavor.
To initiate the brown butter process, add unsalted, cubed, and room-temperature butter to a small saucepan over medium heat. Essentially, you’ll be cooking the butter gently beyond its melting point. As it heats, it will first melt, then foam vigorously. During this stage, the milk solids within the butter will begin to separate and toast at the bottom of the pan. It is absolutely crucial to **stir constantly** throughout this entire process to ensure even cooking and to prevent the milk solids from burning, which can happen very quickly. Watch closely and attentively as the butter progresses from a bright yellow hue to a beautiful, rich amber or nutty brown color. You’ll definitively know it’s ready when a wonderfully fragrant, nutty aroma fills your kitchen – it’s often described as a warm, toasted caramel scent. It’s also wise to periodically lift the pan off the heat to check the color beneath the foam, as the foam can obscure your view. Once it reaches that perfect nutty brown stage, immediately remove it from the heat and pour it into a heatproof measuring cup or bowl. This action promptly stops the cooking process. For this specific recipe, it’s absolutely essential to let the brown butter cool down completely and slightly re-solidify. I recommend placing the measuring cup in the fridge or freezer until it begins to harden but remains beautifully malleable – aiming for a consistency similar to softened butter. This usually takes approximately 1 hour in the refrigerator. This critical cooling step prevents the filling from becoming too thin and ensures it whips up perfectly light, airy, and fluffy.
Now, onto assembling the dreamy cream cheese filling itself! In a medium mixing bowl, combine your softened, room-temperature cream cheese with the cooled (but still soft and pliable) brown butter. Beat these two together on medium-high speed with your hand mixer for about 2 minutes, or until the mixture becomes visibly lighter in color and slightly fluffy. Next, gradually add the confectioners’ sugar in batches, beating on low speed after each addition until thoroughly combined and perfectly smooth. Incorporating the sugar slowly is key to preventing a powdered sugar cloud from erupting in your kitchen and ensures a smooth, lump-free filling! Finally, stir in the vanilla extract and the heavy cream (if using, add 1/2 to 1 tablespoon to achieve your desired consistency). Increase the mixer speed to high and beat the frosting for another 2-3 minutes. This final whip will make the **Brown Butter Cream Cheese Filling** incredibly creamy, light, and airy – the ideal consistency for sandwiching generously between your tender pumpkin cookies. The resulting flavor profile will be a sophisticated and irresistible blend of tangy cream cheese, sweet vanilla, and deep, complex nutty brown butter notes, creating an exquisite pairing with the spiced pumpkin cakes.
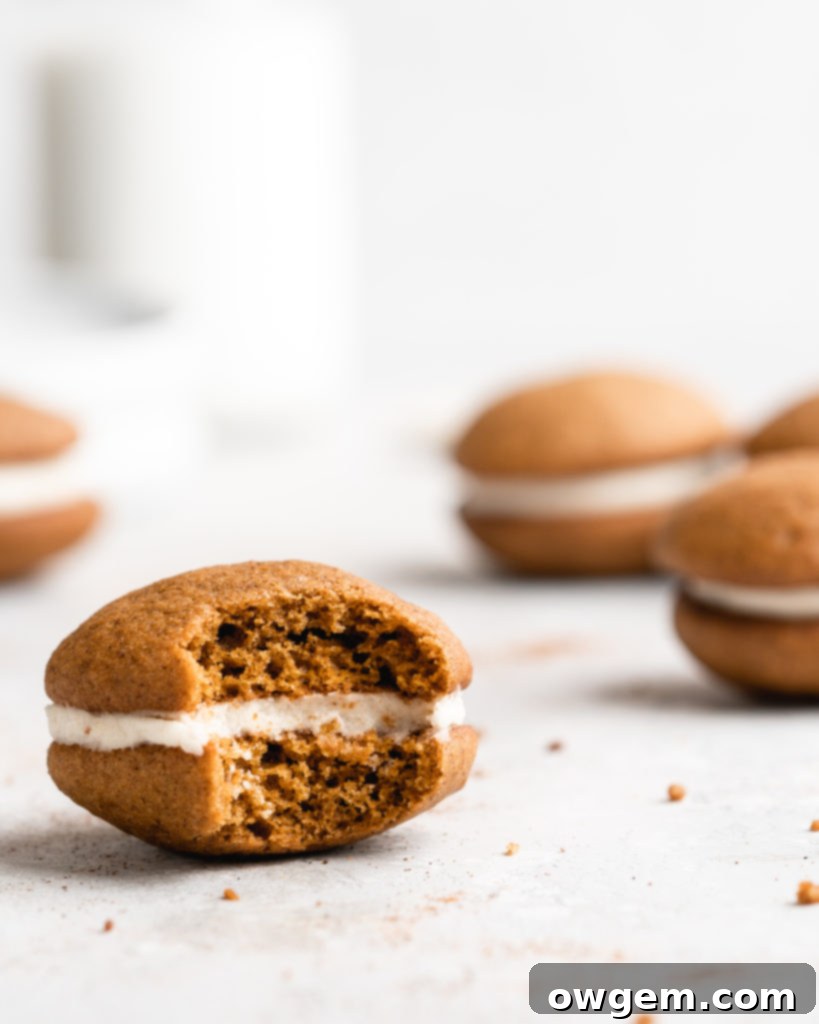
Pro Tips for Perfect Pumpkin Whoopie Pies Every Time
Achieving bakery-quality **Pumpkin Whoopie Pies** at home is entirely possible with a few expert tips. Pay attention to these details, and you’ll be rewarded with perfectly tender cookies and a silky smooth filling:
- **Mind Your Ingredient Temperatures:** For both the cookie dough and the filling, ingredient temperatures are crucial. Ensure your cream cheese and the re-solidified brown butter for the filling are at room temperature for optimal creaming and a smooth consistency. For the cookies, having the pumpkin puree chilled as specified can actually help with managing dough consistency and preventing excessive spreading.
- **Measure Flour with Precision:** This is a golden rule in baking! Always spoon your flour into the measuring cup and then level it off with a straight edge, rather than scooping directly from the bag or container. Scooping directly can compact the flour, leading to using too much, which results in dry, tough cookies. Alternatively, weighing your flour (1 cup of all-purpose flour typically equals 120g or 4oz) is the most accurate and recommended method for consistent results.
- **Avoid Overmixing the Dough:** Once you’ve added the dry ingredients to the wet mixture, mix only until they are *just* combined and no streaks of flour remain. Overmixing develops too much gluten in the flour, which can lead to a chewy, rather than wonderfully pillowy and soft, whoopie pie texture. A light hand here makes all the difference.
- **Uniform Scoops for Even Baking:** Using a cookie scoop (a 1-ounce scoop is highly recommended) will ensure that all your pumpkin cookies are roughly the same size. This leads to much more even baking across the batch and makes pairing them up for your whoopie pies significantly easier and more aesthetically pleasing.
- **Patience is a Virtue When Cooling:** As tempting as it is to rush, do *not* attempt to fill your cookies until they are completely and thoroughly cooled. Warm cookies will inevitably melt the delicate cream cheese filling, leading to a runny, messy situation that will compromise the integrity and appearance of your whoopie pies. Plan ahead and allow ample cooling time.
- **Allow Assembled Whoopie Pies to “Meld”:** After you’ve lovingly assembled your whoopie pies, refrigerating them for at least two hours (or even overnight) allows the flavors to deepen and meld beautifully. This resting period also allows the cookies to absorb a little moisture from the filling, creating an even more harmonious, tender texture and a richer taste experience.
Storage and Serving Suggestions
These delightful **Pumpkin Whoopie Pies** are best enjoyed within 2-3 days of being made. Due to their creamy brown butter cream cheese filling, it is essential to store them in an airtight container in the refrigerator. While delicious chilled, you can bring them to room temperature for about 15-20 minutes before serving for a softer cookie and an even creamier filling – both ways are absolutely scrumptious!
Serve these festive whoopie pies as a standout dessert at your Thanksgiving gathering, a cozy treat with your afternoon coffee or chai, or a special and unexpected snack to brighten up lunchboxes. Their comforting and rich fall flavors make them perfect for any autumn occasion, from casual family dinners and cozy movie nights to more elegant holiday parties. They also make a wonderful homemade gift for friends and neighbors!
Get the Recipe:
Pumpkin Whoopie Pies with Brown Butter Cream Cheese Filling
Pin
Rate
Ingredients
Pumpkin Whoopies Pies
- 2 cups Dark Brown Sugar
- 1 cup Vegetable Oil
- 1 ½ cups Pumpkin Puree,, chilled
- 1 tsp Vanilla Extract
- 2 Large Eggs
- 3 cups All Purpose Flour,, properly measured†
- 1 tsp Baking Powder
- 1 tsp Baking Soda
- 3/4 tsp Salt
- 1 tbsp Cinnamon
- 1 ½ tsp All Spice
- 1 tsp Ground Ginger
- ½ tsp Nutmeg
Brown Butter Cream Cheese Filling
- 1/2 cup Unsalted Butter,, at room temperature
- 1/2 cup Cream Cheese,, at room temperature
- 2 cups Confectioners Sugar
- 1/2 – 1 tbsp Heavy Cream
- 1/2 tsp Vanilla Extract
Equipment
-
Hand Mixer
Instructions
Pumpkin Whoopie Pies
-
Preheat oven to 350°F and prepare 2 baking sheets with parchment. In a large mixing bowl, add vegetable oil and brown sugar. Using a hand-mixer on medium, beat until well combined. Add pumpkin puree and vanilla, and beat until smooth. Add eggs, one at a time, and beat until smooth.
-
In a separate bowl, add flour, baking soda, baking powder, salt, cinnamon, nutmeg, ginger, and allspice. Whisk until smooth.
-
Using a sieve, sift the dry ingredients into the bowl with the wet ingredients. Use the hand-mixer to mix the dry ingredients into the wet. Mix only until everything is incorporated, ensuring not to overmix.
-
Using a small cookie scoop (I used one that is about 1oz), scoop little mounds of batter onto the prepared baking sheets (12 per sheet), ensuring there is about 2” of space between each.
-
(Optional) Alternatively, if you do not have a cookie scoop, you can use a piping bag and pipe round mounds of batter that are about 1oz in volume.
-
Place baking sheets into the oven and bake for 11 minutes. When done, the cookies should have a springy top, and a toothpick should come out clean. Allow to cool completely before filling.
-
Before filling, find “perfect pairs” of cookies. Then using a piping bag, cover one cookie with the filling, then place the other half on top. Place into the fridge to ‘meld’ together for 2 hours before enjoying.
Brown Butter Cream Cheese Filling
-
In a small sauce over medium heat, add butter and bring to a boil. Continue heating over medium heat, constantly stirring until the butter has turned a nutty brown color. It may be hard to see the color if your butter is foaming a lot, so periodically take it off the heat to check the color. Remove from heat, place into a heat proof glass and then into the fridge to cool off for 1 hour. When ready, the butter should have the texture of softened butter.
-
In a medium mixing bowl, add cream cheese and cooled but soft brown butter. Beat together with the hand mixer until well combined and smooth looking. Add confectioners sugar, in batches, and beat until smooth. Next, add the vanilla and heavy cream, then beat until creamy and smooth.
Notes
Source: Adapted from All Recipes
