Irresistible No-Bake Strawberry Crunch Cheesecake Cones: The Ultimate Summer Delight
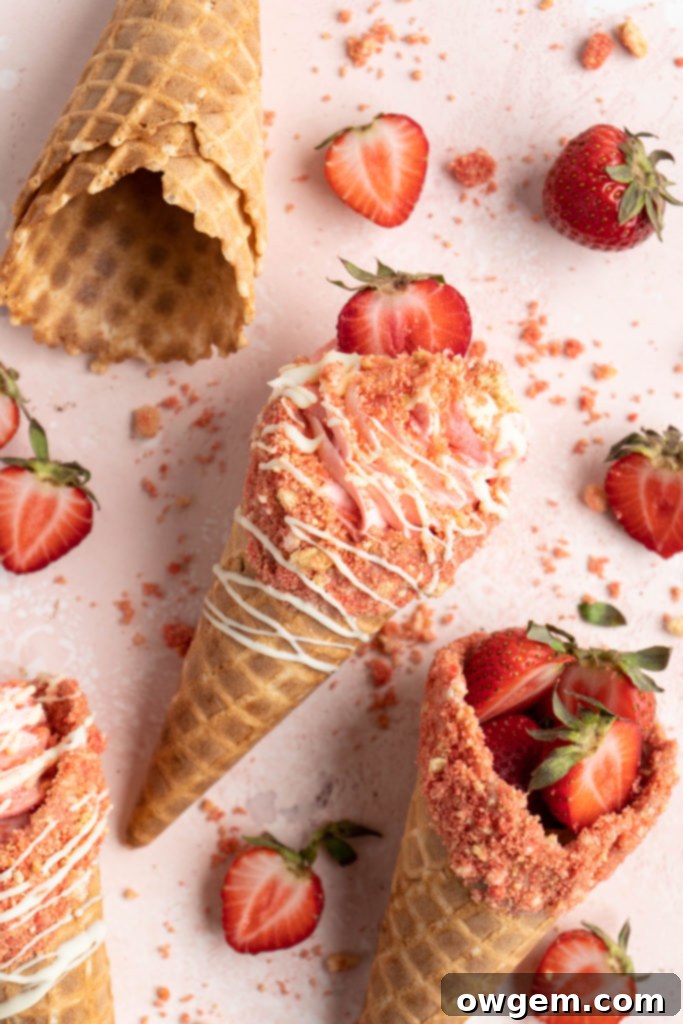
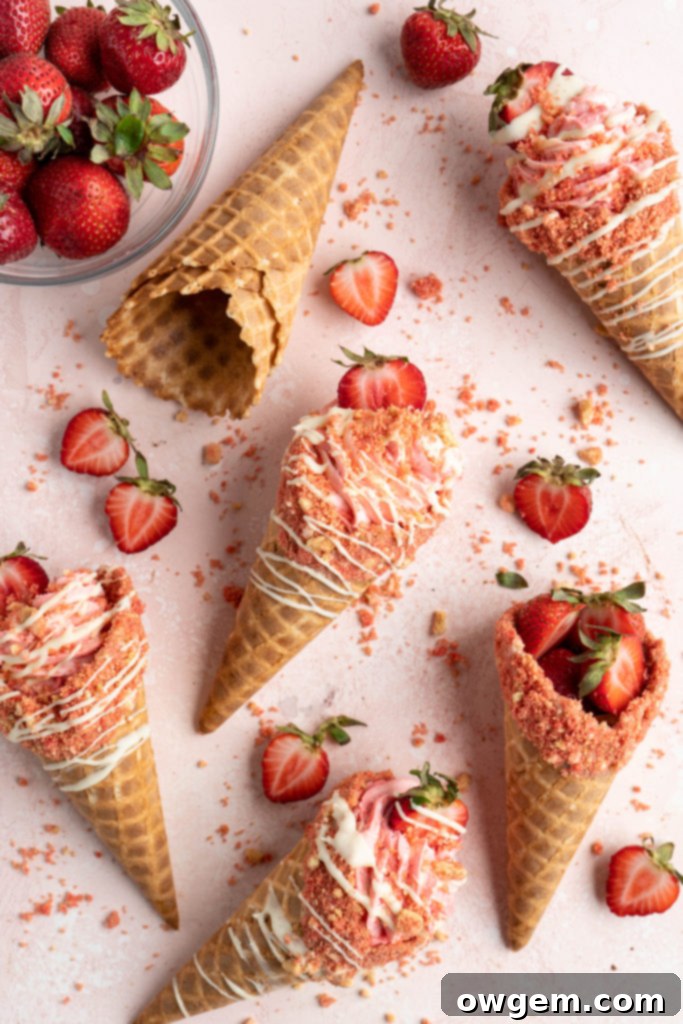
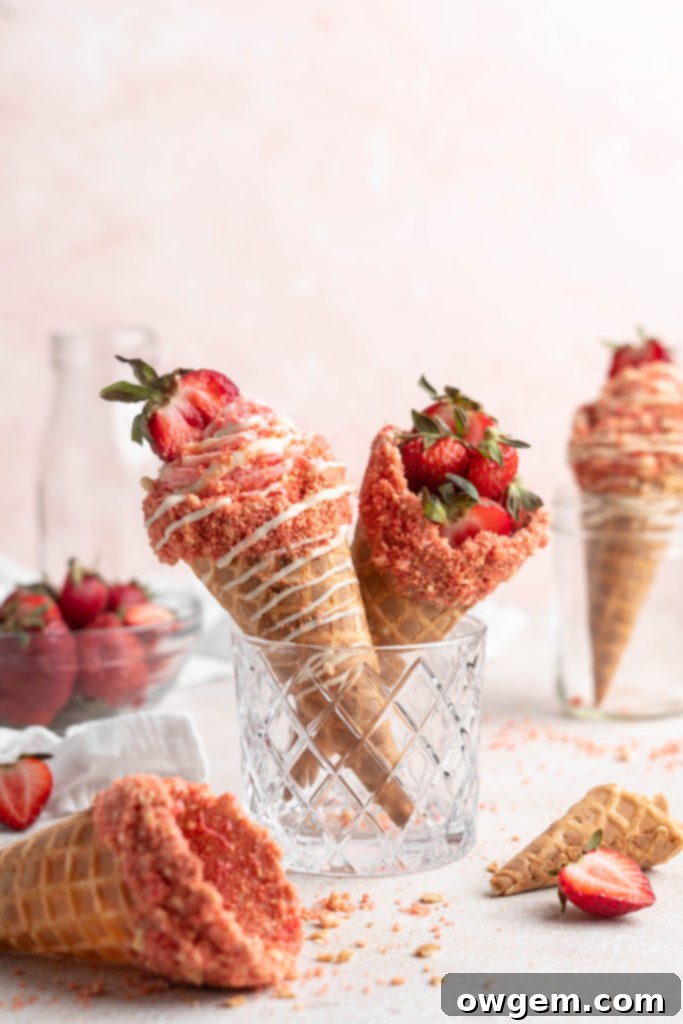
Prepare to be enchanted by these delightful Strawberry Crunch Cheesecake Cones! They boast a wonderfully crunchy exterior that perfectly complements a luscious, silky-smooth strawberry cheesecake filling. Each bite delivers a harmonious blend of sweet, rich, and creamy textures, making them an ideal indulgence for any cheesecake enthusiast, especially during the warmer months. Imagine the classic strawberry crunch bar reimagined as a convenient, handheld dessert – that’s exactly what these cones offer, delivering pure bliss in every vibrant, flavorful serving.

Table of Contents
- Why You’ll Adore This Strawberry Crunch Cheesecake Cone Recipe
- Ingredient Essentials for Perfect Cones
- Crafting Your Strawberry Crunch Cheesecake Cones: A Step-by-Step Guide
- Pro Tips & Tricks for Success
- Essential Equipment for This Recipe
- Properly Storing Your Delicious Cheesecake Cones
- Frequently Asked Questions
- Exciting Flavor Variations to Try
- More Delightful Dessert Recipes
Why You’ll Adore This Strawberry Crunch Cheesecake Cone Recipe
This innovative recipe takes the beloved flavors of strawberry cheesecake and transforms them into an incredibly fun, easy, and convenient treat. There are so many reasons why these Strawberry Crunch Cheesecake Cones will become your new go-to dessert:
- Effortless No-Bake Convenience: One of the biggest advantages of this recipe is that it requires absolutely no baking! This makes it an ideal choice for summer gatherings, backyard barbecues, or any time you crave a delicious dessert without the need to turn on your oven. Keep your kitchen cool while enjoying a perfectly chilled, rich cheesecake.
- Perfect Individual Portions: Say goodbye to messy slicing and serving large cheesecakes. These cones offer a fantastic solution for individual portions, making them incredibly easy to serve and enjoy. Each person gets their own delicious dessert, without the need for plates or utensils, simplifying cleanup and making them perfect for parties and events.
- A Treat for All Ages: The vibrant strawberry flavor and crunchy texture appeal to both kids and adults alike. Whether it’s a birthday party, a family picnic, or just a sweet craving, these Strawberry Crunch Cheesecake Cones are sure to be a hit. They’re playful enough for the younger crowd and sophisticated enough for a more mature palate.
- Portable and Party-Ready: Their handheld nature makes them incredibly portable. Easily pack them for a picnic, transport them to a potluck, or simply enjoy them on the go. They are designed for convenience, ensuring your dessert is as enjoyable outside the kitchen as it is within.
- Visually Stunning: With their beautiful pink crunch topping and creamy filling, these cones are as attractive as they are tasty. They make for a truly impressive dessert that will undoubtedly capture attention and delight your guests.
Ingredient Essentials for Perfect Cones
Crafting these delightful Strawberry Crunch Cheesecake Cones requires a selection of quality ingredients, each playing a crucial role in achieving the perfect balance of flavor and texture. Here’s a closer look at the key components:
Golden Oreos: These form the base of our signature strawberry crunch topping. Their buttery vanilla flavor provides an excellent contrast to the strawberry, and when finely crushed, they create that essential “wet sand” texture for the crunch. If Golden Oreos aren’t available, vanilla wafers or shortbread cookies can be used as a substitute, though the flavor profile will subtly change.
Strawberry Jello: This is the secret ingredient that infuses the crunch topping with its distinct strawberry flavor and vibrant pink hue. It’s essential for achieving that authentic “strawberry crunch” experience. Using good quality gelatin will ensure proper setting and flavor integration.
Melted Butter: A small amount of melted butter binds the crushed Golden Oreos and strawberry jello together, helping to create a cohesive crunch topping that adheres beautifully to the cones. Unsalted butter is usually preferred in baking to control the overall saltiness of the dessert.
White Chocolate: I highly recommend using a high-quality white chocolate for dipping the cones. A premium white chocolate will melt smoothly, coat evenly, and provide a creamy, less artificial-tasting base for the crunch. Brands like Lindt, Ghirardelli, or Callebaut are excellent choices, but any good quality white chocolate will work wonders. This step not only adds flavor but also creates a barrier to prevent the cones from becoming soggy too quickly.
Waffle Cones: The foundation of our cones! Waffle cones are sturdy and offer a satisfying crunch, making them the “king of all ice cream cones” for a reason. Their larger size also allows for a generous serving of our creamy cheesecake filling. Ensure they are fresh and unbroken for the best results.
Cream Cheese: For that signature rich and tangy cheesecake flavor, full-fat cream cheese is non-negotiable. Philadelphia cream cheese is a popular choice known for its smooth texture and consistent quality. Ensure your cream cheese is completely softened to room temperature before mixing to prevent lumps and achieve a perfectly smooth filling.
Heavy Cream: Divided into two portions, heavy cream (or whipping cream) provides the light, airy texture for the cheesecake filling. One portion is whipped to stiff peaks, adding volume and a cloud-like consistency, while the other smaller portion is used to bloom the gelatin, ensuring it dissolves properly.
Confectioners Sugar (Powdered Sugar): Used in the whipped cream, confectioners sugar helps stabilize the cream and adds a touch of sweetness without a grainy texture.
Granulated Sugar: This fine sugar is incorporated into the cream cheese mixture to provide the main sweetness for the cheesecake filling, balancing the tang of the cream cheese.
Sour Cream: A small amount of sour cream adds an extra layer of tanginess and a velvety texture to the cheesecake filling, enhancing its richness and complexity.
Vanilla Extract: A classic flavor enhancer, vanilla extract brings warmth and depth to the creamy strawberry cheesecake filling. Pure vanilla extract will always yield the best flavor.
Seedless Strawberry Jam: To boost the natural strawberry flavor within the filling, seedless strawberry jam is incorporated. This adds a lovely fruity note and a hint of sweetness that complements the cream cheese beautifully. Using seedless jam ensures a perfectly smooth filling.
Gelatin: This is key for achieving a stable, yet still creamy, no-bake cheesecake filling. It helps the filling set up firmly enough to be piped into the cones without being overly stiff or rubbery. Proper blooming and dissolving are crucial for a lump-free result.

Crafting Your Strawberry Crunch Cheesecake Cones: A Step-by-Step Guide
Creating these delicious no-bake treats is a fun and rewarding process. Follow these detailed steps to achieve perfect Strawberry Crunch Cheesecake Cones:
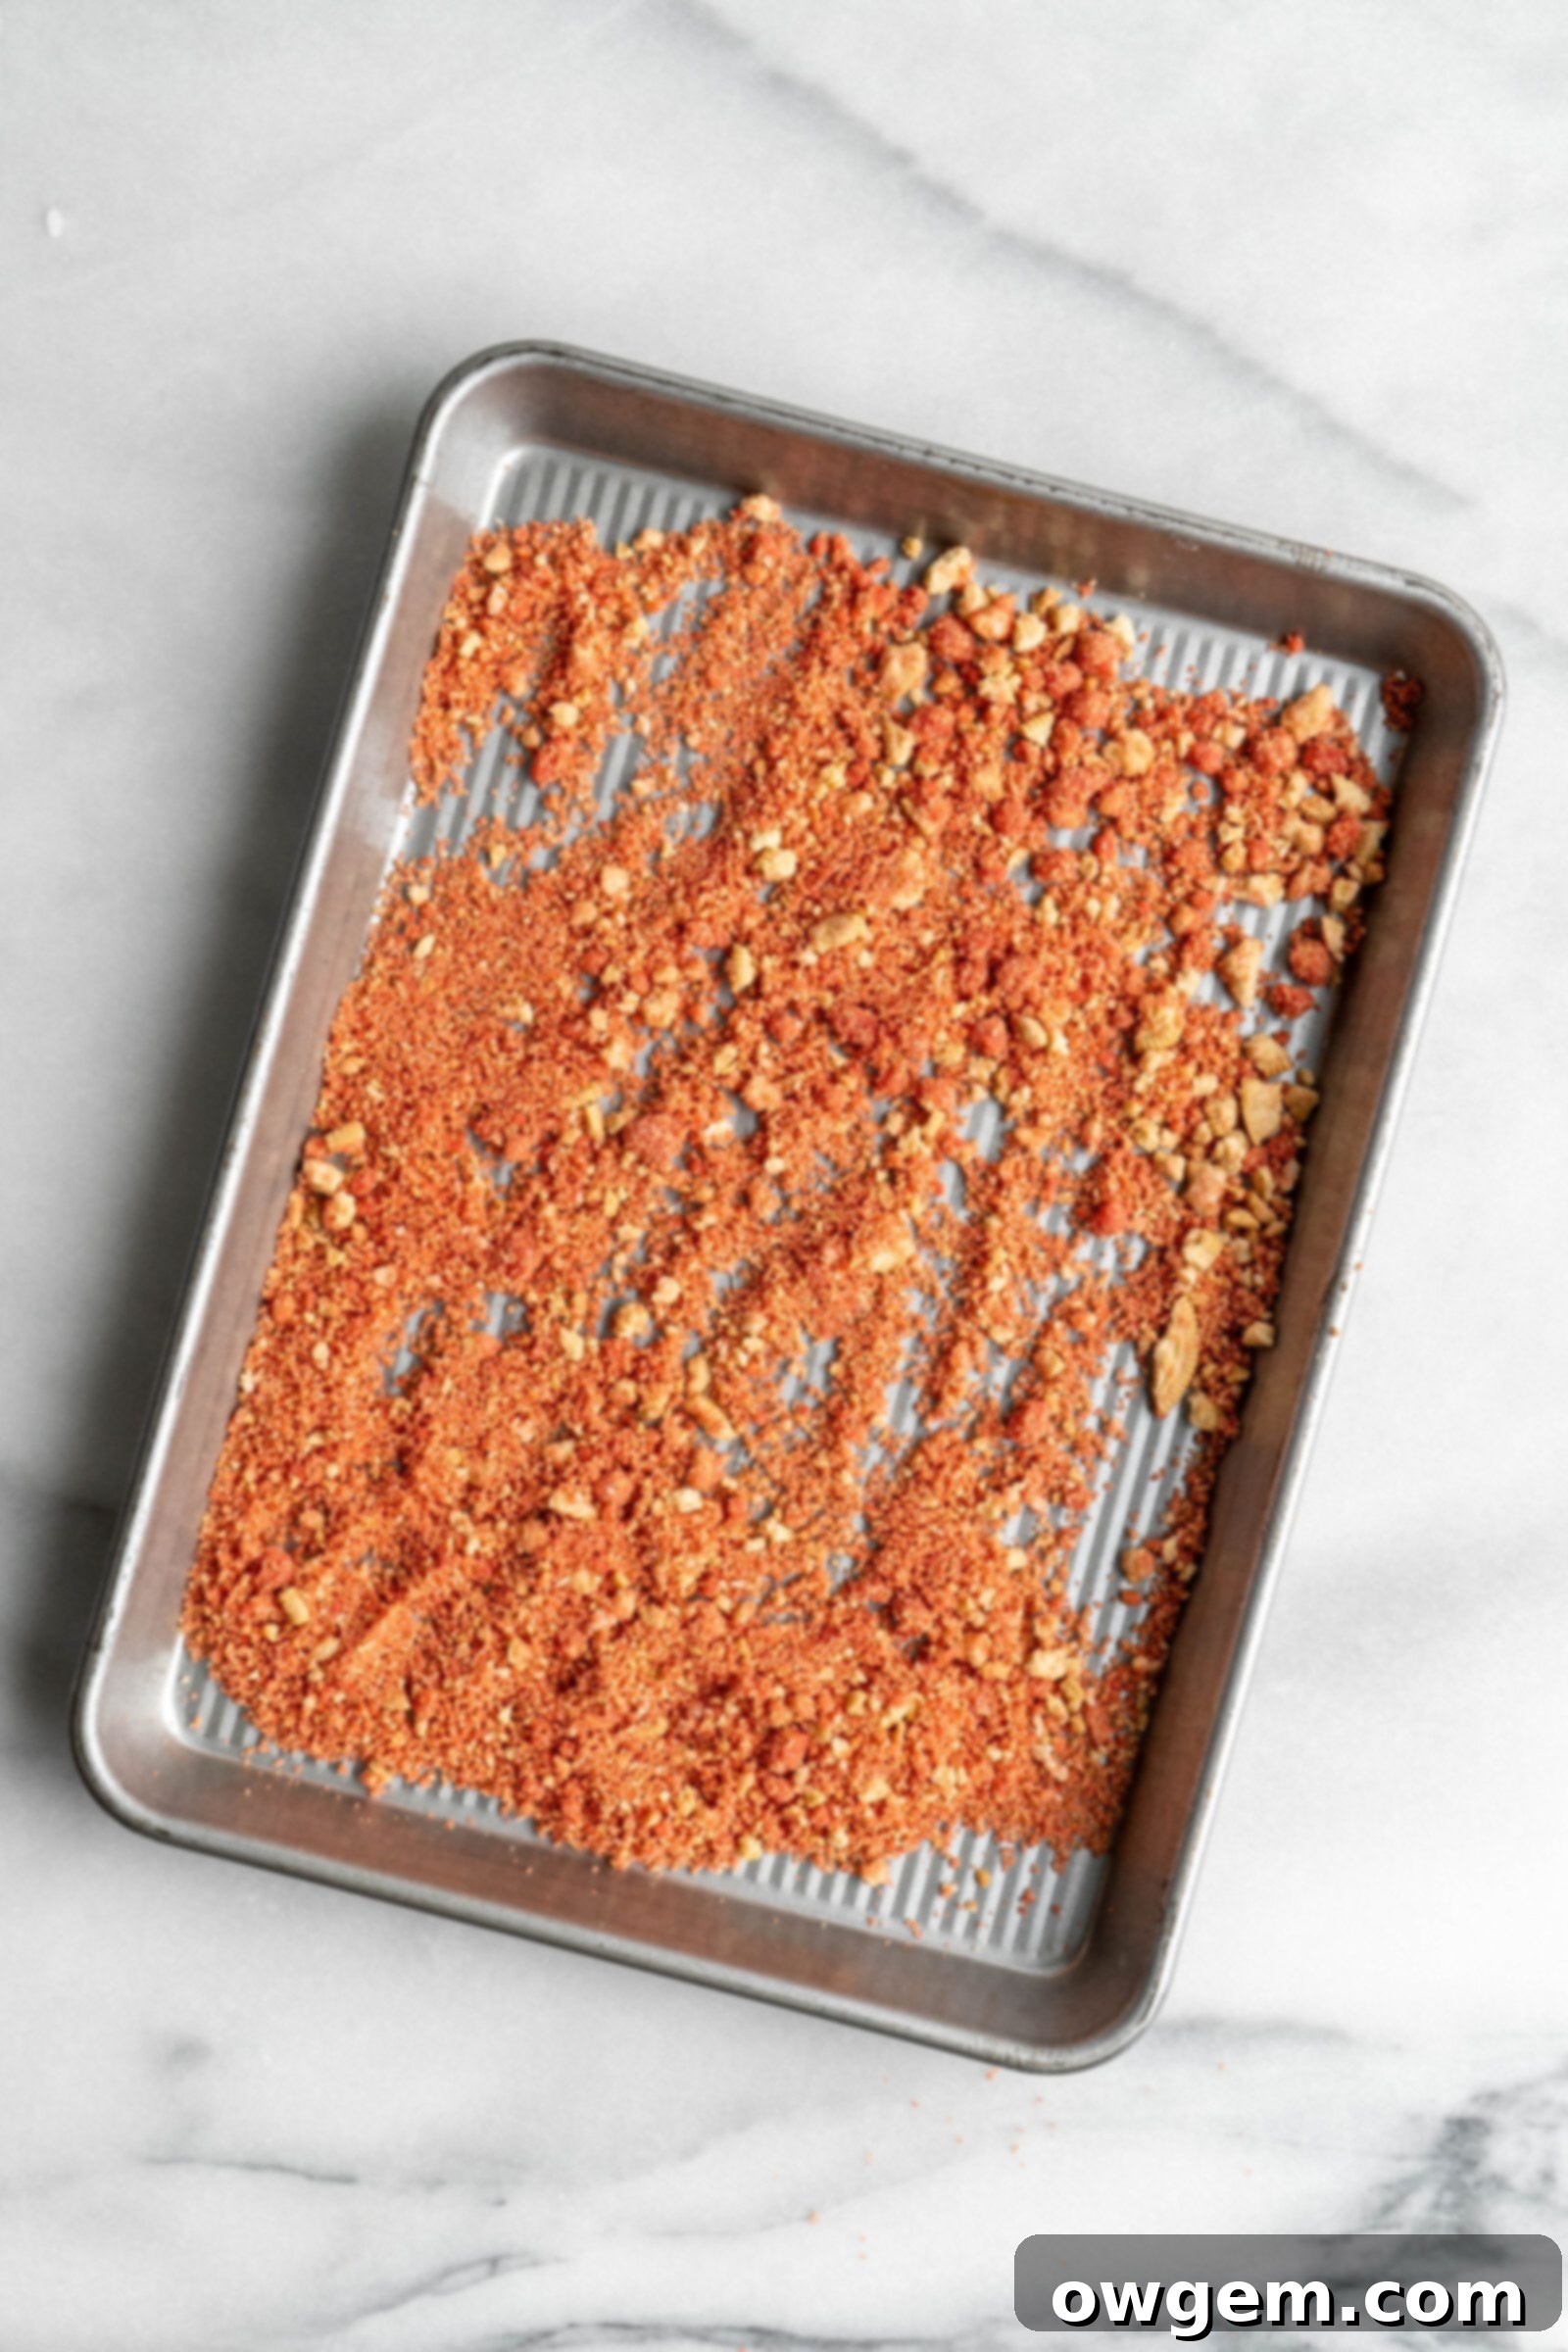
1. Prepare the Strawberry Crunch Topping: Begin by taking your Golden Oreos and placing them into a food processor. Pulse until the cookies are finely ground, resembling the texture of wet sand. This fine texture is crucial for the crunch to adhere well. Next, add the melted butter and strawberry jello powder to the food processor. Pulse again just until these ingredients are fully dispersed and the mixture is evenly colored and cohesive. Once ready, spread this vibrant strawberry crunch mixture evenly onto a plate or a shallow baking sheet and set it aside for later use.
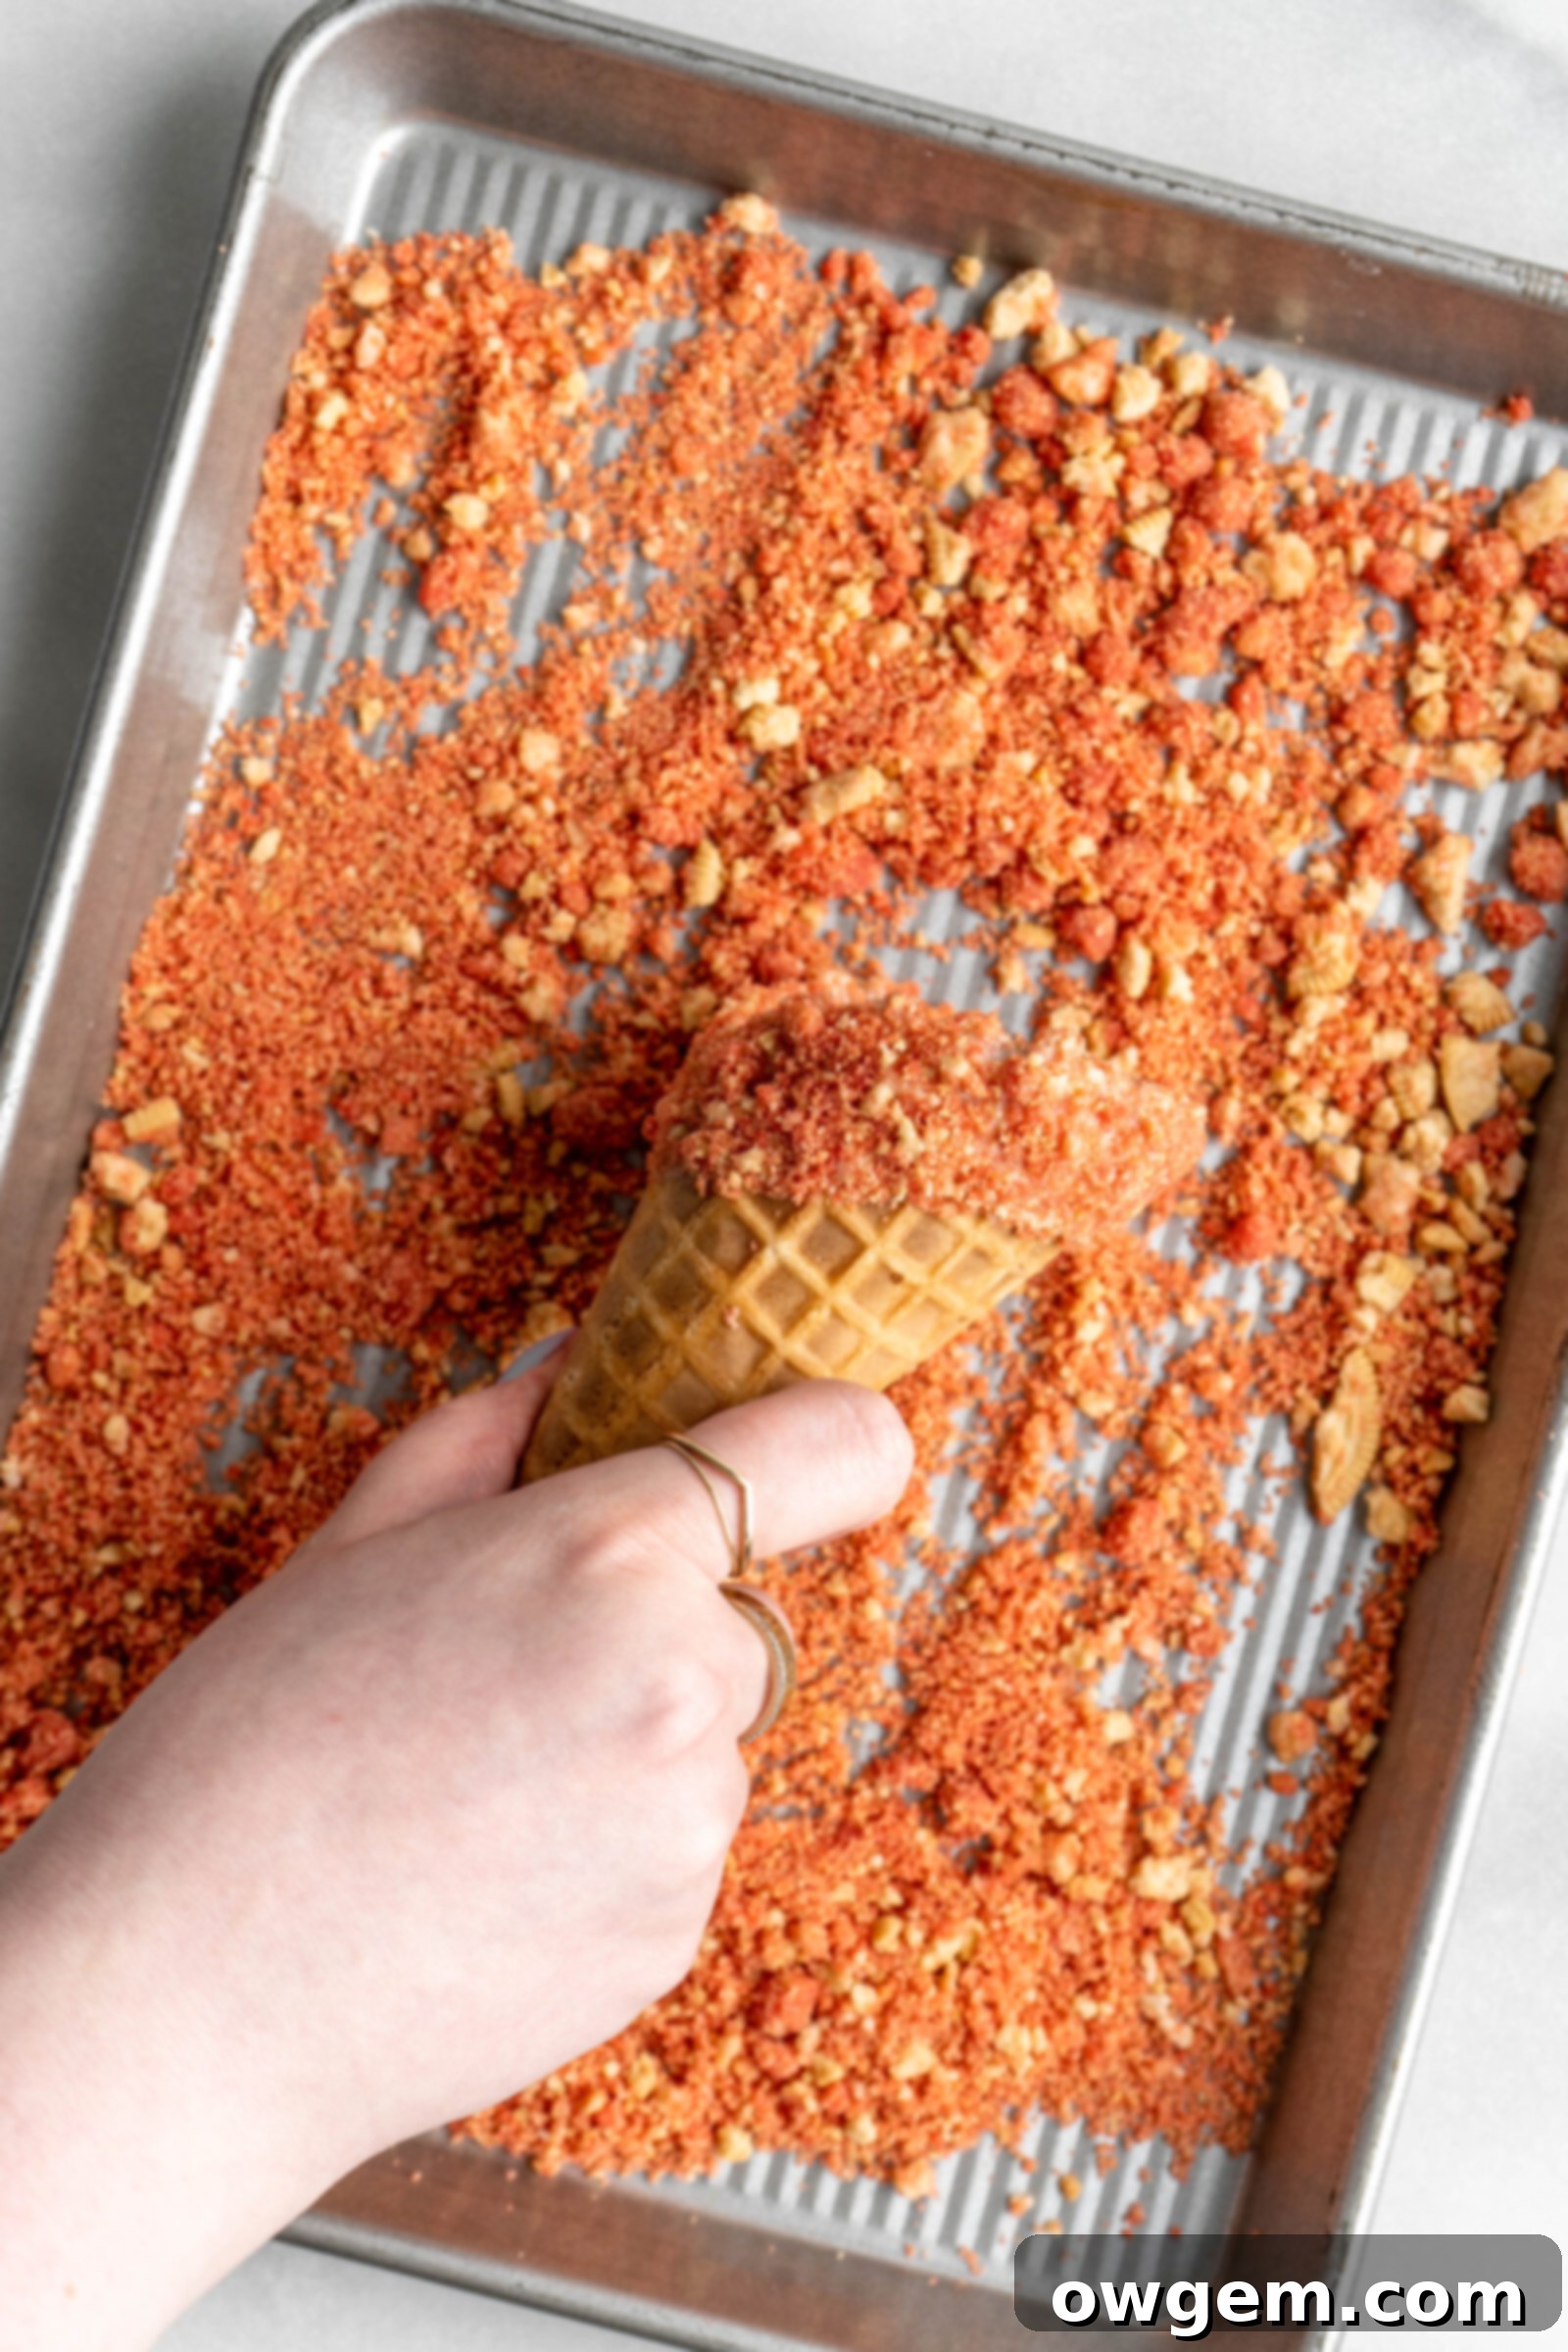
2. Assemble and Decorate the Cones: Melt your white chocolate until it’s smooth and pourable. Dip the top edge of each waffle cone into the melted white chocolate, allowing any excess to drip off. Immediately after dipping, gently roll the chocolate-coated edge of the cone into the prepared strawberry crunch mixture, ensuring an even and generous coating. The crunch should stick easily to the chocolate. Place the decorated cones upright in a cone stand or simply on a parchment-lined tray to allow the chocolate and crunch to set and harden completely. This will create a beautiful and delicious barrier.
3. Prepare the Gelatin Mixture: In a small, heatproof bowl, sprinkle the gelatin powder evenly over 1/4 cup of the heavy cream. Stir gently and allow this mixture to sit undisturbed for about 3 minutes. This process, known as “blooming,” allows the gelatin granules to absorb the liquid. After blooming, place the bowl in the microwave and heat it in short 10-second intervals, stirring after each, until the gelatin is completely dissolved and the mixture is clear. Be careful not to overheat it. Set this gelatin mixture aside to cool slightly.
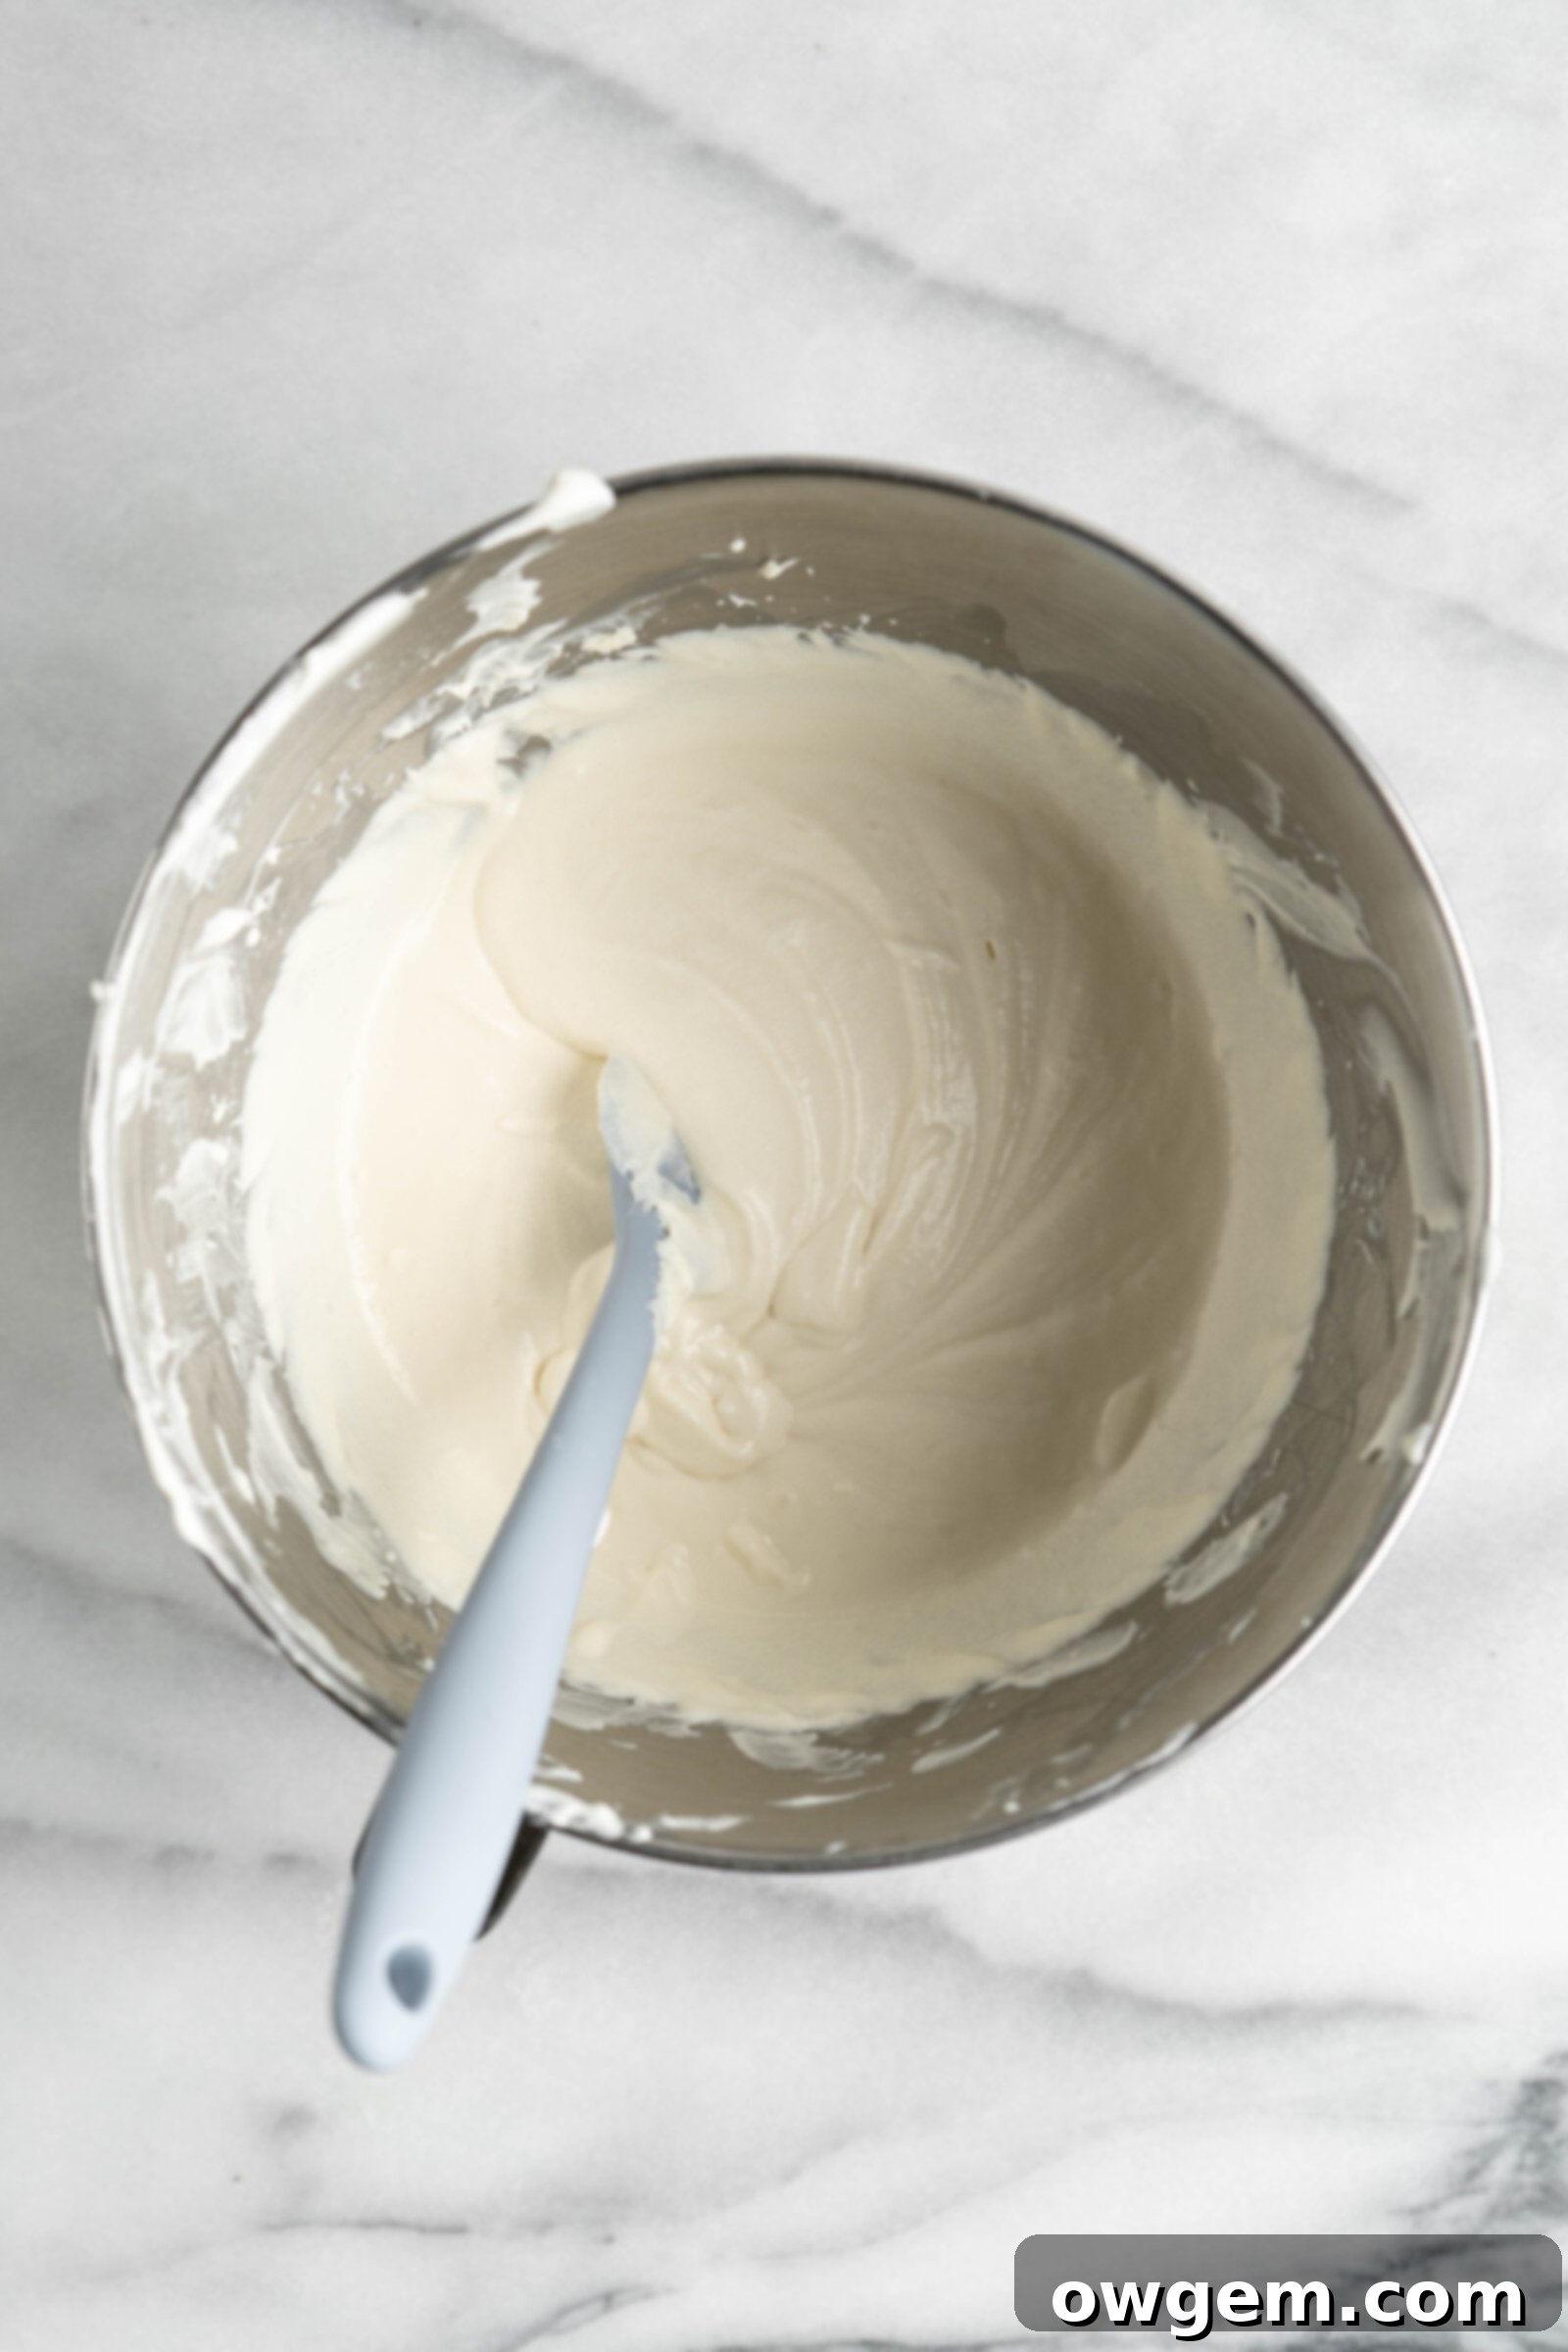
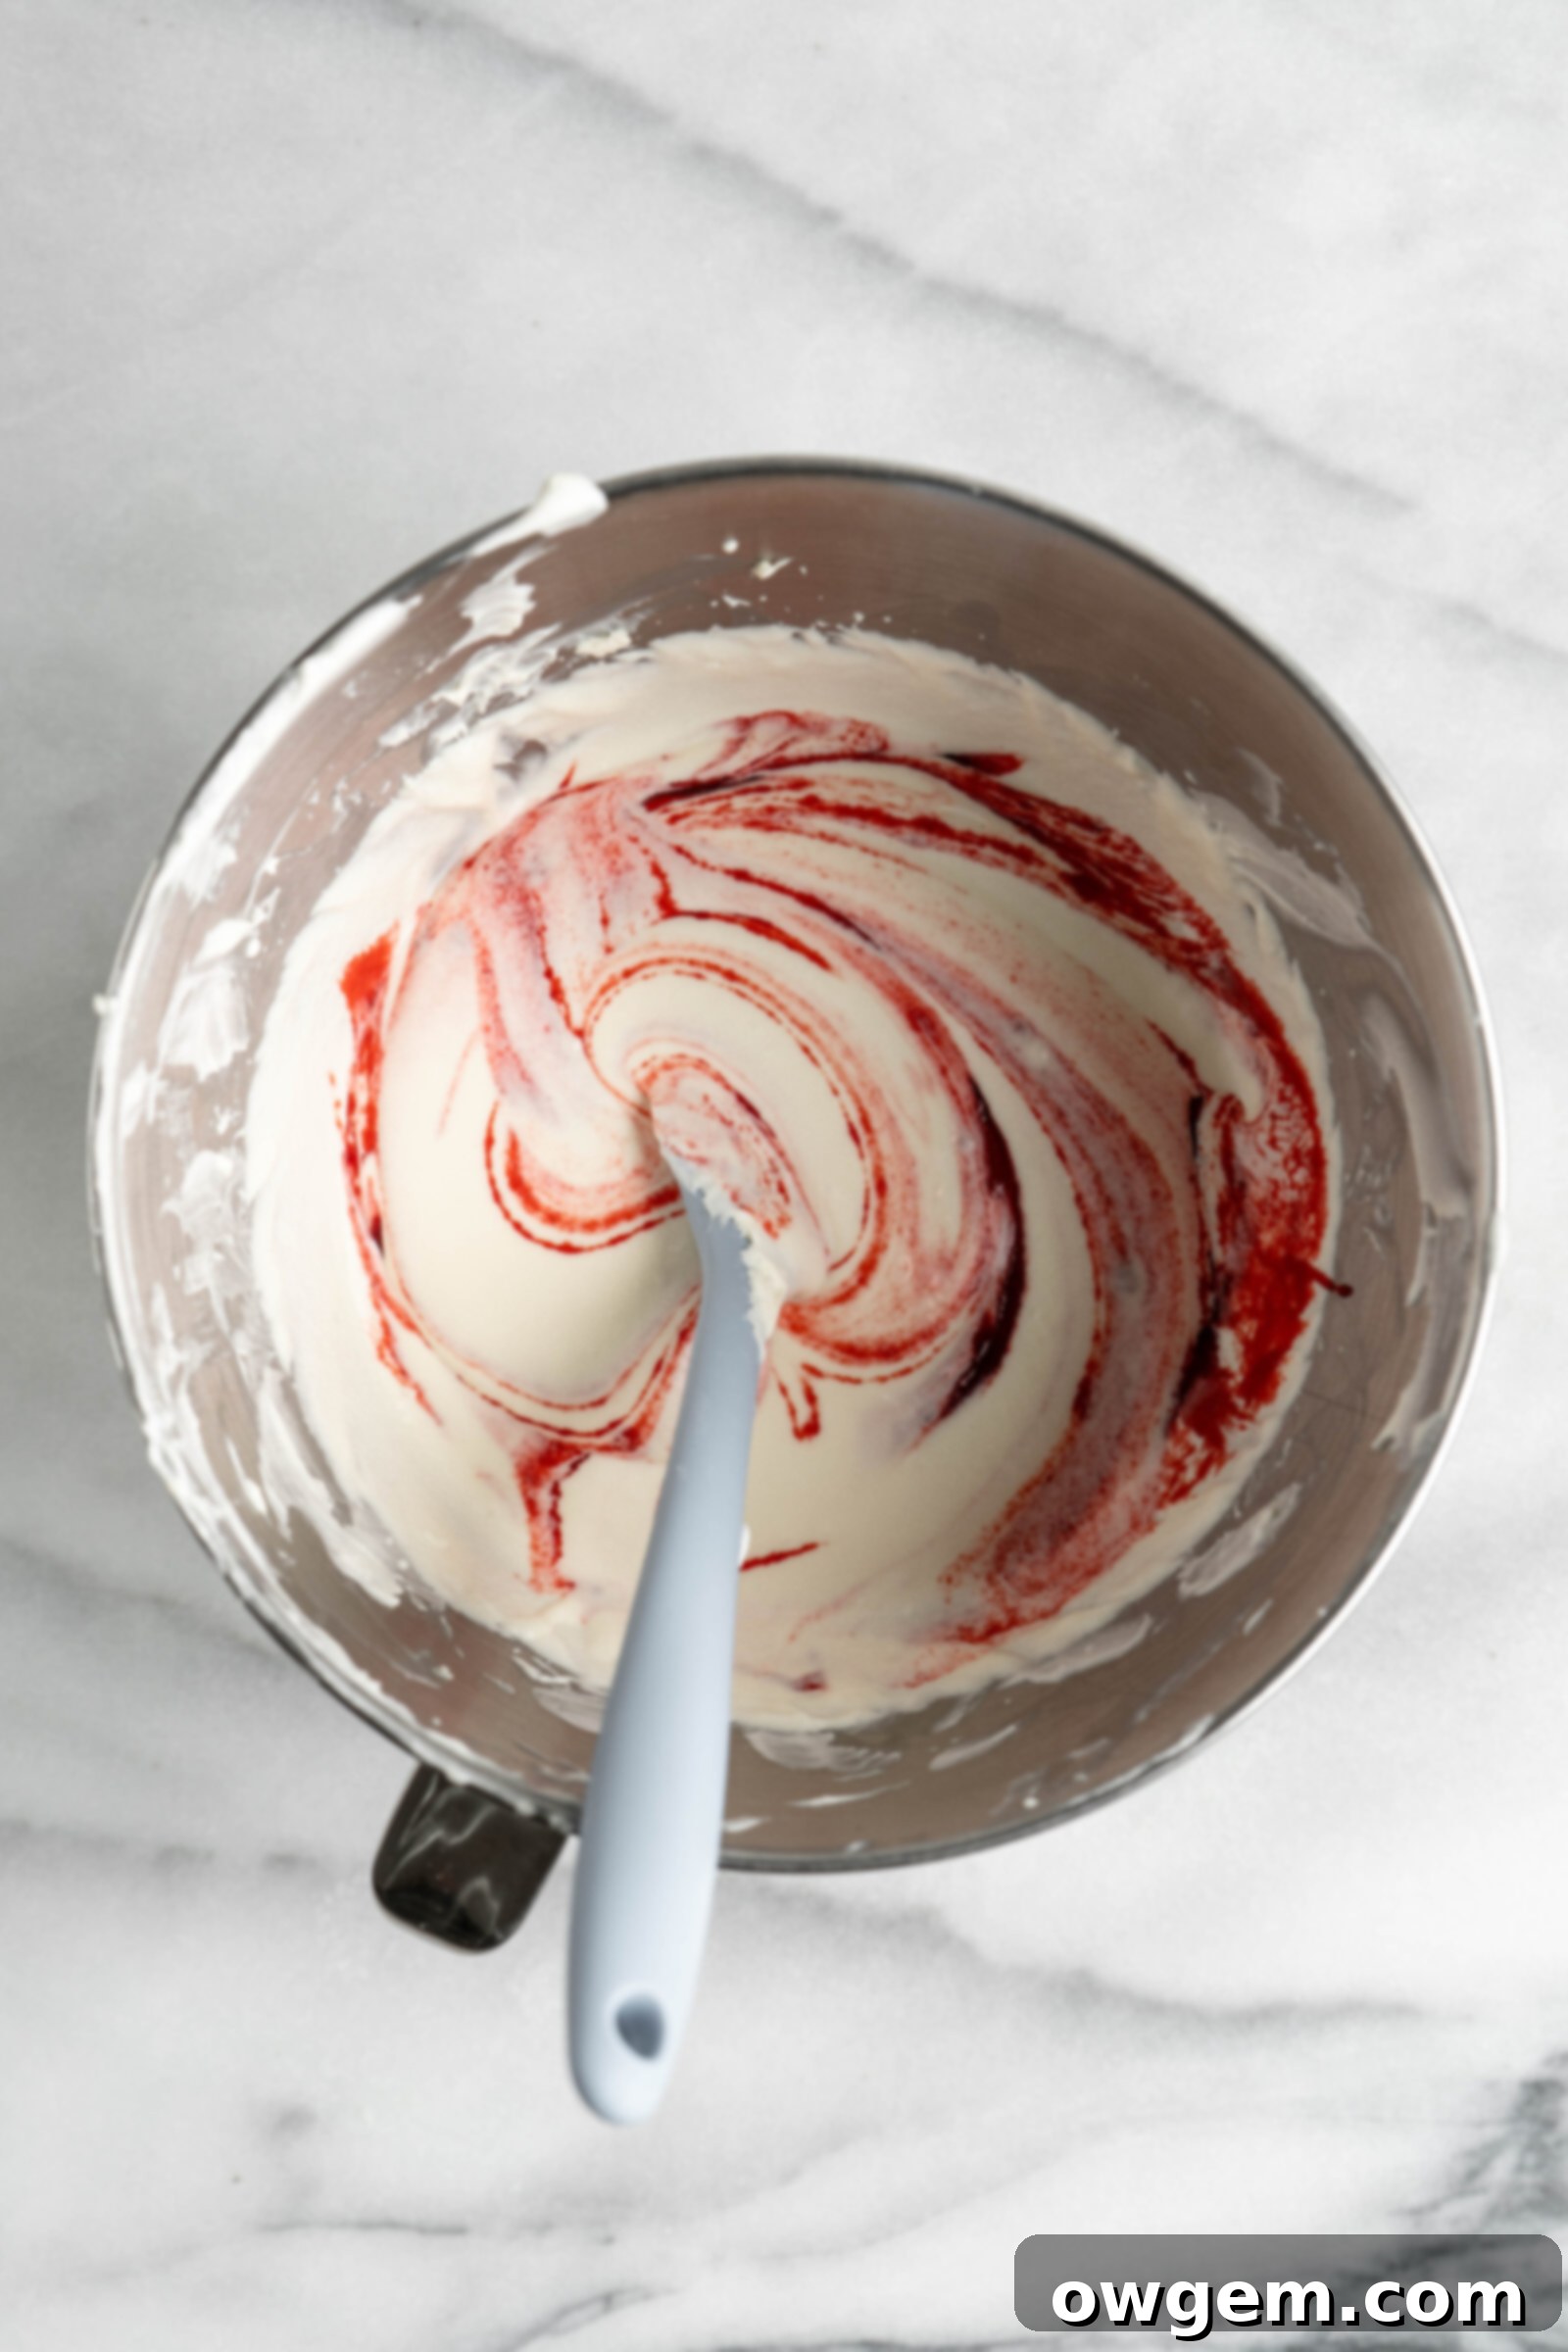
4. Create the No-Bake Cheesecake Filling: In a chilled stand mixer bowl (or using a hand mixer), combine 3/4 cup of heavy cream with the confectioners sugar. Beat on high speed until stiff peaks have formed, meaning the whipped cream holds its shape firmly. In a separate large bowl, beat the softened cream cheese, granulated sugar, sour cream, vanilla extract, and seedless strawberry jam together until the mixture is completely smooth and free of any lumps. Finally, gently fold the prepared whipped cream and the slightly cooled, dissolved gelatin mixture into the cream cheese mixture. Continue mixing until everything is fully incorporated and the cheesecake filling is uniformly smooth and creamy.
5. Allow the Filling to Set: Cover the bowl of cheesecake filling tightly with plastic wrap, pressing the wrap directly onto the surface of the filling to prevent a skin from forming. Transfer the bowl to the refrigerator and allow it to chill overnight, or for a minimum of 6-8 hours. This crucial setting time allows the gelatin to fully activate and the filling to stiffen, making it perfect for piping.
6. Pipe and Enjoy Your Cones: Once the cheesecake filling has thoroughly set and become firm, remove it from the fridge. Transfer the stiffened filling into a piping bag fitted with your desired nozzle (a large star tip works beautifully for a decorative finish). Carefully pipe the creamy cheesecake filling into each of your prepared strawberry crunch waffle cones. You can fill them as generously as you like. Serve these delightful cones immediately for the best texture and crunch, or store them in the refrigerator until you are ready to indulge. Enjoy the ultimate summer treat!
Pro Tips & Tricks for Success
Achieving the perfect Strawberry Crunch Cheesecake Cones is easy with a few expert tips:
- Chilled Bowl for Whipped Cream: To ensure your heavy cream whips up quickly and holds its stiff peaks longer, always start with a very cold mixing bowl and whisk attachment. You can place them in the freezer for 10-15 minutes before whipping. This helps the cream maintain its structure and prevents it from becoming loose.
- Softened Cream Cheese is Key: It cannot be stressed enough – ensure your cream cheese is completely at room temperature. Cold cream cheese will result in a lumpy filling that is impossible to smooth out. Take it out of the fridge at least 1-2 hours before you plan to start mixing.
- Patience for Setting: While it might be tempting to rush, allowing the cheesecake filling to thicken in the fridge for the full 6-8 hours (or preferably overnight) is absolutely crucial. This ensures the gelatin has ample time to set, resulting in a firm, pipeable filling that holds its shape beautifully in the cones.
- Fresh Strawberry Garnish: If you plan to garnish your cones with fresh strawberry slices, add them just before serving. Cut strawberries can dry out and lose their vibrant color in the fridge, and they will become soggy and watery if frozen.
- Food Processor for the Crunch: A food processor truly makes grinding the Golden Oreos infinitely easier and ensures a consistent “wet sand” texture. If you don’t have one, you can still achieve this by placing the Oreos in a sturdy, thick plastic bag (like a freezer bag) and crushing them with a rolling pin or kitchen mallet until very finely crumbled.
- Quality White Chocolate Matters: The type of white chocolate you use can significantly impact the flavor and texture of your cones. Opt for a high-quality white chocolate that melts smoothly and has a pleasant, creamy taste. This will elevate the overall experience of your Strawberry Crunch Cheesecake Cones.
- Preventing Soggy Cones: The white chocolate coating on the waffle cones acts as a protective barrier. Ensure it’s fully hardened before adding the filling. For best results, fill the cones closer to serving time if possible, or store the unfilled cones and filling separately, combining them right before consumption if you want maximum crunch.
- Piping Bag Alternatives: If you don’t have a piping bag, a large, sturdy zip-top bag with one corner snipped off will work in a pinch. Just ensure the hole is large enough for the filling to pass through smoothly.
Essential Equipment for This Recipe
While some tools make the process easier, these are the key pieces of equipment that will help you prepare your Strawberry Crunch Cheesecake Cones:
- Food Processor: This is highly recommended for efficiently grinding the Golden Oreos into a fine, wet-sand like texture for the crunch topping. It saves a lot of time and effort. However, if you don’t own one, you can still make these delicious cones. Simply place the Oreos in a thick, heavy-duty plastic bag and use a rolling pin or a kitchen mallet to crush them until they are very fine. This method requires a bit more elbow grease but is perfectly viable.
- Stand Mixer or Hand Mixer: Either a stand mixer or a powerful hand mixer is pretty crucial for this recipe. They are invaluable for whipping the heavy cream to stiff peaks and beating the cream cheese mixture until it’s perfectly smooth and lump-free. While it’s technically possible to mix by hand, it would require significant effort and time to achieve the desired fluffy and smooth consistencies for both the whipped cream and the cheesecake filling.
- Heatproof Bowls: You’ll need a few mixing bowls for different stages of the recipe, including one small heatproof bowl for blooming and dissolving the gelatin.
- Piping Bag (Optional but Recommended): A piping bag fitted with a large star tip will make filling the cones much neater and give them a professional, attractive finish. If you don’t have one, a sturdy zip-top bag with the corner snipped off can serve as a makeshift piping bag.
- Shallow Dish or Baking Sheet: For rolling the cones in the strawberry crunch topping.
- Cone Stand (Optional): A cone stand can be very helpful for holding the decorated cones upright while they set, and for easy filling. Alternatively, you can use a sturdy glass or mug to support them.
Properly Storing Your Delicious Cheesecake Cones
To keep your Strawberry Crunch Cheesecake Cones fresh and delicious, proper storage is key. Here’s how to store them for optimal enjoyment:
- In the Fridge: These cheesecake cones are best enjoyed fresh, but they can be made ahead and stored in the refrigerator for up to 1 day. Place them in an airtight container to protect them from absorbing other odors and to maintain their freshness. Be aware that after 1 day, the waffle cones may start to lose their crispness and become slightly soggy from the moisture in the cheesecake filling. To minimize this, you can lightly toast the cones before dipping them in chocolate, creating a stronger moisture barrier.
- In the Freezer: For longer storage, Strawberry Crunch Cheesecake Cones can be frozen. Place the filled cones in a single layer on a baking sheet and freeze them until solid (about 2-3 hours). Once frozen, transfer them to an airtight freezer-safe container, separating layers with parchment paper to prevent sticking. They will keep well in the freezer for up to 2 months. When you’re ready to enjoy them, simply take them out of the freezer and let them thaw in the refrigerator for a few hours, or at room temperature for about 30 minutes, until they reach your desired consistency. Freezing can help preserve the cone’s crunch slightly better than refrigeration for extended periods.
Frequently Asked Questions
While a food processor will make your life infinitely easier and ensure a consistently fine texture for grinding up the Golden Oreos, you can make these without one. Simply place the Oreos in a thick, sturdy plastic bag (like a freezer bag) and use a rolling pin or a kitchen mallet to beat them until everything is well crumbled into a fine, sand-like consistency. It will require a bit more manual effort, but the result will still be delicious!
A stand mixer or a hand mixer will certainly make the process of mixing the cheesecake filling and whipping the heavy cream MUCH easier and more efficient, ensuring a smooth, lump-free filling and perfectly stiff whipped cream. However, if you don’t have one, both steps can be done by hand with a whisk and plenty of arm power. Just ensure you beat the cream cheese mixture thoroughly until it’s completely lump-free and smooth, and whip the cream until it forms firm peaks. It will take longer, but it’s achievable!
Definitely! You can absolutely use sugar cones if you prefer. Just keep in mind that sugar cones typically hold less cheesecake filling than the larger waffle cones. This means you might end up with a few more cheesecake cones from the same amount of filling, or you could adjust the filling recipe if you’re aiming for a specific number of servings. The crunch and flavor will still be fantastic!
Unfortunately, no. The strawberry jello is a critical ingredient for the “strawberry crunch” topping. It not only provides the distinctive strawberry flavor but also gives it that vibrant pink color and contributes to the unique texture. Without it, you wouldn’t get the authentic “strawberry crunch” experience that makes these cones so special.
The most common culprit for a loose or liquidy filling is usually the whipped cream. It might not have been whipped enough to form stiff peaks, or it could have been too warm when you whipped it or when it was folded into the cheesecake mixture. Additionally, ensuring your cream cheese is properly softened and the gelatin is fully dissolved and incorporated smoothly is important. If your filling seems too thin, try placing the entire bowl back into the fridge for a few extra hours (6-8 hours or even overnight) to allow the gelatin more time to set and firm up the mixture. If it still doesn’t set, it might indicate an issue with the gelatin’s potency or improper preparation.
Exciting Flavor Variations to Try
While the classic Strawberry Crunch Cheesecake Cones are undeniably delicious, this recipe offers a fantastic base for creativity. Feel free to experiment with different flavor combinations to suit your preferences:
- Zesty Raspberry Delight: Easily transform these into a raspberry version by swapping out the strawberry jello for raspberry jello in the crunch topping, and using raspberry jam instead of strawberry jam in the cheesecake filling. The tartness of raspberries would provide a lovely contrast to the sweet creaminess.
- Blueberry Bliss: For a delightful blueberry twist, use blueberry jello for the crunch and a good quality blueberry jam or compote in the cheesecake filling. You could even swirl in fresh blueberries for added texture and burst of flavor.
- Tropical Mango Tango: Imagine a mango crunch! Use a mango or orange flavored jello for the crunch and incorporate mango puree or a high-quality mango jam into the cheesecake filling. A hint of lime zest could really make this tropical variation pop.
- Lemon Burst: For those who love a citrusy kick, lemon jello for the crunch and a lemon curd or lemon marmalade in the filling would create a bright and refreshing cheesecake cone, perfect for summer.
- Peach Cobbler Inspiration: For a truly unique flavor profile, consider a peach cobbler version. This recipe for Peach Cobbler Cheesecake Cones looks absolutely amazing and provides a great starting point for inspiration, perhaps using peach jello and peach preserves.
- Chocolate Lover’s Dream: While deviating from “strawberry crunch,” you could use chocolate cookie crumbs for the crunch (without jello, or with a chocolate pudding mix) and incorporate chocolate chips or cocoa powder into the cheesecake filling for a rich chocolate cheesecake cone.
- Topping Adventures: Beyond the crunch, consider additional toppings! Drizzle with melted chocolate, sprinkle with toasted coconut, add finely chopped nuts, or for the strawberry versions, top with fresh strawberry slices right before serving.
The possibilities are endless, allowing you to customize these no-bake cheesecake cones to your heart’s content!
More Delightful Dessert Recipes
If you loved these Strawberry Crunch Cheesecake Cones, be sure to check out these other fantastic dessert recipes that are perfect for satisfying your sweet tooth:
No Churn Strawberry Cheesecake Ice Cream
Raspberry Pistachio Cheesecake
Strawberry Shortcake Layer Cake
Strawberry Shortcake Cookies

Get the Recipe:
Strawberry Crunch Cheesecake Cones
Pin
Rate
Ingredients
Strawberry Crunch Cones
- 12 Golden Oreos
- 4 tbsp Strawberry Jello
- 2 tbsp (28g) Melted Butter
- 6 Waffle Cones
- 3/4 cup (180g) Melted White Chocolate
No Bake Strawberry Cheesecake Filling
- 1/2 envelope (1 ¼ tsp) Gelatin
- 1 cup (230g) Heavy Cream,, divided (3/4 whipped, ¼ for gelatin)
- 2 tbsp Confectioners Sugar
- 2 blocks (908g) Cream Cheese,, softened
- 6 tbsp White Sugar
- 2 tbsp Sour Cream
- 1 tsp Vanilla
- 1/2 cup (155g) Seedless Strawberry Jam
Equipment
-
Food Processor
Instructions
Strawberry Crunch Cones
-
Add oreos to a food processor and grind until well broken up – they should resemble wet sand. Add in melted butter and jello, then pulse until combined.
-
Pour strawberry crunch onto a plate or baking sheet, then set aside.
-
Dip the top of each waffle cone into melted white chocolate, then shake off the excess chocolate. Roll each cone into the strawberry crunch, then set aside to allow the chocolate and crunch to harden.
No Bake Strawberry Cheesecake Filling
-
Pour gelatin over 1/4 cup whipped cream, stir, and allow to sit for 3 minutes. Next, place it in the microwave in 10 second intervals, until the gelatin is completely dissolved. Set aside.
-
Using a stand mixer or hand mixer, beat ¾ cup whipped cream and confectioners sugar until stiff peaks have formed.
-
In a separate bowl, beat the cream cheese, sugar, sour cream, vanilla and strawberry jam until smooth. Mix together the cream cheese mixture, whipped cream, and gelatin, until smooth.
-
Cover the cheesecake filling with plastic wrap, then place into the fridge to stiffen for 6 hours.
-
Remove from the fridge, then add the filling to a piping bag and pipe the filling into each strawberry crunch cone.
