Delicious Summer Berry Pavlova: The Ultimate Guide to a Perfect Meringue Dessert
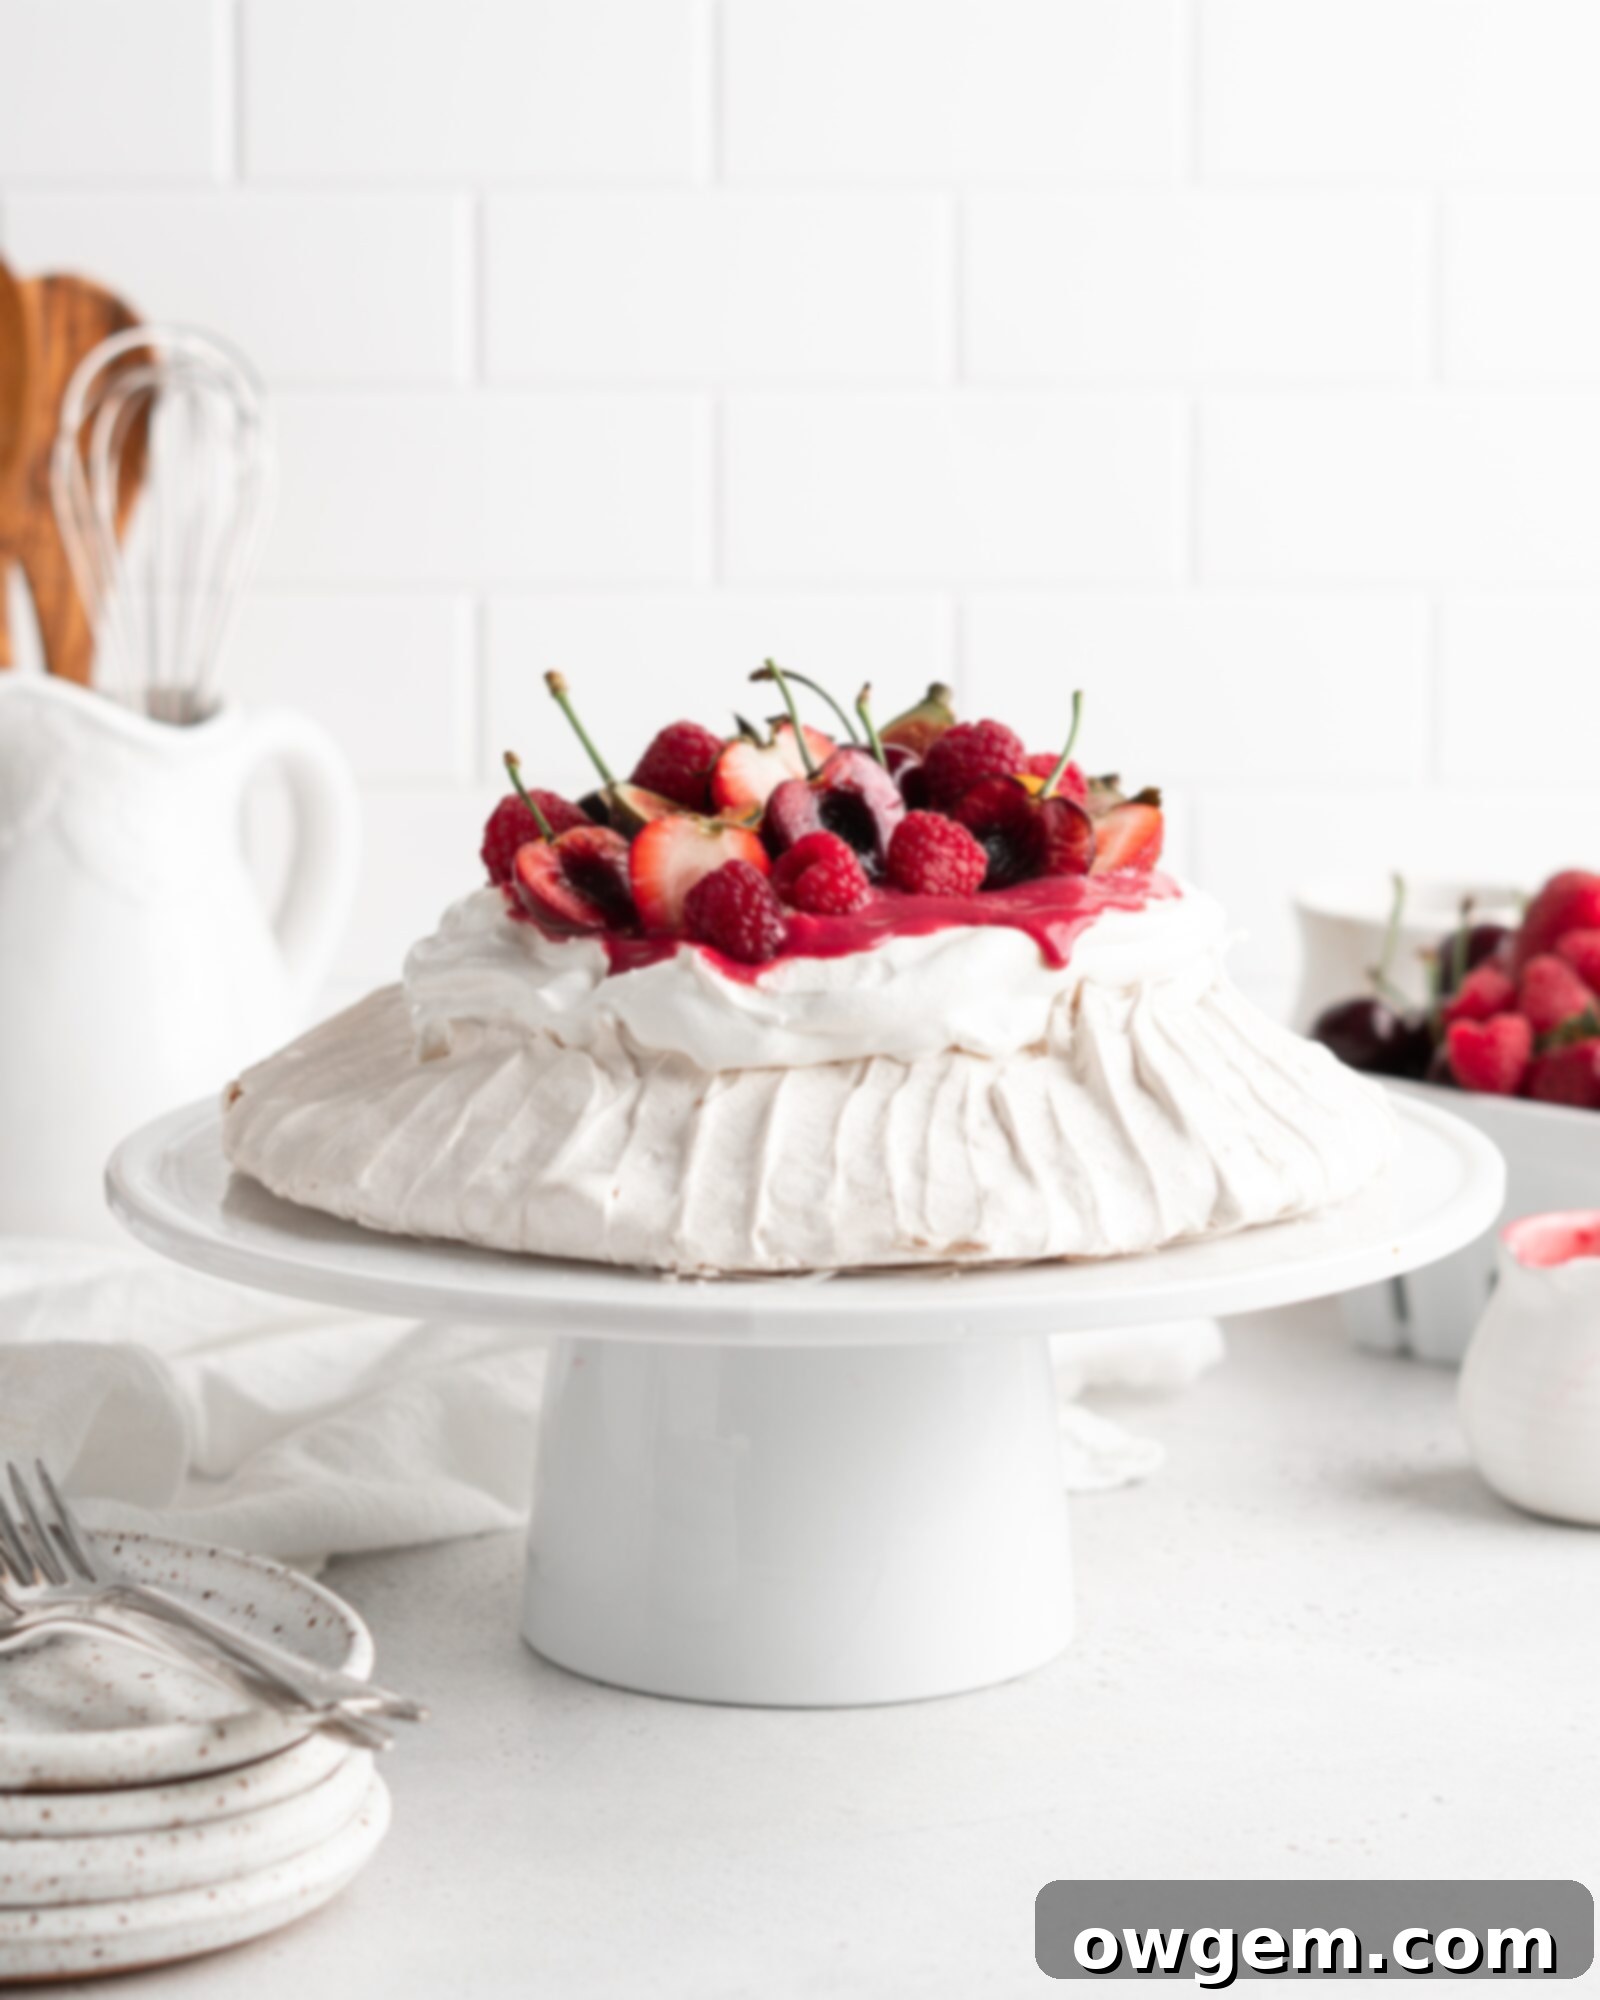
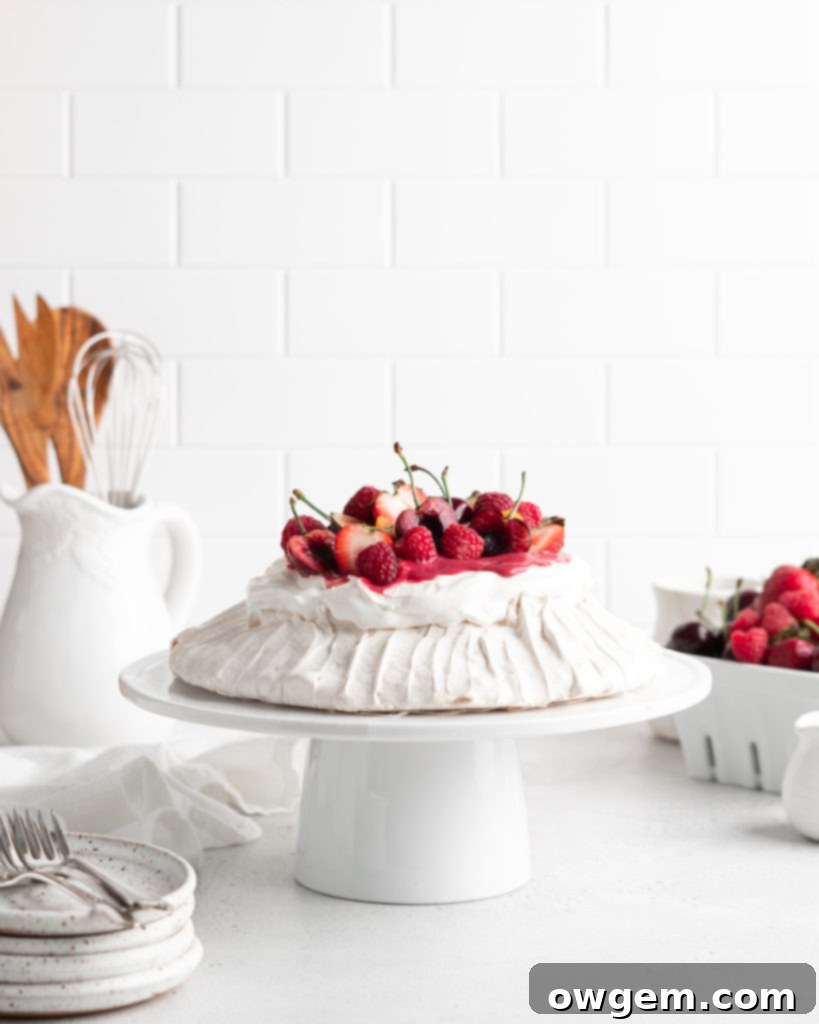
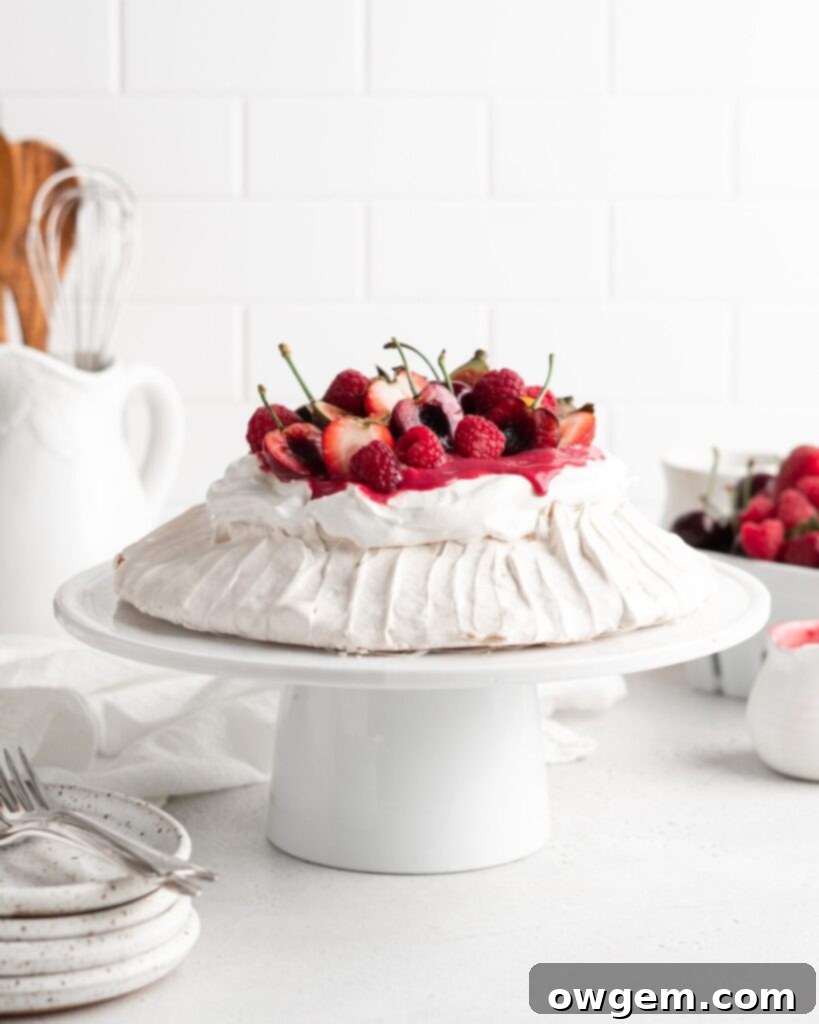
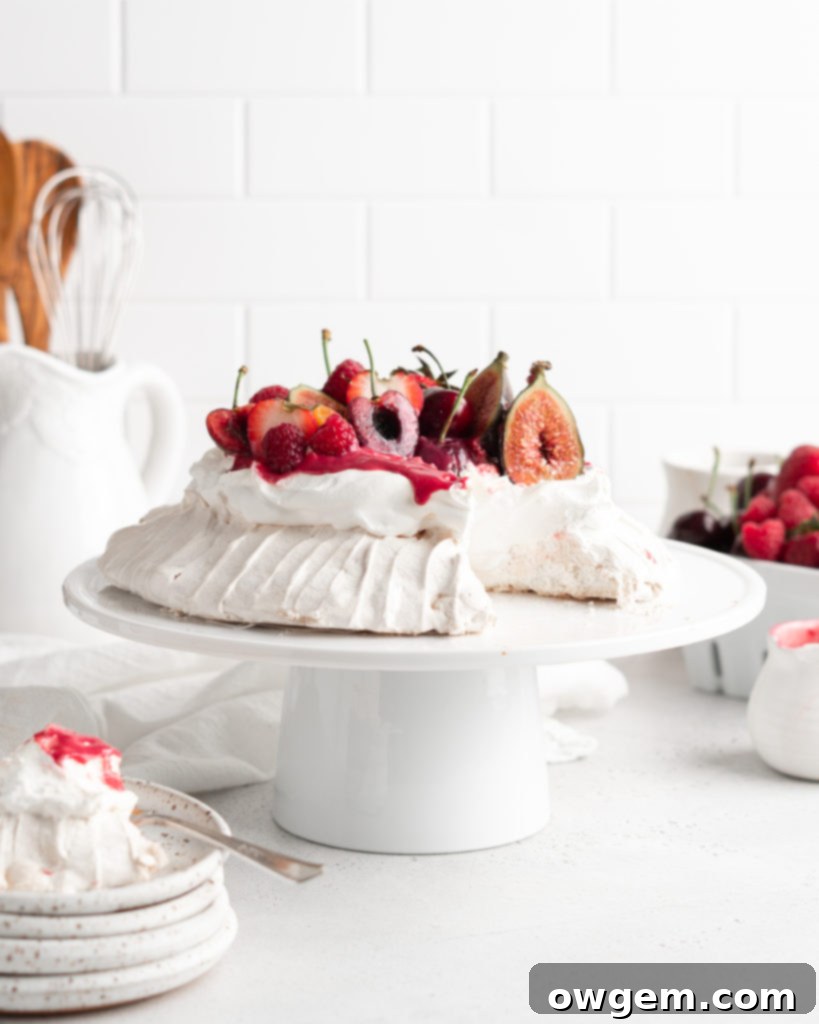
Prepare to impress with this incredible recipe for Summer Berry Pavlova! This comprehensive guide will walk you through every step, ensuring you create a show-stopping dessert that’s guaranteed to wow your guests. Our Summer Berry Pavlova boasts a wonderfully crisp, delicate exterior, giving way to an interior that is unbelievably soft, fluffy, and marshmallow-like. It’s generously crowned with a cloud of lightly sweetened whipped cream, a vibrant and tangy homemade raspberry curd, and an abundant piling of the freshest, most luscious summer berries and seasonal fruits. This elegant and refreshingly light dessert is perfect for any gathering, making it an absolute must-try this season.
What Exactly is a Pavlova?
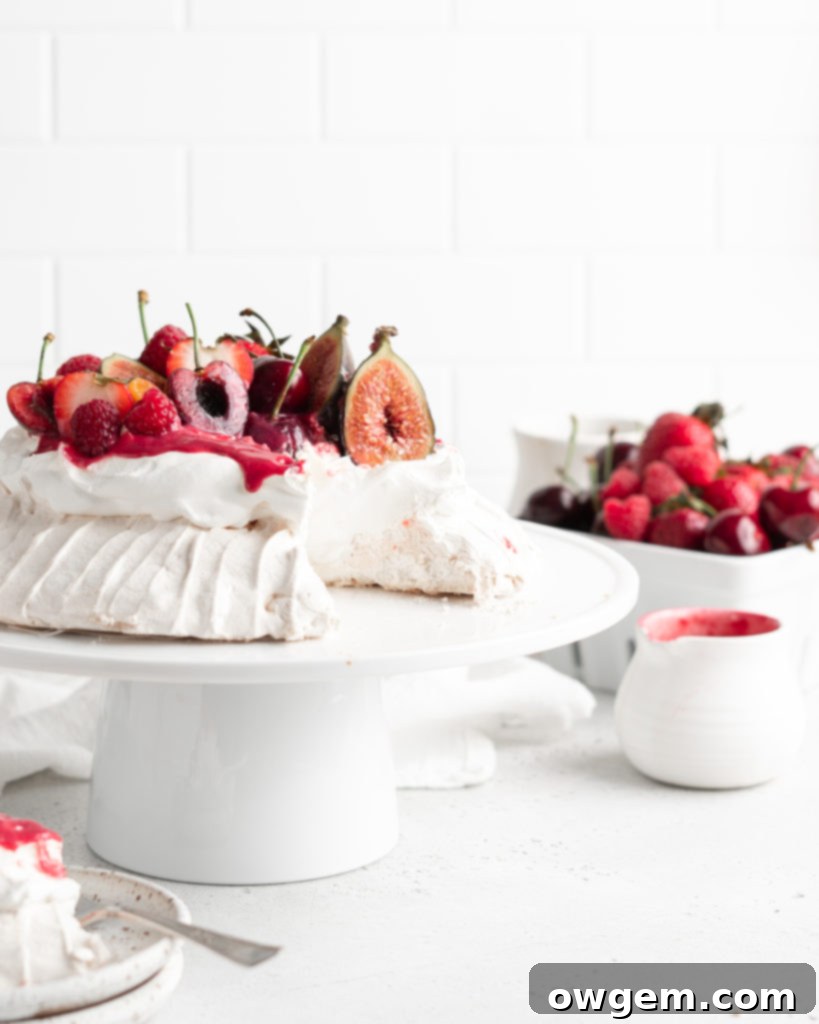
A true culinary masterpiece, the Pavlova is an iconic dessert that proudly claims its origins in the sunny lands of Australia and New Zealand. This elegant, meringue-based creation is traditionally adorned with generous dollops of whipped cream and a colorful assortment of fresh fruits, making it a staple at celebrations and summer gatherings. The magic of pavlova lies in its unique texture: a perfectly baked pavlova features a distinctively crisp, delicate meringue shell on the outside, reminiscent of a large, airy cookie. However, bite into it, and you’ll discover a contrasting, irresistibly soft, light, and chewy interior that feels much like a fluffy marshmallow. Its subtly sweet flavor profile makes it incredibly versatile, pairing exquisitely with almost any accompaniment – from juicy berries and exotic fruits to rich chocolate drizzles and decadent caramel sauces. The light and airy nature of this dessert provides a delightful contrast to heavier meals, offering a refreshing and satisfying end to any dining experience.
The Game-Changing Swiss Meringue Method for Perfect Pavlova
For many home bakers, and even experienced pastry chefs, pavlovas, much like other meringue-based desserts, can be notoriously tricky. They have a reputation for being finicky little beasts! For years, I personally struggled immensely with achieving the perfect pavlova. My main hurdles included sugar that refused to dissolve completely, often leading to undesirable “weeping” of the meringue in the oven. Even worse, my beautifully puffed pavlovas would consistently collapse into a sad, deflated mess shortly after being removed from the heat. It truly felt like I was destined to forever admire pavlovas from afar, rather than successfully bake them myself!
However, my pavlova journey took a dramatic turn when I stumbled upon an illuminating article from the esteemed Cook’s Illustrated. Their groundbreaking suggestion was to pivot from the traditional French meringue method to the Swiss meringue technique. Let me tell you, this simple shift was an absolute GAME CHANGER for me! The Swiss method involves a crucial first step: gently heating the egg whites and sugar together over a bain-marie (a simmering pot of water) until the mixture reaches a specific temperature. This gentle heating process ensures that the sugar dissolves perfectly and evenly into the egg whites, eliminating the common problem of weeping in the oven. Furthermore, Swiss-method meringues are inherently more stable and robust compared to their French counterparts. This increased stability significantly reduces the likelihood of the pavlova collapsing post-baking, delivering a consistently stunning and structurally sound dessert. This revelation transformed my baking confidence and consistently yields flawless pavlovas!
Why a Summer Berry Pavlova is the Perfect Seasonal Dessert
When summer arrives, so does an abundance of nature’s finest fruits, especially succulent berries. A Summer Berry Pavlova is the quintessential dessert to celebrate this season. It’s light, refreshing, and incredibly vibrant, perfectly complementing warm weather gatherings. The crisp meringue, cool whipped cream, and burst of fresh, tart-sweet berries create a harmonious symphony of textures and flavors that is unmatched. Using seasonal produce not only guarantees the freshest taste but also supports local farmers. Plus, the bright colors of various berries make for a visually stunning dessert that’s as beautiful as it is delicious. Whether you’re hosting a backyard BBQ, a garden party, or simply enjoying a quiet evening, this pavlova recipe promises a delightful experience.
Crafting Your Perfect Summer Berry Pavlova: Step-by-Step Guide
1. Gently Heat Egg Whites and Sugar: Begin by adding your fresh egg whites and granulated sugar to the impeccably clean bowl of your stand mixer. Whisk these ingredients together until just combined. Next, place this bowl over a pot of gently simmering water, creating a bain-marie. It is crucial to ensure that the bottom of your mixer bowl does *not* touch the simmering water; the steam alone is what provides the gentle heat. Constantly whisk the mixture to prevent the egg whites from scrambling, continuing until it reaches a precise temperature of 170°F (77°C) on an instant-read thermometer. This step is vital for dissolving the sugar and creating a stable meringue.
2. Whip the Meringue to Stiff Peaks: Once the egg white and sugar mixture has reached the target temperature, immediately remove the bowl from the bain-marie. Attach the bowl to your stand mixer and, using the whisk attachment, begin beating the mixture on high speed. Continue to beat vigorously for 4-5 minutes. During this time, the meringue will transform, becoming incredibly smooth, intensely shiny, and capable of holding very stiff, defined peaks when the whisk is lifted. This glossy, firm meringue is the foundation of your light and airy pavlova.
3. Incorporate Cornstarch, Vinegar, and Vanilla: With the stand mixer still running on high speed, add the cornstarch, white vinegar, and vanilla extract directly into the whipped meringue. Continue beating for just an additional 10 seconds. The cornstarch helps to create that signature chewy, marshmallow-like interior, while the vinegar contributes to the pavlova’s stability and crispness, and vanilla adds a lovely aromatic depth.
4. Shape the Pavlova Base: Prepare a large baking sheet by lining it with parchment paper. To prevent the parchment from sliding, you might want to dab a tiny bit of meringue in each corner to secure it to the pan. Carefully spoon the meringue onto the center of the prepared baking sheet. Using an off-set spatula or the back of a spoon, gently smooth the meringue into a beautiful disc shape, approximately 8 inches in diameter. As you shape it, create a slight crevice or indentation in the center of the pavlova – this will be the perfect nest for your creamy fillings and abundant fruit later on!
5. Bake and Cool with Patience: Place your shaped meringue into the preheated oven. Immediately after closing the oven door, reduce the oven temperature. Bake the pavlova for approximately 2 hours. After this baking period, turn the oven off completely. Crucially, leave the pavlova inside the closed oven to cool slowly for at least 4 hours, or even better, overnight. This extended, gradual cooling process is absolutely essential for achieving the perfect texture and preventing cracks and collapse.
The Critical Art of Cooling Your Pavlova
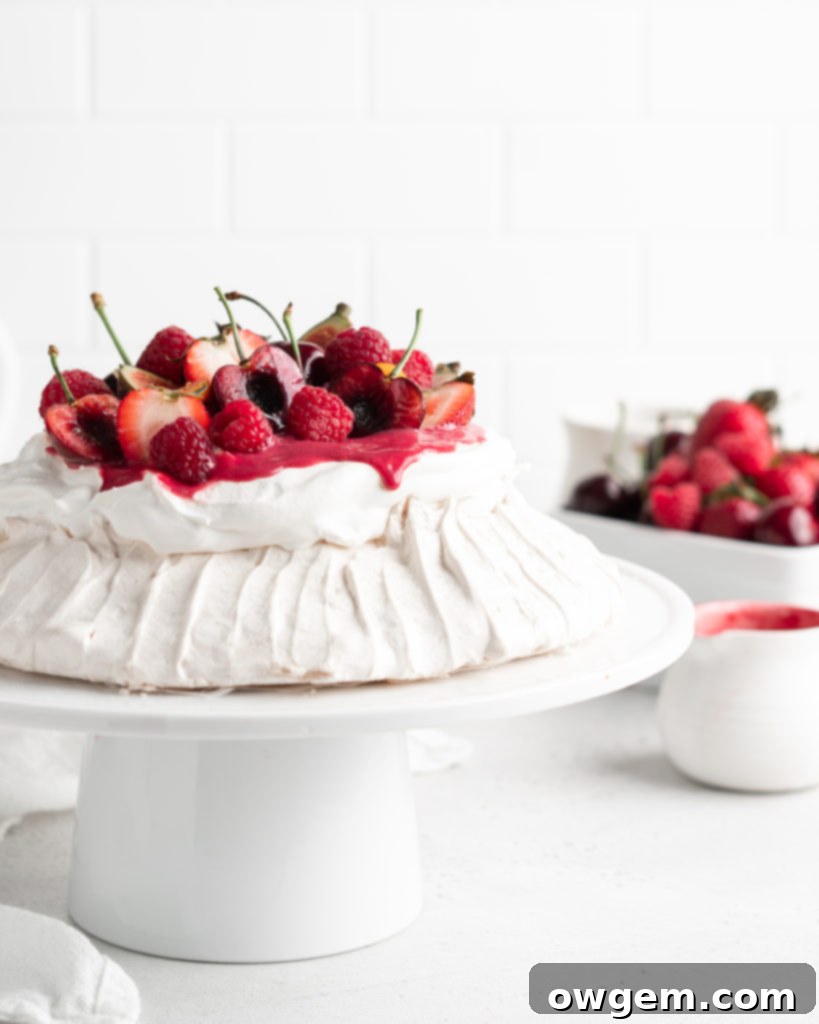
As highlighted in the instructions above, the cooling phase for this summer berry pavlova is just as important as the baking itself, requiring a significant amount of time spent inside the oven. The primary reason for this meticulous cooling process is to minimize the dreaded cracking and, more importantly, to prevent the pavlova from collapsing entirely. Meringue-based desserts, including our beloved Summer Berry Pavlova, are extremely delicate and highly sensitive to sudden changes in temperature. A quick burst of cold air or an abrupt shift from the hot oven to a cooler kitchen environment can cause the cellular structure of the meringue to contract too rapidly, leading to major cracks or a complete, disheartening collapse.
Therefore, my absolute preferred and highly recommended method for cooling is to allow the pavlova to cool overnight within the turned-off oven. This extended, slow cooling period enables the berry pavlova to gradually and gently come down to room temperature, dramatically reducing the risk of structural failure and ensuring its beautiful shape and delicate texture are preserved. This gradual transition is key to achieving that perfect crisp exterior and chewy interior. With this in mind, my optimal timing for preparing pavlovas is actually in the evening. You can bake it for the initial 2 hours, then simply turn off the oven and head to bed. The next morning, you’ll awaken to a perfectly cooled, structurally sound pavlova that is ready for its delicious toppings and poised to impress!
Tips for Success & Troubleshooting Your Pavlova
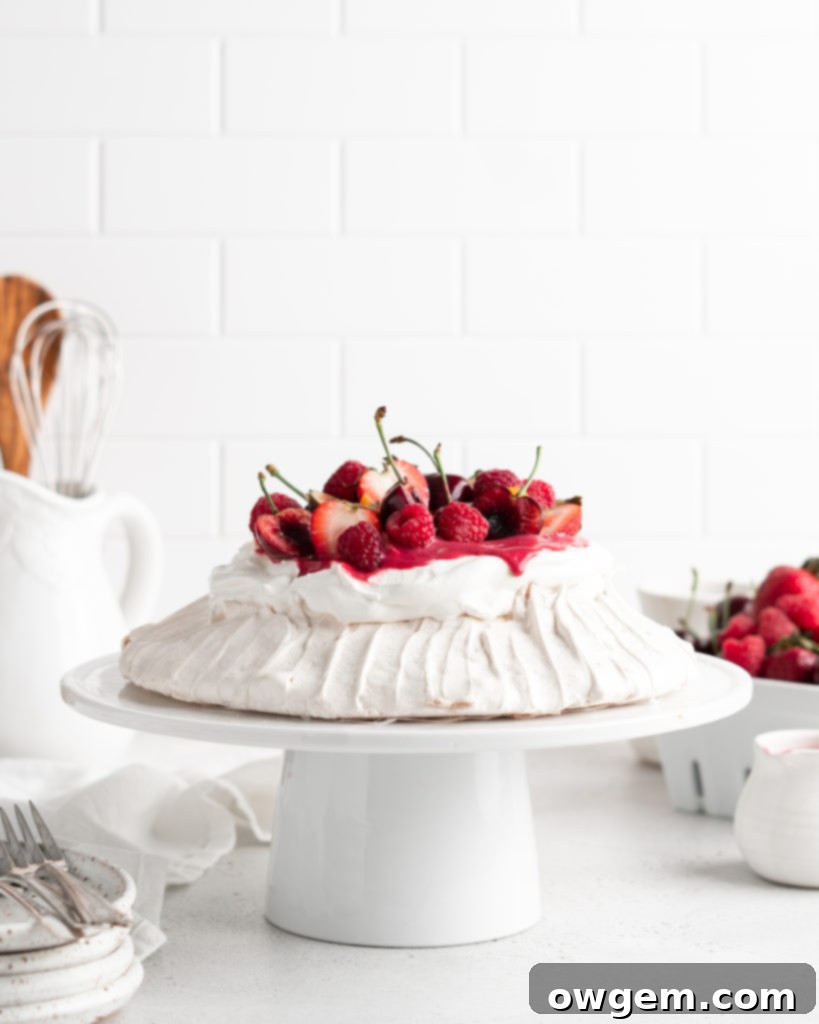
Creating a perfect pavlova, especially using the Swiss meringue method, is quite achievable with a few key considerations. Firstly, ensure your mixing bowl and whisk are immaculately clean and completely grease-free, as any fat can prevent egg whites from whipping properly. Use fresh egg whites, not carton ones, for best results. When heating over the bain-marie, patience is key; whisk constantly but gently to avoid scrambling. For shaping, drawing a circle on the parchment paper beforehand helps maintain a consistent size and shape. If your pavlova cracks slightly, don’t despair! It’s very common and can often be hidden by the whipped cream and fruit. If your meringue doesn’t hold stiff peaks, it might be due to insufficient heating over the bain-marie or not whipping long enough. The ultimate secret, as mentioned, is the slow cool-down, so resist the urge to peek or open the oven door during this critical time. Follow these tips, and you’ll be enjoying a magnificent pavlova every time!
Serving and Storage Suggestions
A Summer Berry Pavlova is best assembled just before serving to maintain the crispness of the meringue. You can prepare the pavlova shell and raspberry curd a day or two in advance. Store the cooled pavlova shell in an airtight container at room temperature, and the raspberry curd in the refrigerator. Whip the cream and prepare the fruits on the day of serving. Once assembled, pavlova is best eaten within a few hours, as the moisture from the toppings can start to soften the meringue. If you have leftovers, store them loosely covered in the refrigerator. While the meringue might lose some of its crispness, it will still be a delicious treat. For an even more indulgent experience, consider adding a sprinkle of toasted almonds or a drizzle of melted white chocolate over the berries.
Get the Recipe:
Summer Berry Pavlova
Pin
Rate
Ingredients
Summer Berry Pavlova Meringue
- 13 oz (370g) Granulated White Sugar
- 7.4 oz (210g) Fresh Egg Whites, (ensure they are fresh, not from a carton for best stability)
- 2 tsp White Vinegar
- 2 tsp Cornstarch
- 1 tsp Pure Vanilla Extract
Velvety Raspberry Curd
- 5 tbsp Unsalted Butter,, softened to room temperature
- 7 oz Fresh or Frozen Raspberries
- 3 Large Egg Yolks
- 1/2 Cup Granulated White Sugar
- 1 ½ tsp Fresh Lemon Juice
Luxurious Topping
- 2 cups Cold Heavy Cream
- 1/4 cup Confectioners Sugar
- 2 Pounds Assorted Fresh Berries or Fruit,, such as ripe strawberries, plump raspberries, sweet cherries, blueberries, or sliced peaches
Essential Equipment
-
Stand mixer (with whisk attachment)
-
Large baking sheet
-
Parchment paper
-
Instant-read thermometer
-
Medium saucepan
-
Fine mesh sieve
Detailed Instructions
Preparing the Summer Berry Pavlova Meringue
-
Preheat your oven to 330°F (165°C). Line a large baking sheet with a sheet of parchment paper. To guide your shaping, lightly draw an 8-inch circle in the center of the parchment paper using a pencil.
-
Combine the fresh egg whites and granulated sugar in the clean bowl of your stand mixer. Whisk them together briefly. Position this bowl over a pot of gently simmering water (creating a bain-marie), ensuring a tight seal and, critically, that the bottom of the stand mixer bowl does not make direct contact with the simmering water.
-
While continuously whisking the mixture over the bain-marie, heat it until it reaches a temperature between 165°F – 170°F (74°C – 77°C). Once the desired temperature is achieved, carefully remove the bowl from the simmering water and attach it to your stand mixer. Using the whisk attachment, beat the meringue mixture on high speed for 4-5 minutes, or until it becomes very stiff, incredibly glossy, and holds firm peaks when the whisk is lifted.
-
Turn off the stand mixer. Add the cornstarch, white vinegar, and vanilla extract directly into the stiff meringue. Turn the stand mixer back on high for precisely 10 seconds to fully incorporate these final ingredients.
-
To secure the parchment paper, place a very small amount of meringue under each corner of the paper on your baking sheet. Spoon the prepared meringue into the center of the parchment. Using your drawn circle as a guide, gently spread and smooth the meringue outwards with an off-set spatula or the back of a spoon, forming an 8-inch disk. Ensure the edges are slightly higher than the center, creating a shallow depression approximately ¼ inch deep in the middle; the total height of the disk should be about 2-3 inches.
-
Carefully place the shaped pavlova into the preheated oven. Immediately reduce the oven temperature to 220°F (105°C). Bake for 2 hours. After the 2-hour baking time, turn off the oven completely (do not open the oven door at this point) and allow the pavlova to cool slowly inside the closed oven for at least 4 hours, or ideally, overnight, for best results and to prevent cracking and collapse.
Crafting the Velvety Raspberry Curd
-
In a medium saucepan set over medium heat, melt the unsalted butter. Add the fresh or frozen raspberries and granulated sugar to the saucepan, whisking to combine thoroughly. Then, incorporate the large egg yolks, whisking again until everything is smoothly blended.
-
While continuously whisking to prevent scorching, allow the mixture to gently simmer until it visibly thickens to a curd-like consistency – this typically takes about 8-10 minutes. Once thickened, remove the raspberry curd from the heat and carefully pour it over a fine mesh sieve into a clean bowl to strain out any raspberry seeds, resulting in a perfectly smooth curd.
-
Stir the fresh lemon juice into the strained, warm curd. Allow the raspberry curd to cool completely to room temperature before using. This delicious curd can be stored in an airtight container in the refrigerator for 1-2 weeks, making it ideal for advance preparation.
Assembling Your Luxurious Pavlova Topping
-
In a large, chilled bowl, add the cold heavy cream and confectioners sugar. Using an electric mixer (or the whisk attachment of your stand mixer), beat on high speed until beautiful, stiff peaks have formed. Be careful not to overmix, or it can become grainy.
-
Prepare your assortment of fresh fruit by washing them thoroughly. Slice any larger fruits (like strawberries or peaches) into bite-sized pieces, and remove any leaves, stems, or pits from berries like cherries.
-
To assemble, gently spread the stiffly whipped cream over the cooled pavlova shell, filling the central crevice. Drizzle generous amounts of the velvety raspberry curd over the cream. Finally, artfully pile your prepared assorted berries and fruits high on top of the pavlova. Serve immediately and enjoy your stunning Summer Berry Pavlova!
