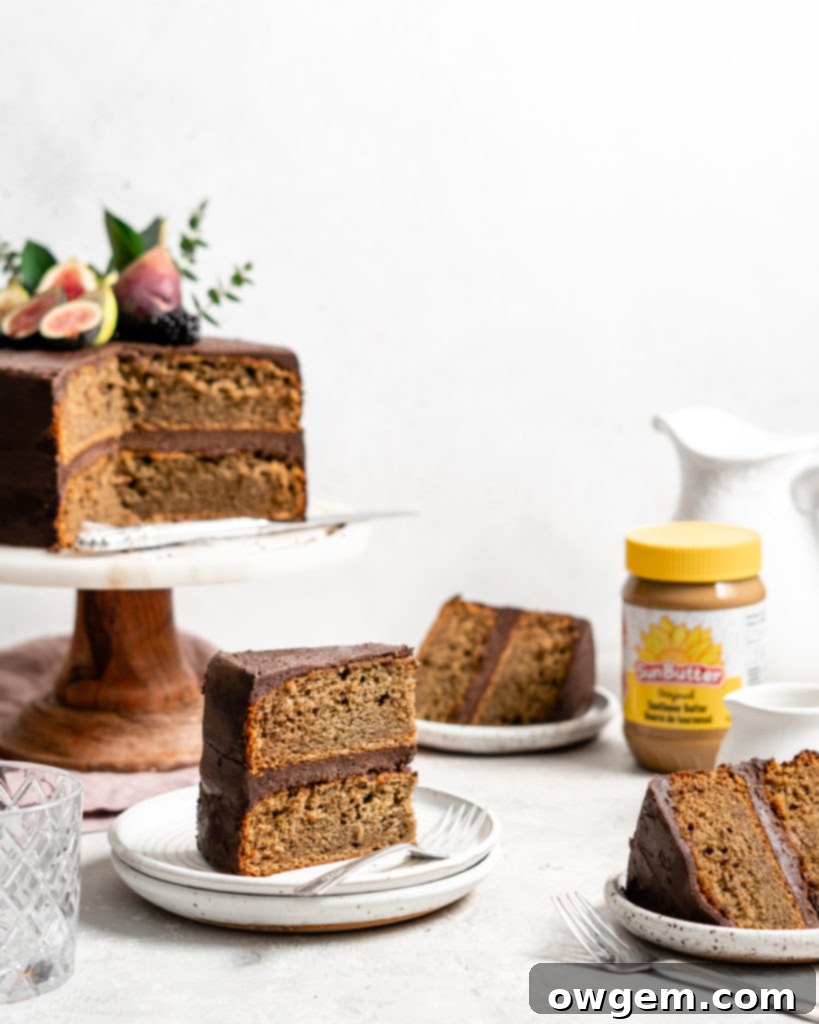
Indulge in the Ultimate Nut-Free SunButter Banana Layer Cake with Decadent Chocolate Buttercream
I am delighted to share this incredible recipe for a SunButter Banana Layer Cake, proudly sponsored by SunButter®. All opinions and culinary insights are, as always, 100% my own.
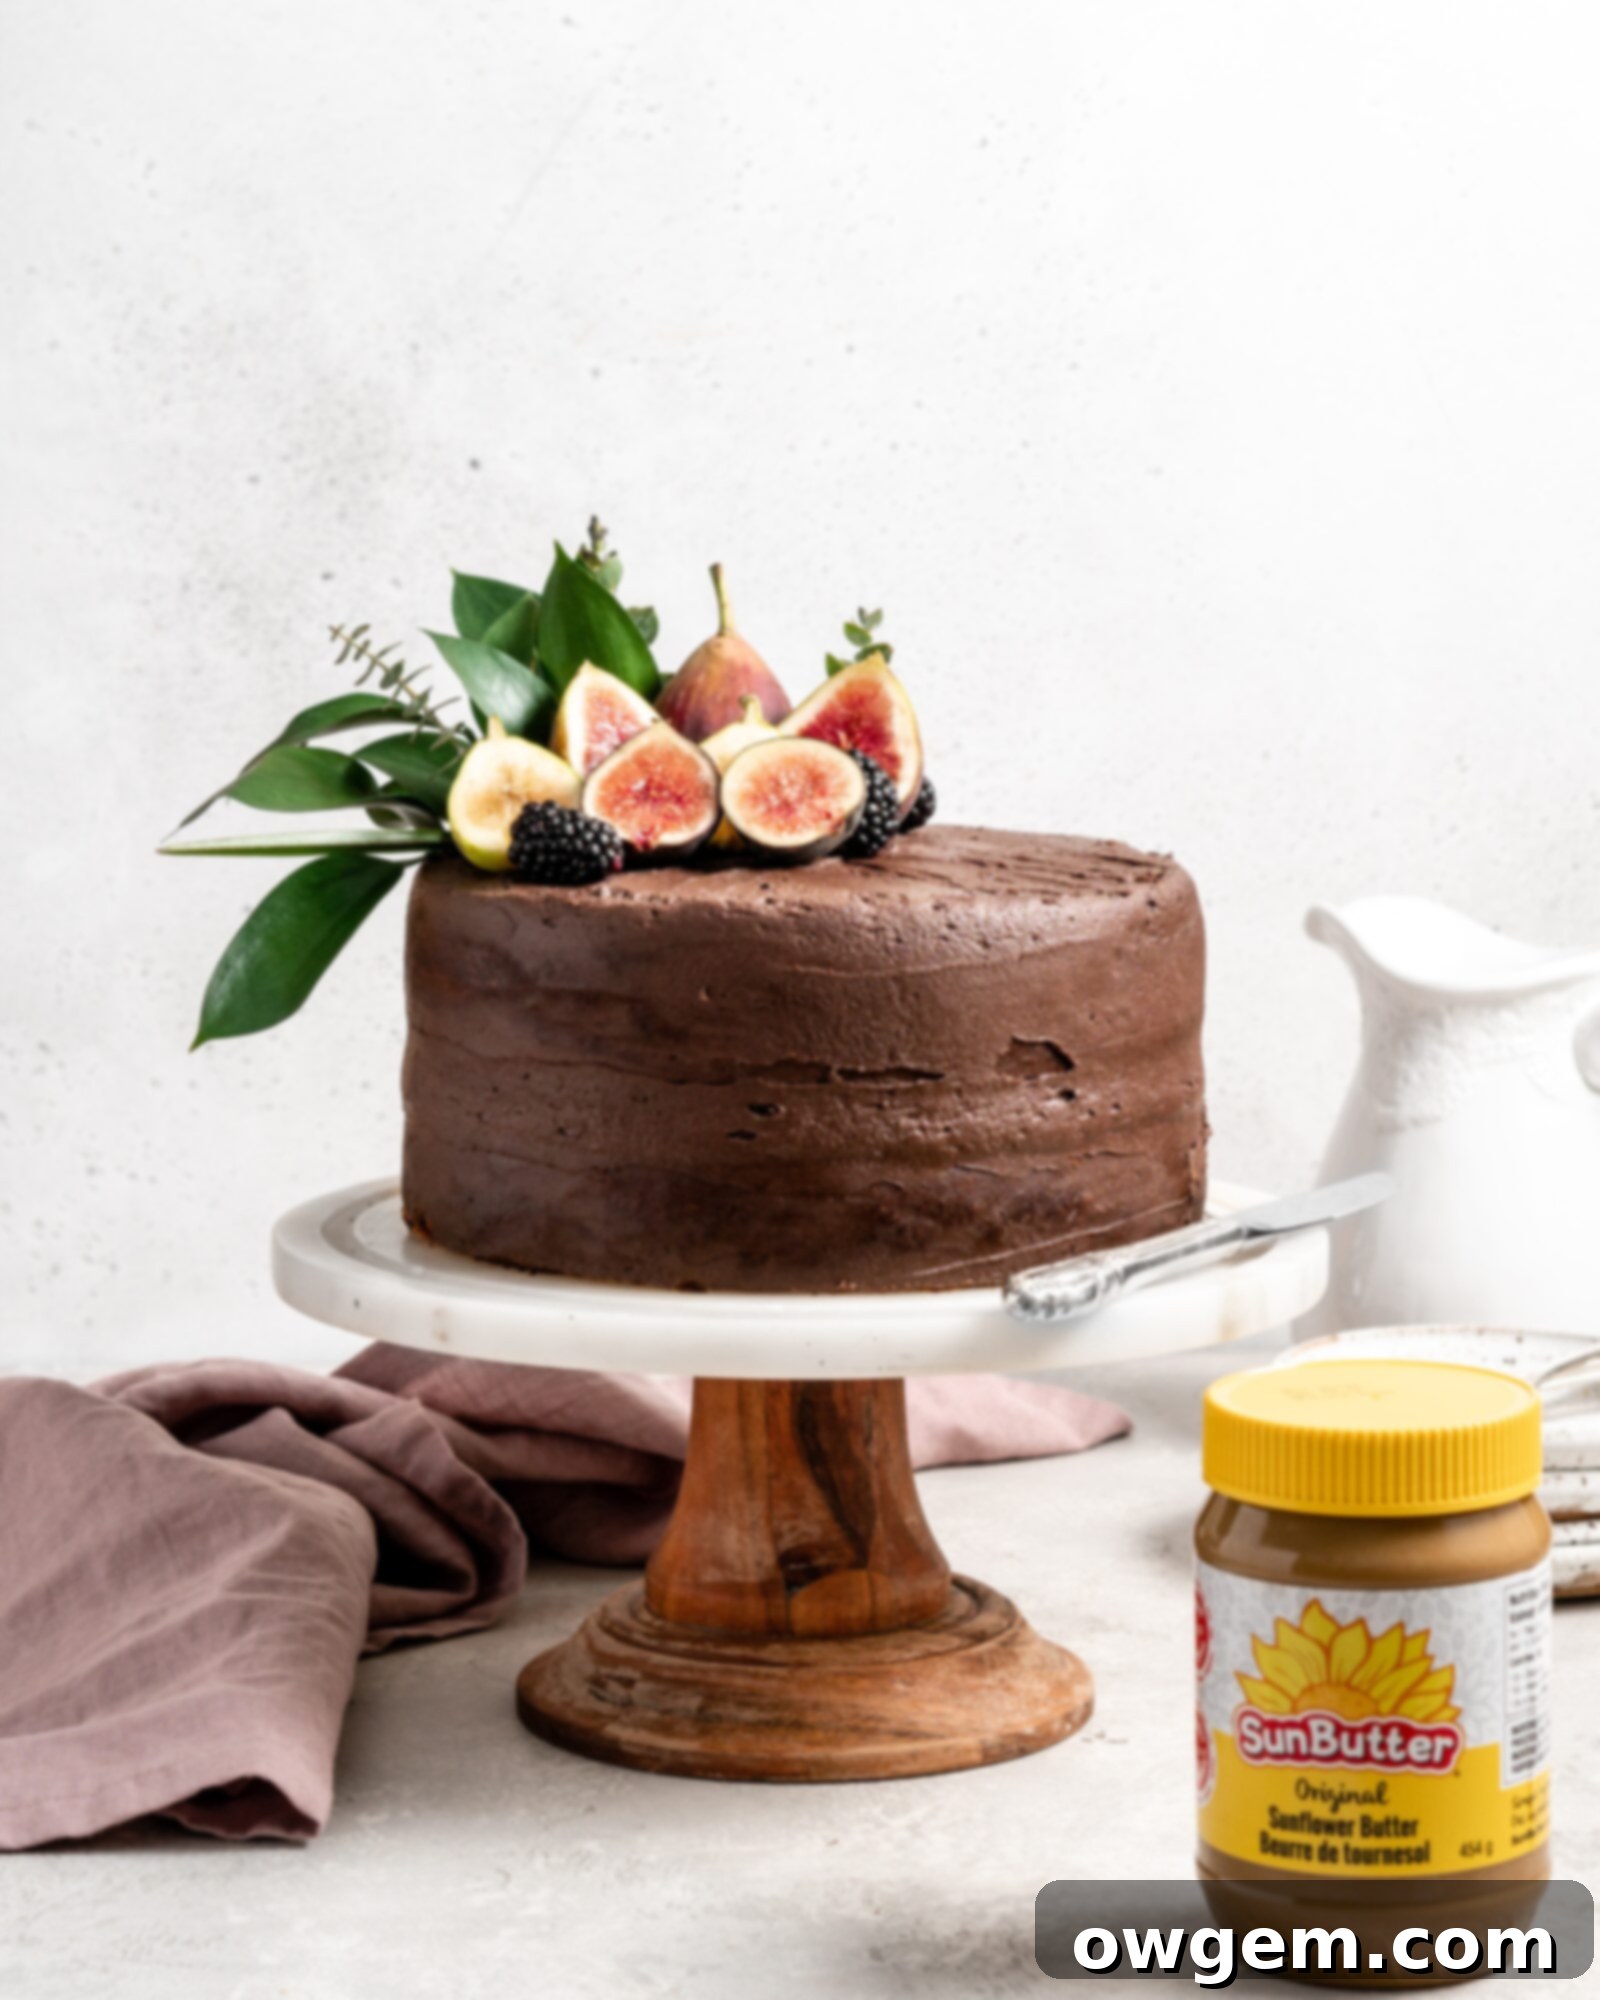
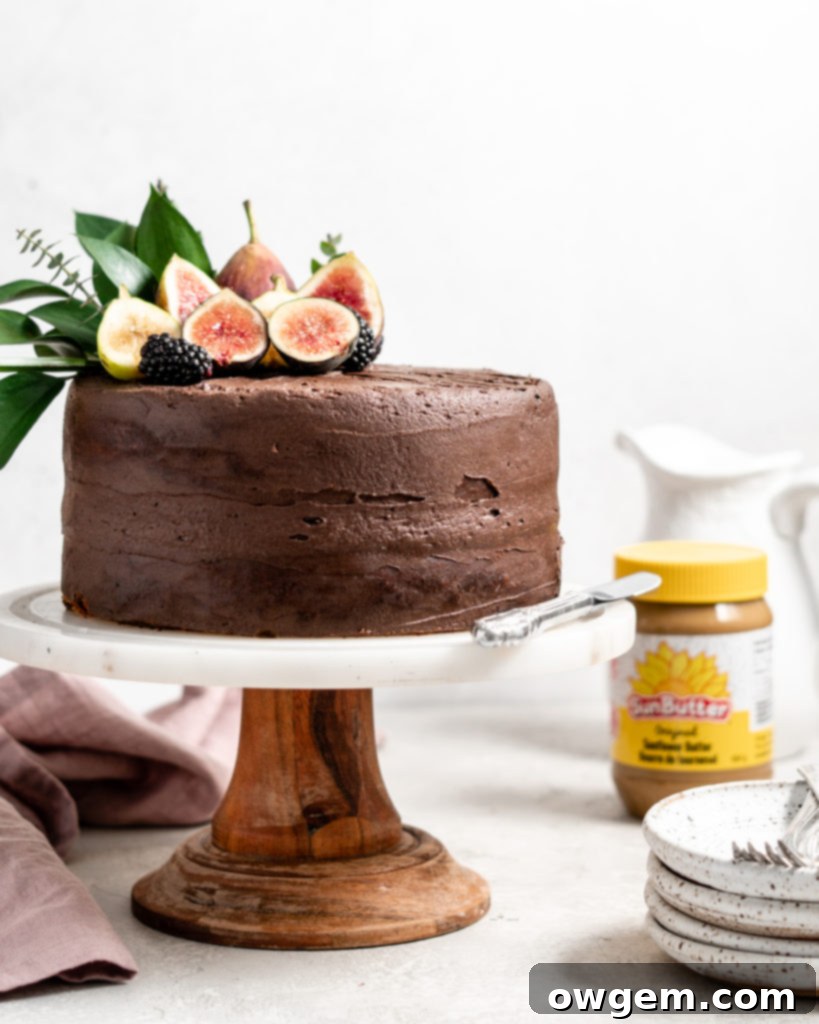
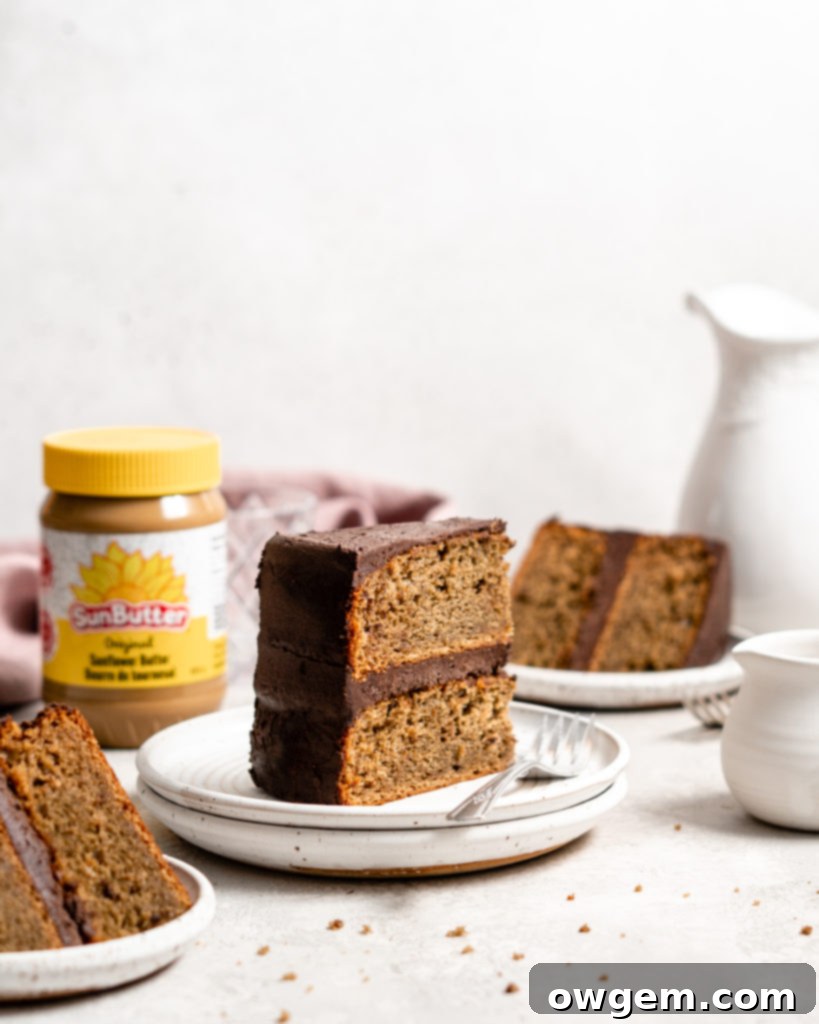
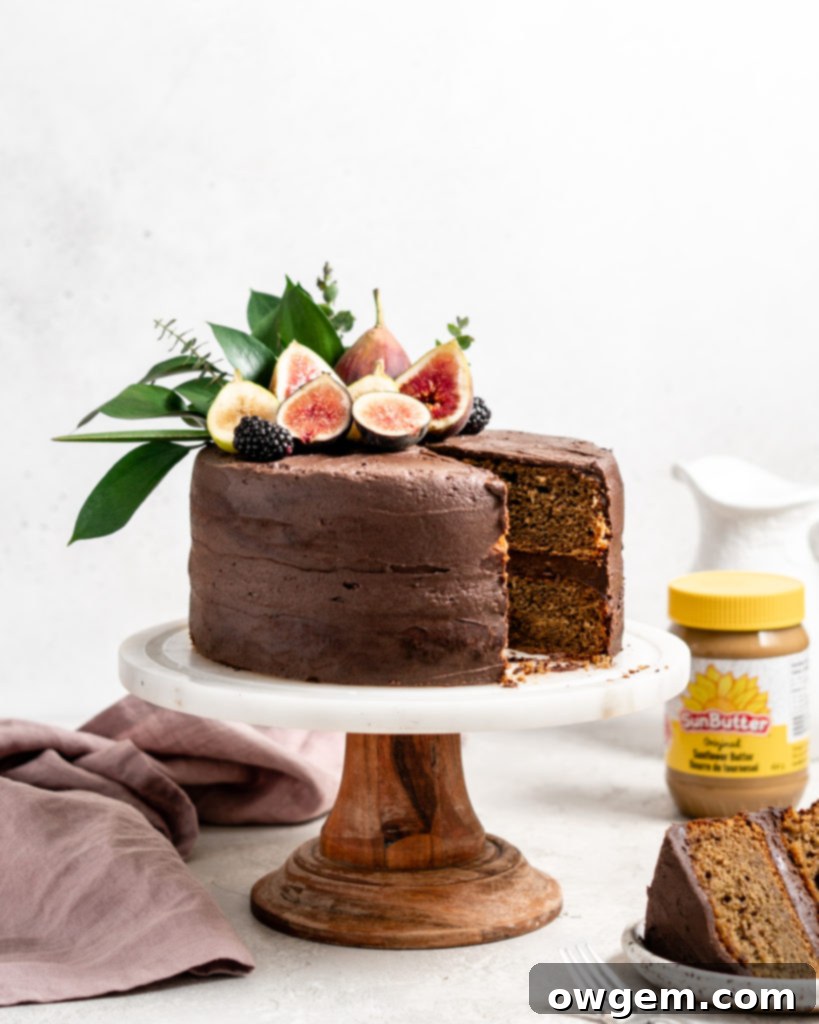
Prepare to be enchanted by this exquisite two-layer SunButter Banana Layer Cake, the quintessential dessert for any celebration or simply to brighten an ordinary day! This masterpiece features a wonderfully moist and tender banana cake, expertly infused with the rich, nutty-sweet flavor of SunButter®. The result is a cake that delightfully echoes the classic peanut butter banana combination, yet remains completely safe and inclusive for those with nut allergies. Each luscious layer is crowned with a luxurious, rich chocolate buttercream, a flavor pairing that perfectly complements the unique notes of SunButter and the natural sweetness of banana, creating an unforgettable dessert experience.
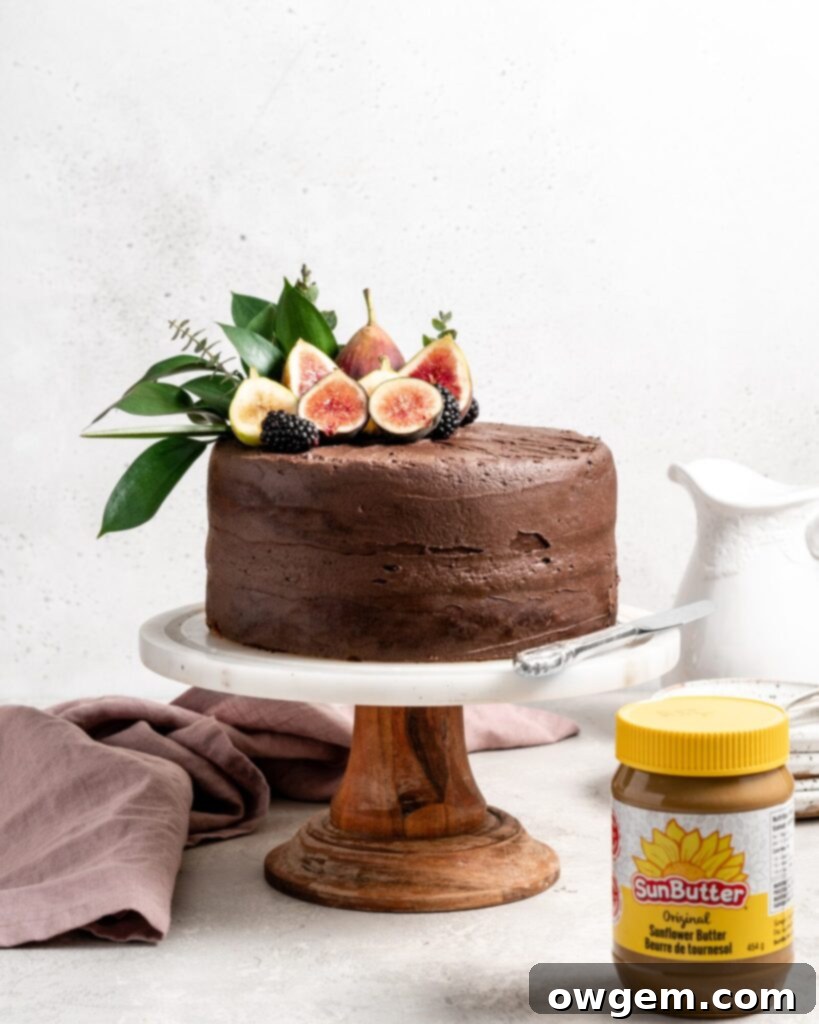
What is SunButter? Your Allergen-Friendly Alternative
For those who may be new to the delightful world of SunButter, or haven’t yet had the pleasure of experiencing its unique taste, allow me to introduce you to this exceptional seed-butter spread. Crafted from wholesome sunflower seeds, SunButter® stands out as a remarkable, allergen-friendly alternative to traditional nut-butters.
It’s not just for individuals with allergies or sensitivities; it’s also a fantastic choice for anyone looking to incorporate a delicious, nutrient-dense, and healthier spread into their diet. SunButter is a nutritional powerhouse, boasting 7 grams of protein per serving and packed with an array of essential vitamins and minerals. Notably, it contains absolutely no trans-fat and actually has less saturated fat compared to many typical almond butters, making it a smart and satisfying choice for your pantry.
Beyond its health benefits, SunButter offers a wonderfully versatile flavor profile that lends itself beautifully to both sweet and savory applications. Its creamy texture and distinct taste make it a star ingredient in baking, adding depth and a pleasant “nutty” character without the actual nuts. If you’re eager to explore more creative ways to use this fantastic ingredient, be sure to check out my other delightful SunButter recipes: my SunButter Milk Chocolate Cream Puffs and SunButter Salted Caramel Cheesecake!
Crafting the Perfect SunButter Banana Cake Layers
Baking this delightful SunButter Banana Layer Cake is a straightforward and rewarding process. Achieving those perfectly moist and tender layers starts with careful preparation and attention to detail. Follow these steps to ensure your cake layers are nothing short of perfection:
- Warm SunButter for Smoothness: Begin by adding your SunButter to a microwave-safe bowl or measuring cup. A quick 30-second warming session in the microwave will soften it beautifully, making it much easier to incorporate smoothly into your batter. After warming, give it a good stir to ensure even consistency. This crucial step prevents lumps and ensures the SunButter integrates seamlessly with the other ingredients, contributing to a consistently moist cake texture.
- Combine Wet Ingredients for Richness: In a large mixing bowl, bring together the warmed SunButter, vegetable oil, dark brown sugar, eggs, your perfectly mashed overripe bananas, sour cream, and vanilla extract. Whisk these ingredients together thoroughly until the mixture is completely smooth and well-combined. The oil contributes essential moisture, the brown sugar adds a deep, molasses-rich sweetness, and the sour cream is key to achieving that tender, fine crumb and a subtle tangy note that balances the sweetness.
- Prepare Dry Ingredients for Even Distribution: In a separate, medium-sized bowl, combine the all-purpose flour, baking powder, baking soda, and salt. Whisk this dry mixture well. This step is vital for aerating the flour and ensuring that the leavening agents (baking powder and baking soda) and salt are evenly distributed throughout, which will help your cake rise uniformly and prevent pockets of unmixed ingredients.
- Gently Fold Dry into Wet: Now, add the whisked dry ingredients to the large bowl containing your wet mixture. Whisk gently until a smooth batter forms. Be careful not to overmix! Overmixing can develop the gluten in the flour too much, leading to a tough and dense cake, which is the opposite of the tender crumb we’re aiming for. Mix just until no streaks of dry flour remain.
- Bake to Golden Perfection: Divide the silky smooth cake batter evenly between two prepared 8-inch cake pans. Ensure your pans are properly greased and floured, or lined with parchment paper, to prevent sticking. Place them into your preheated oven to bake. Once baked, remove the cakes and allow them to cool completely on a wire rack. Cooling is paramount before frosting – warm cakes will melt your beautiful buttercream! Once cool, gently level off any domes on the cake tops to create flat surfaces, preparing them for elegant stacking.
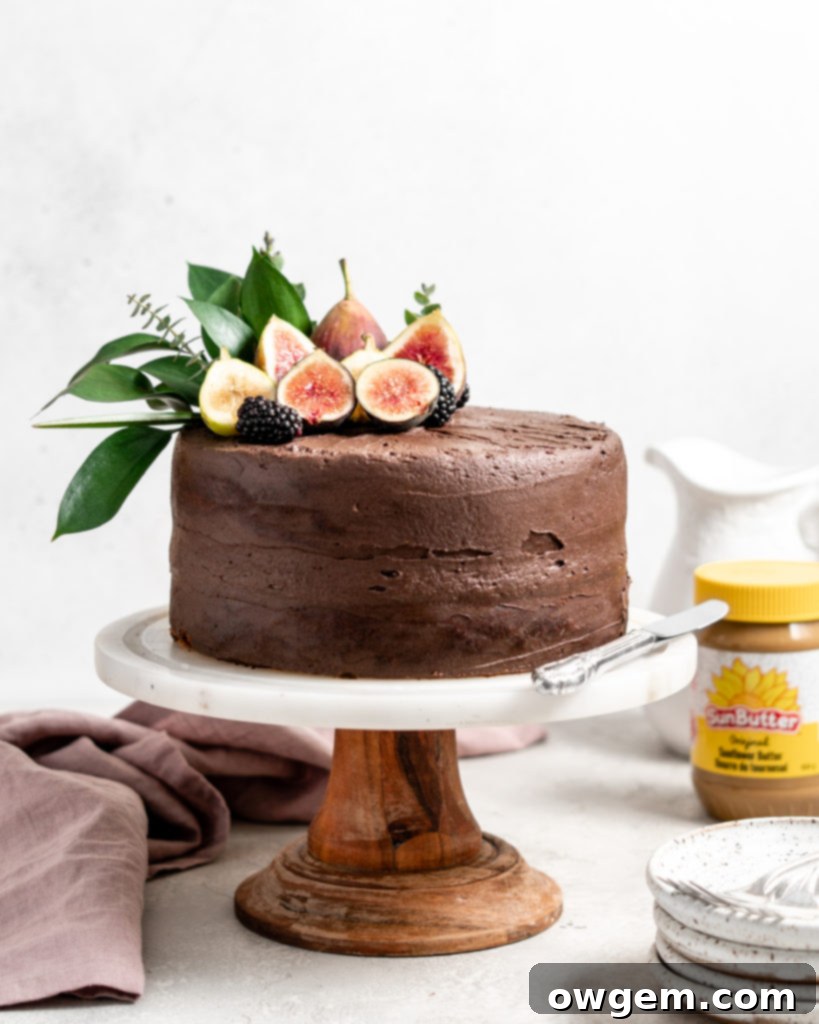
The Secret to the Best Banana Cake: How Ripe Should the Bananas Be?
When it comes to baking an exceptional SunButter Banana Layer Cake, the ripeness of your bananas isn’t just a suggestion—it’s absolutely critical. For this recipe, you must use overripe bananas, and by “overripe,” we mean truly brown, speckled, or even nearly black-skinned bananas. But why is this so important?
The magic lies in the natural ripening process of bananas. As bananas mature, the complex starch molecules within them undergo a remarkable transformation, breaking down into simpler sugar molecules. This enzymatic process has two significant impacts that are crucial for our cake. First, and most noticeably, the bananas become significantly sweeter. This natural sweetness is a fundamental flavor component of our cake, providing a rich, deep banana essence that cannot be replicated with less ripe fruit. Second, this breakdown of starch structures also causes the banana flesh to become much softer and mushier. This soft, easily mashable texture is precisely what is needed to achieve the ideal moist, tender, and dense crumb for this SunButter Banana Cake. Using underripe bananas will result in a drier, less flavorful cake with a noticeable lack of natural sweetness.
Quick Ripening Methods: Fact vs. Fiction for Perfect Bananas
It’s a common baking dilemma: you’re craving a delicious SunButter Banana Layer Cake, but your bananas aren’t quite ready. While many online tips claim to offer shortcuts, it’s important to separate fact from fiction when it comes to ripening bananas for baking. The delicate balance of sweetness and texture is paramount for this recipe.
The Most Effective Method: The Brown Bag Trick
Regrettably, the only truly effective and quick way to ripen bananas is by placing them in a brown paper bag and allowing them to sit at room temperature. The brown bag creates a contained environment, allowing the moisture to escape while simultaneously trapping the ethylene gas that bananas naturally produce. Ethylene gas is the natural plant hormone responsible for initiating and accelerating the ripening process in many fruits. By concentrating this gas around the bananas, you can significantly quicken their ripening, typically by a day or two. This method allows the natural conversion of starches to sugars to occur, developing both the desired sweetness and soft texture.
Debunking Common Banana Ripening Myths:
- Freezing Bananas: Some believe that freezing bananas can speed up ripening. Sadly, this is a misconception. Freezing actually halts the ripening process entirely. While frozen bananas will become soft and mushy upon thawing—a texture often desired for baking—they will not develop any additional sweetness or flavor that comes from the starch-to-sugar conversion. They’ll simply be mushy, under-ripe bananas, which is definitely not what you want for a flavorful cake.
- Baking Bananas in the Oven: Another popular suggestion involves baking unripe bananas in the oven until their peels turn black. While this method will certainly yield a mushy banana, achieving the desired texture, it completely bypasses the crucial chemical process of starch turning into sugar. The heat from the oven doesn’t facilitate this enzymatic conversion. As a result, you’ll end up with bananas that are soft but lack the essential sweetness and deep banana flavor required for a truly outstanding SunButter Banana Cake.
So, the unfortunate truth is that for perfectly ripe, sweet, and flavorful bananas for your cake, there is no magical quick fix. Patience truly is a virtue in this case. Plan ahead, use the brown bag method if you’re in a slight hurry, and allow nature to take its course for the best possible results.
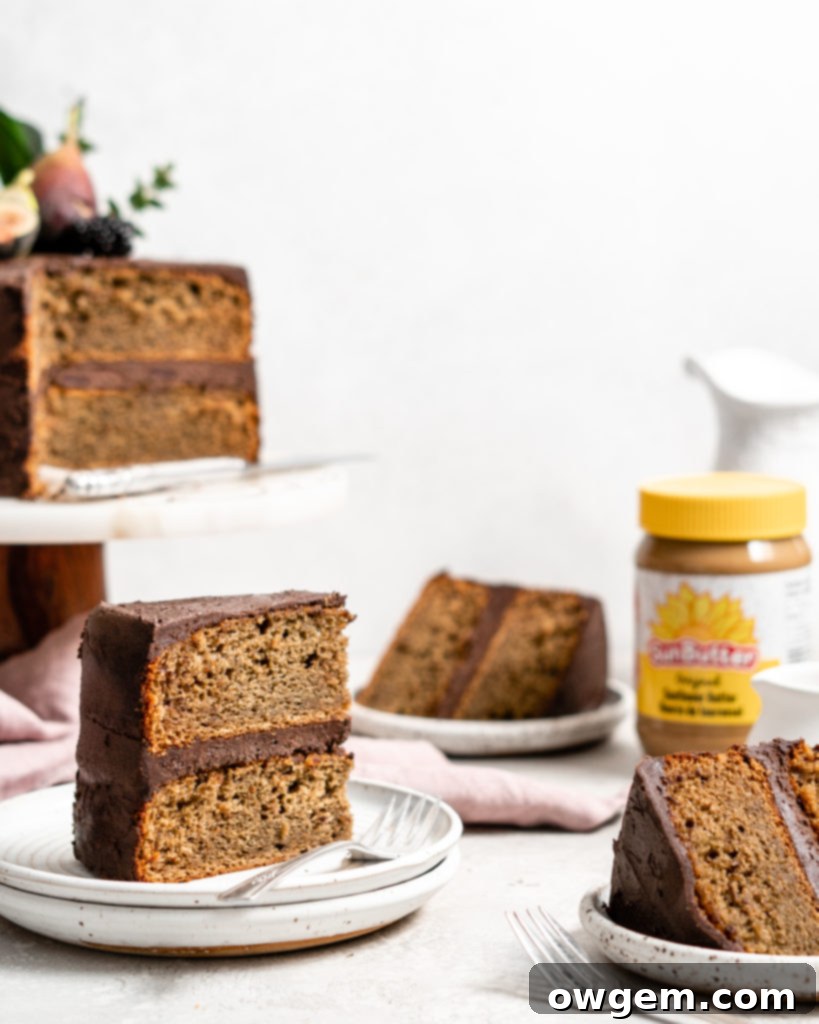
Decadent Chocolate Buttercream: The Perfect Pairing
No layer cake is complete without a truly spectacular frosting, and for our SunButter Banana Layer Cake, a rich chocolate buttercream is the absolute perfect accompaniment. The deep, slightly bitter notes of chocolate beautifully contrast and enhance the sweet, earthy tones of SunButter and banana, creating a harmonious flavor symphony. Here’s how to whip up a frosting that’s both smooth and decadent:
- Start with Room Temperature Butter: The foundation of any good buttercream is butter, and it must be at true room temperature. This means soft enough to indent with a finger, but not melted. Cold butter won’t cream properly, and melted butter will lead to a greasy, soupy frosting. In a stand mixer fitted with the whisk attachment (or using a large bowl and a hand mixer), beat the unsalted butter on high speed for 3-5 minutes. This aerates the butter, doubling its volume and transforming it into a light, fluffy, and pale yellow cloud, which is key to a light buttercream.
- Sift for Smoothness: Turn your mixer down to low speed. Gradually add the sifted confectioners’ sugar, Dutch-processed cocoa powder, black cocoa powder (if using, otherwise substitute with more Dutch cocoa), and a pinch of salt. Sifting these dry ingredients is a critical step to prevent any lumps, ensuring a silky-smooth buttercream. Once all dry ingredients are added, increase the speed to medium and beat until everything is completely incorporated and smooth.
- The Secret Ingredient: Hot Coffee: Now for the magic touch! Slowly add the hot coffee. Hot coffee not only provides the necessary liquid to achieve the perfect consistency but also significantly deepens and enriches the chocolate flavor without making it taste like coffee. Beat the buttercream until the coffee is fully incorporated and the frosting is beautifully smooth, glossy, and spreadable. If your buttercream is too thick, add a tiny bit more hot coffee (a teaspoon at a time). If it’s too thin, you can add a tablespoon or two more sifted confectioners’ sugar.
This chocolate buttercream is not just a topping; it’s an integral part of the flavor experience, making each bite of the SunButter Banana Layer Cake truly unforgettable.
Assembling and Decorating Your Masterpiece
With your perfectly baked cake layers and luscious chocolate buttercream ready, it’s time for the fun part: assembly and decoration! This is where your cake truly comes to life.
- Level Your Layers: Begin by carefully leveling off each of your cooled cake layers. Use a serrated knife or a cake leveling tool to slice away any domed tops. This creates flat, even surfaces, ensuring your cake stacks neatly and looks professionally finished.
- First Layer & Crumb Coat: Place one leveled cake layer onto your chosen serving plate or a sturdy cardboard cake circle. Apply an even layer of chocolate buttercream, about 1 to 1 ½ inches thick, across the entire top surface. This first layer of frosting serves two purposes: it’s part of the delicious filling, and it also acts as a “crumb coat.” A crumb coat is a thin layer of frosting that traps any loose crumbs, preventing them from mixing into your final, visible layer of frosting. Once applied, refrigerate the cake for about 15-20 minutes to allow the crumb coat to set.
- Second Layer & Final Frosting: Carefully place the second cake layer on top of the first, aligning it evenly. Repeat the frosting process, spreading another generous, even layer of buttercream on top. Now, apply the remaining chocolate buttercream to the sides of the cake. Use an offset spatula or a bench scraper to smooth the sides and top, or create decorative swirls, peaks, or rustic textures as desired. Don’t be afraid to experiment with your design!
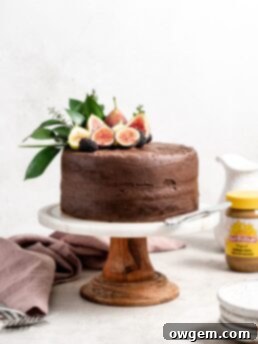
- Garnish and Serve: The final flourish is the decoration. Get creative! As seen in the photos, fresh figs make an elegant and delicious topping, but feel free to use sliced bananas, chocolate shavings, a dusting of cocoa powder, or even a drizzle of extra SunButter. Allow the frosting to set slightly, then slice and serve your magnificent SunButter Banana Layer Cake. For the best flavor and texture, allow the cake to come to room temperature before serving.
Serving and Storage Tips
To fully appreciate the rich flavors and moist texture of your SunButter Banana Layer Cake, it’s best served at room temperature. This allows the buttercream to soften slightly and the cake’s flavors to shine through.
For storage, if you have any leftovers (which is unlikely once everyone tastes it!), place the cake in an airtight container. It will keep well at room temperature for up to 2-3 days. For longer storage, you can refrigerate it for up to 5-7 days. Just remember to bring it back to room temperature for about an hour before serving to ensure the best possible experience. This cake also freezes beautifully, either whole or in slices, wrapped tightly in plastic wrap and then foil, for up to 2 months. Thaw overnight in the refrigerator before bringing to room temperature to serve.
Get the Recipe:
SunButter Banana Layer Cake
Pin
Rate
Ingredients
SunButter Banana Cake
- 240 g (8.5oz) All Purpose Flour,, about 2 cups measured volumetrically
- 2 tsp Baking Powder
- 1 tsp Baking Soda
- 1/2 tsp Salt
- 2/3 cup Original SunButter
- 3/4 cup Sour Cream
- 1/2 cup Vegetable Oil
- 1 ¼ cups Dark Brown Sugar
- 4 Overripe Medium Bananas,, mashed very smooth
- 3 Large Eggs
- 1 ½ tsp Vanilla
Chocolate Buttercream
- 2 cup Unsalted Butter,, at room temperature
- 7 cups Confectioners Sugar,, sifted
- 1 cup Dutch Processed Cocoa Powder,, sifted
- 1/2 cup Black Cocoa Powder,, sifted (if you don’t have, substitute with more Dutch Cocoa)
- Pinch of Salt
- 6 – 10 tbsp Hot Coffee
Equipment
-
Stand mixer
Instructions
SunButter Banana Cake
-
Preheat oven to 350°F. Prepare two 8” springform cake pans with cooking spray and parchment. Add flour, baking powder, baking soda, and salt to a medium bowl. Whisk until well-combined. Set aside.
-
Place SunButter in a microwave safe bowl or measuring cup, and place into the microwave for 30 seconds to warm. Remove and stir.
-
In a separate large mixing bowl, add the warm SunButter, sour cream, vegetable oil, brown sugar, smooth mashed bananas, eggs, and vanilla. Whisk until well-combined and smooth.
-
Add the dry ingredients to the large bowl with the wet ingredients, then whisk until a smooth batter comes together.
-
Divide the batter evenly between the two prepared pans, then place into the oven to bake for about 30-35 minutes, or until an inserted toothpick comes out clean. Allow cakes to cool completely before frosting.
Chocolate Buttercream
-
Add butter to a stand mixer fitted with the whisk attachment or a large bowl. Beat on high until butter is doubled in volume, and looks light and fluffy, about 3-5 minutes.
-
Turn the stand mixer or hand mixer to low and slowly add the confectioners sugar, both cocoa powders and salt. Beat on medium until completely incorporated and smooth.
-
Add in the hot coffee, then beat until well-combined and fully incorporated.
Stacking & Decorating the SunButter Banana Cake
-
Level off each of the cake layers to remove any doming from the cakes.
-
Place one cake layer onto your serving plate or onto a cardboard cake circle. Spread an even layer of buttercream, about 1″ to 1 ½” thick, across the top of the layer.
-
Add the second layer on top, then repeat step 2 and also frost the outside of the cake. Decorate the top with anything you’d like!
