The Ultimate Homemade Strawberry Pie: Achieve a Flaky Crust and Perfectly Thick, Jammy Filling Every Time
There’s nothing quite like a slice of homemade strawberry pie to celebrate the vibrant flavors of spring and summer. This Strawberry Pie recipe is meticulously crafted to transform an abundance of fresh, juicy seasonal strawberries into a truly unforgettable dessert. Say goodbye to disappointingly runny strawberry pies! Our recipe incorporates a clever thickening agent that ensures your filling is beautifully thick, wonderfully jammy, boasts a smooth mouthfeel, and is bursting with authentic strawberry flavor. Coupled with a delicate, impossibly flaky crust, this pie promises to be the star of any gathering, from backyard barbecues to festive holiday tables.
Creating the perfect strawberry pie involves a blend of art and science, from the foundational crust to the luscious fruit filling. This comprehensive guide will walk you through every step, demystifying the secrets to achieving bakery-quality results right in your own kitchen. Prepare to impress your friends and family with a pie that looks as good as it tastes!
Crafting the Perfect Flaky Pie Crust: Secrets to Success
The foundation of any great fruit pie is its crust. A truly outstanding pie crust is flaky, tender, and provides the perfect textural contrast to the soft fruit filling. Our recipe aims for exactly that, ensuring every bite is a delight. Achieving this requires attention to a few key ingredients and techniques.
The Essential Ingredients for a Flaky Pie Crust
To create a truly exceptional pie dough, the temperature of your ingredients is paramount. **Cold butter and cold water (or vodka!) are absolute non-negotiables.** This isn’t just a recommendation; it’s a scientific principle that directly impacts the flakiness of your final crust. Here’s why:
- Cold Butter: When cold butter is cut into the flour, it creates tiny, distinct pockets of butter throughout the dough. As the pie bakes in a hot oven, the water content within these butter pieces rapidly evaporates, creating steam. This steam pushes apart the layers of dough, forming those coveted air pockets that give the crust its signature flaky texture. If your butter is too warm, it melts into the flour, resulting in a dense, tough crust rather than a light and airy one. Using cubed, very cold butter is crucial.
- Cold Liquid (Water/Vodka): Similarly, using cold liquid prevents the butter from warming up and melting prematurely. It also helps to control gluten development. Just like in making scones or biscuits, keeping everything cold until it hits the oven ensures optimal flakiness.
Now, let’s talk about a secret ingredient that truly elevates our pie dough: **vodka**. Yes, you read that right – vodka! While it might sound unconventional, incorporating vodka instead of plain water offers a distinct advantage. Here’s the science behind this pastry chef’s trick:
- Inhibiting Gluten Formation: Gluten is formed when flour and water are mixed. While some gluten is desirable for structure, too much results in a tough, chewy crust. Water activates gluten, but vodka, being 60% water and 40% ethanol, reduces the overall water content available for gluten development by 40%. The alcohol evaporates completely during baking, leaving behind an incredibly tender crust without any alcoholic flavor.
- Perfect Texture: By limiting gluten, vodka helps create a dough that is much more pliable and easier to roll out, yet bakes up incredibly tender and flaky. It’s a game-changer for pie crusts!
What if you don’t consume alcohol or don’t have vodka on hand? No problem at all! You can simply substitute the vodka with an equal amount of additional cold water. While the results might not be *quite* as tender as with vodka, you will still achieve a wonderfully flaky crust by adhering to the other cold-ingredient principles.
Beyond the wet ingredients, a few other staples round out our pie crust:
- All-Purpose Flour: The backbone of the crust. Ensure you measure it correctly (using the spoon-and-level method, or even better, by weight) to avoid a dense dough.
- White Sugar: Adds a subtle sweetness to the crust, complementing the fruit filling, and aids in browning.
- Salt: A pinch of salt is essential for balancing flavors and enhancing the overall taste of the crust. Don’t skip it!
- Egg Wash & Coarse Sugar: These are for the final touches before baking. An egg wash provides a beautiful golden sheen, while coarse sugar adds a delightful crunch and sparkle to the finished pie.
Mastering the Technique for a Flaky Crust
The secret to perfect pie dough extends beyond just the ingredients; technique plays an equally vital role. The guiding principle here is simple: **handle the dough as little as possible.** Over-handling can quickly lead to a tough crust for two main reasons:
- Melting Butter: Too much manipulation with warm hands can melt the cold butter, destroying those crucial pockets that create flakiness. Once the butter melts into the flour, you lose the potential for a layered, tender crust, resulting in a dense and heavy texture instead.
- Excess Gluten Formation: Kneading the dough excessively develops too much gluten. While gluten provides structure, overdeveloped gluten makes the dough elastic and tough, which is undesirable for a tender pie crust.
Here’s a step-by-step breakdown to ensure a light and flaky crust:
- Combining Dry Ingredients and Butter: In a large mixing bowl, combine your flour, sugar, and salt. Then, add the cold, cubed butter. Work the butter into the flour quickly using your fingertips, a pastry cutter, or even a food processor. The goal is to break the butter into small, pea-sized pieces, ensuring it remains distinct within the flour mixture. This process should be done swiftly to keep the butter as cold as possible.
- Adding Liquid: Gradually drizzle in your cold vodka-water mixture while tossing with a fork. This ensures even distribution without overworking the dough. Continue to add liquid slowly until the dough just begins to come together. It should look shaggy but hold together when pressed. Avoid adding too much liquid, as this can also lead to a tough crust.
- Minimal Kneading and Chilling: Once the dough has just come together, knead it only a few times (literally just enough to form a cohesive ball) inside the bowl. Divide the dough into two equal pieces, then gently press each piece into a flat disk shape. Wrap each disk tightly in plastic wrap and refrigerate for at least 2 hours. This chilling period is crucial as it allows the butter to re-solidify and the gluten to relax, making the dough much easier to roll and ensuring maximum flakiness.
- Rolling the Dough: After chilling, remove one disk of dough and let it sit on the counter for about 5-10 minutes to slightly soften – this makes it easier to roll without cracking, but don’t let it get warm. On a lightly floured surface, roll the dough out into a circle, aiming for approximately ¼ inch thickness and a diameter large enough to fit your pie plate with some overhang (usually 11-12 inches). Rotate the dough frequently and add a little more flour underneath if needed to prevent sticking.
- Transferring to Pie Plate: The easiest way to transfer the rolled-out dough is to gently roll it onto your rolling pin, then unroll it carefully over your pie plate. Lightly press the dough into the pan, ensuring it’s nestled without stretching. Trim the edges, leaving about a ½-inch overhang, then fold this under and crimp or flute the edges to create a decorative seal.
- Creating the Top Crust: Roll out the second disk of dough in the same manner. For the top crust, you have a couple of options:
- Simple Top Crust: You can simply place the entire rolled-out dough over the filled pie, trim and crimp the edges, and then cut a few slits in the top to allow steam to escape during baking.
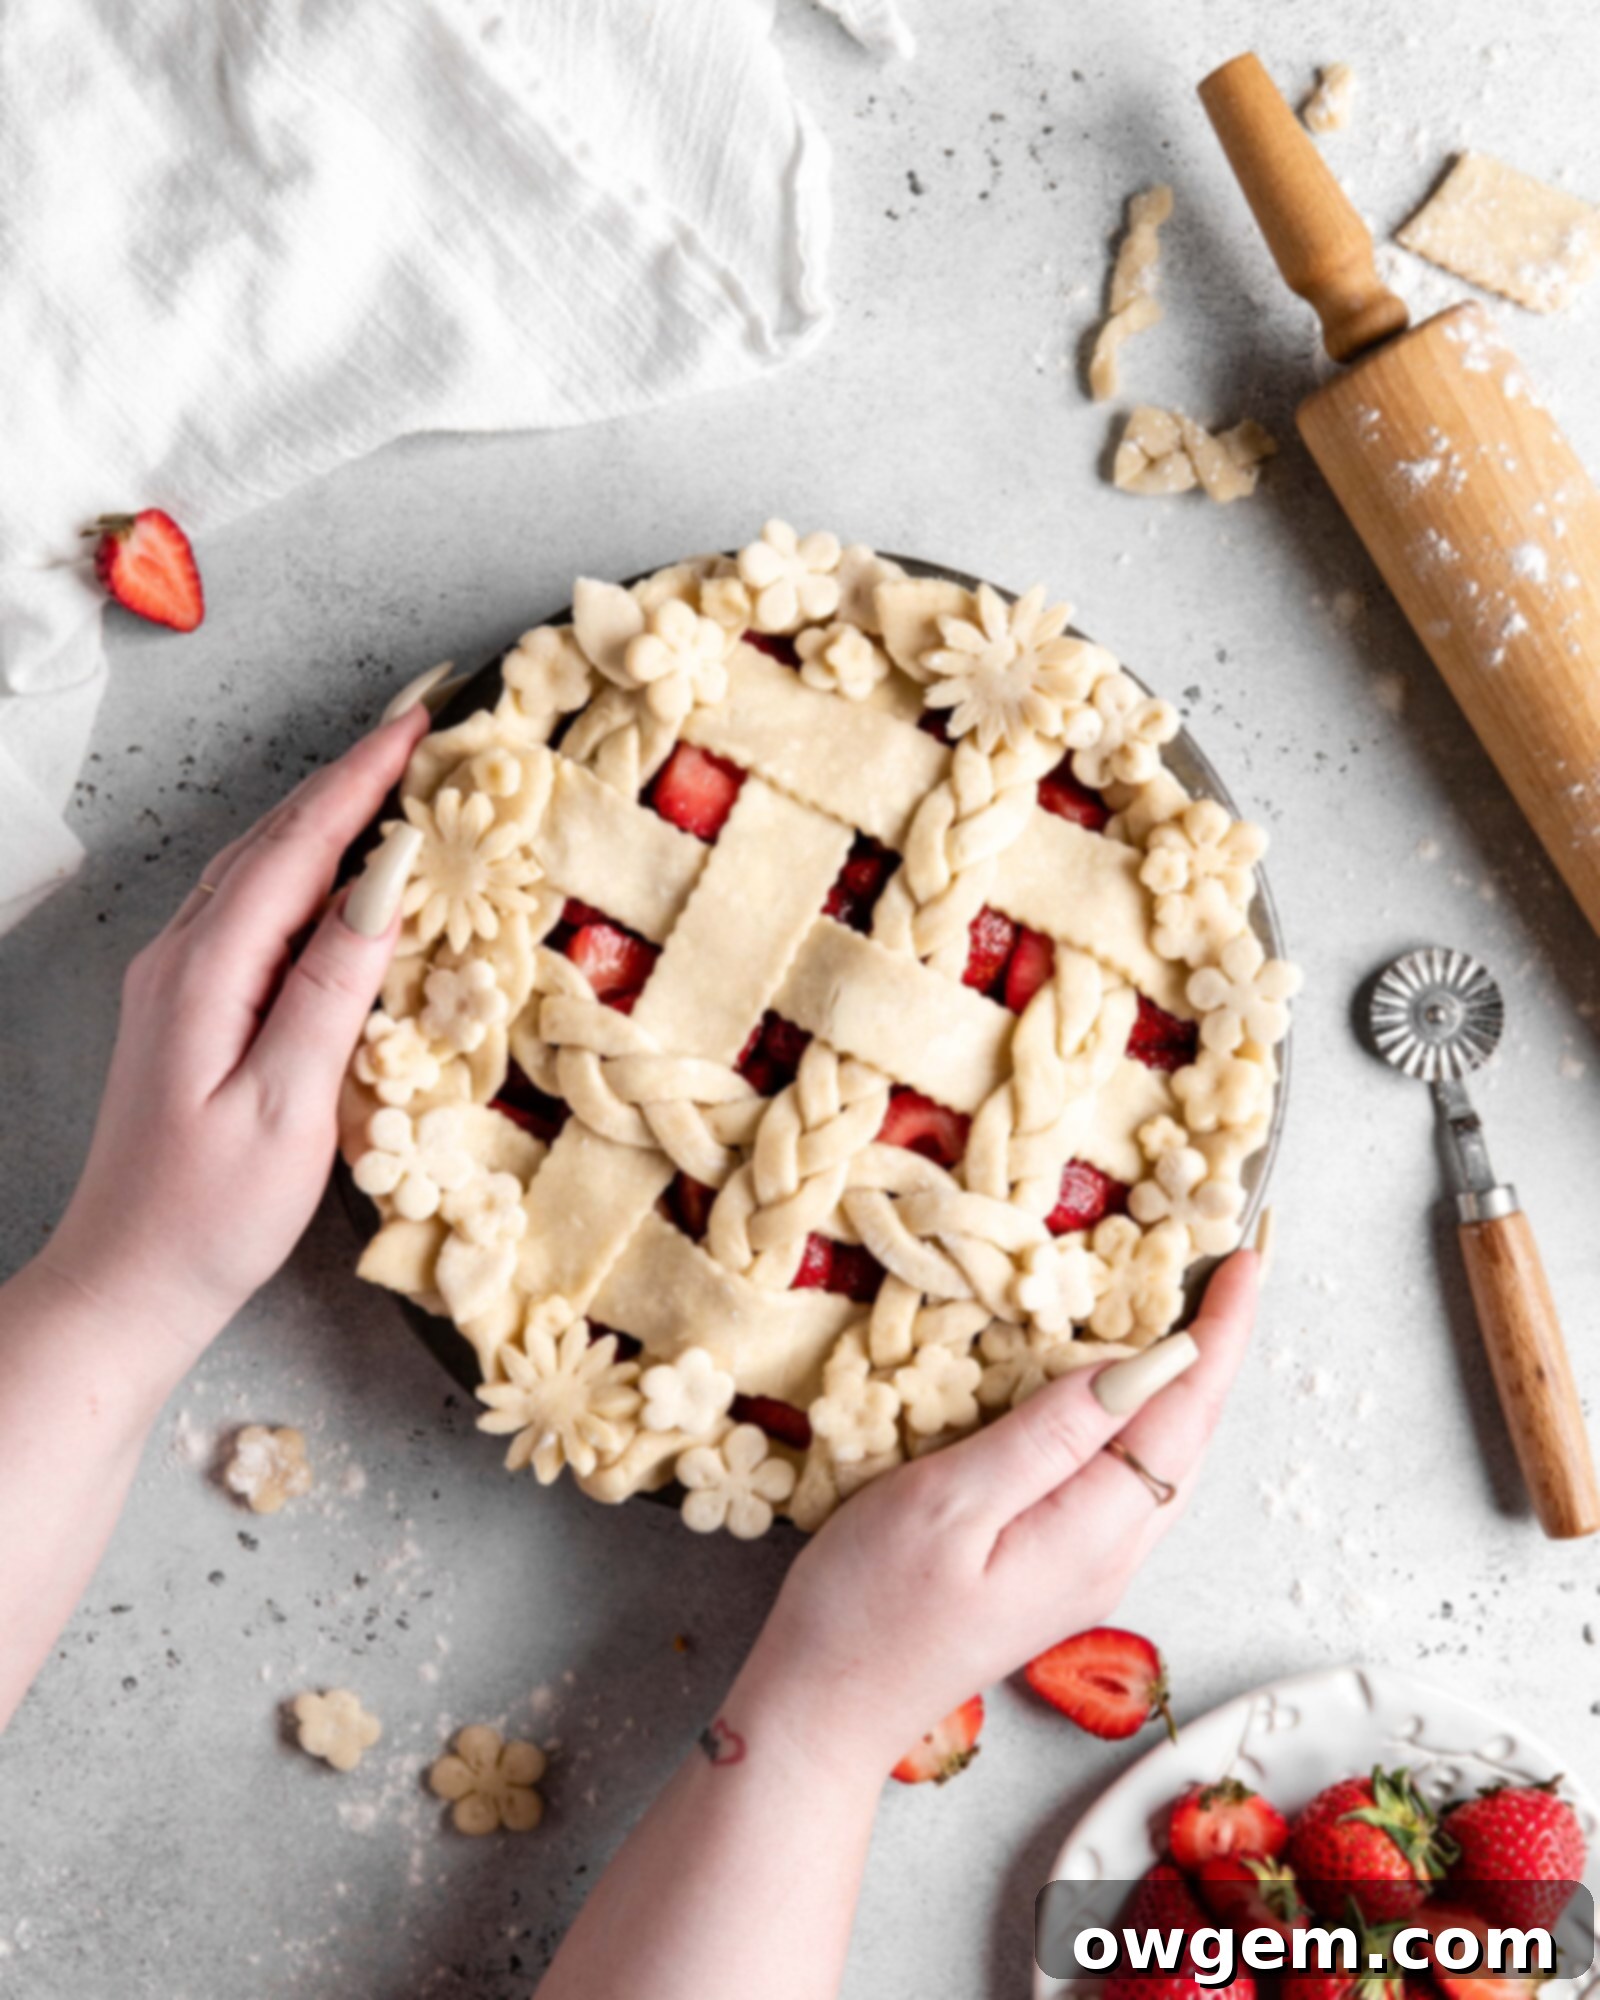
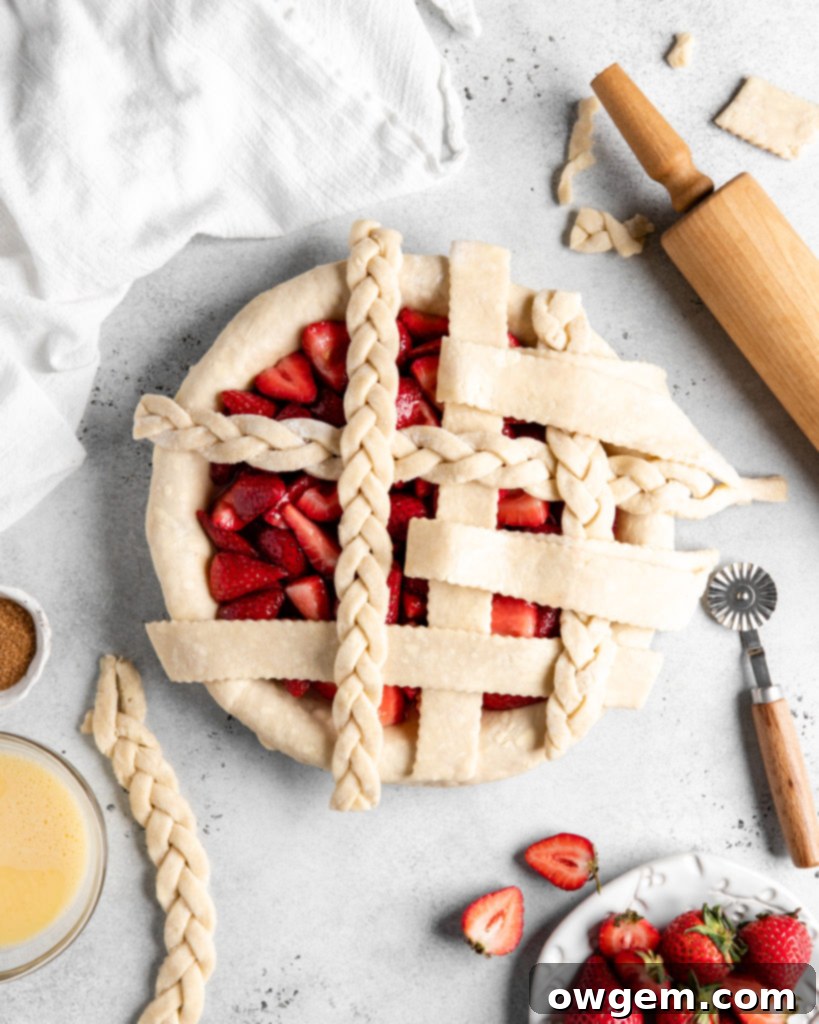
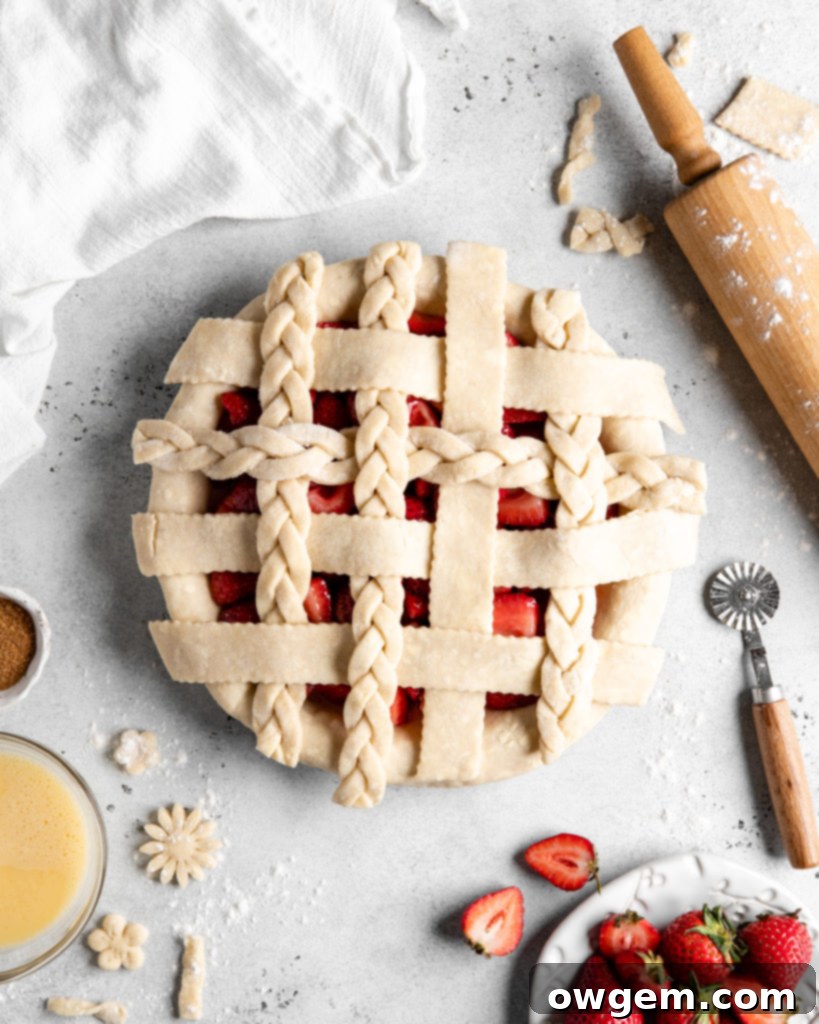
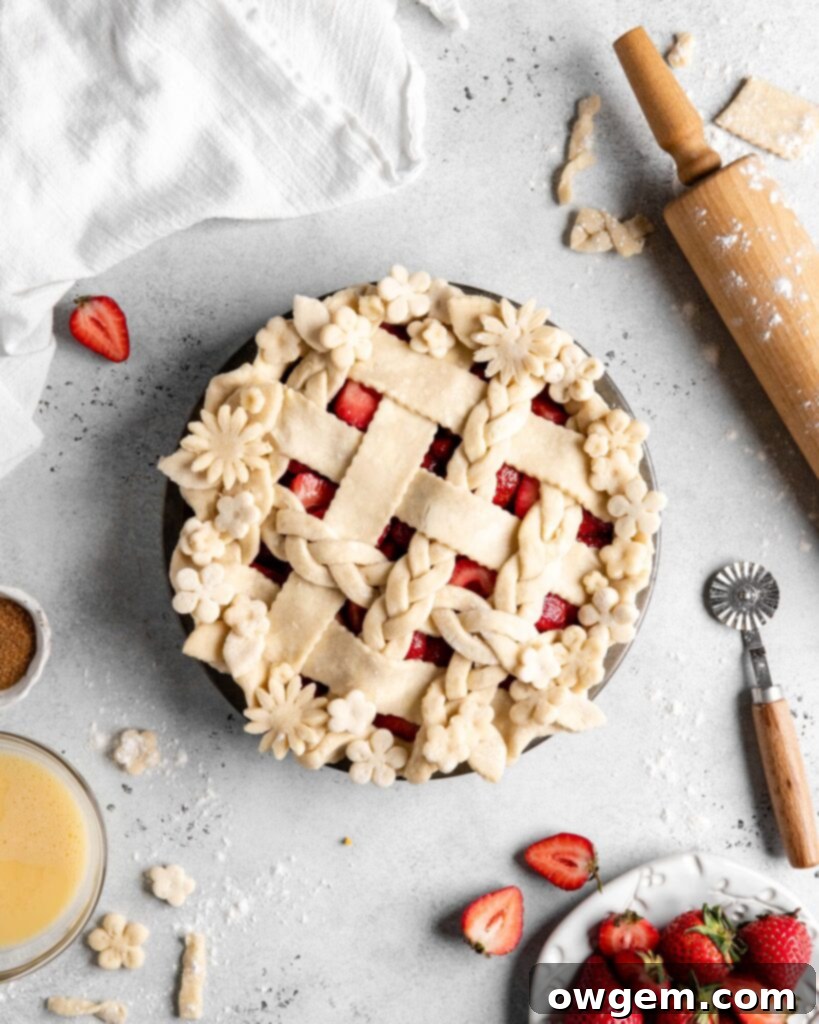
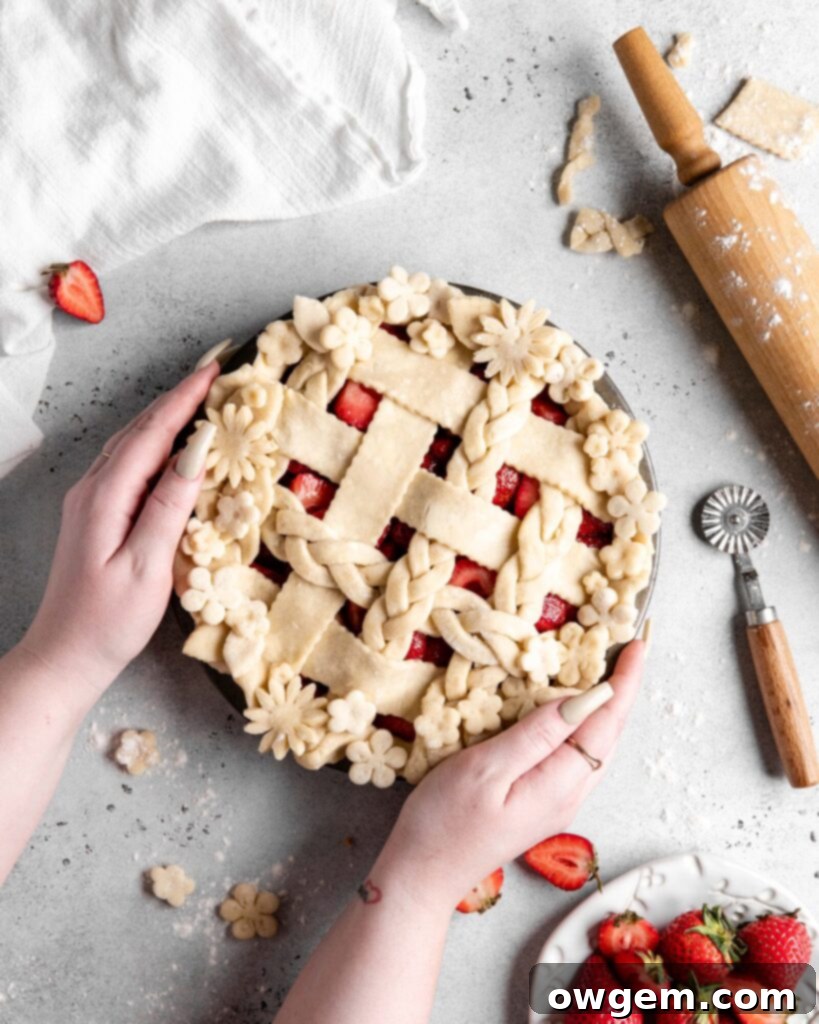
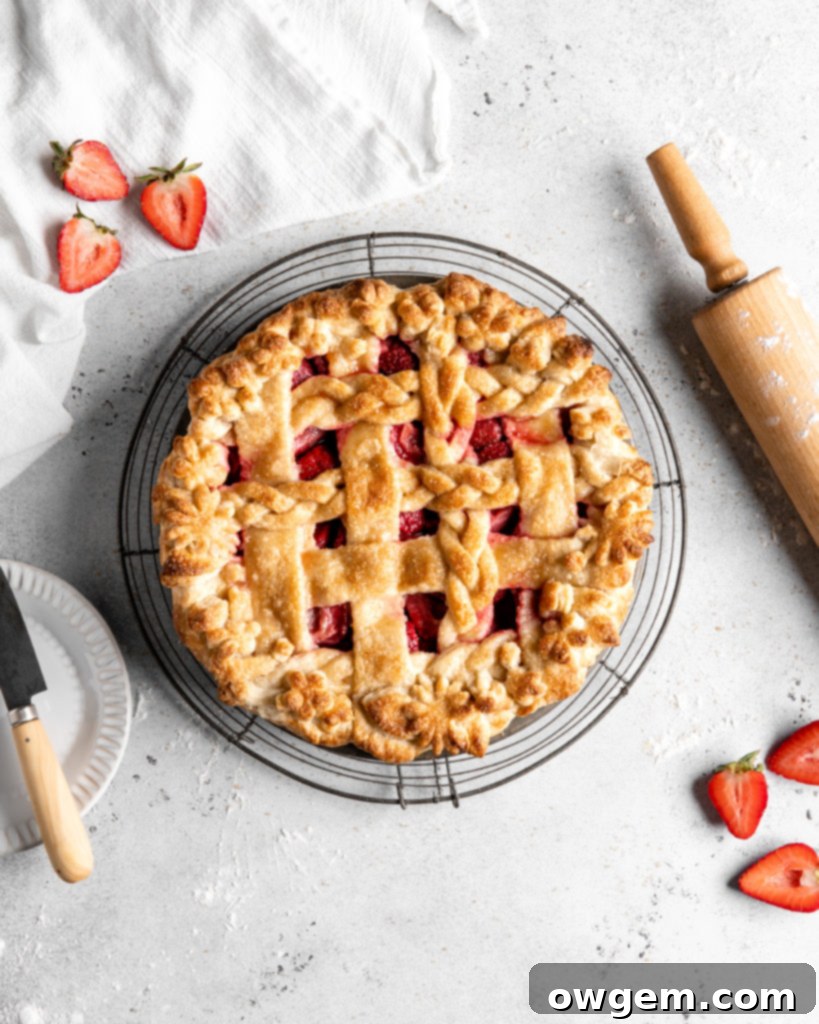
- Lattice Design: For a more visually stunning pie, cut the rolled dough into eight 1½-inch thick strips using a pizza cutter or sharp knife. Arrange these strips over the filled pie in a classic lattice pattern. This allows the beautiful strawberry filling to peek through. Once assembled, trim the edges and firmly pinch them together with the bottom crust to seal.
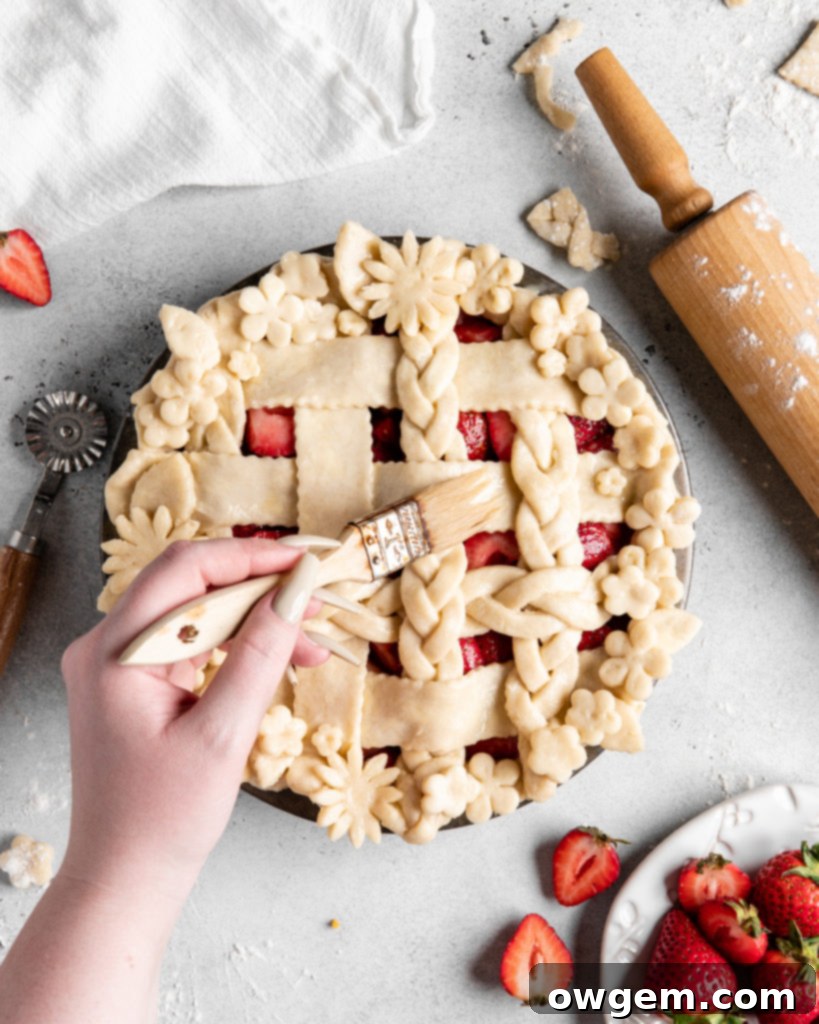
- Egg Wash and Sugar Sprinkling: Before baking, brush the top crust (whether solid or lattice) with an egg wash (one egg beaten with 2 teaspoons of water). This will give your pie a gorgeous golden-brown finish. Sprinkle generously with coarse sugar for an added sparkle and a delightful textural crunch.
Arrowroot Powder vs. Corn Starch: The Secret to a Perfectly Thick Strawberry Filling
One of the most common frustrations when baking fruit pies, especially those with juicy berries like strawberries, is a runny, soupy filling. Many recipes call for cornstarch as a thickener, and while it works well in some applications, it often falls short in acidic fruit pies. During the development of this Strawberry Pie recipe, I experimented with various quantities of cornstarch, and the results were consistently disappointing – the filling always came out loose, soupy, and with a rather chalky texture. It became clear that cornstarch was simply not the right choice for this particular pie.
So, why is cornstarch ineffective in a strawberry pie? After some dedicated research, I discovered a crucial detail: **cornstarch breaks down in the presence of high acidity.** Both fresh strawberries and the orange juice used in our recipe are rich in citric acid. This significant amount of acid essentially renders the cornstarch ineffective, preventing it from properly gelling and leading directly to that watery, undesirable strawberry pie filling.
Determined to achieve the perfect jammy consistency, I experimented with a few other thickeners. The clear winner, the “best of the best,” turned out to be **arrowroot powder**. This natural thickener proved to be a game-changer! Arrowroot powder provides that ideal gel-like texture to the strawberry pie filling, creating a luxurious, thick consistency that holds its shape beautifully when sliced. Even better, it leaves absolutely no detectable taste or chalky texture in the pie. It’s truly a perfect solution for fruit fillings, especially those with acidic ingredients, delivering a clear, glossy finish that lets the natural beauty of the strawberries shine through.
Unlike cornstarch, arrowroot powder performs wonderfully under acidic conditions and results in a stable, smooth filling. It’s also gluten-free, making it an excellent alternative for those with dietary restrictions. You’ll find that the small investment in a bag of arrowroot powder is well worth it for the superior results in your fruit pies, gravies, and sauces.
Achieving the Perfect Sweetness: How Much Sugar for Your Strawberry Pie?
When working with fresh fruit, particularly strawberries, the amount of sugar needed can vary significantly. This is largely because the natural sweetness of strawberries is highly dependent on their harvesting season and ripeness. Strawberries picked during their peak season – typically the warm summer months – will naturally be sweeter and more flavorful than those harvested at other times of the year.
Therefore, it’s essential to consider the quality and sweetness of your strawberries when preparing the filling:
- In-Season Strawberries: If you’re using perfectly ripe, sweet strawberries from the height of summer, you might find that ¾ cup of white sugar is ample to achieve a balanced sweetness that highlights the fruit’s natural flavor.
- Out-of-Season or Less Sweet Strawberries: If your strawberries are less sweet, perhaps from early spring or late autumn, you may need to increase the amount of sugar. Don’t hesitate to bump it up to 1 cup (or even slightly more) to compensate. A good tip is to taste a small piece of your pre-mixed filling (before adding it to the crust and baking) to gauge its sweetness.
Remember, this recipe aims for a pie where the strawberry flavor truly shines, balanced by sweetness rather than overwhelmed by it. Adjusting the sugar to your specific batch of fruit and personal preference is key to a truly personalized and delicious pie.
Beyond the sugar, a few other ingredients contribute to the incredible flavor profile of this strawberry pie filling:
- Orange Zest and Juice: The bright, citrusy notes from fresh orange zest and juice beautifully complement and enhance the sweetness and tartness of the strawberries. It adds a subtle layer of complexity without overpowering the main fruit. This citrus also helps to awaken the natural aromas of the berries.
- Freshly Hulled & Quartered Strawberries: The star of the show! Ensure your strawberries are fresh, firm, and thoroughly washed. Quartering them ensures an even distribution and allows the juices to release properly during baking, contributing to that luscious, jammy texture.
The combination of these elements, from the perfectly ripe strawberries to the right amount of sugar and the aromatic citrus, creates a filling that is both deeply flavorful and wonderfully balanced.
Get the Recipe:
Strawberry Pie (with thick pie filling)
Pin
Rate
Ingredients
For the Flaky Pie Crust
- 3 cups (360g) All Purpose Flour,, measured correctly† for best results
- 6 tbsp (75g) White Sugar,, to add subtle sweetness to the crust
- Pinch of Salt,, to balance the flavors
- 1 ½ cups (341g) Cold Unsalted Butter,, cubed into ½-inch pieces and kept very cold
- 6 tbsp (90g) Cold Water,, plus more if needed for dough consistency
- 6 tbsp (90g) Cold Vodka,, substitute with cold water if preferred or unavailable
- 1 Large Egg + 2 tsp Water,, for an egg wash to achieve a golden crust
- Coarse Sugar,, for sprinkling on the crust before baking
For the Thick Strawberry Pie Filling
- 5 cups (800g) Fresh Strawberries,, hulled and quartered
- 3/4 cup (150g) White Sugar,, adjust to 1 cup depending on strawberry sweetness
- 3 ½ tbsp (28g) Arrowroot Powder,, essential for a thick, non-soupy filling
- Zest of 1 Orange,, adds a bright, aromatic complement to strawberries
- Juice of 1/2 Orange,, enhances fruit flavor and provides necessary liquid
Instructions
Part 1: Making the Flaky Pie Crust Dough
-
In a small measuring cup, combine the cold vodka and cold water, then place it in the fridge to keep it chilled. In a large mixing bowl, whisk together the all-purpose flour, white sugar, and pinch of salt until well combined. Add the cold, cubed unsalted butter to the flour mixture. Using your hands or a pastry cutter, quickly work the butter into the flour until the mixture resembles coarse crumbs with some pea-sized butter pieces remaining. It’s crucial not to overwork the butter or let it melt.
-
Retrieve the chilled vodka-water mixture. Slowly drizzle this liquid over the flour and butter, simultaneously tossing with a fork. Continue to mix until the dough just begins to come together. Once all the liquid has been added, gently knead the dough a few times inside the bowl – just until a shaggy but stable dough forms. Be careful not to over-knead. If the dough seems too dry and isn’t coming together, add more cold water, a teaspoon at a time, until it forms a cohesive mass.
-
Divide the prepared dough into two equal portions. Form each portion into a flattened disk shape. Wrap each disk tightly in plastic wrap or place them in separate freezer bags, then refrigerate for at least 2 hours to allow the butter to firm up and the gluten to relax. This chilling step is essential for a tender, flaky crust.
Part 2: Assembling and Baking the Strawberry Pie
-
Preheat your oven to 350°F (175°C). Position an oven rack in the lower-middle position.
-
Remove the two dough disks from the fridge and let them sit on the counter for about 5-10 minutes to slightly warm up, making them easier to roll. Meanwhile, remove each dough from its plastic wrap and place it onto a lightly floured work surface.
-
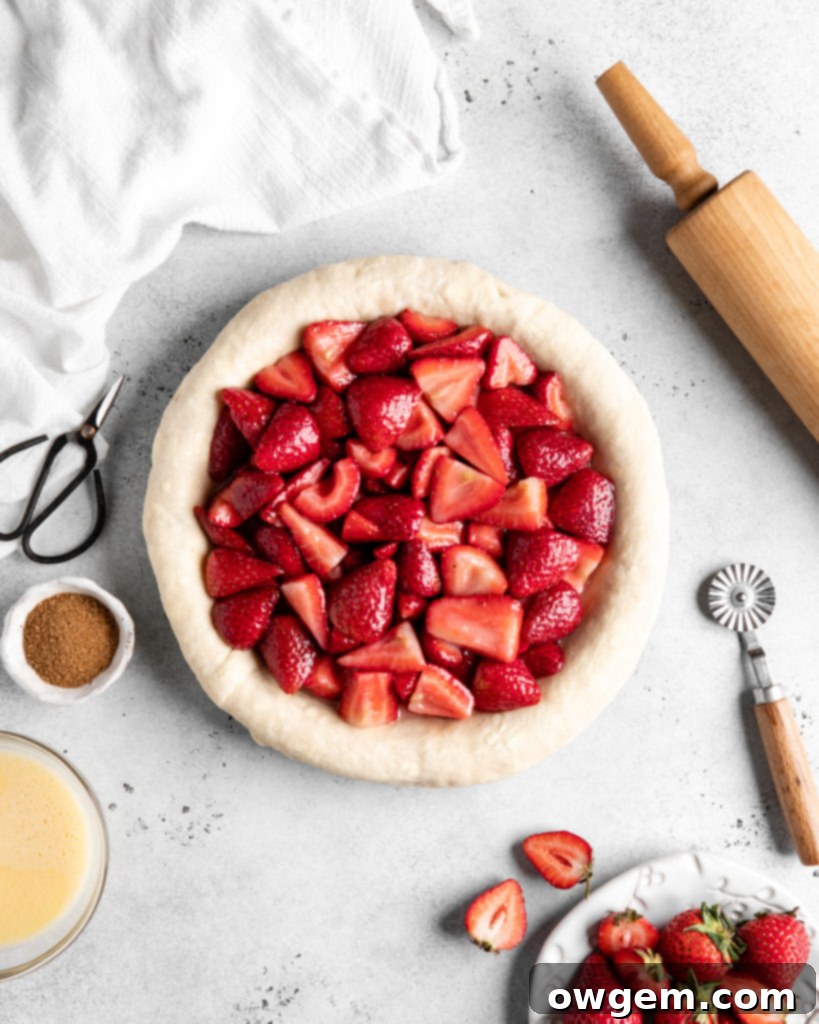
While the dough rests, prepare the delicious strawberry pie filling. In a large bowl, combine the hulled and quartered strawberries, white sugar (adjusting as needed for sweetness), arrowroot powder, orange zest, and orange juice. Toss everything together gently until all the strawberries are evenly coated with the thickener and sugar. Set this aside to allow the flavors to meld.
-
On your floured surface, roll out one disk of dough for the bottom crust. Aim for a thickness of ¼ inch and a diameter of approximately 11-12 inches. Carefully transfer the rolled dough into a standard 9-inch pie pan. Gently press it into the pan’s contours without stretching. Trim the excess dough around the edge, leaving about a ½-inch overhang, then fold this under and crimp or flute the edges decoratively.
-
Pour the prepared strawberry pie filling into the bottom pie crust, spreading it evenly.
-
Now, roll out the second disk of dough for the top crust, following the same ¼-inch thickness. You can either place this entire rolled crust over the filling (remembering to cut steam vents) or create a beautiful lattice design. To make a lattice, cut the dough into 1½-inch wide strips using a pizza cutter or sharp knife. Carefully arrange these strips over the filling in an interwoven lattice pattern. Once the lattice is formed, trim any excess dough from the edges and firmly pinch the top and bottom crusts together to seal them. In a small bowl, whisk together the egg and water for the egg wash. Brush the entire top crust with this egg wash and then generously sprinkle with coarse sugar.
-
Place the assembled pie onto a baking sheet (this catches any potential drips and makes transferring easier). Carefully place the baking sheet with the pie into your preheated oven and bake for 35-45 minutes. The pie is done when the crust is beautifully golden brown, and the filling appears bubbly and slightly jiggly in the center. If the crust begins to brown too quickly, you can loosely cover the edges with aluminum foil.
-
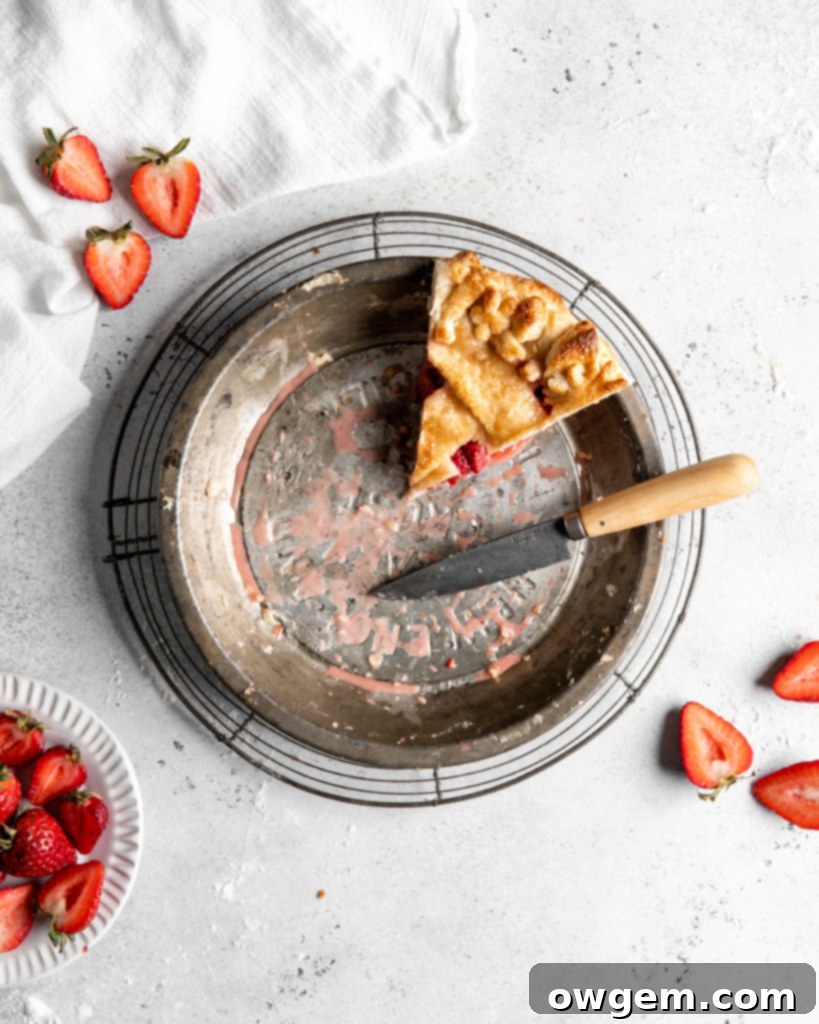
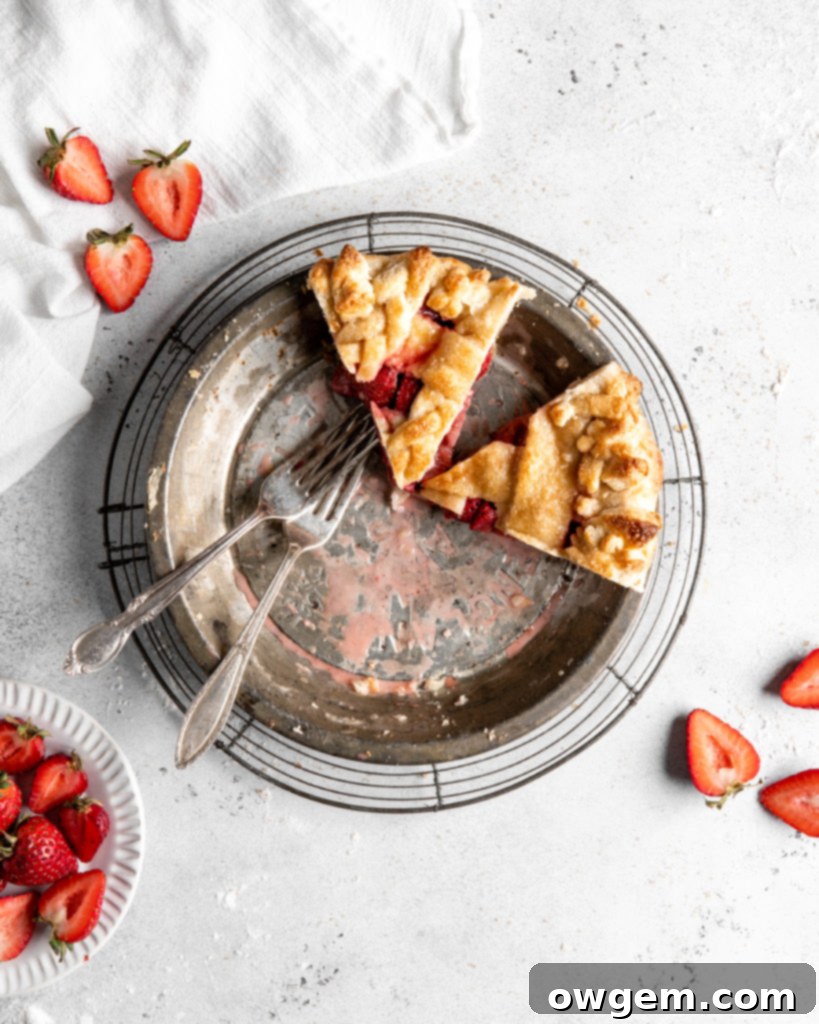
Once baked, remove the pie from the oven and allow it to cool completely on a wire rack for at least 3-4 hours, or even longer. This crucial cooling time allows the arrowroot-thickened filling to properly set, ensuring that perfect jammy consistency when you slice into it. Serving the pie too soon will result in a runny filling.
Notes and Tips for Success
Chilling is Your Friend: Don’t rush the chilling steps for the pie dough. Cold butter is paramount for flakiness, and adequate chilling time allows the butter to firm up and the gluten to relax, making the dough easier to handle and ensuring a tender final product.
Serving Suggestions: This strawberry pie is absolutely delicious on its own, but it’s even better served warm with a scoop of vanilla bean ice cream or a dollop of freshly whipped cream.
Storage: Store leftover pie loosely covered at room temperature for up to 2 days, or in the refrigerator for up to 4 days.
Creating this ultimate strawberry pie is a rewarding baking experience. By understanding the importance of cold ingredients and minimal handling for a truly flaky crust, and by choosing the right thickener for a perfectly jammy filling, you can confidently bake a dessert that will be remembered long after the last slice is gone. Enjoy the sweet, vibrant taste of summer in every bite!
